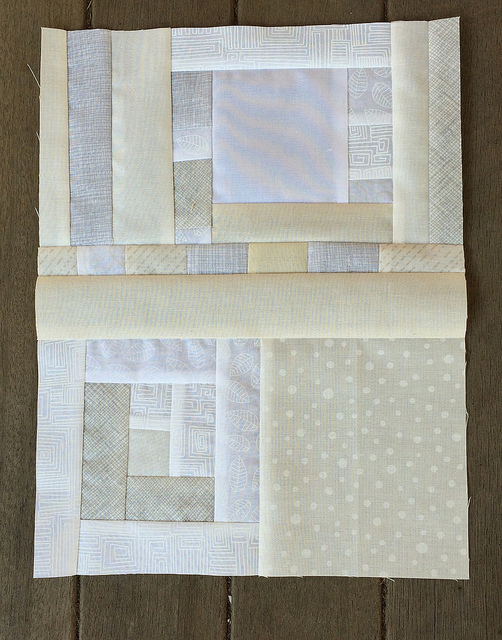
Getting More Involved With the Local Modern Quilt Guild

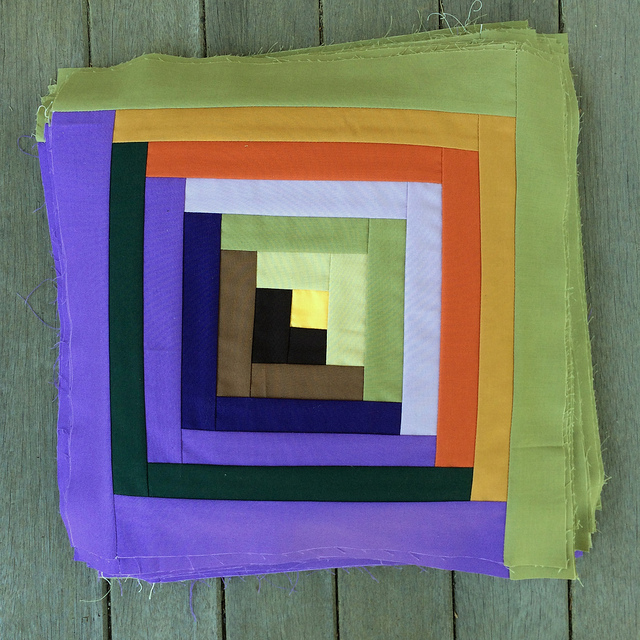
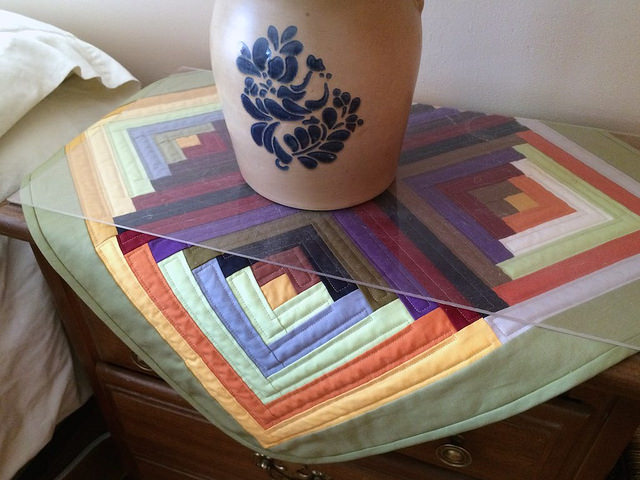
I am a member of the Central Jersey Modern Quilt Guild. On Instagram we have an account which is @cjmqg which is maintained by one of our members. You can also find work posted by individual members under the hashtag #cjmqg. If you search for that hashtag you will see this photo on Instagram. Or you can simply follow me, @terrischurter. I have edited my “real” name on Instagram to read as HexyLady. That’s one word.

The above piece represents a big step forward for me. This is a piece that I put together for a group quilt that the CJMQG is putting together to send to Quilt Fest 2016. #quiltcon2016challenge

I got the project package with directions at the last guild meeting and sat on it, figuratively, until yesterday afternoon just before it was due. I called upon all of my courage, and drew upon my recently refound love of log cabin work, to create something as undeniably structured as I am, yet hopefully somewhat modern in form.

I have been a member of the guild for nearly two years, but have yet to participate beyond listening, watching, plus attending one sewing retreat last November where I mostly listened and watched. I am an introvert at heart, and my interactions have largely been virtual since the advent of the internet, which is clearly an introvert’s dream come true.

Aside from my propensity as an introvert, I never liked the idea of group projects. I don’t always play well with others. I play very well next to others, however. So a project with guidelines that allows me to complete a block to specifications is a nice way to ease my way into group activities. I even went so far as to design this piece to fade into the background, just as I do. The guidelines indicated that one may include a number of black triangles, but offered the option to eliminate the triangles altogether and simply work with the low volume fabrics. Such a piece would be used to finish off the top. I even offered to have mine sliced and diced as necessary in order to make its incorporation successful. I’ll be interested to see if I can find its components in the finished quilt top.

Two more opportunities for guild interaction are coming up soon. I’ll be attending Qulters Take Manhattan soon, and the guild is repeating their November retreat this year. I’ve already signed up for that three day event.

At the guild meeting yesterday they were looking for people to demonstrate hand work at the James A. Michener Art Museum in Doylestown, Pennsylvania for one day in January. As an English Paper Piecer it just made sense for me to volunteer, and so I did. I hope to be working on the Farmer’s Wife quilt either by hand in a traditional way, or with EPP templates.
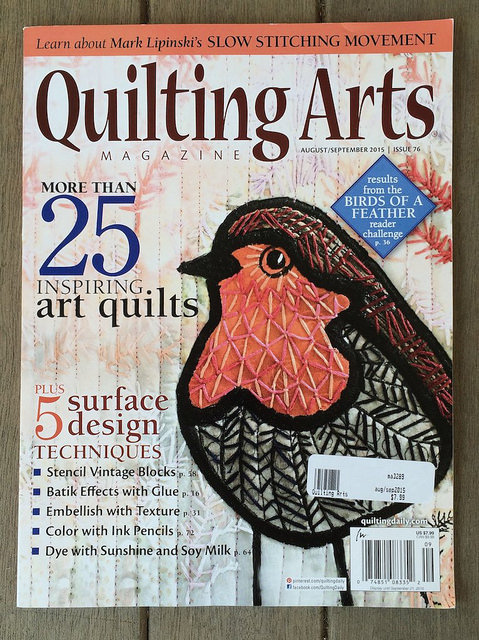
I managed to pick up a copy of the August/September issue of Quilting Arts at the guild meeting. Mark Lipinski has a four page spread about the Slow Stitching Movement, and he shows some photos from the First Slow Stitching Movement Getaway in Lambertville this past April, which I attended.
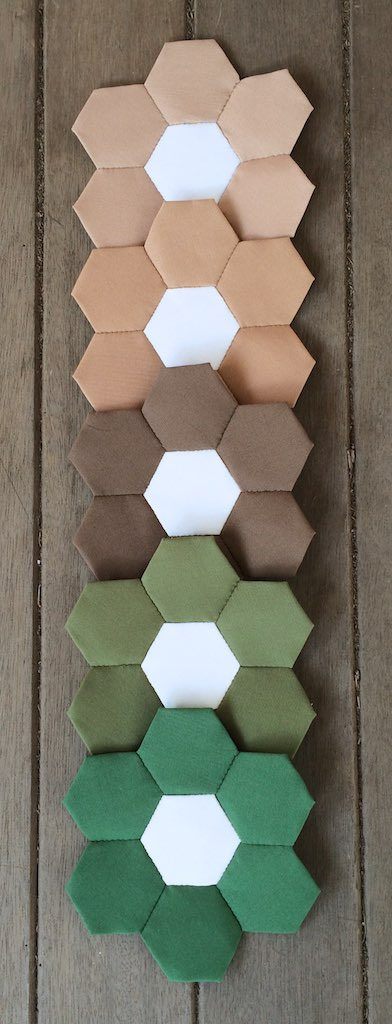
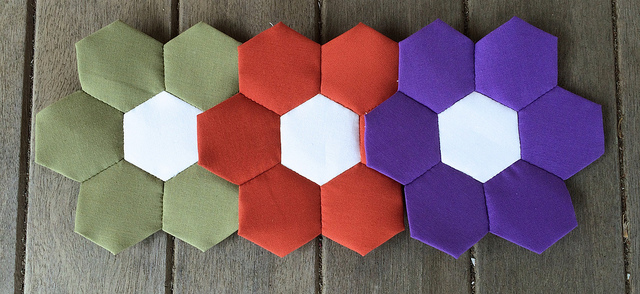
I like to keep my hands busy, so I’m always basting hexagons or sewing them together at the meeting. Last night I managed to stitch together five Kona color sample flowers while I was listening and watching at the meeting last night. In all fairness I must point out that the hexies came to the meeting pre basted. I won’t bother to name the colors here since you will see these flowers again on Friday when I show off the entire collection of 23 New Kona solid flowers.

I love how doing grunt work like making these sample flowers can spark the imagination. I have an idea for a series of quilts using nothing but Kona solids. The three quilts in the series would be designed to allow them to serve as perpetually growing color sample charts for my Kona solids. Once I flesh out the details for this new project I will share it here.
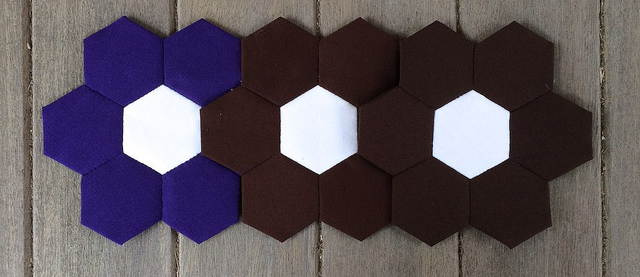
More Kona Sample Pieces

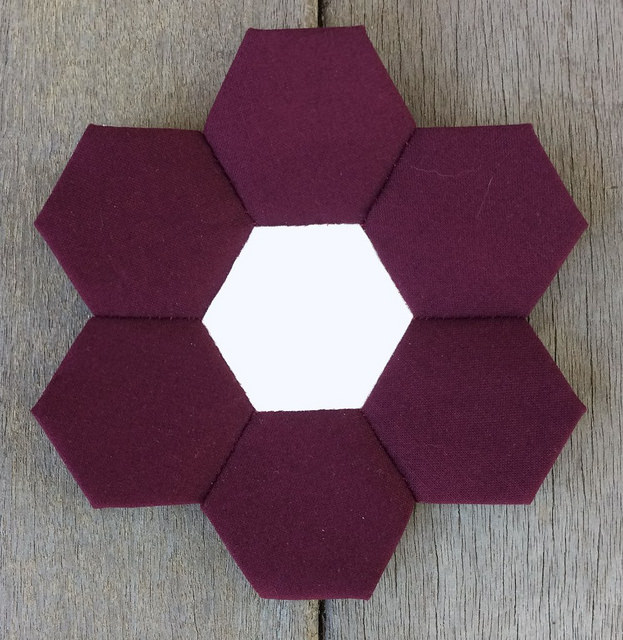
Snow

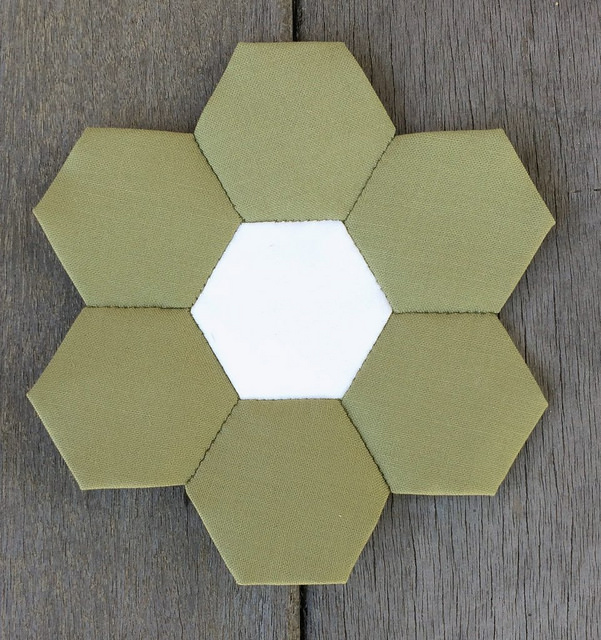
I am taking a break from showing progress on my Low Volume Quilt flowers to show a few sample pieces that I made for my Kona color filing system.

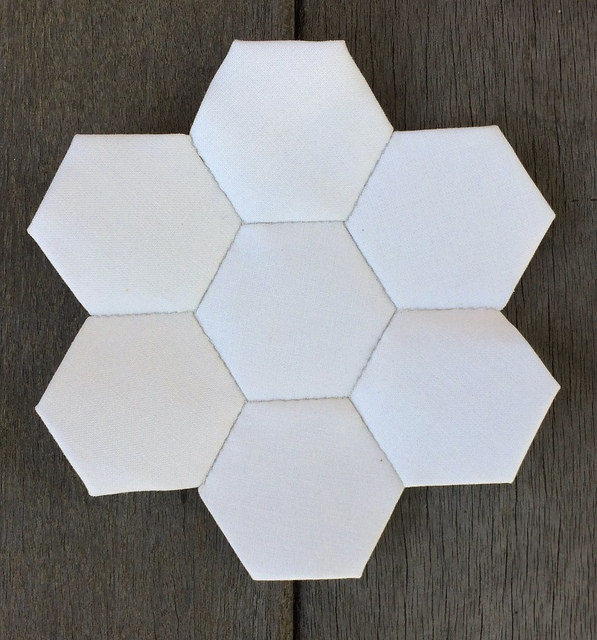
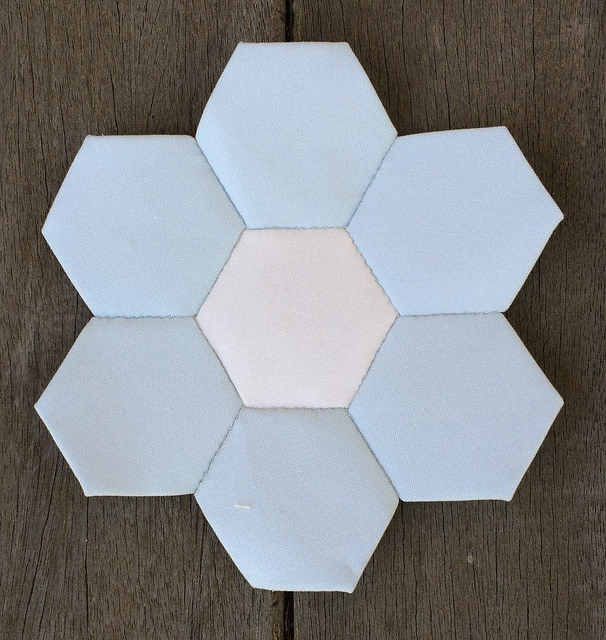
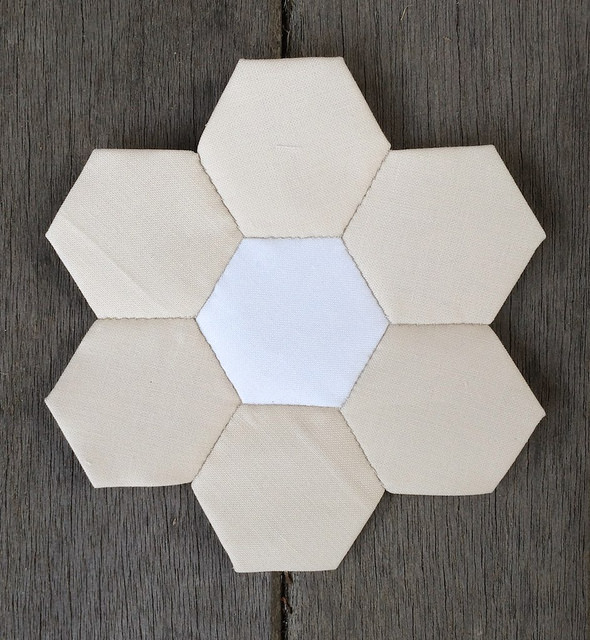
First we have Snow. This is the color that I am using as the central hexagon for all of my color sample flowers.

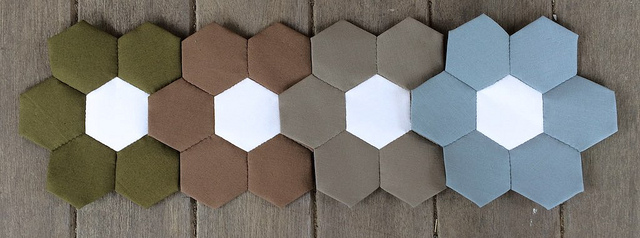
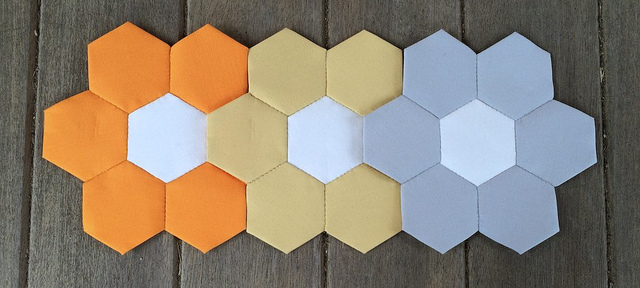
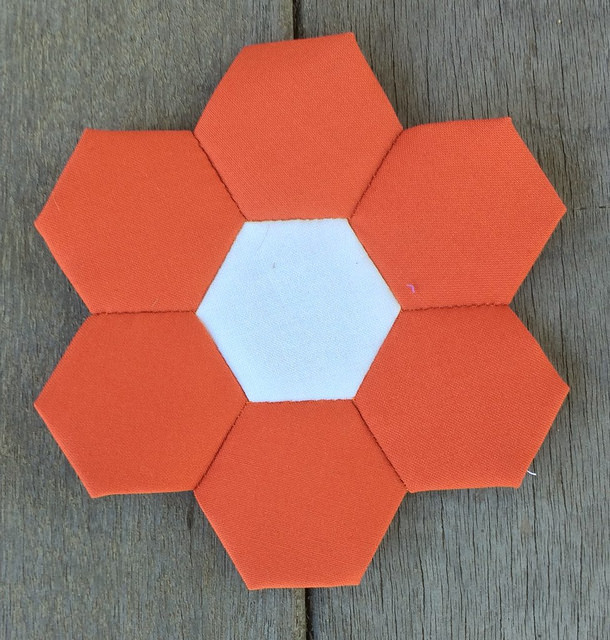
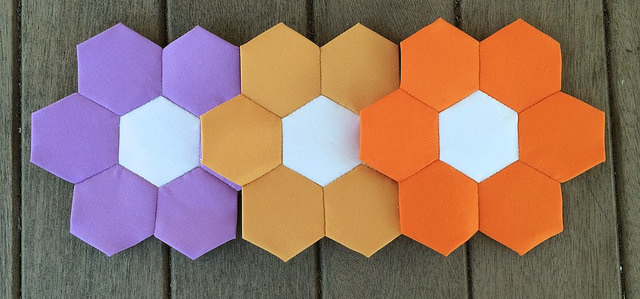
Next up we have Sweet Pea, Terra Cotta, and Morning Glory. I showed these flowers off in a recent post about secondary colors.

Sweet Pea

Terra Cotta

Morning Glory

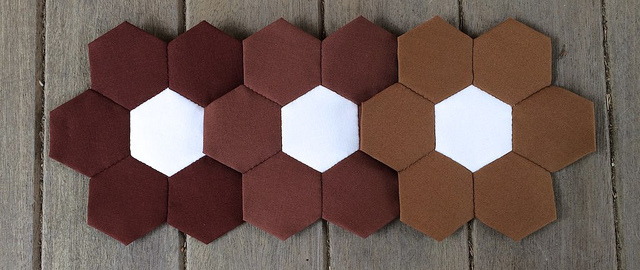
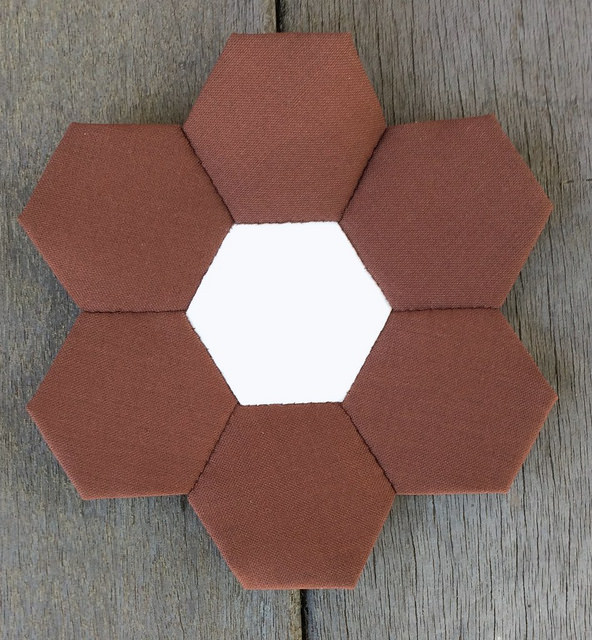
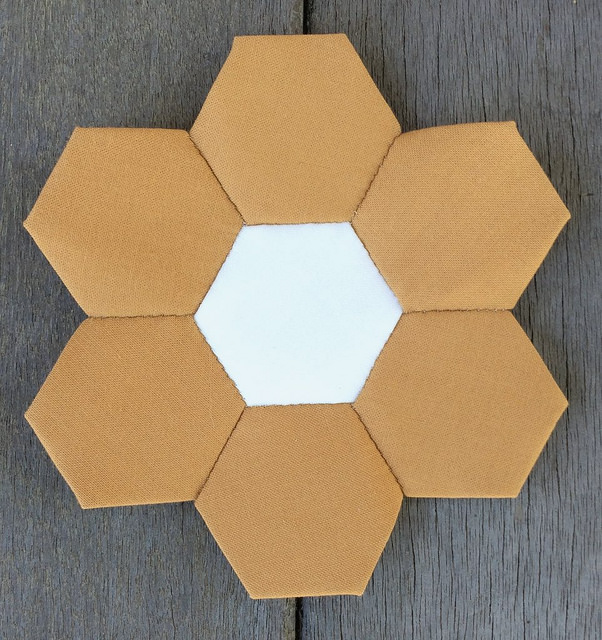
I located a few colors that I had used in projects in the past year or so, and made samples for Mocha, Caramel, and Burgundy.

Mocha

Caramel

Burgunday

I’ve already started work on making the samples for the 23 new colors I received last week. I won’t show any of those now because I would  like to show them all at once. I’m hoping to finish them in time to use that content for a Fabric Friday post this week.

I am linking back to Jessica’s Monday Morning Star Count. Those of you visiting from the Star Count may enjoy reading my post about how I am loving my secondary Kona colors. You also may enjoy my post about  my 23 new Kona solids.

Since we never got a chance to link up last week, you might enjoy my most recent Low Volume Quilt post. You can also take a look at my post about my new walking foot and a post about my progress on setting up my Kona Fabrics Sample Pieces.

I’d just tell you to scroll down, but that doesn’t work with a permalink. I sure hope the Star Count happens this week.

Fabric Friday: 23 New Kona Solids

I blogged about ordering them last Friday, and I showed a screen shot of the list of colors. They have arrived, and here they are:

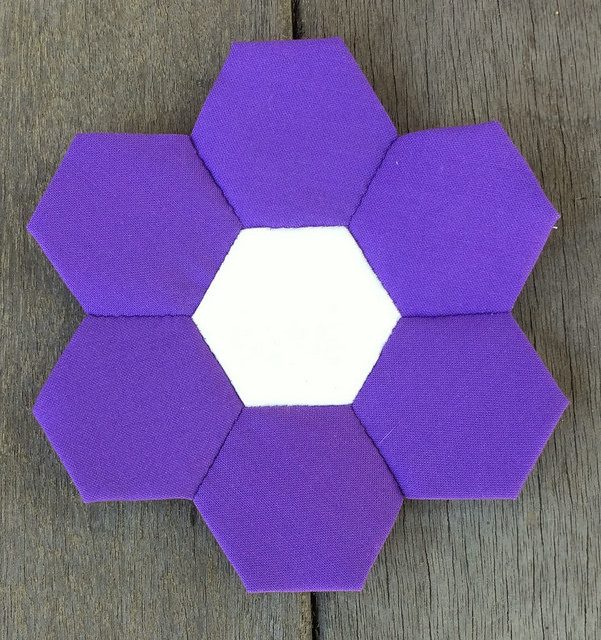
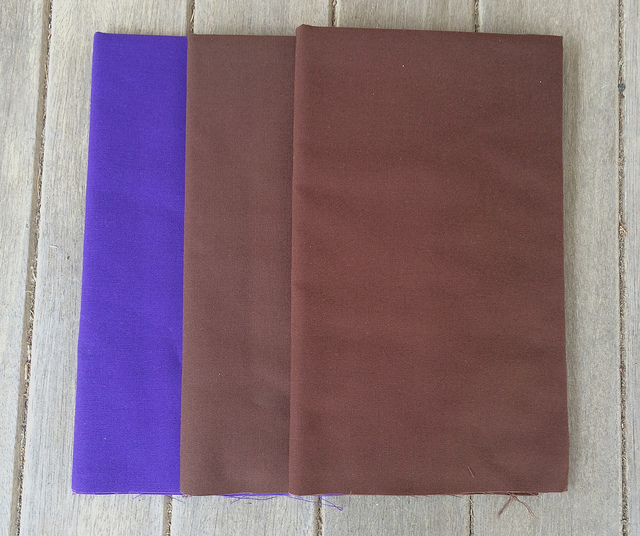
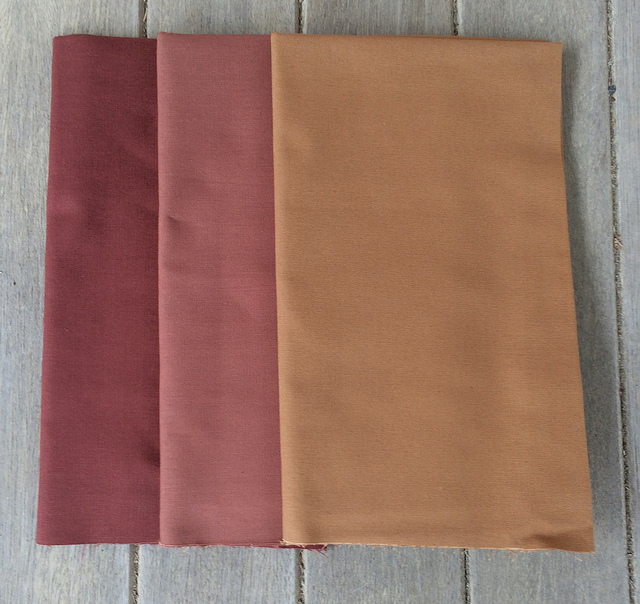
Purple, Chocolate, and Coffee


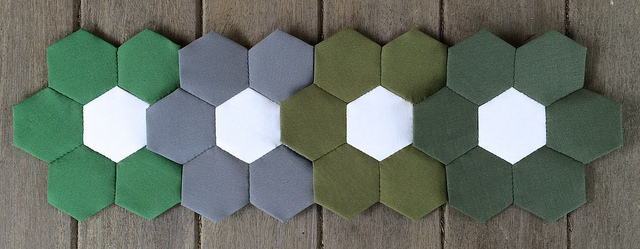
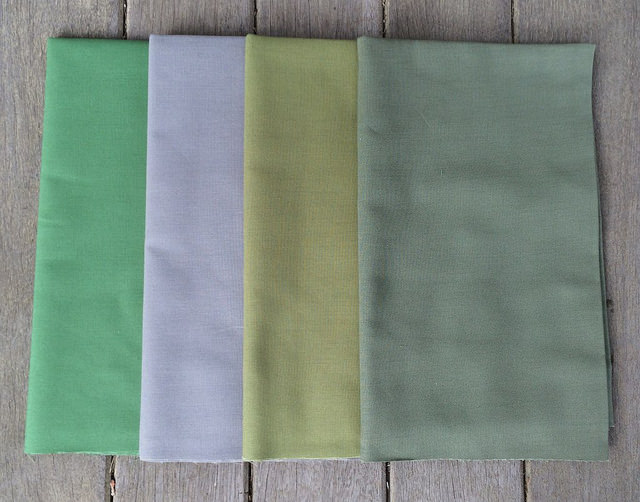
Palm, Pewter, Ivy, and O. D. Green


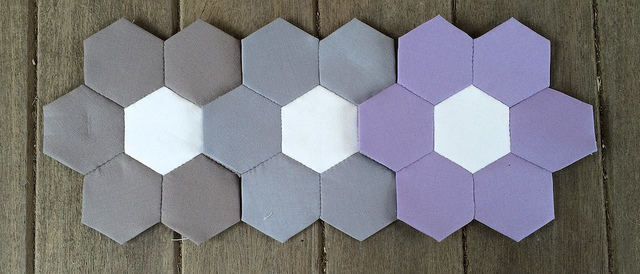
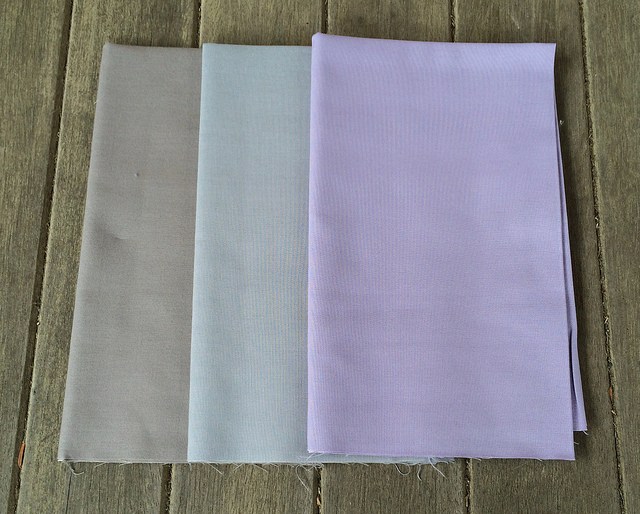
Smoke, Iron, and Lilac


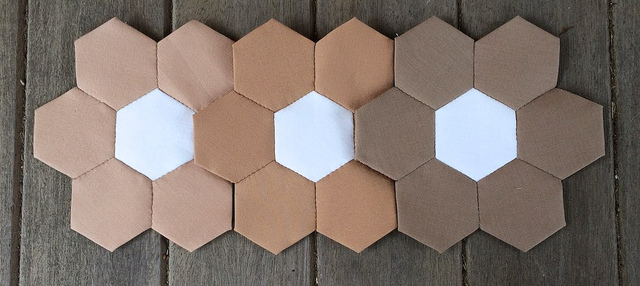
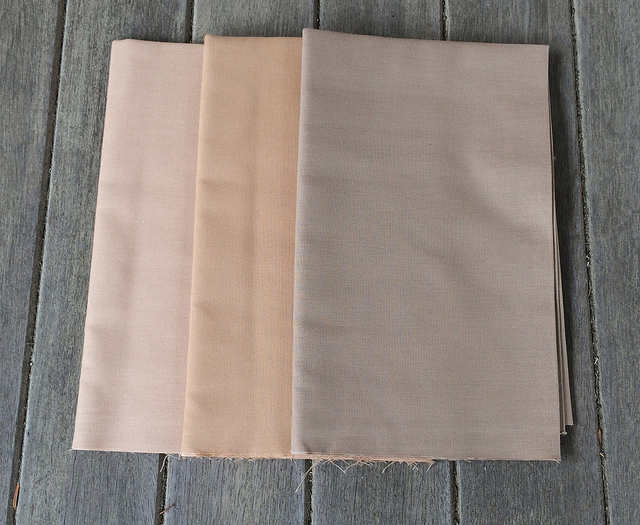
Latte, Wheat, and Taupe

Brown, Mocha, and Earth

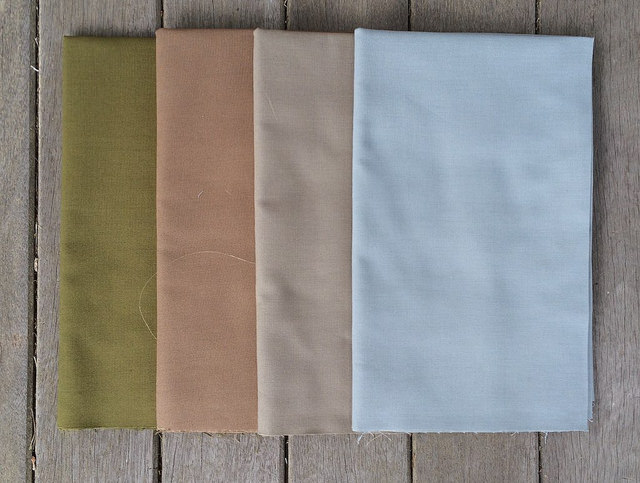
Moss, Bison, Mushroom, and Shale


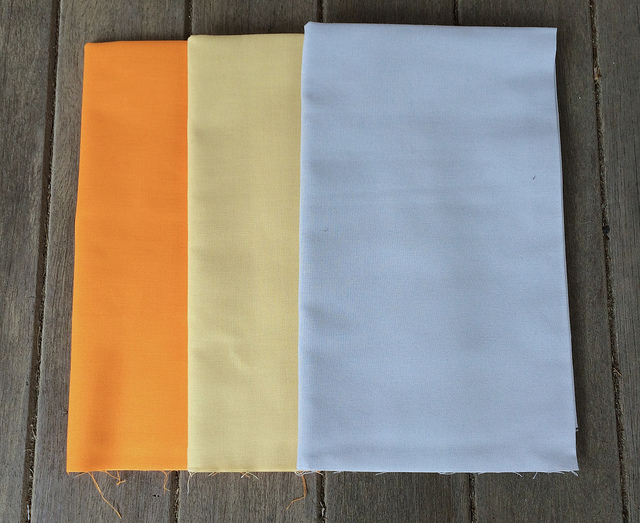
School Bus, Mustard, and Shadow

I’ve got my work cut out for me now. I need to cut out the 6 x 6 inch sample pieces from each of these half yard pieces. I also need to make the flower sample pieces as well. Then I need to make a hanging file for each fabric. I think I am going to try to do all of that before I do any more work on the Log Cabin Quilt. I want to get a good feeling for what I have on hand before I proceed with any more work on that project.

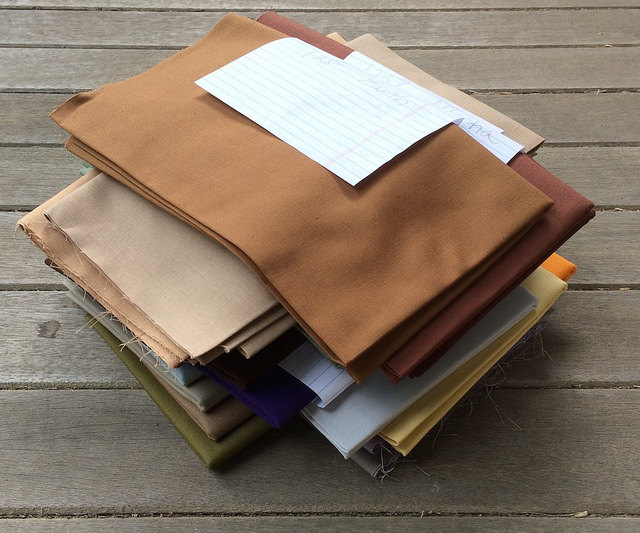
the pieces above are all half yard cuts. That is the smallest amount that the Fat Quarter Shop will allow you to order. There are 11.5 yards of fabric up there.

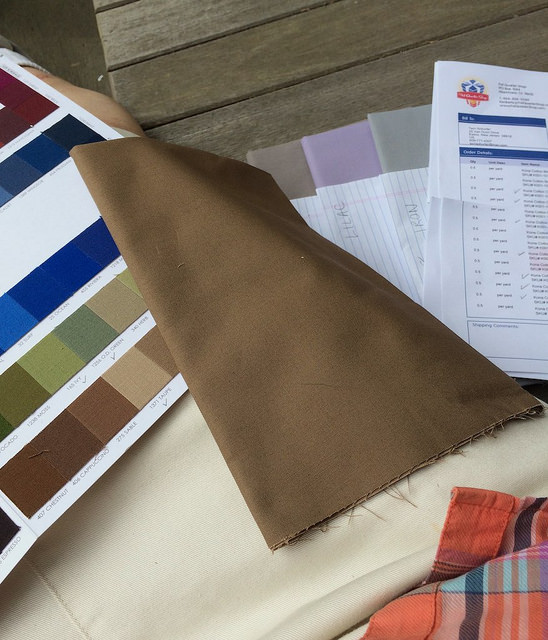
By the way, it was no mean feat to match up and label all of those fabrics. There were so many fabrics so close in hue and value that I needed to come up with a system to stay organized. It was pretty overwhelming to think about finding the chips on the chart for each of these colors. I started by putting a check mark in pencil next to all 23 fabric names on the sample card. This was so I would know where to look for possible matches when searching for the names. Knowing where to look meant that I would not waste time hovering over similar colors that were not even in the collection. Then I took one set of fabrics at a time being careful not to lose the sequence of the set as I was looking for the colors. I had maintain the sequence because I needed to be able to refer to those sets in their proper order so I could label the photos in this post. Once I found a color I made a label for the fabric, erased the check mark on the color chart, and added a check mark next to the color on the packing list. Then I put the labeled set aside, and labeled the next set. I continued in this way until all the fabrics were labeled. I knew I had been successful when every fabric was labeled, every check mark was erased from the sample card, and every color had a check next to it on the packing list.

There are the colors ready to be cut and filed away.

Now I’m tired, so I think I will do some mindless stitching of flowers for the Low Volume Quilt. These fabrics can wait until tomorrow for cutting.

Loving My Secondary Kona Colors

I have been thinking a lot about color recently with all of my purchases of Kona solids, and because I have been thinking about how to unify my Log Cabin Quilt using green and violet fabrics along the outside of each block.

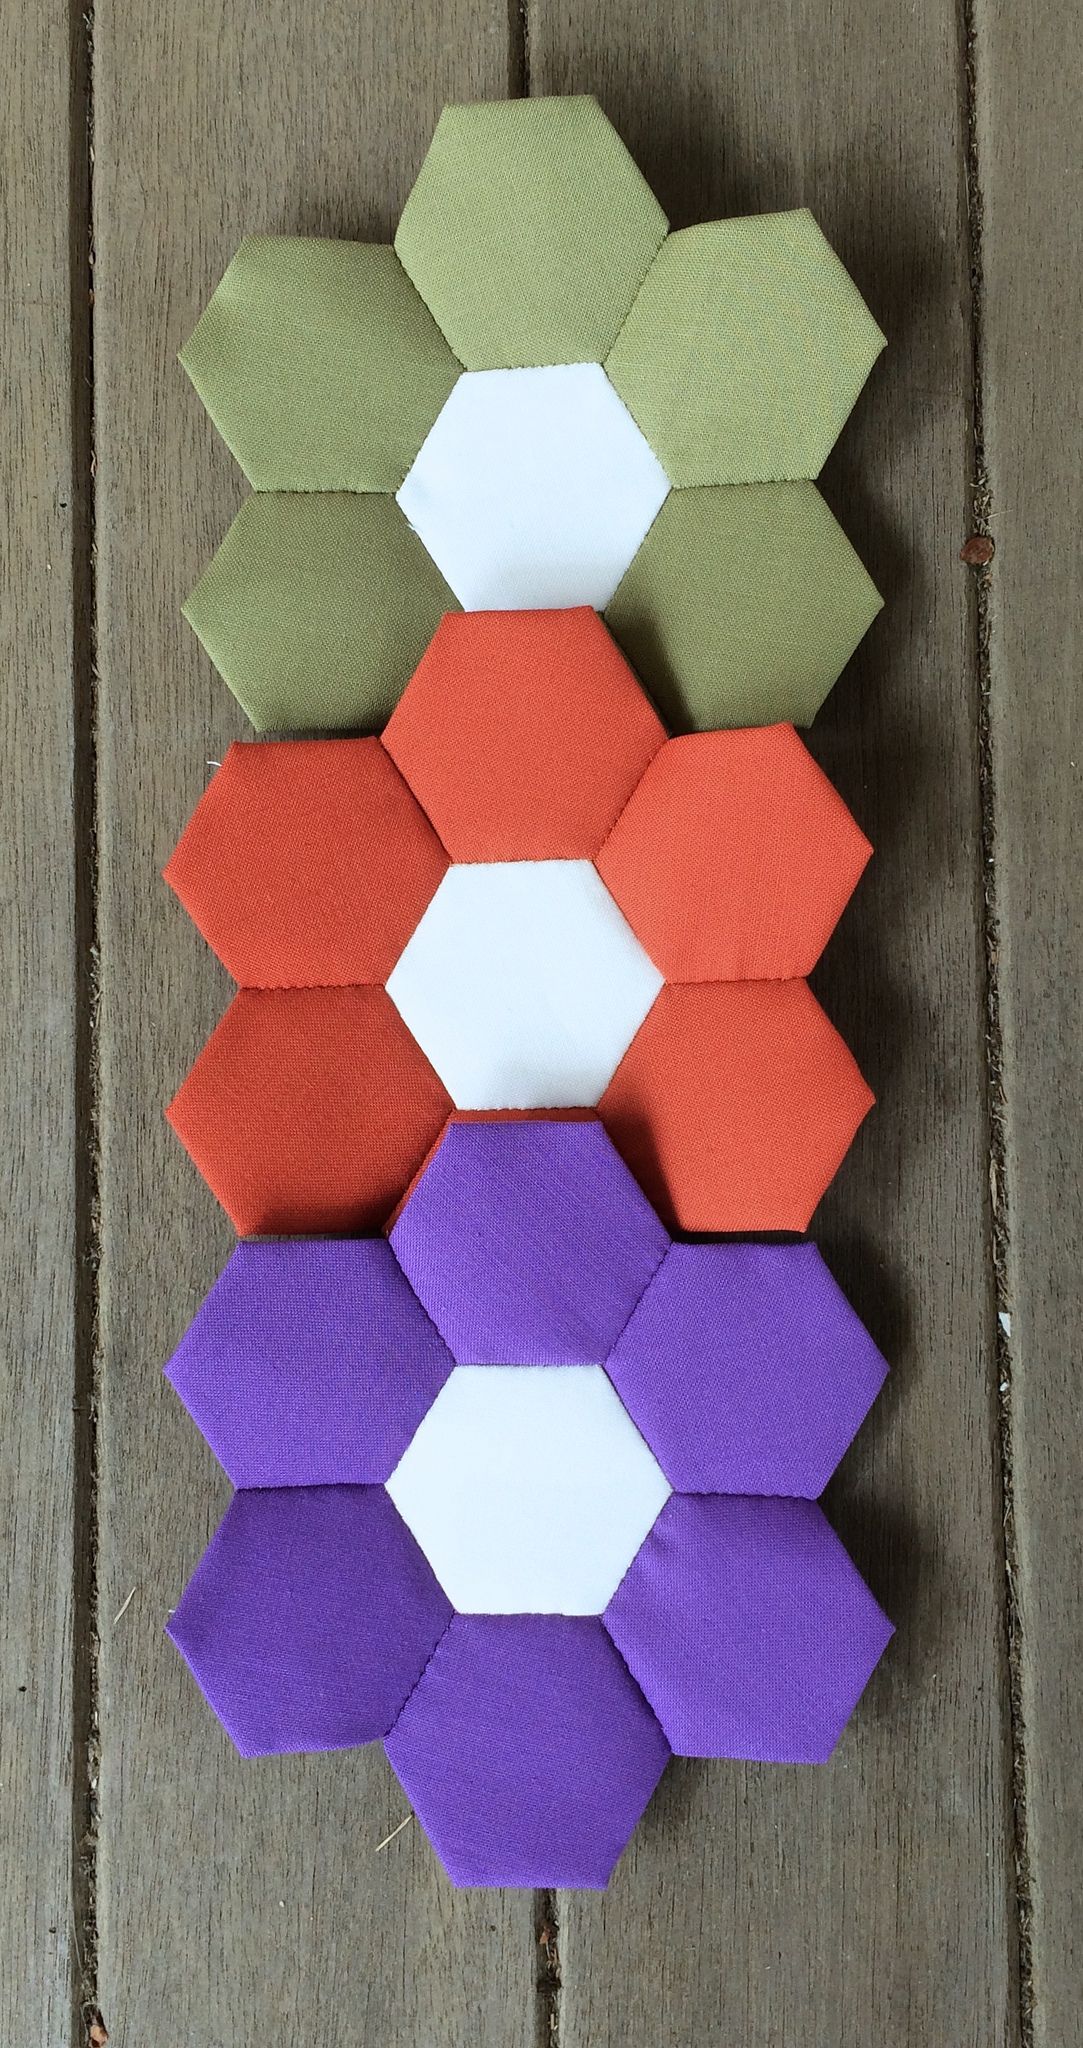
I’ve always enjoyed green and violet as a combination. For a long time violet has been my favorite color. Green and violet are two of the secondary colors. The other secondary color is orange. I was never a big fan of orange, but recently while unpacking an order of Kona solids I found these three fabrics side by side and found myself wanting desperately to bring them together into a quilt.

From left to right the colors are Sweet Pea, Terra Cotta, and Morning Glory.

Let’s see those colors in all their glory again.

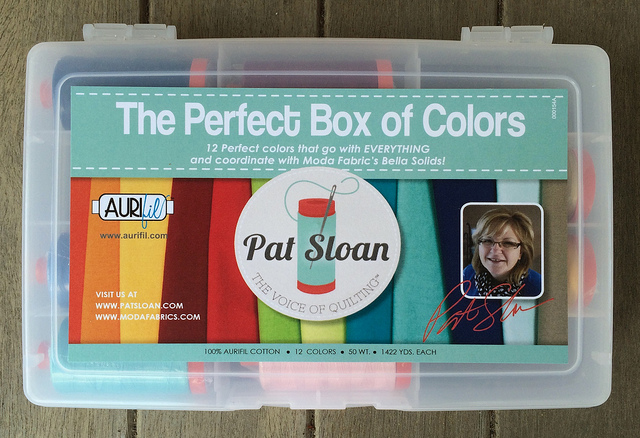
Recently I have purchased a few boxes of Aurifil thread because it is cheaper that way, and I really love the boxes for storage. In a recent purchase of Pat Sloan’s “The Perfect Box of Colors” I found these three wonderful spools of thread.

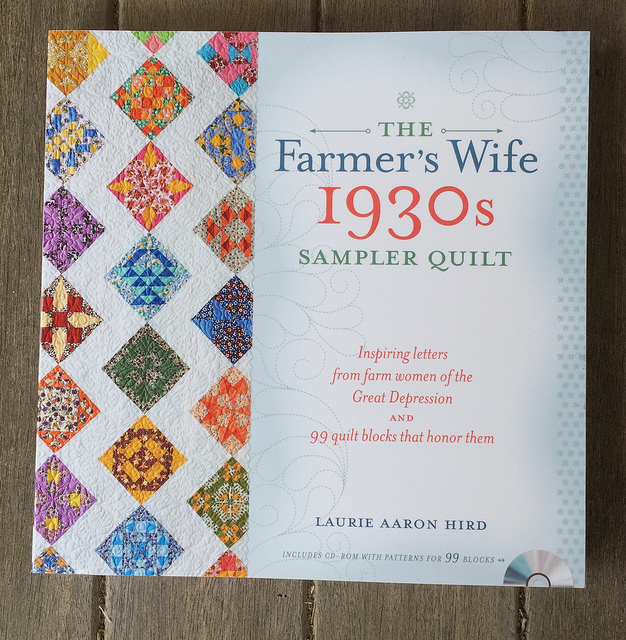
I’ve been thinking of how I can use these three lovely Kona solids in a quilt and I am considering using them to create a Farmer’s Wife quilt.

I joined a group on Facebook for the farmer’s wife quilt, and apparently some of the participants are planning to use all solids for the project. I can see myself finding a lighter value of each of these hues to provide enough variety. Some of the blocks will require more than three distinct fabrics. Ideally I would like to make these blocks using English Paper Piecing, but I am open to the idea of traditional machine piecing. The book comes with a CD that has templates for each block.

I am not totally committed to this yet, but I did buy the book. From what I understand they are going to start with the easiest blocks first and have tutorials. That appeals to me.

Fabric Friday: Working On My Kona Sample Pieces

In addition to cutting 6 x 6 inch squares of fabric from my Kona yardage I have decided to create flowers as well. My plan is to devote a hanging file to each color and to clip the flower and the square swatch to the file, and place any fabric of that color I have inside the file. This is practical for me because I have the file drawers to accommodate this storage method and lots of hanging files that I had bought when I was a teacher, so I don’t need to purchase supplies to make this system work for me.

I’ve already made quite a few flowers for the system.

I’ve made a few flowers from the “Not That White” Kona collection. I won’t bother to show those at this time as I am showing them on my Low Volume Quilt posts as I create them.

I have made a few other flowers so far:

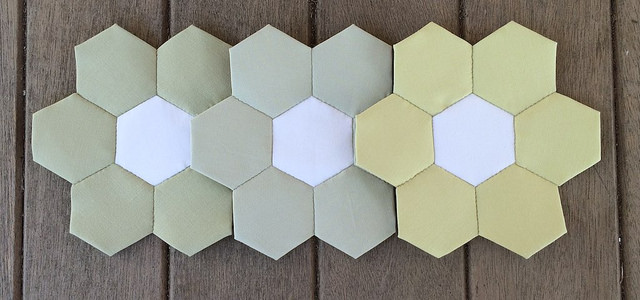
Above we have Parsley, Limestone, and Celery.

Here we have Pansy, Butterscotch, and Orange.

You’ve seen Sky, Butter, and Pearl Pink, which I showed in a recent Low Volume Quilt post.

Then we have Silver and Light Parfait.

I have some other Kona solids on hand for which I will need to make samples.

I’m adding to that number with an order of 23 half yards of Kona colors to build my collection. Most of these are new, but some of them are repeats of colors I had used previously. Most of them are neutrals or low intensity browns and greens. A few bright colors made it into the mix. Being a former teacher I simply couldn’t resist a color called School Bus.

When these new fabrics arrive I will get to work cutting my sample swatches and making my sample flowers.

There were three colors that I wanted which I was unable to obtain from the Fat Quarter Shop. They are Ash, Titanium, and Parchment. I hope they have not been discontinued. Perhaps they are simply out of stock.

I can’t wait to see the new subdued colors that I ordered in large pieces. I am considering doing a subdued log cabin piece, which is one of the reasons I ordered so many of these types of colors. A friend looked at my log cabin blocks and said, “That’s a lot of color.” So I thought, “What might they look like with a lot less color?” I’m going to find out.

The New Walking Foot Is Here

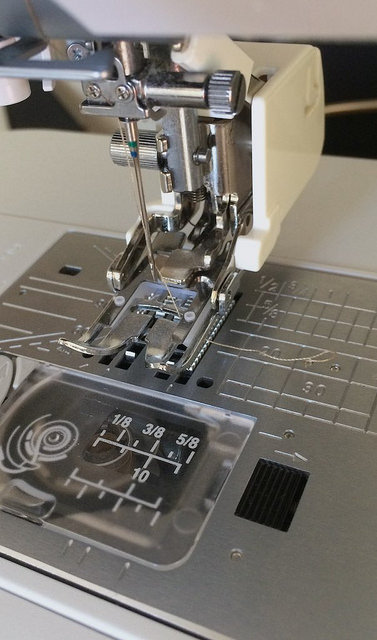
I have installed the new walking foot on my Janome Skyline S5, and it is working perfectly.

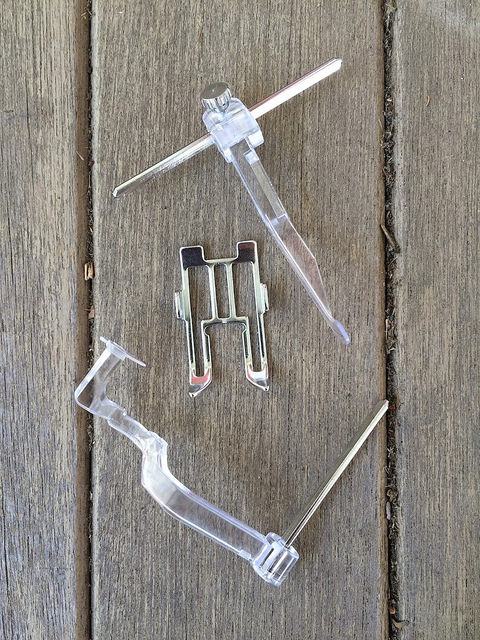
Above are the accessories that came with the foot. The top item is a quilting guide which can be adjusted to be used on either the left or right side of the needle. That is a big improvement over the guide that came with the standard issue foot that only worked on the right side. The next item is an open toe foot that allows you to better see the area where you are stitching. The item on the bottom of the photo is the stitch in the ditch guide, which is different from the guide I had linked to in a previous post.

I had misunderstood the description that was given to me of this package when I ordered it. I thought it was going to include a free motion foot. It does not, but that does not bother me because I already have a darning foot that works just fine.

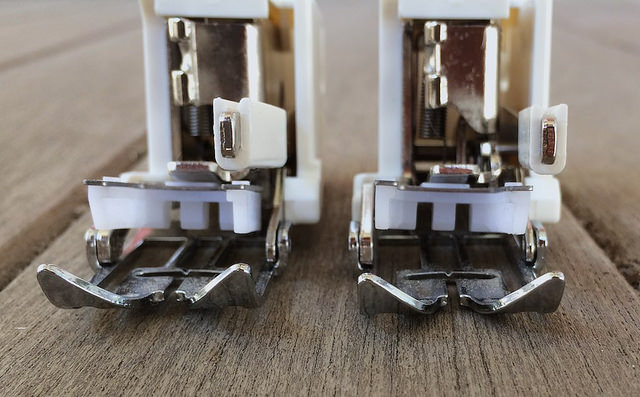
I tried to show the difference between the old foot (left) and the new foot (right). I was unable to capture the difference in the photo, but suffice it to say that the one on the left works no more, and the one on the right works beautifully. The proof is in the sewing. I am quite certain that binding curved corners was the cause of the demise of the old foot. I heartily advise against this practice.

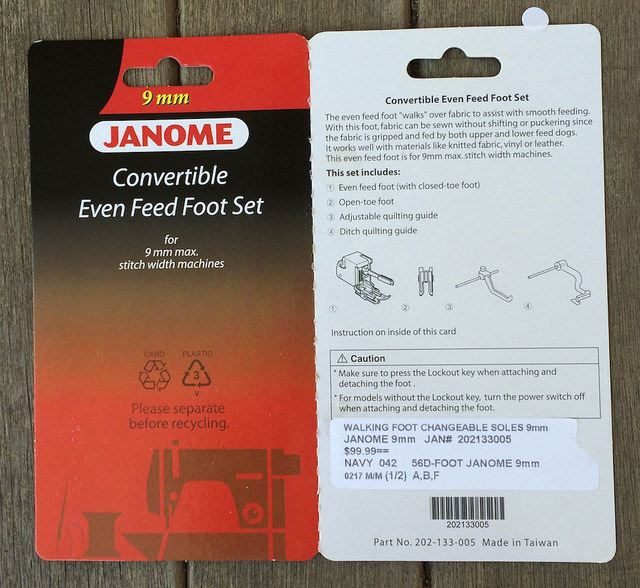
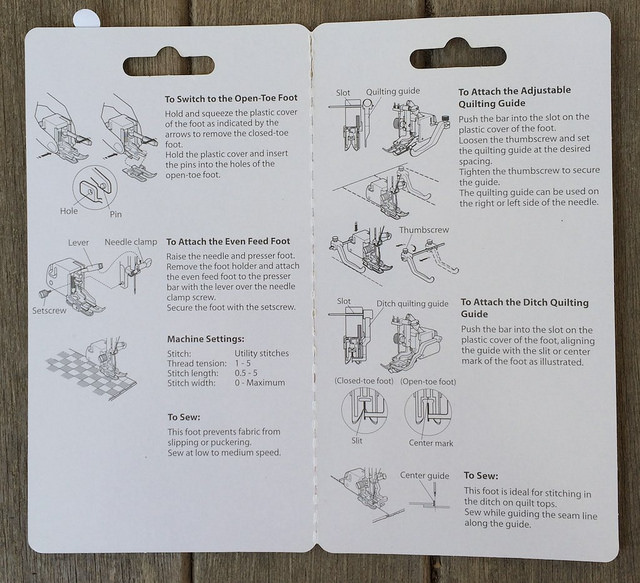
The foot came with instructions.

Janome provides good instructions. This cardboard sheet folds in half and slips into the open side of a plastic package which holds the accessories. I’ll be using the package for storage rather than throwing the items into my box of standard issue Janome accessories.

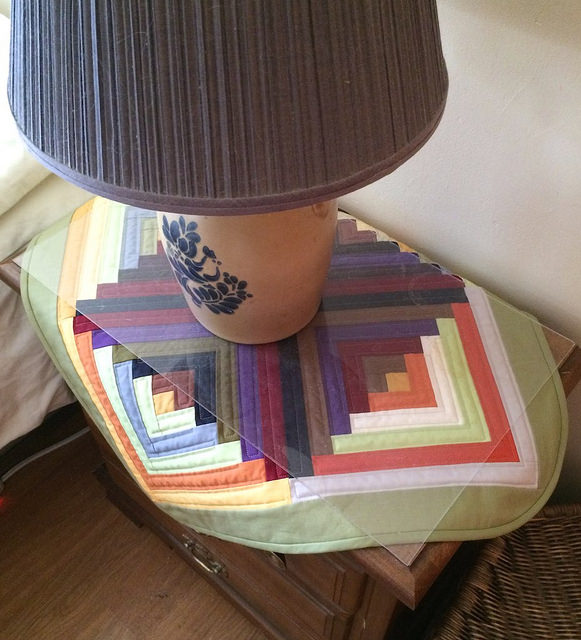
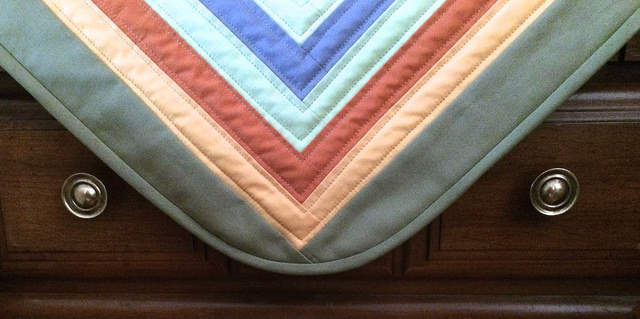
I used the new walking foot to finish the piece I was making for my night stand. I used it on the lighter sections of each block. Notice the curved corners on the binding. They are what got me into trouble in the first place, but I love them. I attached this binding using the A foot rather than the walking foot. You can be sure of that.

I think that the piece turned out beautifully.

It is worth mentioning how I achieve those curved corners.

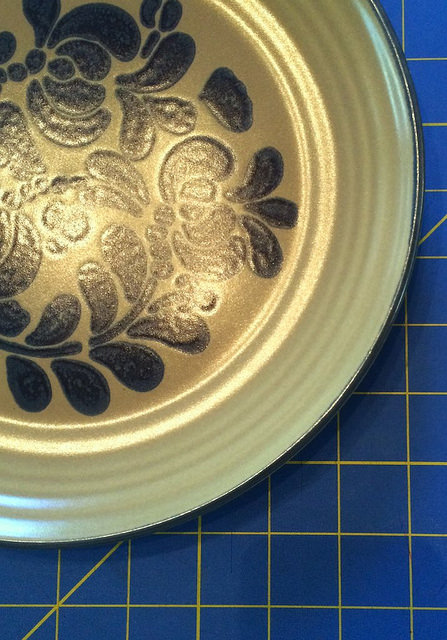
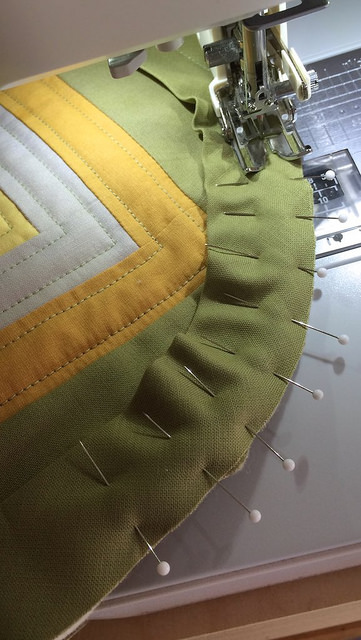
I use my dishes as templates. Depending on how tight a curve I want I will use either the dinner plate or the luncheon plate. The dinner plate is pictured above. Below you can see the puckers to the left of the stitching that caused the problem with the first walking foot. I am wondering if anyone else has ever experienced this problem. I purchased a course over at Craftsy about using a walking foot called Creative Quilting with your Walking Foot, and I should probably ask Jacquie Gering about this issue. She is the teacher of the course. Needless to say I will continue to use the A foot to attach binding after breaking my walking foot due to puckers such as these that curved binding creates.

I trace the plate on a piece of printer paper and then pin that paper as a guide so I can cut the excess off the corners using a pair of scissors. I have considered looking for curved templates to use with a small rotary cutter for this purpose. If anyone knows of some good ones please let me know in the comments section.

Below you can see how nice the stitching is with the new walking foot.

Now it’s your turn to comment. Has anyone ever broken a walking foot, or known of someone who has? If so, how did it break? I’d love to know.

Low Volume Quilt Progress: Post Ten

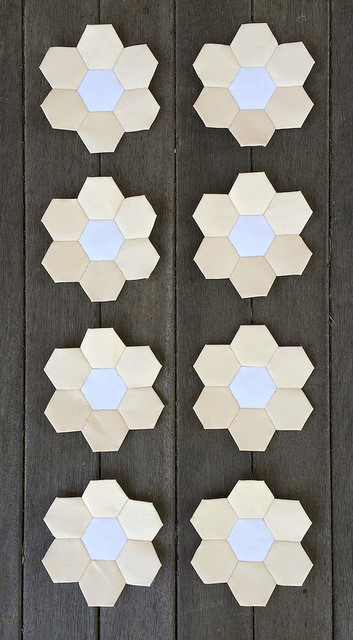
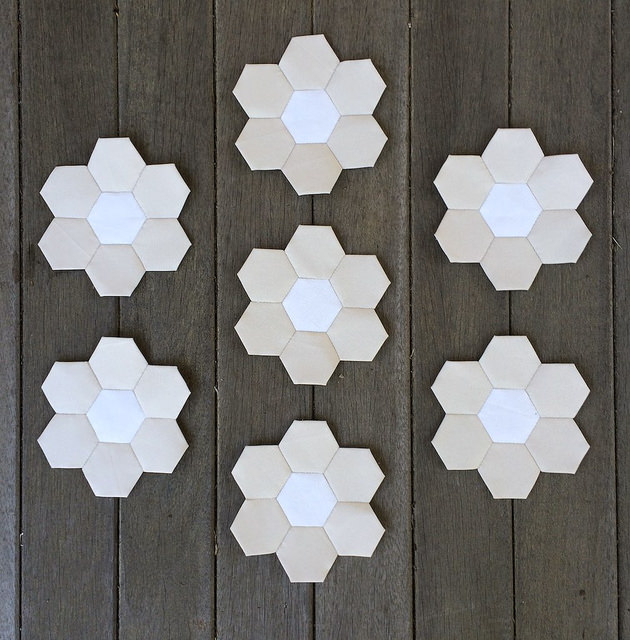
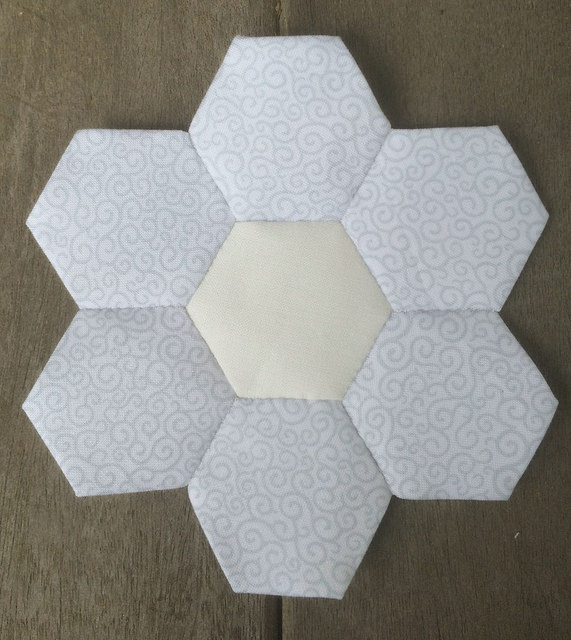
This week I broke out the solids from the “Not That White” Kona collection. I made 18 new flowers bringing the total of flowers for the Low Volume Quilt to 112 flowers.

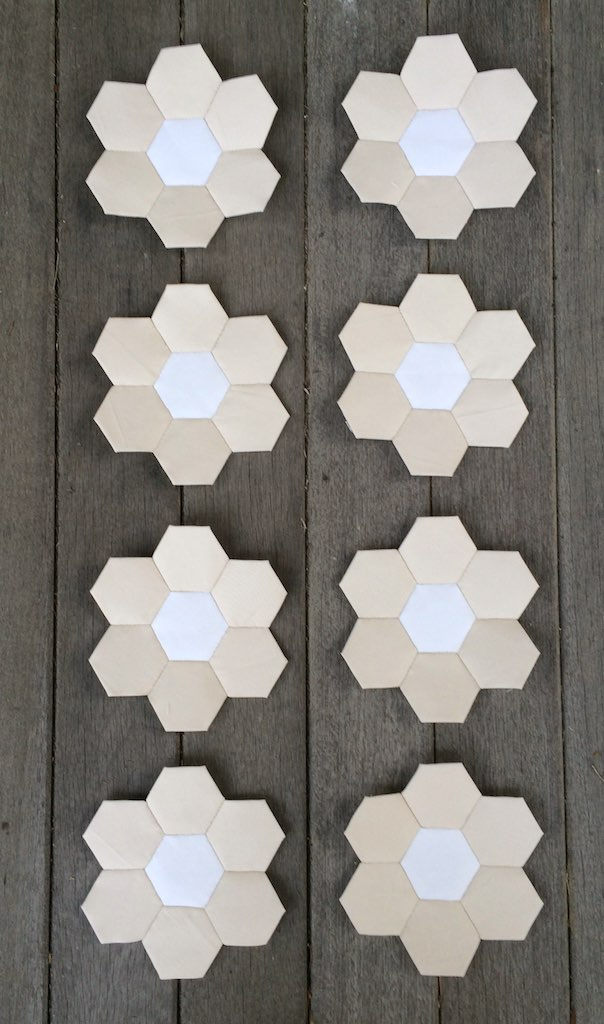
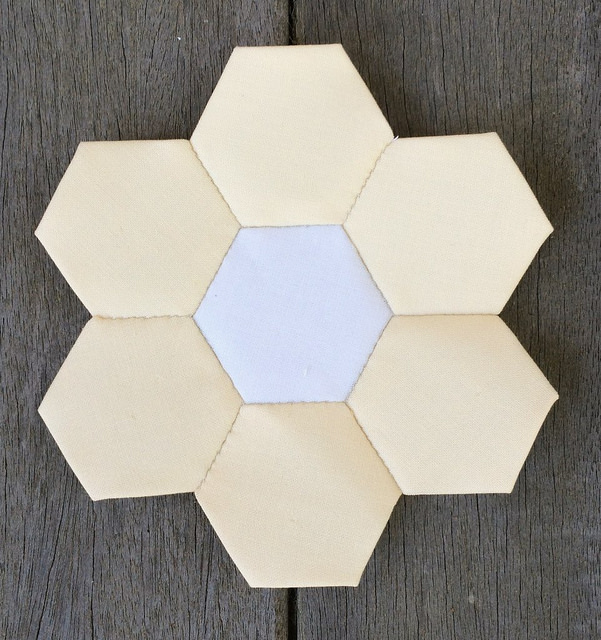
I made eight flowers using the Cream fabric.

I made seven flowers using the Ivory fabric.

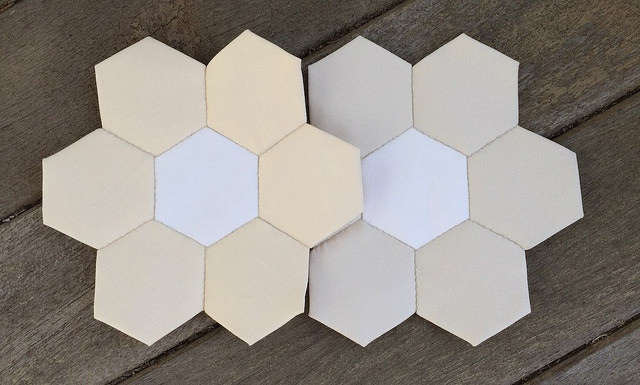
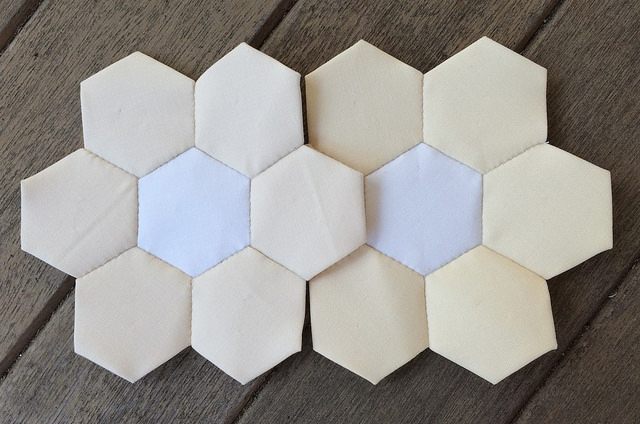
These two fabrics are really not the same, so I will put them side by side so you can see that clearly. Cream is on the left, and Ivory is on the right.

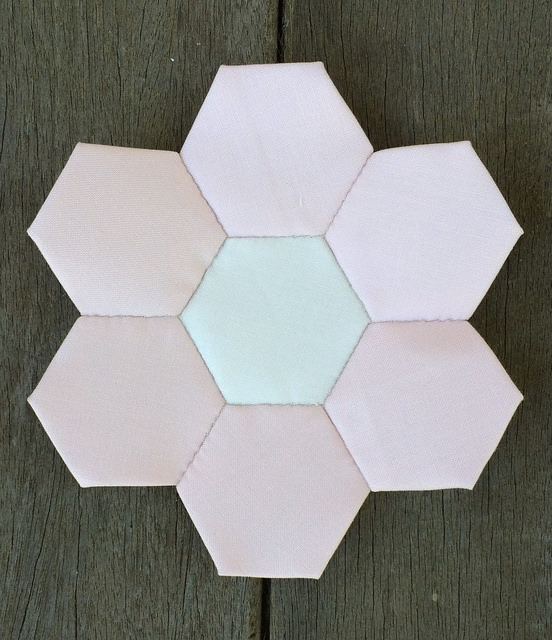
As promised, I made one flower each using the very light pastel primary colors I had recently purchased.

Pearl Pink

Wow. The Snow fabric center almost looks blue in comparison to the Pearl Pink petals. This may have something to do with the way that Aperture autocorrected the white balance.

Sky

and Butter

The Cream and Butter fabrics are quite similar, which is to be expected I suppose given that butter is made from cream. The Butter is more vivid than the Cream, however.

Cream is on the left and Butter is on the right.

The jury is still out on whether or not the three primary hues will find there way into the final quilt. I have to remind myself that contrast is lessened when one gets distance from a piece, so they may work out after all.

As usual I am linking up with Jessica’s Monday Morning Star Count Those of you visiting from there might enjoy reading about my experience using my broken walking foot. Then there is my post about my acquisition of new Kona solids, as well as my two year blogiversary post.

Happy Two Year Blogiversary

It was two years ago today that I started posting here.
Last year I switched from wordpress.com to wordpress.org and had high hopes of adding some affiliate links with amazon.com to earn a buck or two, but that hasn’t happened yet.

The big thing that has happened in the past year is that I have upped my content production due to my new found interest in machine piecing, specifically my log cabin work.

Adding that content to the English Paper Piecing content I have been doing since the blog began…

and I am now posting at least twice a week.

Plans for the coming year include sharing my adventures with machine quilting and finishing up a few unfinished objects, and perhaps even getting on the stick with those amazon.com affiliate links I keep promising myself I will add.

Fabric Friday: New Kona Solids

I put in an order for more Kona solids from The Fat Quarter Shop, and was able to save some money with a coupon code that I got through email for Robert Kaufman fabrics which was good through August 15th. I bought quite a few yards of the Morning Glory and Sweet Pea fabrics that I need to complete my Log Cabin Quilt. These are the outermost colors that appear in every block as shown below.

In addition to large quantities of Morning Glory and Sweet Pea yardage, I purchased one half yard each of the following thirteen colors.

From left to right are Pearl Pink, Sky, and Butter. I had high hopes that these colors might hold potential for making flowers that are seemingly colorless to add to the Low Volume Quilt. Unfortunately, when you get larger pieces of these fabrics away from the more saturated colors on the color chart these fabrics actually seem to contain much more hue than one would think based on how the small chips appear on the large chart with all of the other colors next to them.

I will make at least one flower of each of those light primary colors though. I want to be able to hold them next to the patterned flowers just to confirm my feeling that they are too colorful to add to the quilt.

Next up are Orange, Light Parfait, and Silver.

I purchased the Orange to use as a complement to the Terra Cotta in the Log Cabin Quilt. I have some ideas about creating some blocks exactly the same to unify the central portion of the quilt. I think putting the Orange on the light side while moving the Terra Cotta to the dark side might be interesting. So far I have used the Terra Cotta on the light side of blocks even though it has a relatively mid range value.
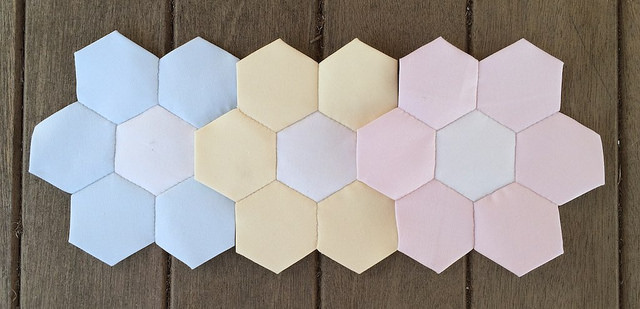
The Light Parfait and the Silver were purchased for possible use in the Low Volume Quilt. The Light Parfait will probably not work, but the Silver holds more potential than the Sky does.
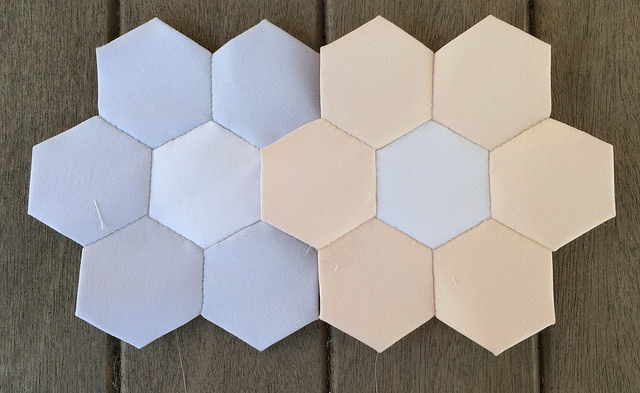
Next up are Raisin, Pansy, Caramel, and Butterscotch. These four colors are for use in the Log Cabin Quilt.


Next up are Limestone, Celery, and Parsley.

These may or may not find their way into the Log Cabin Quilt. I may not need them for that, but I wanted to add to my selection of greens that go well with the Sweet Pea fabric.

Celery is the lightest green that Kona makes, and I had hoped, as with the light primary colors, that I might be able to use it in the Low Volume Quilt, but I doubt that it will word well. It has too much hue, and is too dark a value to appear to be white.

I may have to put in a small order of Kona solids soon. While I am well equipped to design the lighter side of a unifying block for the Log Cabin Quilt, I think I am a bit short of the darker colors. I’ll give myself a bit of time to think about what I might like to order while I turn my attention to making some solid flowers for the Low Volume Quilt. I’ll be cutting into my solid “Not That White” fabrics for that.