
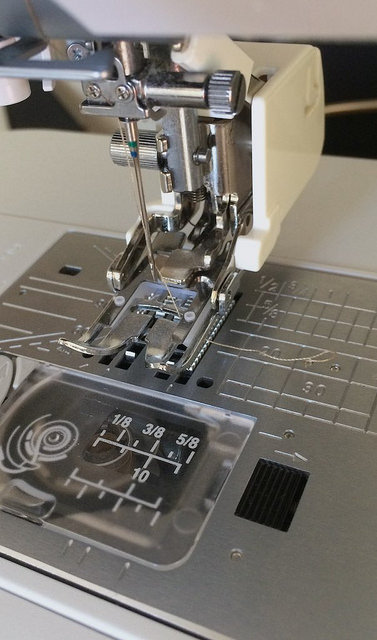
I have installed the new walking foot on my Janome Skyline S5, and it is working perfectly.
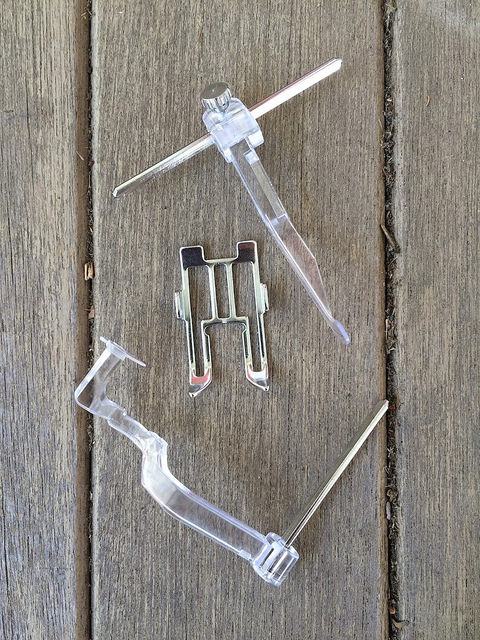
Above are the accessories that came with the foot. The top item is a quilting guide which can be adjusted to be used on either the left or right side of the needle. That is a big improvement over the guide that came with the standard issue foot that only worked on the right side. The next item is an open toe foot that allows you to better see the area where you are stitching. The item on the bottom of the photo is the stitch in the ditch guide, which is different from the guide I had linked to in a previous post.
I had misunderstood the description that was given to me of this package when I ordered it. I thought it was going to include a free motion foot. It does not, but that does not bother me because I already have a darning foot that works just fine.
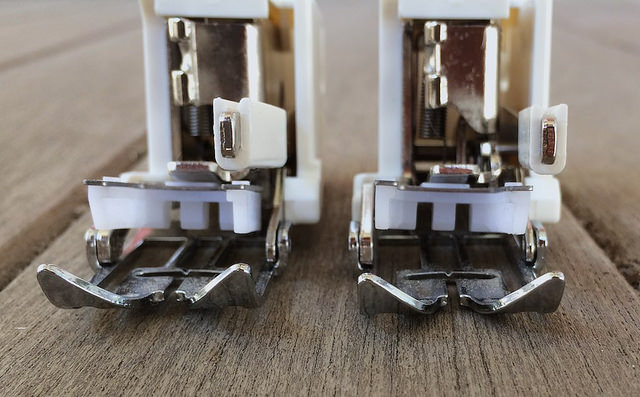
I tried to show the difference between the old foot (left) and the new foot (right). I was unable to capture the difference in the photo, but suffice it to say that the one on the left works no more, and the one on the right works beautifully. The proof is in the sewing. I am quite certain that binding curved corners was the cause of the demise of the old foot. I heartily advise against this practice.
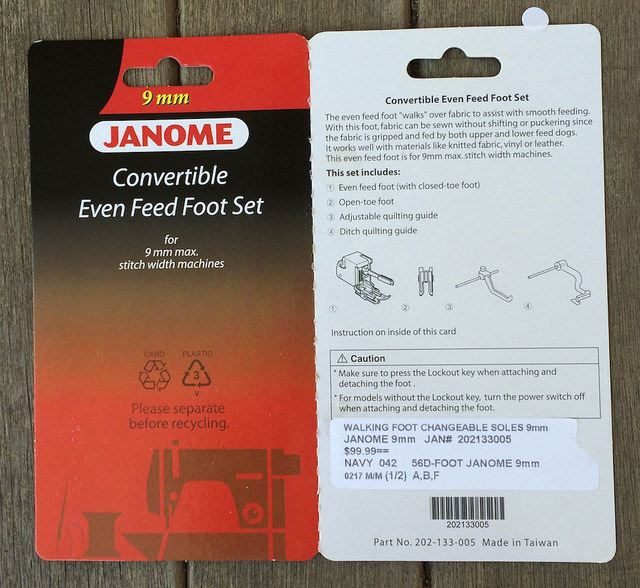
The foot came with instructions.
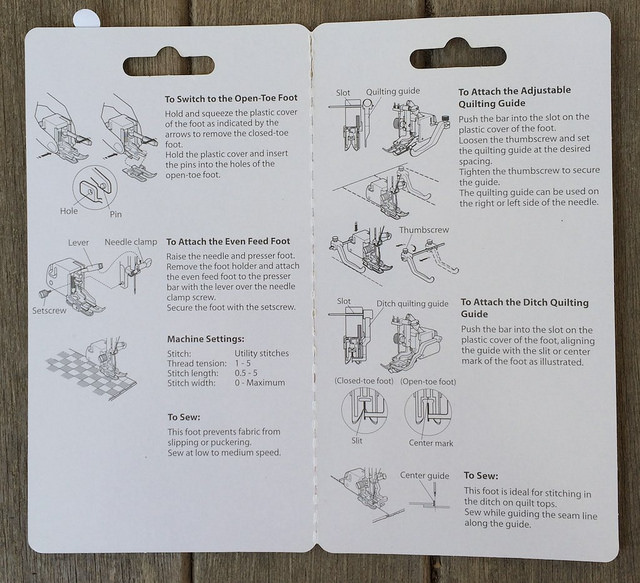
Janome provides good instructions. This cardboard sheet folds in half and slips into the open side of a plastic package which holds the accessories. I’ll be using the package for storage rather than throwing the items into my box of standard issue Janome accessories.

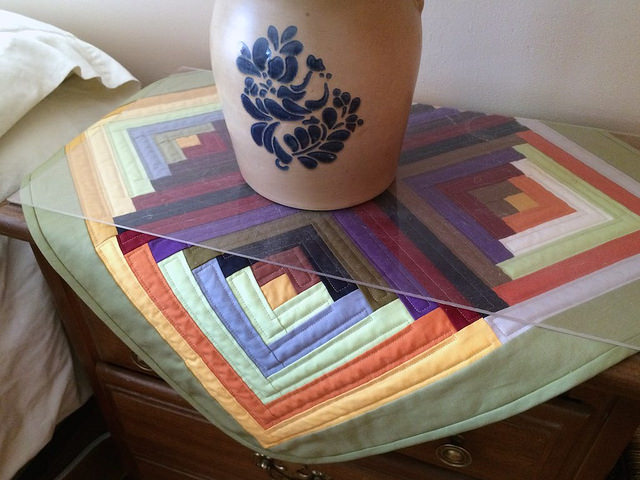
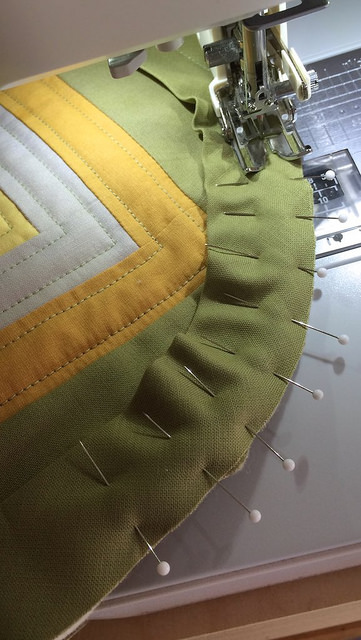
I used the new walking foot to finish the piece I was making for my night stand. I used it on the lighter sections of each block. Notice the curved corners on the binding. They are what got me into trouble in the first place, but I love them. I attached this binding using the A foot rather than the walking foot. You can be sure of that.
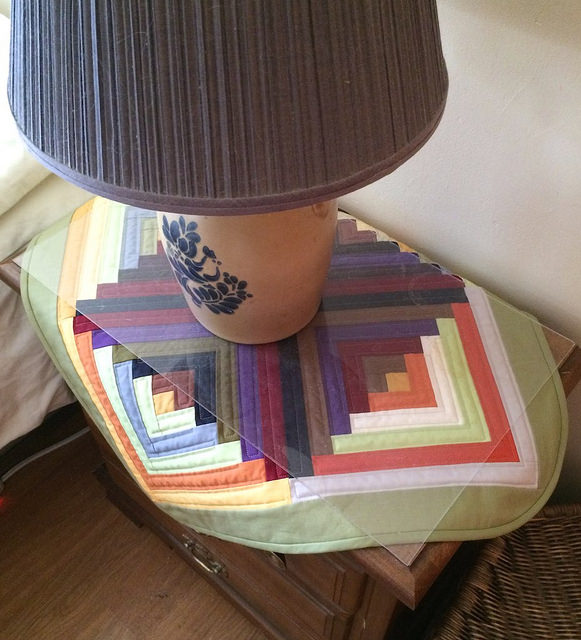
I think that the piece turned out beautifully.
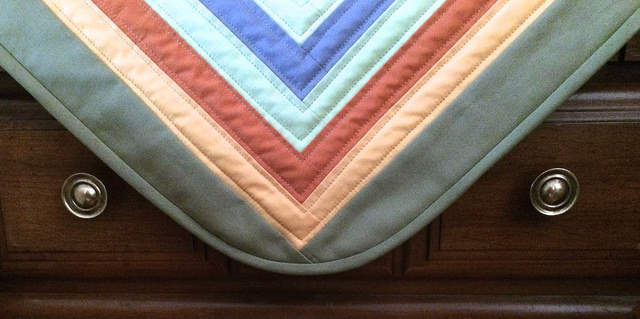
It is worth mentioning how I achieve those curved corners.
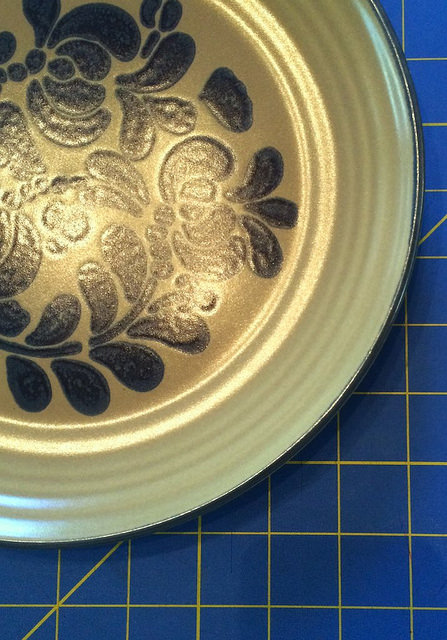
I use my dishes as templates. Depending on how tight a curve I want I will use either the dinner plate or the luncheon plate. The dinner plate is pictured above. Below you can see the puckers to the left of the stitching that caused the problem with the first walking foot. I am wondering if anyone else has ever experienced this problem. I purchased a course over at Craftsy about using a walking foot called Creative Quilting with your Walking Foot, and I should probably ask Jacquie Gering about this issue. She is the teacher of the course. Needless to say I will continue to use the A foot to attach binding after breaking my walking foot due to puckers such as these that curved binding creates.
I trace the plate on a piece of printer paper and then pin that paper as a guide so I can cut the excess off the corners using a pair of scissors. I have considered looking for curved templates to use with a small rotary cutter for this purpose. If anyone knows of some good ones please let me know in the comments section.

Below you can see how nice the stitching is with the new walking foot.

Now it’s your turn to comment. Has anyone ever broken a walking foot, or known of someone who has? If so, how did it break? I’d love to know.
Pingback: Low Volume Quilt Progress: Post Eleven | Hexy Lady