Sewing Class at Pocono Sew and Vac

When I bought my Janome Skyline S5 at the Slow Stitching Movement Retreat it came with a free class at Pocono Sew and Vac. Today I went for my class to learn how to use my Janome Skyline S5. I have been doing very simple sewing with it for about three months now. I’ve learned how to thread the machine, fill bobbins, and use the A foot. But that is it. I was assuming that using the A foot was giving me a 1/4 inch seam. I was wrong about that, but more on that later.

It also turns out that I wasn’t filling the bobbins properly, but I kind of suspected that all along. Sometimes it takes more than reading the fine manual to learn how to operate an advanced piece of equipment. That’s where Heather comes in. Heather was my instructor today at Pocono Sew and Vac, and she was fantastic. She had four students with four different machines. There was a woman with a Janome 3600, and there were two women with rather advanced Elna machines. Heather made sure that everyone was taken care of, and she covered all of the basics including quilting with the walking foot. She also covered free motion quilting with the darning foot. Those were the two things I was most interested in learning, and they came at the end of the class.

I arrived early and set up my machine. The other three ladies arrived shortly after that, and we chatted a bit before Heather got there. I gave out my business cards because I am always looking to build traffic to my blog, so I hope they find there way here. Before Heather got us started I remembered that I was supposed to have a bright color of thread for the class. I have no bright thread, so I searched the store and found a neon pink. Bright enough for you?
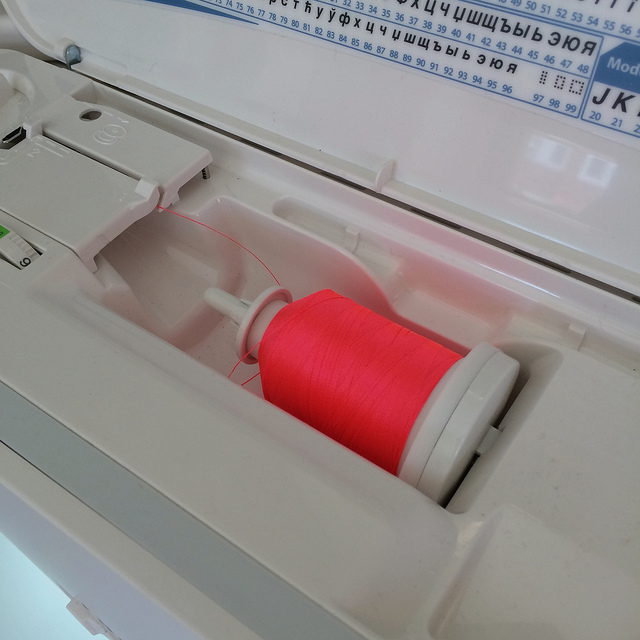
I had no idea that the fabric we were going to be using in the class would be a pink print. It was just lucky I guess that my thread coordinated with it.

I started off by explaining to Heather that I thought there was something wrong with my bobbin filling technique. I described my results as having the thread kind of “bunch up”. She watched me thread the machine to fill the bobbin and pointed out that I was missing going around one little metal part. It made all the difference. I would not have figured that out on my own.

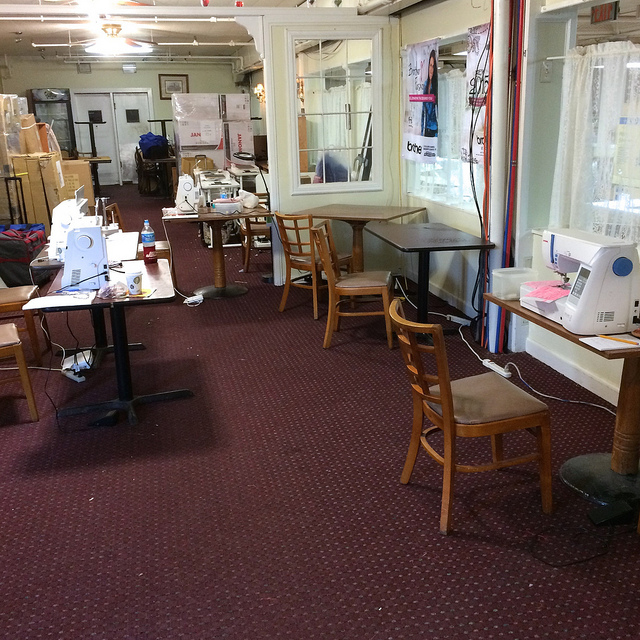
Pocono Sew and Vac is temporarily located across the street from their usual location due to renovations. They will be returning soon to their regular location. Here is a photograph of our four machines set up for the class. I took this photo during the break. My machine is located on the right.
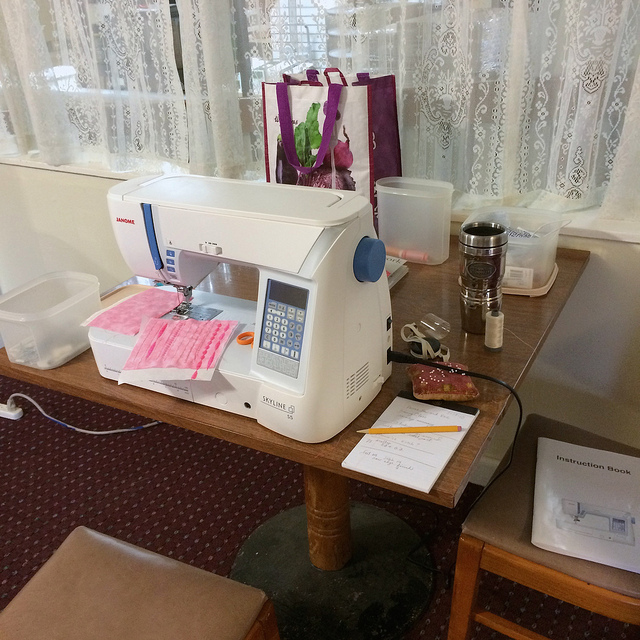
Here is a closeup of my work area. You can see that I was very busy during the first half of the class.
We started off by talking about the importance of using the right bobbins, and good thread. We also talked about some of the settings we could change. I learned that it is a good idea to start off a row of stitches with a medium speed to avoid tangling of the corners. This was something good to know, so I changed that basic setting.

After looking at settings we got started with basic stitches. We learned how to change modes and choose stitches. Heather went from machine to machine to be sure that each person knew how to accomplish every step on their machine. Here is a close up of some of my work from the first half of class.
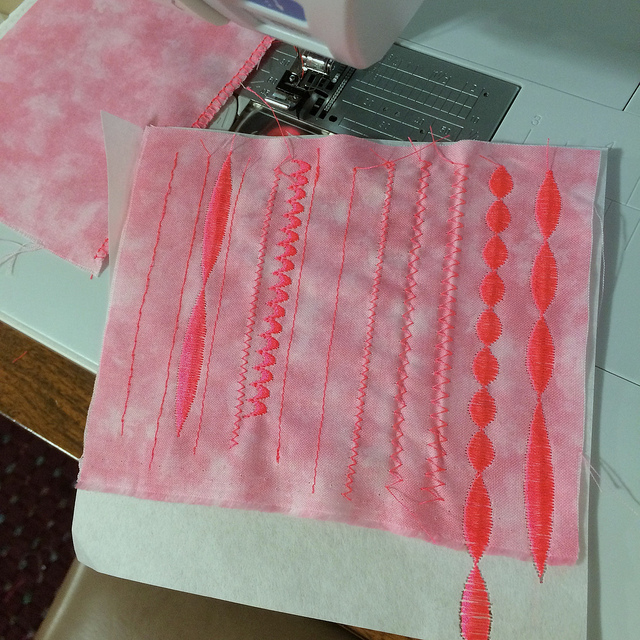
We learned how to modify existing stitches. I was particularly pleased with how I customized the standard scallop stitch, and even wrote down the details so I could reproduce it later. It is the 6th row from the left.

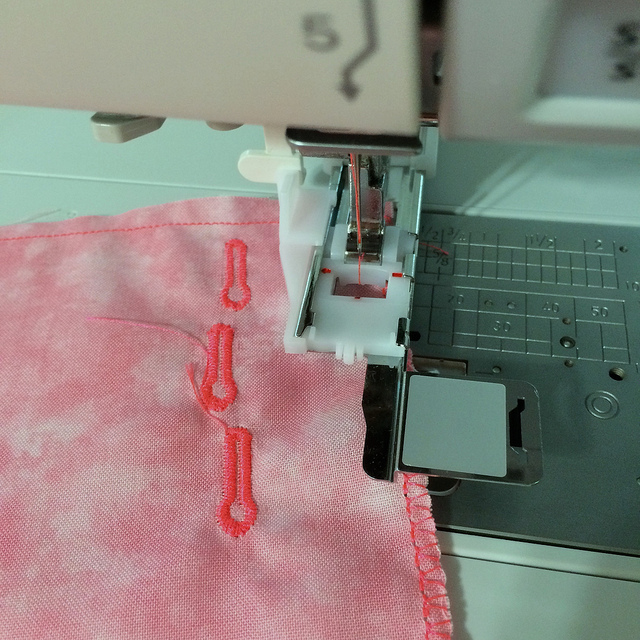
I learned how to make a button hole. I doubt that I will ever make one on a garment, but it was nice to try.
I also learned how to work with text. This may come in handy for quilt labels, but it seems rather laborious to produce them this way since each letter has to be coded, and my machine can’t save the line of text in memory. The women with the Elna machines could save things to memory.
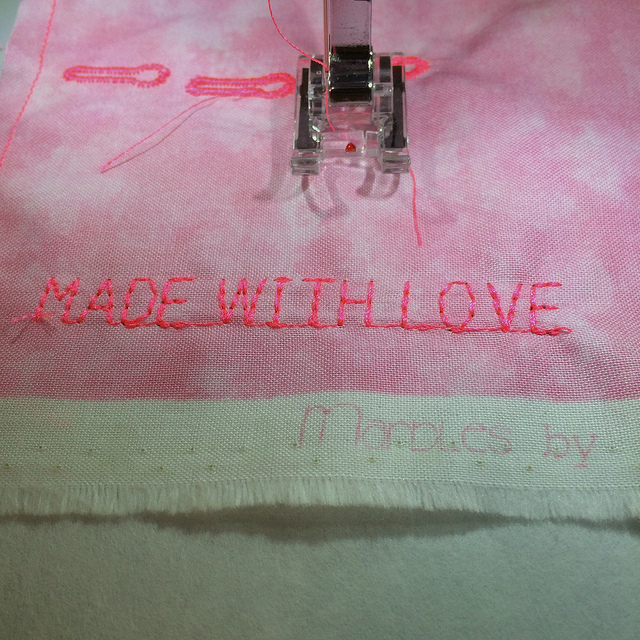
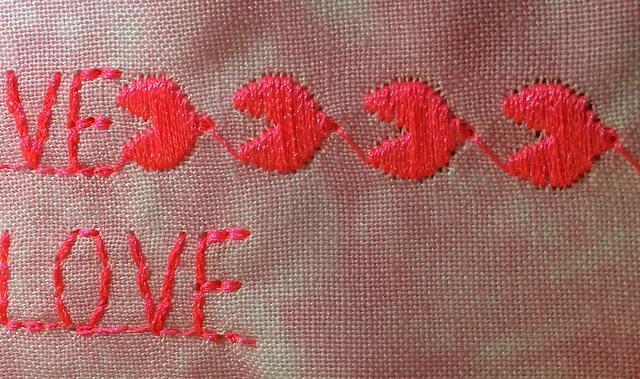
Heather showed us how to add decorative touches along with our text, and I chose to add some hearts. However, given the direction of the hearts they ended up looking more like Pac Men.
One of the things I was very pleased to learn was how to use the foot designed for piecing 1/4 inch seams. It has a little metal plate along the right side of the foot. You rest the edge of the fabric against that little plate when you stitch your seam, and it keeps the seam at a consistent distance from the edge of the fabric.
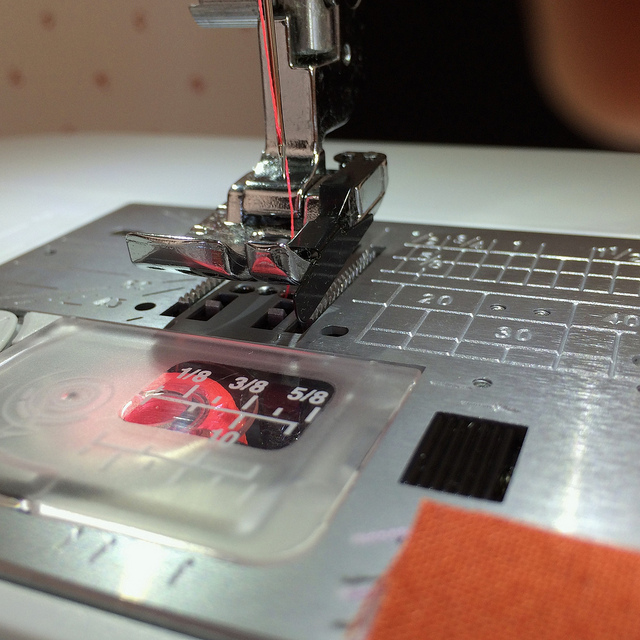
It does make a perfect 1/4 inch seam.
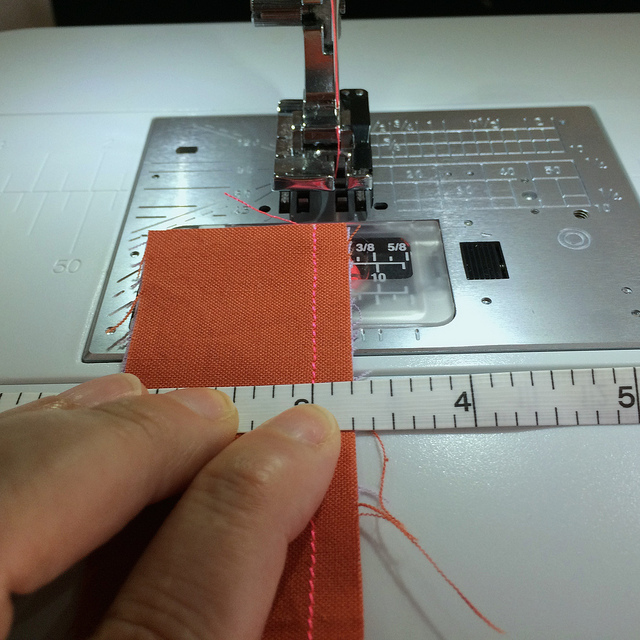
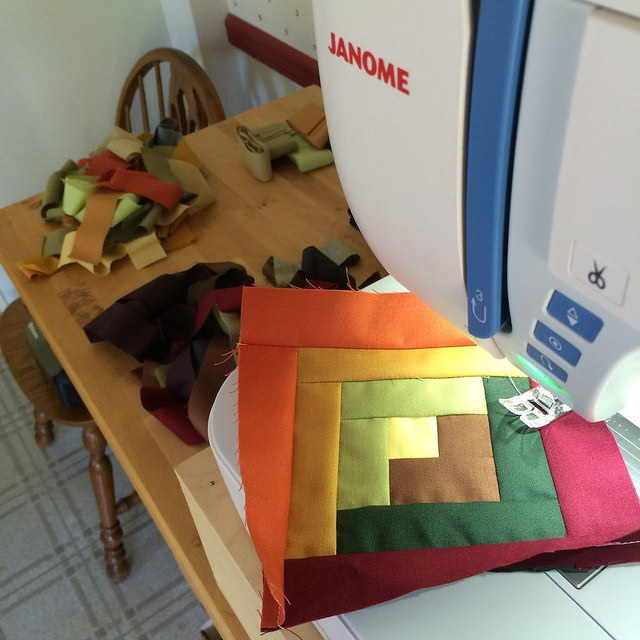
Seeing this lead me to question how the log cabin blocks I made with the A foot might measure up against blocks made using the 1/4 inch foot. When I got home I made a block using the 1/4 inch foot with my neon pink thread no less.
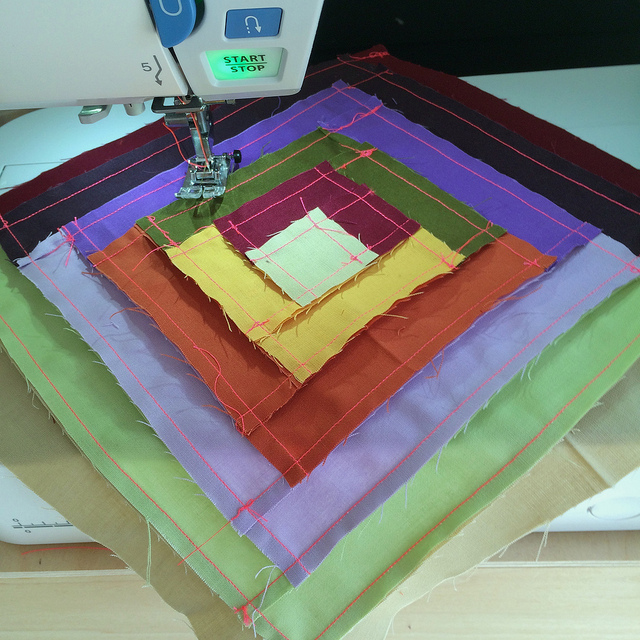
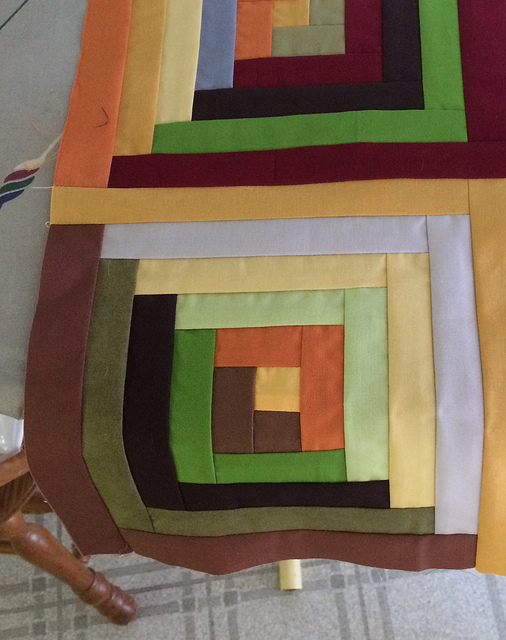
When I hold it up against one of my preciously stitched log cabin blocks you can see that the block made with the 1/4 inch foot is larger than one made with the A foot by more than 1/2 inch in at least one dimension.
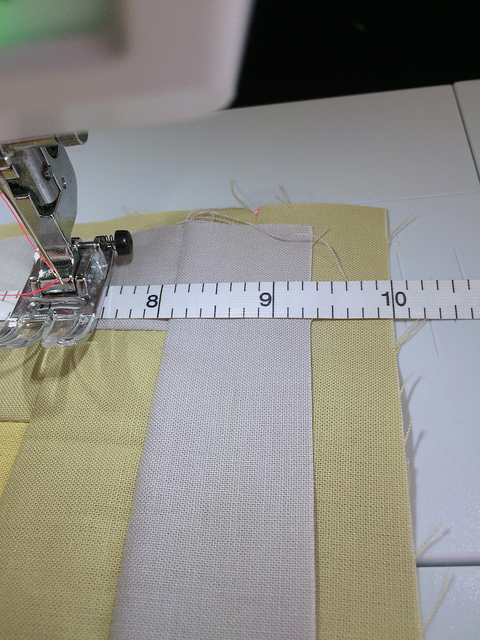
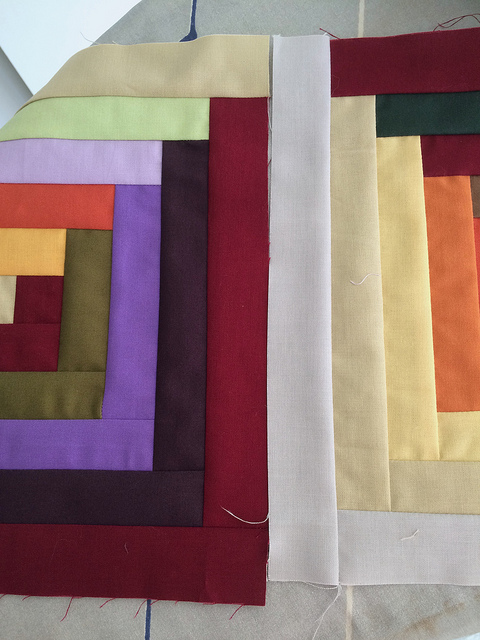
I had obviously been making seams larger than 1/4 inch with my A foot. That error was compounding over the course of adding five rounds of light strips and five rounds of dark strips to each block. Because I want to be consistent I will finish the log cabin work on the current project using the A foot, but moving forward I will be using the 1/4 inch foot for piecing of future projects.

But let’s get back to what happened in the class. In the last hour of the class we got to the things I was most interested in learning. I wanted to know how to attach and use the Walking Foot and the Darning Foot. I had read the manual, but I was confused. Heather made it easy.

We used the Walking foot with the regular plate in place. Heather even showed me how to attach the guide to the walking foot. The guide can only be attached to the right side of the foot, which is a shame because I can see how it might be nice to use it on the left side sometimes.
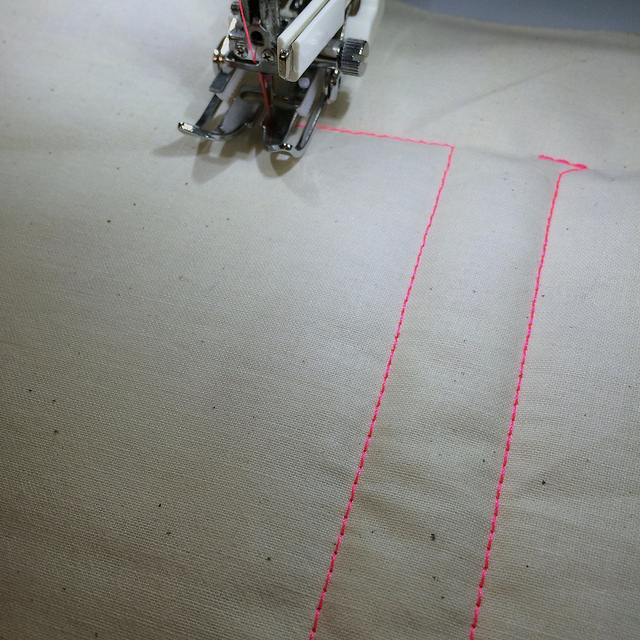
I took this photograph to remind me that the little lever on the right side of the foot has to be pushed up when you attach the foot.
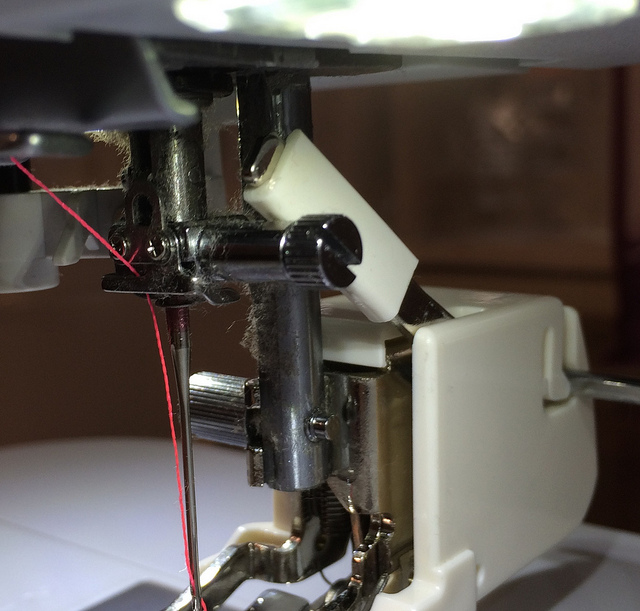
After we were done with the walking foot we changed to the straight plate and attached the darning foot for free motion quilting.
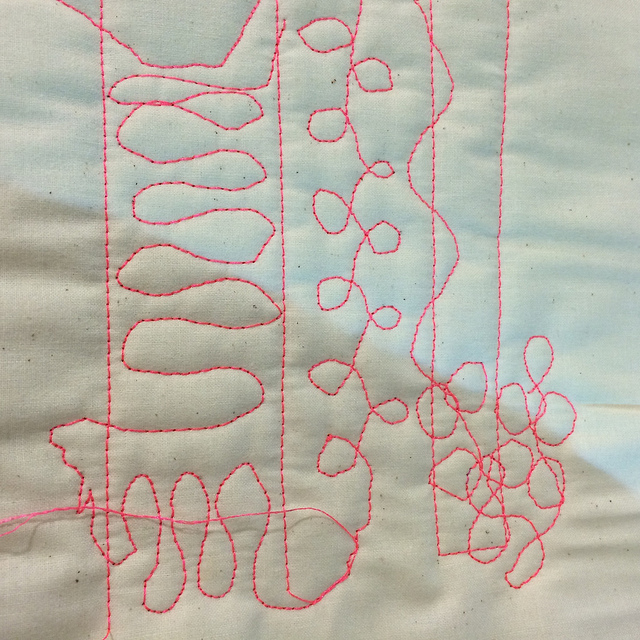
The straight lines were from the Walking Foot. Everything else is done with the darning foot with the feed dogs lowered.

I decided to leave the Straight Plate in place because I can use the 1/4 inch foot with it, and I think I can use the Walking Foot too. The photo below shows the stitches available with the Straight Plate in the upper left of the picture.
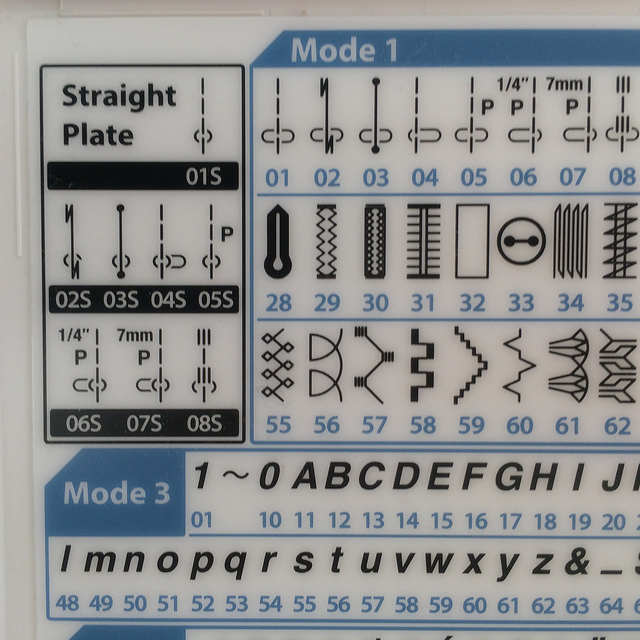
The quarter inch stitch is 06S. I think I can use 01S with the Walking Foot.

Before leaving I made sure that I gave Heather my business card and told her that I would be doing a blog post about the class. I hope she stops by to see it.

It was a fantastic class. I highly recommend Pocono Sew and Vac to anyone looking to purchase a new machine.
My Standing Sewing Station

I’ve mentioned standing to sew a few times recently, and one of my readers has asked me to elaborate on my standing sewing station. For a few years I have been aware that I should be sitting less. The Huffington Post had an article from September of last year in which they said that, “Sitting is the new smoking.” The article points out that our sedentary lifestyle is killing us. To help cut down on the time we spend sitting Michael Hyatt, and others, have promoted the use of stand up desks.  I thought why not sew standing up? I think that quilters are especially likely to spend a great deal of time sitting, especially those of us who do English Paper Piecing. Shortly after I started to stand to sew with my machine, Michael Hyatt put out a podcast on The Dangers of Sitting. He summarizes things very well, so I urge you to have a listen to that podcast. 

So how did I decide to try sewing standing up? When I purchased my new Janome Skyline S5 I became aware that it was possible to disconnect the foot pedal and control the machine instead using a combination of the start/stop button and the speed setting. It was odd at first, but in the end I have found it to be more comfortable than controlling the speed with my foot. I might mention that one of the things you sacrifice when you stitch standing up is the ability to use the knee lift, but it is a small sacrifice. I am much more addicted to the automatic thread cutting feature than I am to the knee lift, which always felt a big odd to me.

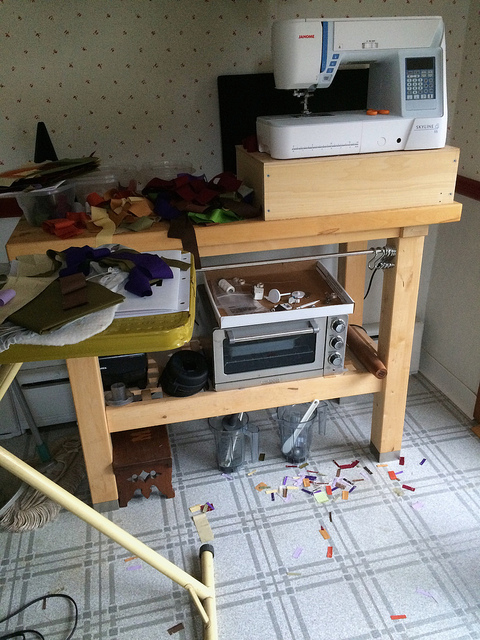
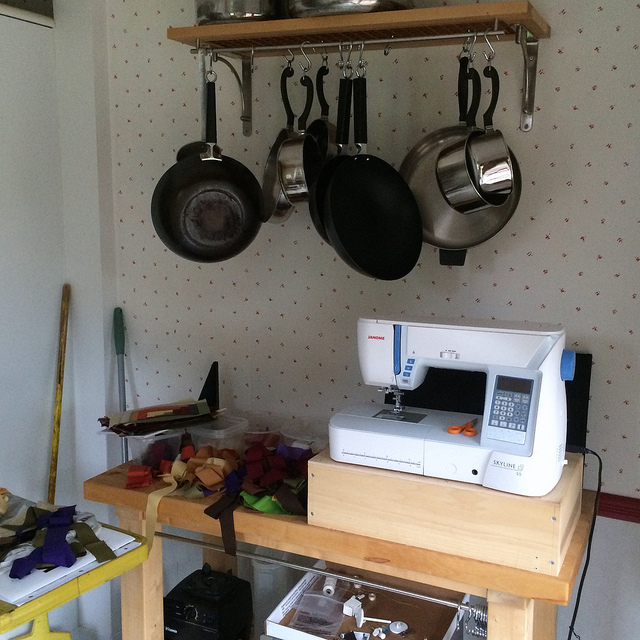
The photograph above shows my machine positioned on top of a wooden box placed on top of a counter height kitchen table purchased from Ikea. The height of the top of the box is 41 inches, which creates just about the perfect viewing angle for sewing. At first I tried the machine on the table top without the box, but I found that the angle was wrong for me.

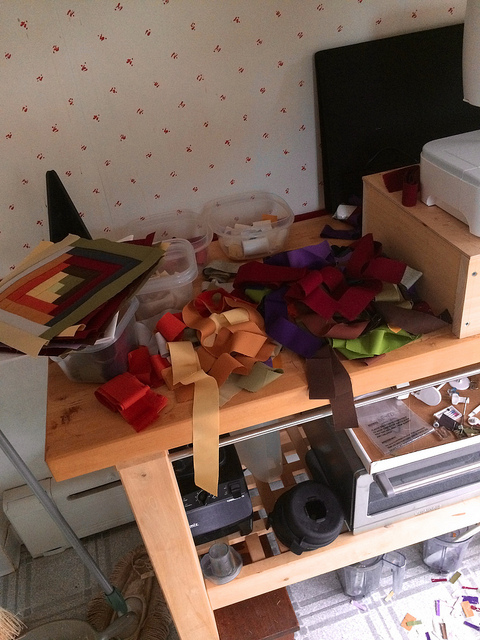
When I bought the table I had intended to use it to roll out freshly made pasta. I did use it in that way a few times. The table surface is a food grade cutting board. While it did enjoy a brief heyday as a food prep surface, the table had recently become a place to store my pizza stone and Vitamix containers. You will see two of the containers peeking out under the table.

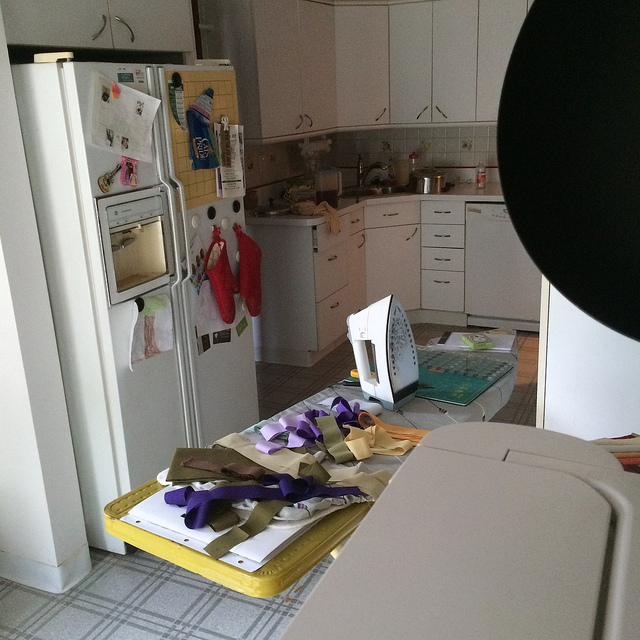
Let me give you an idea of how this sewing station fits in with the kitchen as a whole. Here is a view of the kitchen from the vantage point of the top of the sewing machine. Notice the magnetic 9×9 go board and go stones on the refrigerator. The object in the upper right corner is a wok hanging from a rack above the table. The sink area is in the far corner of the kitchen. The tip of the iron is pointing toward it.
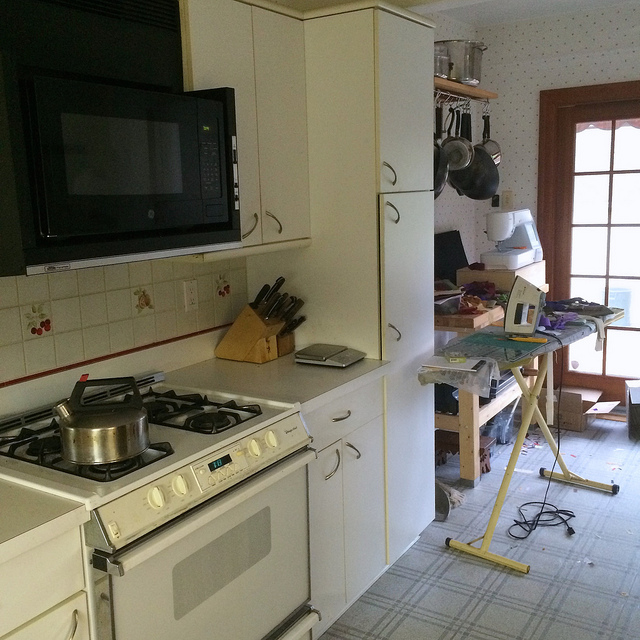
Here is a view of the sewing station from the sink area.

The sewing station occupies an area of the kitchen that was designed to house a kitchen table just in front of the sliding double doors that lead to the deck. We never put a kitchen table there because I prefer eating in the dining room away from the mess of food production. I can never keep on top of cleaning up as I go, so the kitchen is always a disaster area when we sit down to eat. Up until I put in the Ikea table that area was totally wasted space.

Setting up the ironing board near the sewing station makes it possible to have lots of strips available to me as I work on my current Log Cabin Quilt project. It is also quite convenient to not have to stand up when it comes time to press something. All I need to do is walk a few steps to the ironing board.

Keeping the sewing machine as far to the right on the Ikea table as possible allows me room for more strips.

I keep my machine accessories handy in a cardboard file box cover on top of the toaster oven. I don’t know what most of these are for yet, but I will learn. I even have a few bobbins pre wound in that box.

Even with the sewing machine in place I am able to reach the hanging kitchen utensils I need when it is time to prepare dinner.

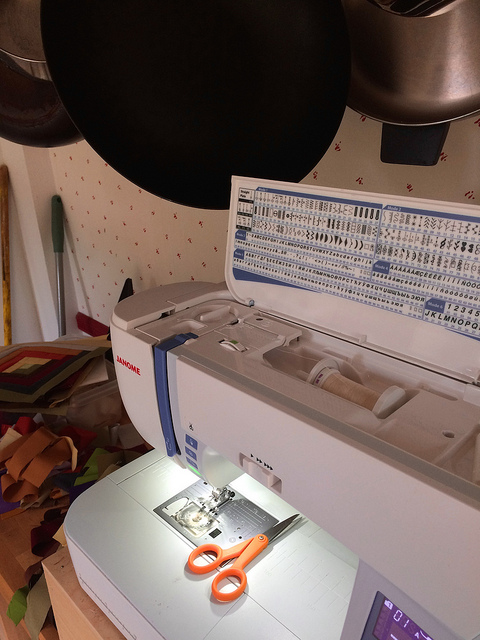
Here you can see that the pots and pans hang low enough that I need to keep my wok pushed to the side in order to be able to open the top of the machine. I have not started to select special stitches yet, but I am sure I will learn about that at my class this coming weekend at Pocono Sew and Vac.
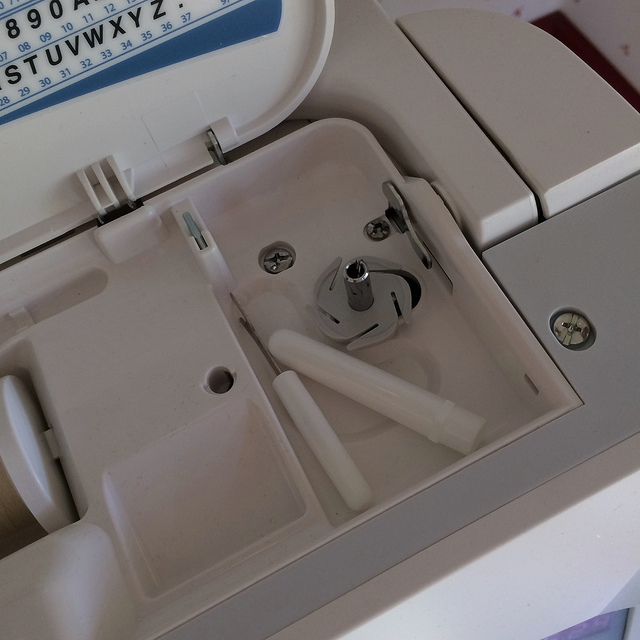
While it is not meant as an accessory storage area, I find that it is convenient to keep my seam ripper within handy reach by storing it in the bobbin winding area under the lid of the machine.
Sewing standing up may not be for everyone, and it is certainly not for every type of sewing. I think it is best suited to chain piecing, and block construction. If I were to start joining blocks above a certain width I would want to move the machine to a table to do that kind of piecing. However, I would probably still not use the foot pedal since I have gotten quite used to doing without it.

I would most likely not want to quilt standing up, unless I was doing small units with the Quilt As You Go method, and joining them with strips. When it came time to join the units the machine would be off to a table again so I would have a greater area for the work to occupy.

Perhaps one of the best things about sewing standing up in my kitchen is that my cat Lori is usually close by, and sometimes actually under foot.


Low Volume Quilt Progress: Post Six

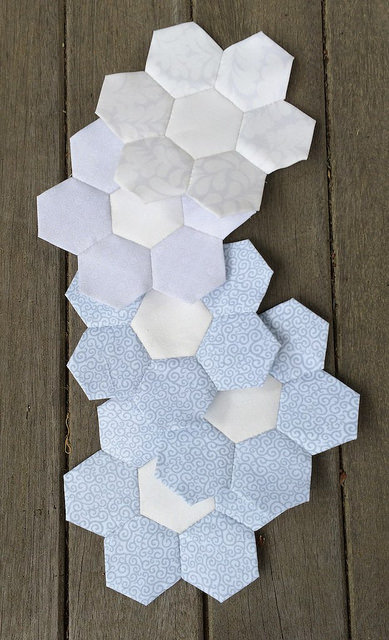
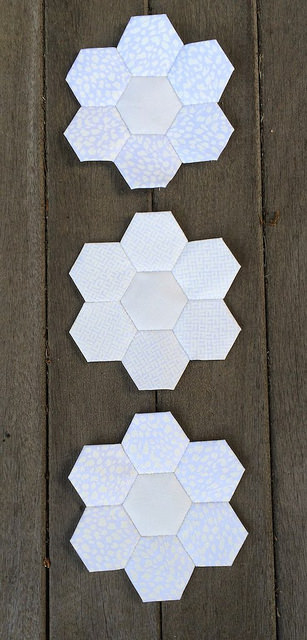
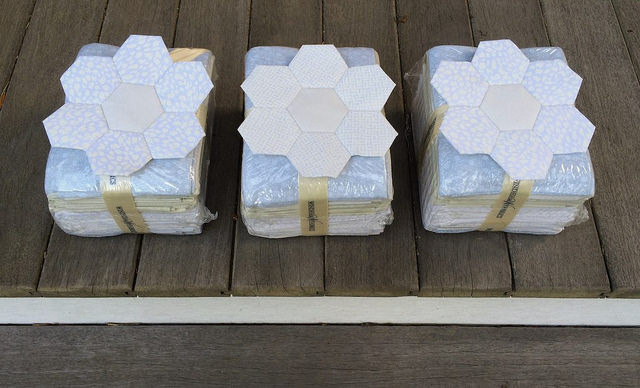
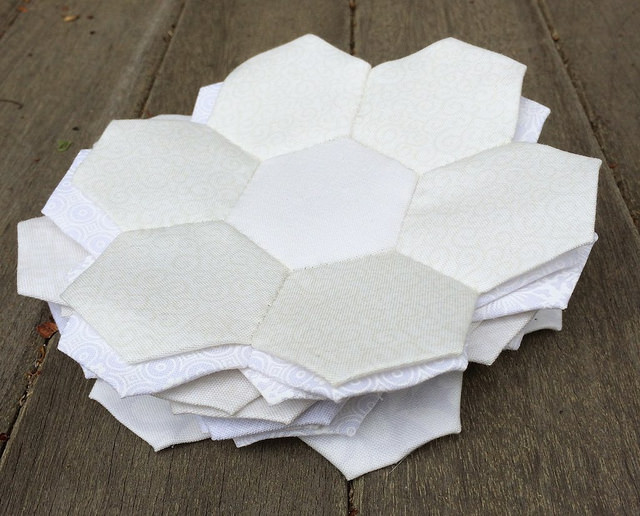
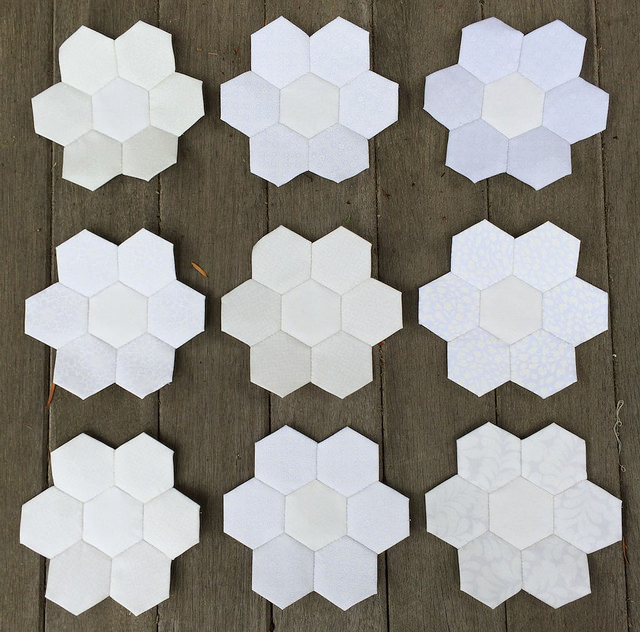
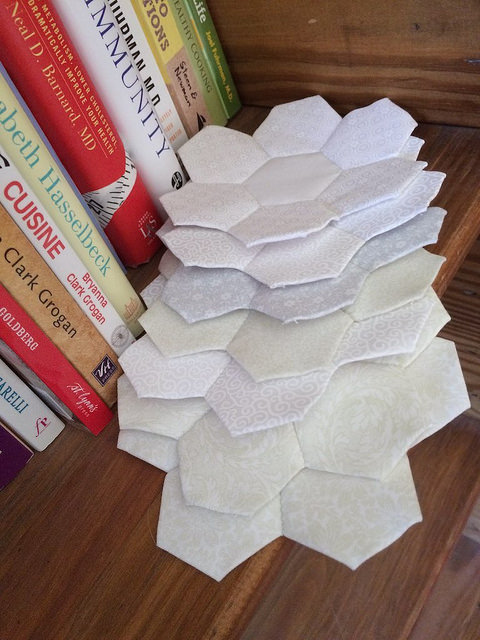
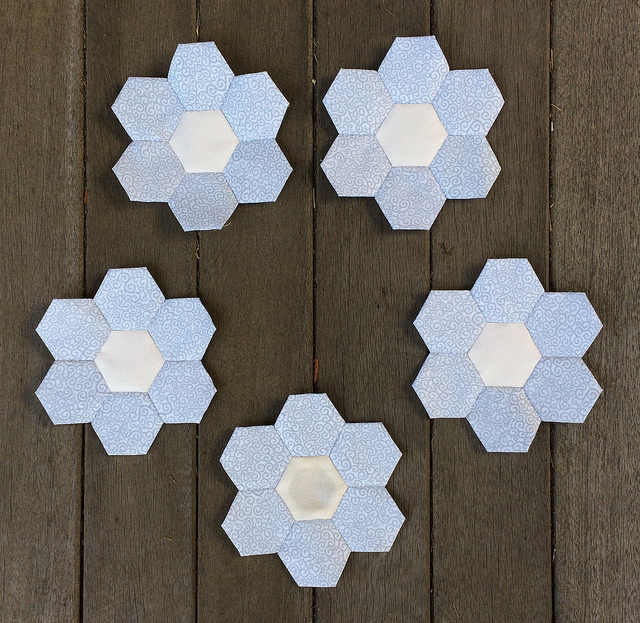
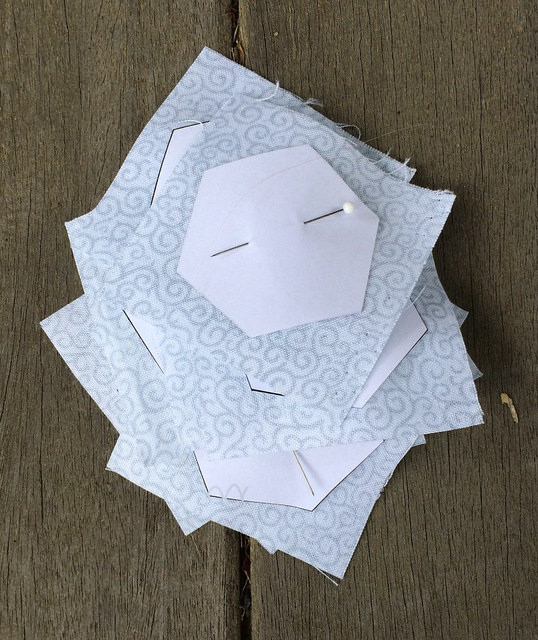
This week I completed five flowers for the Low Volume Quilt. This makes a total of 47 flowers so far. I have been doing a great deal more though than assembling existing basted hexagons. In order to make the lowest three flowers above I cut up one of the fat quarters from the three low volume fat quarter bundles I had recently purchased.

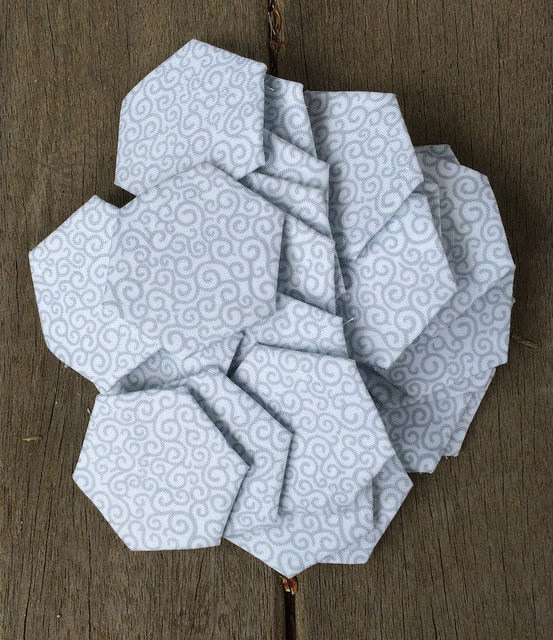
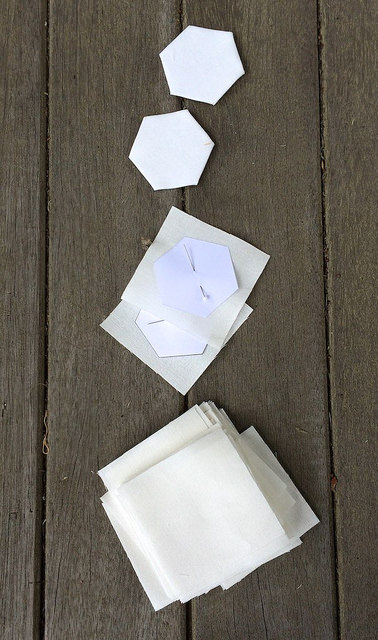
Cutting the entire fat quarter yielded 56 squares. That will be enough to make nine flowers and have two basted low volume hexagons left over.

I now have 25 basted hexagons from that fat quarter ready to make into more flowers.

And I have 13 squares pinned and ready to baste.


I’ve also cut four strips of Kona Snow selvedge to selvedge. Those strips have been cut into squares, and I am now in the process of basting them so I can proceed with more flower production.

Those of you coming to this post from Jessica’s Monday Morning Star Count may enjoy seeing my recent progress on the Log Cabin Quilt.

Kona Log Cabin Quilt Progress: Post Four

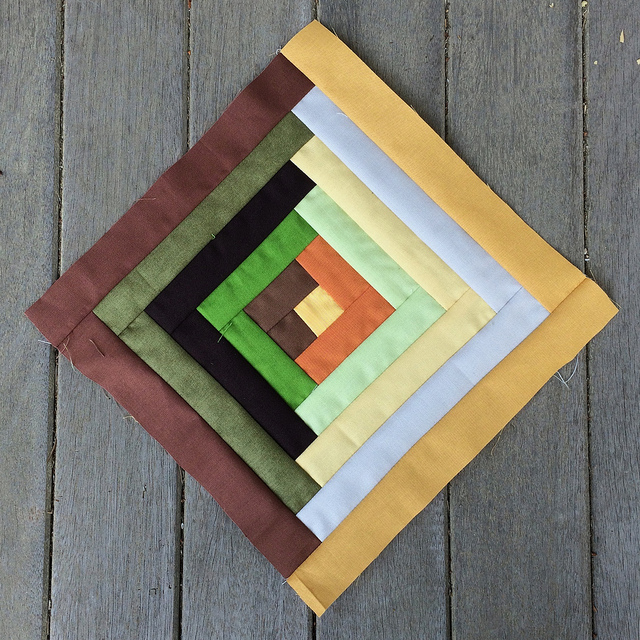
I have spent most of my time this week making blocks like the one above for my Kona Log Cabin Quilt. I have 32 blocks completed at this time.

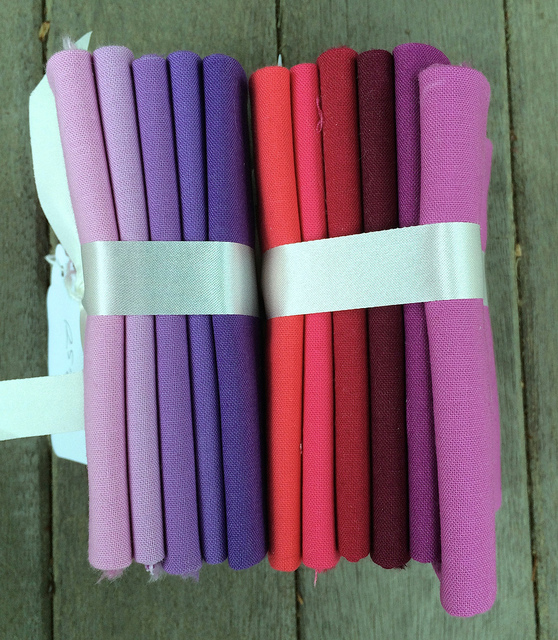
In addition to making blocks I have been cutting 6″ x 6″ sample pieces from the eleven fabrics that I recently ordered from the Fat Quarter shop. While making those sample pieces I remembered that I had bought two small fat quarter bundles of Kona Solids from the Pennington Quilt Works on my way back from the Slow Stitching retreat.

These bundles were sub divisions of a much larger bundle that was put together by Kona to show the 30 new colors being offered this year. The shop still had one large bundle with the complete collection on hand, but it was over a hundred dollars. Since I wasn’t sure I wanted all of the colors I snatched up the these two smaller bundles instead.

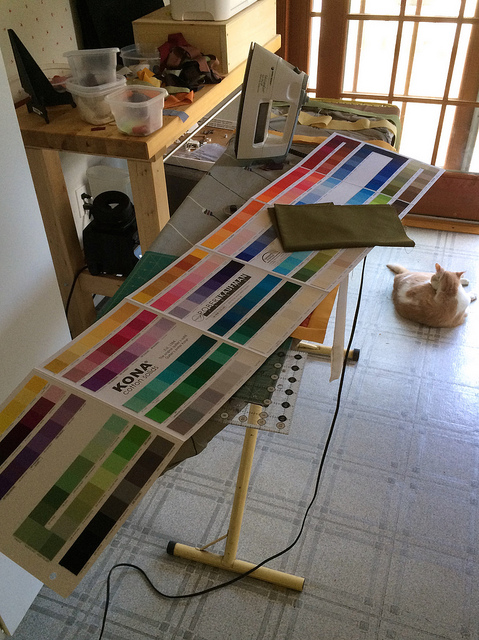
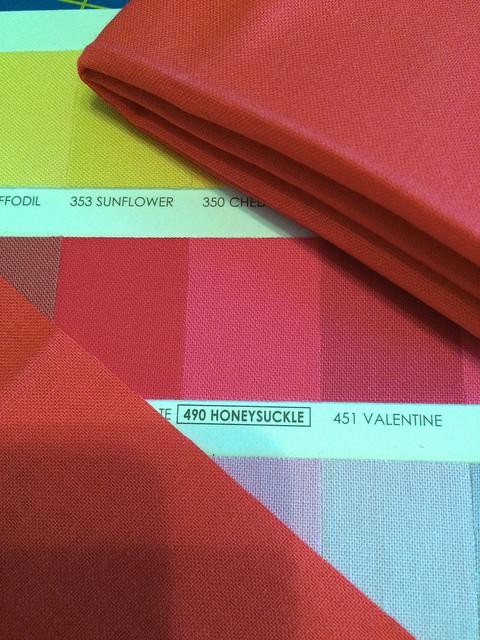
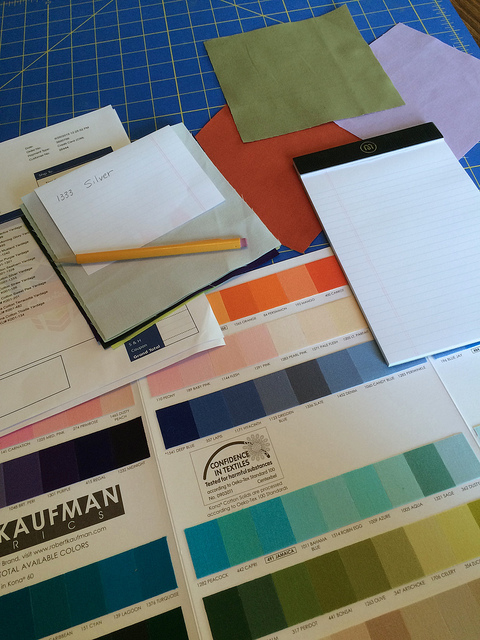
Lucky for me, my Kona sample card is current. I upgraded it this year after making do with one from 2013 for two years.

Matching the colors to the sample chips was fairly easy because Kona draws attention to the new colors on the card by enclosing the name in a box.

Here you can see a pile of sample pieces already labeled. I simply took a piece of paper, folded it in half, and marked it with the code and name of fabric and wrapped it around the piece. I’ll decide later how I want to organize these samples. For now, they will sit in a pile.

As I am cutting more strips I am making six inch sample pieces of some of the existing colors in my stash. Some of these are considerably harder to find on the sample card. A look back at my previous Fat Quarter Shop orders will help me narrow down the choices.


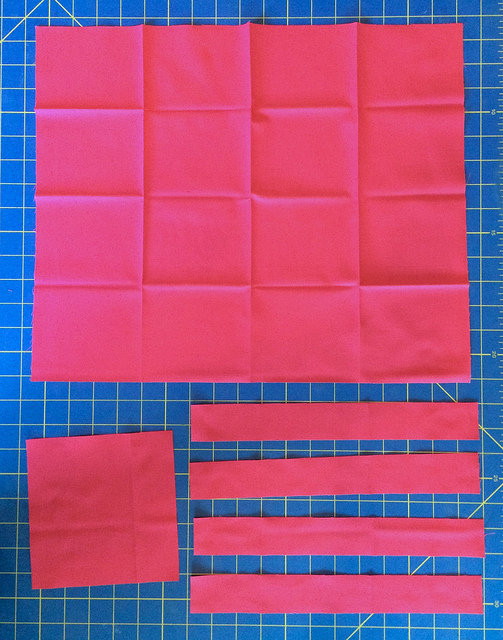
This is how I cut the samples from the fat quarters. I pressed just enough of the fabric so I could cut a piece off the short end. I cut off a six inch strip from which I cut a six inch square sample. I then cut the remainder of the strip into 1.5 inch wide pieces. That left me with a good sized piece larger than a fat eighth.

These fat quarter colors are too bright for the current project, but they will come in handy for a future log cabin project. I have a feeling it is going to take me quite awhile to exhaust the log cabin possibilities.

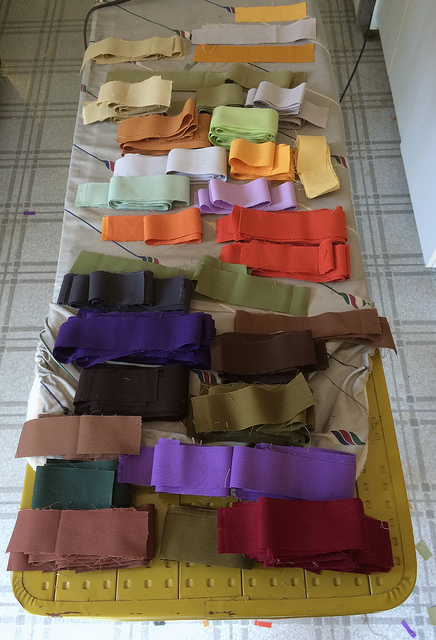
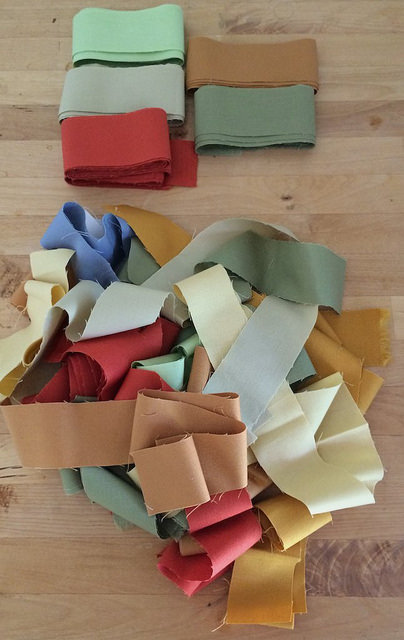
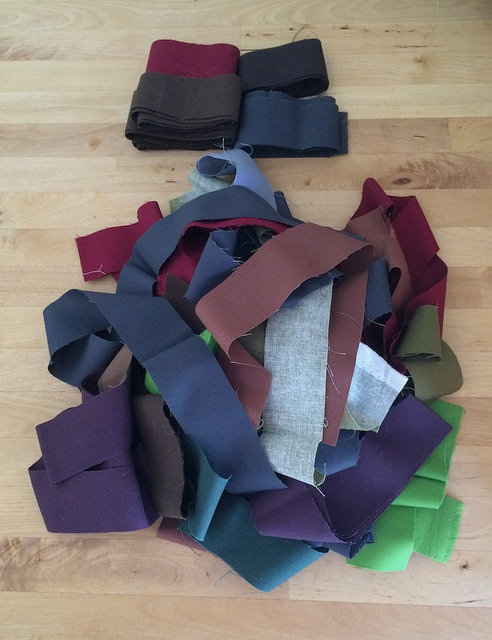
For now I have plenty of strips cut to proceed with my work on the current project.  I also have more pieces of fabric I can add to the mix as I need to cut additional strips. I am not worrying too much about which colors I am using in each block. Below you can see my lights at the top and my darks at the bottom.

Interestingly, the relatively light violet at the bottom of the picture was originally slated to be on the lighter side of the blocks. I actually have a couple blocks in which it is used that way. The darker orange near the middle of the photo is used in the light area even though it is probably as dark as that violet, but it seems to work well there.


Low Volume Quilt Progress: Post Five

Not much has happened in the past week with my Low Volume Quilt.

I completed three flowers.

And my three low volume fat quarter bundles arrived.

So I managed to complete one flower for each bundle.

My total flower count is now 42.

I spent most of my week working on my Log Cabin quilt project. So if you are visiting via Jessica’s  Monday Morning Star Count you may find this post interesting.

Kona Log Cabin Quilt Progress: Post Three

I finished assembling the night stand cover for my husband’s side of the bed. I have not yet decided what color I will use around the edge, for the binding, and for the backing fabric. I may use the same Kona Sweet Pea as I used for my own nightstand cover.

When I finished the first seam on his night stand cover I realized that I was assembling the piece differently than I had intended. I was putting together the dark and light sides. This would have resulted in an interesting piece, but it was not what I had done for the nightstand cover for my own side of the bed. There I had pointed the dark portions toward the center.  My error gave me an opportunity to get to know the seam ripper that came with my Janome Skyline S5.

Speaking of the Skyline, I was forced to learn how to fill a bobbin this week. I was also forced to learn how to thread the machine. I had not needed to learn either of those skills previously because my demo unit came with a spool of thread pre threaded, and two filled bobbins.
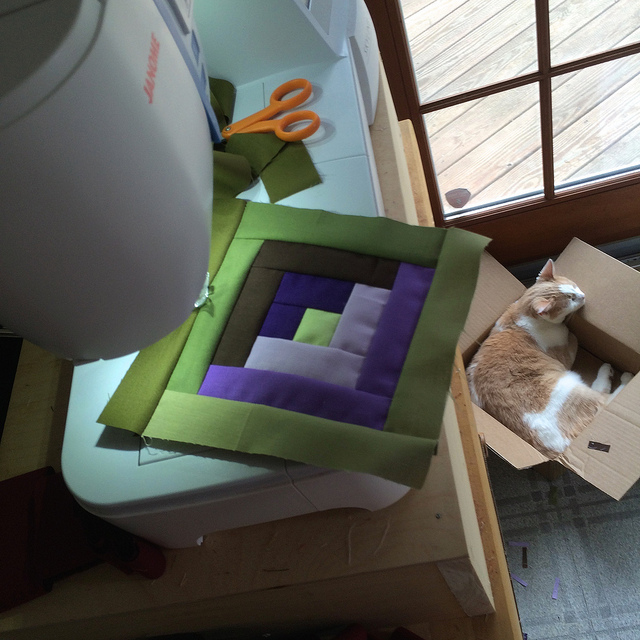
My beloved cat, Lori, has kept me company a good deal of the time that I have been working on these log cabin units. I have been sewing standing up in my kitchen while I am using my machine. Lori likes to hang out near the back door in the kitchen.
Here is a bit of perspective on the height at which I am working with my machine boosted with a wooden unit on top of a counter height table. I’m not using the foot pedal when I sew. While I found it odd at first to be sewing at a consistent speed all the time, I got used to it quickly. I like it now. I keep the speed fairly slow.

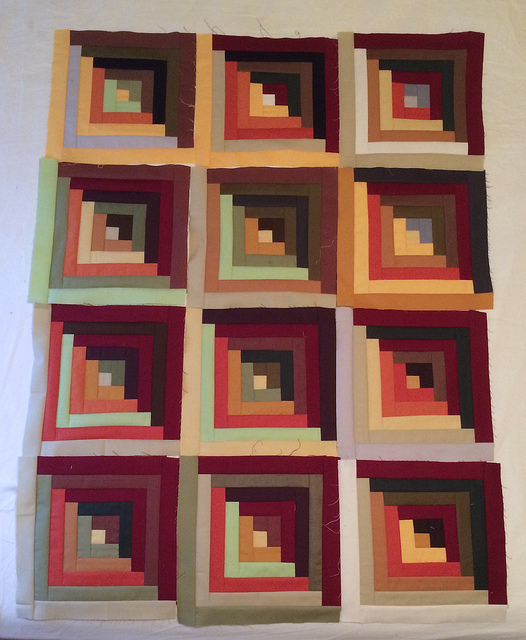
I’ve accumulated twelve units for the Kona Log Cabin Quilt at this point and am beginning to think of how I might like to arrange them.

I will be trying some other arrangements before I settle in on the final layout.

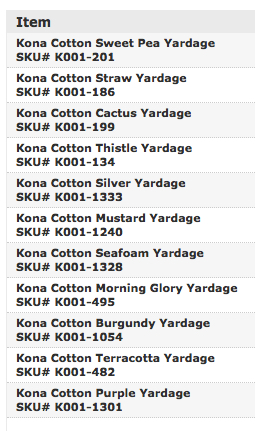
I decided to purchase some additional kona solids to continue my work on this quilt.

The least amount of yardage you can order from The Fat Quarter Shop is a half yard, so I ordered half yard pieces of each of these except for the burgundy I need for my Batik Flower Garden Quilt. I ordered three yards of that.

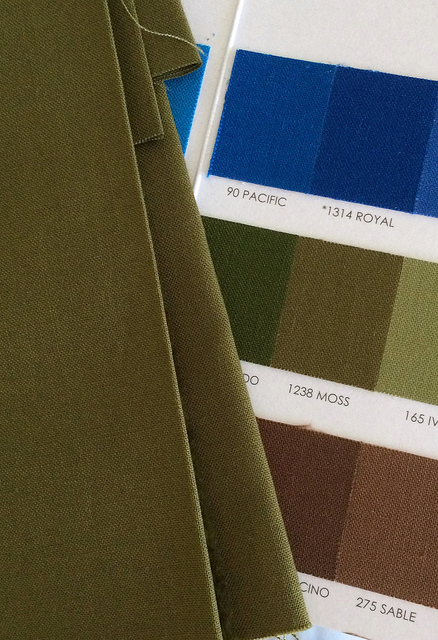
I am looking forward to the arrival of these fabrics. When I get them I am thinking it might be a good idea to cut sample pieces of each fabric and to label them with the name of the fabric. That way it will be easier to identify the names when I want to order more of something in the future. It has been my experience that it is not that easy to match up a fabric with the tiny samples on the Kona Sample Card.

Maybe this is Kona Moss. Maybe it isn’t. It’s hard to tell. It would be nice if I had a sizable piece of labeled fabric  to compare it to instead of a dinky little postage stamp sized piece of fabric on a sample card.

I am enjoying very much doing my log cabin work, and I anticipate needing between 72 and 90 blocks depending on how I choose to trim them, and how large I want the quilt to be. That is math I will save for a future post.

Low Volume Quilt Progress: Post Four

I am continuing my EPP work with my Low Volume Flower Quilt. I made nine new flowers this week. I now have a total of 40 flowers for this project.

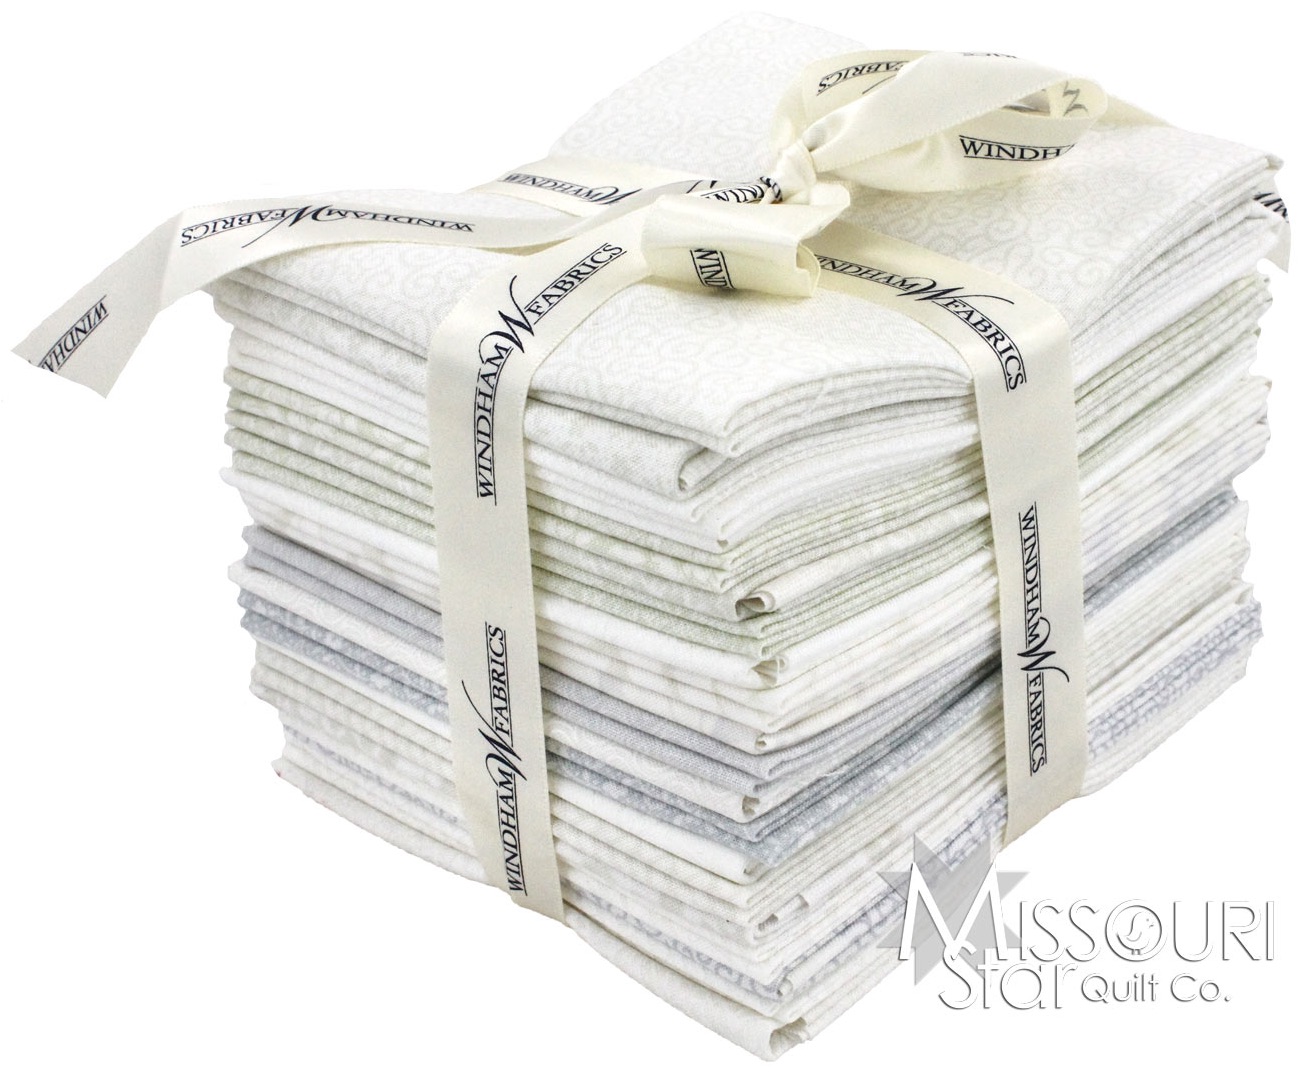
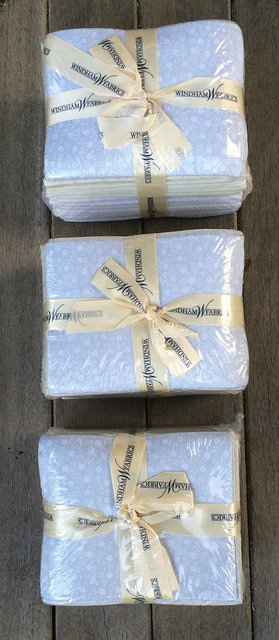
This piece is based on the fabrics in the Ivory Basics collection produced by Wyndham Fabrics. I decided that I wanted to purchase yardage of specific fabrics in the collection to continue work on this quilt. Unfortunately my searches left me with no alternative but to purchase fat quarter bundles of the entire collection. I found them at the Missouri Star Quilt Company for a good price. They were pennies shy of $50.00 per bundle. That brought the price of the fabric to $10.00 per yard, which is quite good for a collection of fat quarters.

I purchased three of these bundles giving me a total of 15 additional yards of low volume fabrics for this project. I am sure there will be leftovers. Although I wanted specific patterns, I believe that the other fabrics will come in handy for other things. I may even use them to piece a back for this quilt.

I am linking back to Jessica’s Monday Morning Star Count over at Life Under Quilts.

Those of you coming to my blog through the Monday Morning Star Count you may enjoy seeing the progress I made with my Log Cabin units last week.

Progress on Log Cabin Work

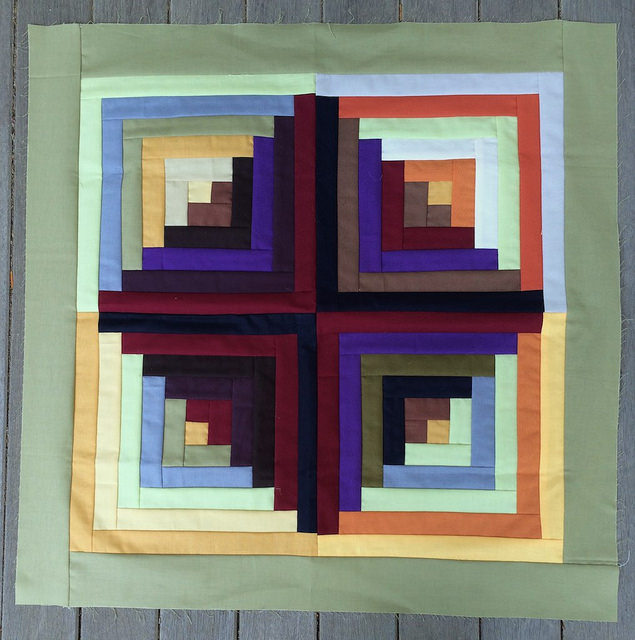
I am going to be making the four unit assembled piece into a cover for my bedroom end table.

I decided to do this when I was looking for more solids to cut up and came upon a really nice Kona solid, which I believe is called Sweet Pea. I cut a few 1.5 inch strips for future log cabin units, but i also cut four 2.5 inch strips to use as a border for my end table cover. I attached the borders.

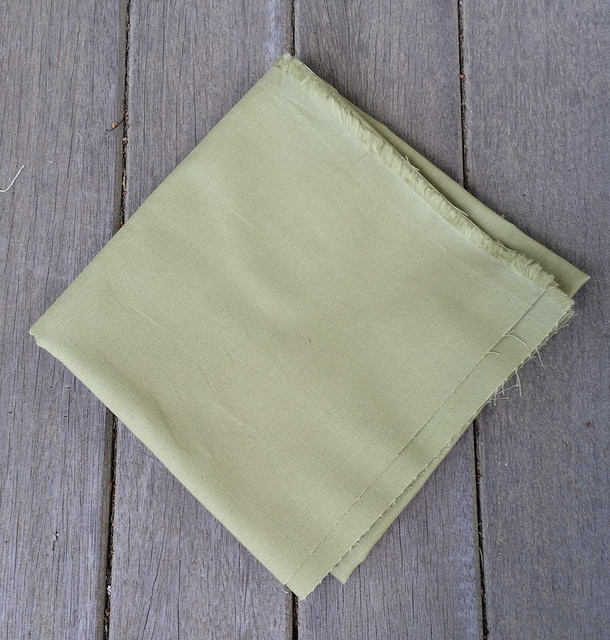
I cut the backing.

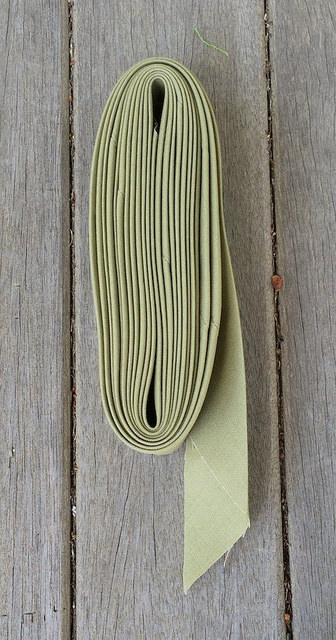
I even made a bias strip binding so it would be ready to go after I finish quilting the piece by MACHINE!

It would be so much faster and easier to quilt this by hand because that is what I know how to do, but I am actually going to quilt this by machine. I want to challenge myself, and this is going to be my first machine quilted piece. I don’t count the quilt as you go pillow case that I made because that was just adding strips to a square of batting and backing, and there were not visible stitches on the front of the work, so it hardly counts.
I am planning to quilt this using the even feed (walking) foot that came with my Janome Skyline S5.

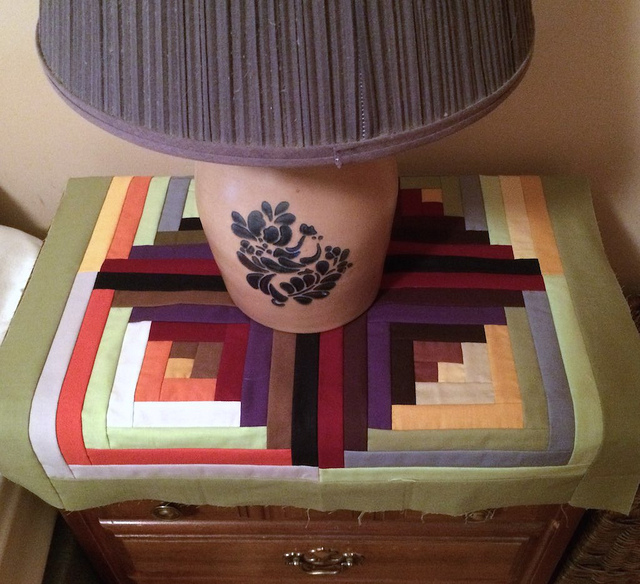
Here is where I intend to place it.

I spent time this week cutting new strips so I can keep making log cabin units with Kona solids. Here are my lights…

… and here are my darks.

And here is another block in progress.

In my last post about the log cabin blocks I was questioning the wisdom of using the bright green in the dark areas. I’ve decided that I will use those blocks to make a night stand cover for my husband’s side of the bed. I am not sure what color I will use on the edge of his.

The block in the lower left of this configuration does not have any of the bright green in it. I think I will make another one that has some bright green and swap it out.

I am going to continue to make more log cabin units, and I am not sure yet how I will arrange them in the final quilt. I love being spontaneous.

The bed quilt is going to be machine quilted too, and quite frankly, I am trying to whip out something that I won’t be afraid to quilt by machine. I would be terrified to quilt something by machine that I had spent 900 hours stitching by hand.
More Progress on Low Volume Quilt

As of last week I had 24 flowers complete for the low volume quilt. This week I added seven flowers to that pile making a total of 31 flowers so far. All seven of the flowers above are made with different fabric patterns.

I spent a good deal of time this week sorting out my low volume hexagons so they are matched up and ready to sew into flowers. I also basted quite a few Kona Snow solid fabric hexagons for the centers of flowers.

Seven flowers isn’t all that much progress in one week, but I have a very good excuse. I have been doing a lot of log cabin work, and I posted about it last Wednesday. A follow up post will be coming shortly.
I am linking up with Jessica’s Monday Morning Star Count over at her blog Life Under Quilts.

Jessica has been posting a lot on Instagram these days, and I started following her there today so I can see her work unfold. She has a good point when she says that it is easier to post to Instagram as she is sewing than to stop and write a full blog post. My local quilt guild members seem to like posting to Instagram, and the guild itself has it’s own user name there, so I am already following a few accounts over there. Instagram seems to be the hot thing for quilters these days, so I had better get with it and get more involved with that aspect of social media.

If you want to follow me on Instagram search for “terrischurter”. A search for “hexylady” or “hexy lady” also works since I have changed my real name to “HexyLady”. “Hexy Lady” did not work as well in searches.

I’ve Got Cabin Fever

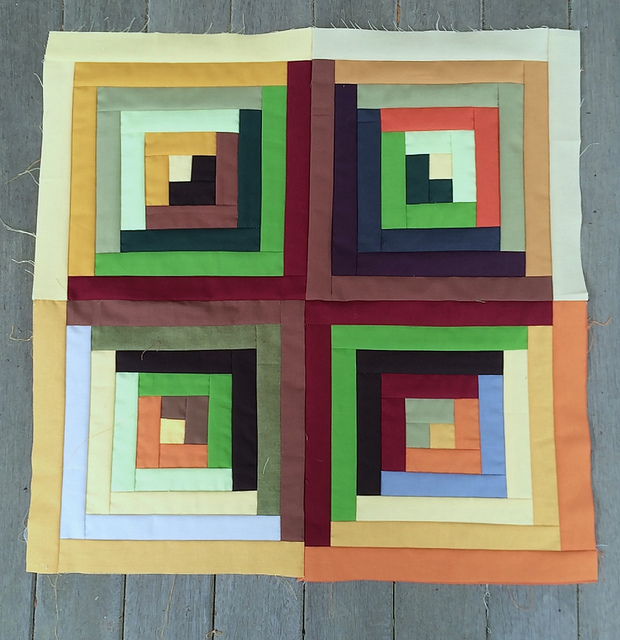
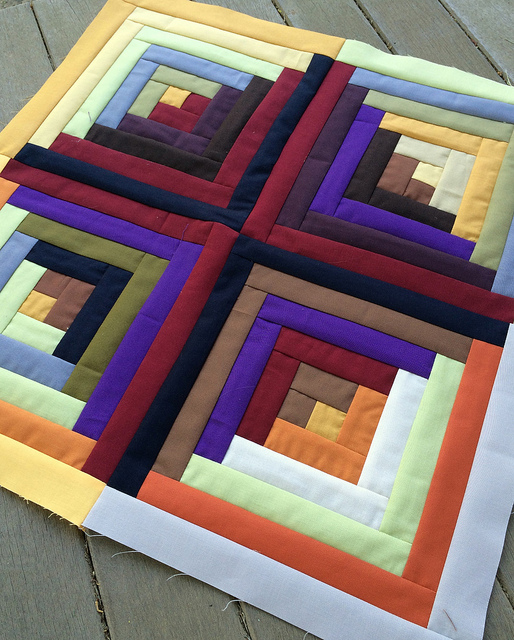
After returning from the Slow Stitching Movement Retreat in Lambertville I finished up this one relatively large log cabin unit. It is composed of four smaller units joined so the darker strips meet in the center. I had initially planned to back this and quilt it, but I have decided to make a few more like it and join them for a larger piece. The piece above is 20.5 inches by 20.5 inches. I am thinking of making another eleven of these. that would create a finished quilt of about 60 inches by 80 inches.

I am considering quilting each large square unit separately in a “quilt as you go” fashion and then joining the pieces. In order to be certain that they will all fit together perfectly I may add a two inch border of a unifying color to each of the blocks. That would give me plenty of leeway to trim the quilted square to an exact size for joining. I am thinking of using a burnt orange color as my unifying element. That would divide the lighter segments from each other with a medium value cross shape.

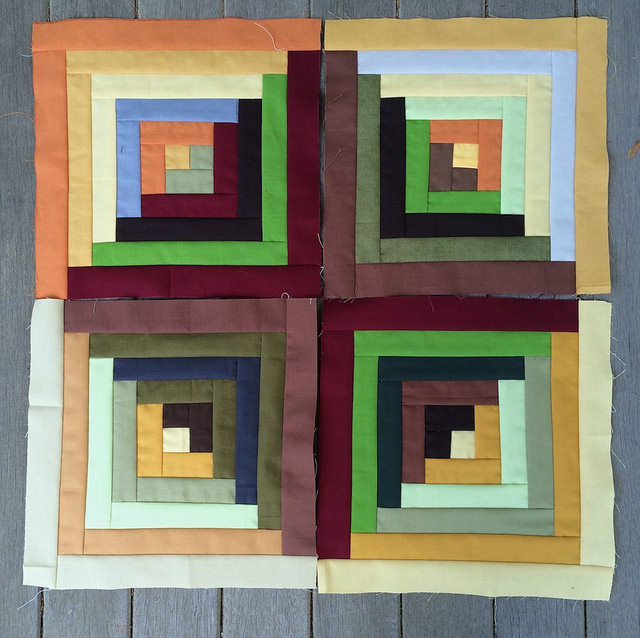
Since completing the unit above I have made the four small blocks pictured below.

I could join them together immediately as shown below, but I won’t. Instead I will accumulate the blocks and match them up later.

One of the things I have done to work on the unity of this piece is to cut more of the deep red strips.

Looking at the arrangement above I am slightly bothered by the brightness of some of the green strips, but I guess that is the best reason to postpone assembly so I can find just the right place for them, or leave them out altogether.

I am finding the repetitive work on joining strips into log cabin blocks to be very relaxing.