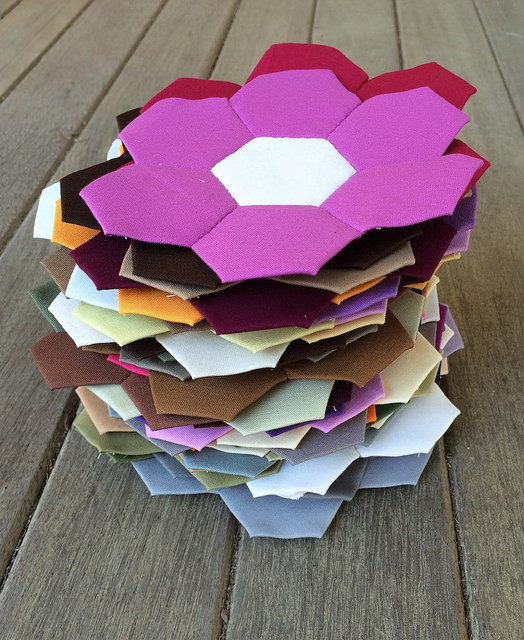
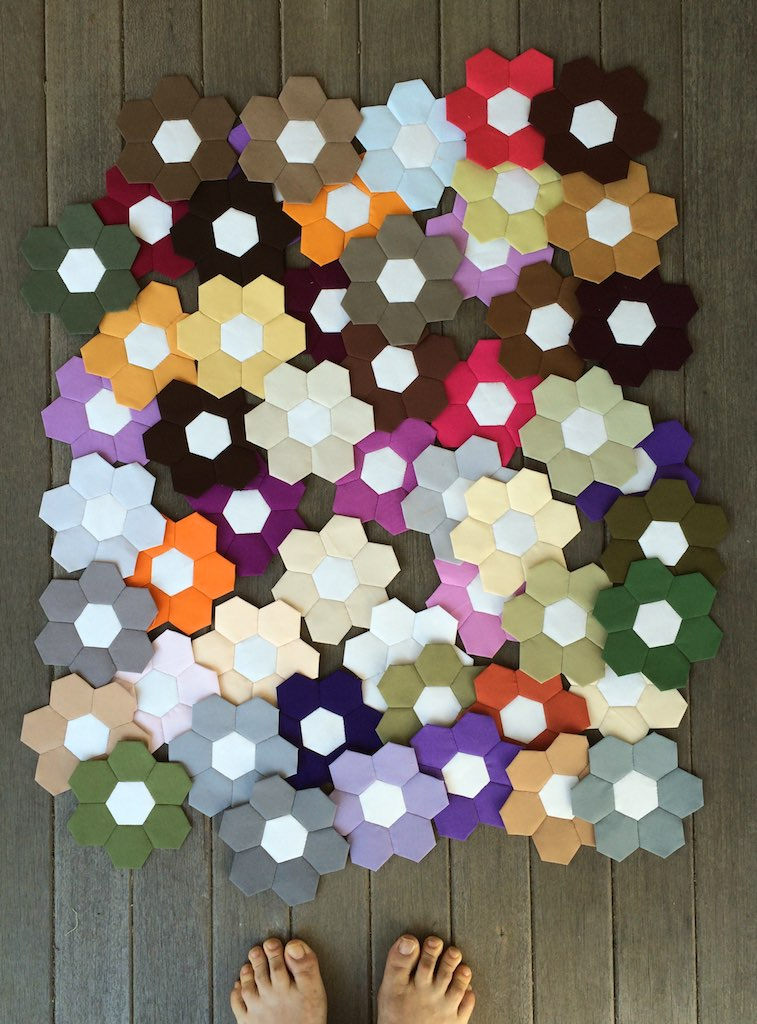
Kona Log Cabin Quilt: Five More Blocks

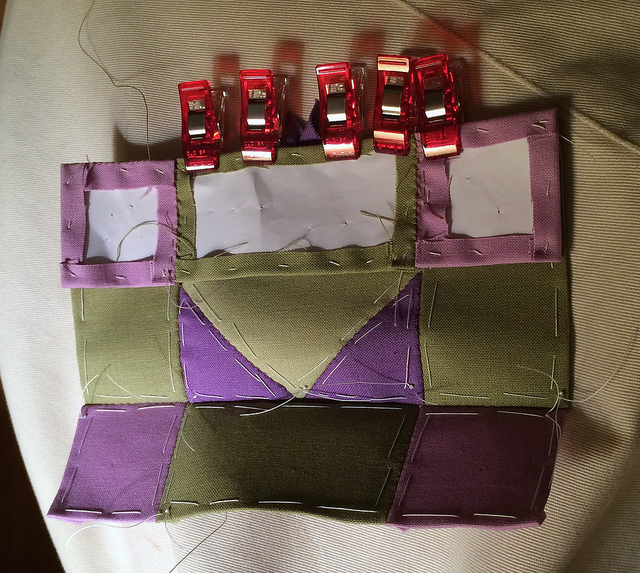
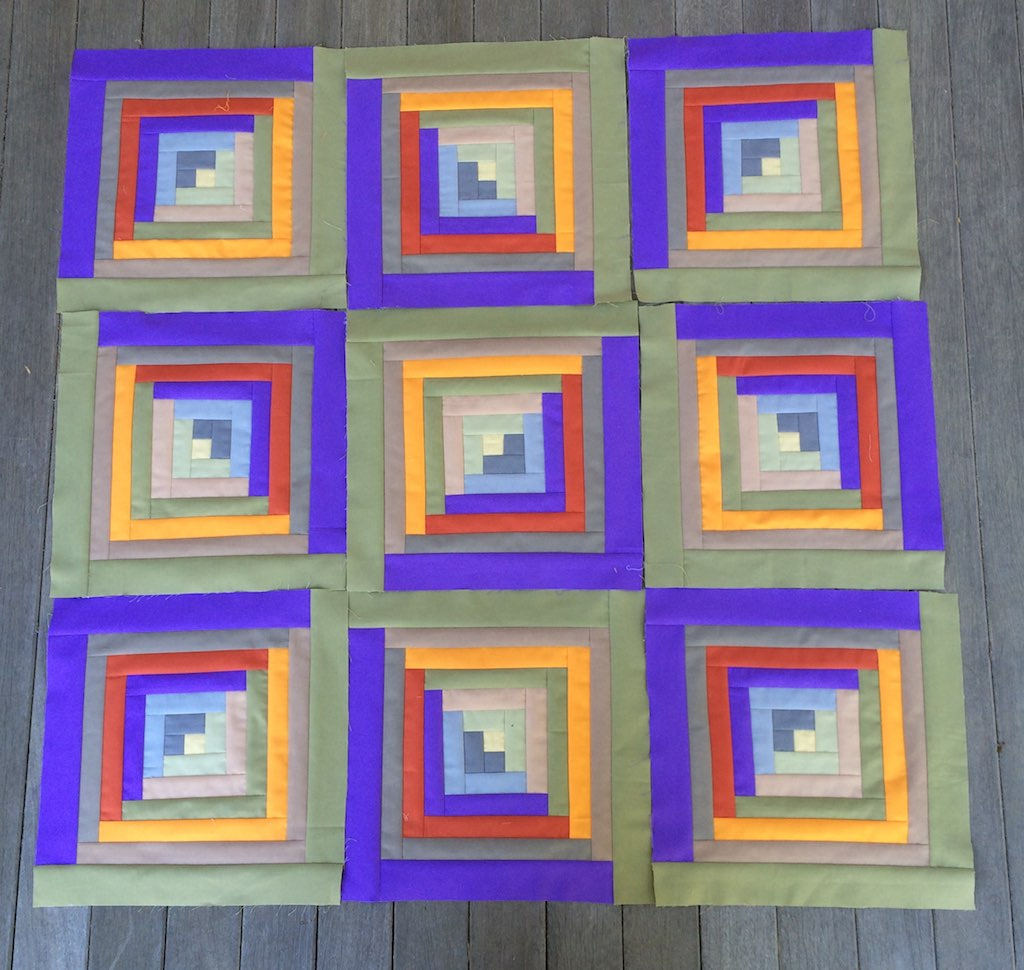
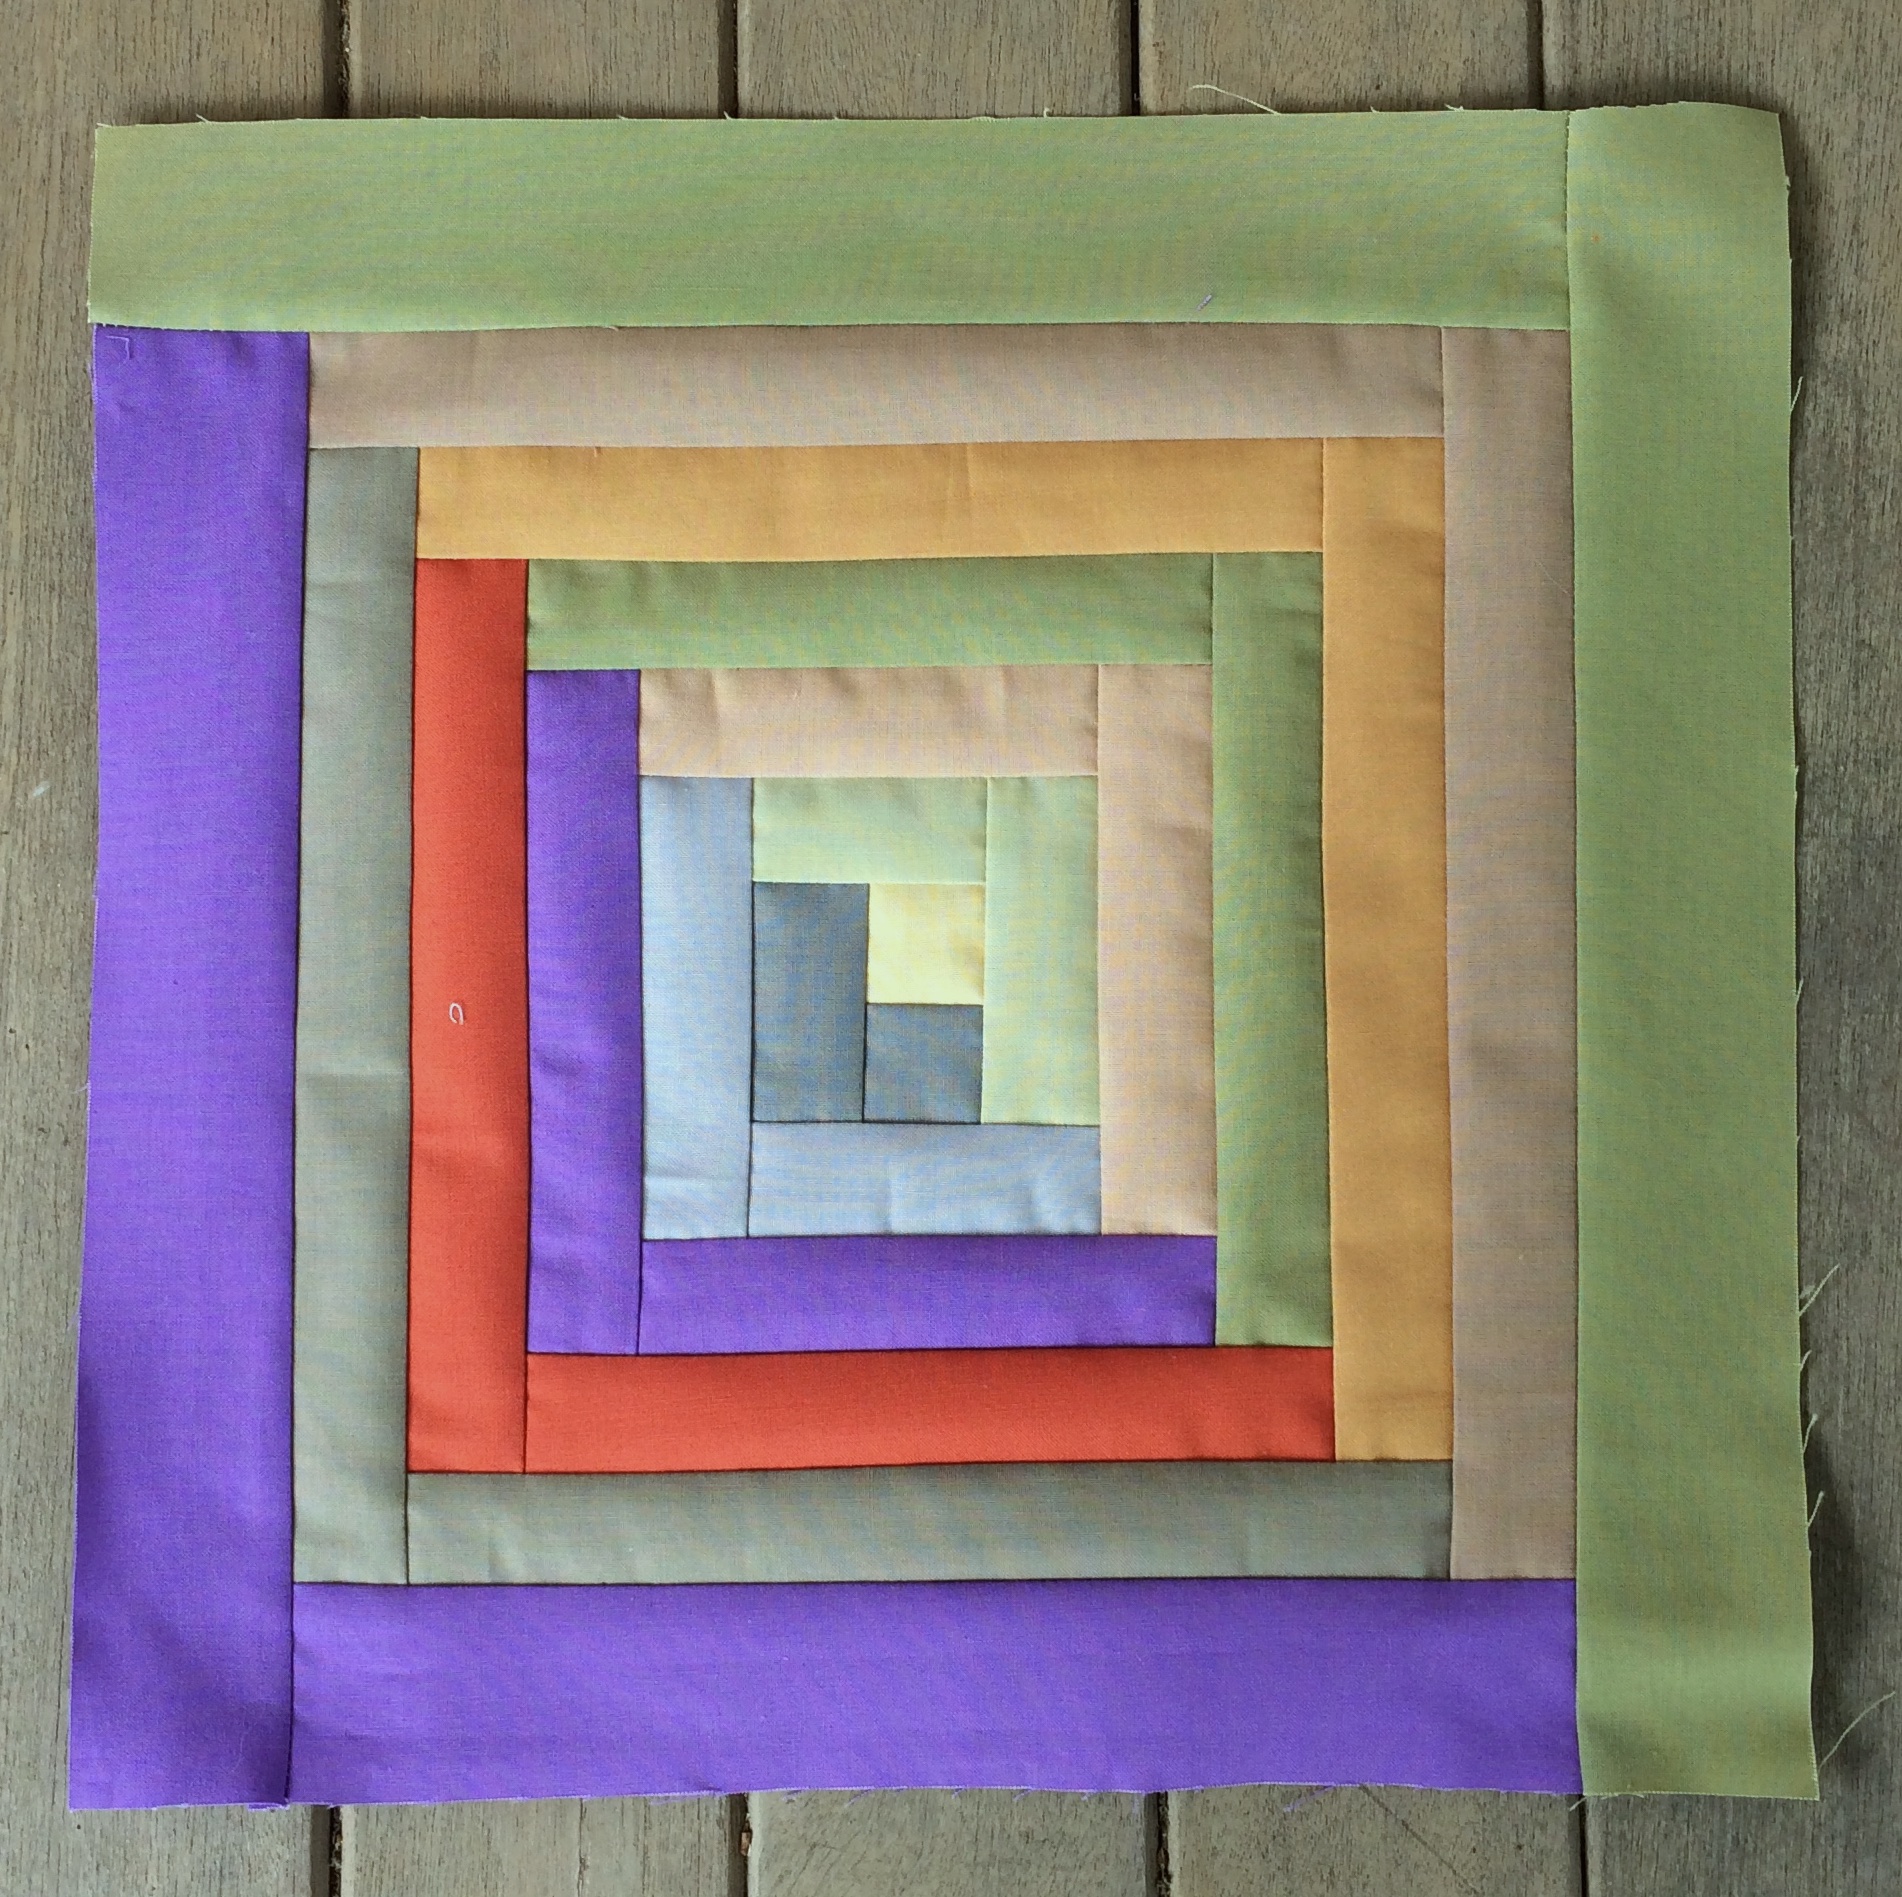
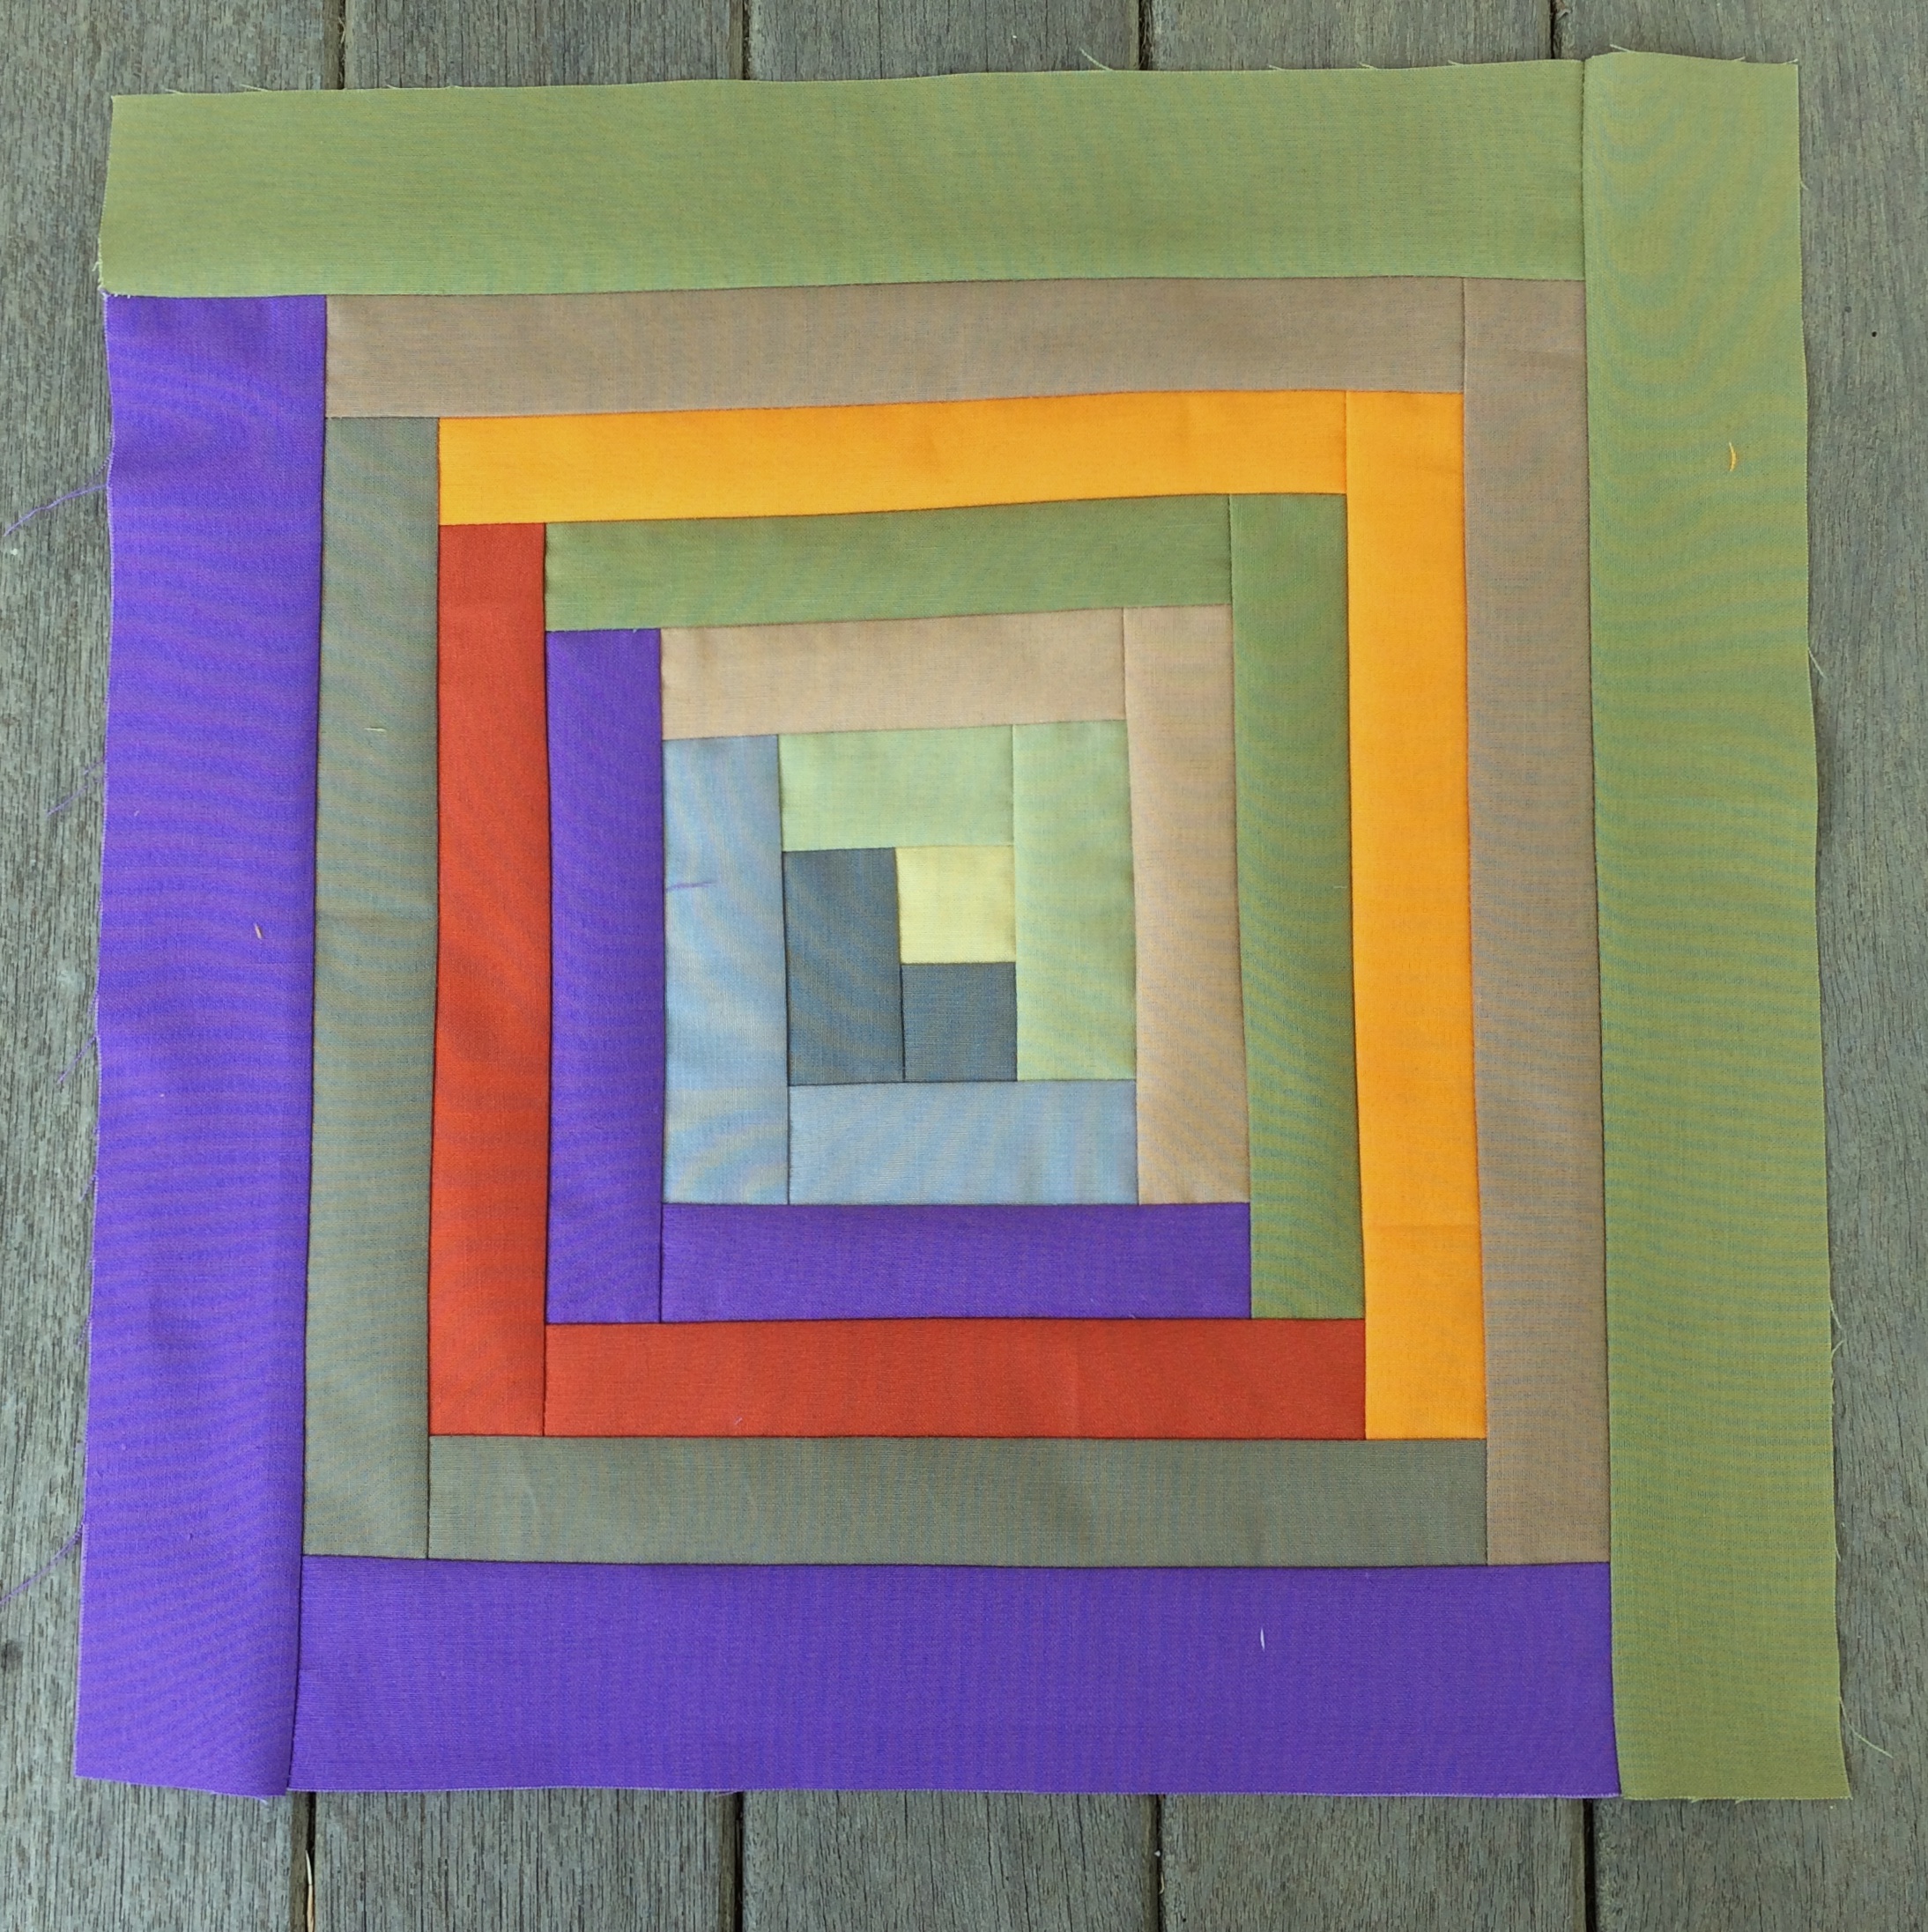
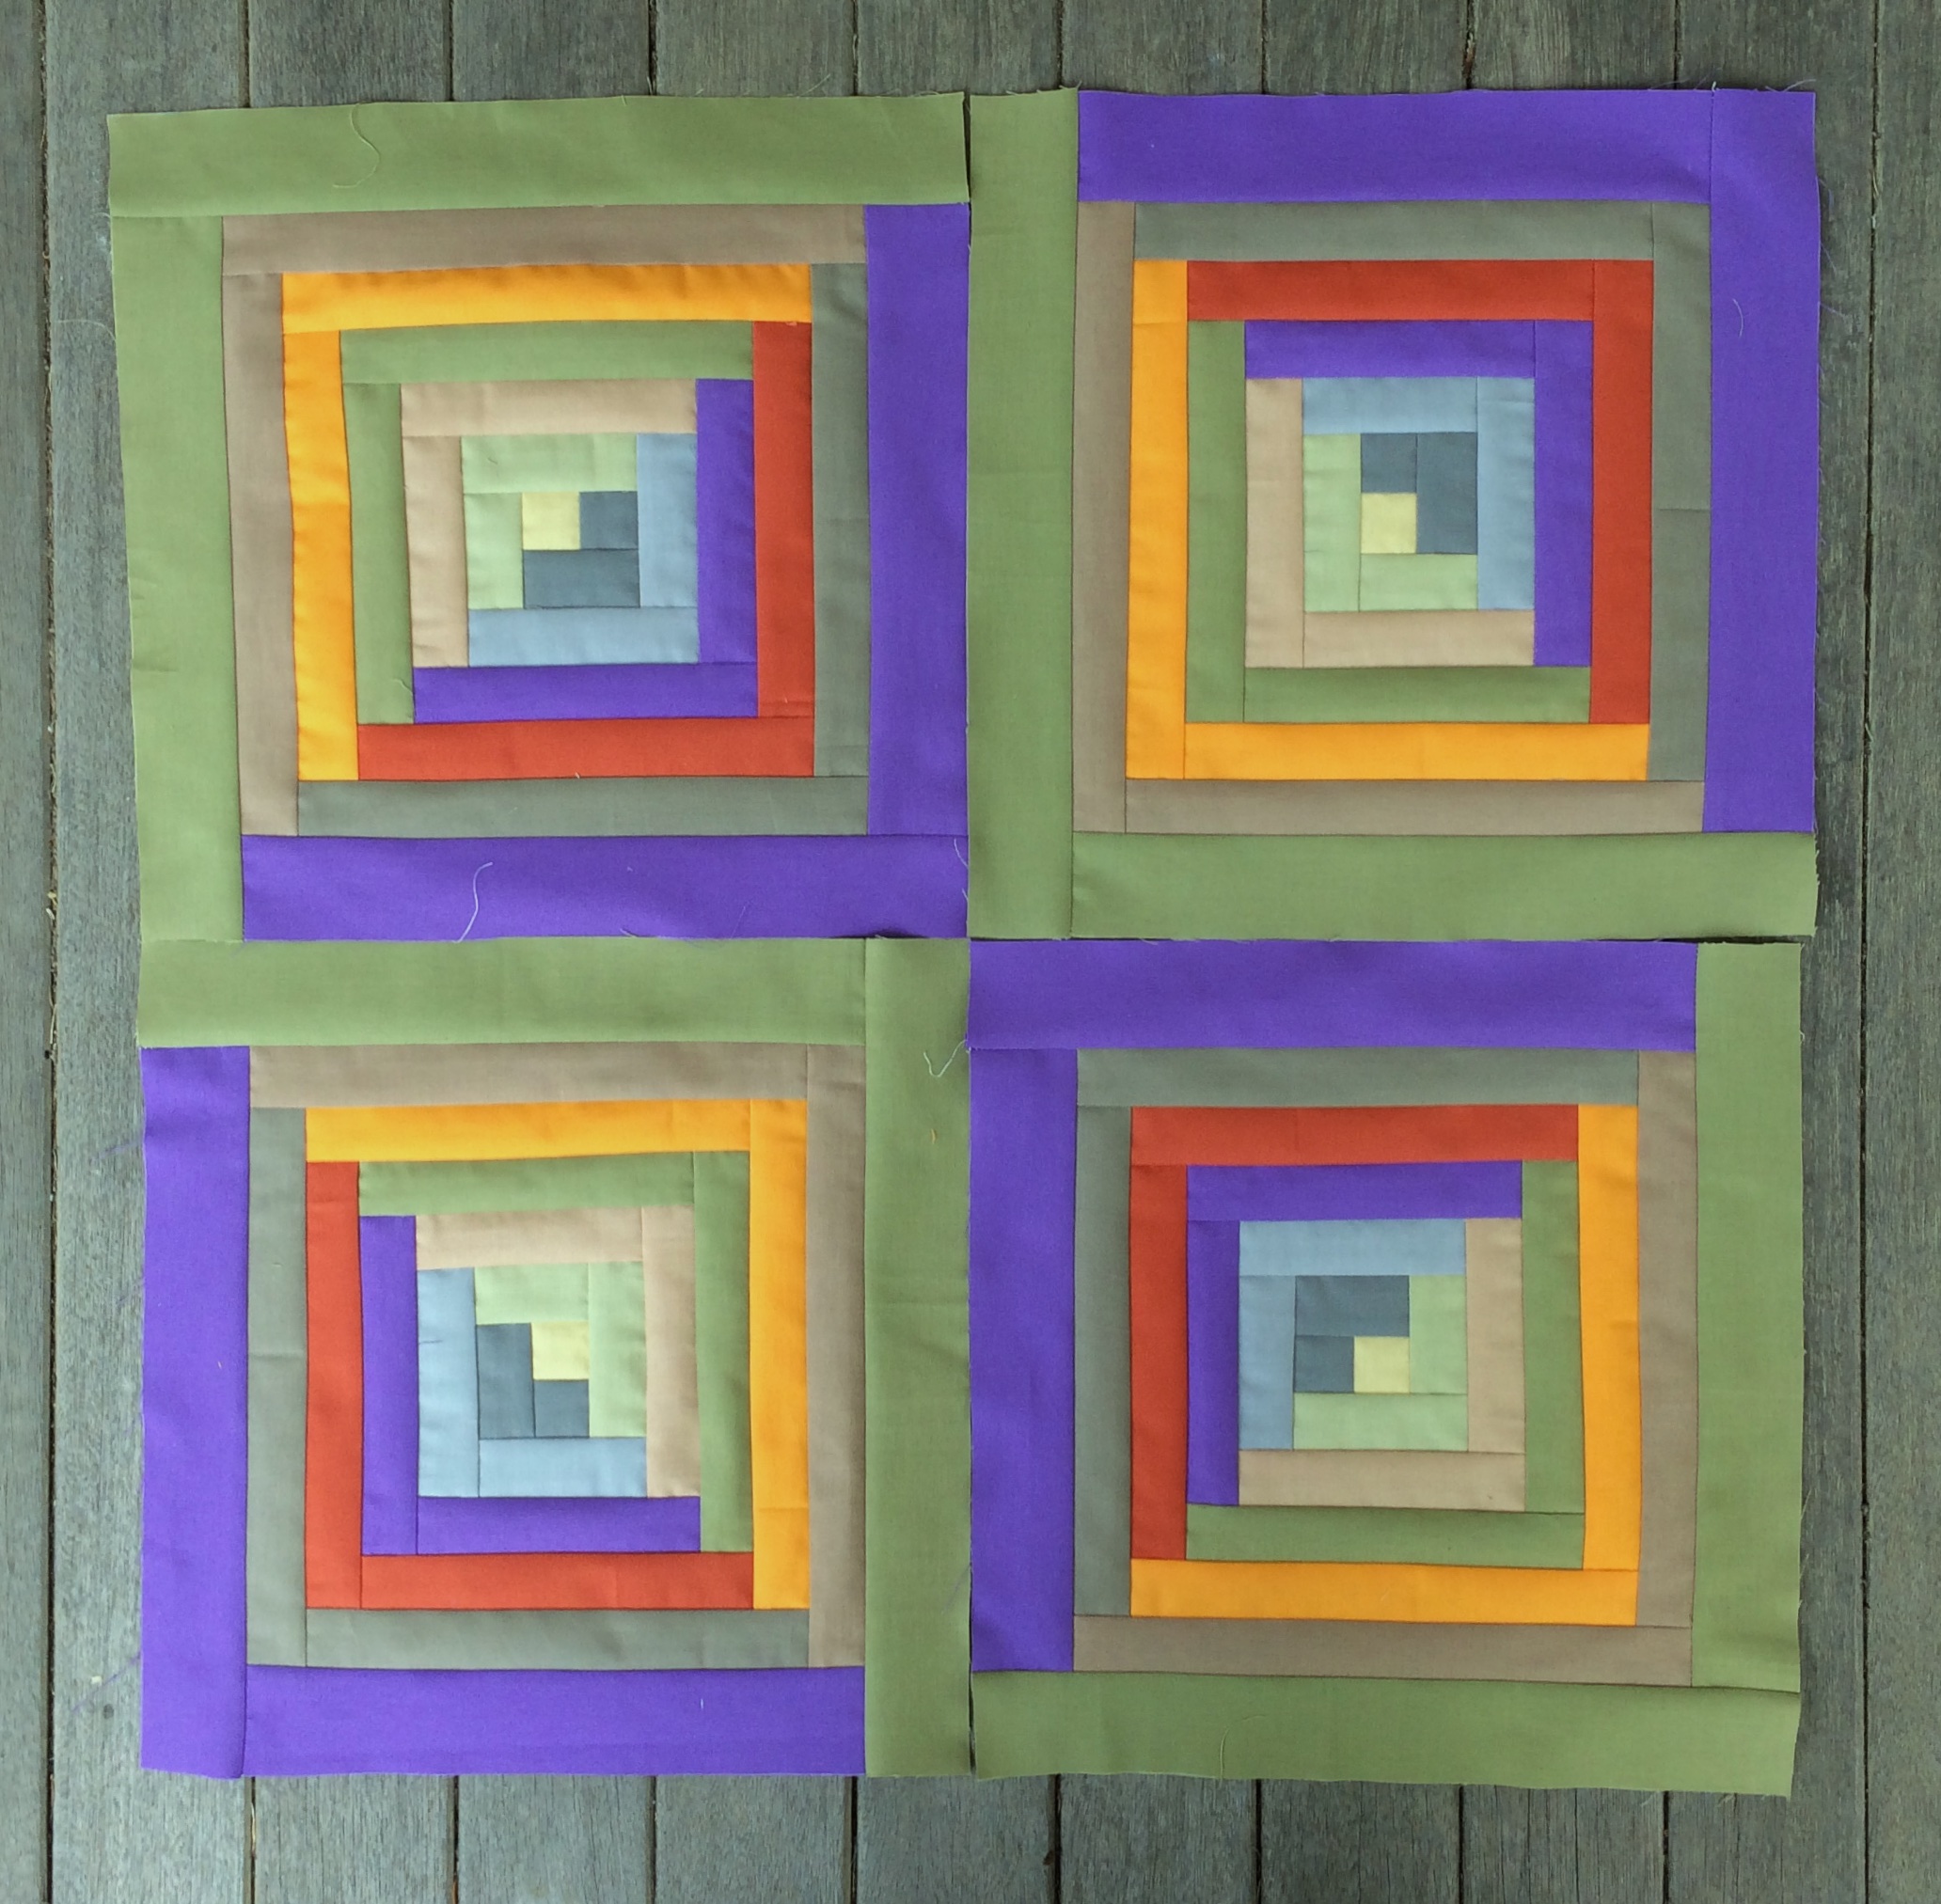
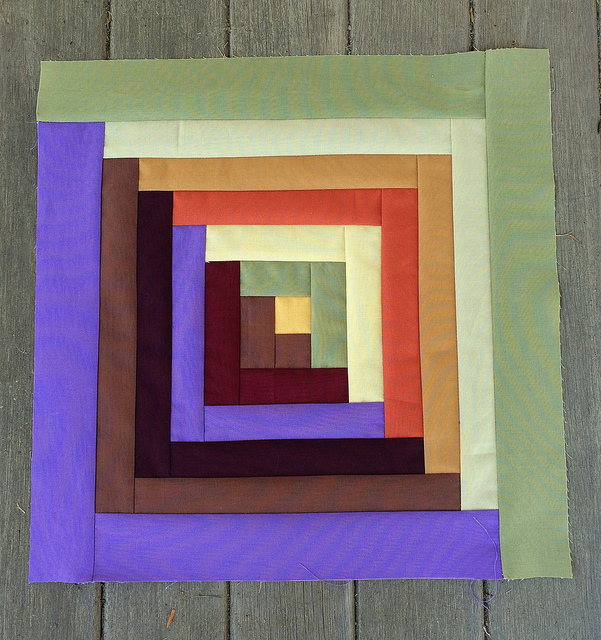
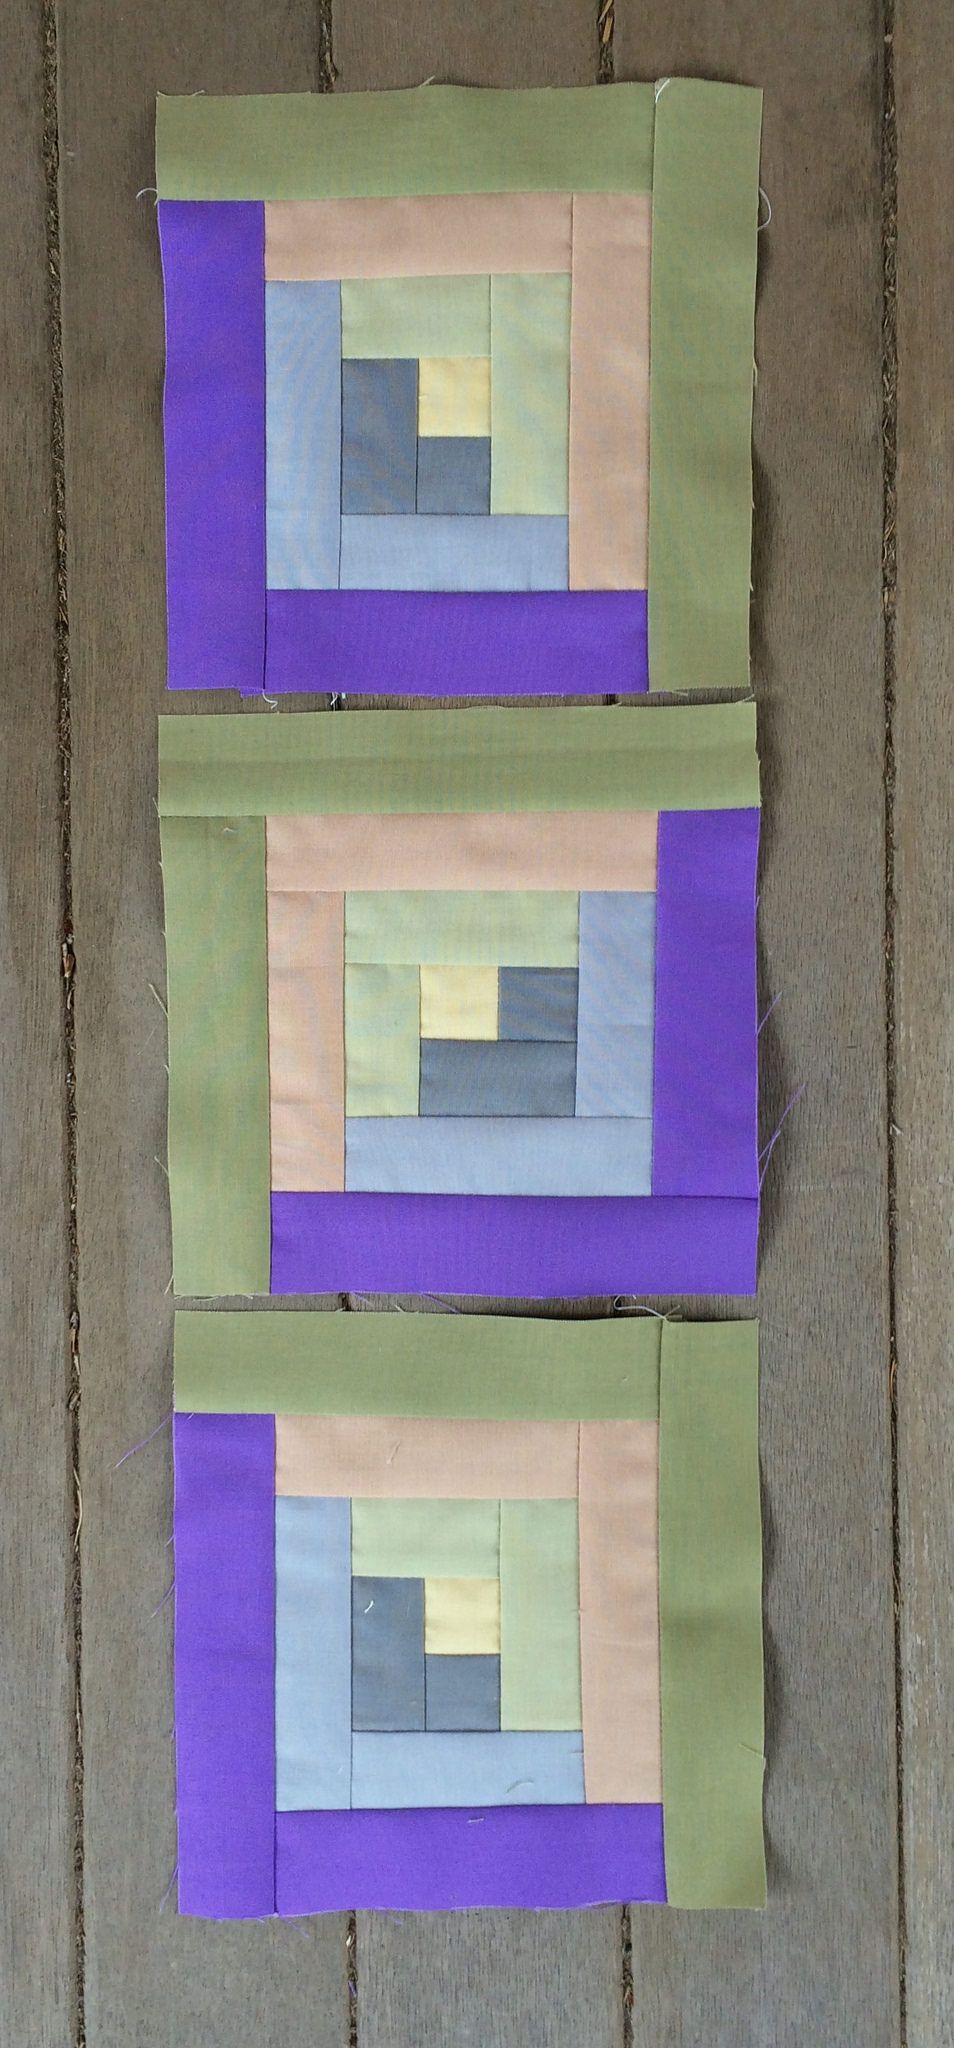
I fleshed out that central medallion with five more blocks this week to bring it to a 3 x 3 configuration. I need six more blocks to finish off the 3 x 5 configuration I am seeking.

After I have my medallion blocks finished I will need 41 blocks of a more random nature to create the frame for the medallion.

I may already have that many additional blocks, but I may create a few more so I have some options when it comes to making selections as I assemble the final quilt. Any blocks left over may find their way on the back of the quilt in a more modern layout. Did I hear you say, “Alternate Grid”? Or maybe you were thinking, “Slice and Dice”?

Farmer’s Wife Quilt: Becky, Bonnie, and Aunt

This is a report on my progress for the first week of the Farmer’s Wife QAL which has been organized by Angie Wilson from Gnome Angel. We had three blocks to do this week named Becky, Bonnie, and Aunt. Moving forward we will be doing only two blocks per week. It will take us a year to complete all of the blocks for this quilt unless we are doing a reduced size version with fewer blocks. Some members of the QAL are already talking about doing two quilts simultaneously.

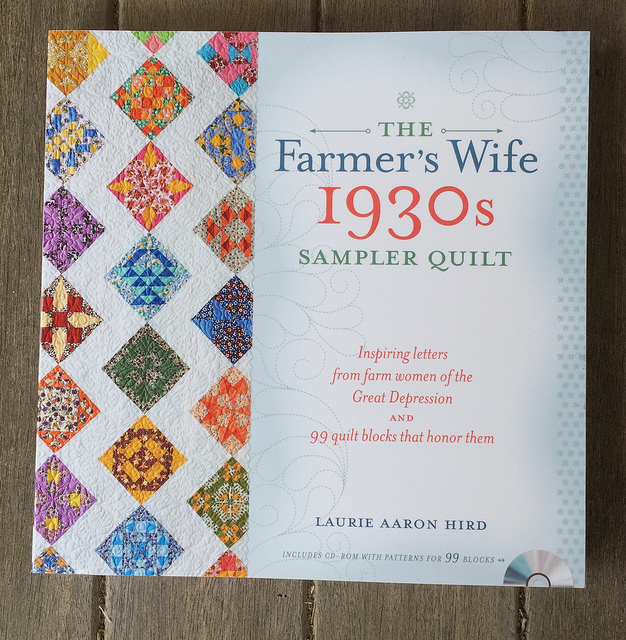
This QAL is based on the book “The Farmer’s Wife 1930s Sampler Quilt” available from Amazon.

I have chosen to do my blocks using English Paper Piecing as my method. It is my intention to complete the entire quilt using this method, yet I am intrigued by the idea of attempting foundation paper piecing by machine. You know, that OTHER kind of paper piecing, the kind most people mean when they say “paper piecing.”

I must say that the Facebook group for this QAL is a flurry of activity with over 4,000 members already. Some of them are in a bit of a tizzy because the feed for the group is taking over their Facebook lives. I, however, am enjoying the flow of beautiful blocks in the group as well as the chatty discussion to which I strive to contribute in a meaningful manner.  Thankfully I have learned how to unfollow the group so it doesn’t flood my Facebook feed. Yet it seems that I spend most of my time with these lovely people.

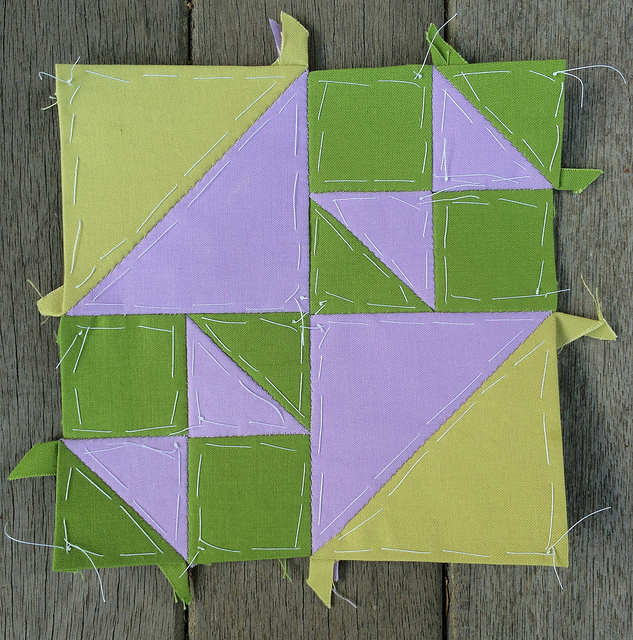
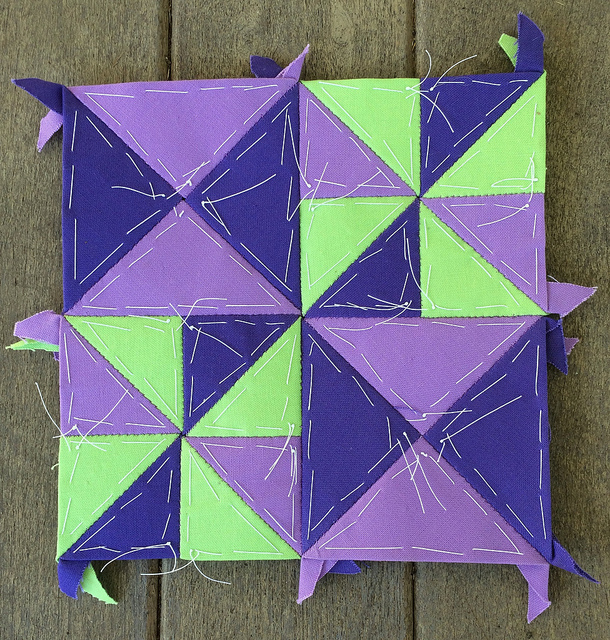
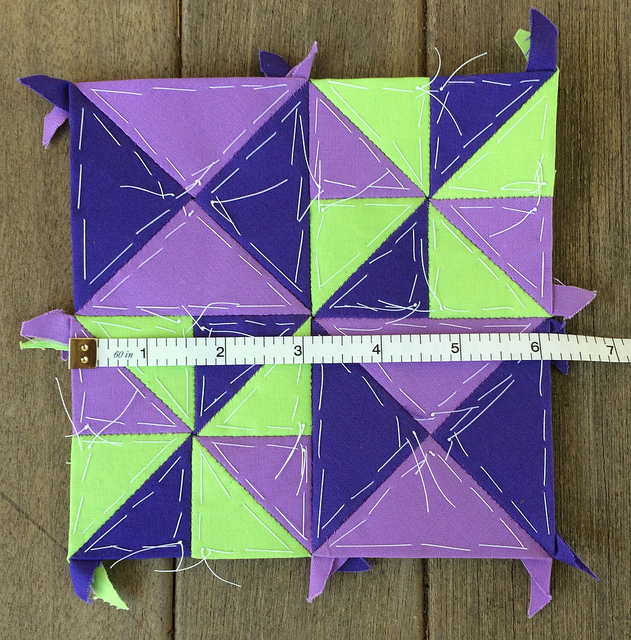
Here are my three blocks for this week in the order in which they were assigned and completed, all in Kona solids:

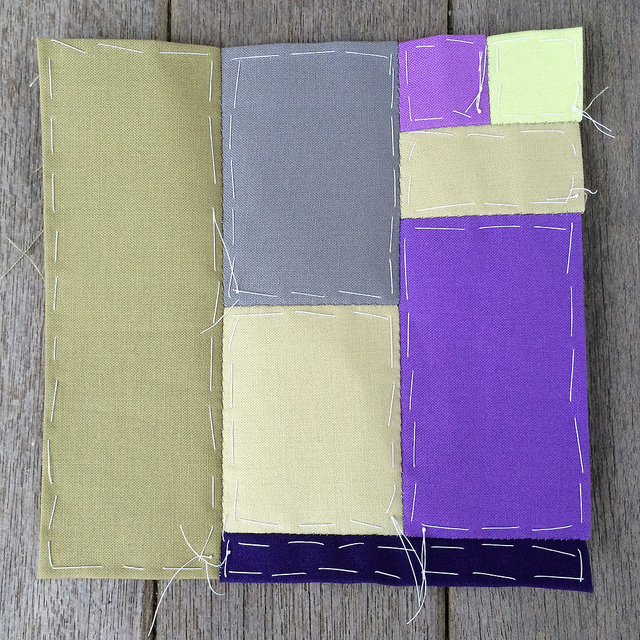
#12 Becky

This one will definitely be redone. I am not loving the dark purple.

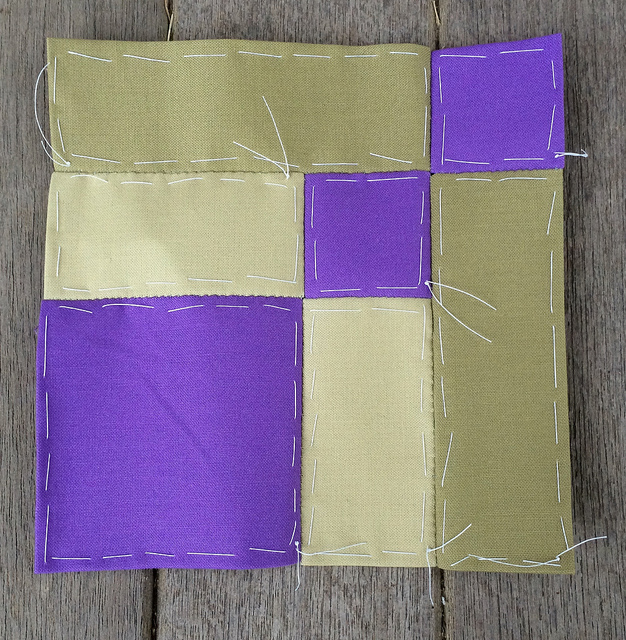
#16 Bonnie

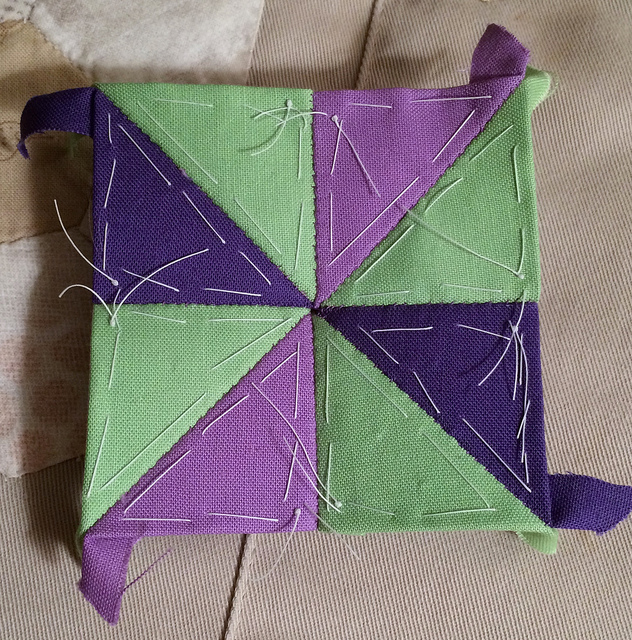
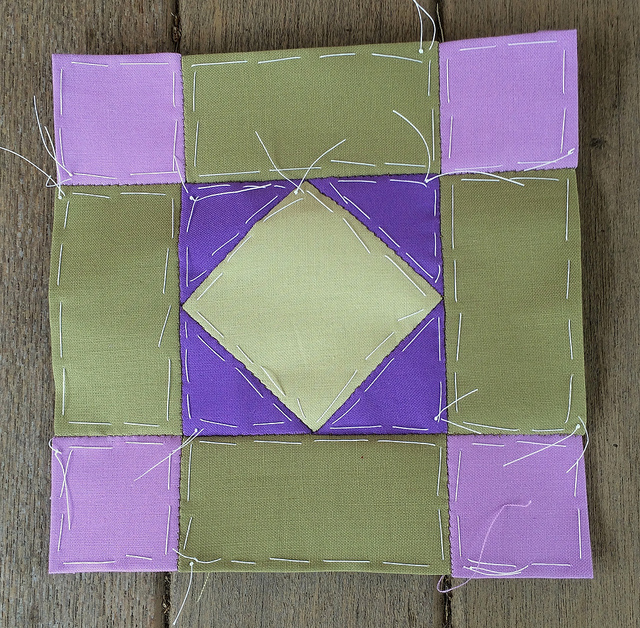
#8 Aunt

This is the first time that I have ever used EPP techniques with ANY shape other than a one inch hexagon. I was naturally hesitant to attempt this QAL using EPP, but so far it is working out okay. We are starting with the easier blocks, so things will get harder as we go along, but I imagine that my skills will build to meet the challenge.

You may be looking at these blocks and asking, “Why would anyone do these blocks with EPP when they would be so easy to piece by machine?” The answer is that the more complicated blocks will not be so easy to piece by machine, and I want to do the whole thing with EPP as a matter of princple, even the very simplest of blocks.

Here is how I went about doing these blocks with EPP.

I started by printing out all three blocks from the CD, and then cutting them into pieces on the lines of the diagrams to obtain my paper pieces.

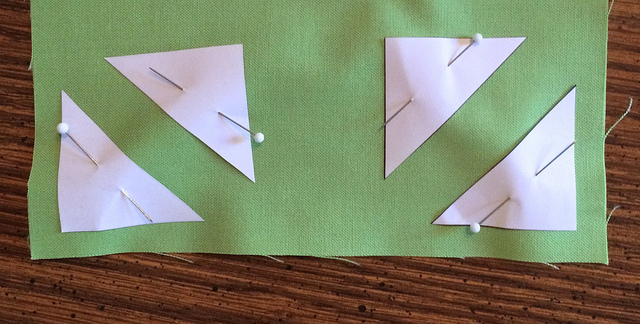
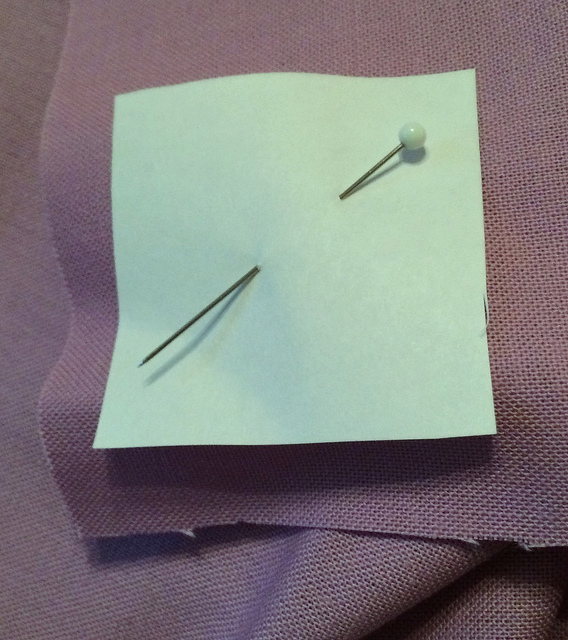
I pinned each piece directly to the fabric and simply cut around the paper freehand leaving enough fabric to baste under. I could have used templates if I had wanted to, but the EPP method does not require templates at all. The paper piece is not only your means of stabilization, but also your guide to cutting.

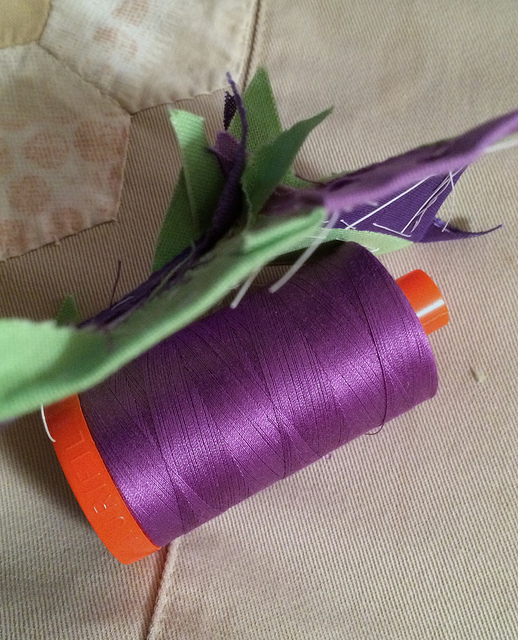
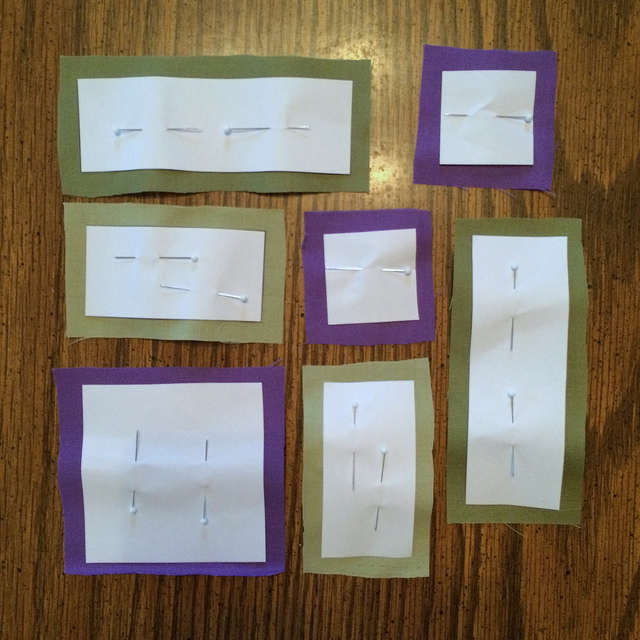
Here is a small square pinned to a piece of Kona Pansy.

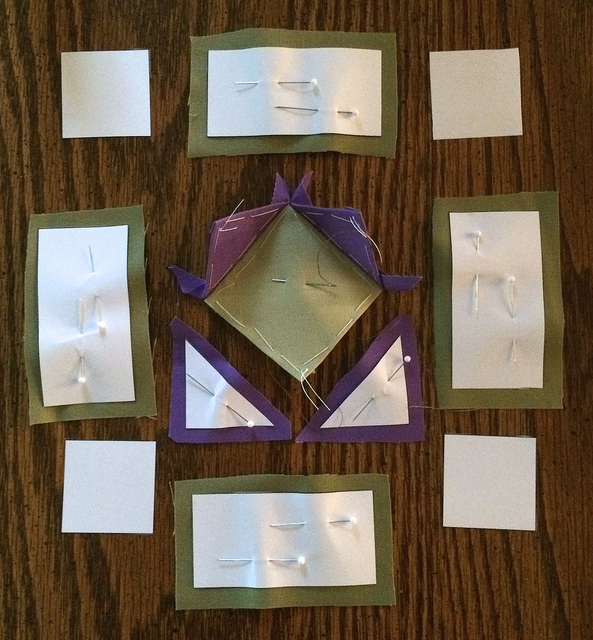
The pieces below are for Bonnie.

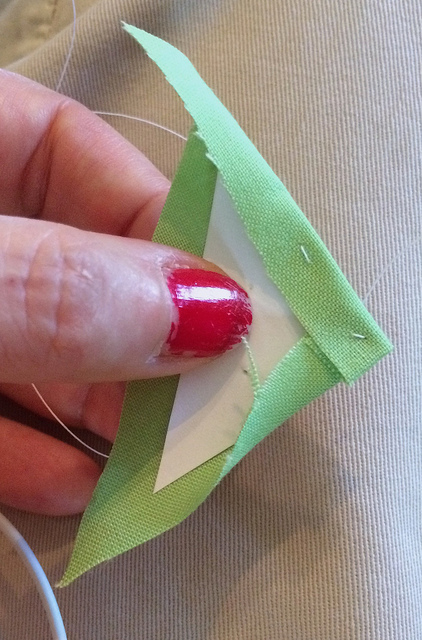
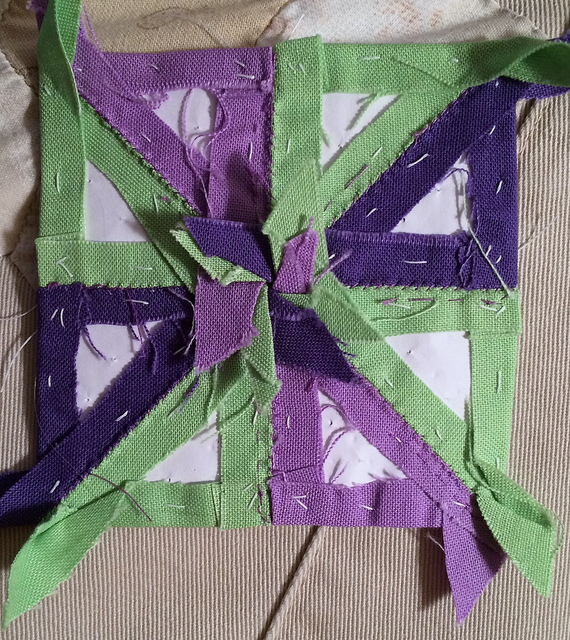
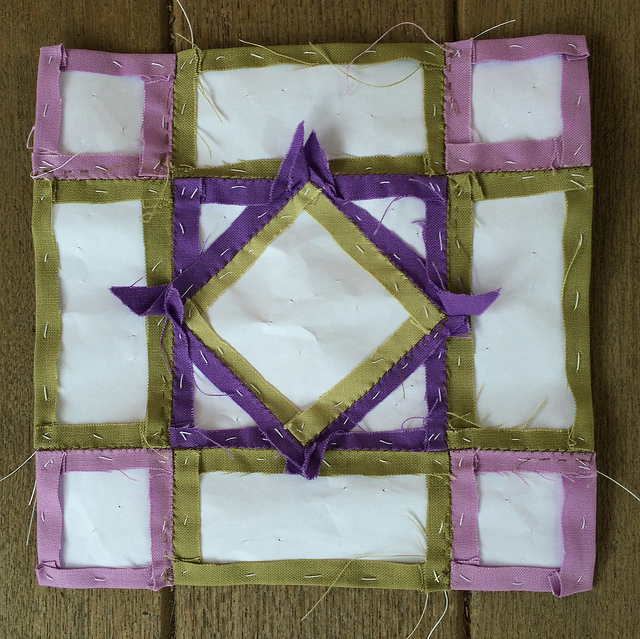
I basted my pieces and sewed them together. You see Aunt in process below.

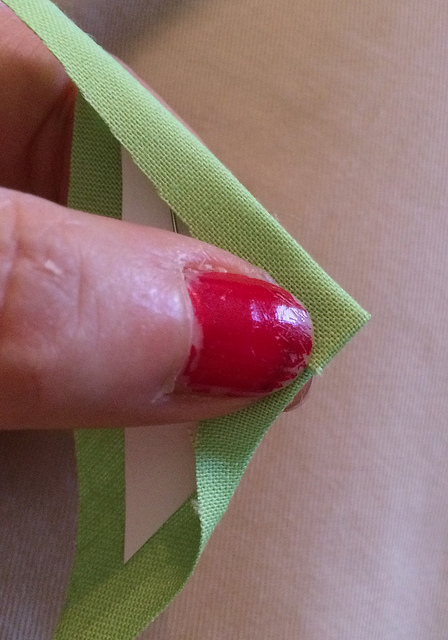
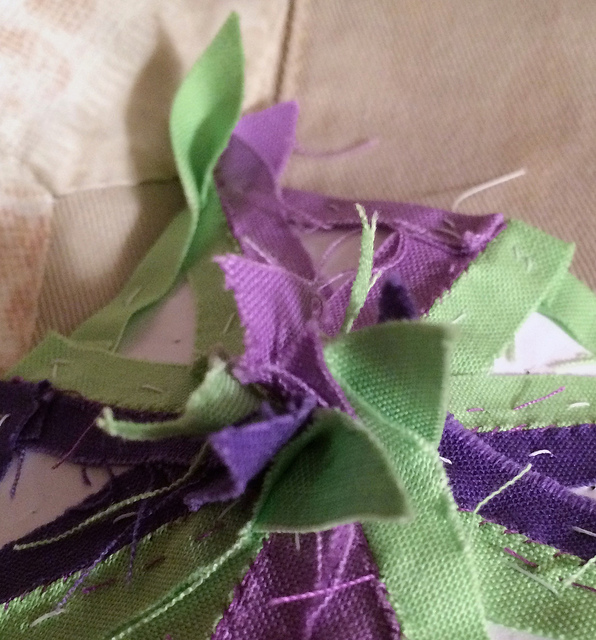
I was very nervous about the triangles. Triangles did not pop up until Aunt. I had gotten quite adept at basting squares and rectangles. I was afraid I would not fold the paper under accurately enough for triangles, but the edges matched up fine with the inner square, and my points turned out okay. I was a bit thrown by the little tails that the triangles created but I think I managed them alright.

I am using 20 pound copy paper for my paper pieces, but I think it would be worth it to invest in a ream of something a bit heavier, especially for those blocks with really tiny pieces.

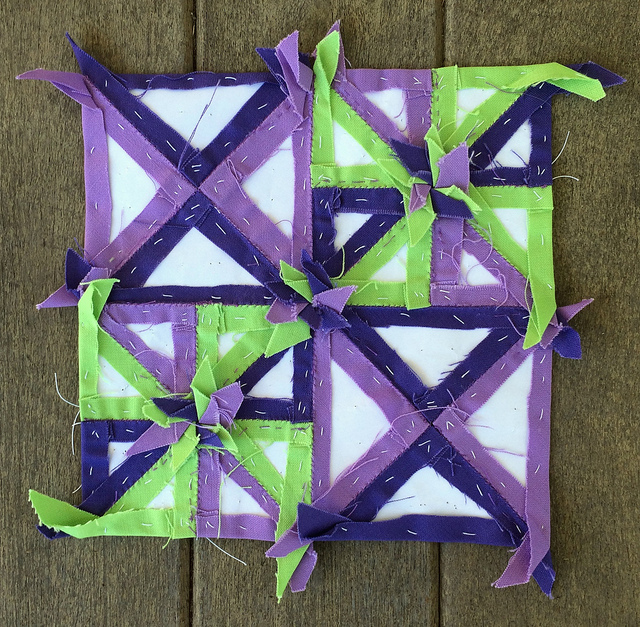
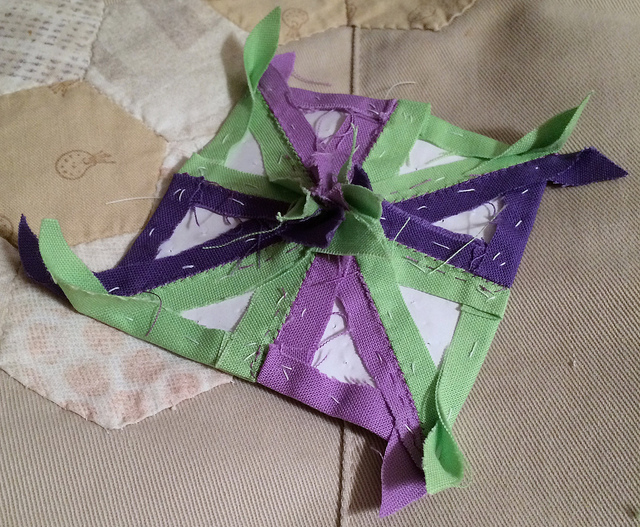
Here is how Aunt looks from the back. I keep the bulk of the basting threads to the front because they are much easier to remove that way.

As regards presentation, I am not thrilled that I had to pierce the fabric to do the basting. It kind of ruins the presentation for the blog. I don’t like showing my basting threads when I photograph my blocks so I stopped piercing my fabric for my one inch hexagons a long time ago. I could have used glue on these blocks, but I am not a fan of glue, although it was looking like a good idea after I saw how much time it took to do the basting on these blocks.

There was a tutorial about doing these blocks with EPP posted by Lucy from Charm About You. I recommend that you read her entire blog post, but I will share a tiny bit of what she said here as it relates to thread basting. In that tutorial Lucy recommends that you baste with thread if you are going to EPP the whole quilt. She said that it will last, and that you need the papers to stay in place to sew it all together. That made sense to me. She had many other good suggestions about completing the pieces with EPP, but I urge you to visit her tutorial to benefit from her experience.  I suggested on the Facebook page that I might glue only the INNER papers on more complicated blocks and use thread basting on all pieces that make contact with the outside edge. Lucy responded to my comment and said that she thought that was a good way to go. It was good to have my instincts confirmed. I found it interesting that Lucy showed us how to recover our quarter in seam allowance on an EPP block if we planned to incorporate EPP blocks with other techniques. I never would have thought of that on my own. I can tell that this QAL will be a great learning experience with bloggers like her sharing their wisdom.

Next week I will have two new Farmer’s Wife Blocks to share with you.

If you are interested in joining in on the QAL you can find out more about it here.

The more the merrier. Let’s make that Facebook Feed Fly!

I joke a little about how some of the members are frazzled by their feeds, but I must say that, by and large, this is a calm group. Moreover, they are incredibly kind and helpful group. Most are truly interested in seeing the work of others and commenting in a positive tone to encourage. I anticipate learning a great deal from these ladies.

I am linking up with Angie’s link up over at Gnome Angle.

I am also linking up with Jessica’s Monday Morning Star Count over at Life Under Quilts. Those of you visiting from the Monday Morning Star Count might want to scroll down a few posts to see what I have been up to during the last two weeks.
Adding a Strip Border to a Hexagon Quilt

It should be no surprise that I follow a blog called The Hexie Blog. Today the author of that blog, Julia Wood, posted a question from one of her readers about adding border strips to a hexagon quilt. I’ll let you read that query for yourself on The Hexie Blog.

Since I have had experience fleshing out the edges of hexagon pieces in just this manner, I decided to write to Julia and summarize my process incase she wanted to pass on the information to her reader. I referred her to a post in which I showed two such projects, and promised that I would take close up photographs of the corners and the edges of the one with the wider borders, and get back to her with those images today. I decided that the best way share them with her was to share them with you right here.

First let’s take a look at the images:

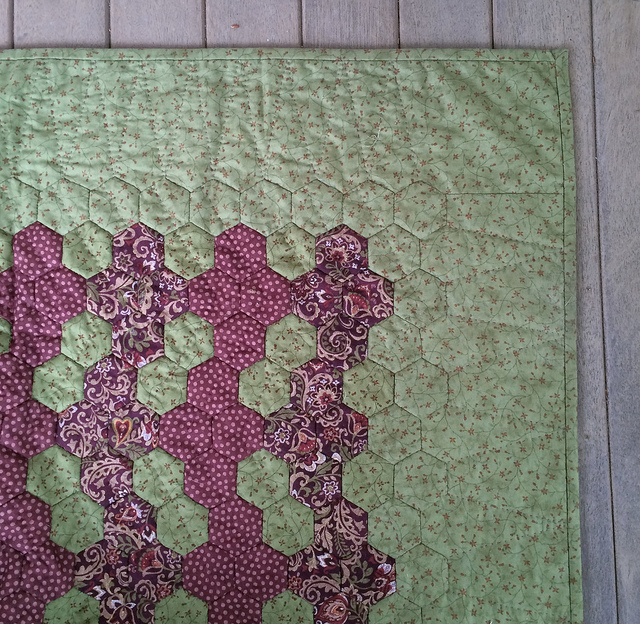
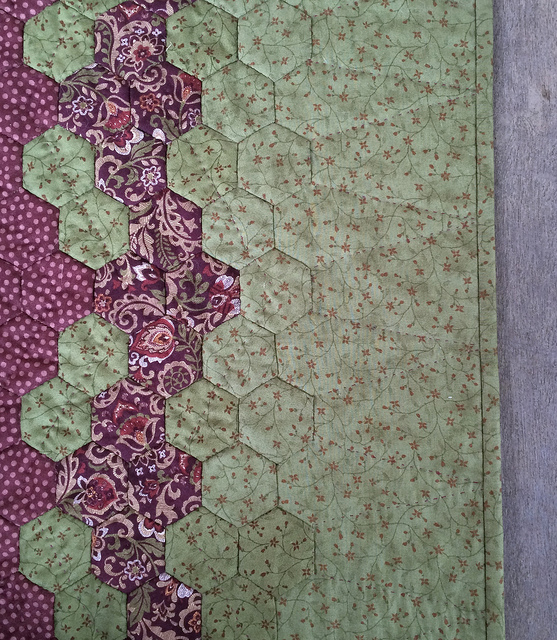
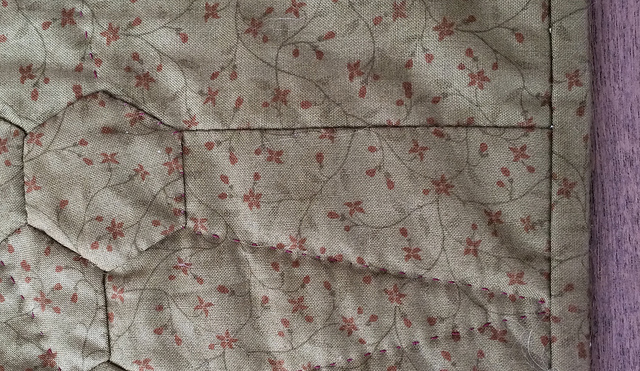
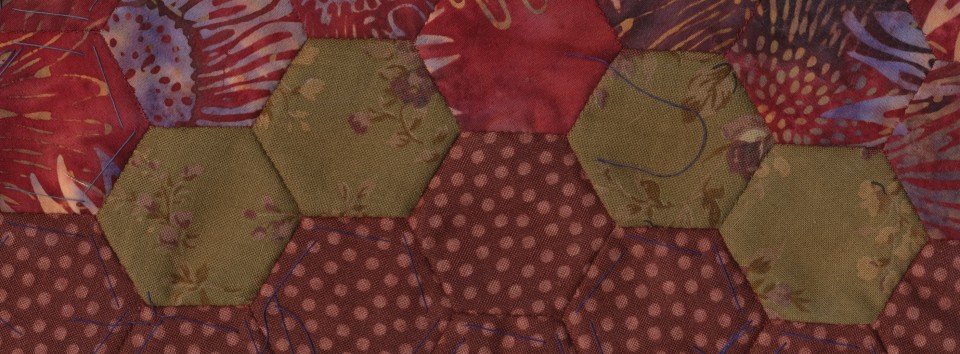
Here is the upper right corner of the panel. Notice the “seam” joining the side strip to the top strip. It isn’t a seam. It is appliquéd in place. This is the secret.

Here is the right side of the panel. The edges of the hexagons were lined up with a ruler to insure that this was straight. By the way, notice that I fleshed out the border of the hexagon work to match my border strips. It isn’t necessary, but I think it adds to the effect.

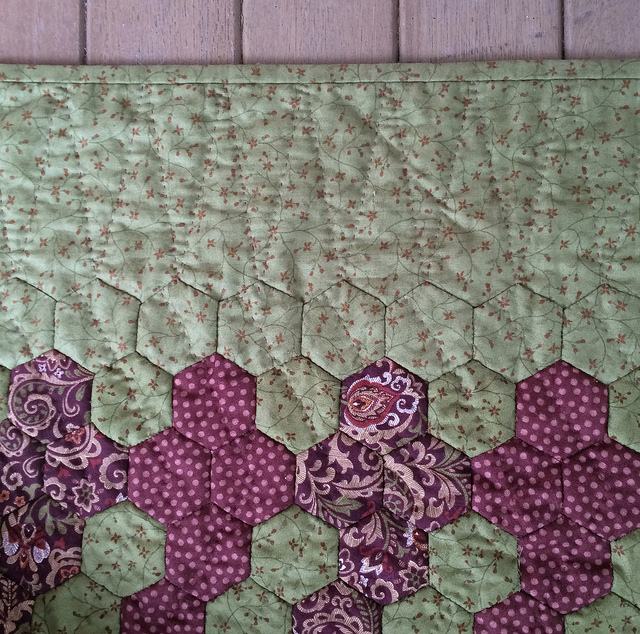
Here is the top side of the panel. This edge was also lined up with a ruler.

Here is a closeup of that “seam”. Even close up it is hard to tell it is done with appliqué.

You’ve seen the pictures. Now, for additional clarity, you can read about the process:

I cut strips for all four sides allowing for some extra length to be cut off later. I also allowed for an extra half inch to go under the edge of the hexagon work (measuring from the part that would be farthest from the outer edge). I guess you could call that the equivalent of a seam allowance.

I added my strips to the left and right sides first leaving at least a half inch of extra fabric along the end of the strip to fold under later. (More about that below.) I placed the strip on the table and laid the hexagon work over top of the strip. I pinned every hexagon and measured with a ruler every time to be sure I was placing the hexagon the right distance from the edge of the strip.

Edit: Actually, there is an alternative way to do this, and it may have been the way I actually did it. It was over a year ago that I did this border, after all. The alternative method is the lay the hexagon work face down on the table. You then take your strip and line the edge up perfectly with a reference on the reverse side, like the top edge of a row of hexagons. If you do it this way you will have to pull out the pins and pin them again one by one after flipping the work. You will also have to cut a wider “seam allowance” for the strip depending on what reference you are using. Either method will work, and I think they are probably equally time consuming.

After sewing the left and right sides to the strips I turned back the excess on the ends of the strips and pressed to get a sharp edge. These edges would be hand sewn to the top and bottom strips along with the hexagon edge. This avoids the need to figure out how to piece a “frame”. (By the way, as a side note, I would not recommend piecing a frame and trying to lay out the hexagon work on top of it. That approach is fraught with possibilities for distortion.)

The top and bottom strips were pinned into place in the same manner as the strips on the left and the right. Then they were hand sewn.

There is one thing about which one should be particularly careful. You want to be sure that neither the strips, nor the hexagon work, be stretched in the process of joining. It would be easy to get the unsightly ruffling effect you sometimes see on quilts along the edge if one or the other surface were stretched in the process of joining.

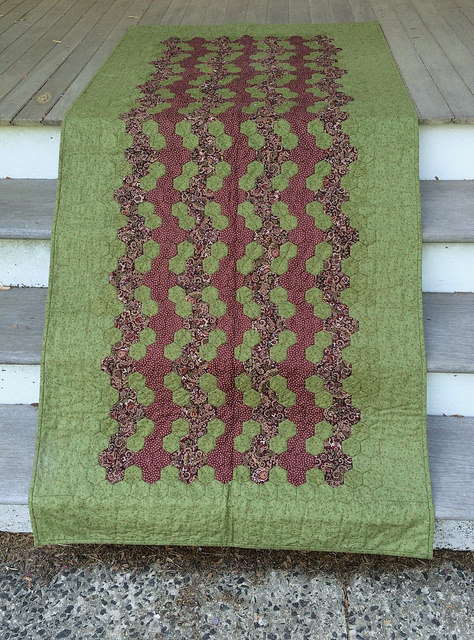
Incase you did not take a look at the post linked above, here is a shot of the project from which I took the detailed photographs above. It is a panel I have used to hang between my dining room and kitchen to keep the air conditioning in the dining room.

Edit: After publishing this post I went over to The Hexie Blog to read the comments on the original blog entry where the call for help was made. Interestingly enough, one of the comments was from a woman who said that she is doing the quilt in “The New Hexagon” by Katja Marek. She said that Katja has them appliqué the sides to their borders, fold down the top and bottom edges of the side borders, and then appliqué to the top and bottom borders. I guess great minds think alike. We both came up with exactly the same method independently of each other. That isn’t actually so amazing though, because it isn’t that complicated a method, but it is still interesting to me that it happened that way.


Kona Log Cabin Quilt: Fine Tuning My Medallion Blocks

Here is where I ended up on Wednesday when I was working on formulating my medallion blocks. I thought I was done when I put the Caramel in on the lighter side. I decided to make a second block like this. After doing so I decided that I really need some extra oomph on the lighter side. The Caramel just wasn’t doing it for me because it was not balancing out the impact of the Terra Cotta on the darker side.

I decided to get really bold by replacing the Caramel with School Bus, and here is the result:

The School Bus is a lot brighter than the Caramel. I decided that I really liked the change, and proceeded to make three more blocks so I could see a grouping of four blocks to give myself a better idea of how they will play together. The lighter side is still less dominant than the darker side, which is brighter. Yet the School Bus strips cry out, “Look at me too.”

These blocks will be trimmed to 12.5 inches, but you get the idea. I love this block. I will be making eleven more of these blocks for a 3 x 5 central medallion composed of 15 blocks.

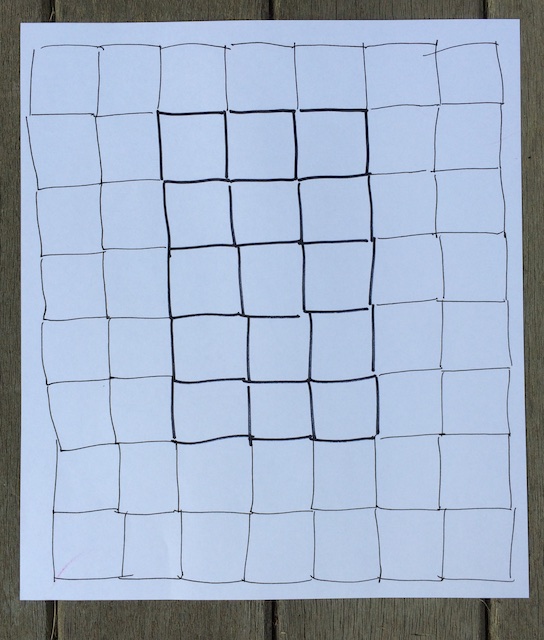
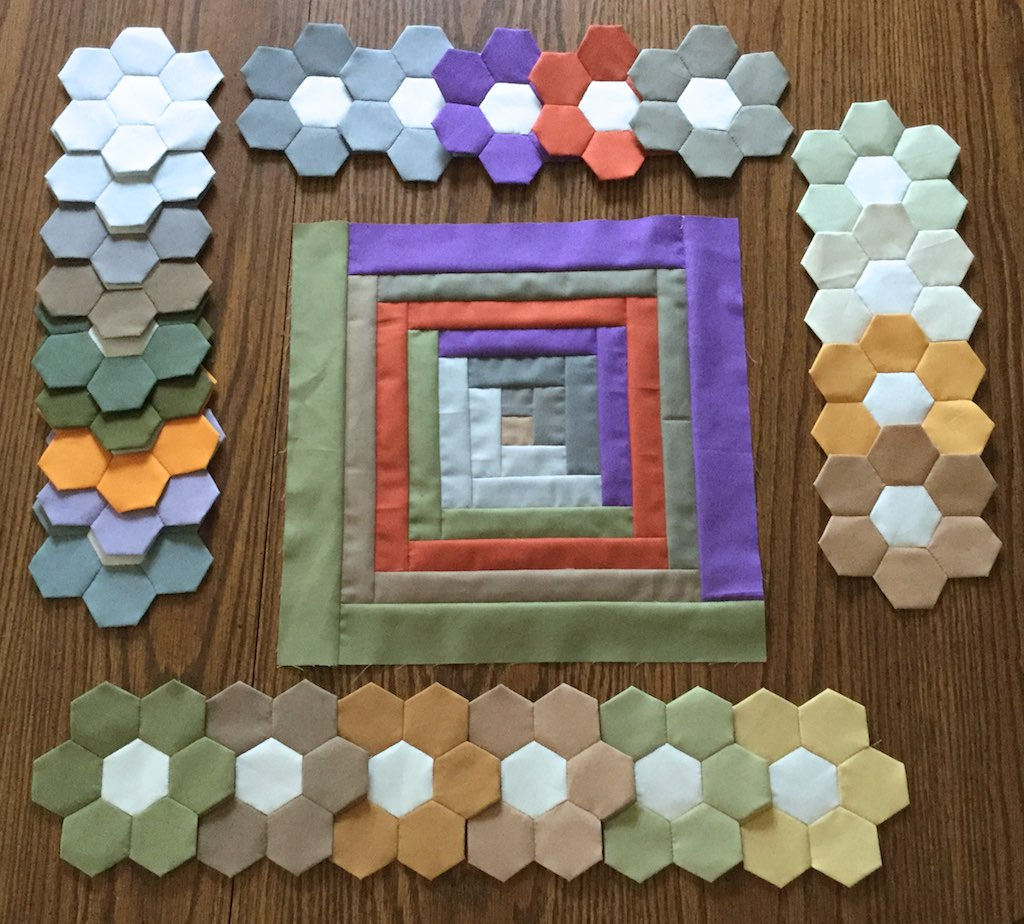
The rough drawing below gives an idea of how this medallion will fit on the overall quilt design. The bolder squares represent the medallion. They are followed by another row of blocks on each side to fill out the bed top. Then there will be additional rows on the left, right, and bottom for overhang.

I will be filling in the rest of the quilt with more randomly constructed blocks such as this one:

I’m going to need more School Bus, Mushroom, and Taupe for sure. While I am over at the Fat Quarter Shop I will take a look at my Kona Sample Card and see about getting some additional greens and violets for potential use in the Farmer’s Wife Quilt.

While waiting for new fabrics to arrive I am working on producing the center portion of the block that will compose the medallion of the Kona Log Cabin Quilt. I have made three of them so far.

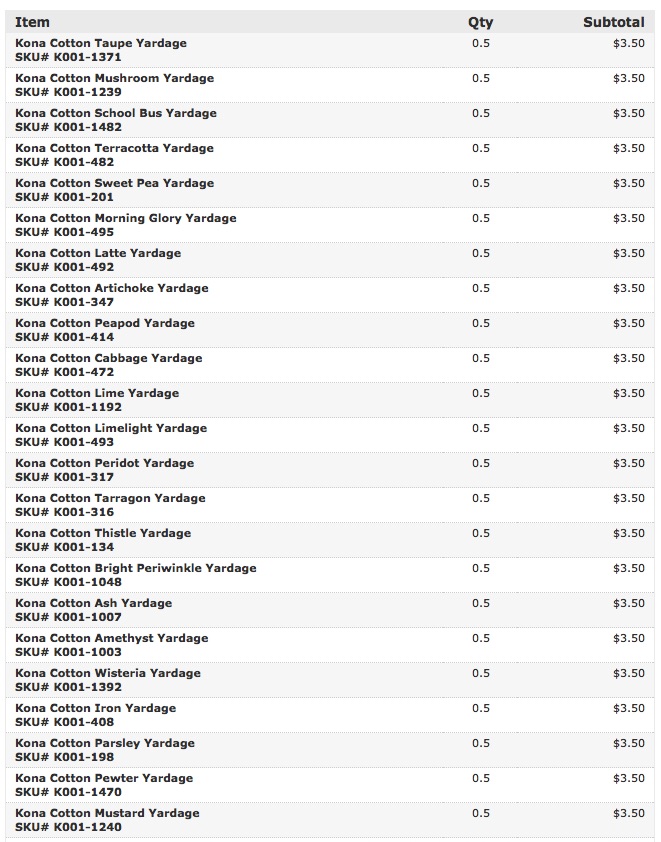
I’ve worked it out that 23 half yards of Kona Solids comes to $80.50. That is fifty cents above what is required for free shipping from the Fat Quarter Shop. Eleven of these colors are for the central Medallion blocks. That makes 12 new colors.

Here is my order:

Quilters Take Manhattan

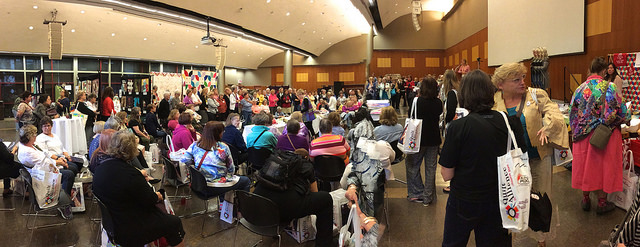
Last Saturday I got on a train and traveled into Manhattan to attend an annual quilting event put on by the Quilt Alliance called “Quilters Take Manhattan”. I met up with three other members of the Central Jersey Modern Quilt Guild on the train, and we walked together to the Fashion Institute of Technology where the event was held.

I really enjoyed the day. There were vendors to visit, goody bags with charm packs, and even Fat Quarters! But most impressive of all was the coupon for a free Craftsy Class. I redeemed mine for a class by Angela Walters called “Machine Quilting Negative Space”. The price of the class is $39.00, so it nearly covered the $50.00 cost of the ticket to the event. Add, taking into account the fabric in my goody bag, I definitely attended Quilters Take Manhattan for free.

The event included inspirational talks by Ricky Tims and Victoria Findlay Wolfe, as well as others. there was a silent auction of some wonderful items plus a raffle. I purchased $10.00 worth of raffle tickets for this good cause, not expecting to win anything, and I was right. Money well spent though.

Now for my progress on my Low Volume Quilt…

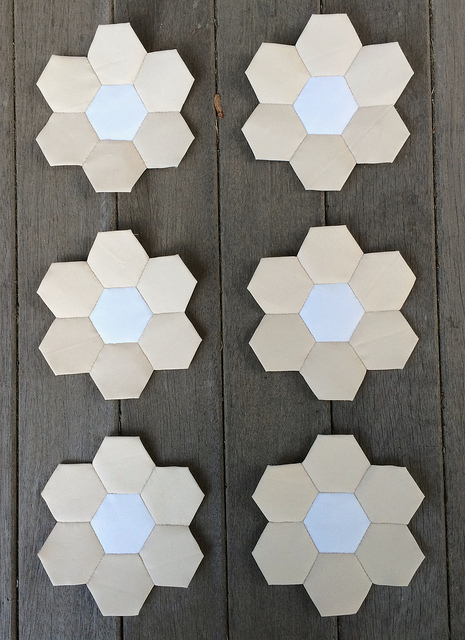
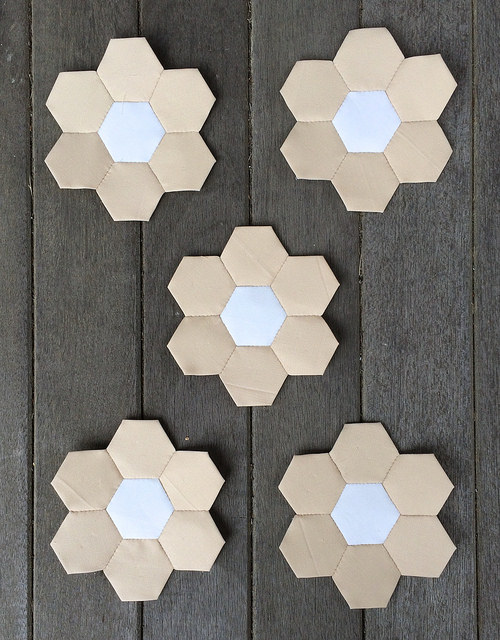
I cut into a new fat quarter from the Kona “Not That White” collection. This week’s color is Champagne. I made five flowers and still have some basted hexagons left, so there will probably be two or three more flowers of this color coming soon.

I am linking up with Jessica’s Monday Morning Star Count over at Life Under Quilts, as usual.

Those of you coming here from the Star Count might enjoy reading about my most recent progress on my Kona Log Cabin Quilt.

Kona Log Cabin Quilt: A Quilt Within A Quilt

In this post I am going to “talk out loud” about my thought process in coming up with the right block to use in the central medallion of my Kona Log Cabin Quilt. I’ve been giving a lot of thought to how I might unify the Kona Log Cabin Quilt. One idea is to create a quilt within a quilt. This would consist of a medallion of blocks that would be a 3 x 5 section near the center of the quilt.

I decided that I wanted these blocks to be identical and for my three favorite Kona solids to be featured in the block.

From top to bottom these colors are Sweet Pea, Terra Cotta, and Morning Glory. I had already decided to add Sweet Pea and Morning Glory to the outer repeats of every block in the quilt. Those two colors will make a second appearance in the blocks of this medallion near the center of the block. Terra Cotta will make an appearance immediately after that on both sides of the block to form a square that traverses the light and the dark.

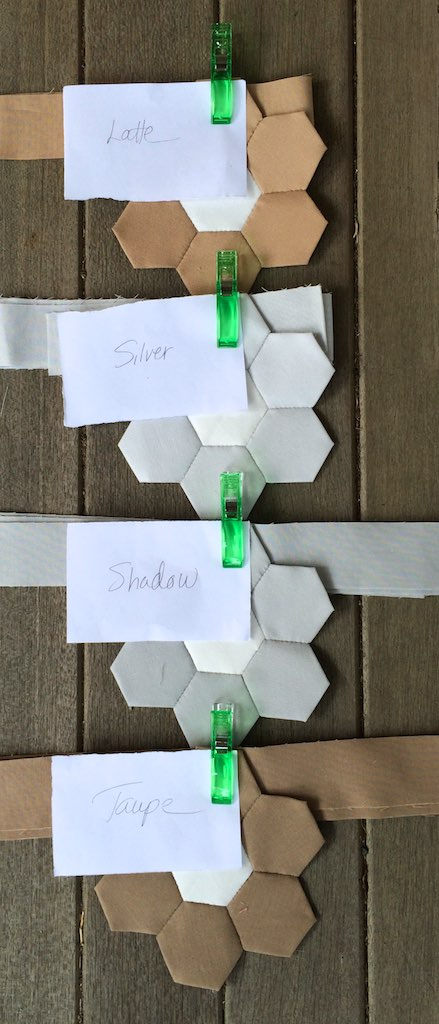
Deciding what else to include was a more difficult decision. I thought that going neutral with the remainder of the block would give a nice contrast between the randomness of the blocks outside the medallion area and the structure of the blocks inside the medallion area. So I chose the following colors to work with.

From top to bottom these colors are Latte, Silver, Shadow, and Taupe. I will use the Latte for the small center square of the log cabin block to provide a touch of color. I will use the remaining colors on the light side of the block.

I’ve also chosen:

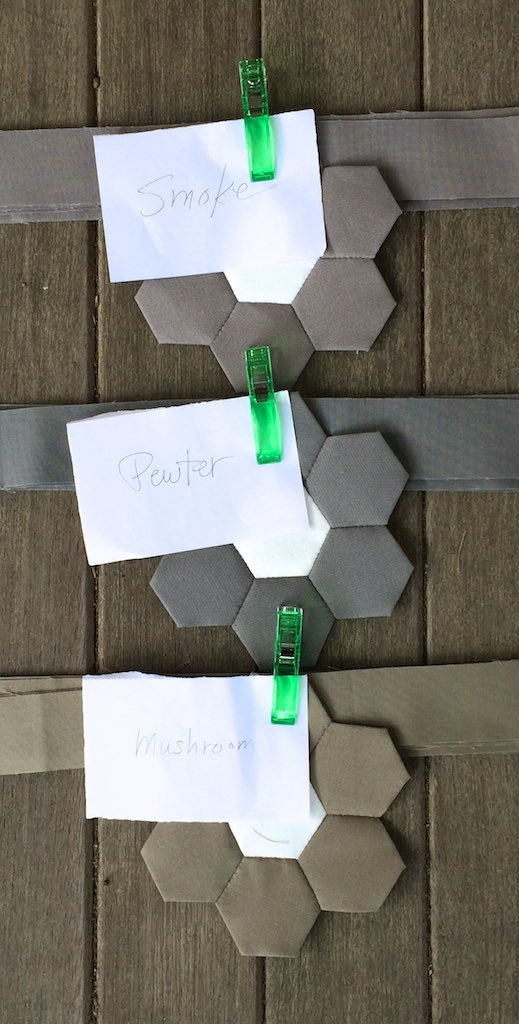
From top to bottom these colors are Smoke, Pewter, and Mushroom. These will be used on the dark side of the block.

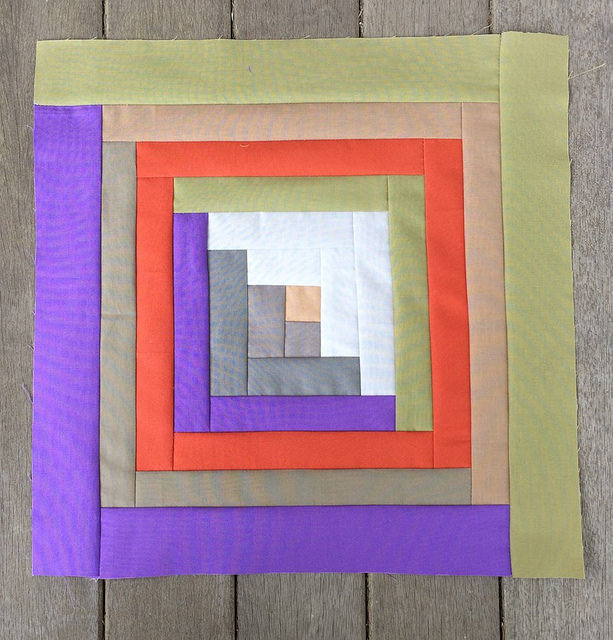
And here we have a block (as yet untrimmed) that conforms to the above specifications.

I’m not altogether happy with it. In fact, I have to say I am totally disappointed with the lighter side of the block. The two grays near the center read almost as white when juxtaposed with the other colors. I also don’t like the Terra Cotta traversing the lighter side. I am pretty happy with the darker side of the block though, although I may try to get more contrast between the two darker central gray fabrics.

To fix the lighter side I am going to try Caramel where the Terra Cotta currently is located. I am also going to try some warmer light colors to substitute for the two light grays near the center. I may pull the Latte out of the center location and use it in place of one of the light grays on the light side of the block.

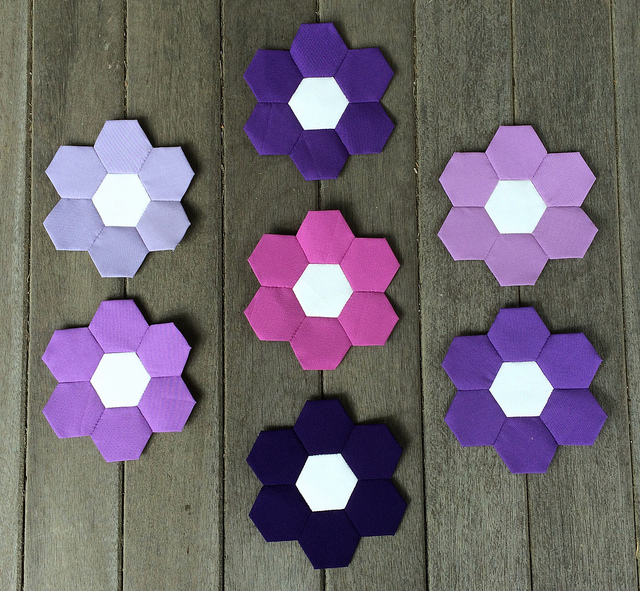
I’ve gathered together some of my Kona flowers to help me with the decision making process.

The flowers on the left have been eliminated, as have the flowers on the right. The flowers along the top represent the colors for the dark side of the block, and the flowers along the bottom represent the colors for the light side of the block.

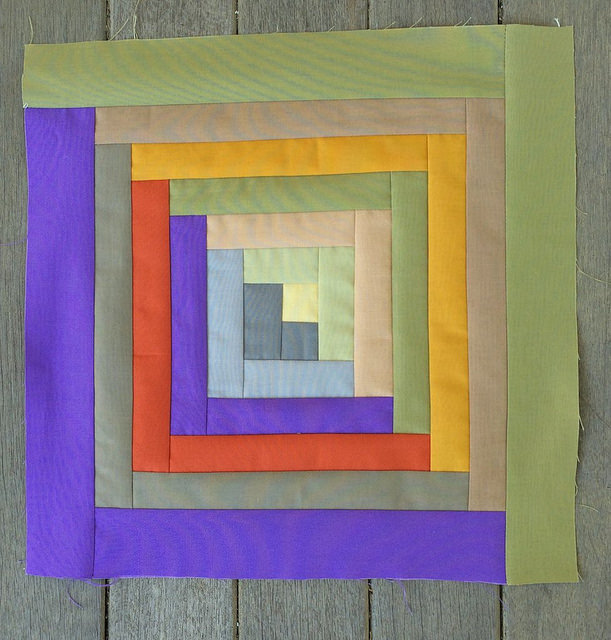
And here is the newly designed block.

I think it looks a lot better. Yet I am not yet completely sure about the Terra Cotta, though I really want it to be there. I am going to take a couple days to sit on this (figuratively). I may need to make four blocks like this and see how they interact before I make a final decision.

Here are the colors in the order in which they are added to the block starting from the center:

Mustard, Pewter, Parsley, Iron, Latte, Morning Glory,

 Sweet Pea, Terra Cotta, Caramel, Taupe, and Mushroom

The Farmer’s Wife Quilt

I’m actually going to do this, and I am going to do it as an EPP project. There is a large group of quilters gathering over on Facebook to make this quilt together starting September 28th. People are using different methods of construction. There are machine paper piecing templates included on the DVD in the book. There are no specific instructions for EPP work, but apparently some people will be blogging about how to do that. I’ll just have to wait to see if their ideas about how to approach this coincide with mine.

I’ve decided to use solids for my quilt, which should come as no surprise given my recent obsession with Kona Solids. Originally I had though that I would like to do the quilt with all three secondary colors, but I have decided to narrow my pallet down to violets, greens, and a handful of neutrals. I’m leaving the orange out for now. I’ll do a full secondary quilt at another time with another pattern.

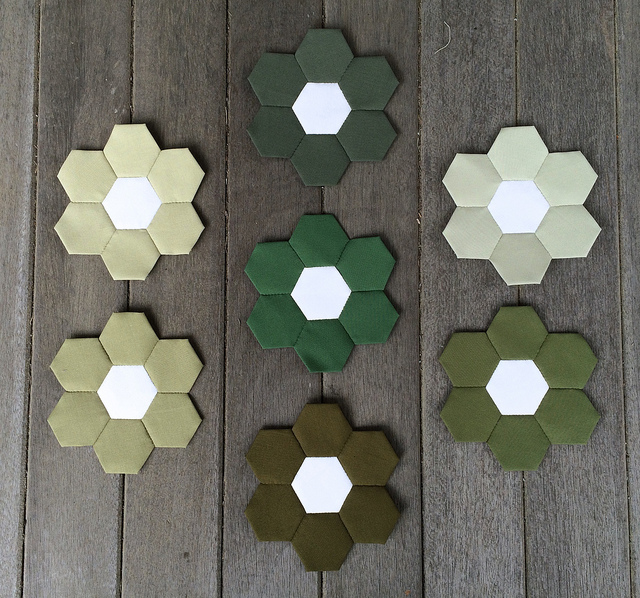
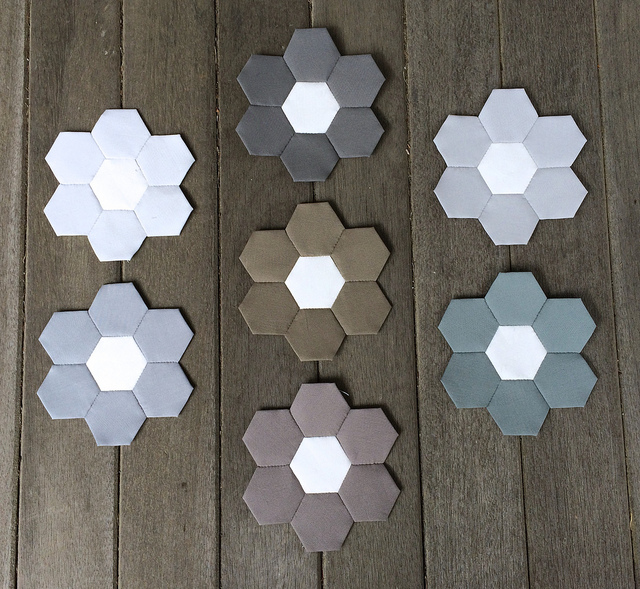
Sorting through my Kona flowers I came up with seven colors for these three categories of colors.

This isn’t to say I won’t consider adding other violets, greens, and neutrals along the way. My goal is to create a fairly low intensity, low contrast piece, sort of a low volume project tuned to the middle of the value range. Therefore, I am likely to eliminate the lightest, darkest, and brightest of the colors seen above.

There is one print fabric that I am thinking of adding to the mix. It is one of the very first fabrics I purchased over two years ago when I started quilting again. It is my favorite fabric for sentimental reasons. It brought me back to quilting after so many years. I have about four yards of it remaining, and I have considered for a long time that I would enjoy making it the focus of a quilt. I may decide to sprinkle it into a few blocks in the quilt.

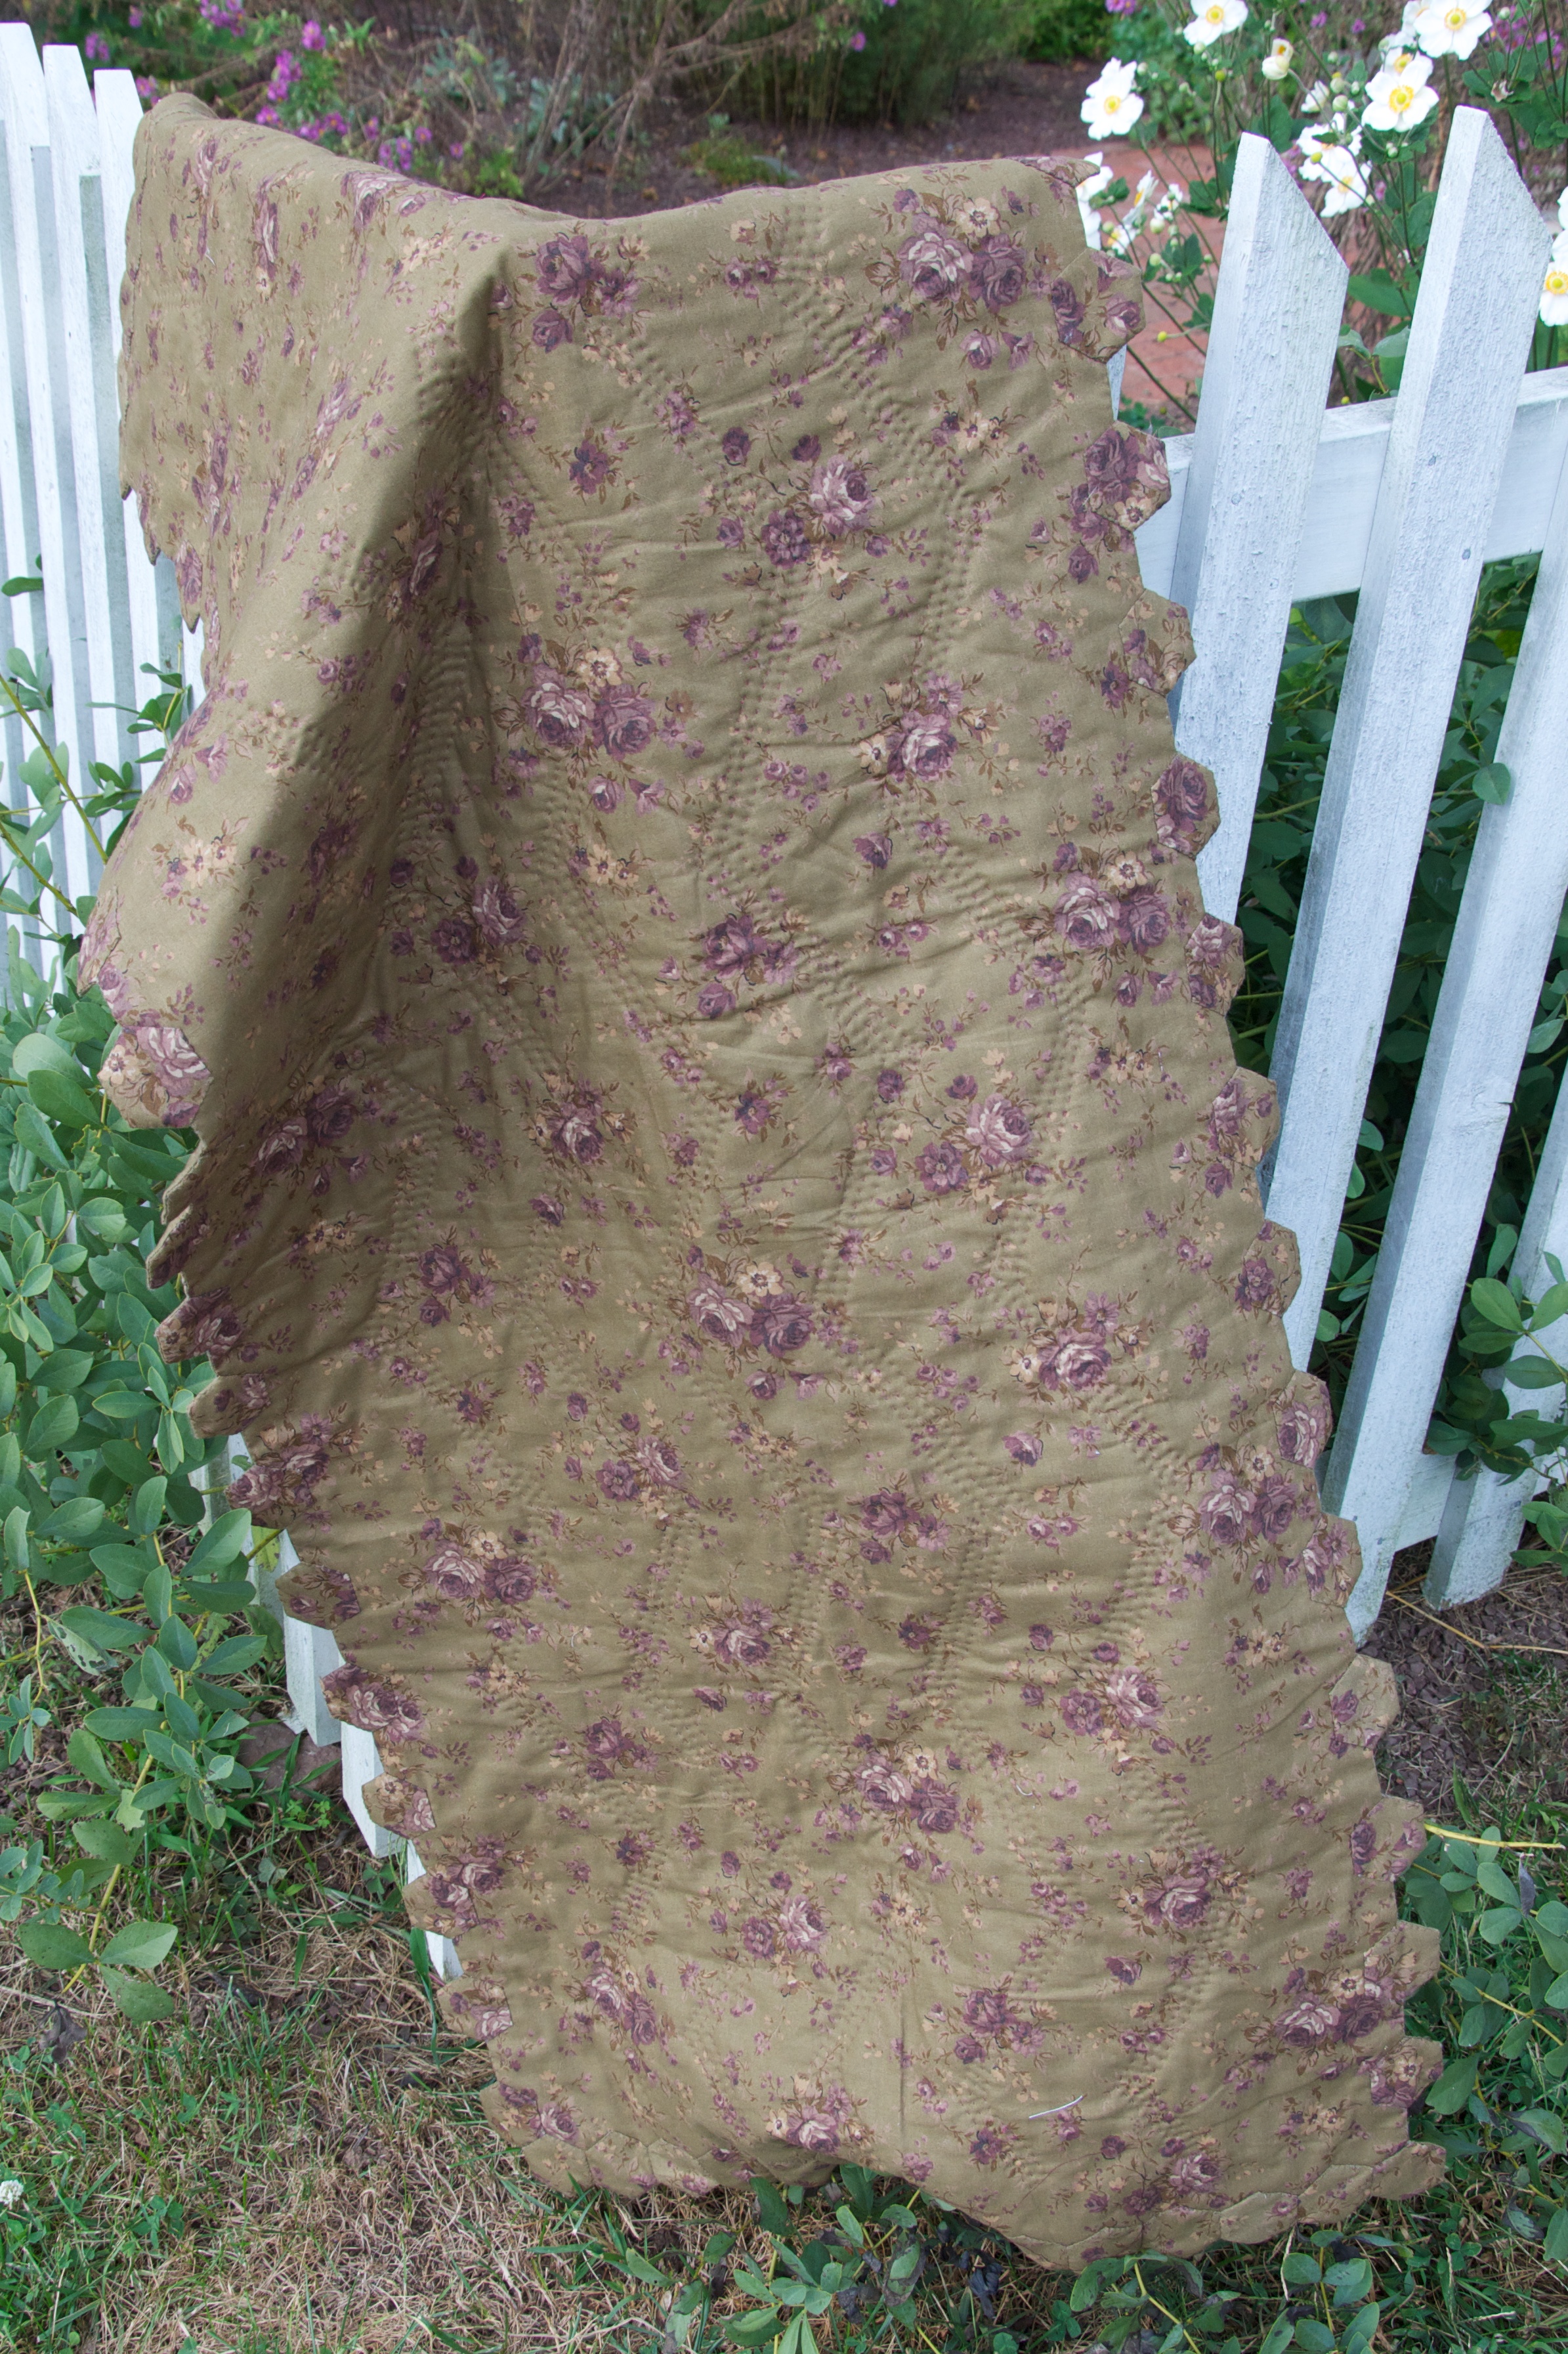
The fabric is pictured below used as the backing for my first large quilting project in my Second Act In Fiber Arts.
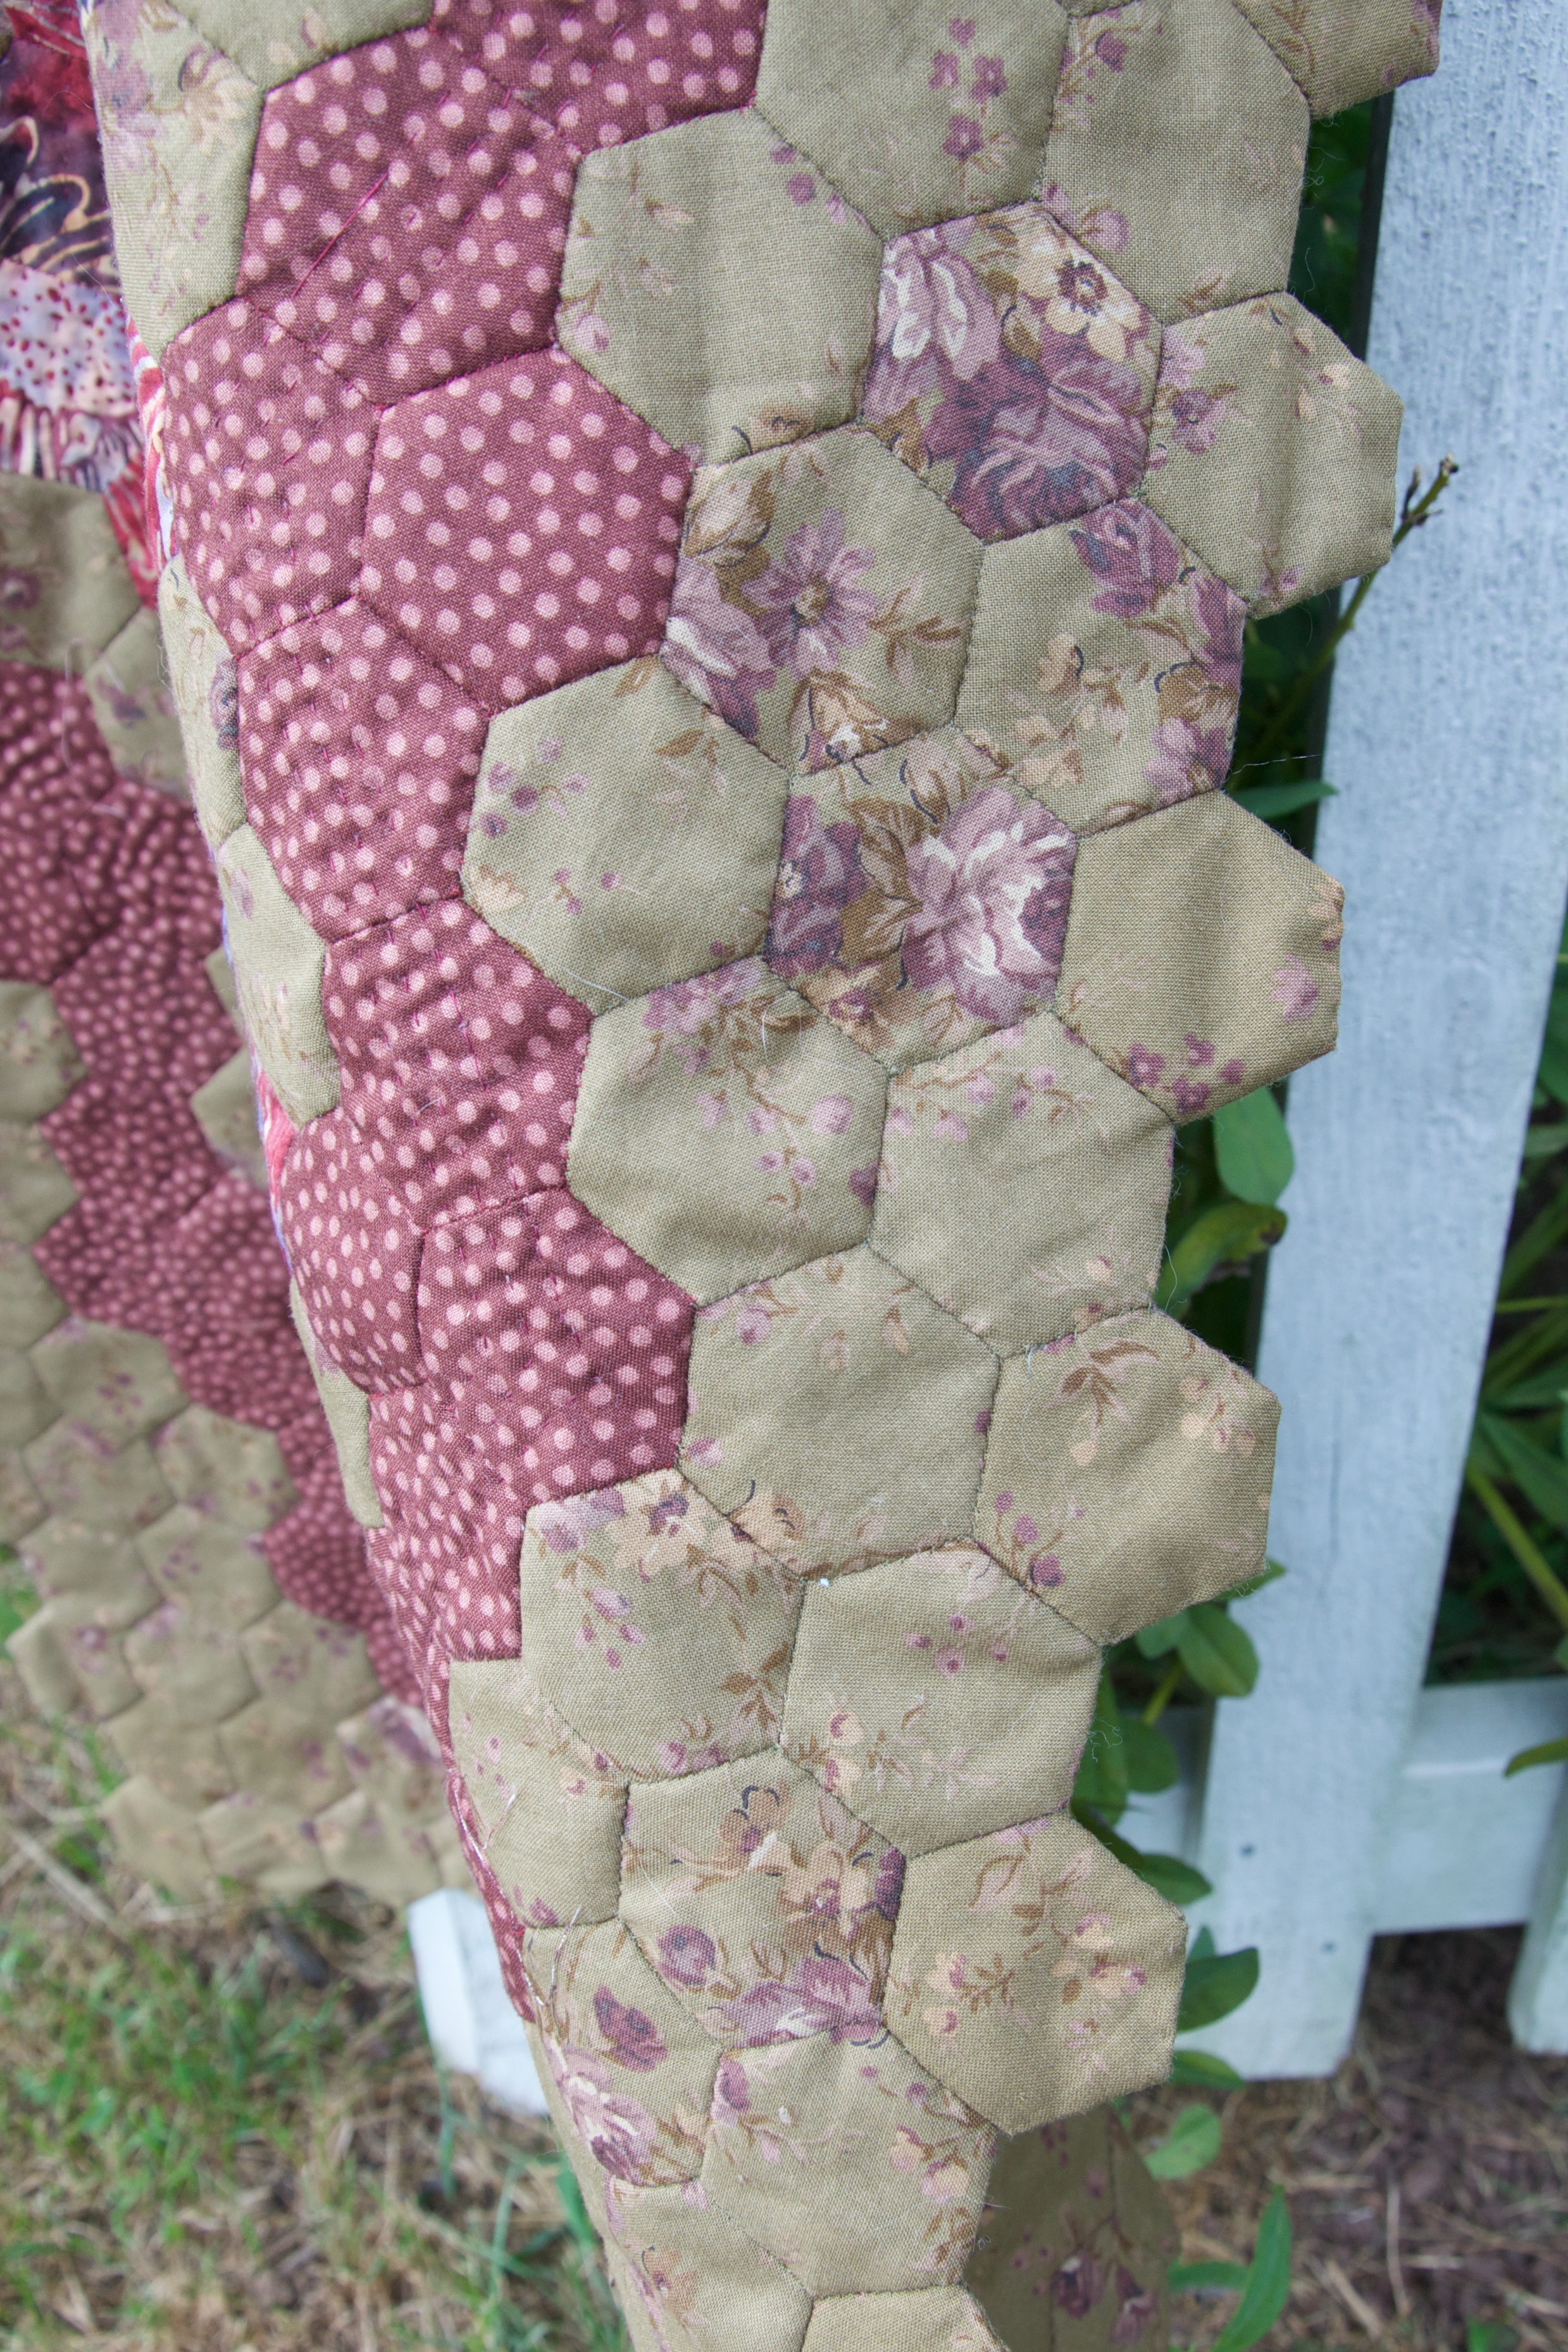
Actually this photograph shows the color of the patterned fabric better.

After the QAL begins on September 28th I will update my progress weekly.

I am linking back to Jessica’s Monday Morning Star Count, as usual. Those of you visiting from the Star Count may enjoy seeing my most recent Kona Solid flowers.
Fabric Friday: Flowers From Kona Fat Quarter Bundle

I had planned to allow my arm to rest this week, but I saw a fat quarter bundle of Kona Solids sitting on my shelf. I had not yet made flowers for these solids, so I got to work. Here they are:
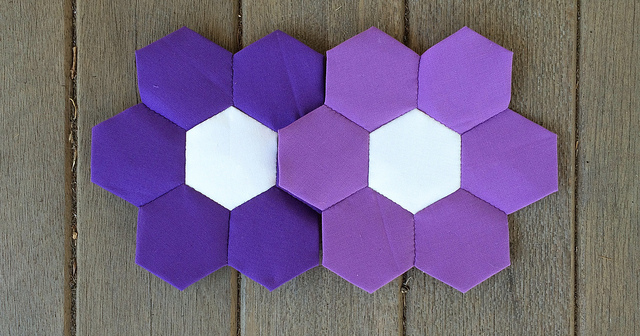
Heliotrope and Dahlia


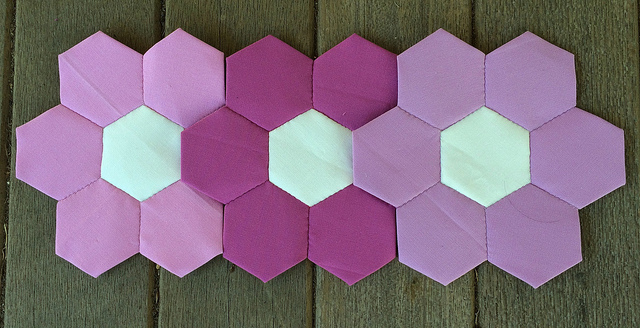
Ballerina, Gumdrop, and Corsage


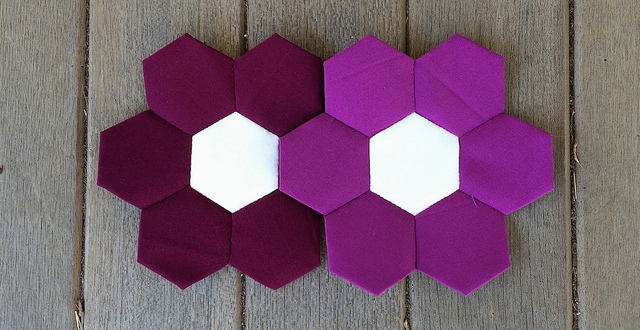
Bordeaux and Geranium


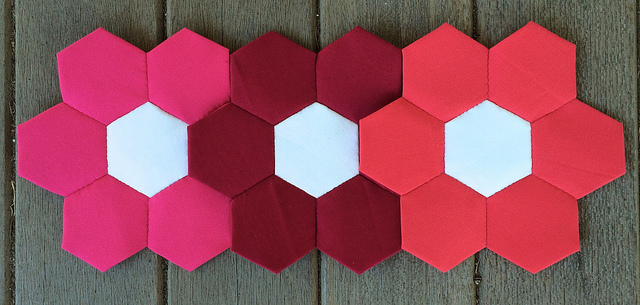
Honeysuckle, Sangria, and Watermelon

The difference between Honeysuckle and Watermelon is quite subtle indeed. I probably don’t need both of these in my collection.

I now have 53 distinctly colored flowers in my Kona solids collection.

Low Volume Quilt: Progress Post Twelve

This has been a slow week for progress on the Low Volume Quilt. I spent most of my time making sample flowers for the 23 new Kona solids I purchased, and blogged about them on Friday. My sewing arm is giving me quite a bit of trouble as a result, so I am going to have to give it some rest this week. I’ll get back to the log cabin work, and next Monday I will discuss a new EPP project I will have in the works soon.

In spite of my arm pain, I did manage to cut into a new fat quarter from the Kona “Not That White” collection and make some flowers using it. The color is Sand, and I made six flowers with it for potential use in the Low Volume Quilt. I say “potential use” because this whole project is being done in a totally spontaneous way, and I can’t be sure until I have enough variety of solids and patterns how the final quilt will come together. I’m not keeping count anymore, but the total is well over 100 flowers by now.

I am linking back to Jessica’s Monday Morning Star Count as usual. Since it has been two weeks since we have linked back, those of you coming here from the Star Count might want to scroll down quickly to August 24, and then scroll back up in a more leisurely fashion. That way you will see (in order) what I have been up to during the interim. I won’t use a permalink this week. That will allow you to scroll down.


Fabric Friday: 23 New Kona Solids As Flowers

I showed them as yardage last Friday. Now you get to see them as flowers. I can’t believe I completed all 23 flowers in just one week. Here they are:

PurpleChocolate, and Coffee

These two browns are very close to each other, but they appear darker here than they really are. There is also more contrast between them than there appears to be here. Yet, if I were to order yardage, I would probably not order both. I would choose one or the other. I don’t need to own quantities of every color. I’d just like to say that I have seen them all at a scale large enough to appreciate their subtleties. And, of course, if possible, I’d like to own a 6 x 6 inch square of each, plus a flower of each, for comparison purposes.

PalmPewterIvy, and O. D. Green

Palm and O. D. Green speak to me, and they will be taking their place among my preferred secondaries.

SmokeIron, and Lilac

I see Lilac as a definite addition to my preferred collection of secondaries. Moving forward, as I purchase more solids, I intend to concentrate on my secondary palette before adding to my primary or neutral palettes.

LatteWheat, and Taupe

BrownMocha, and Earth

MossBisonMushroom, and Shale

Mushrooom is a yummy neutral.

School BusMustard, and Shadow

I bought School Bus strictly on a whim, but I think that it will prove to be a much more useful color than I had imagined. Strictly speaking, this color has enough yellow in it to be a cross between a secondary and a primary. But it says, “orange” to me. So I am categorizing it as a secondary. Mustard is a great yellow that is not too bright. Shadow is a nice gray that treads the line between light value and medium value.

The next step Kona Solids acquisition is to scour the sample card for more secondaries.