I noticed a couple weeks ago that I had not posted in two solid months. That’s not like me, but I attribute my lapse to one thing. I’d been quite consumed with worry about my upcoming cataract surgery. Now that one eye is finished, and the second eye is a week away from being done, I’m ready to write about this adventure.
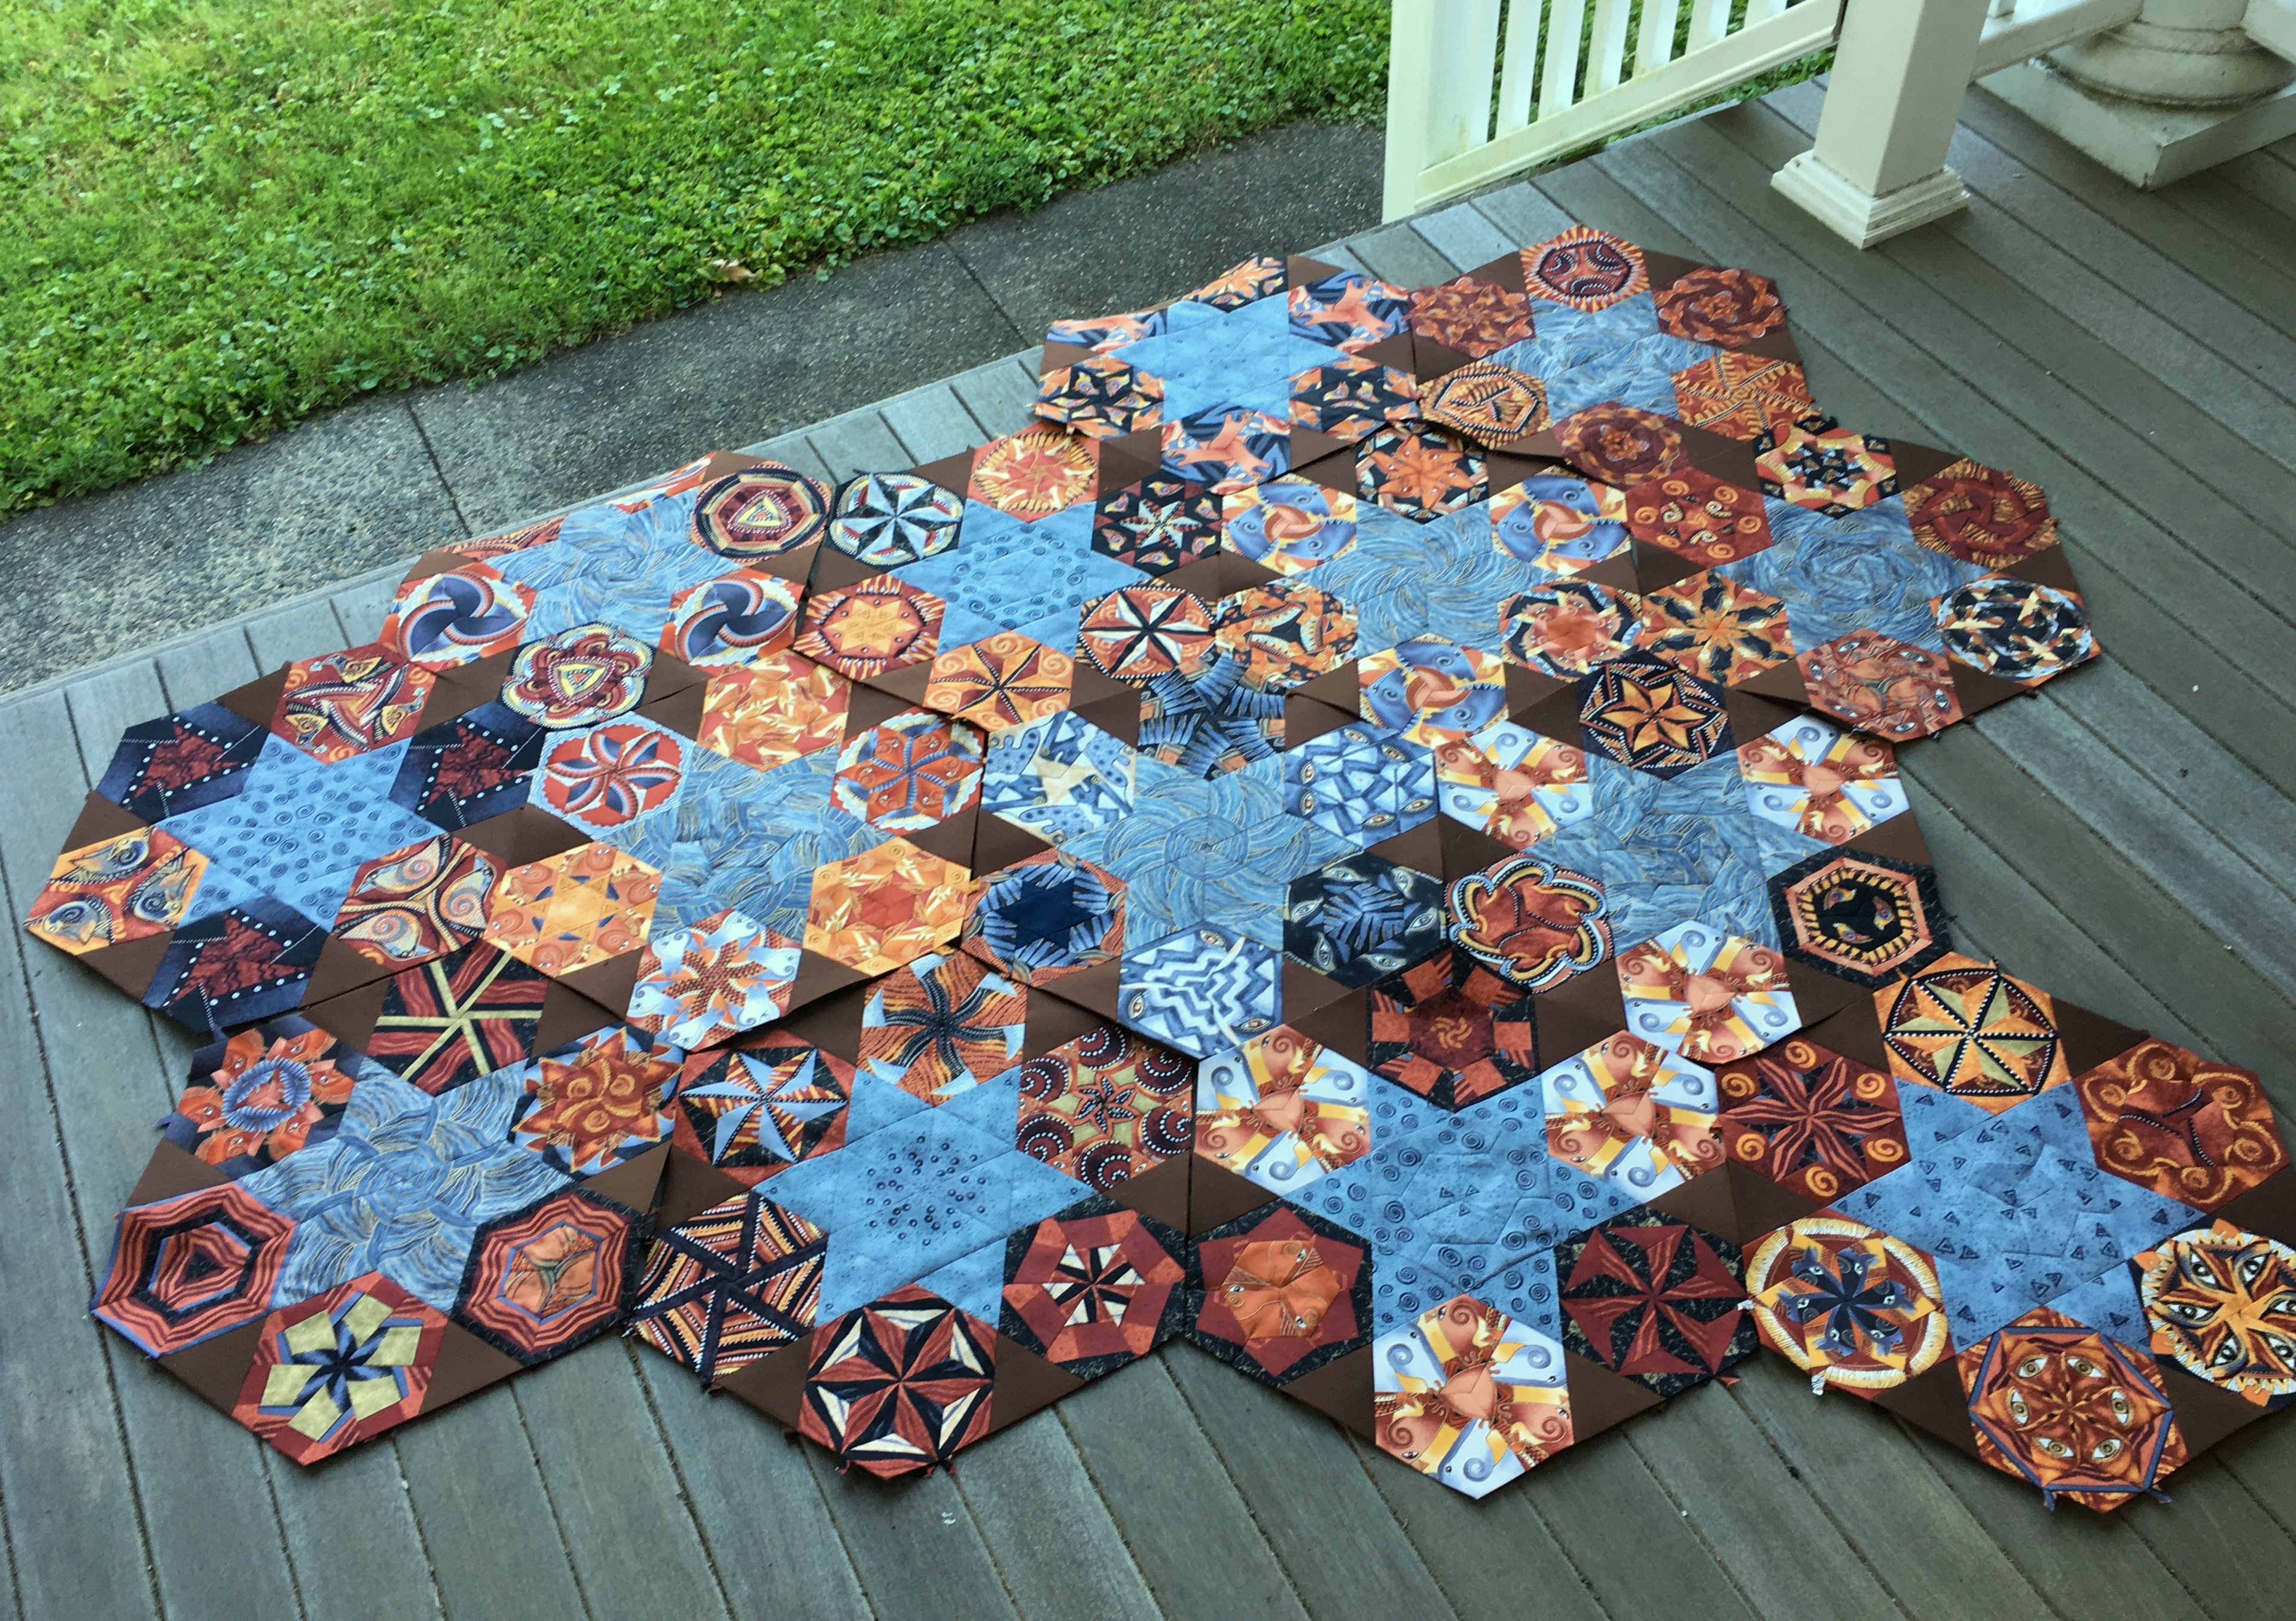
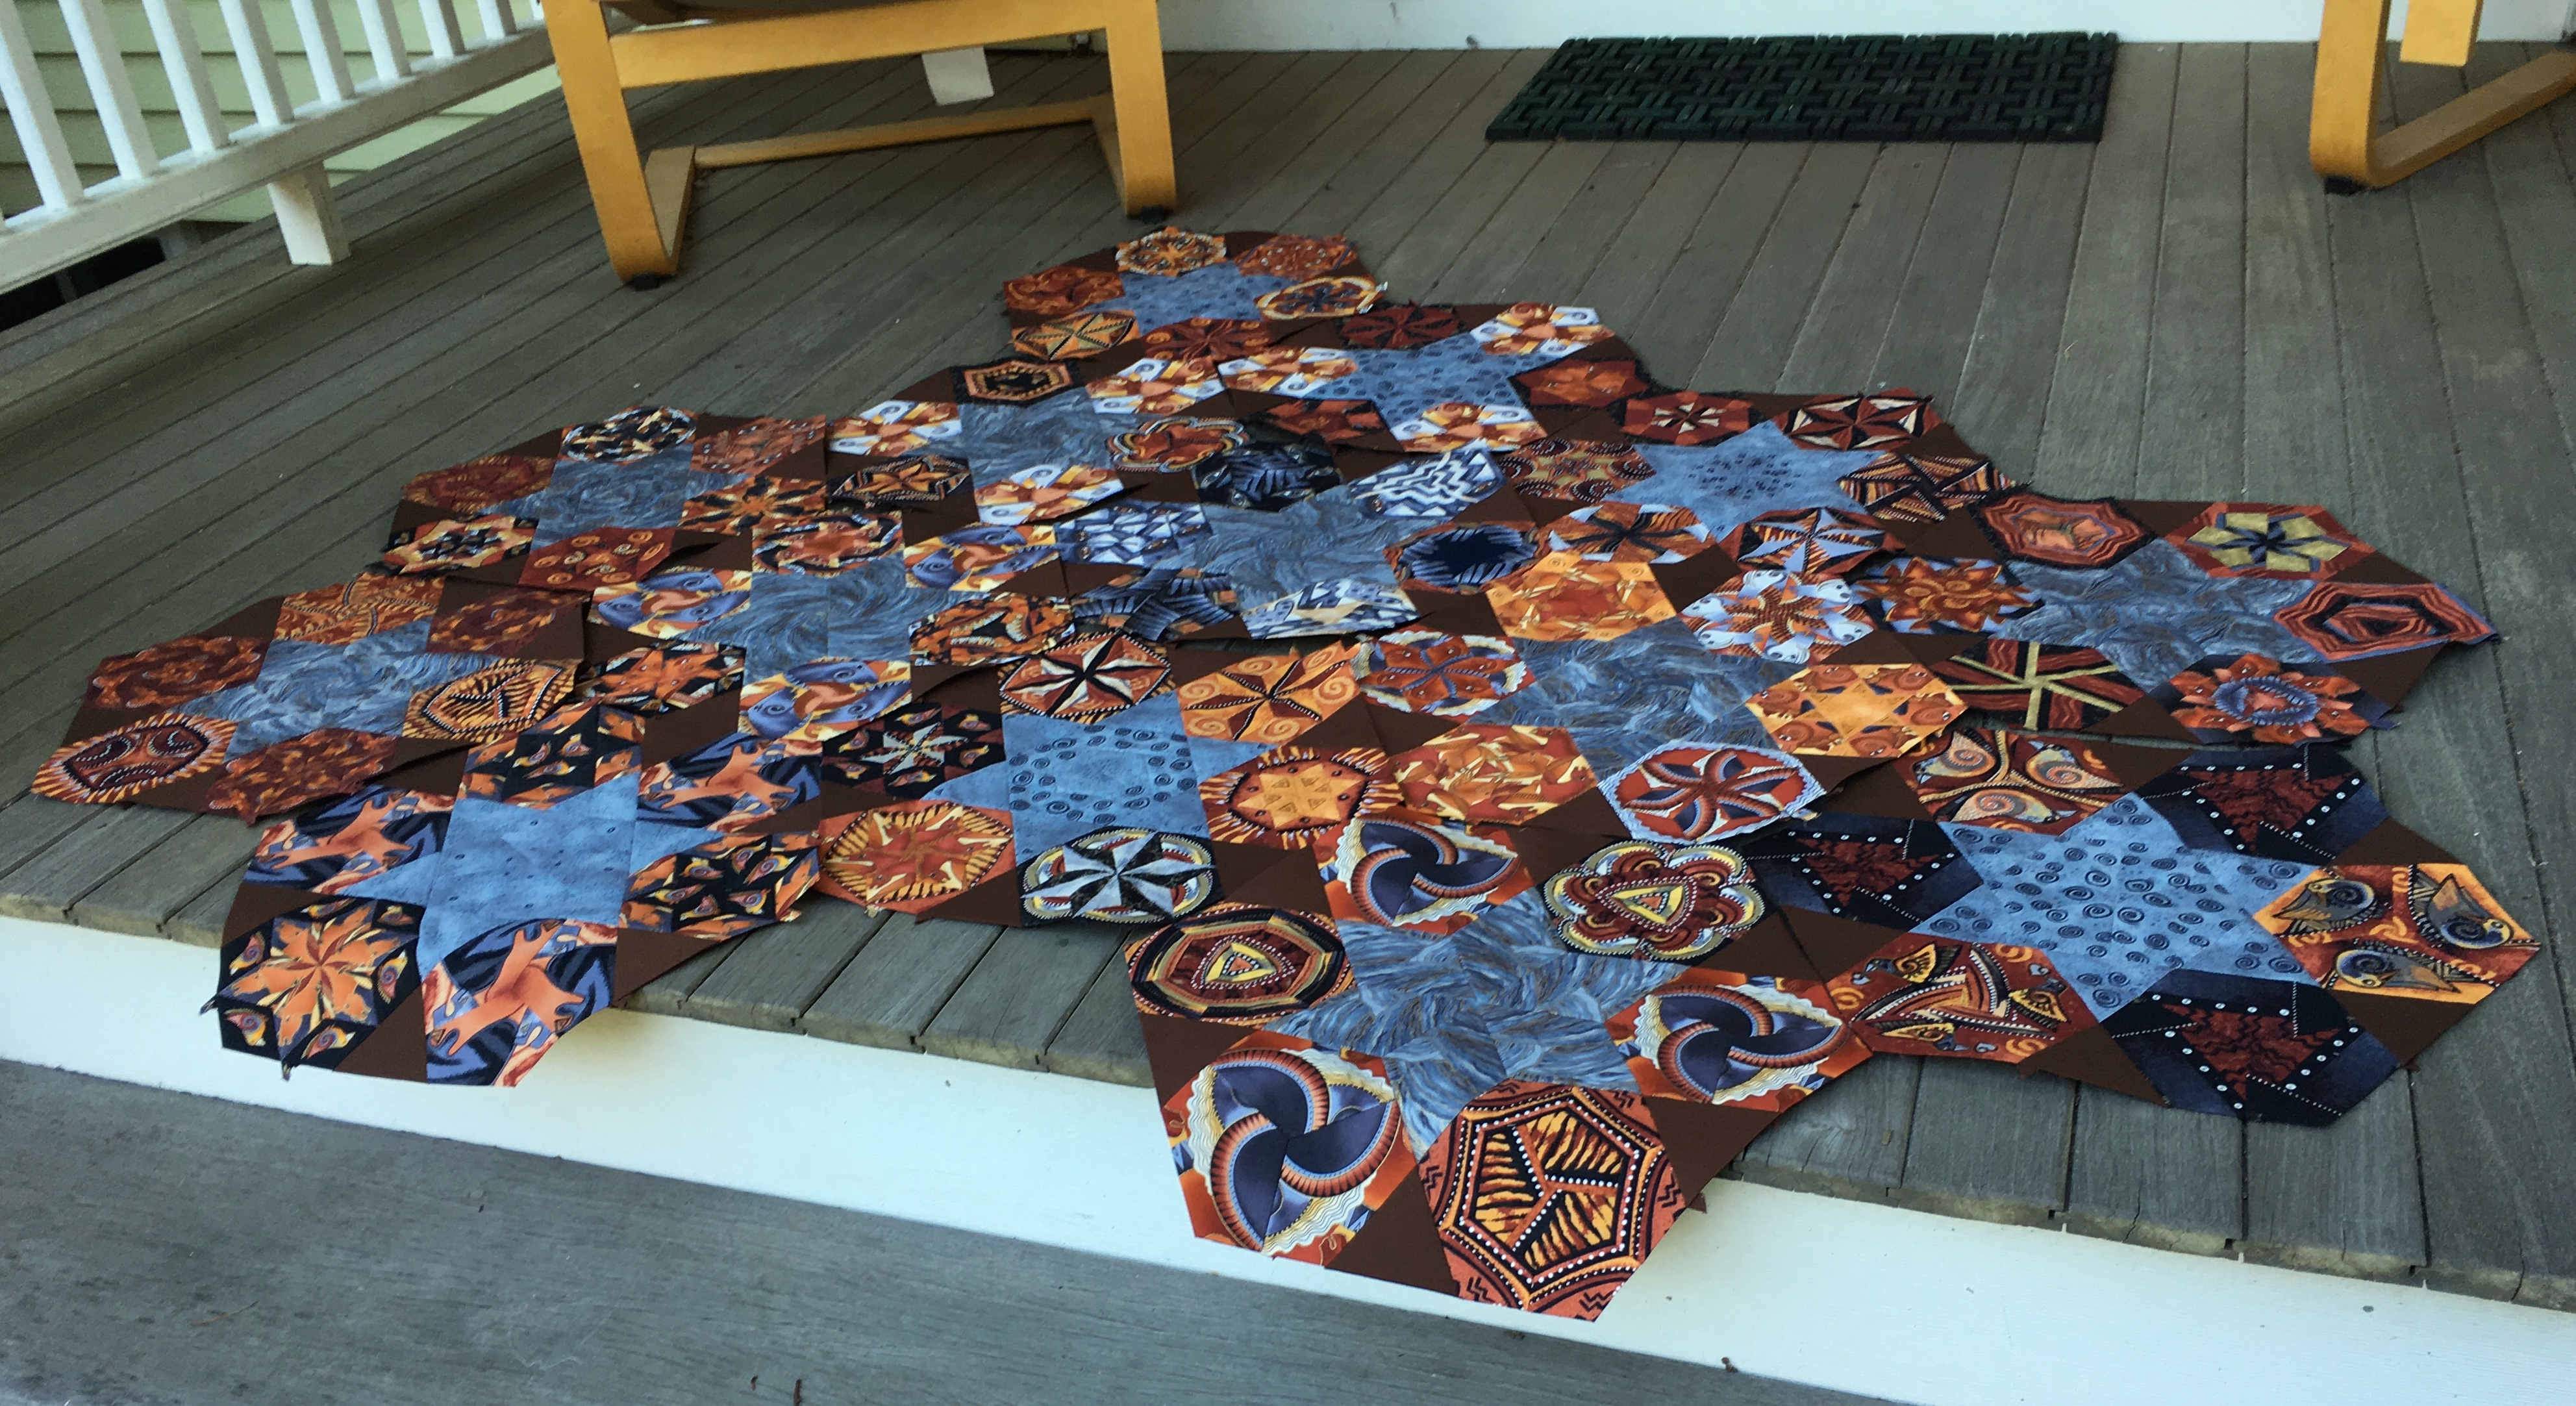
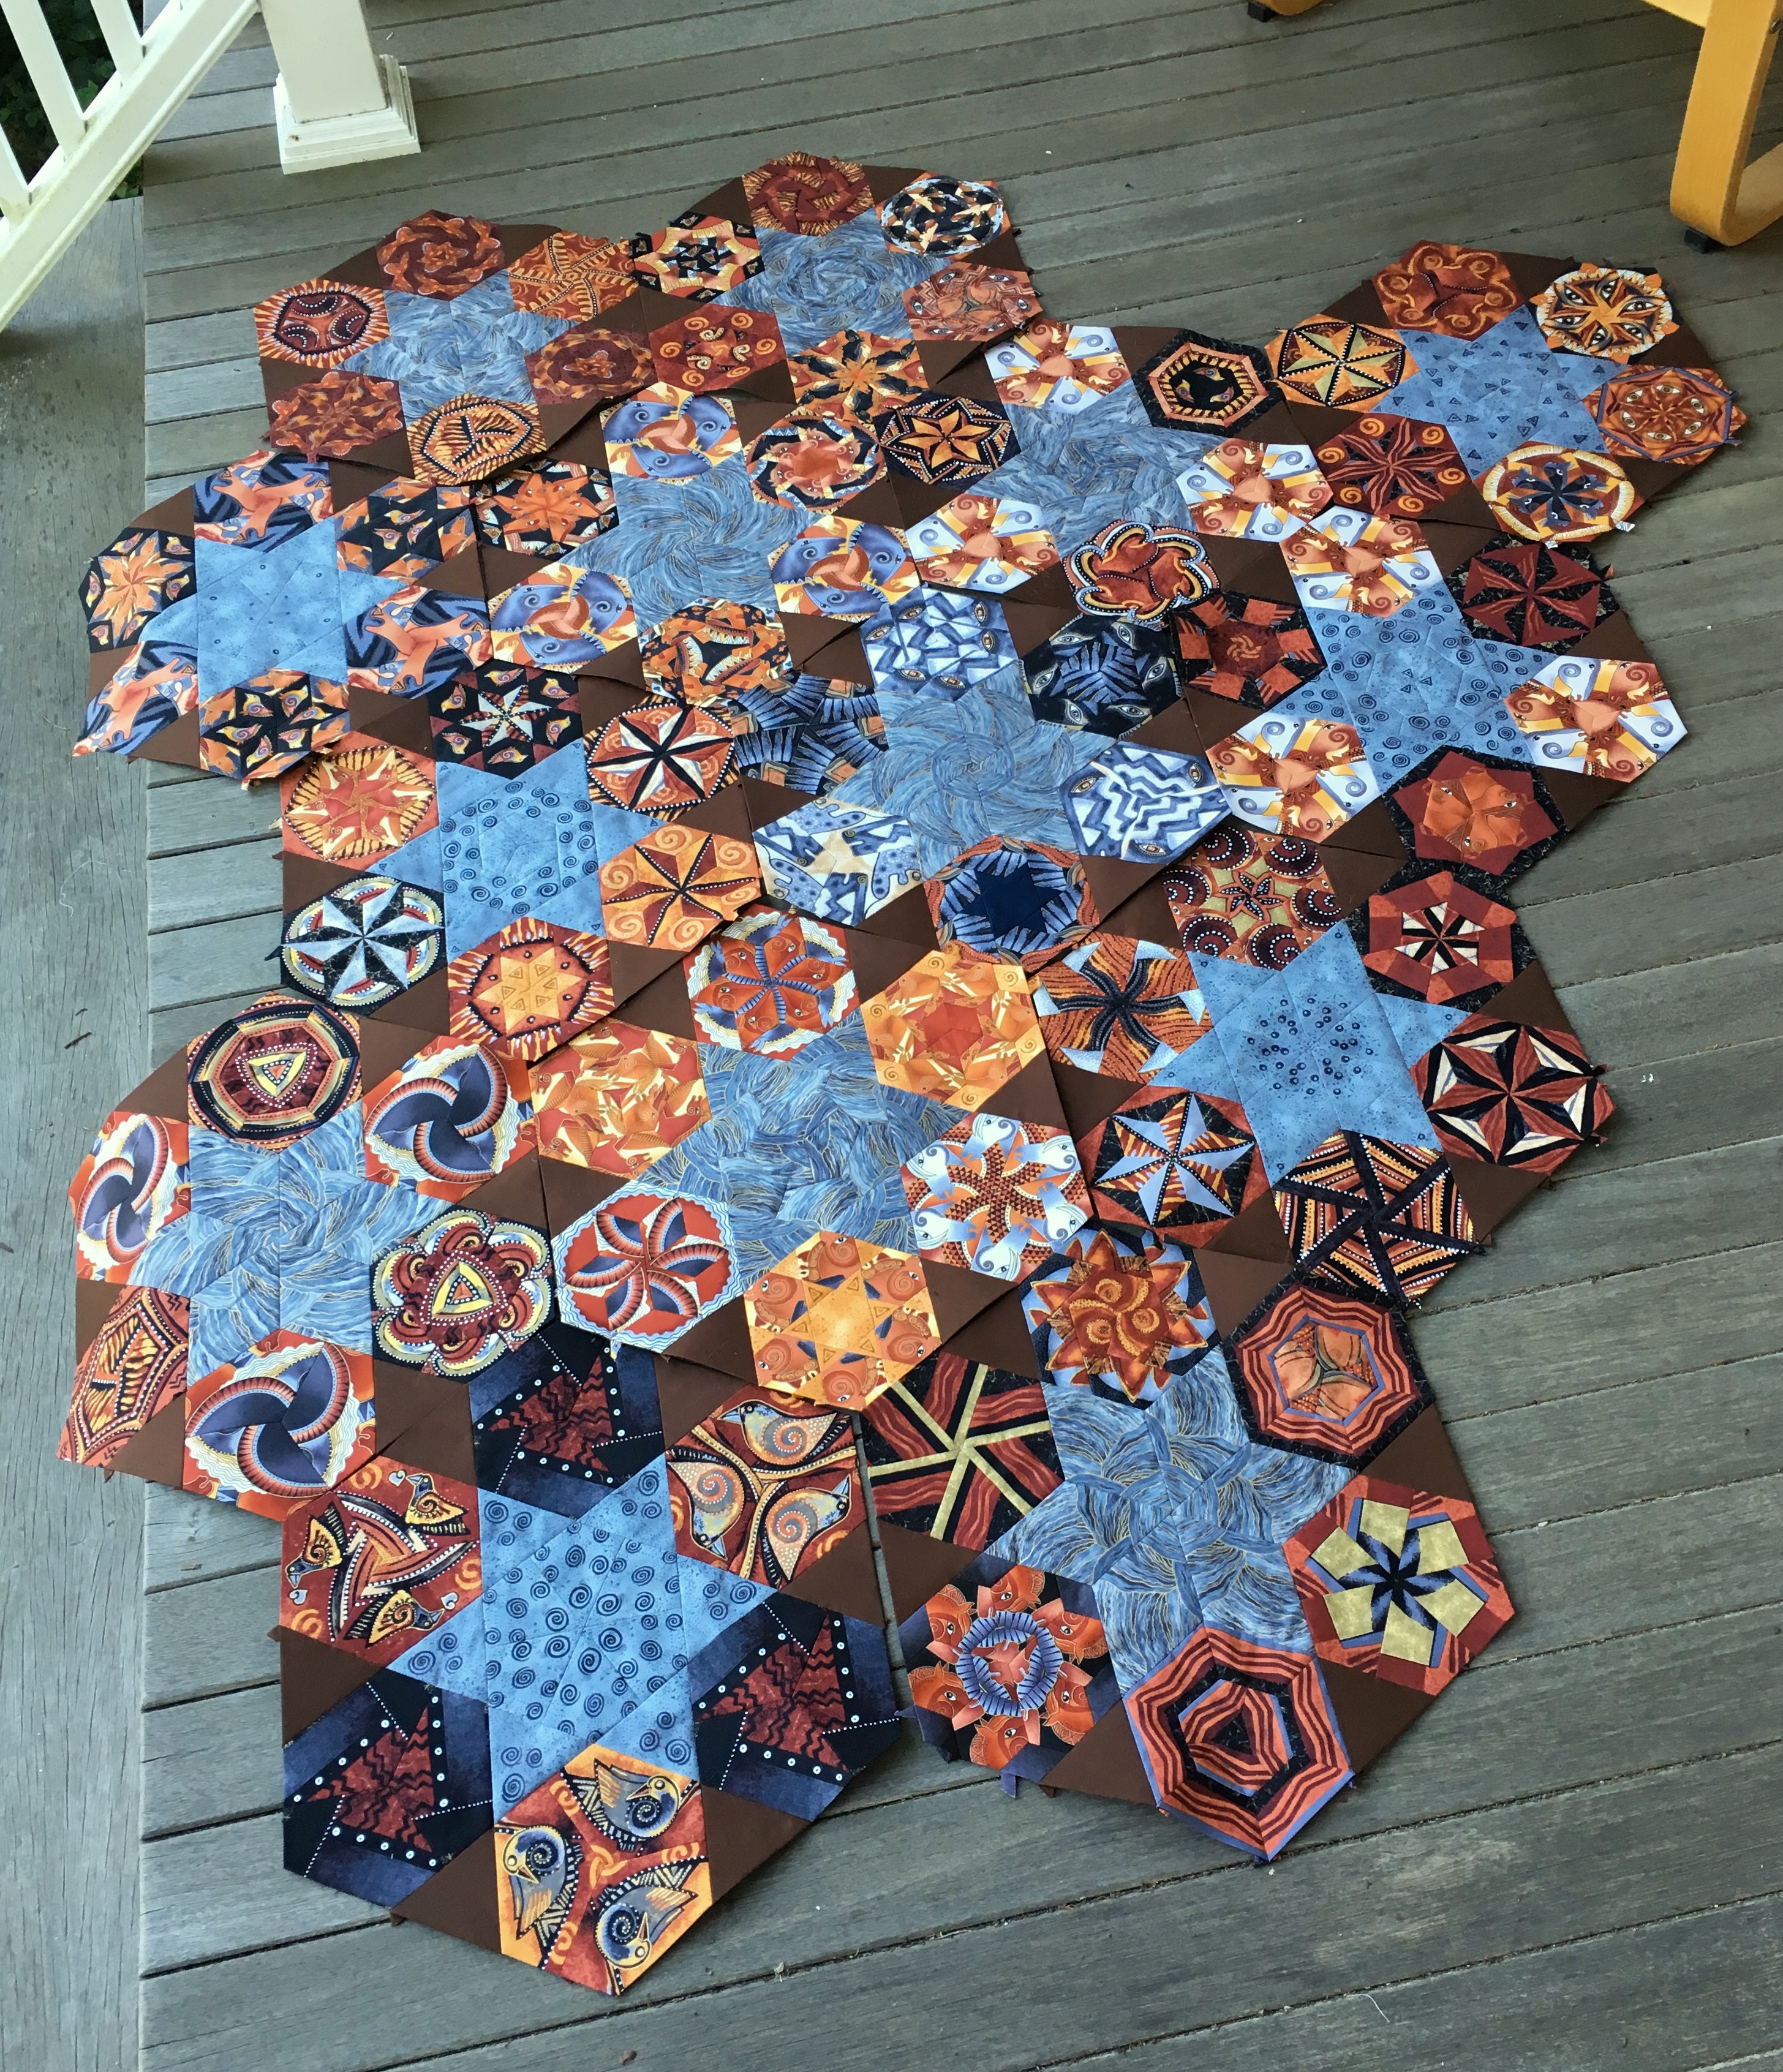
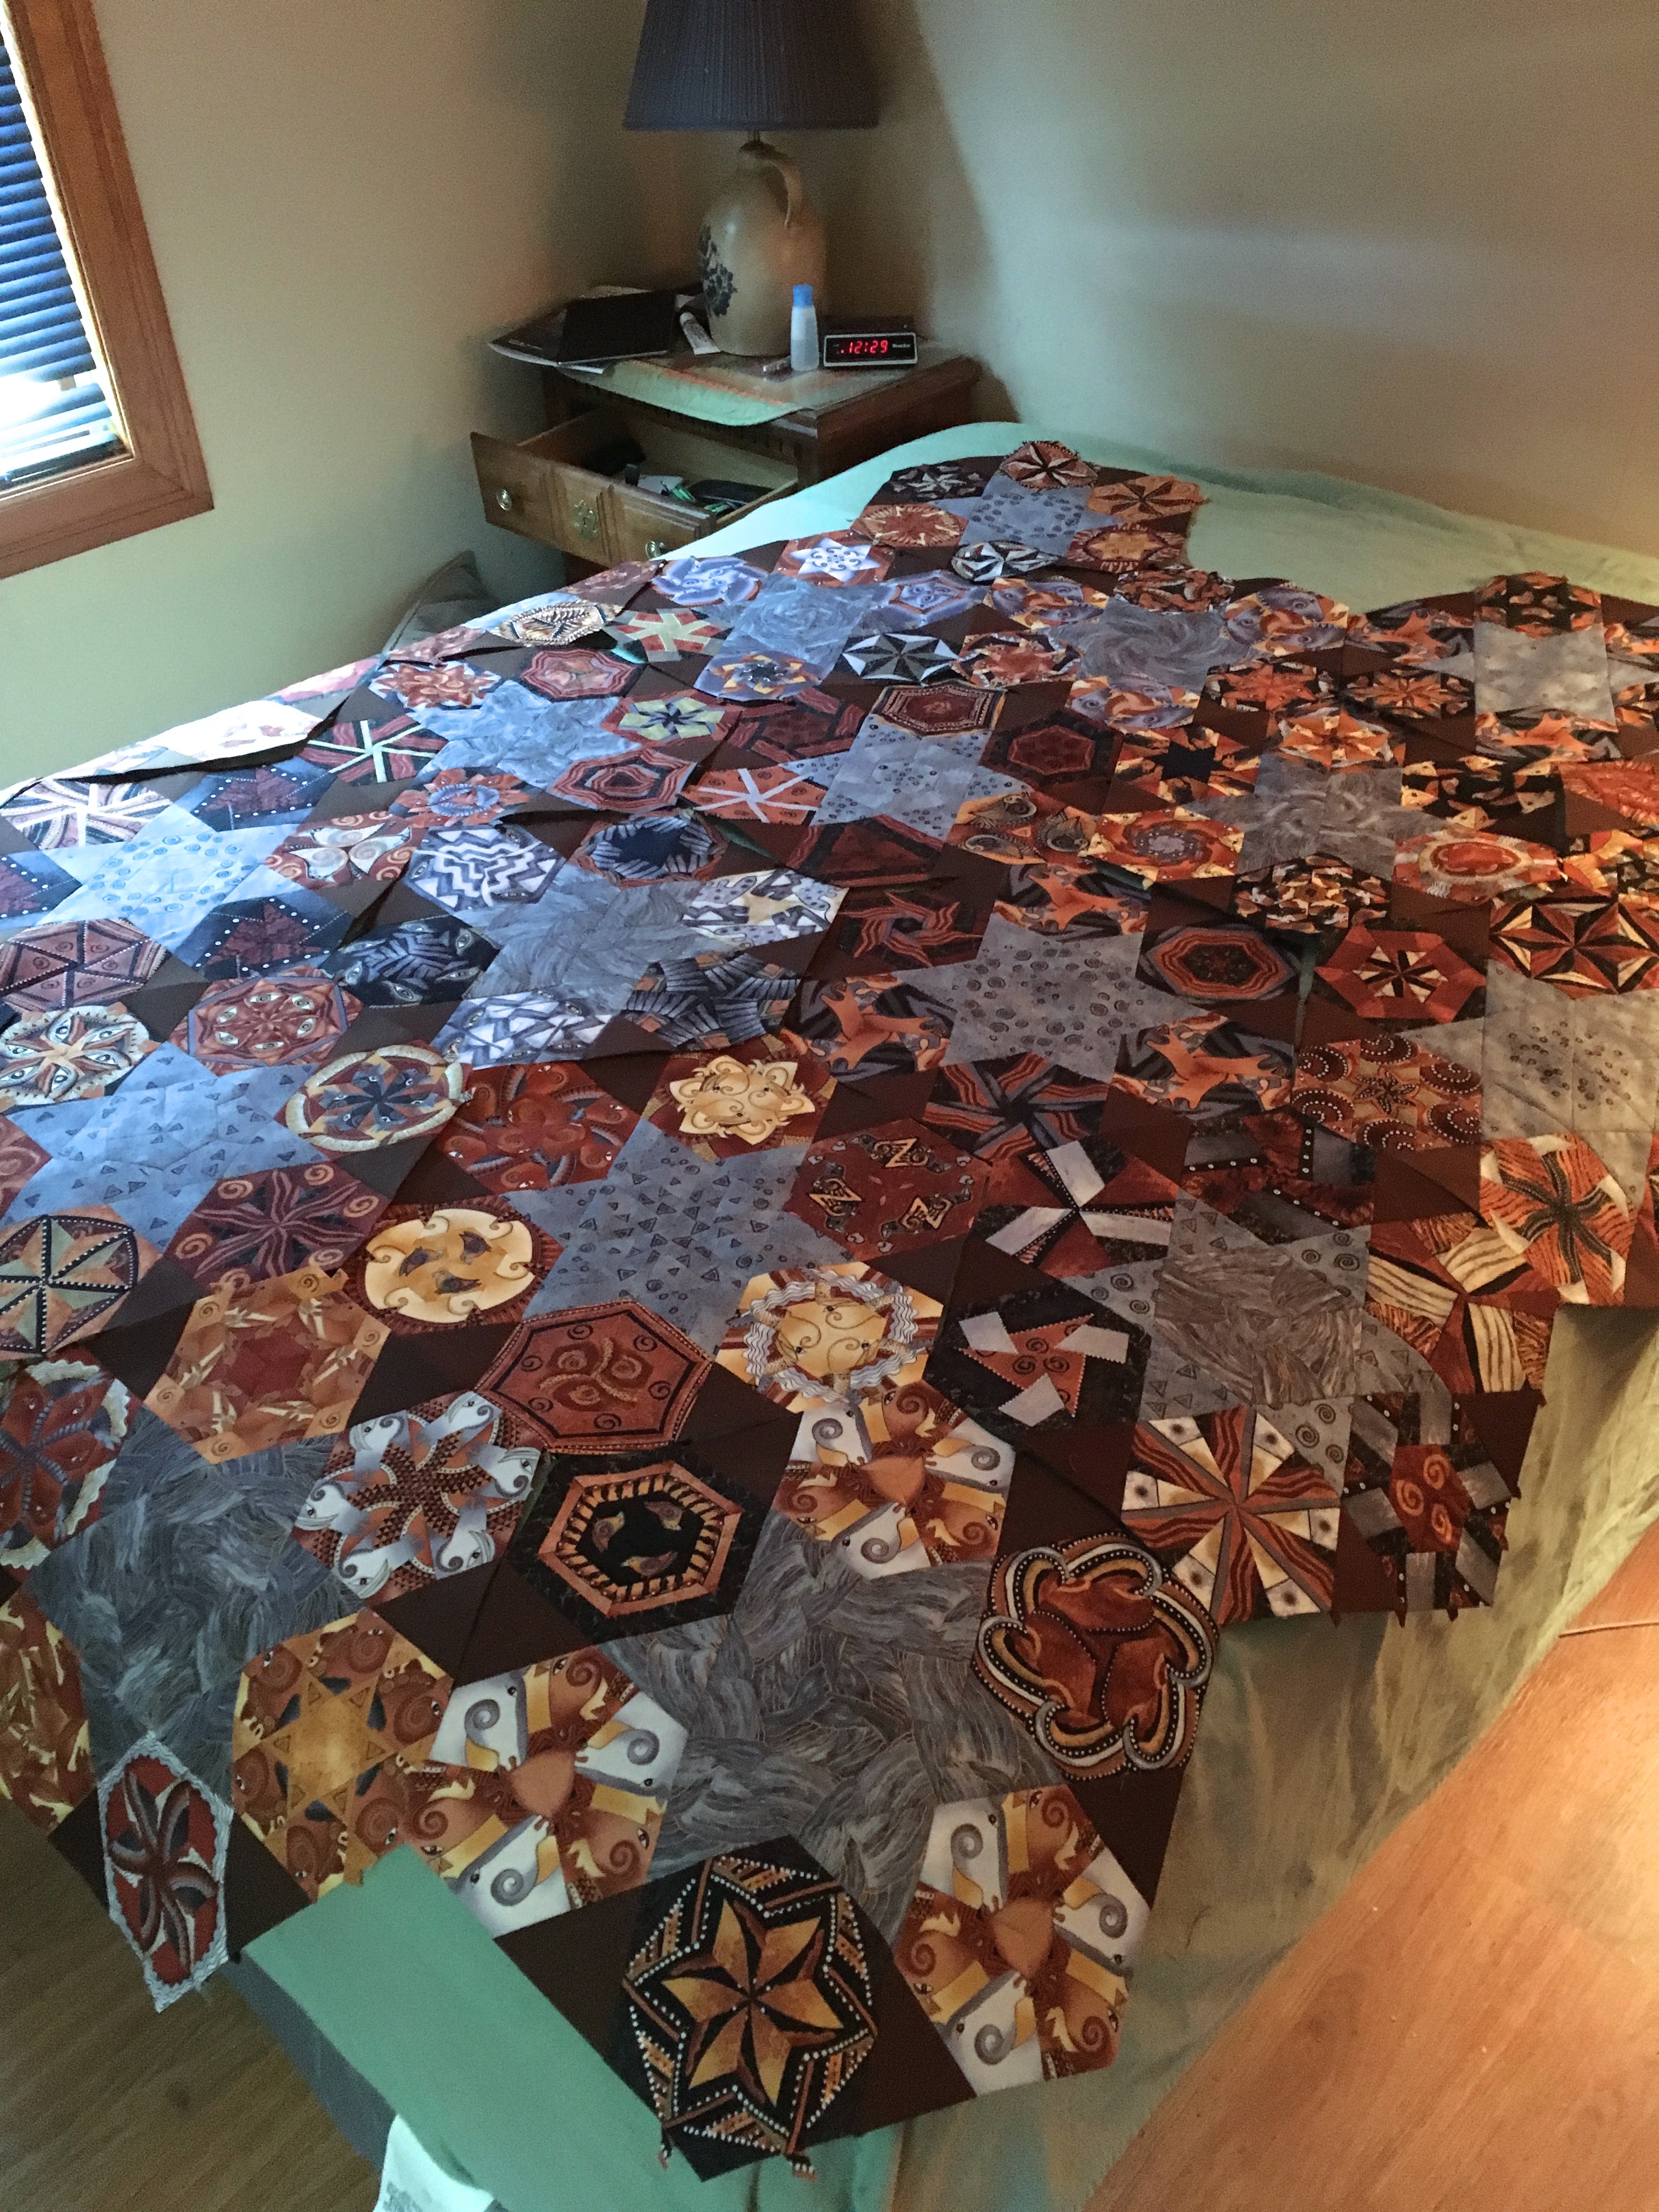
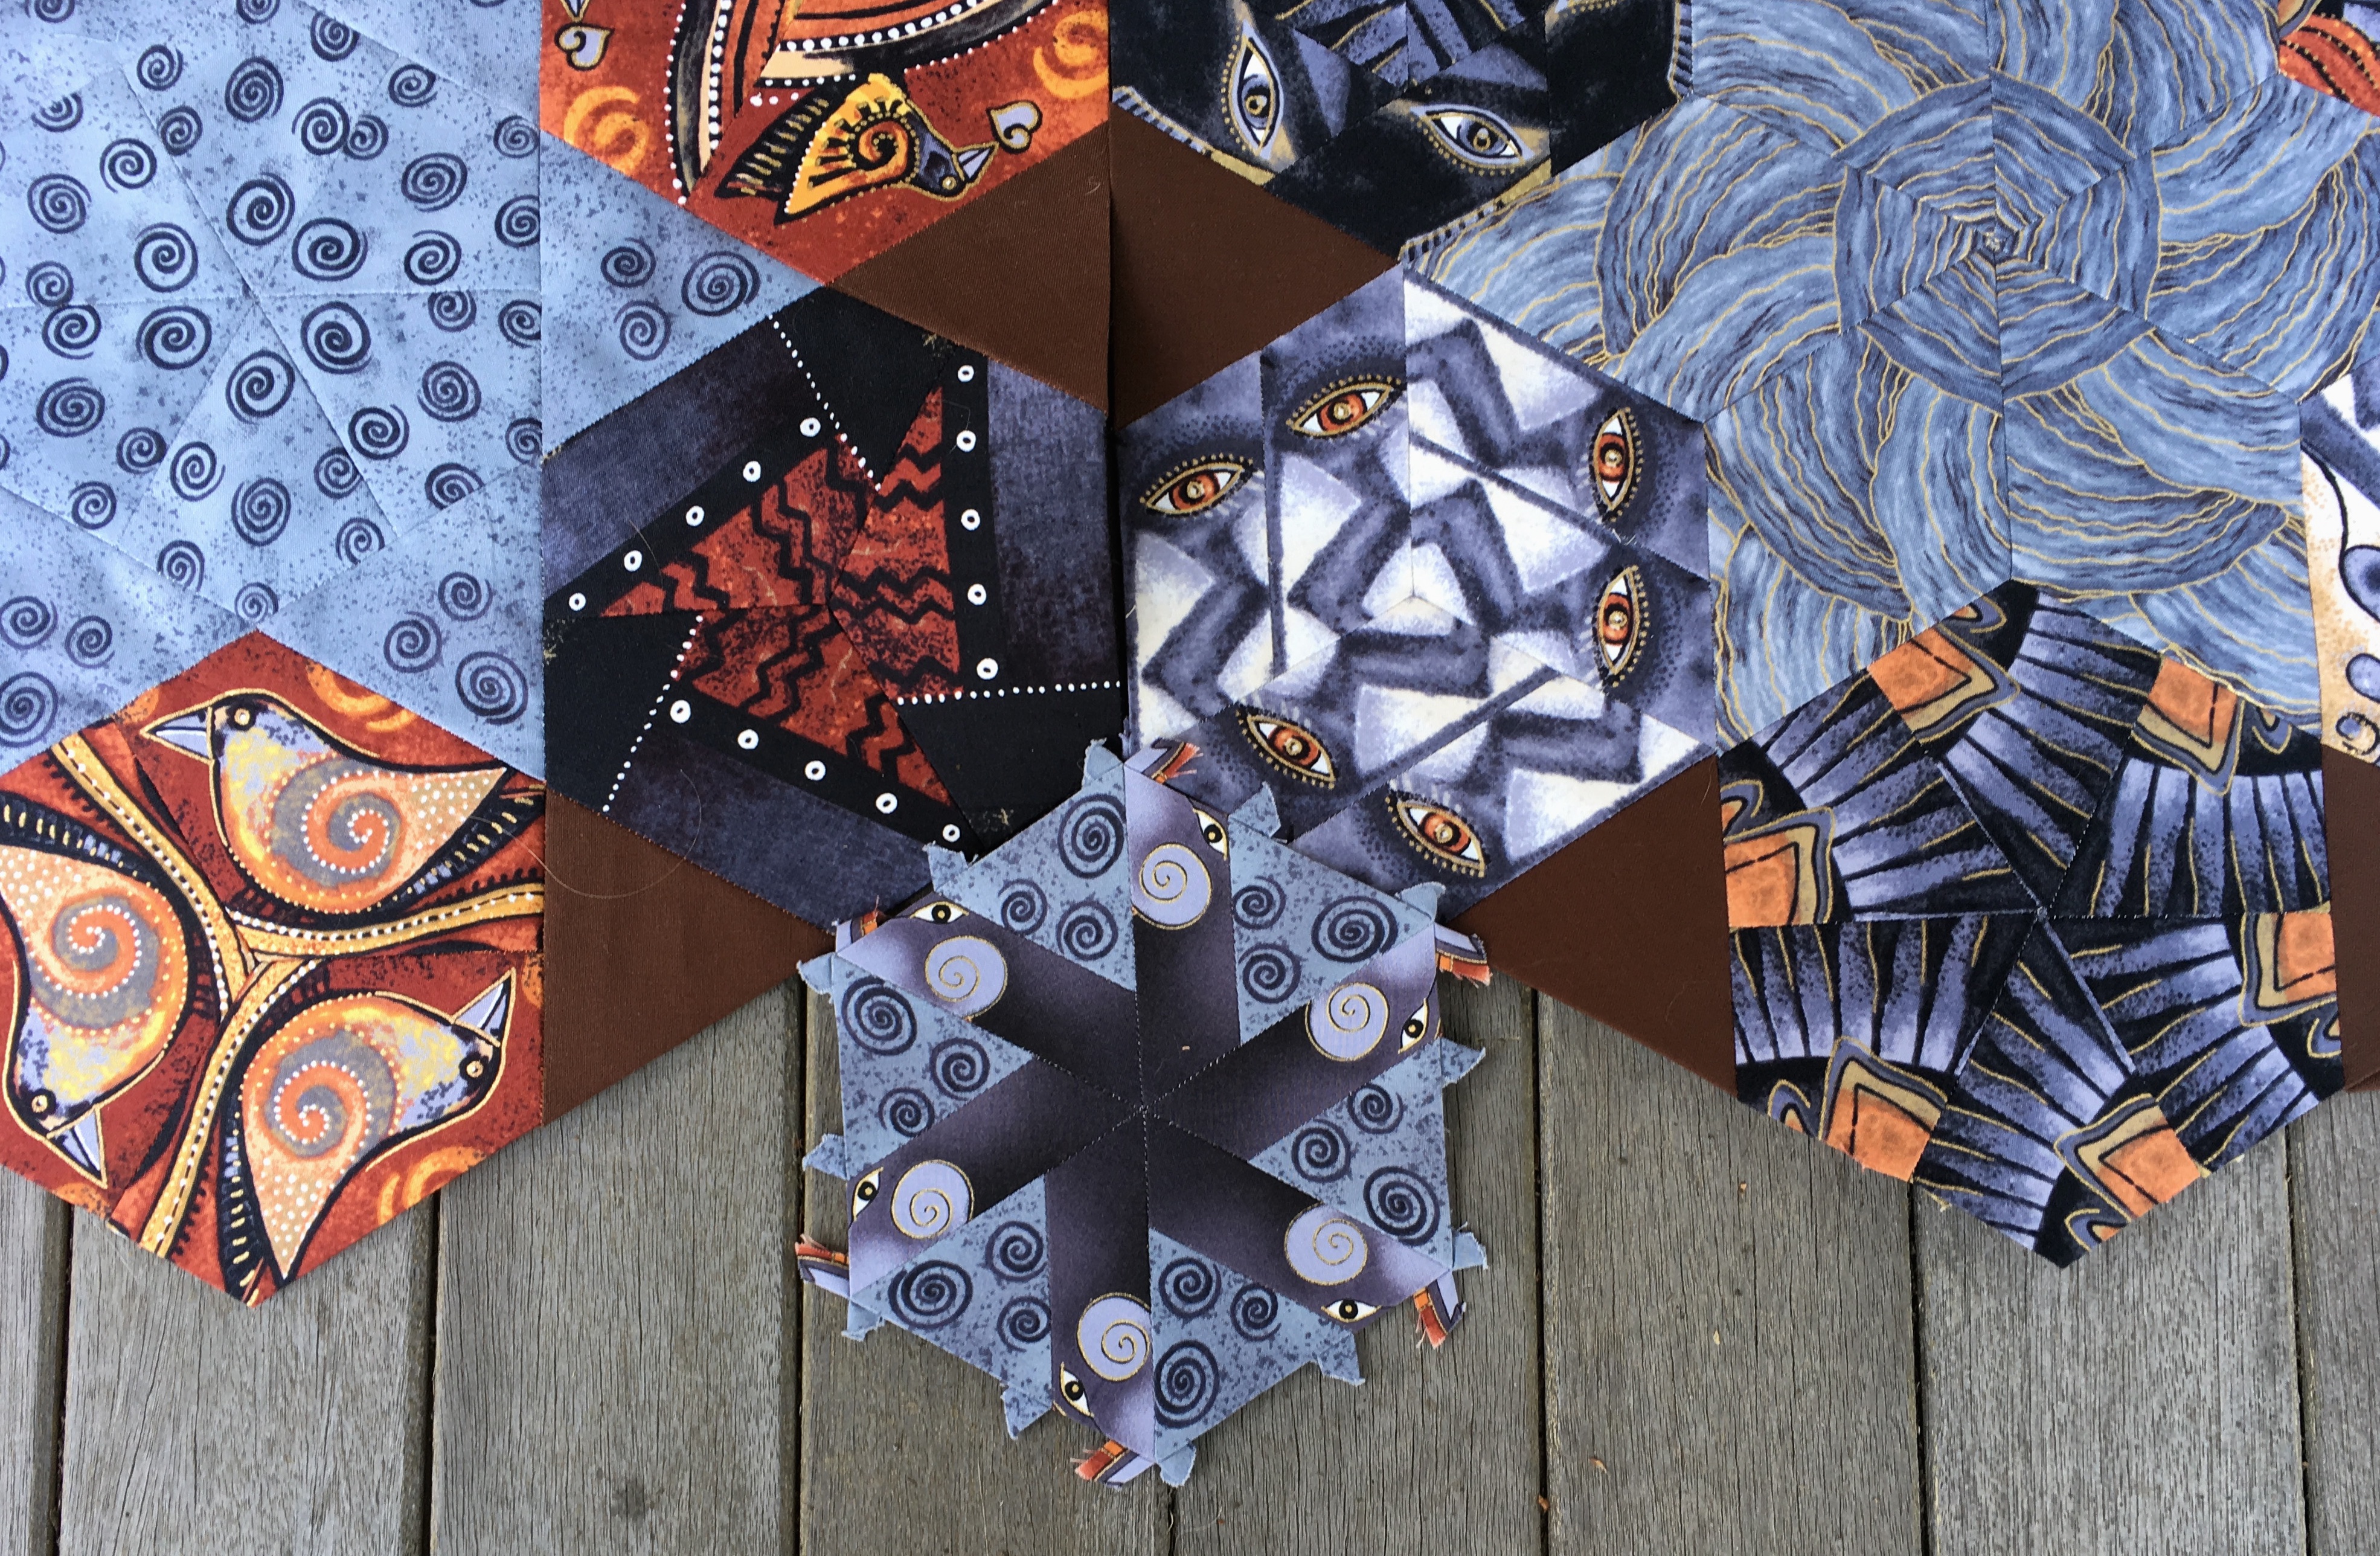
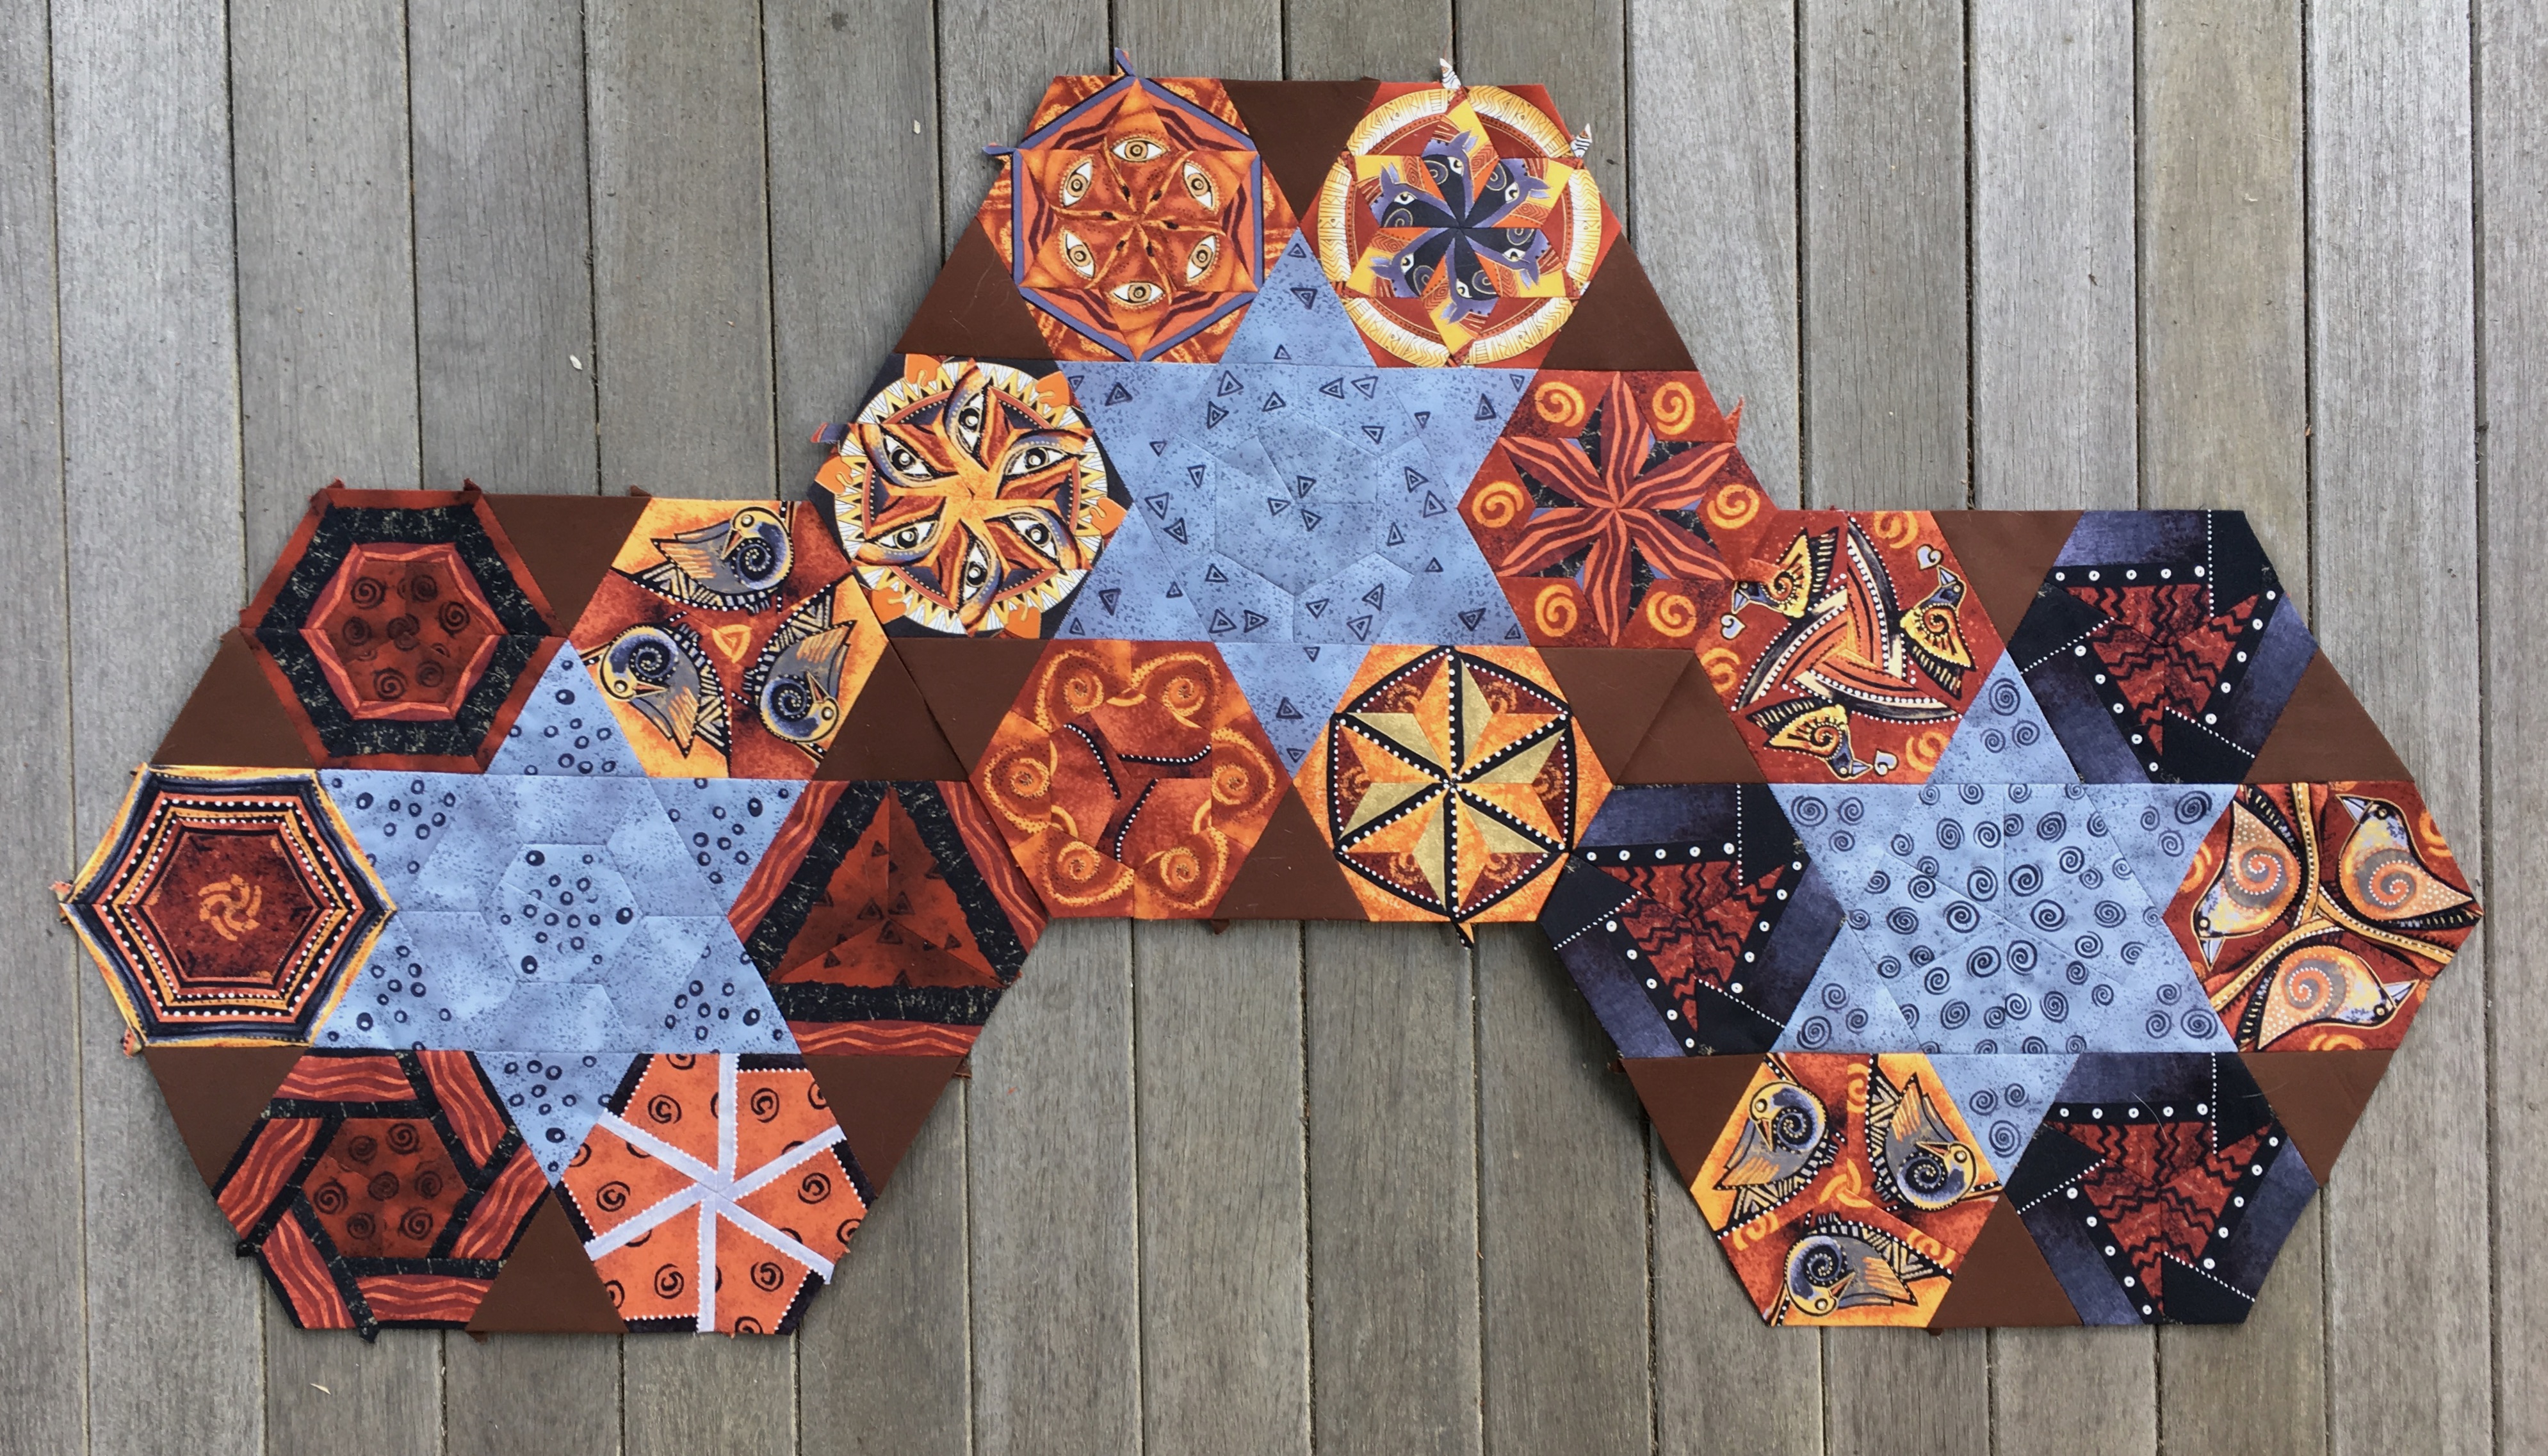
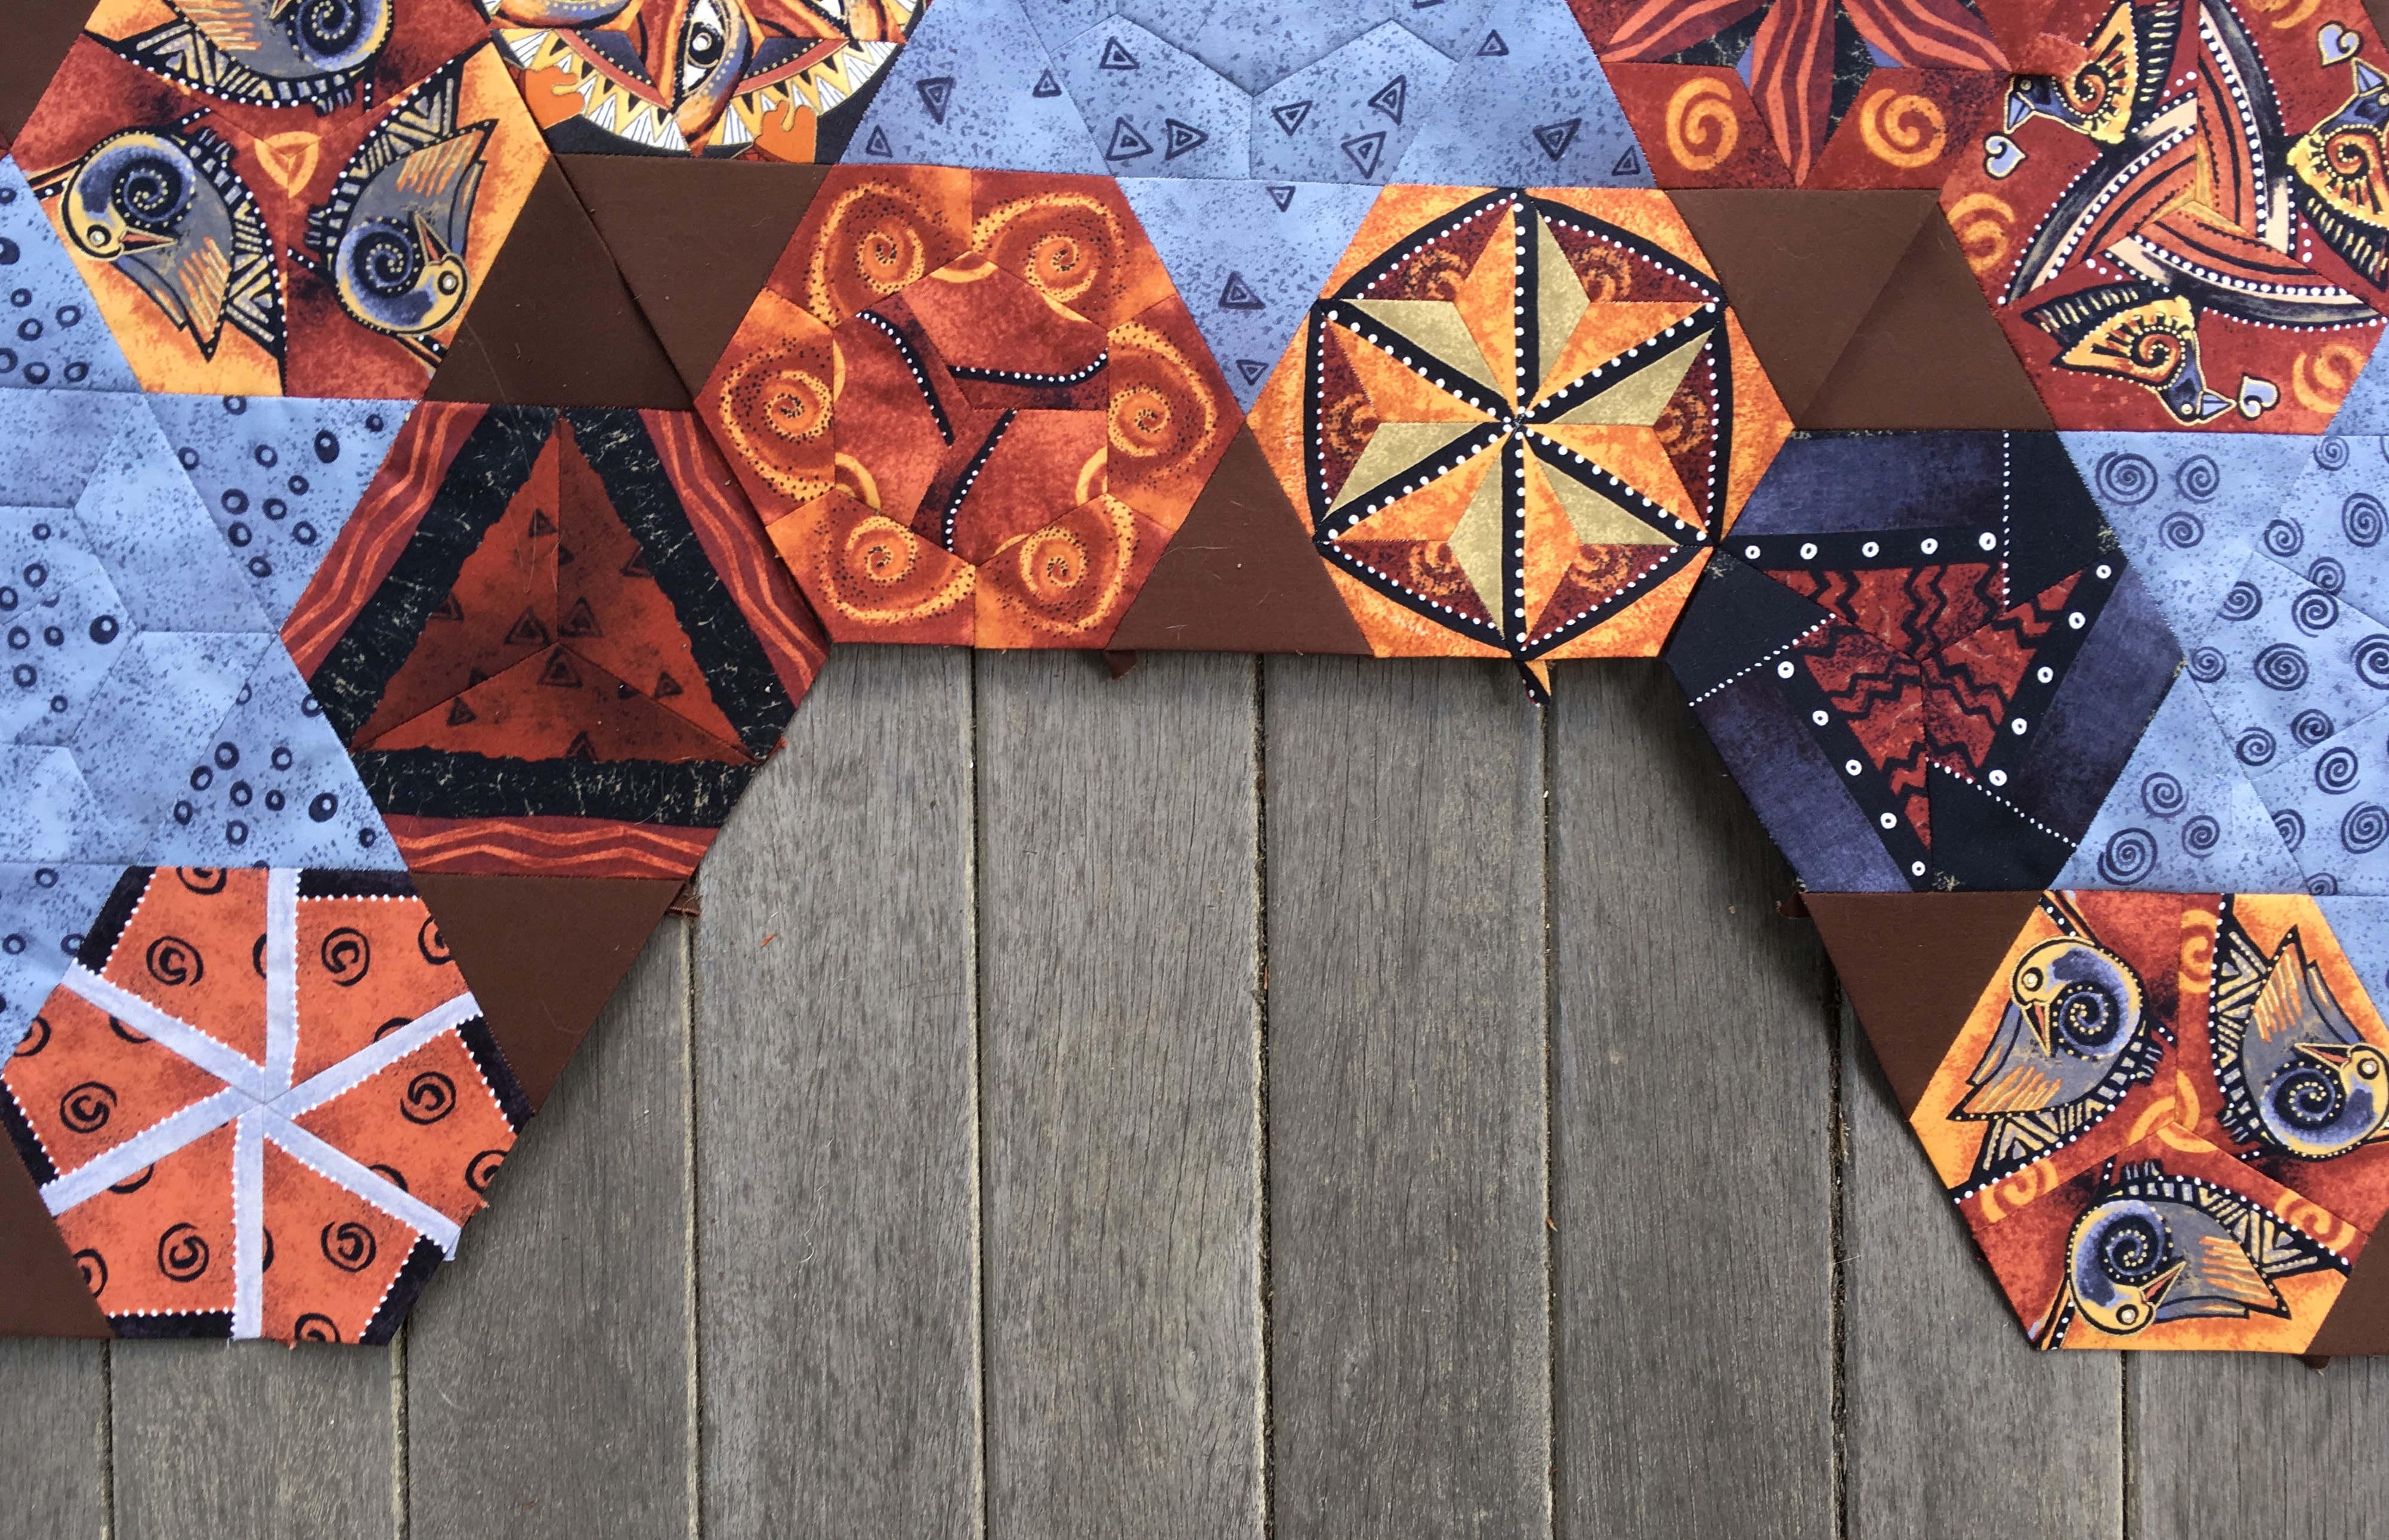
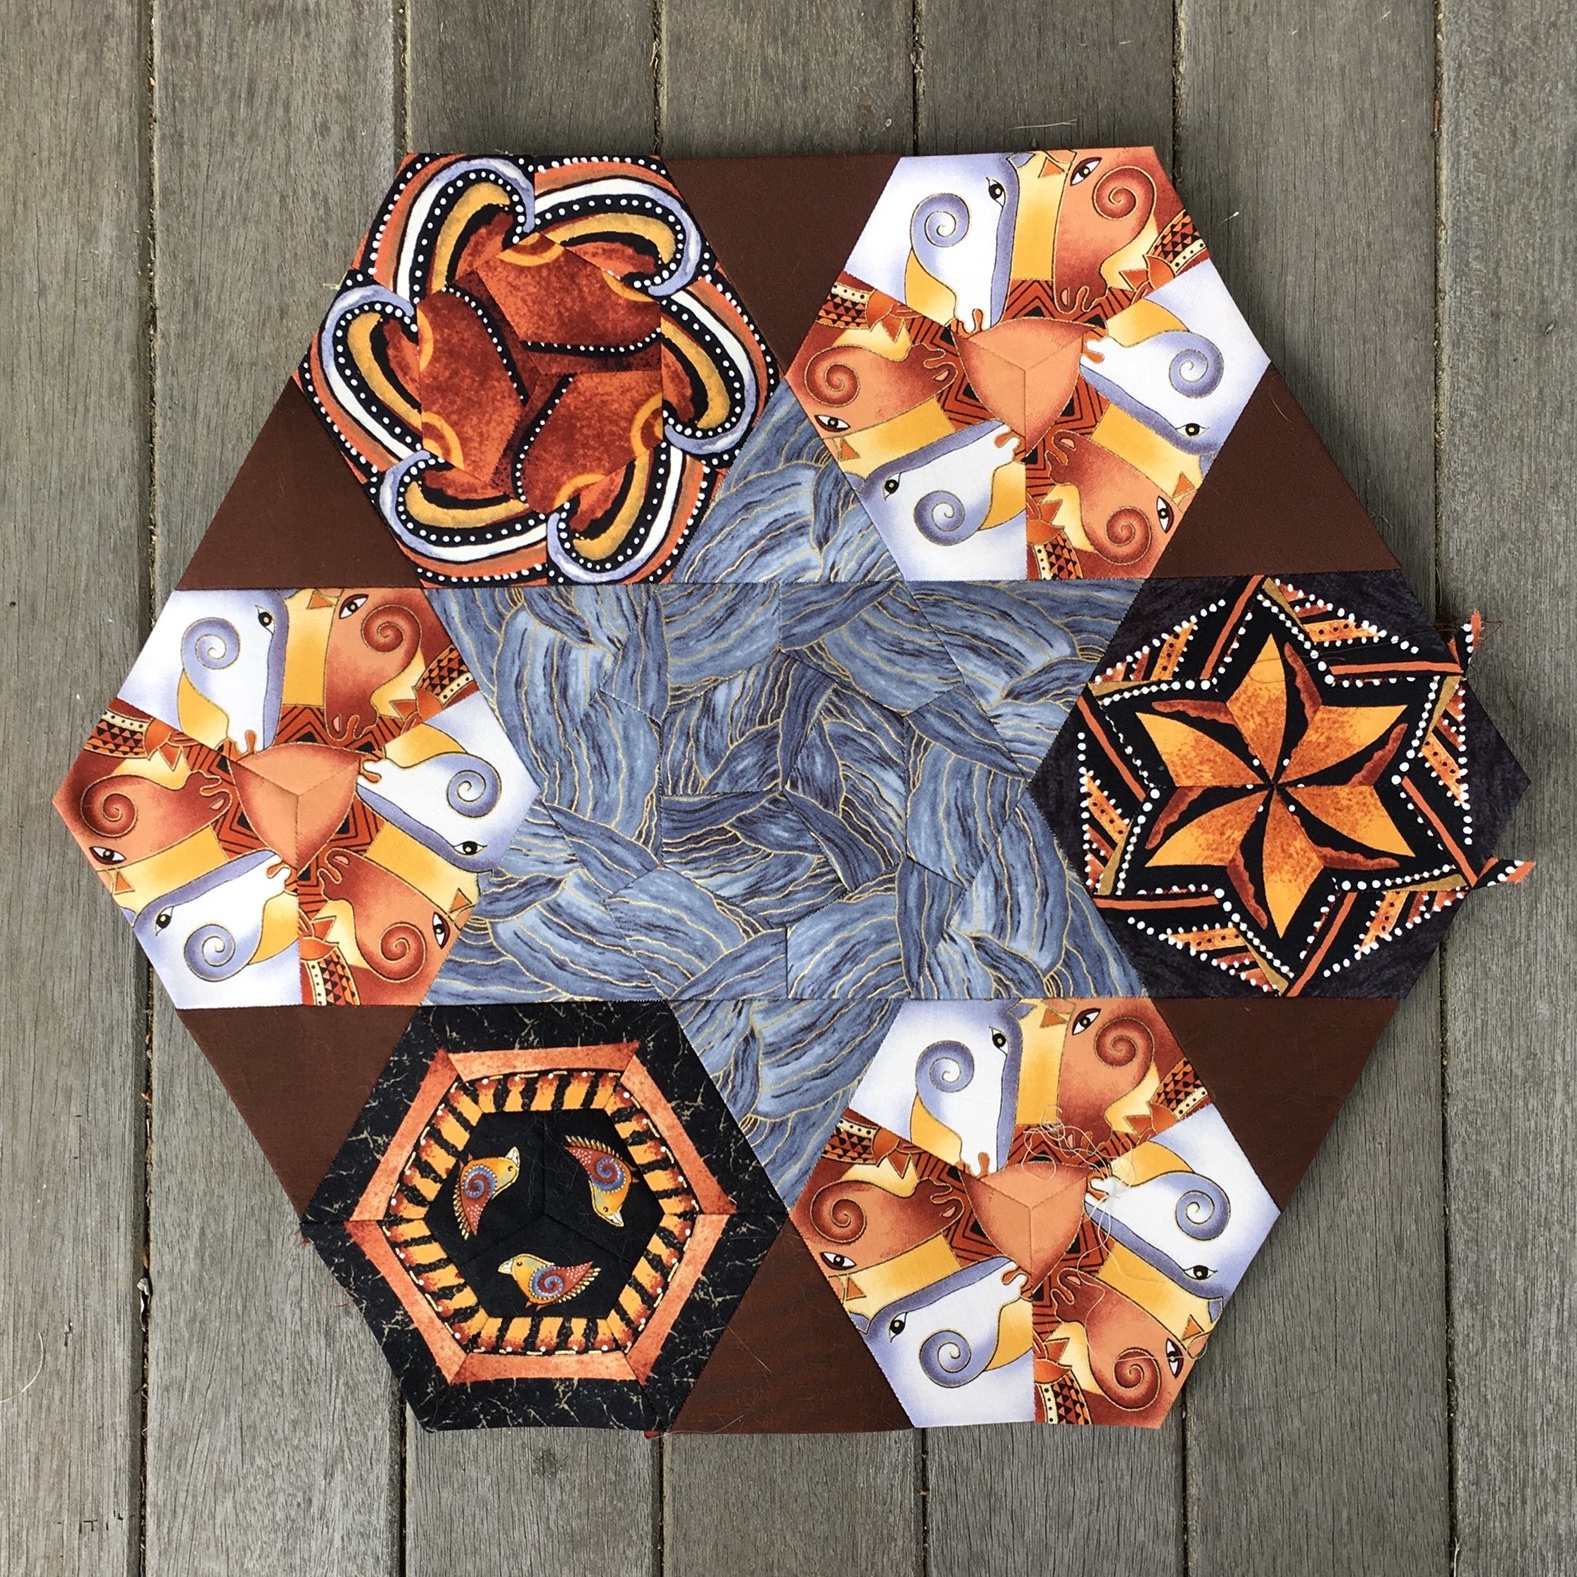
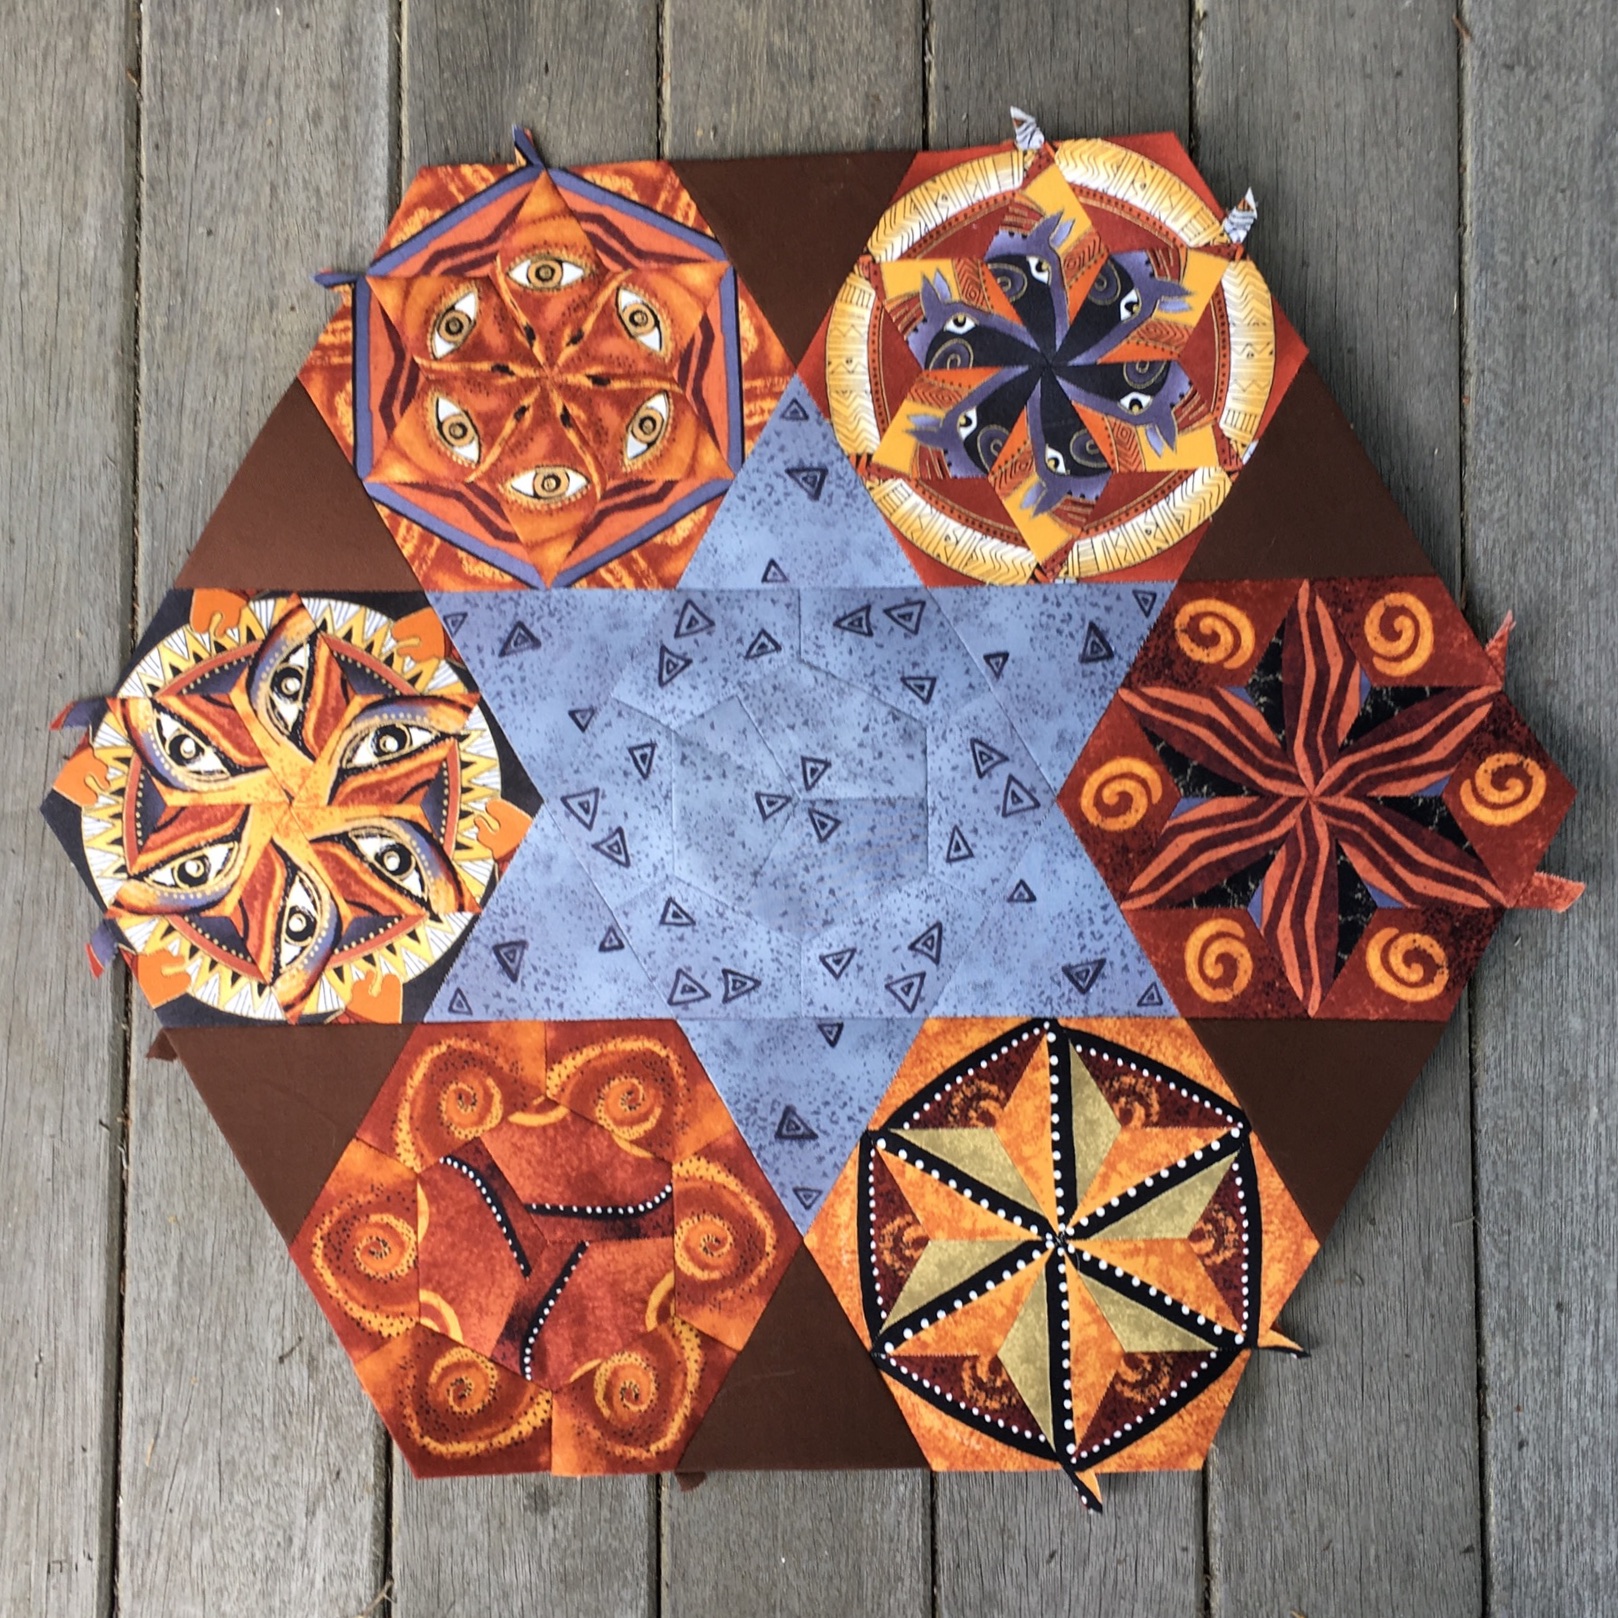
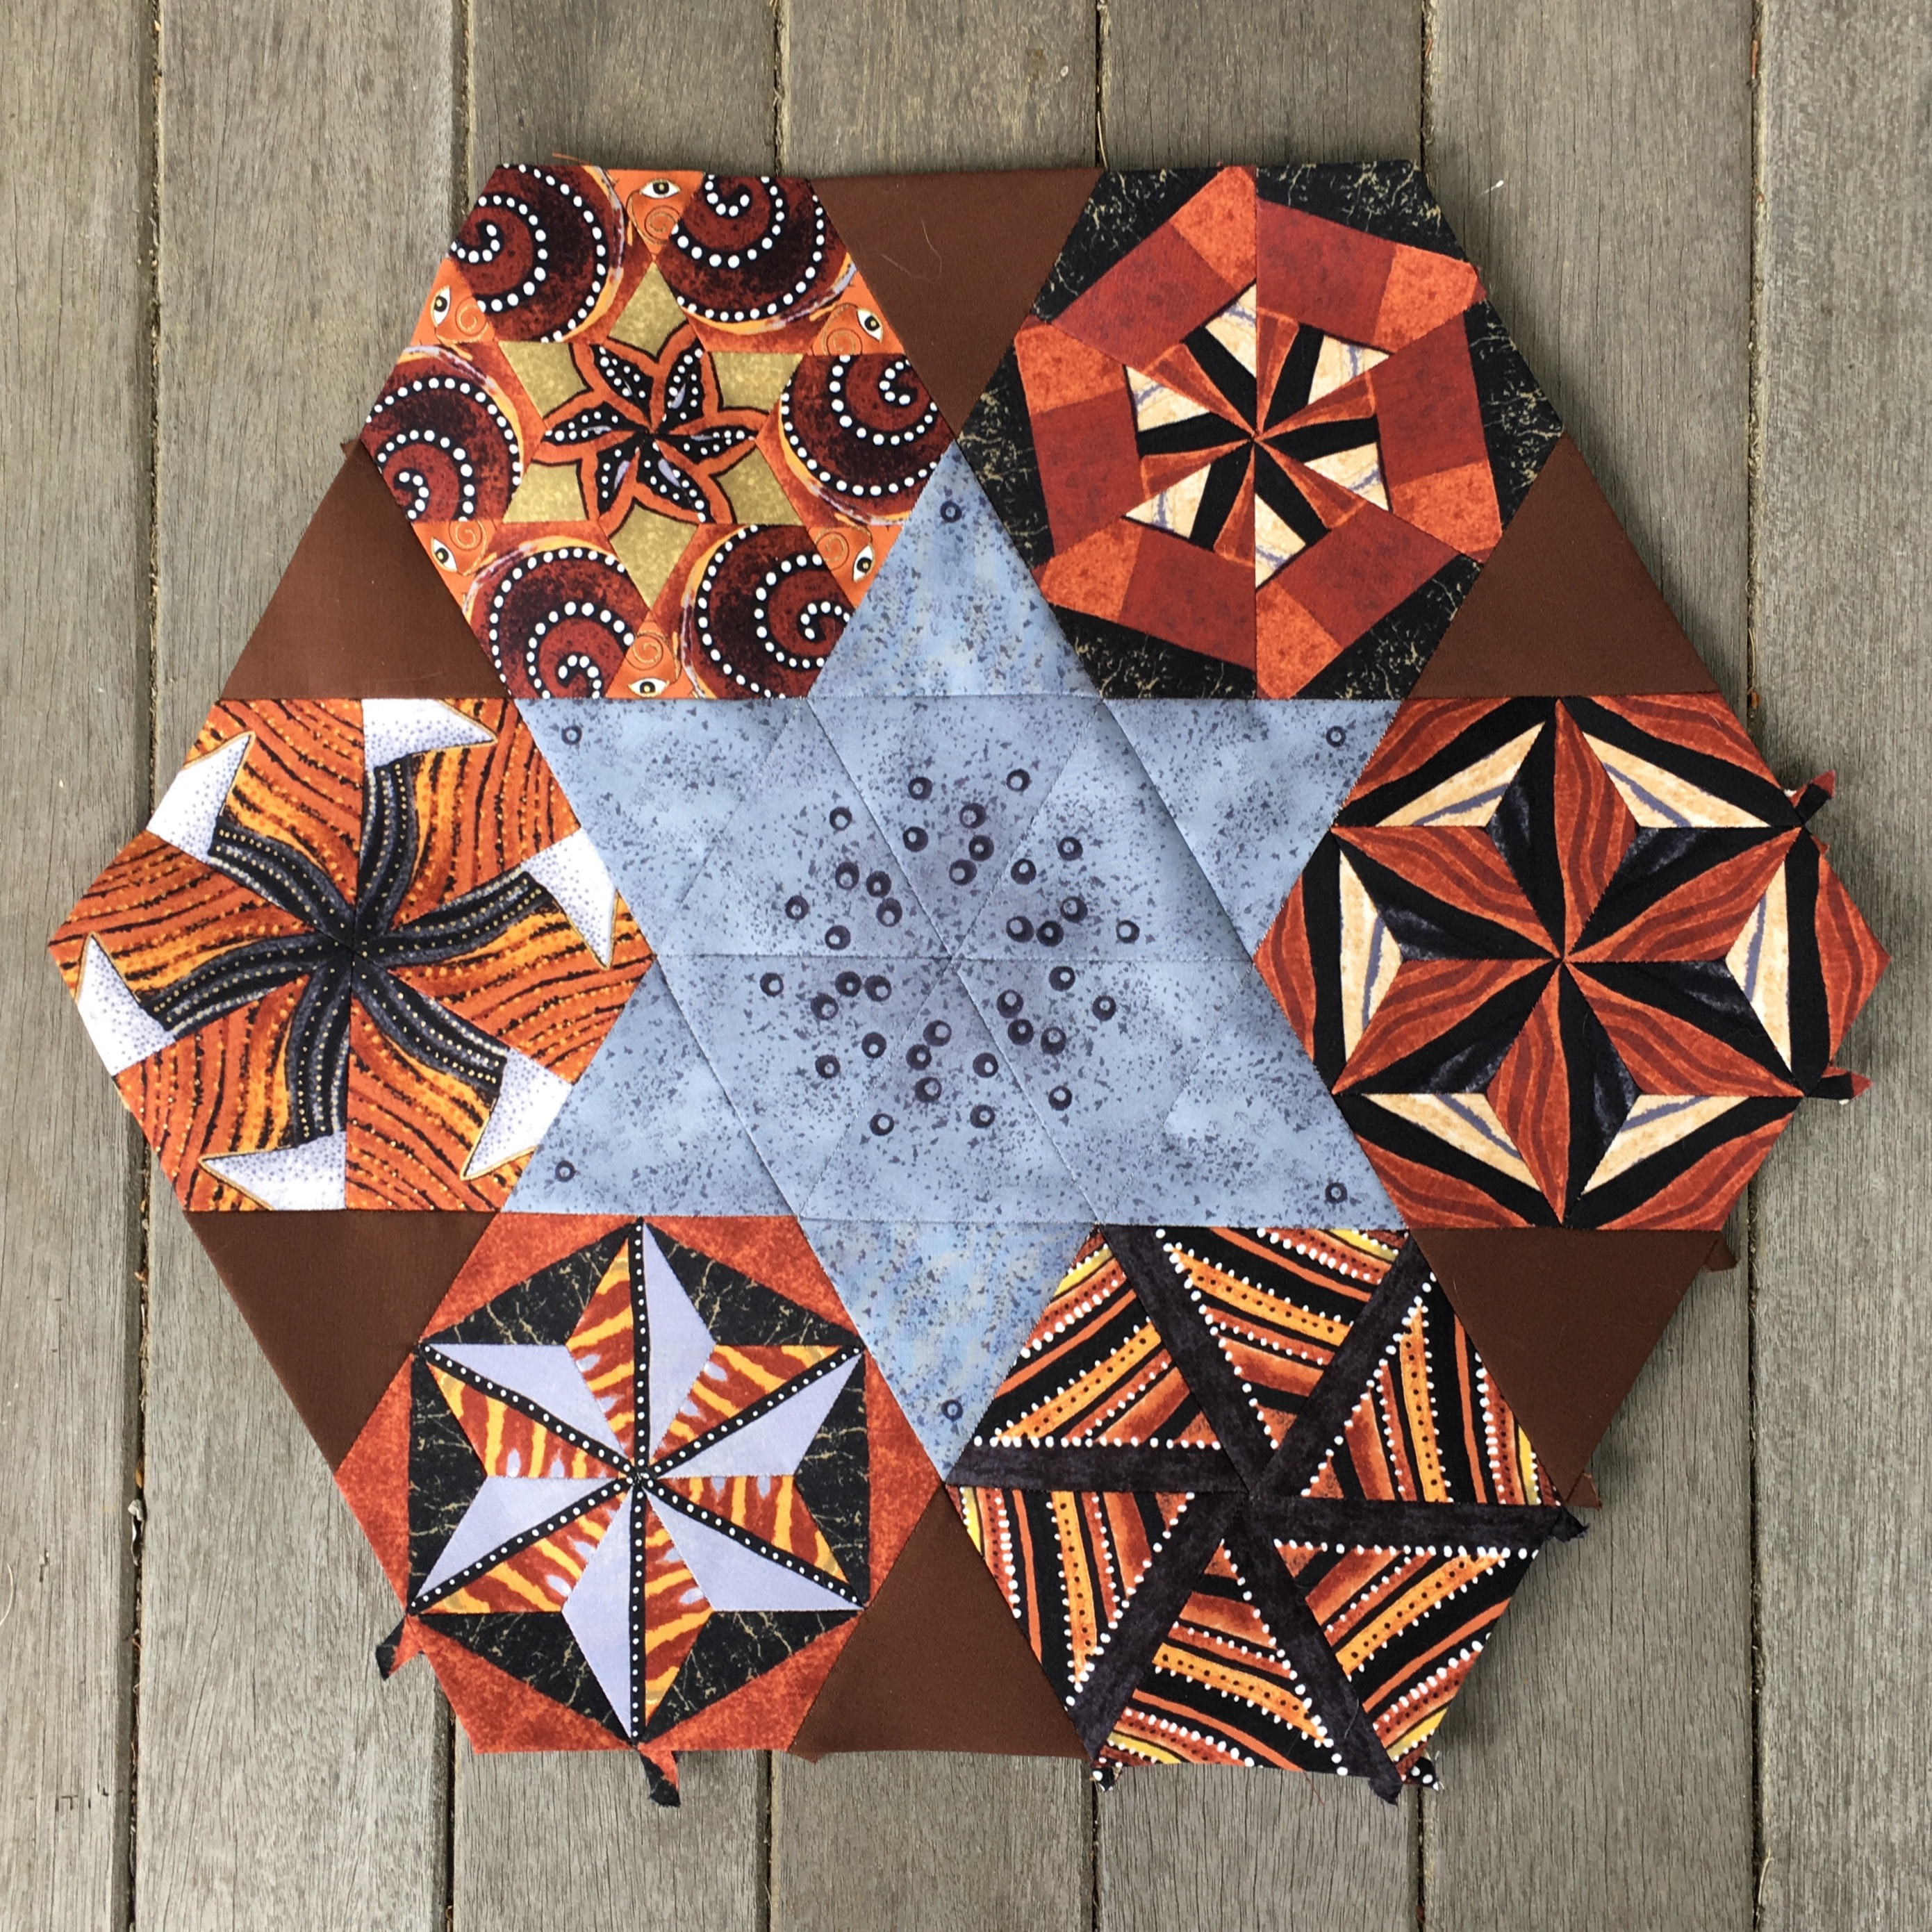
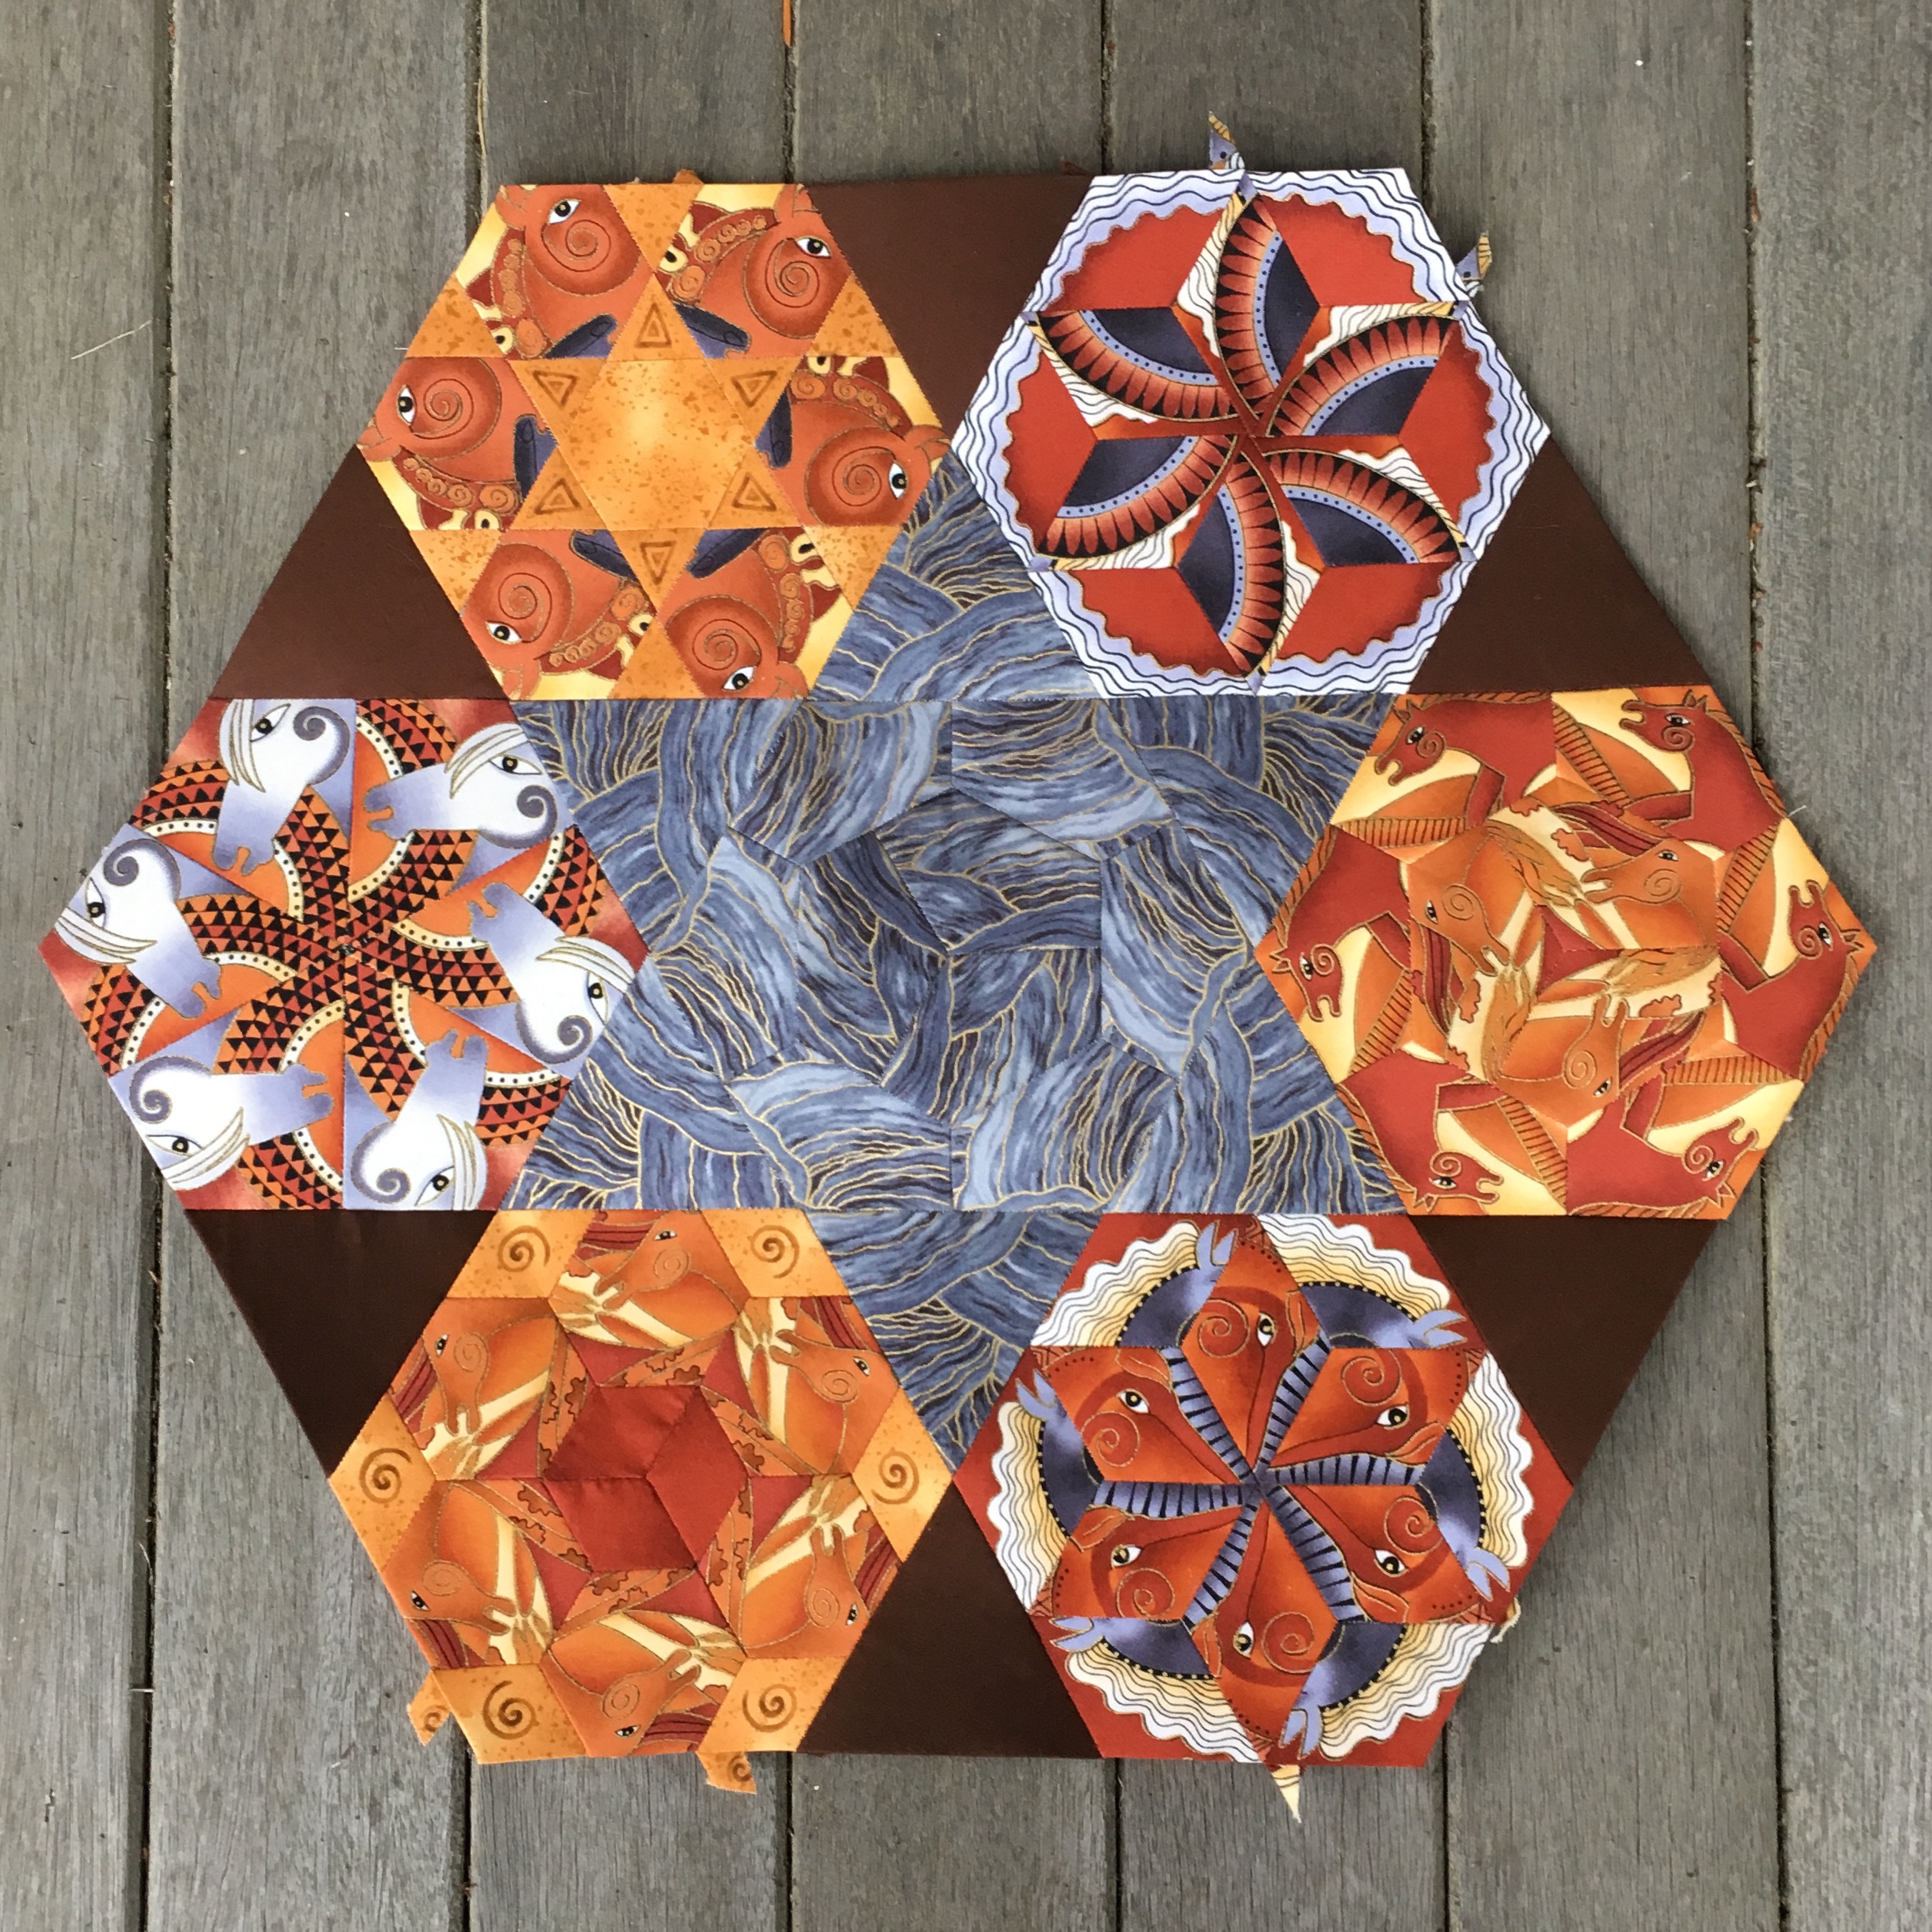
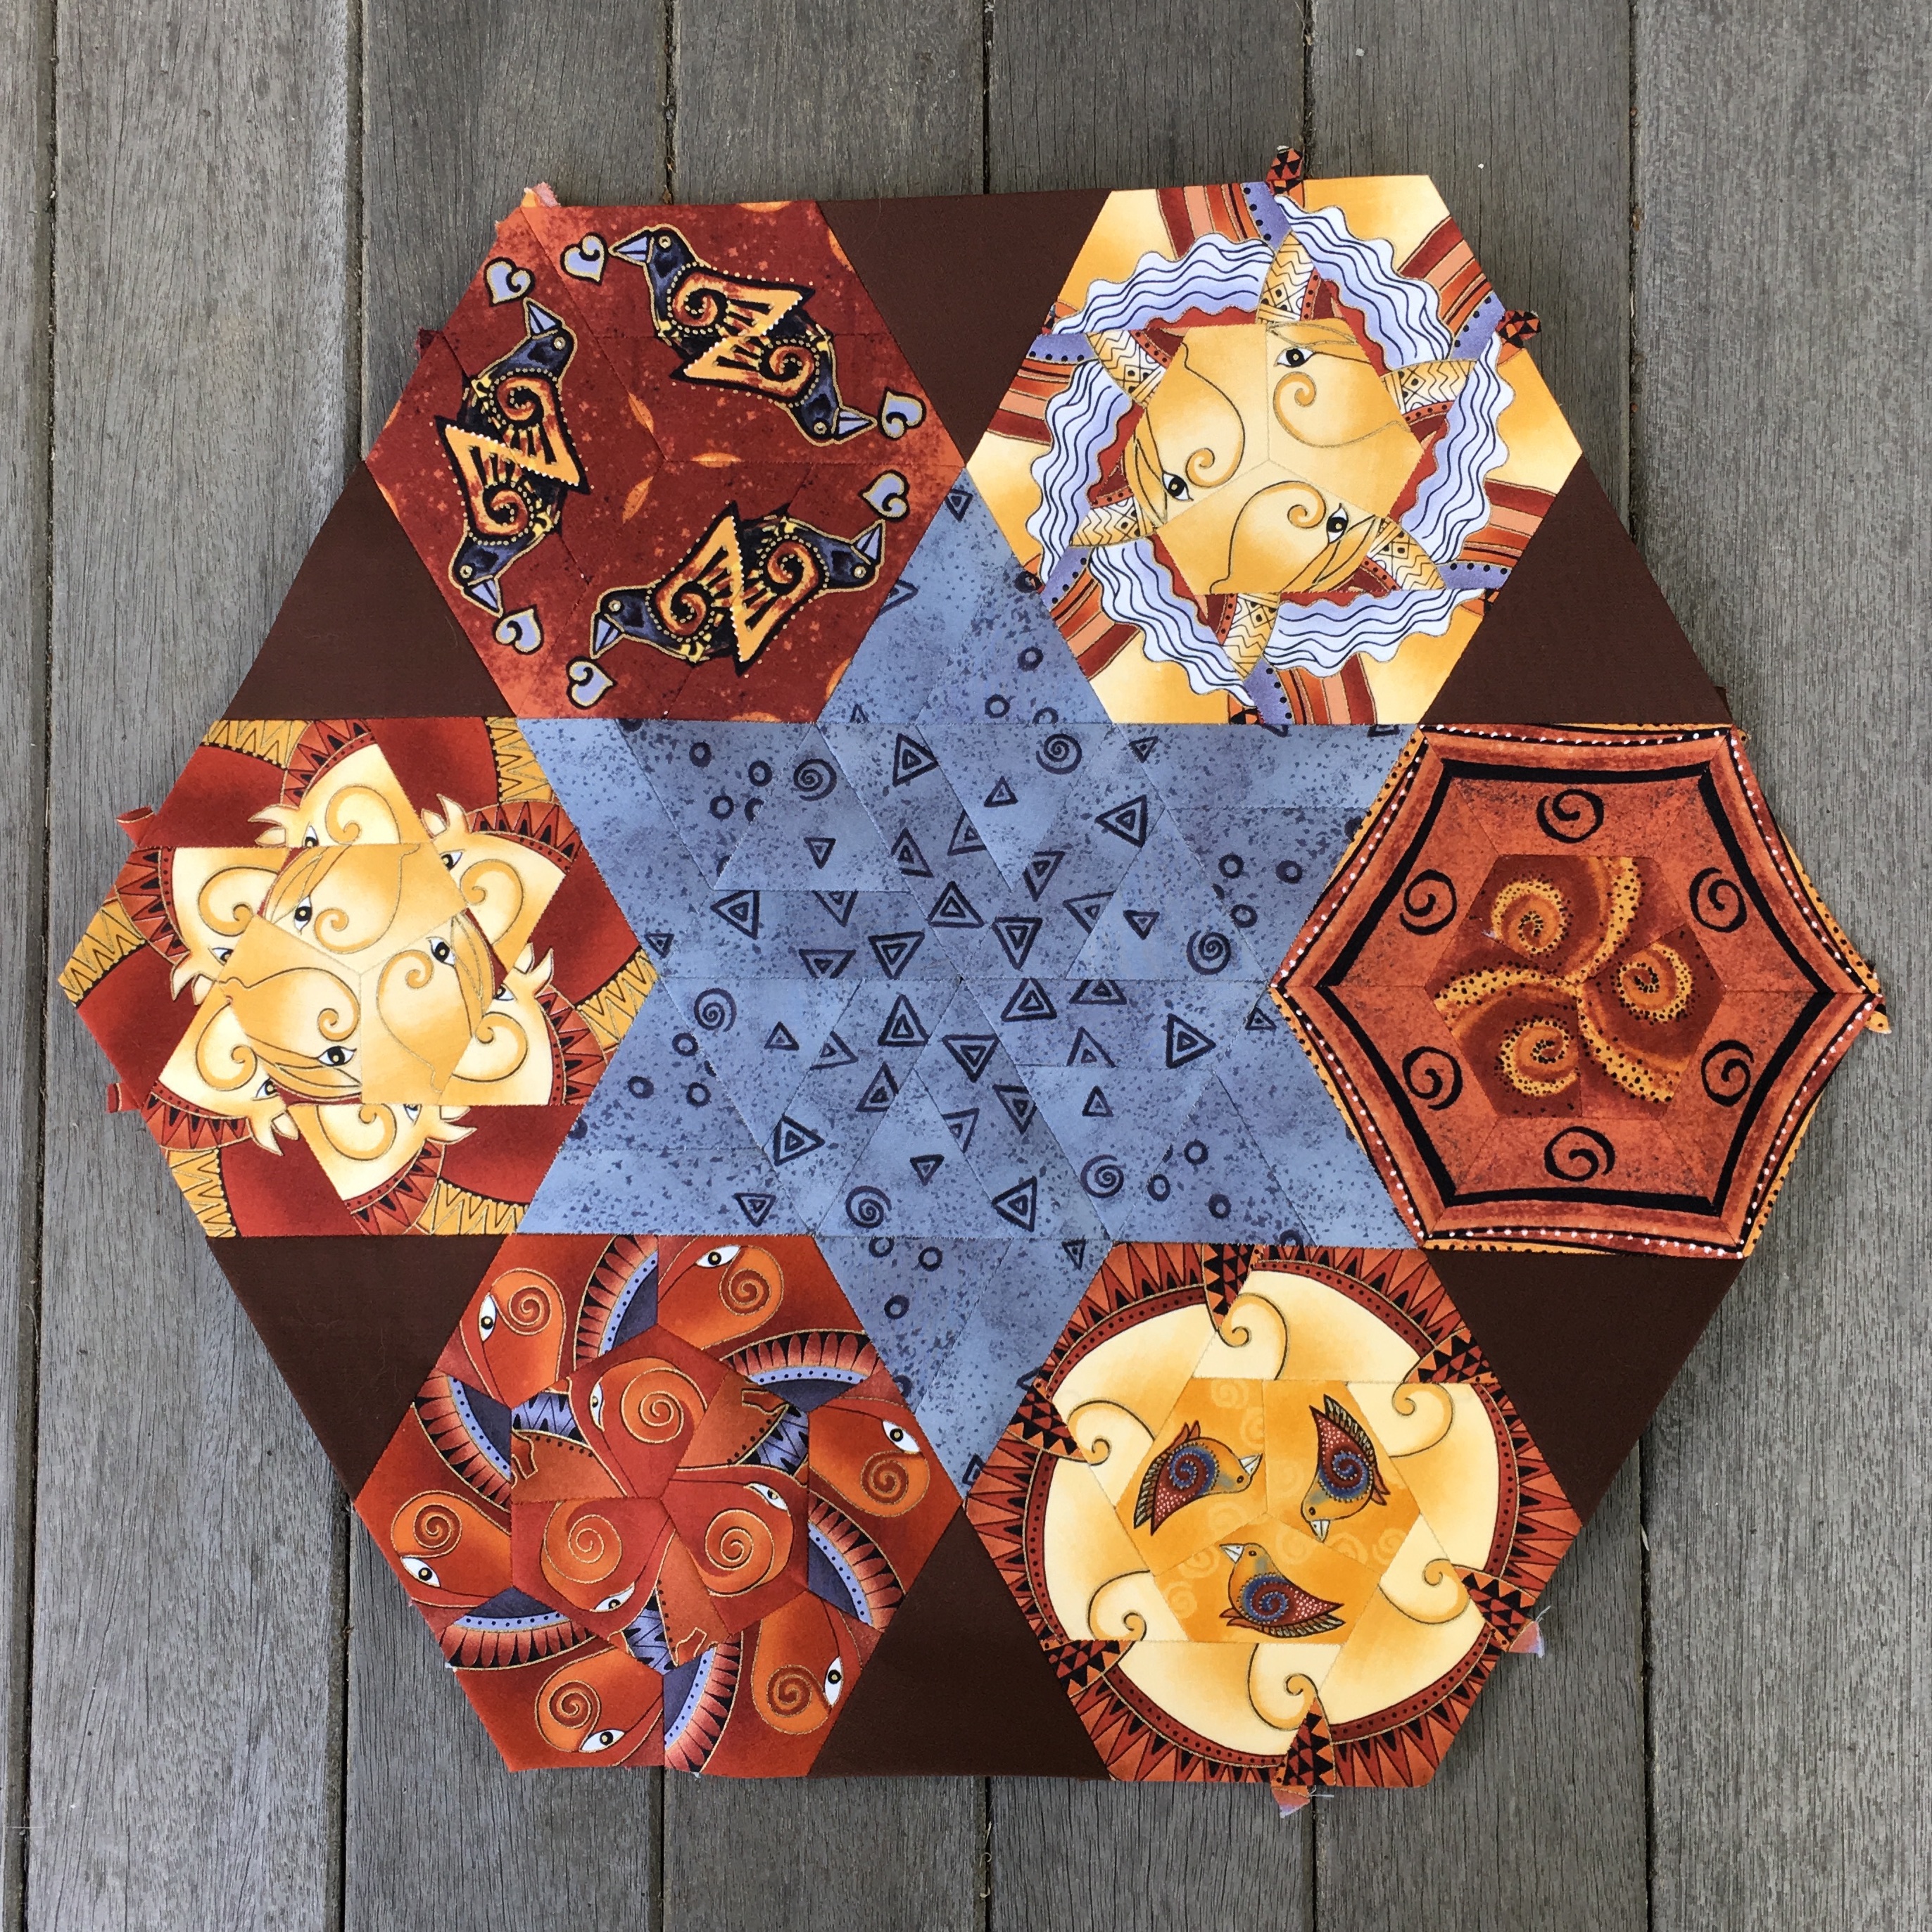
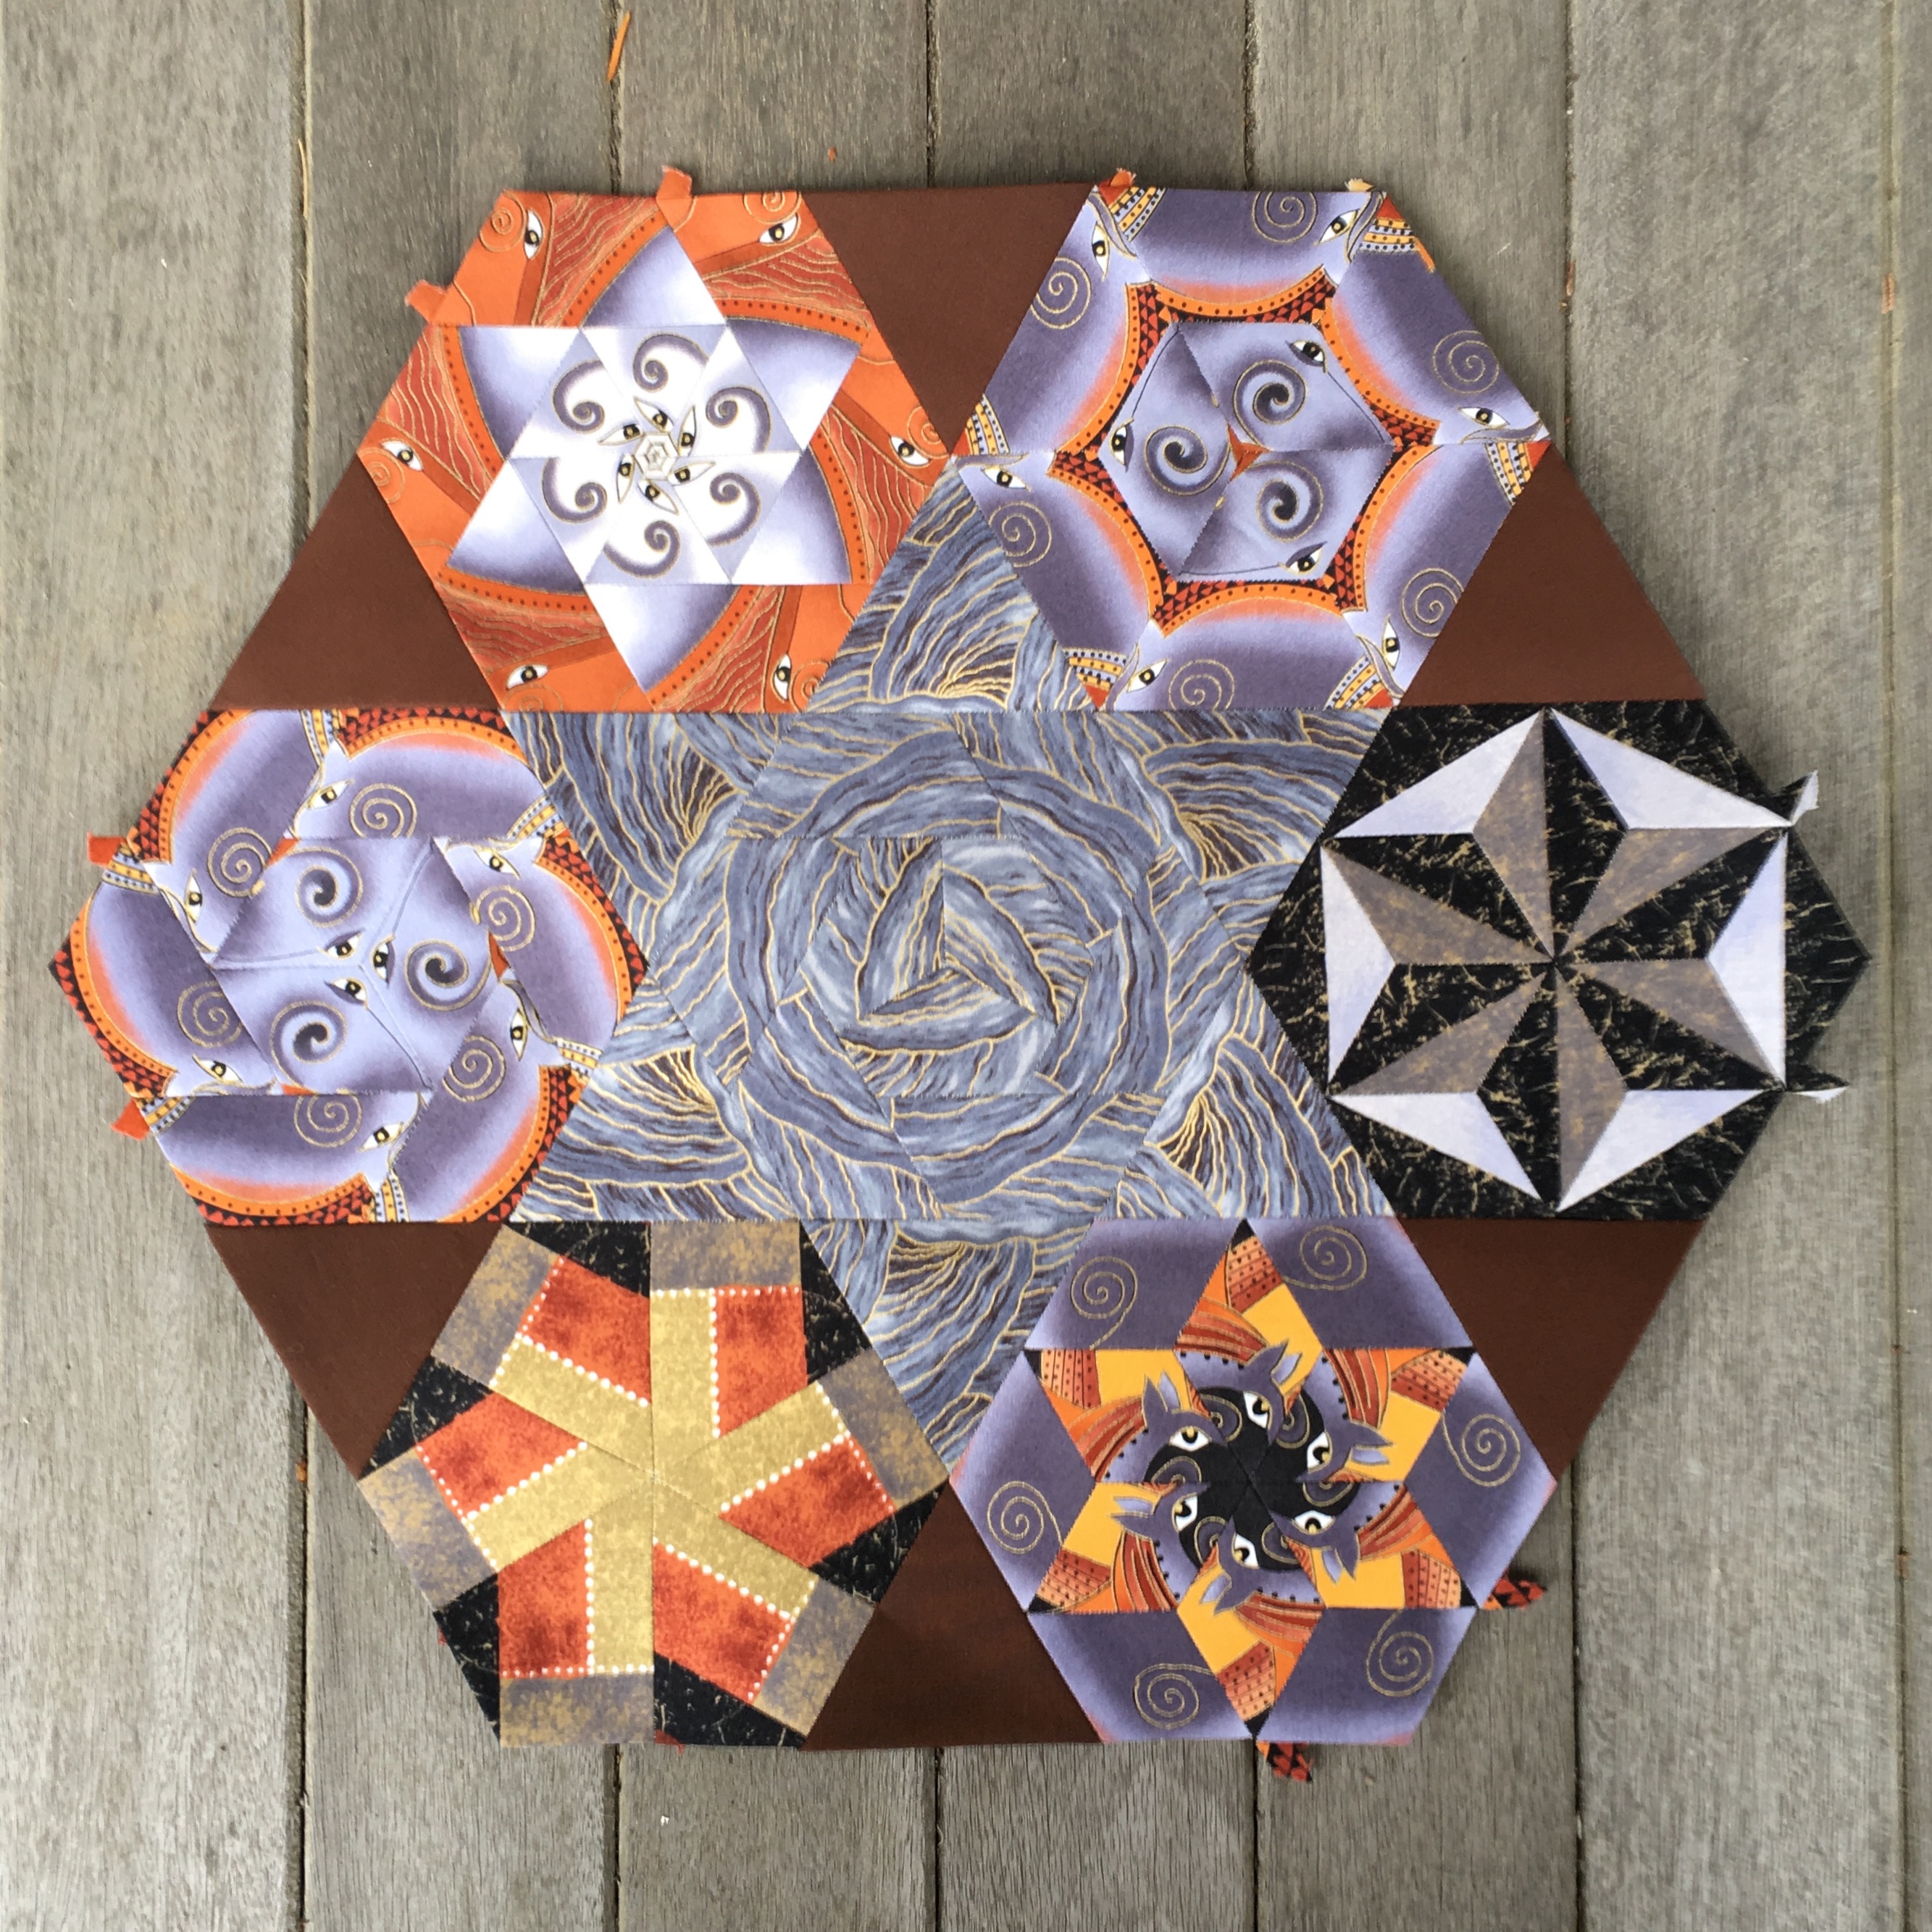
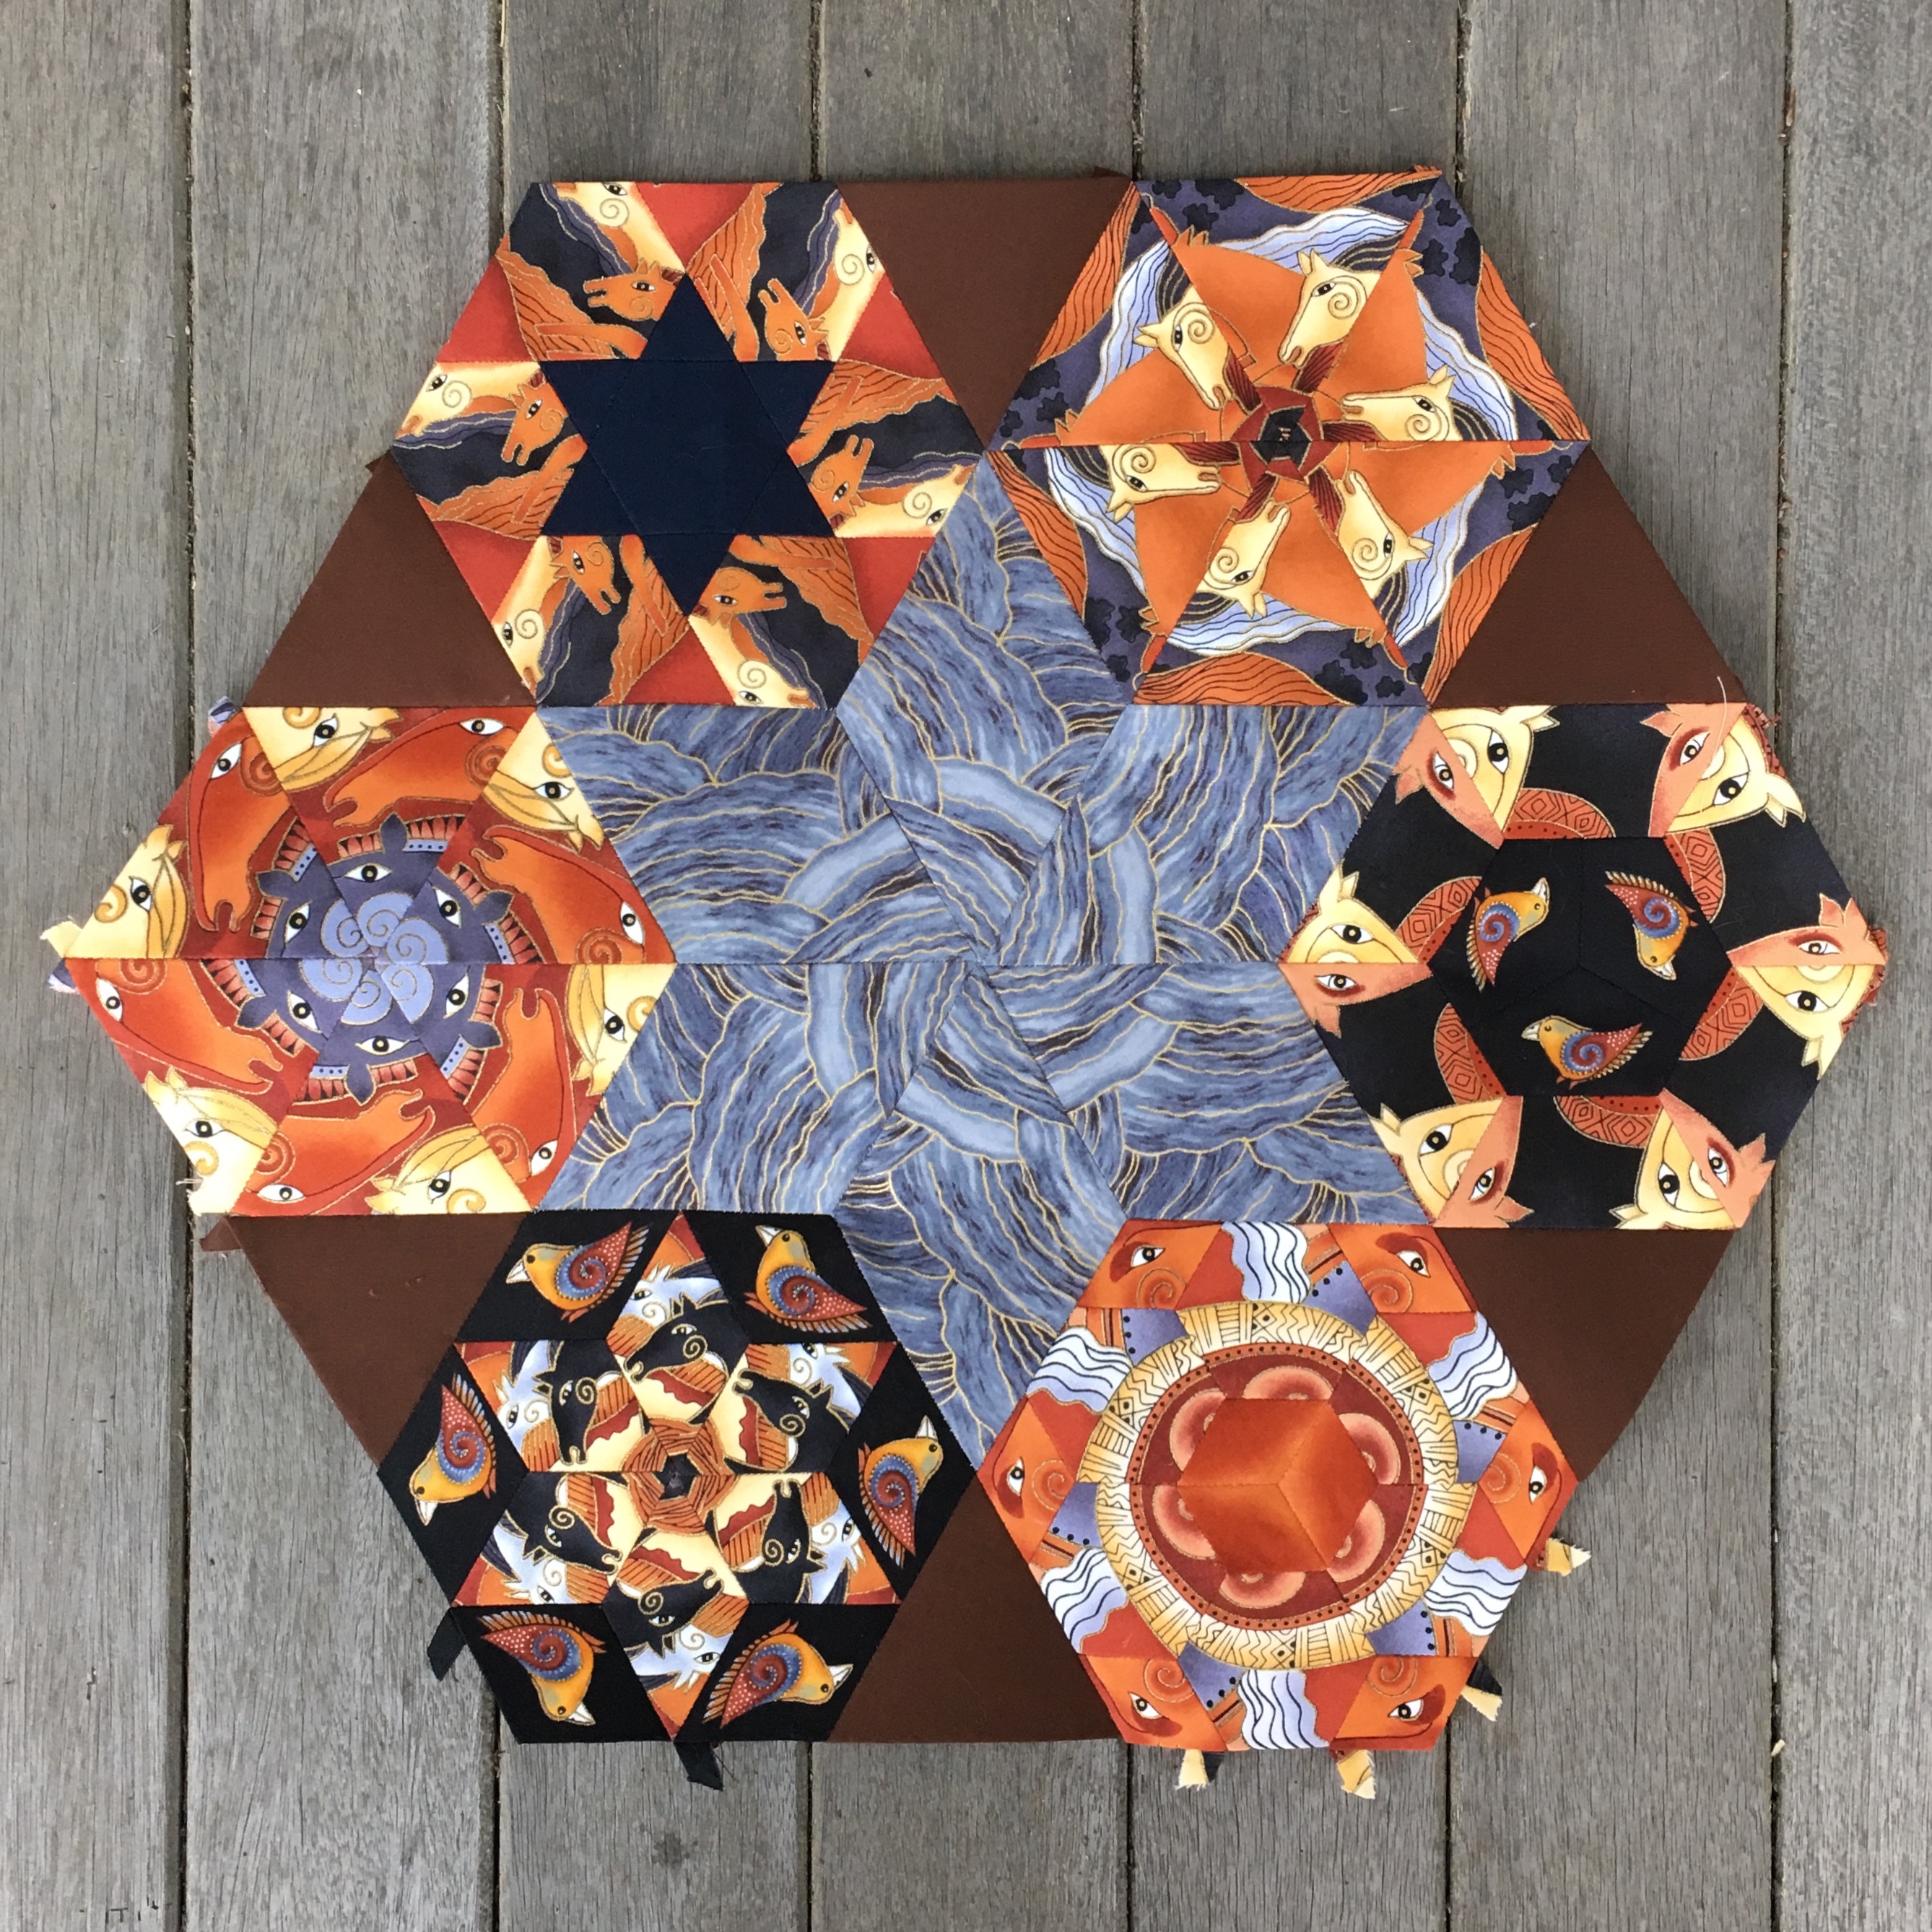
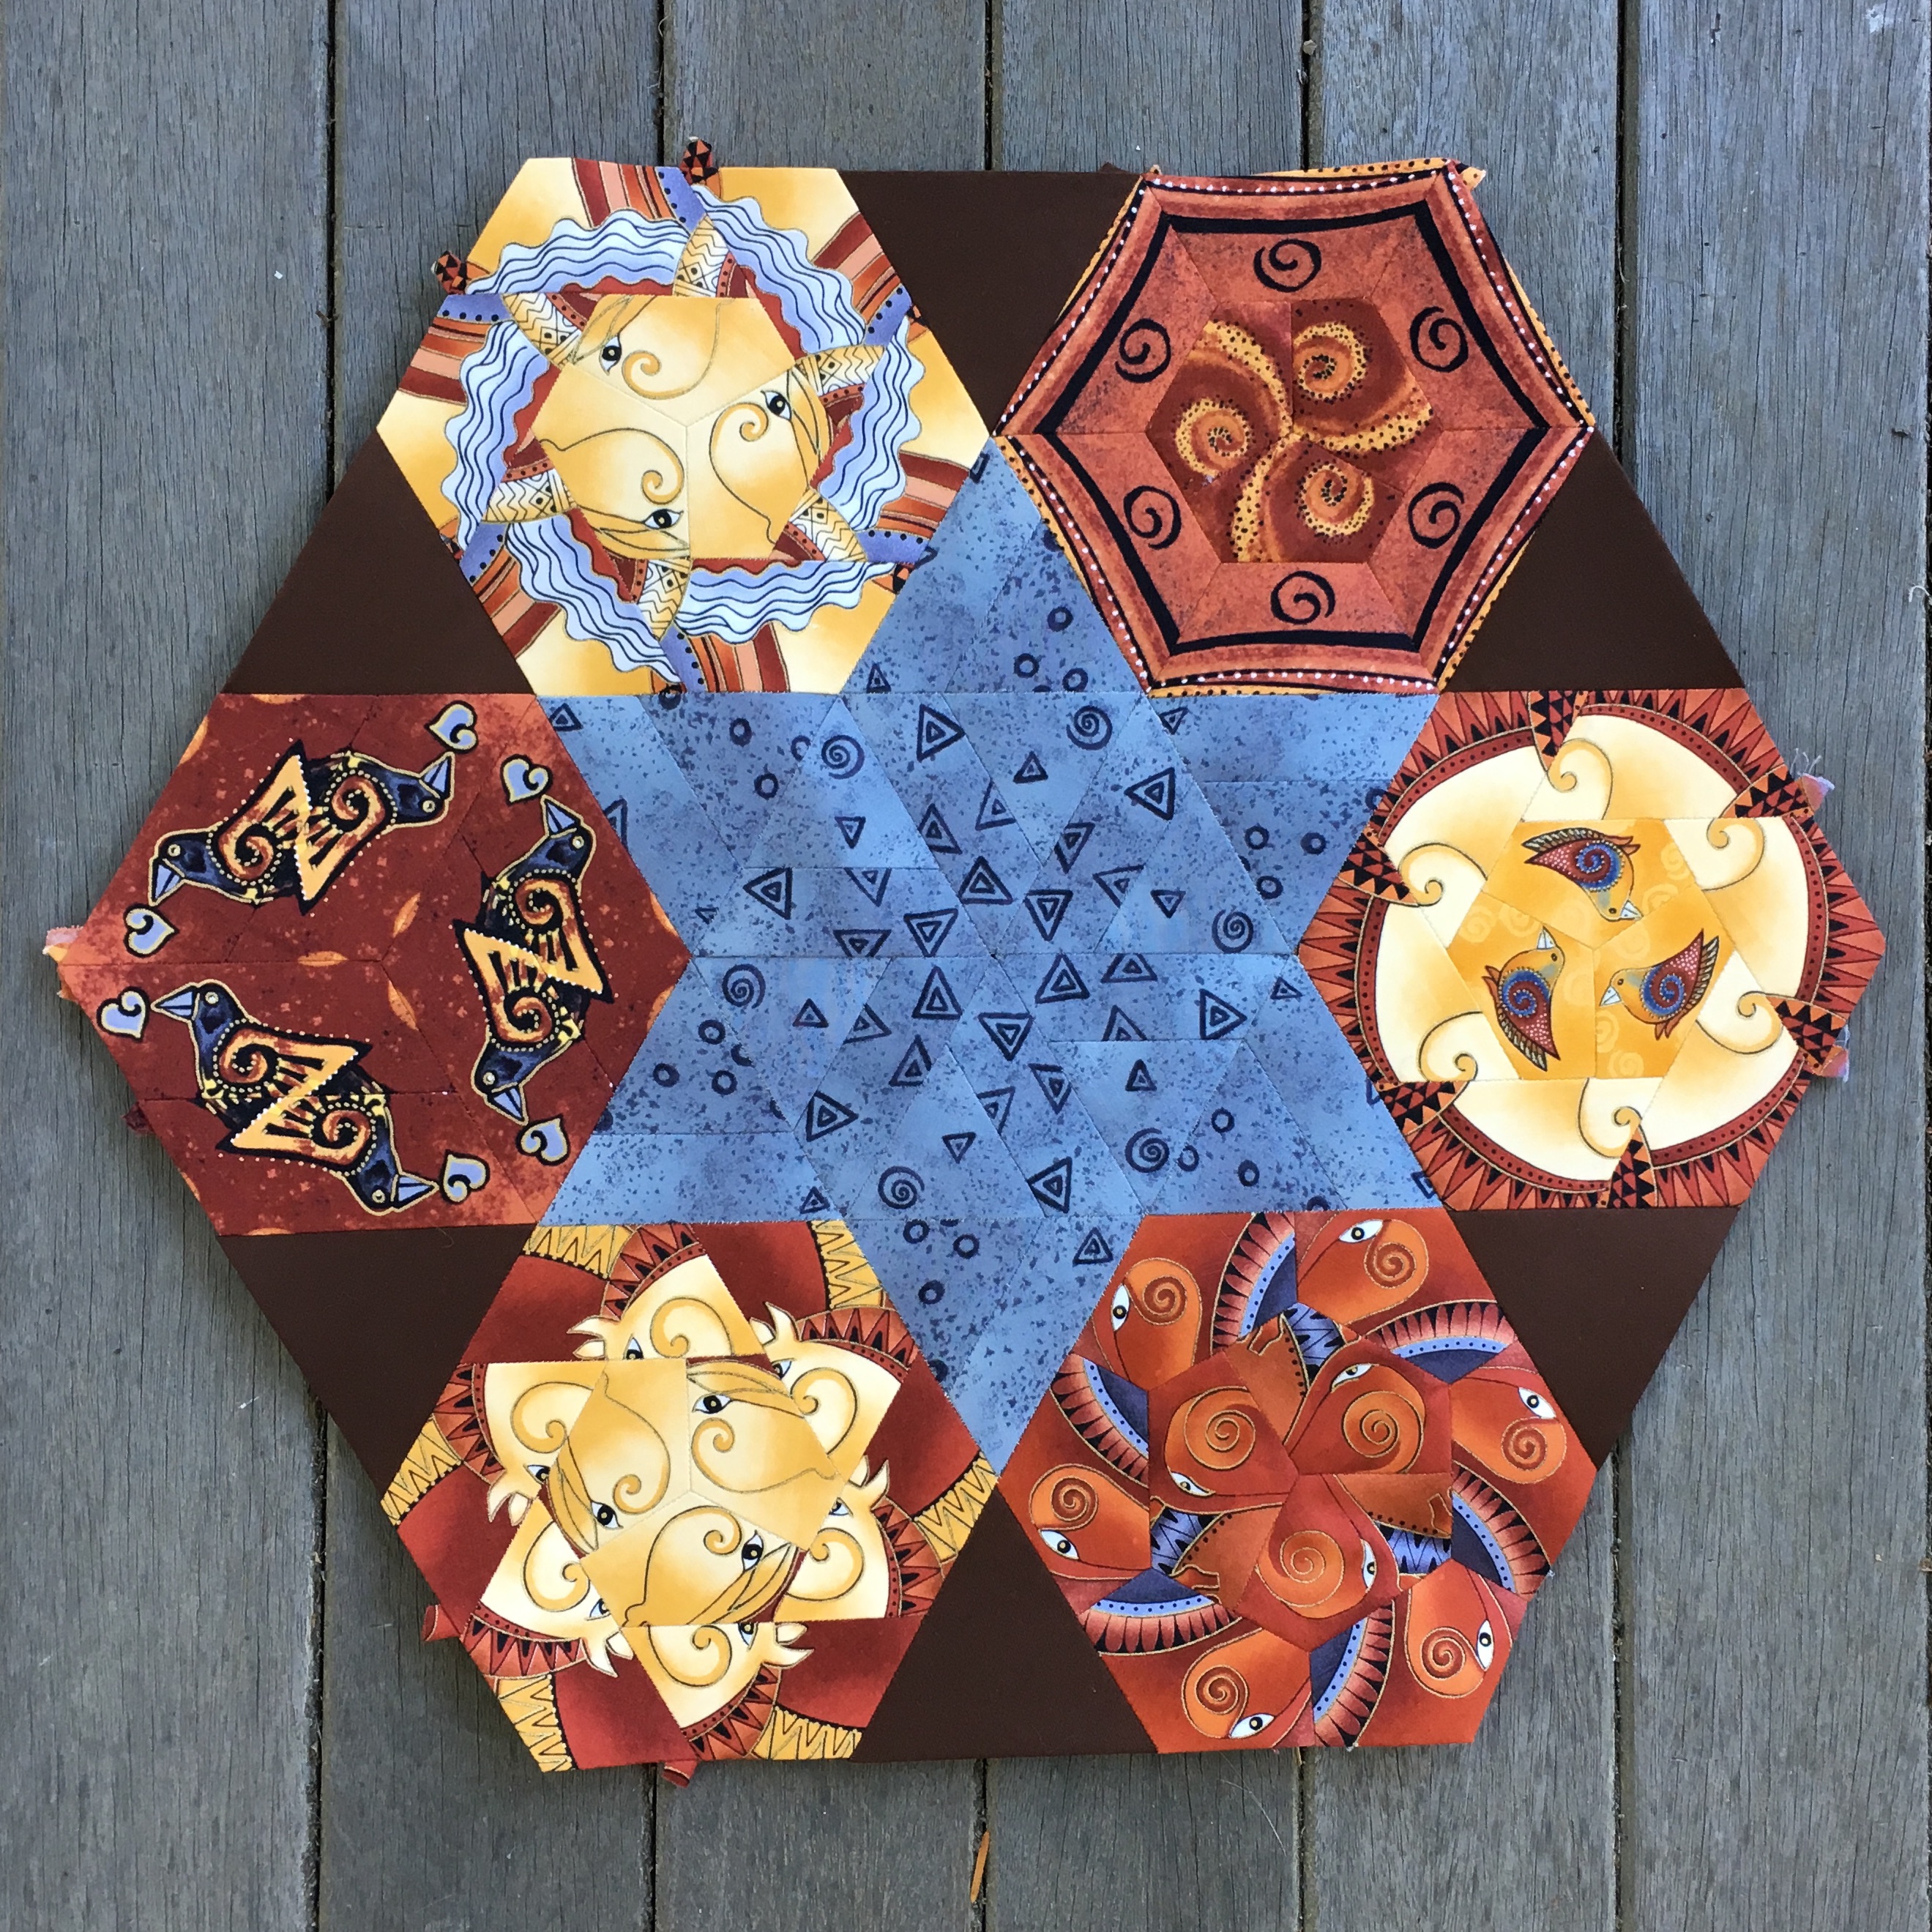
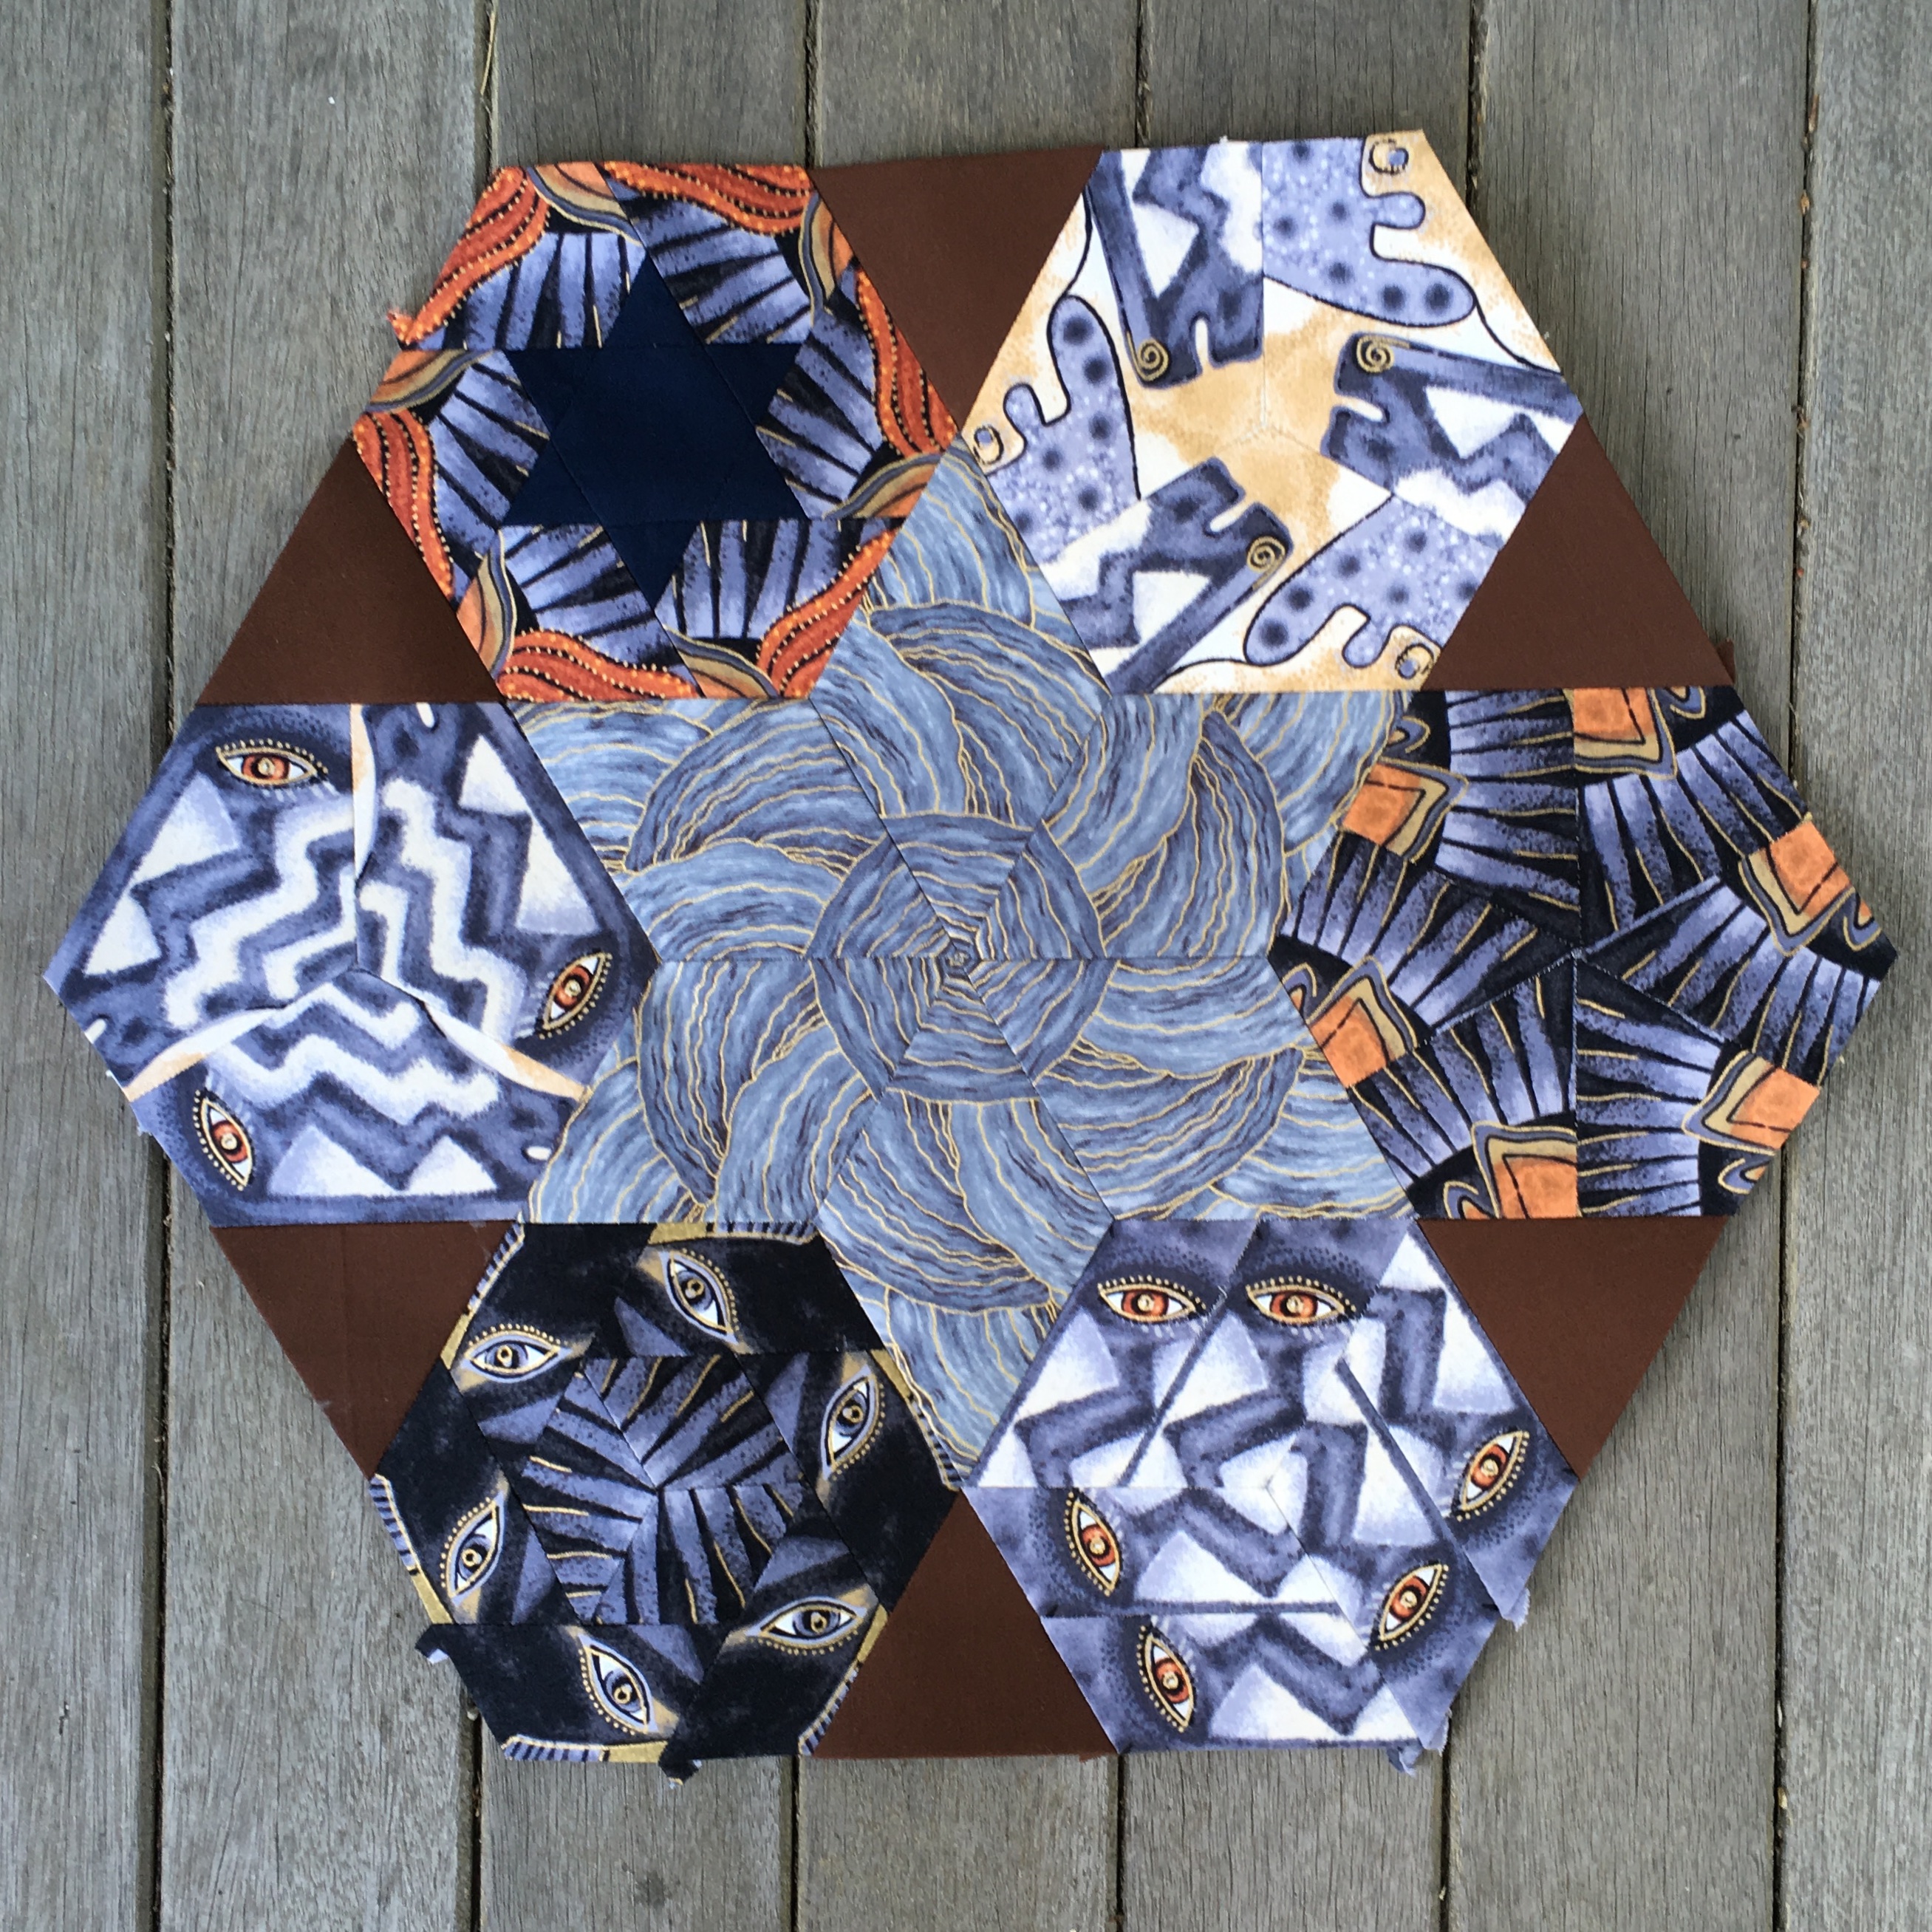
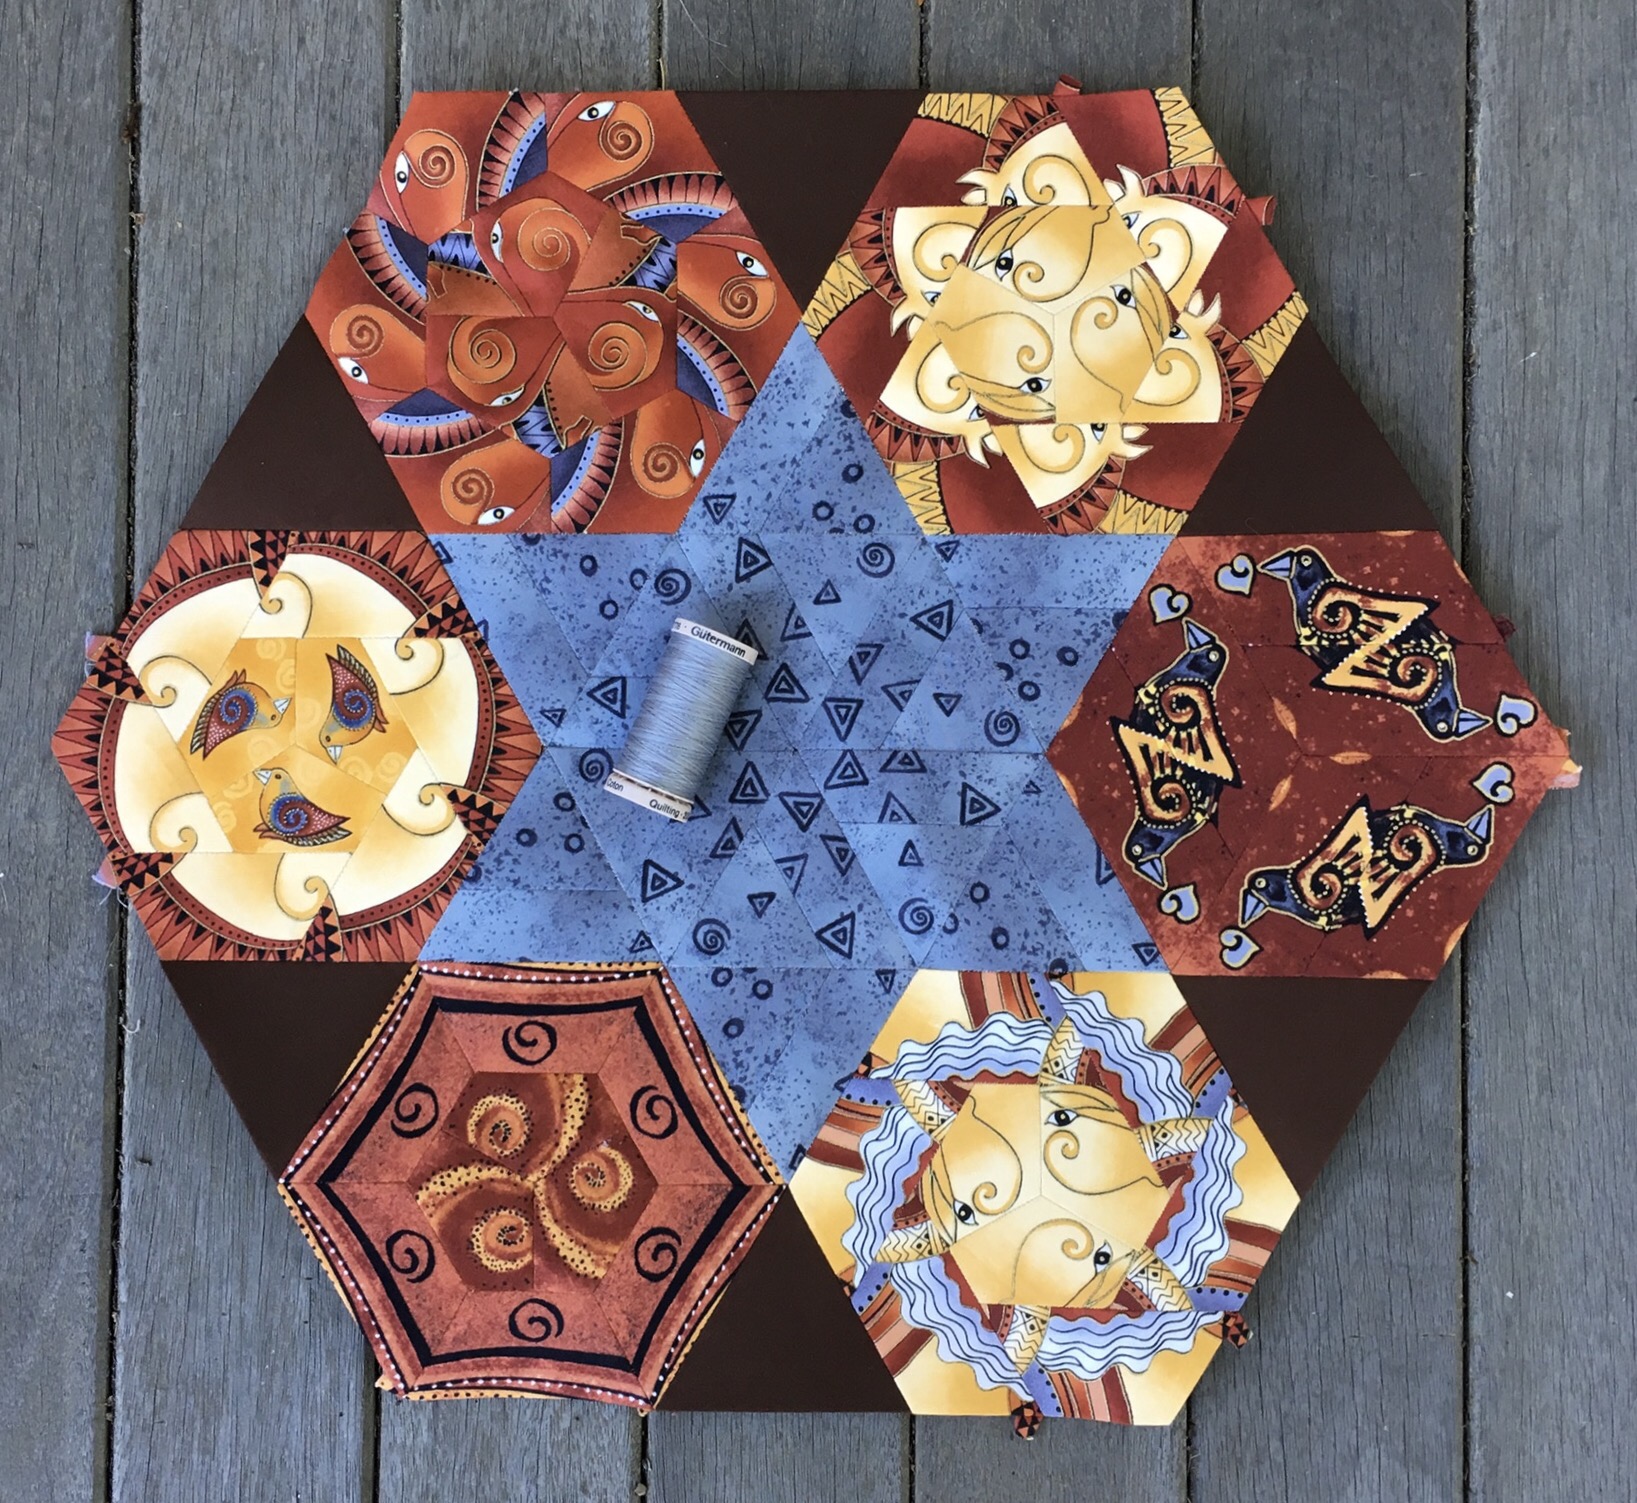
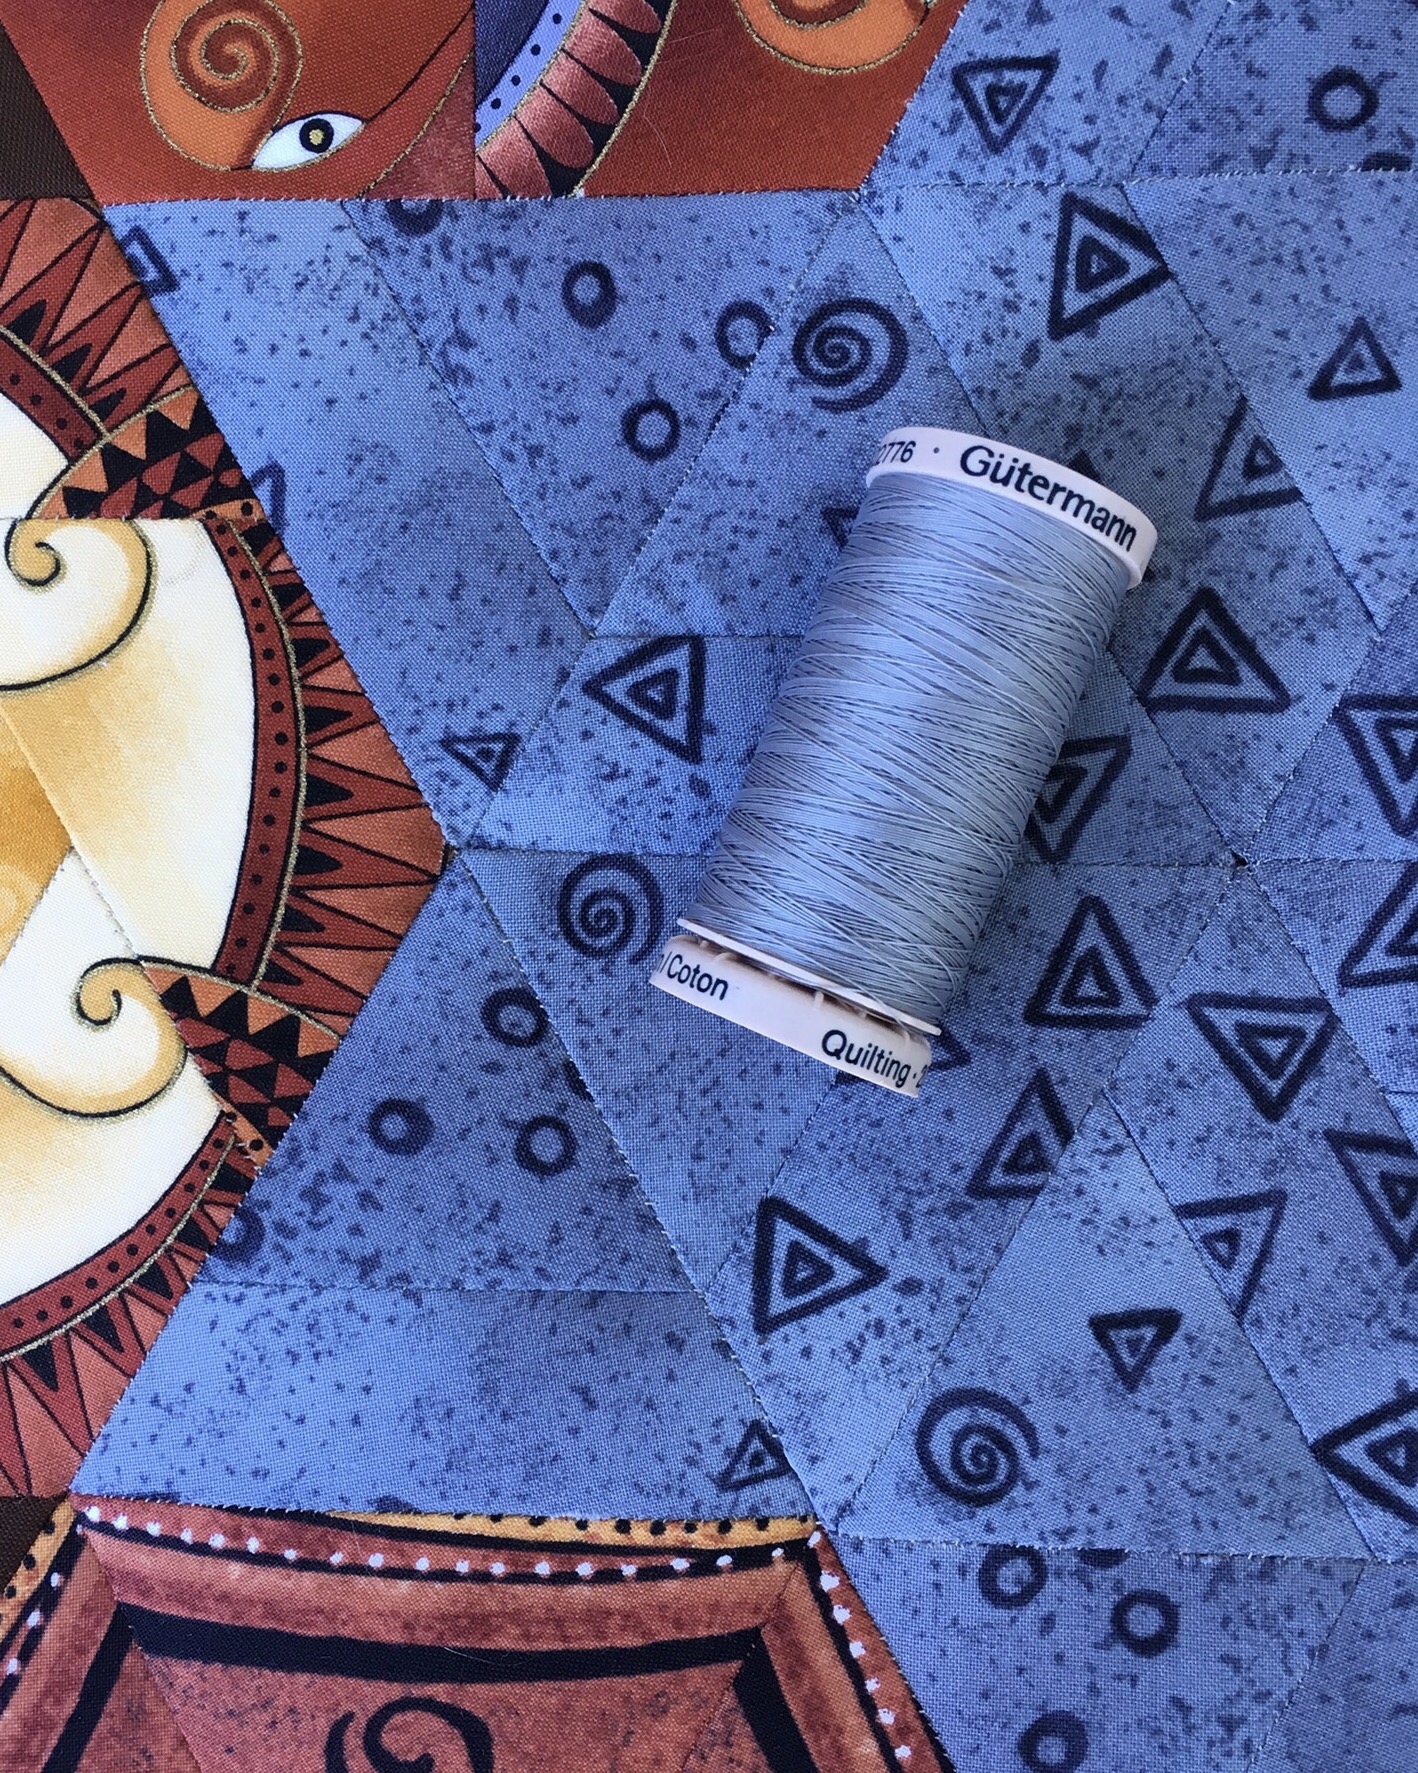
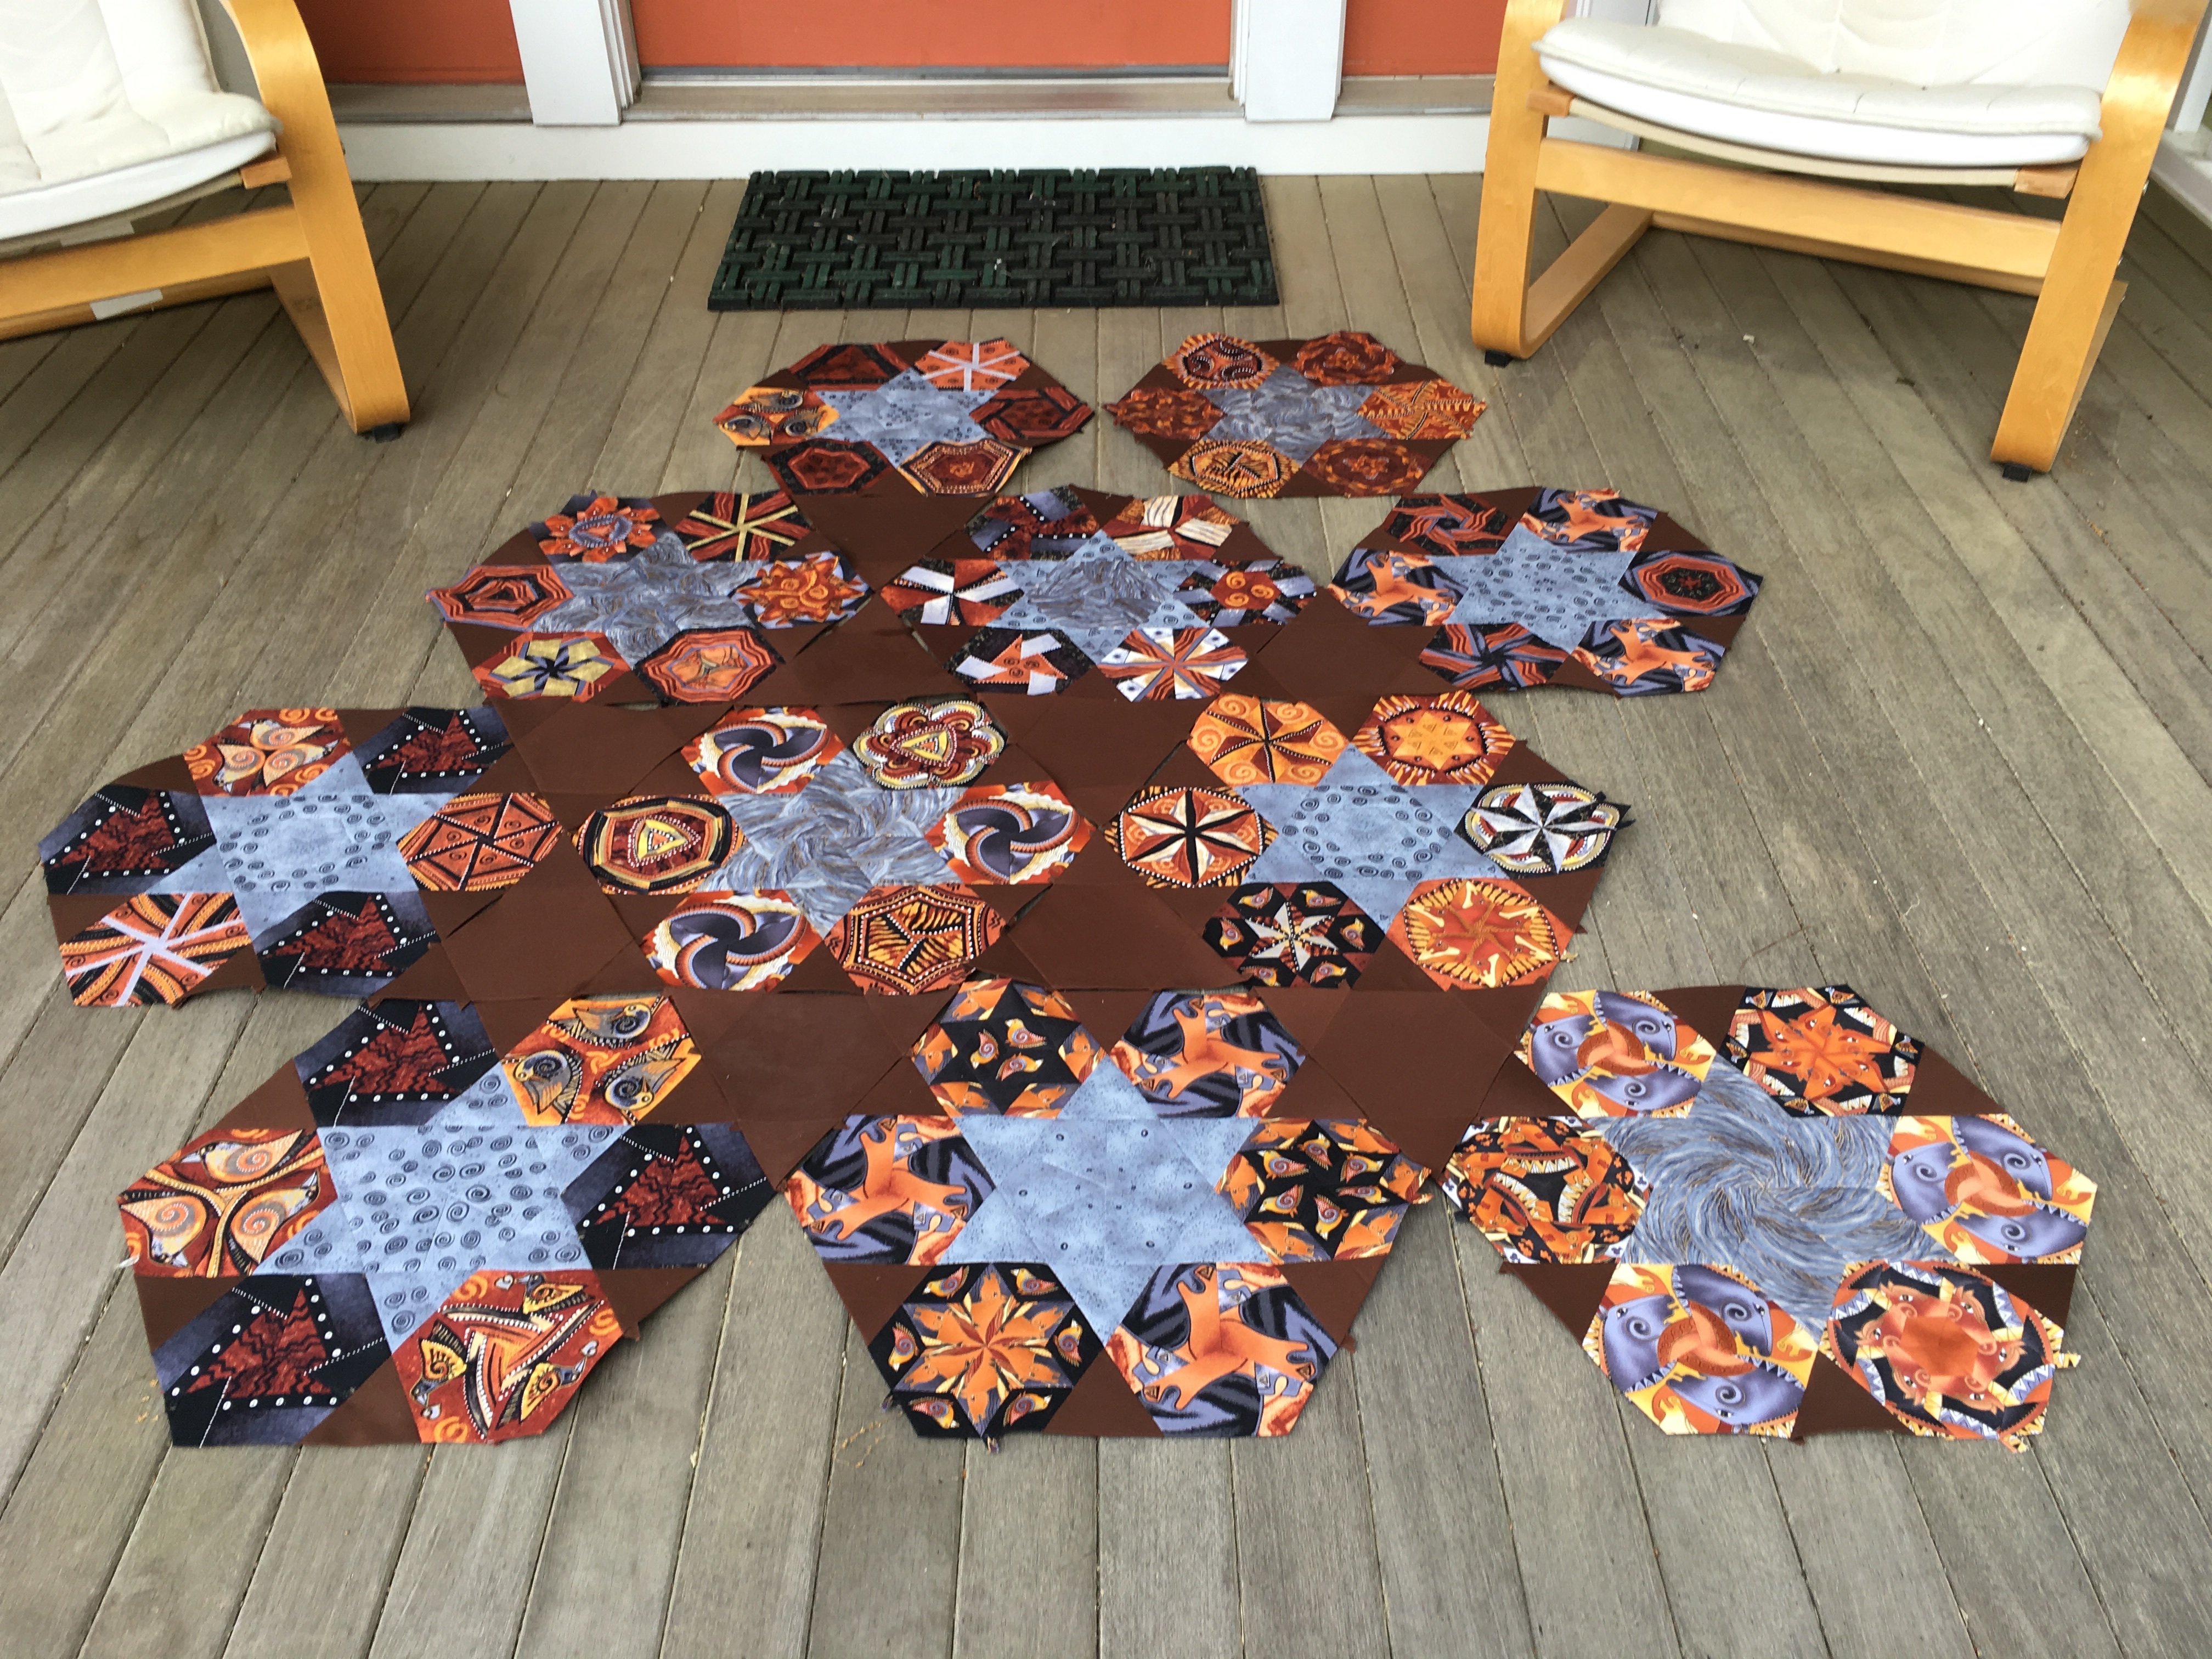
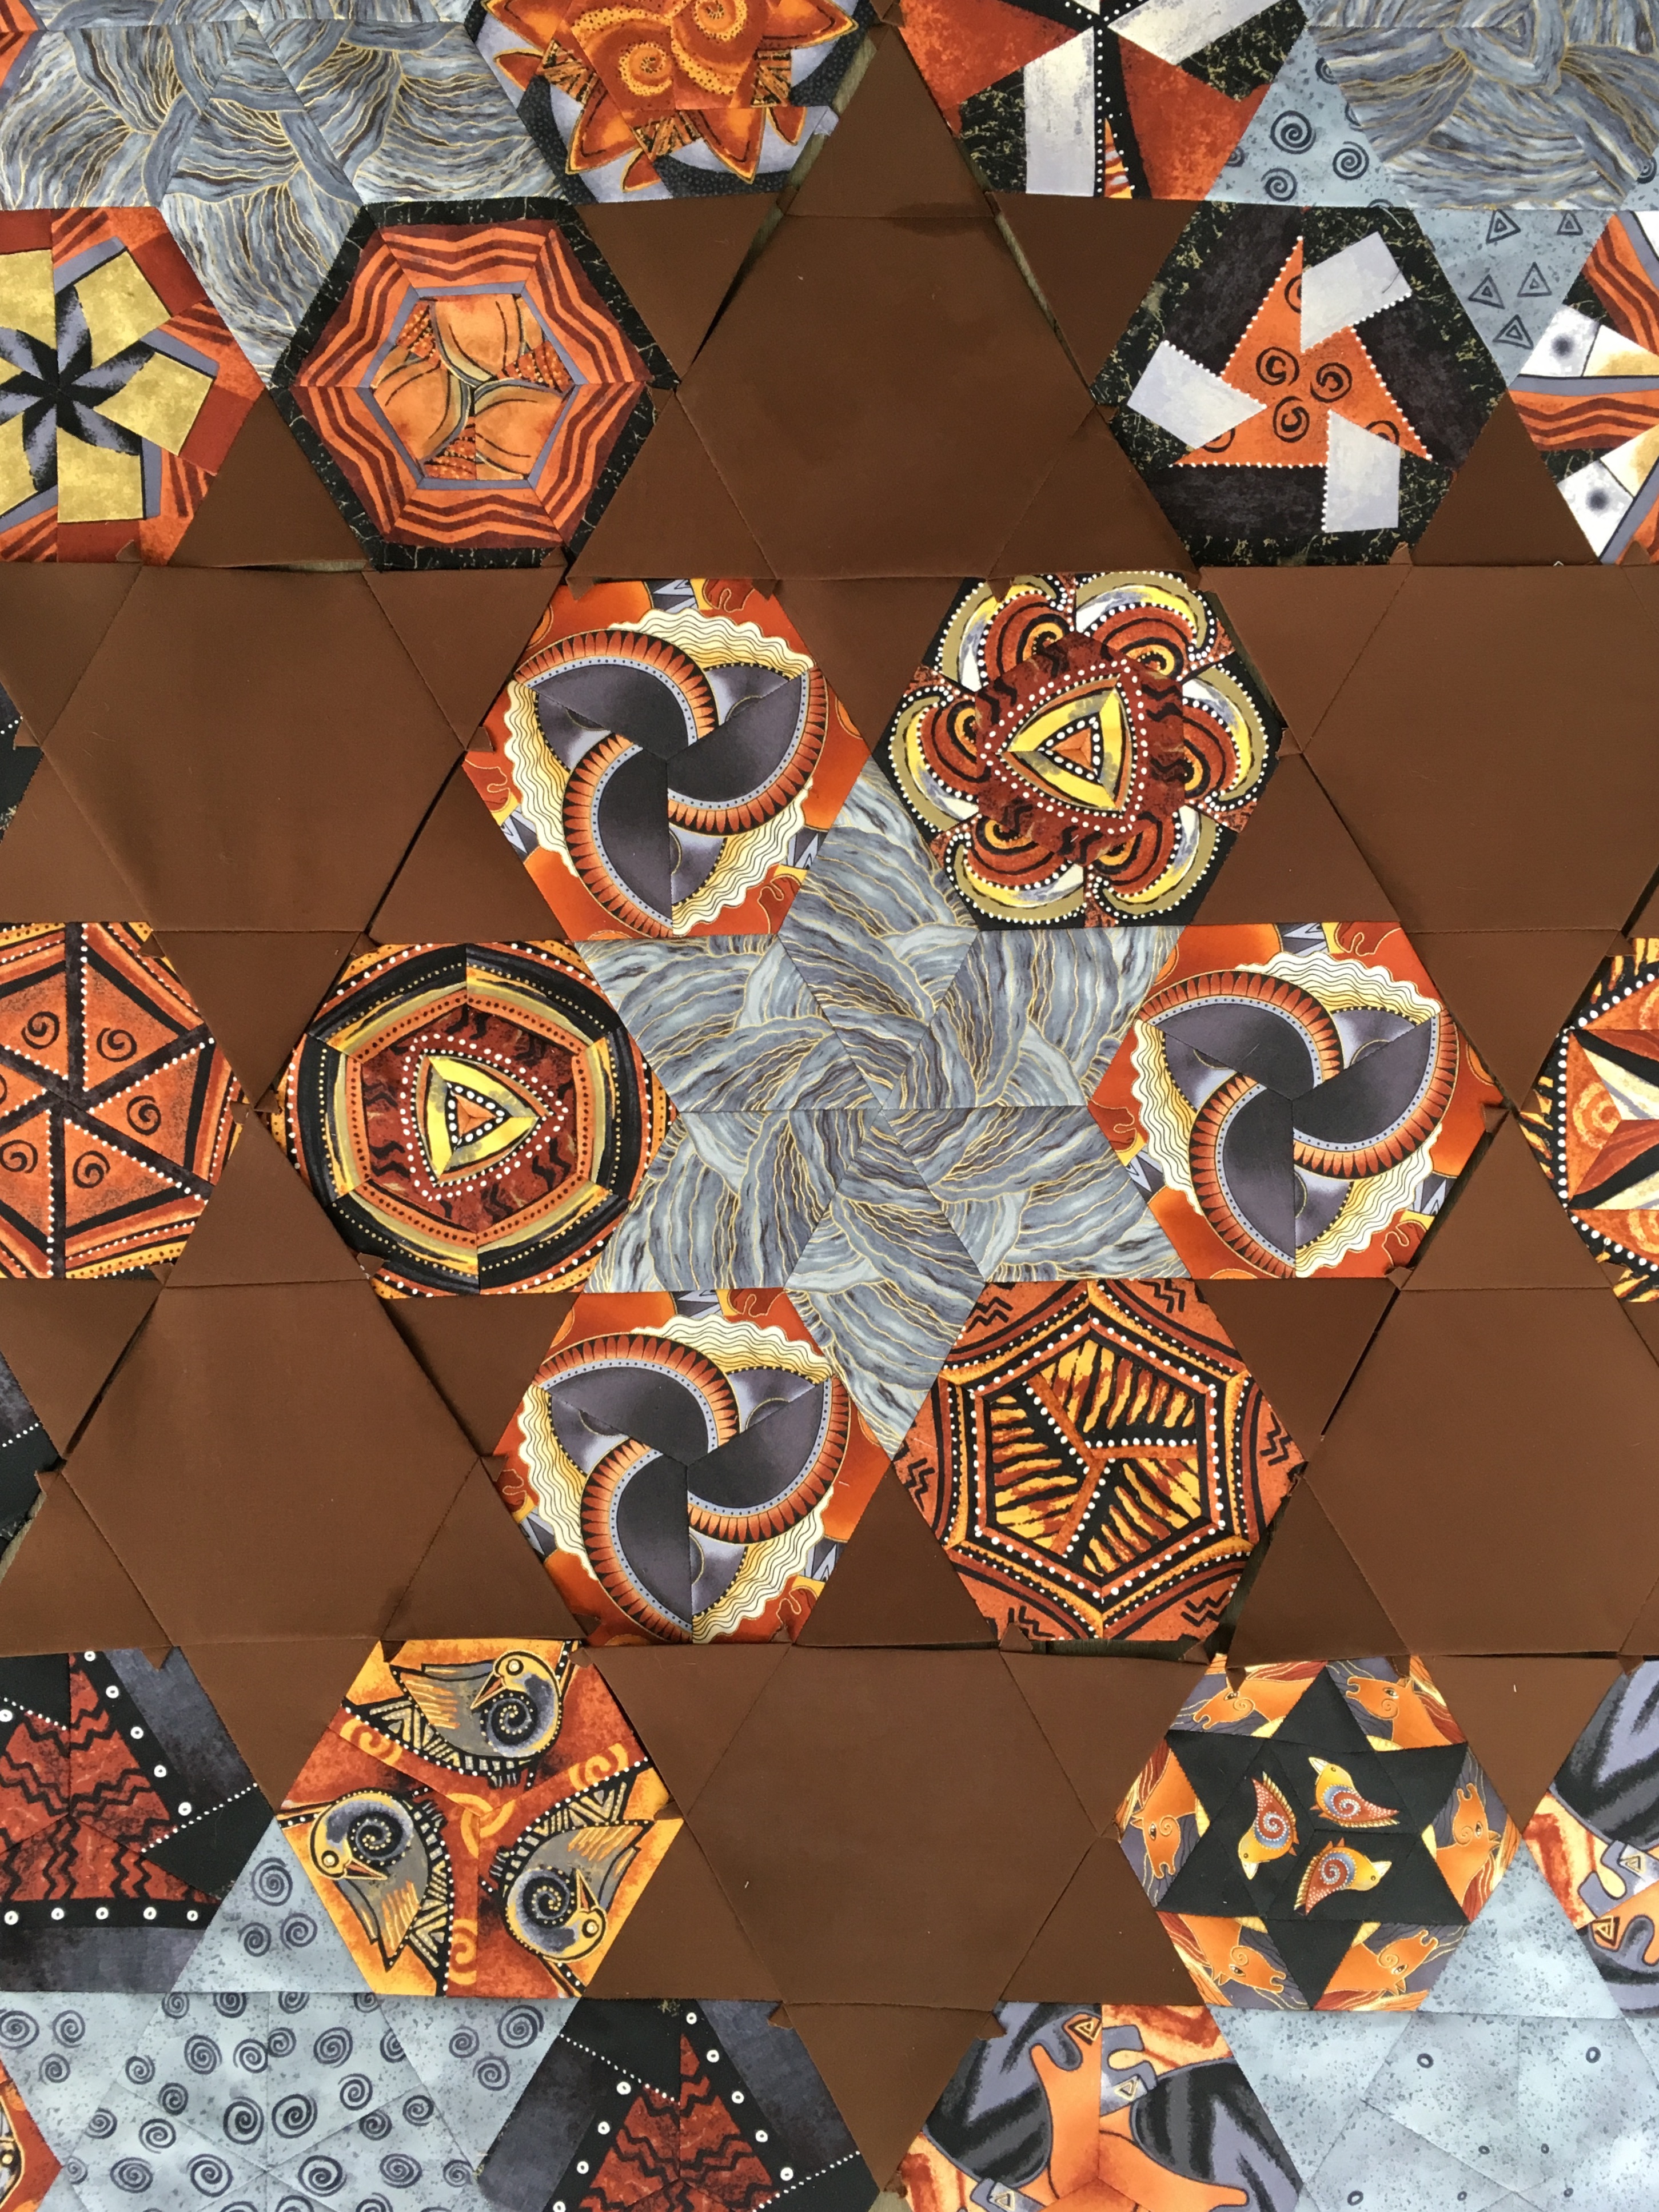
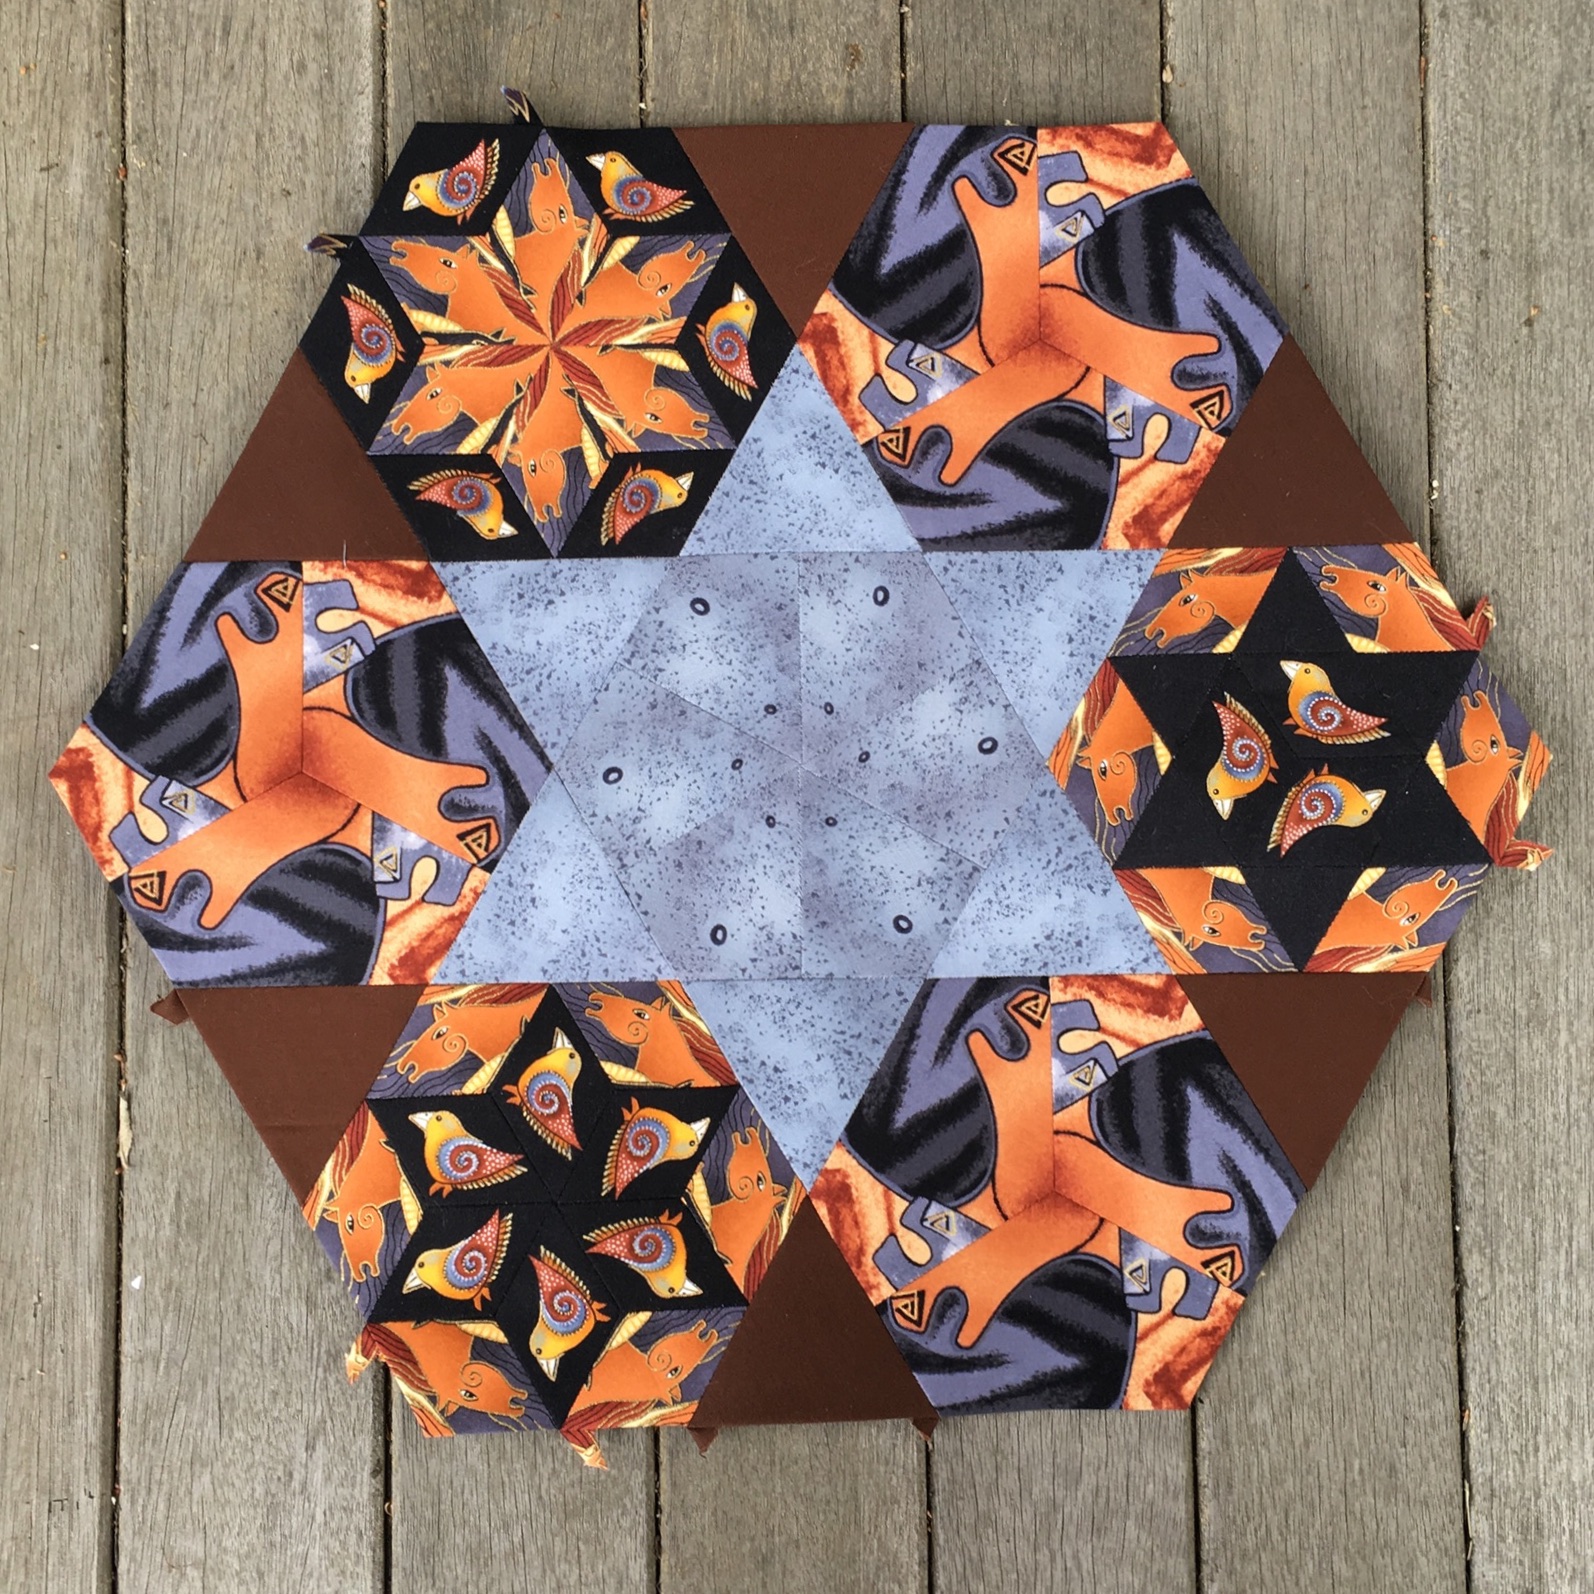
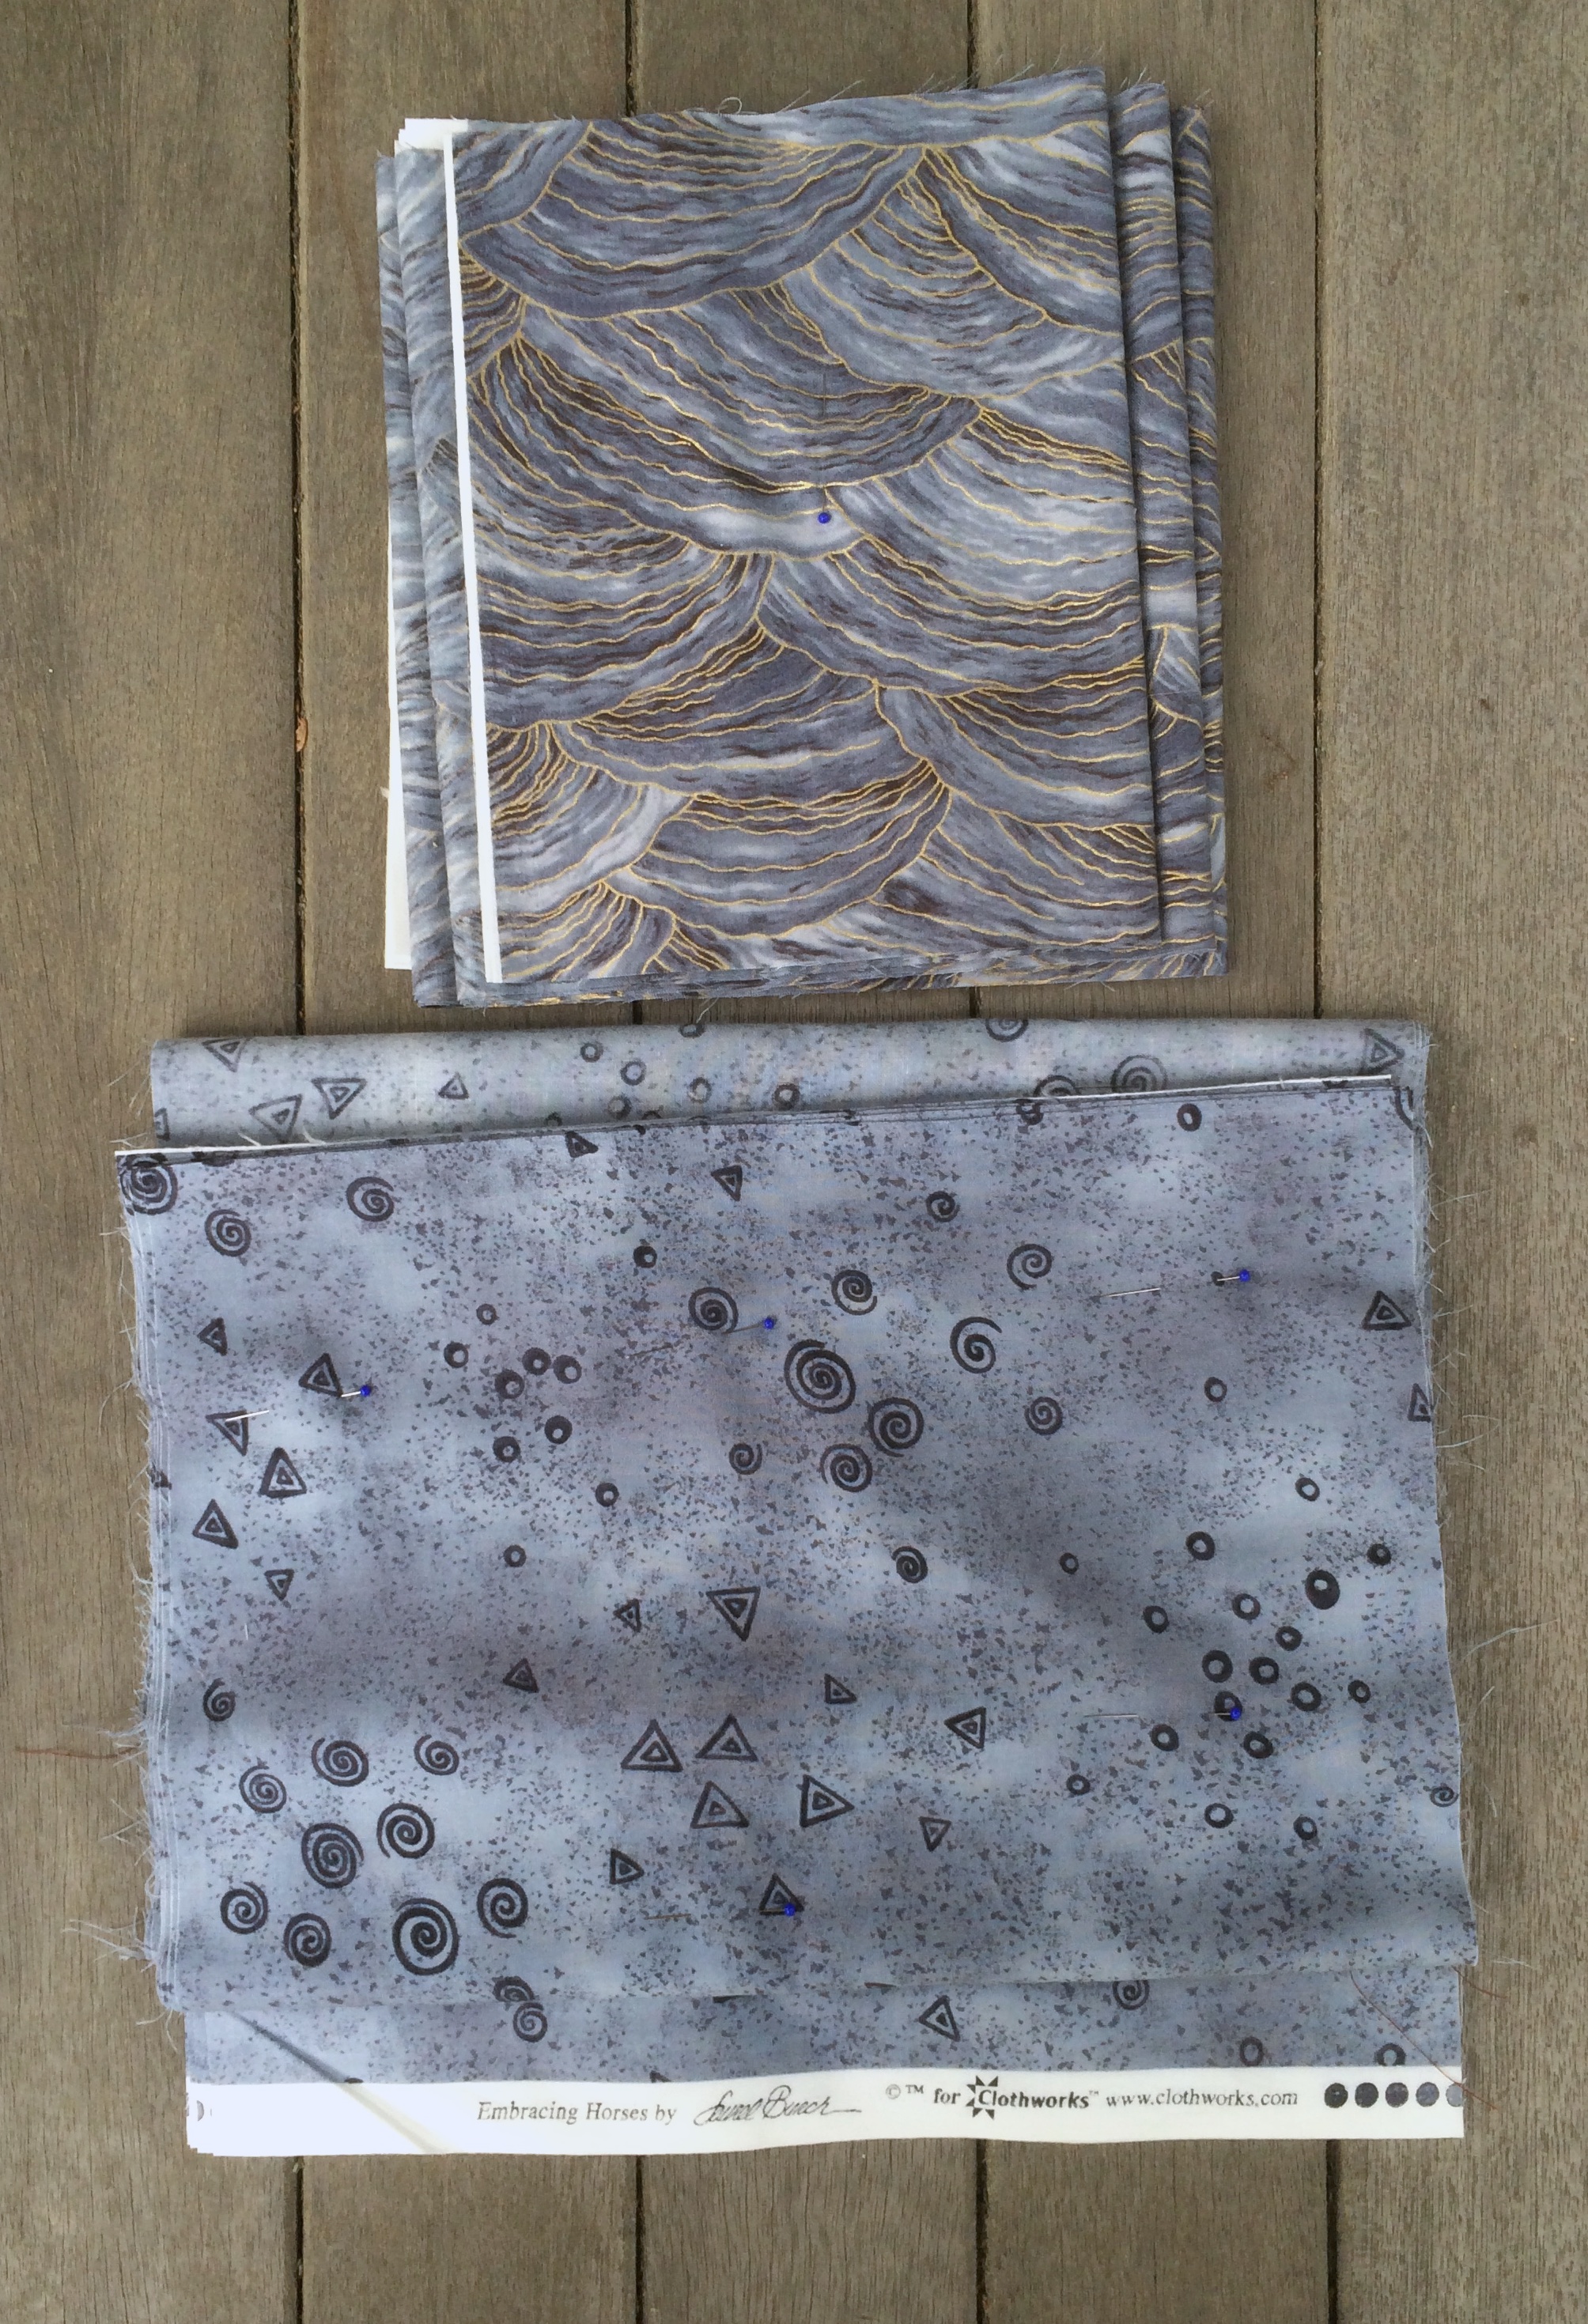
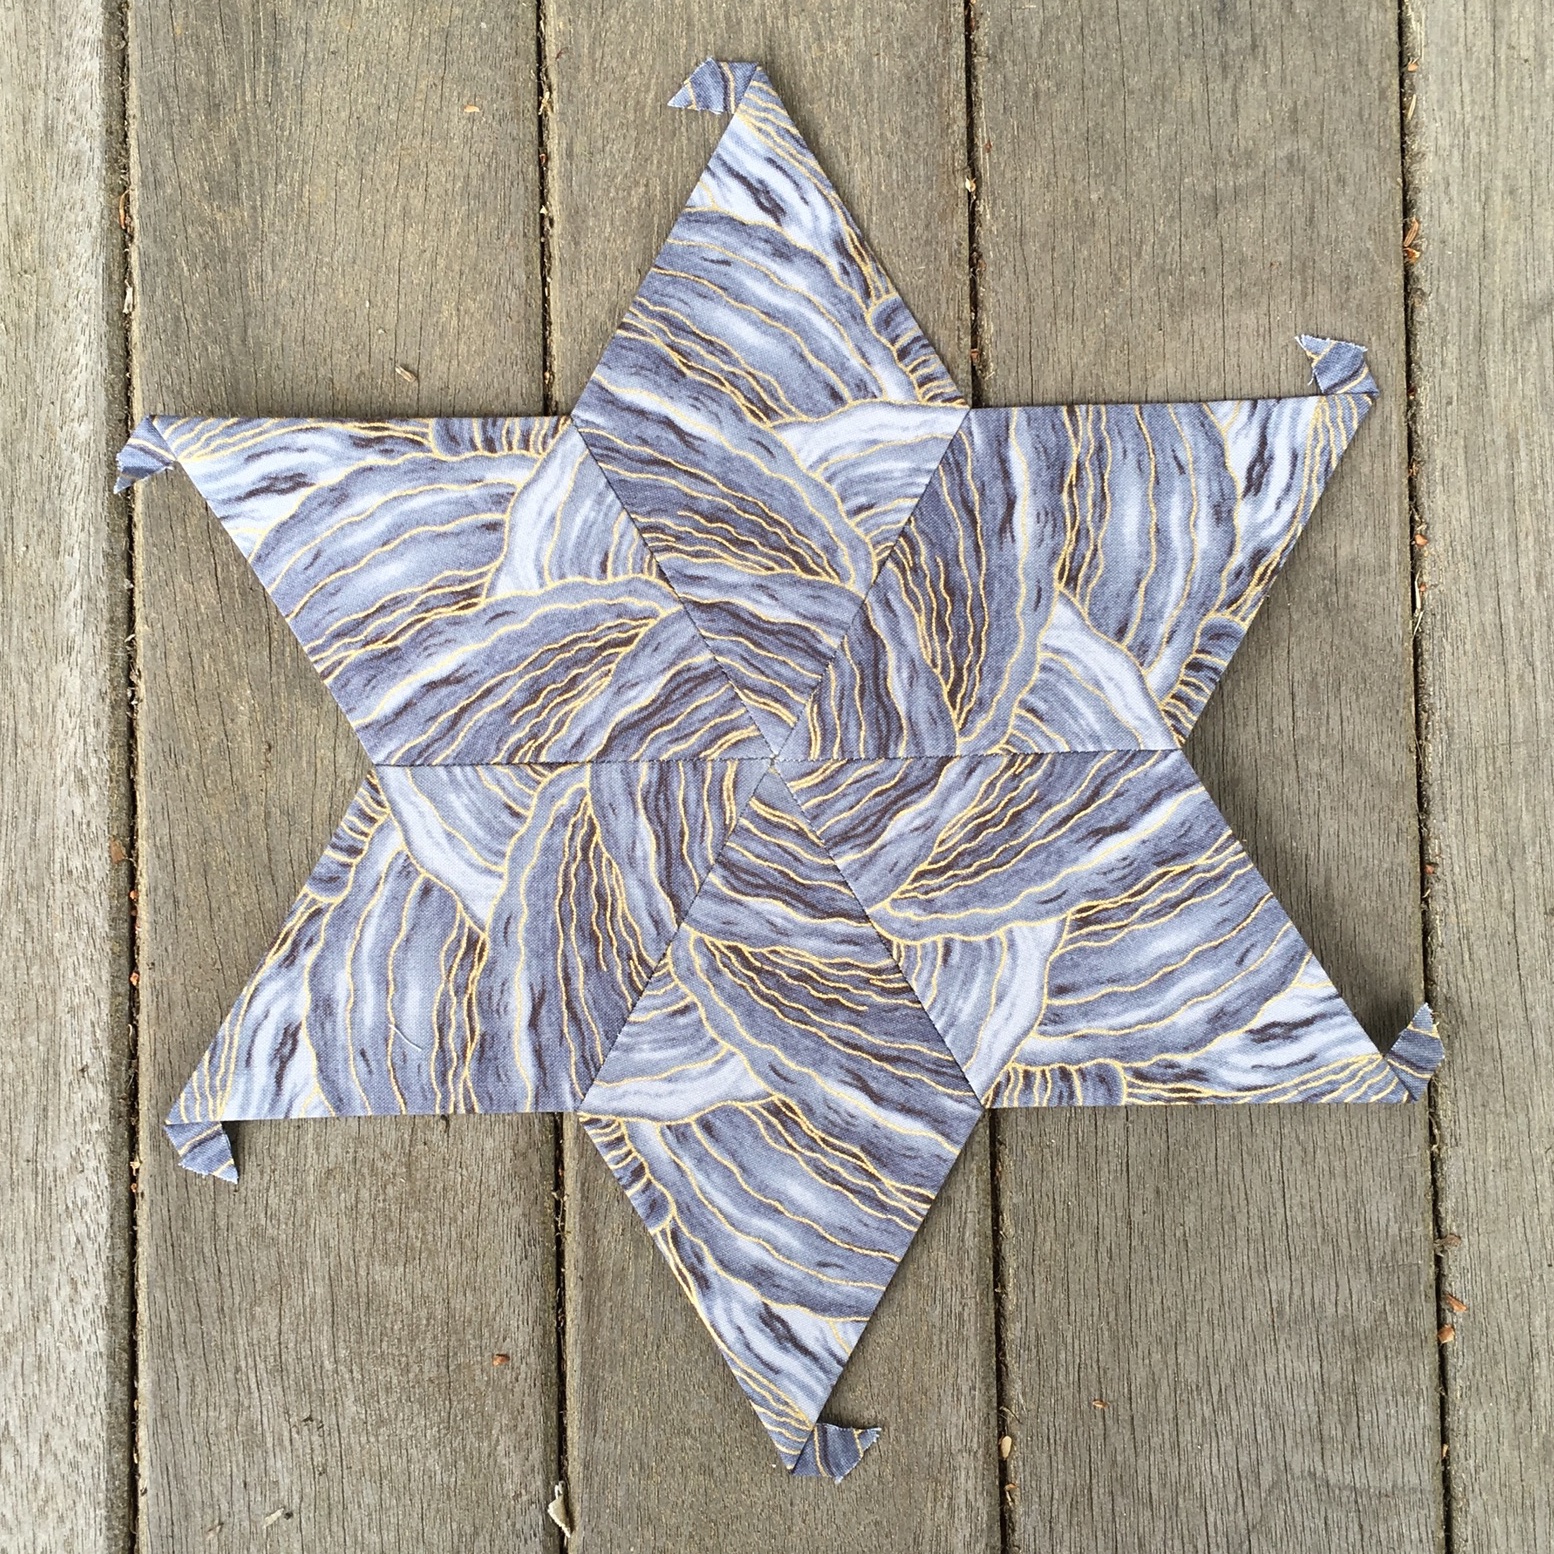
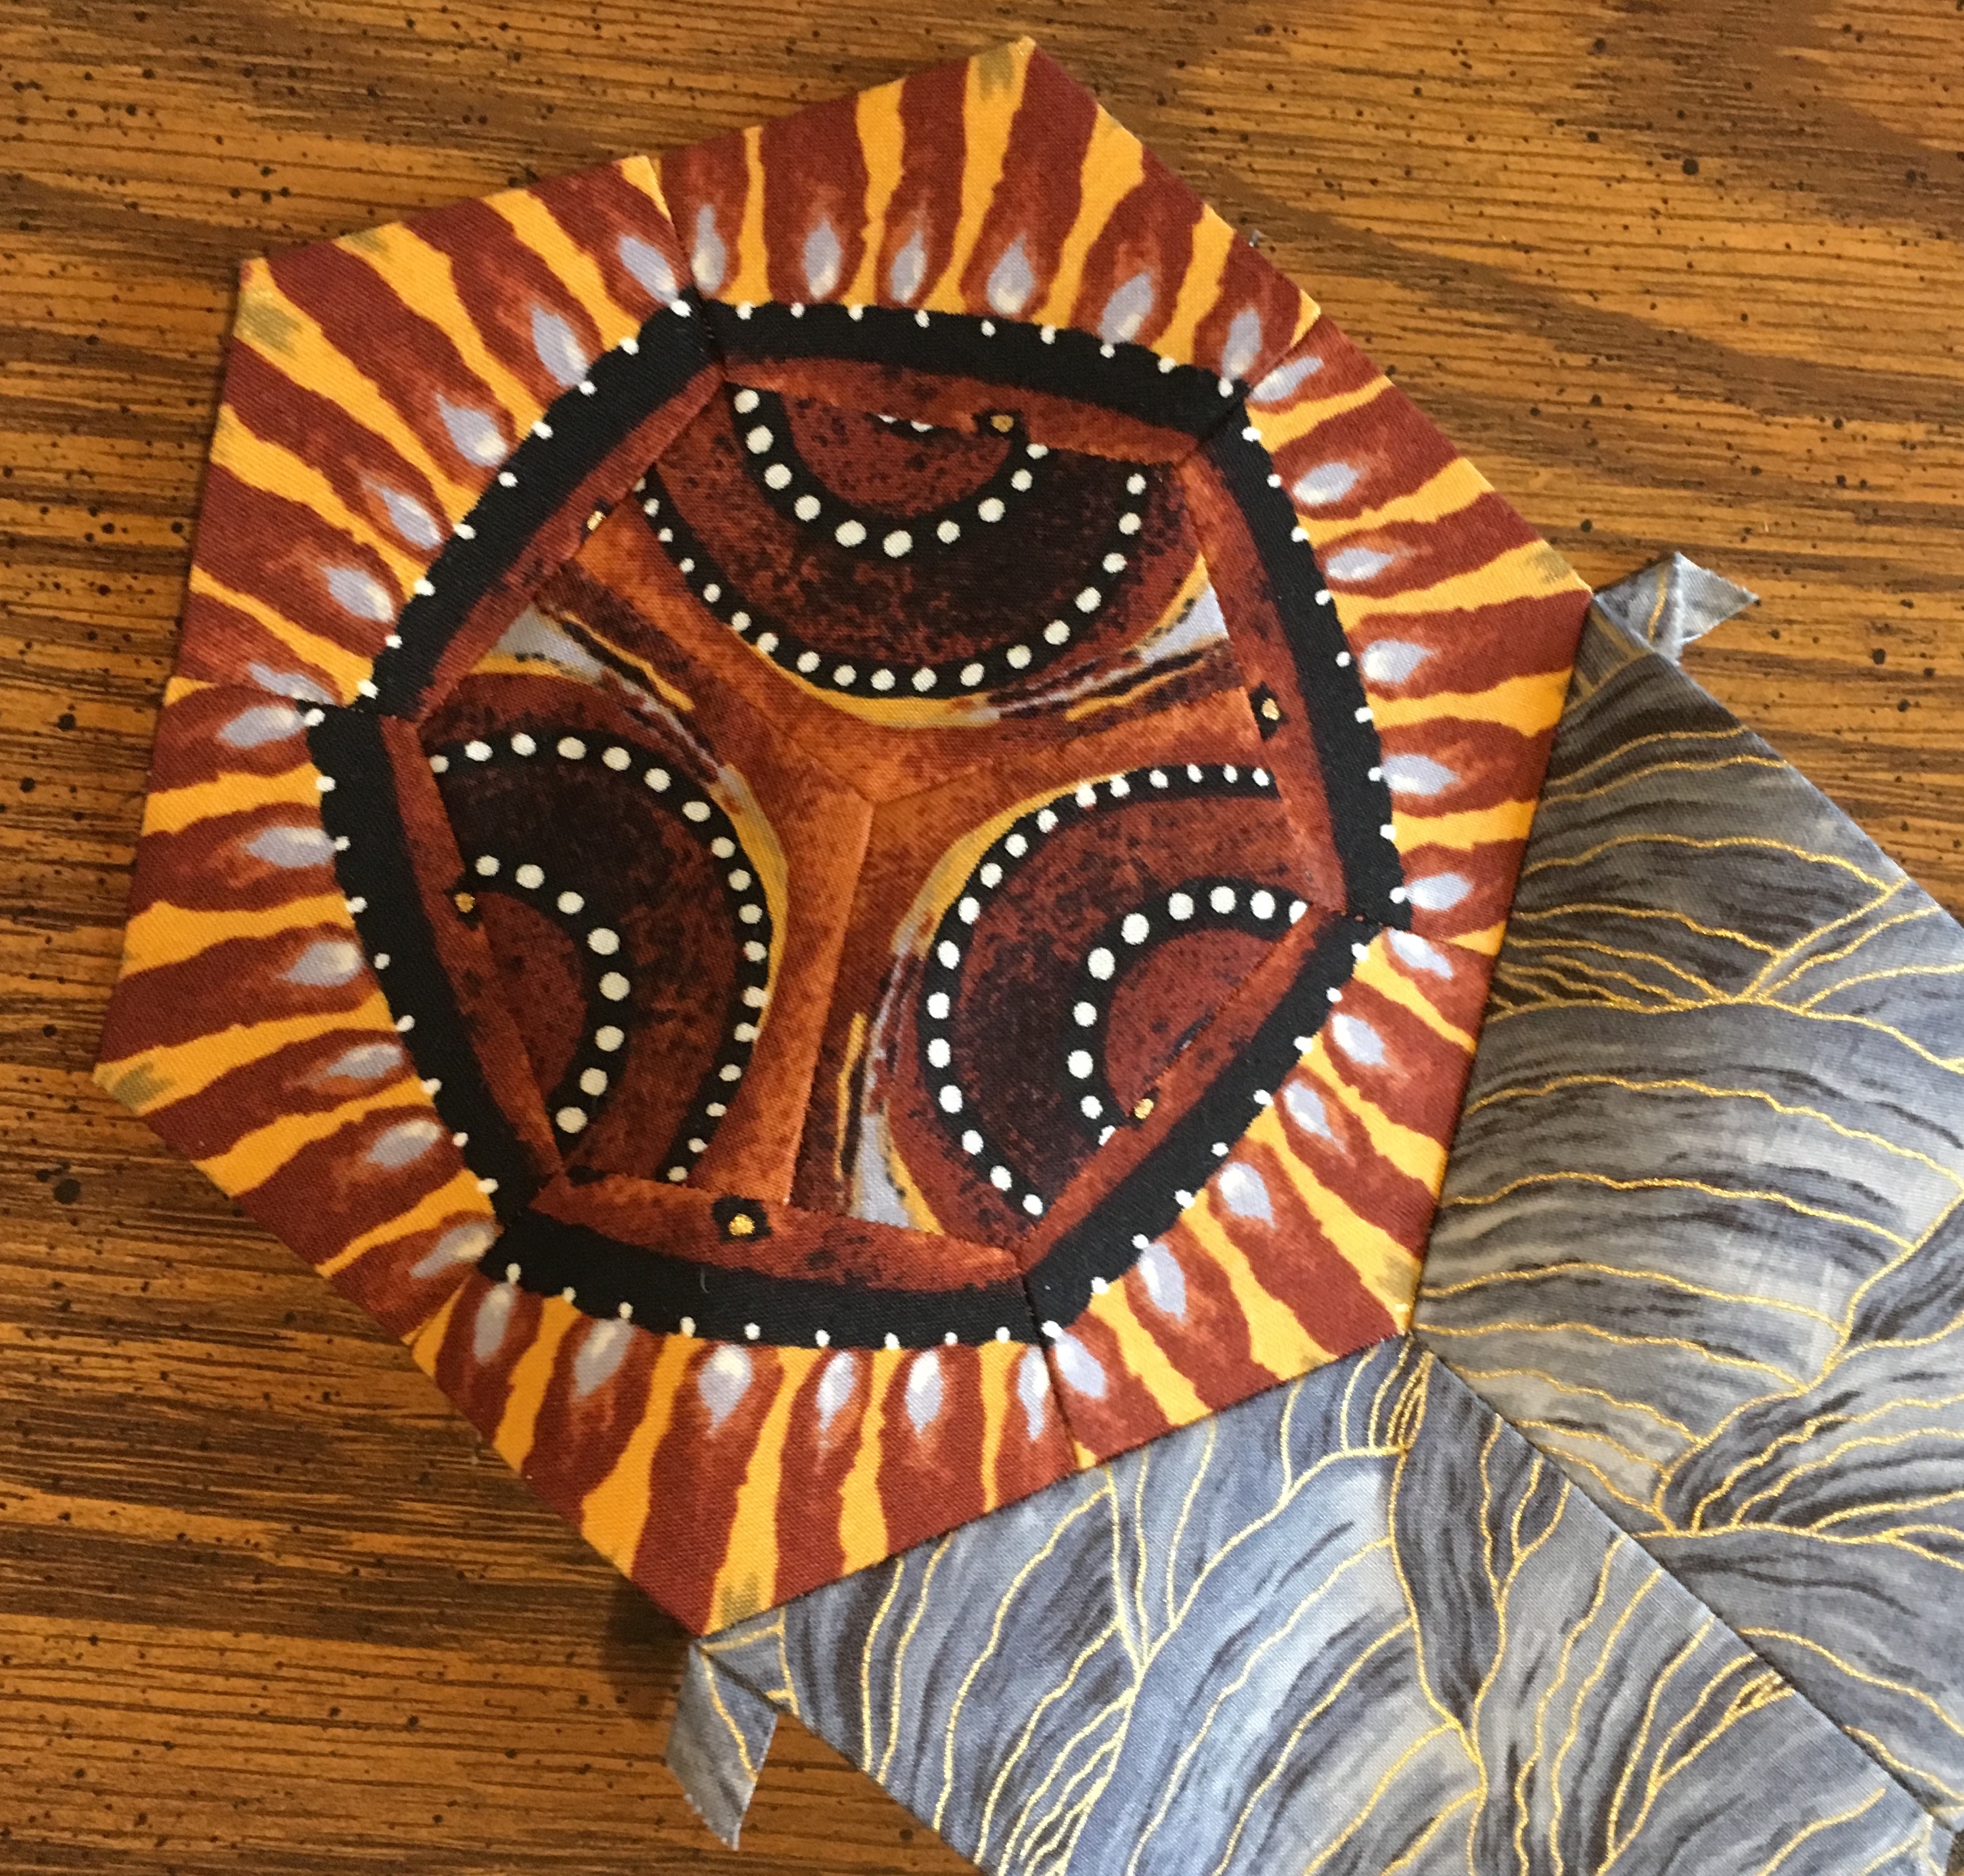
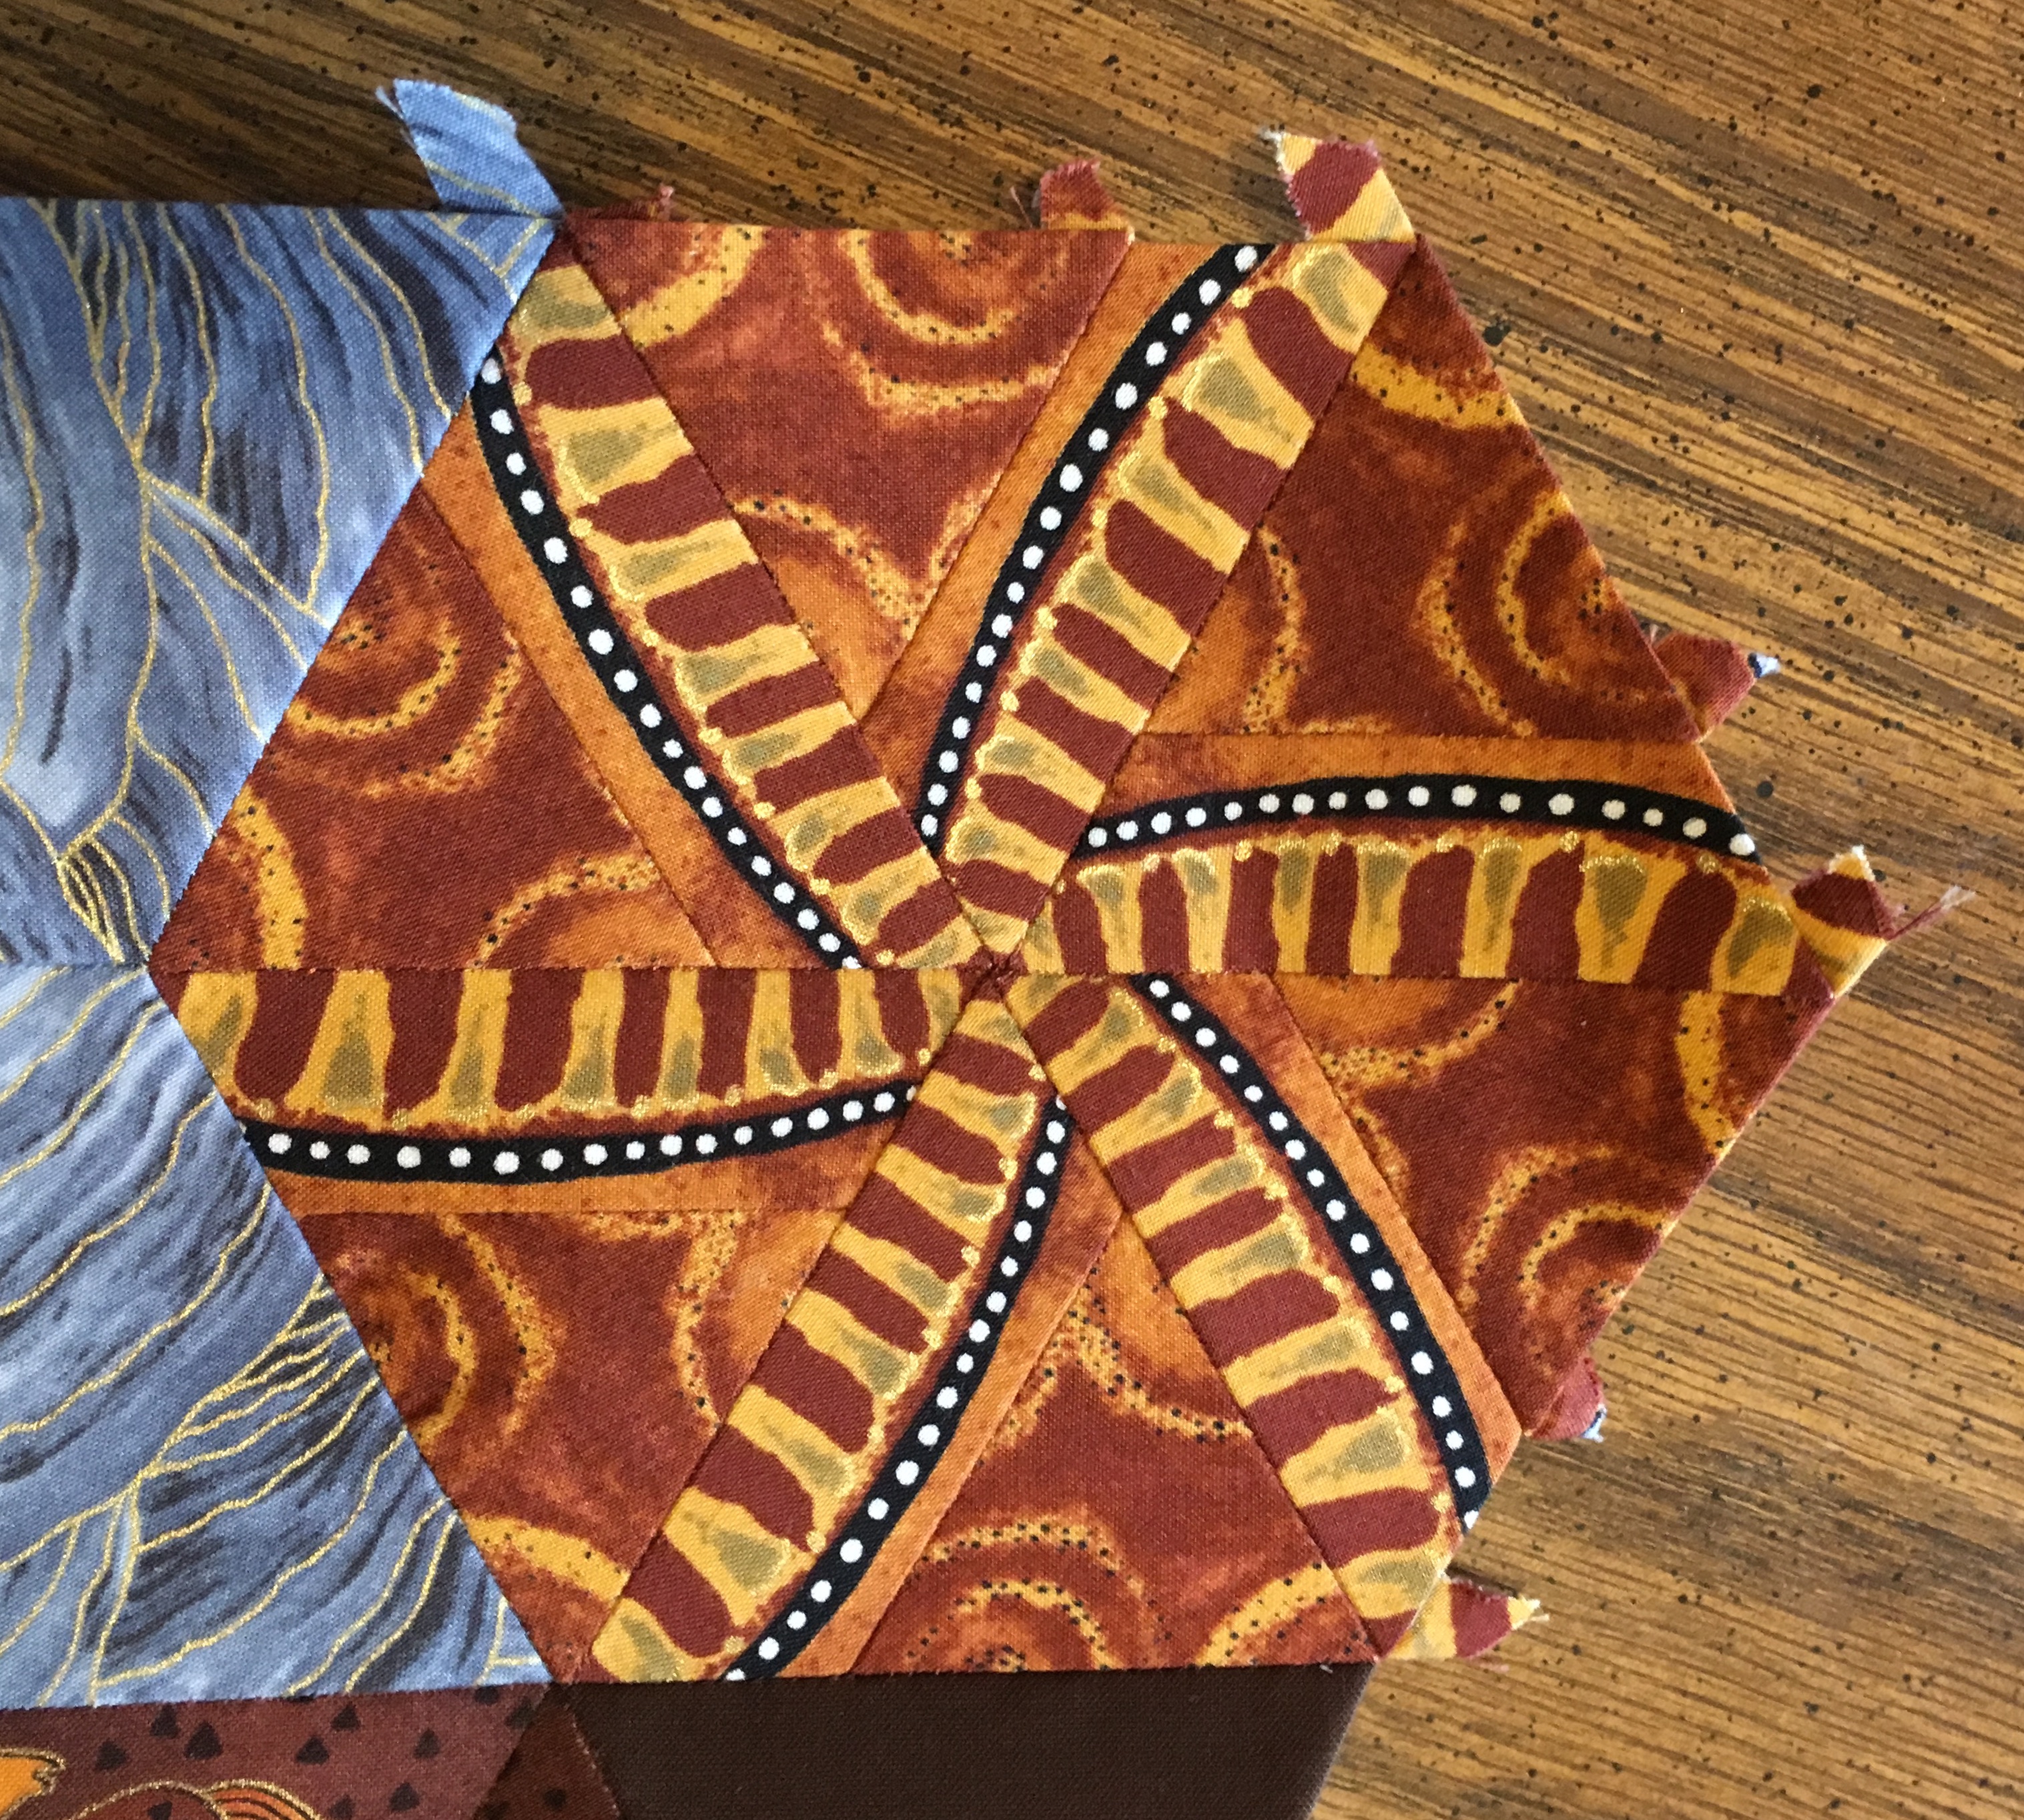
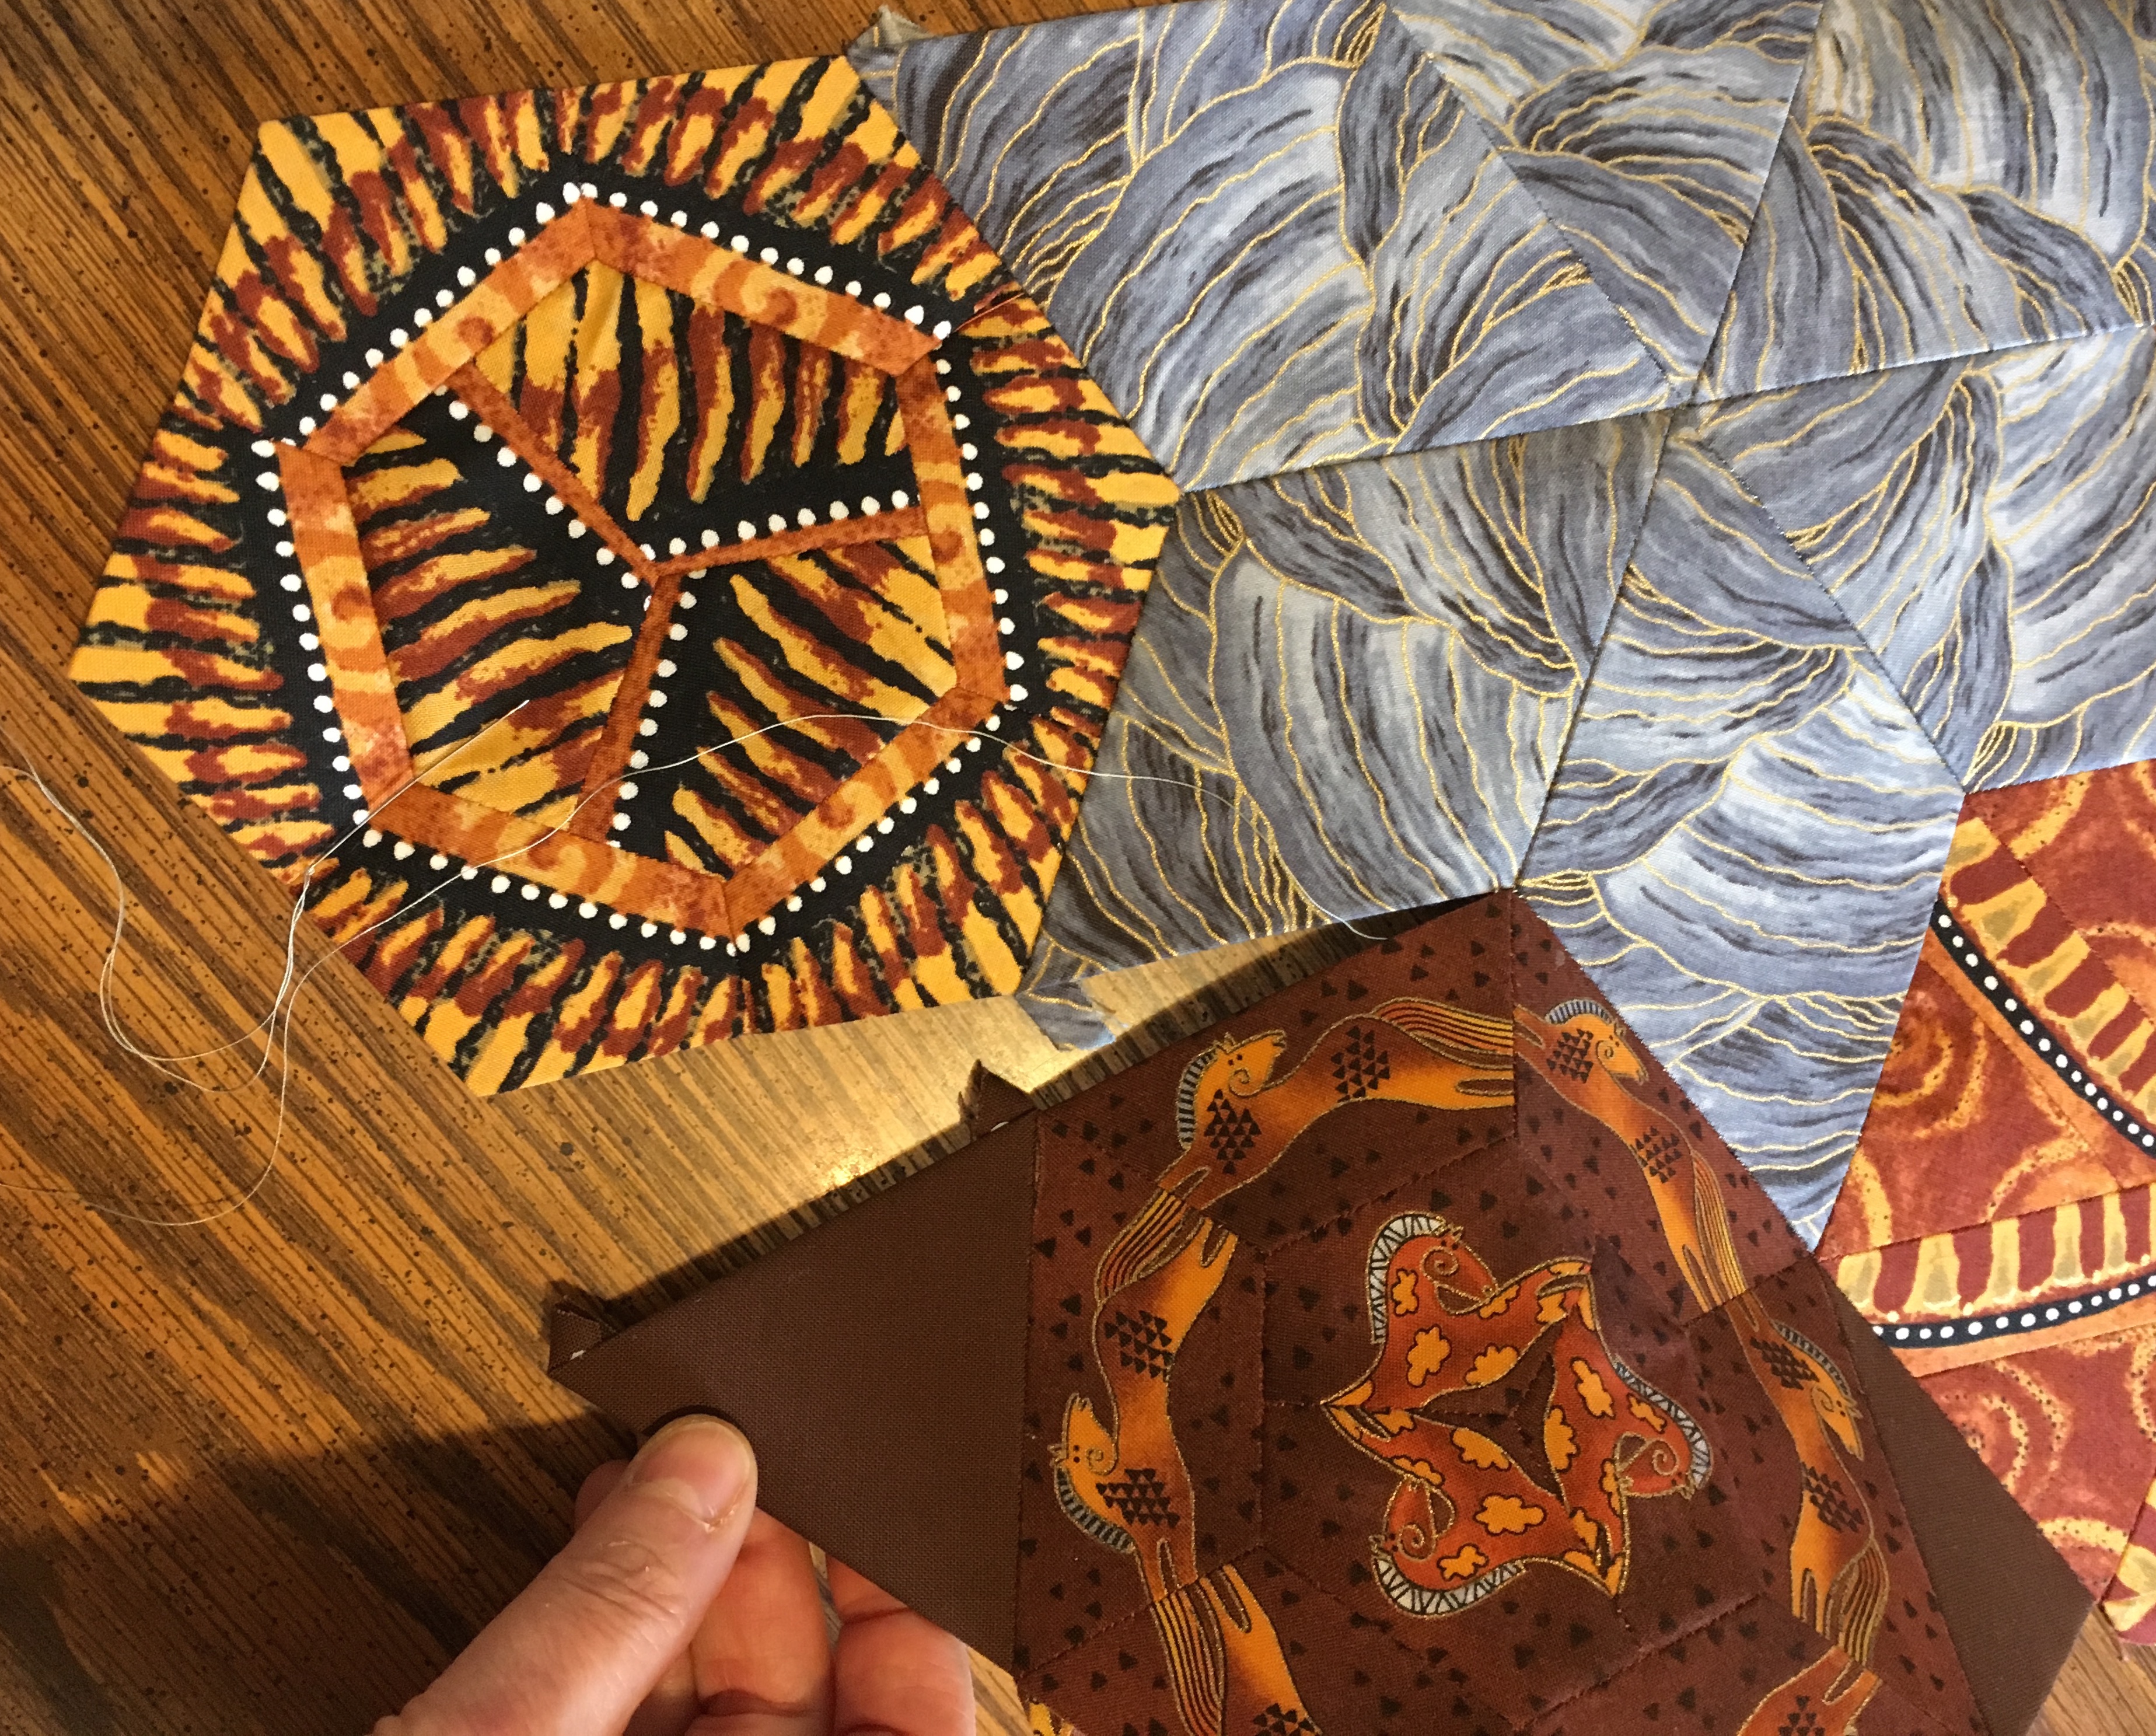
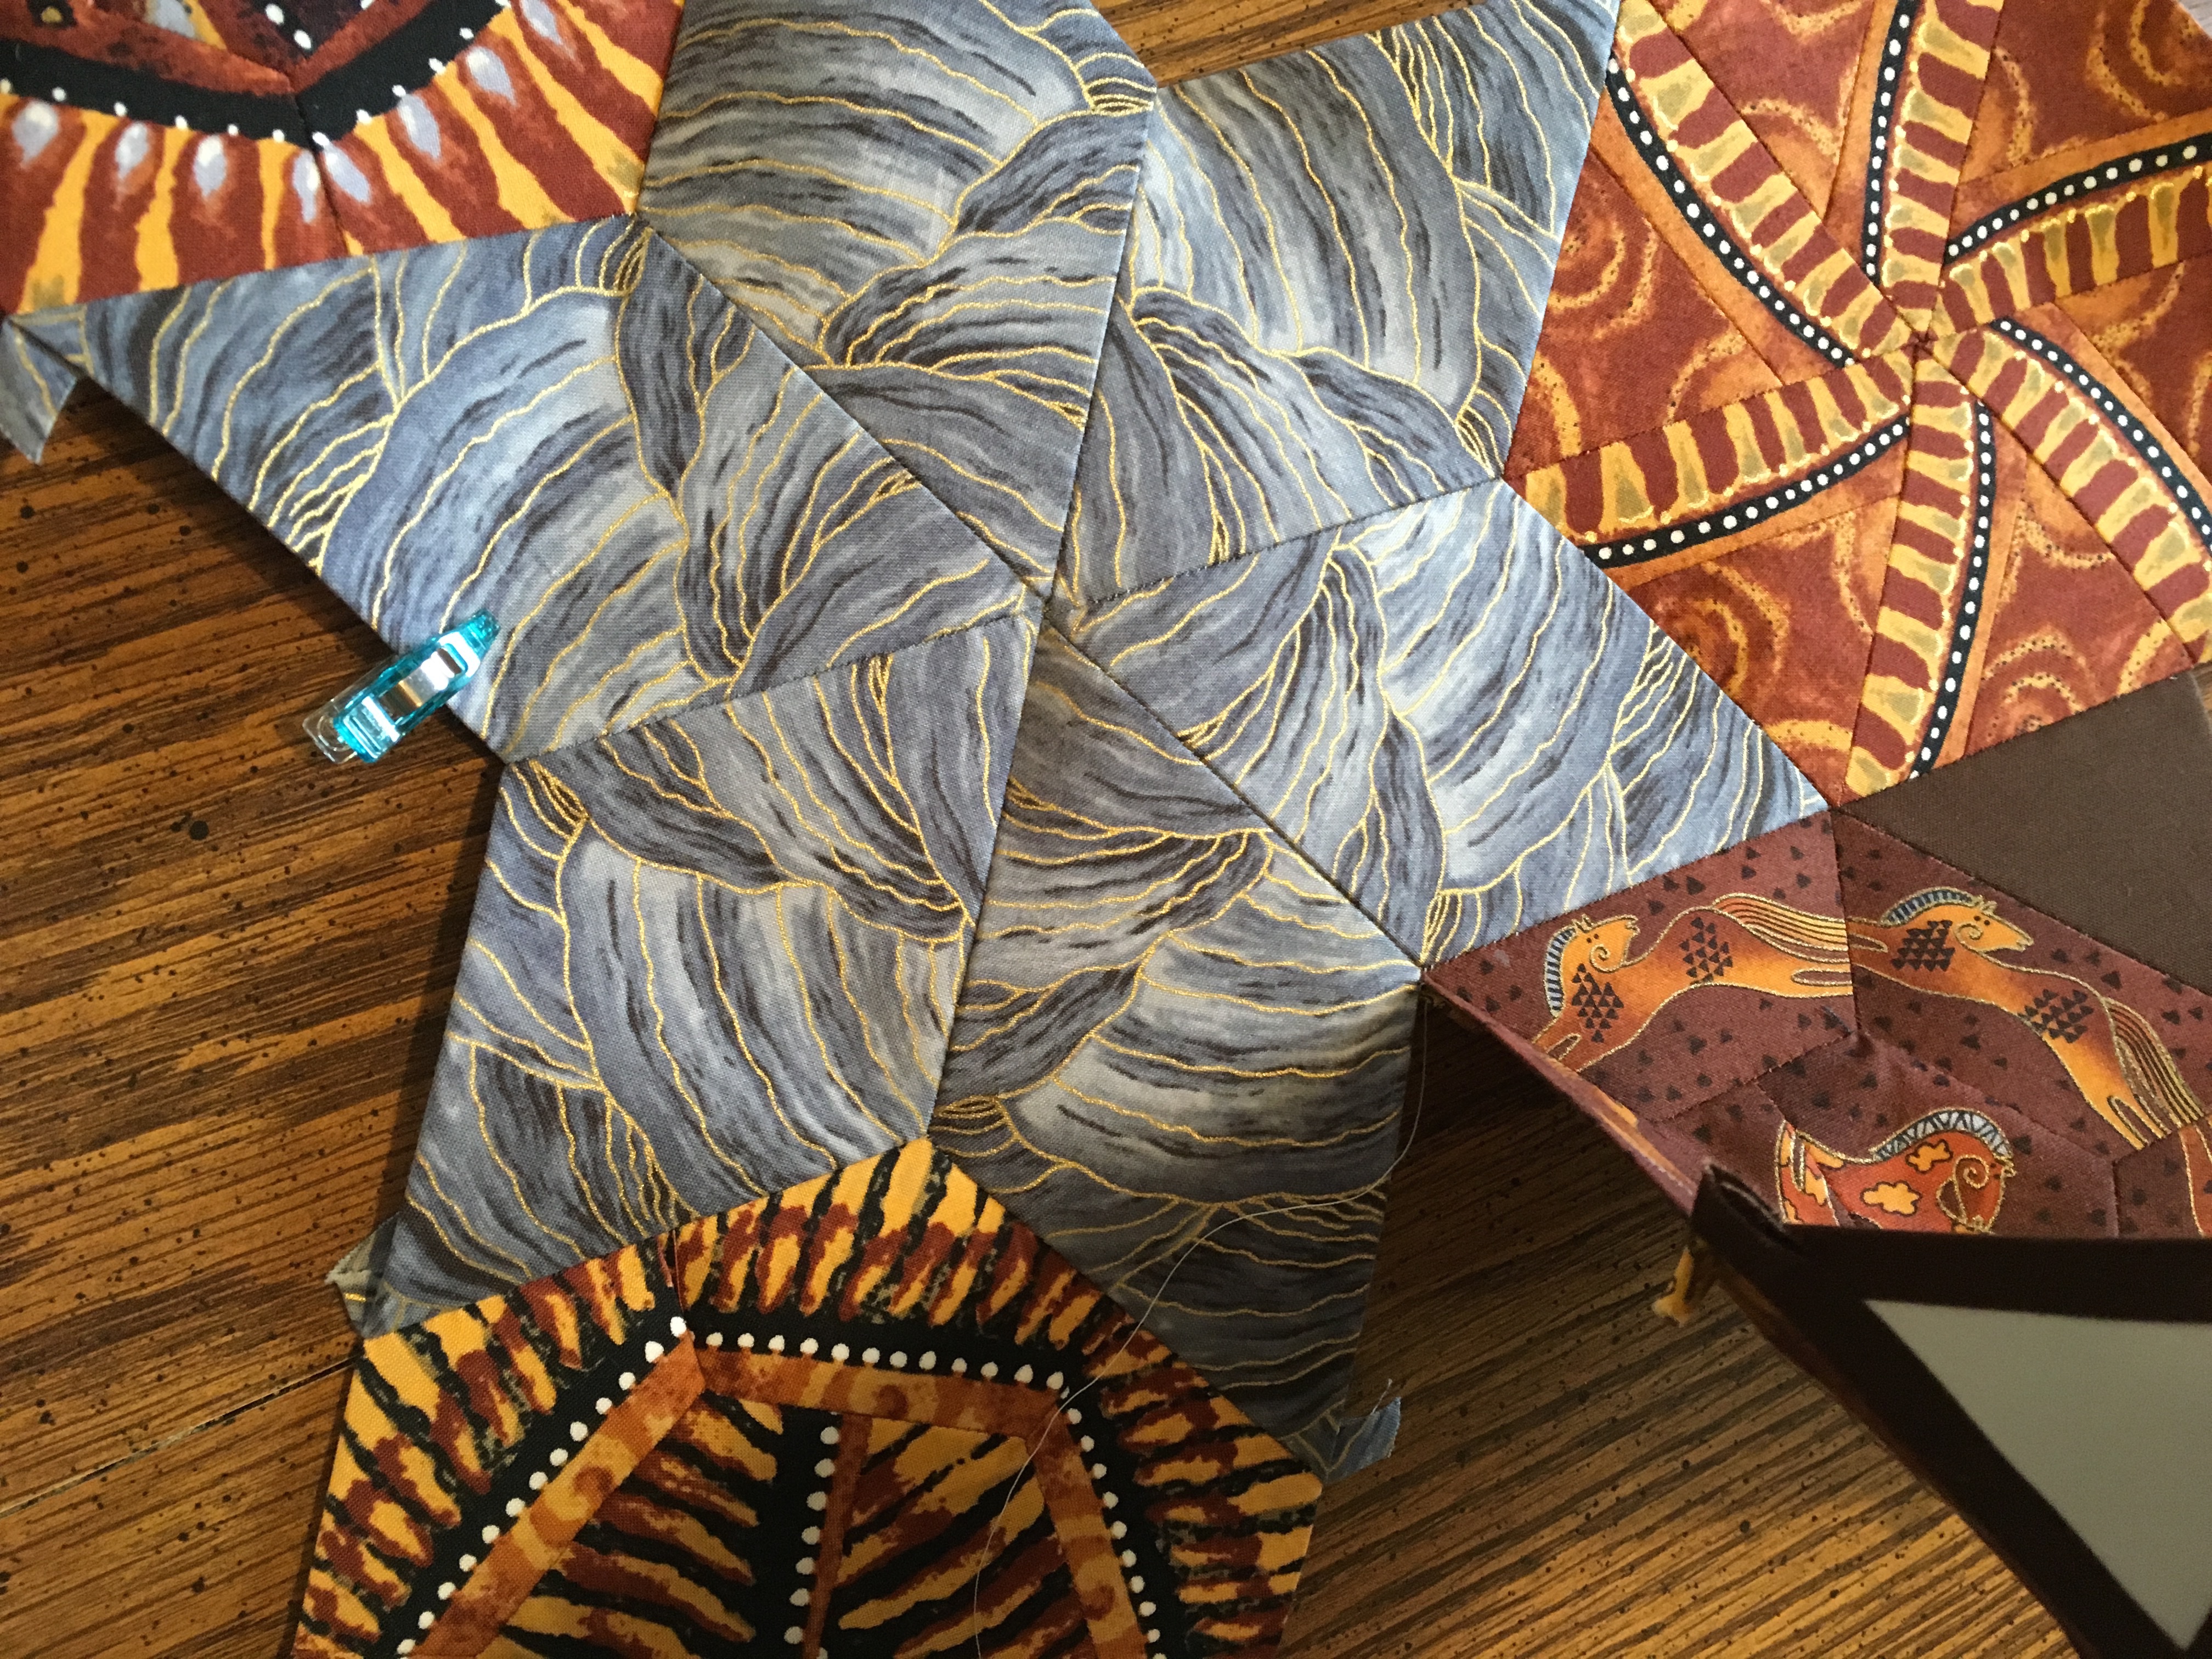
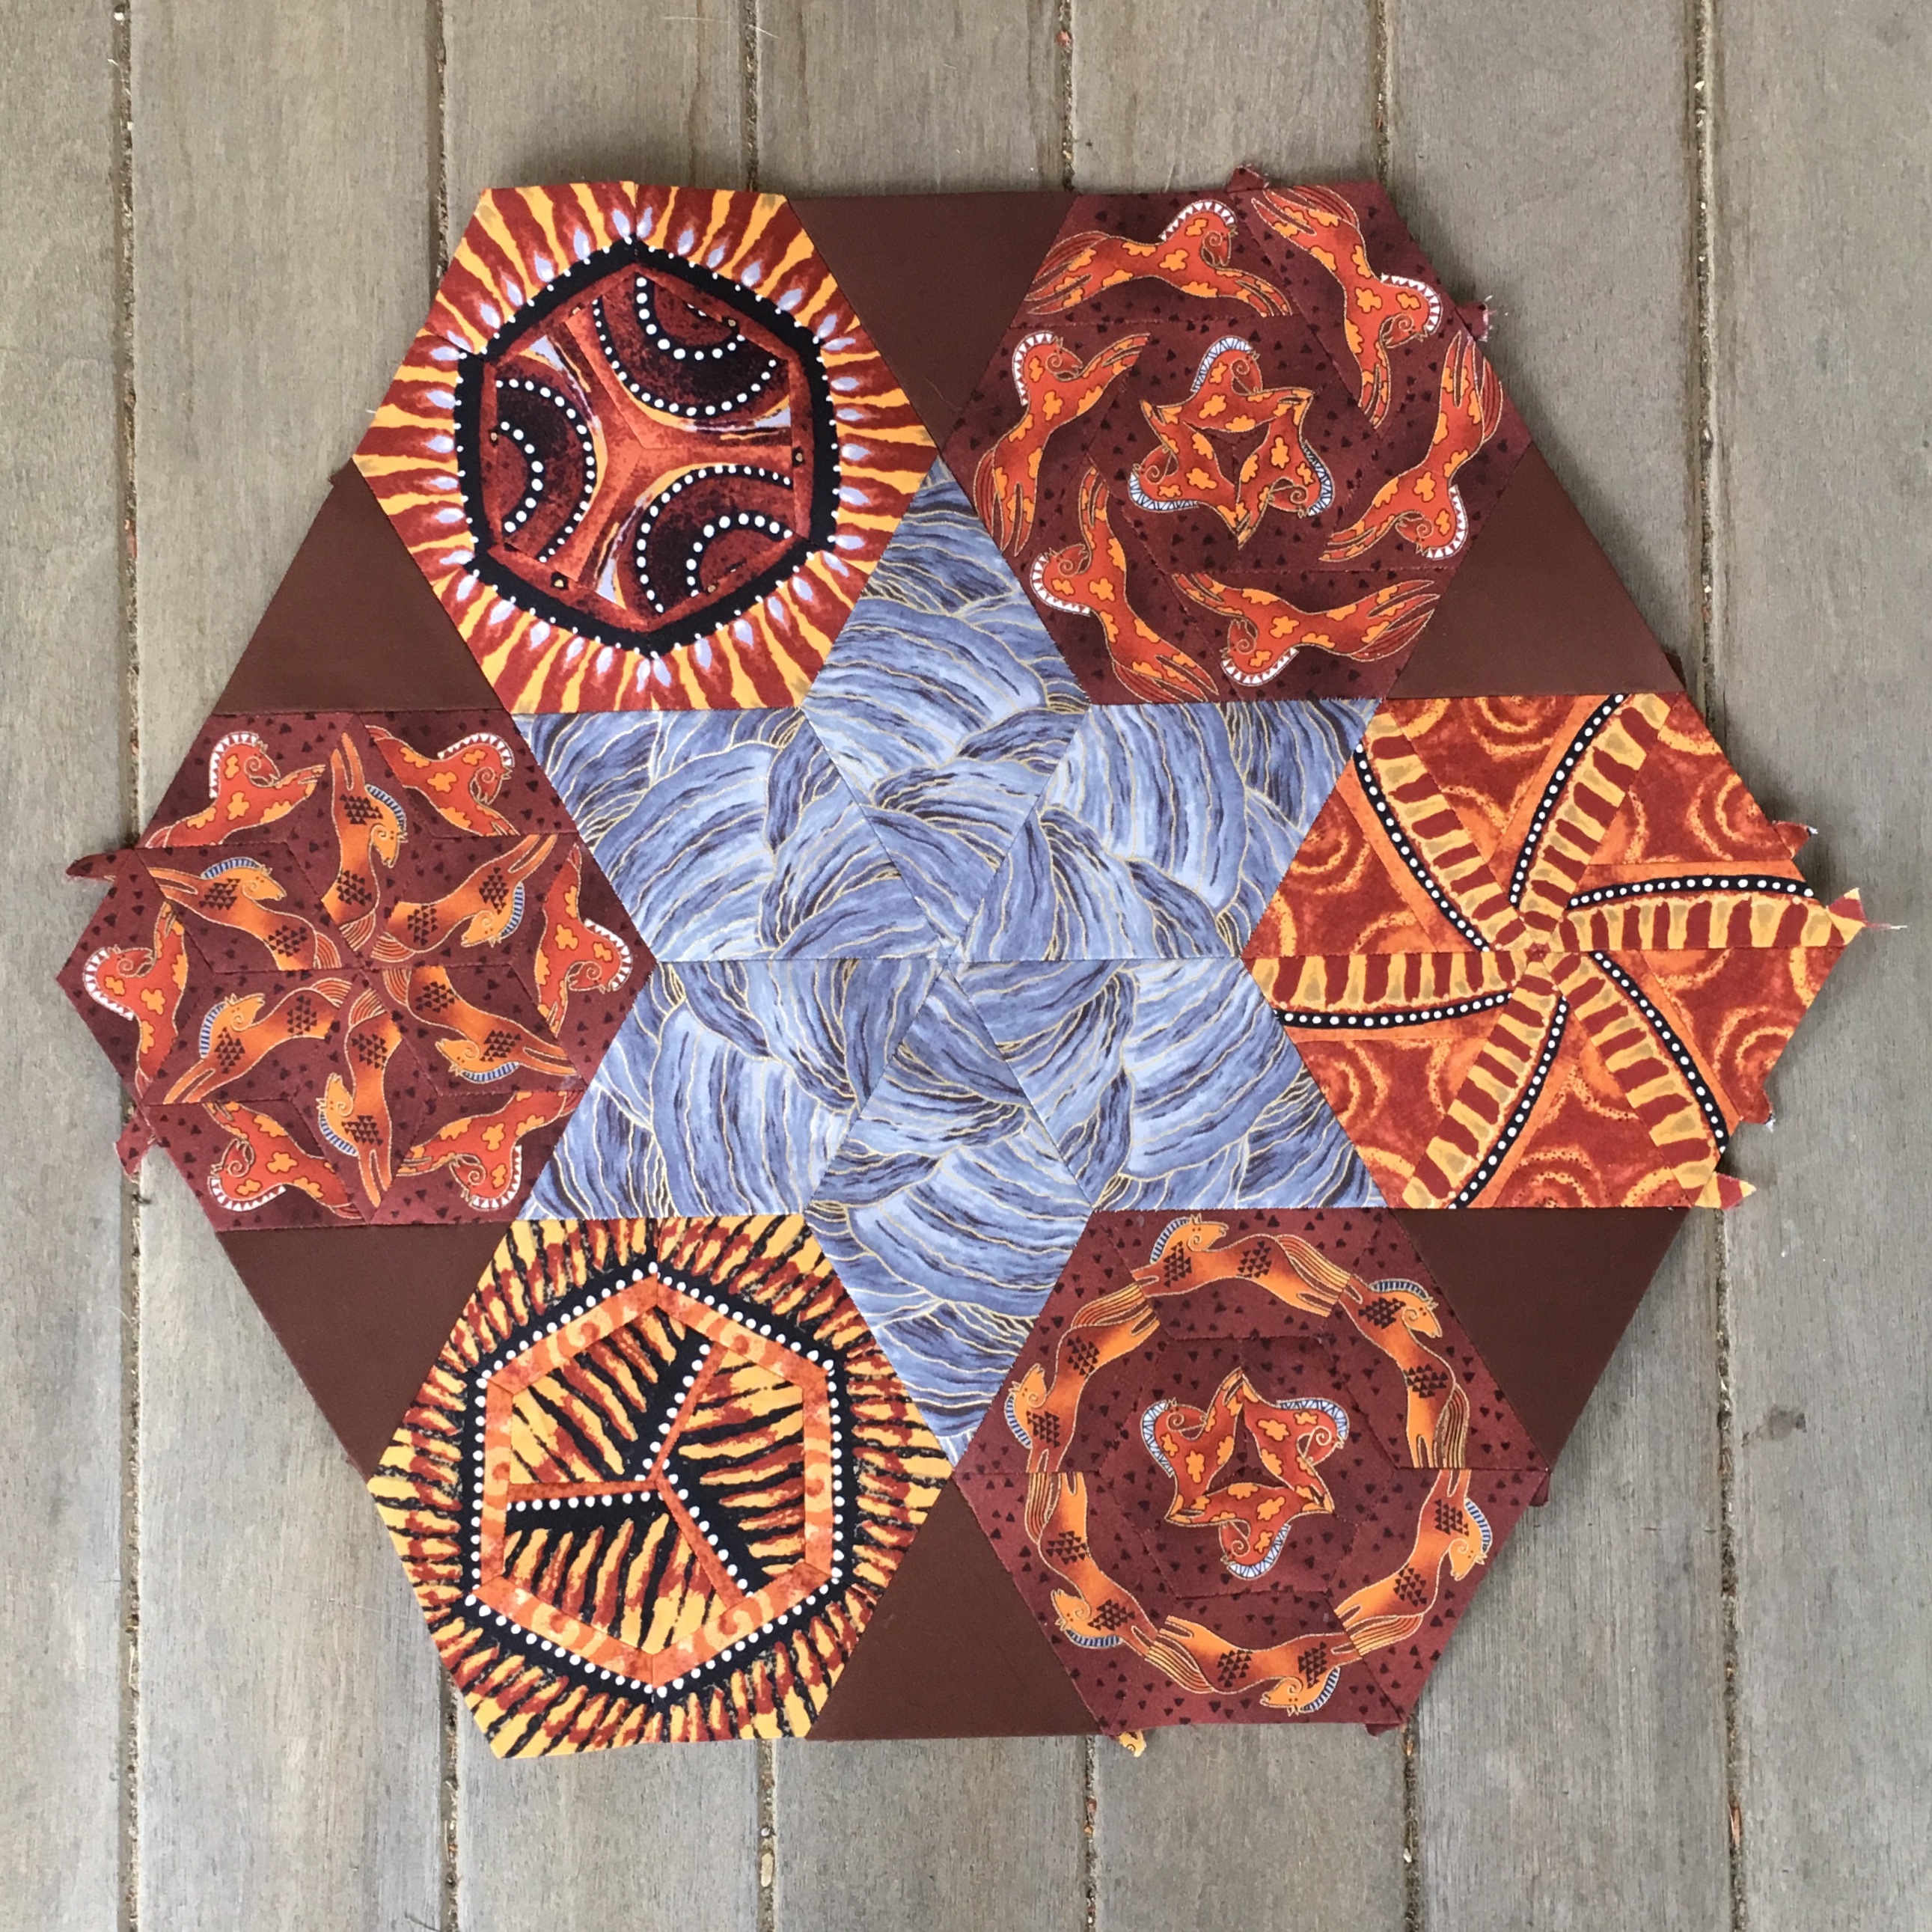
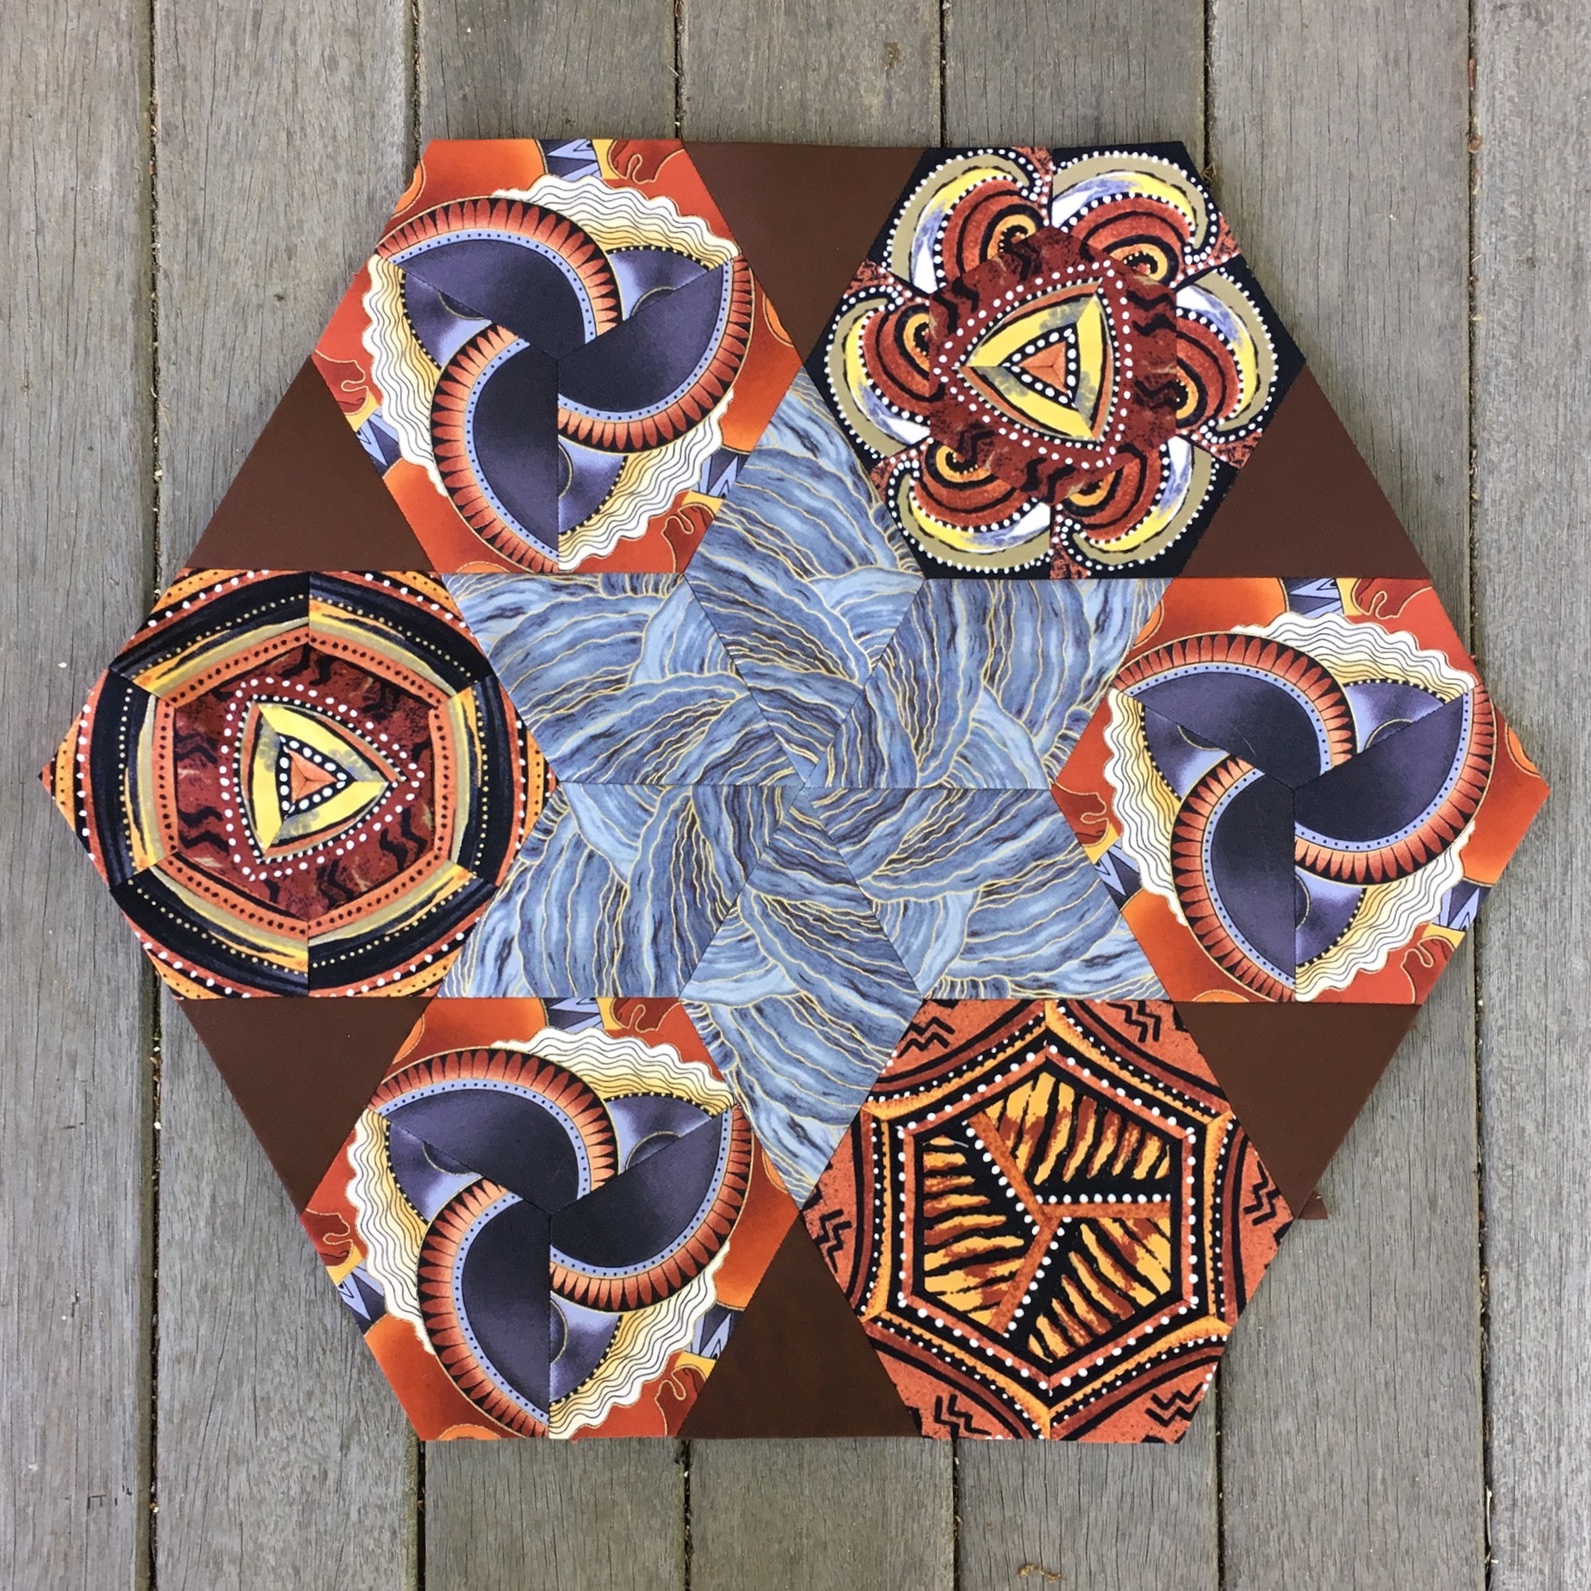
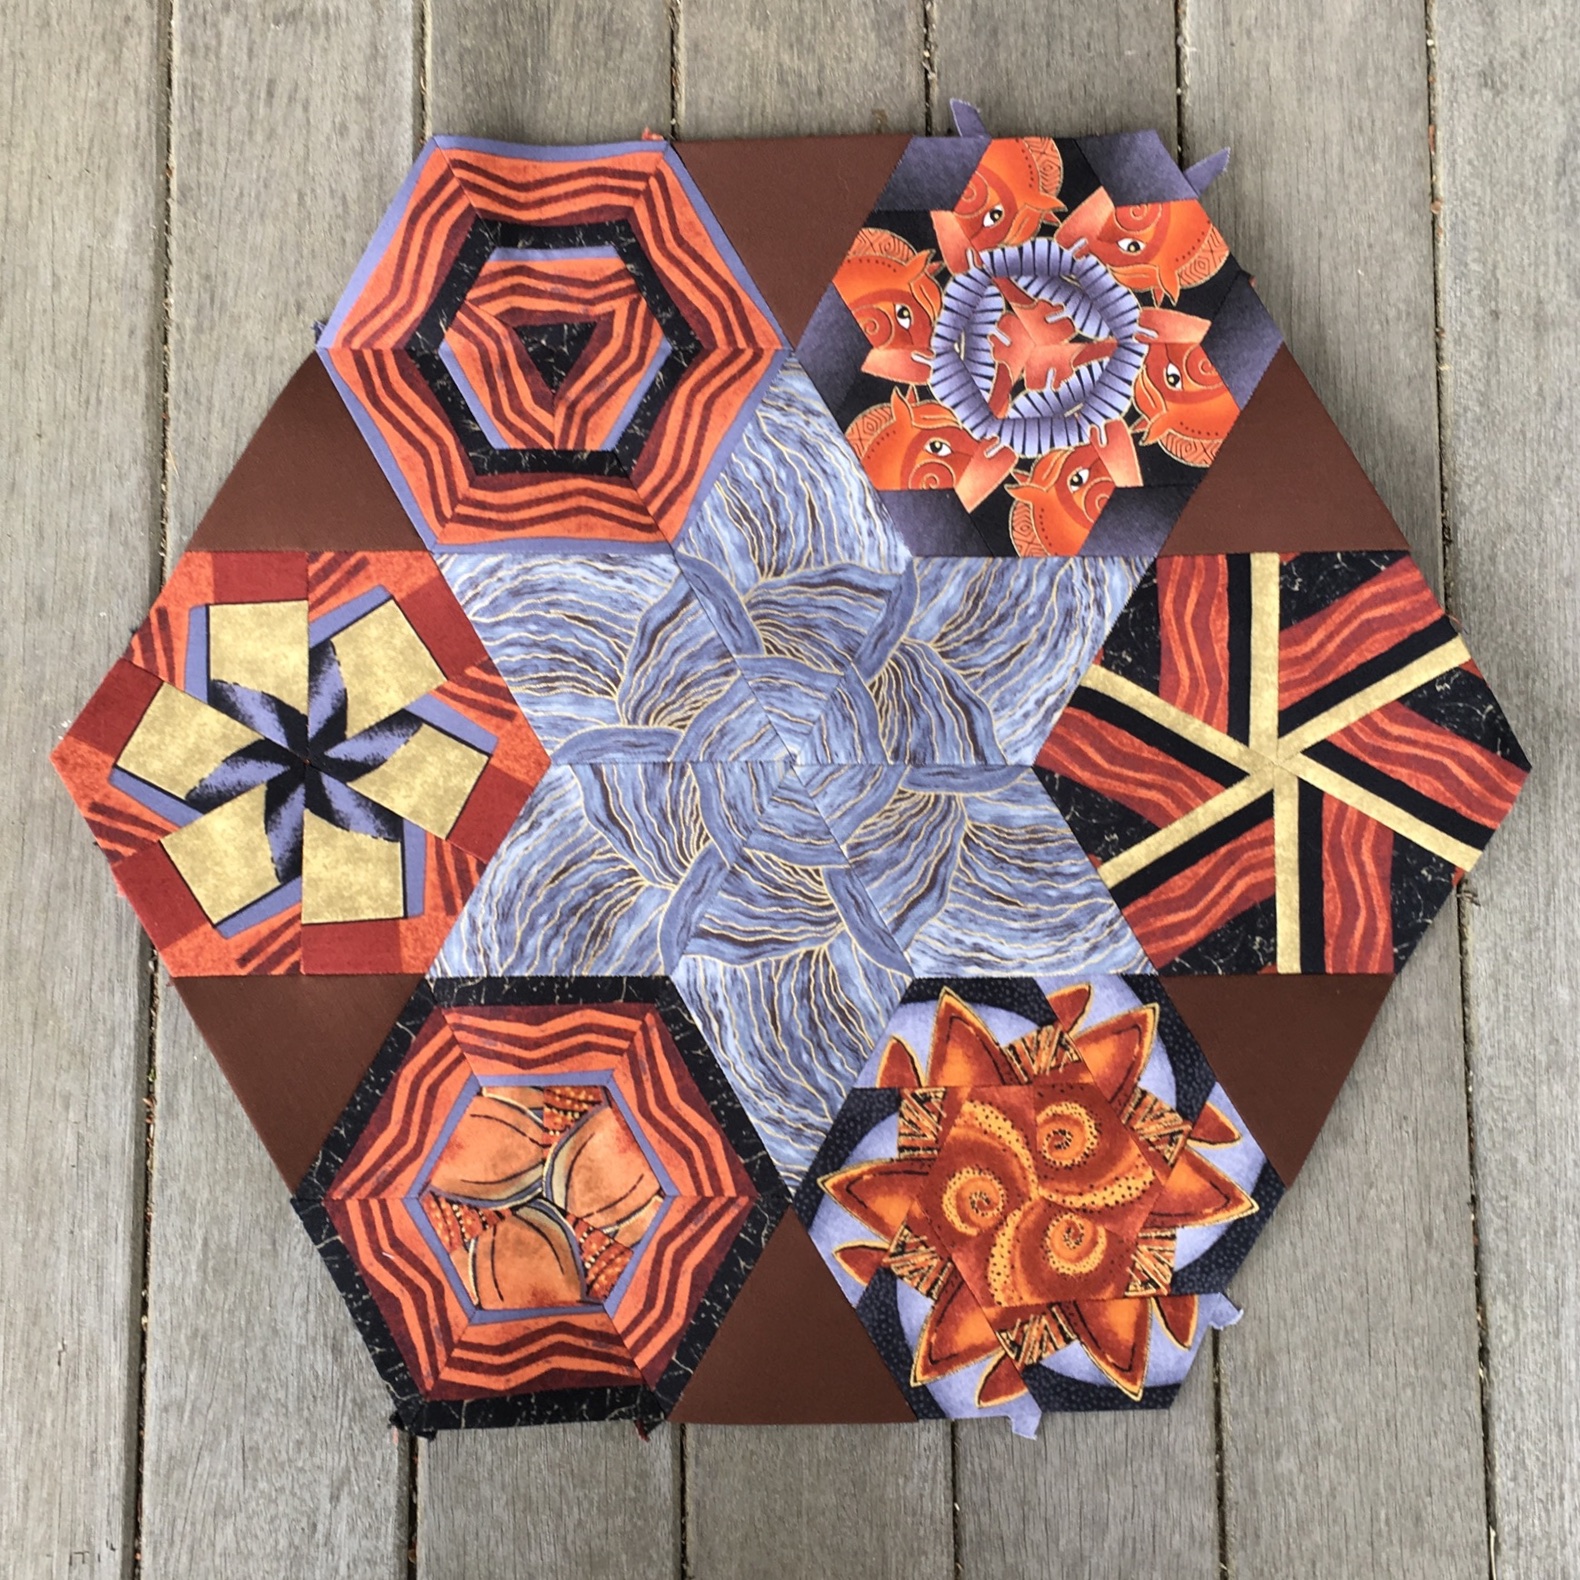
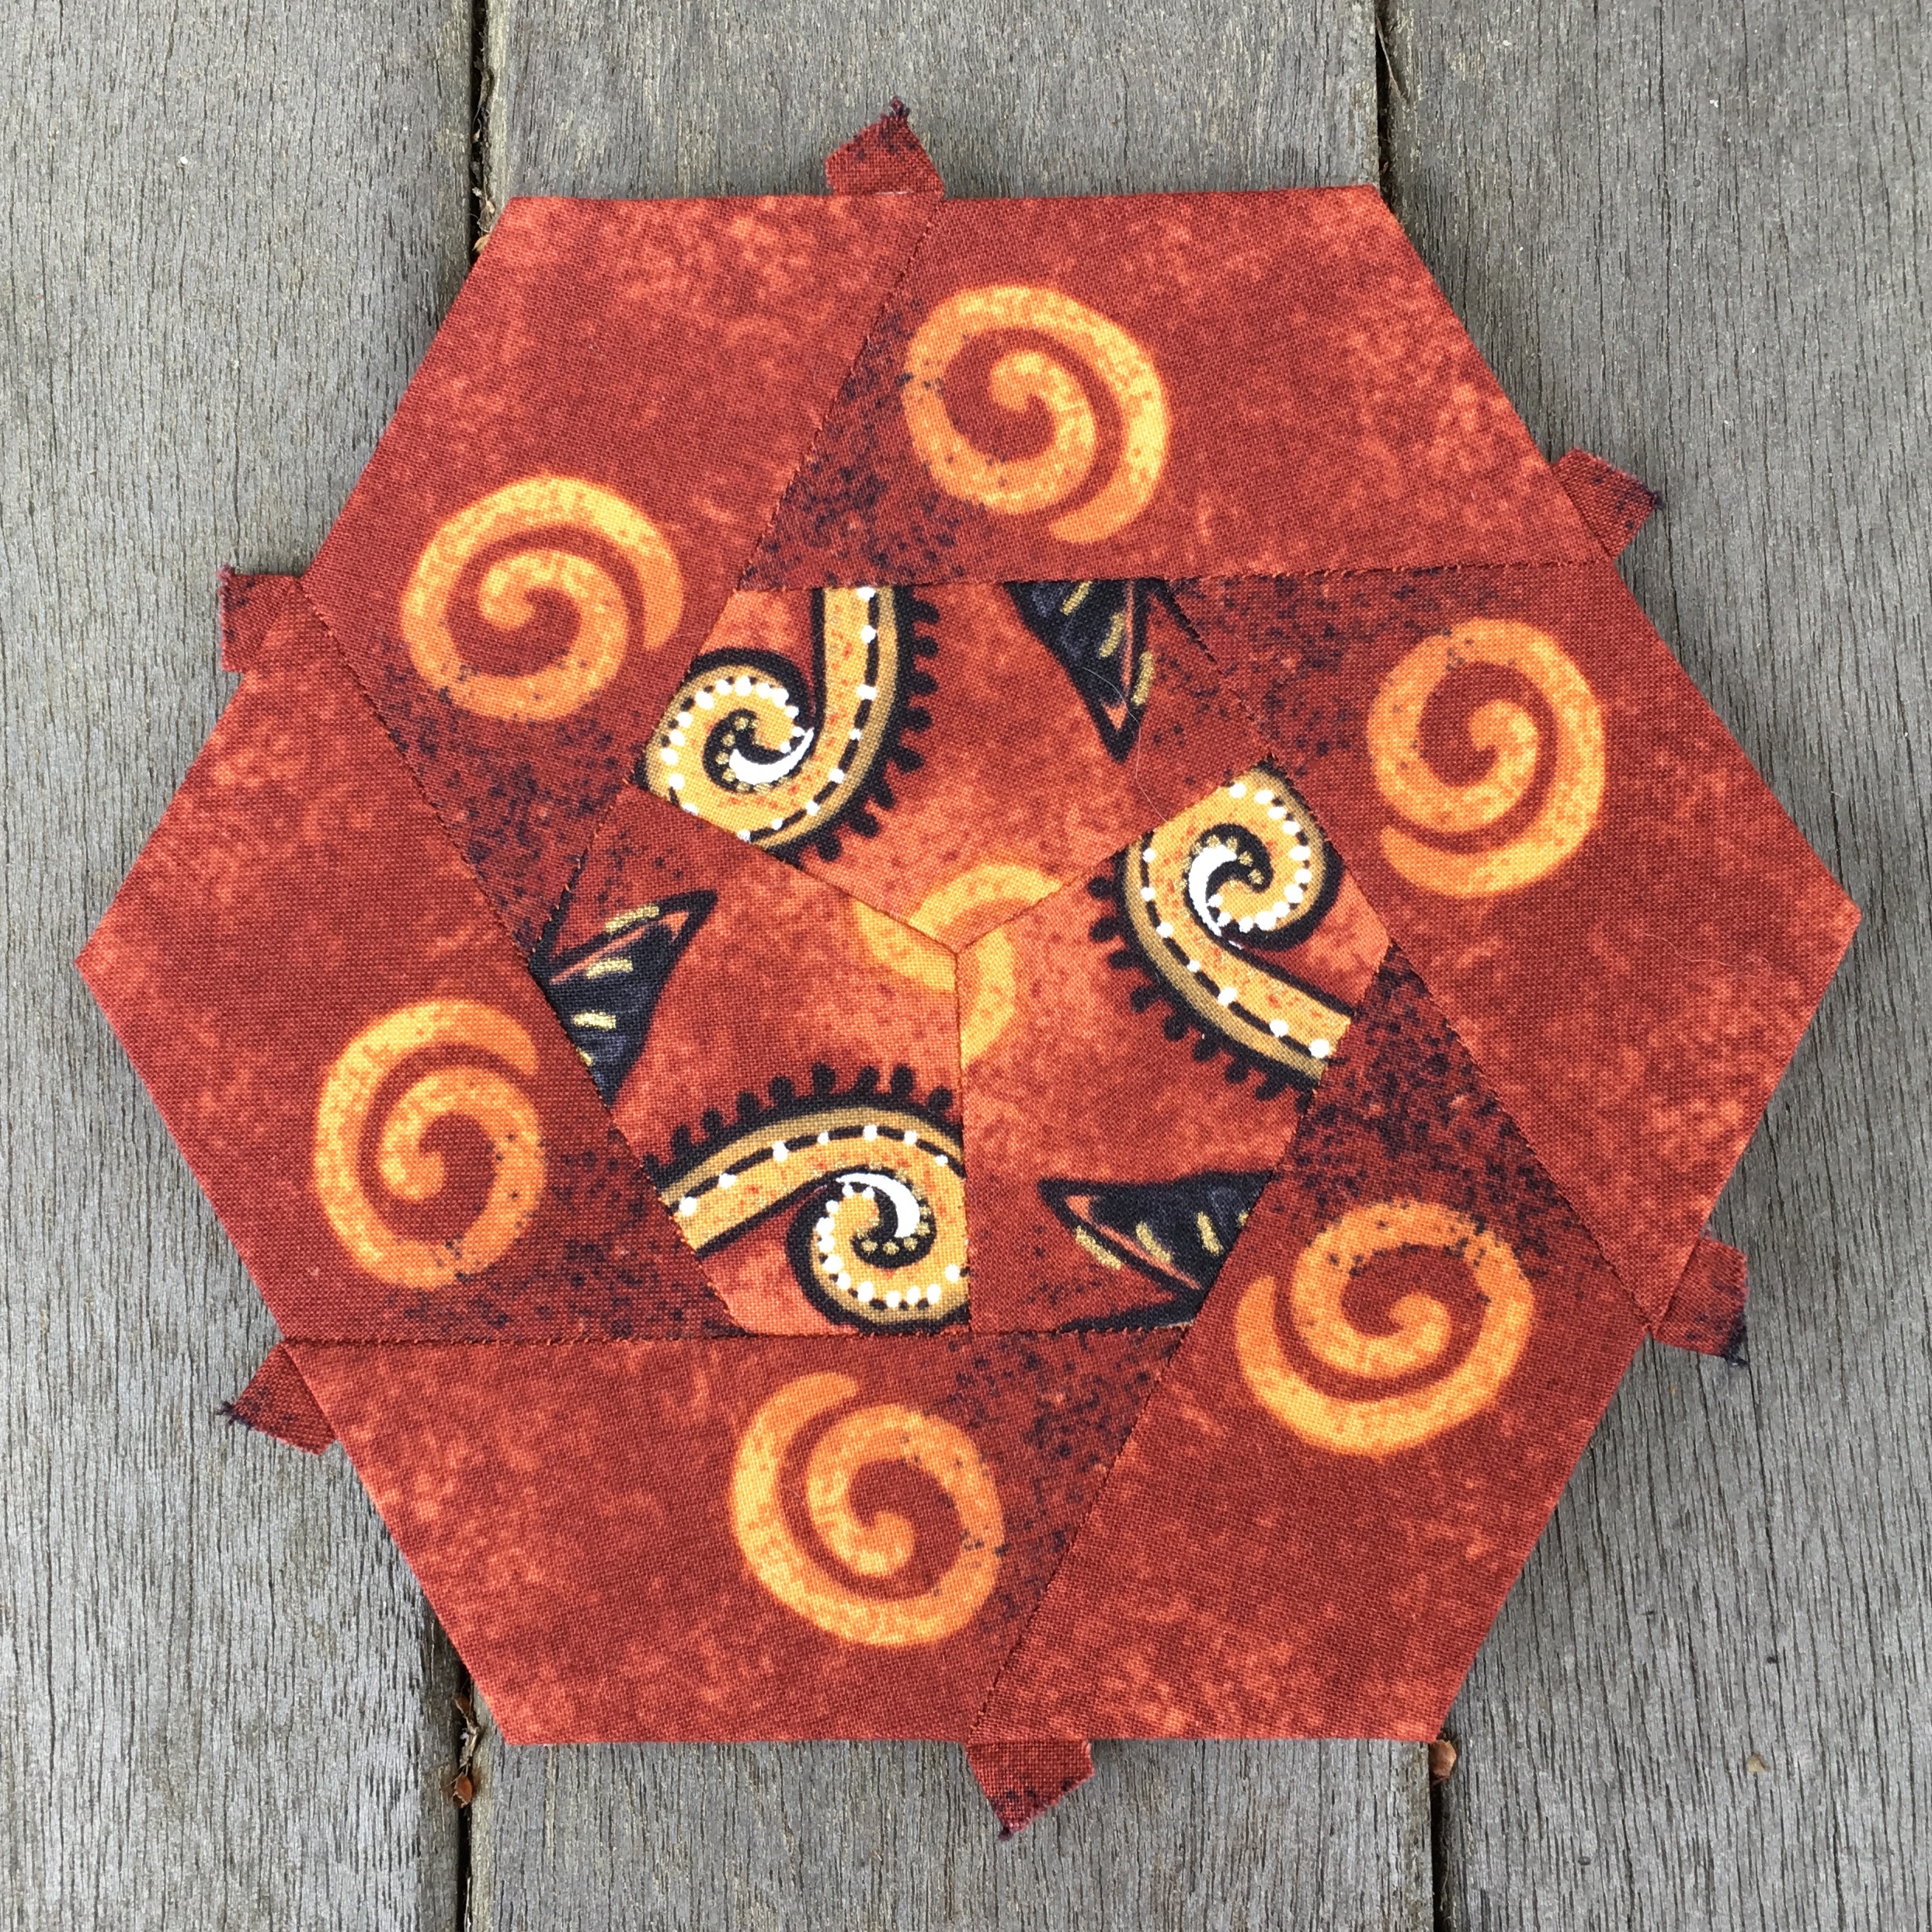
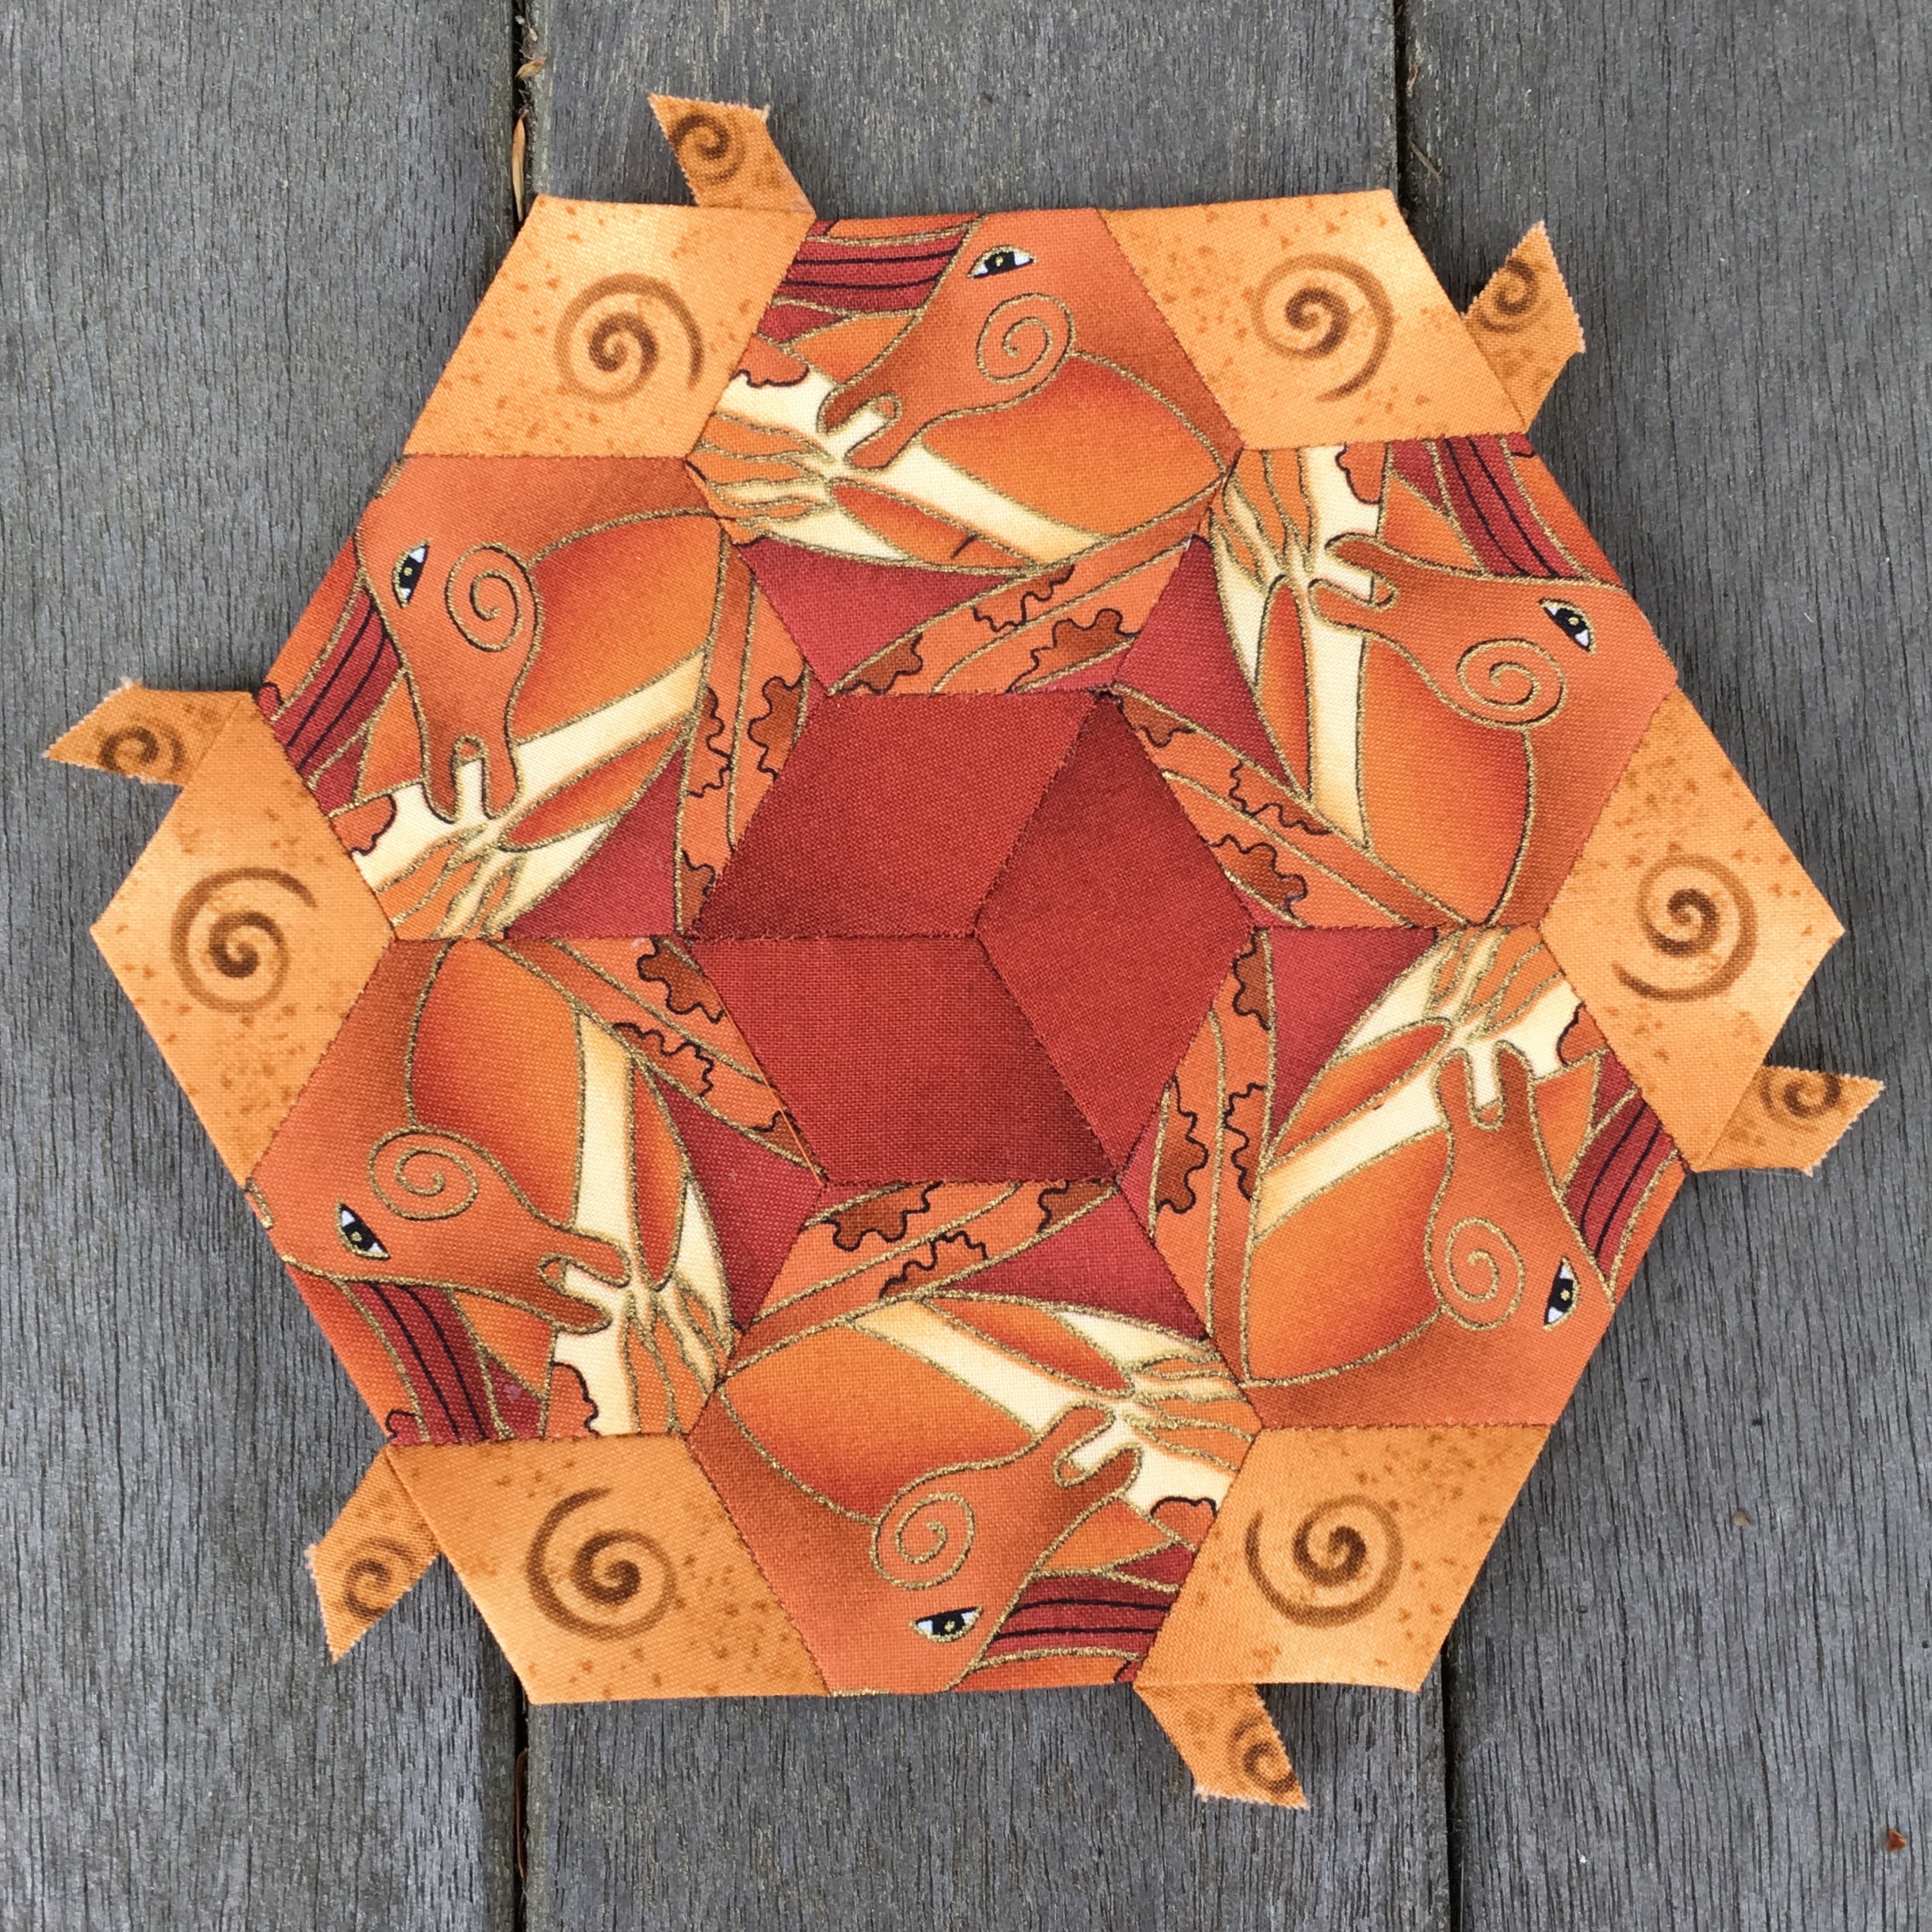
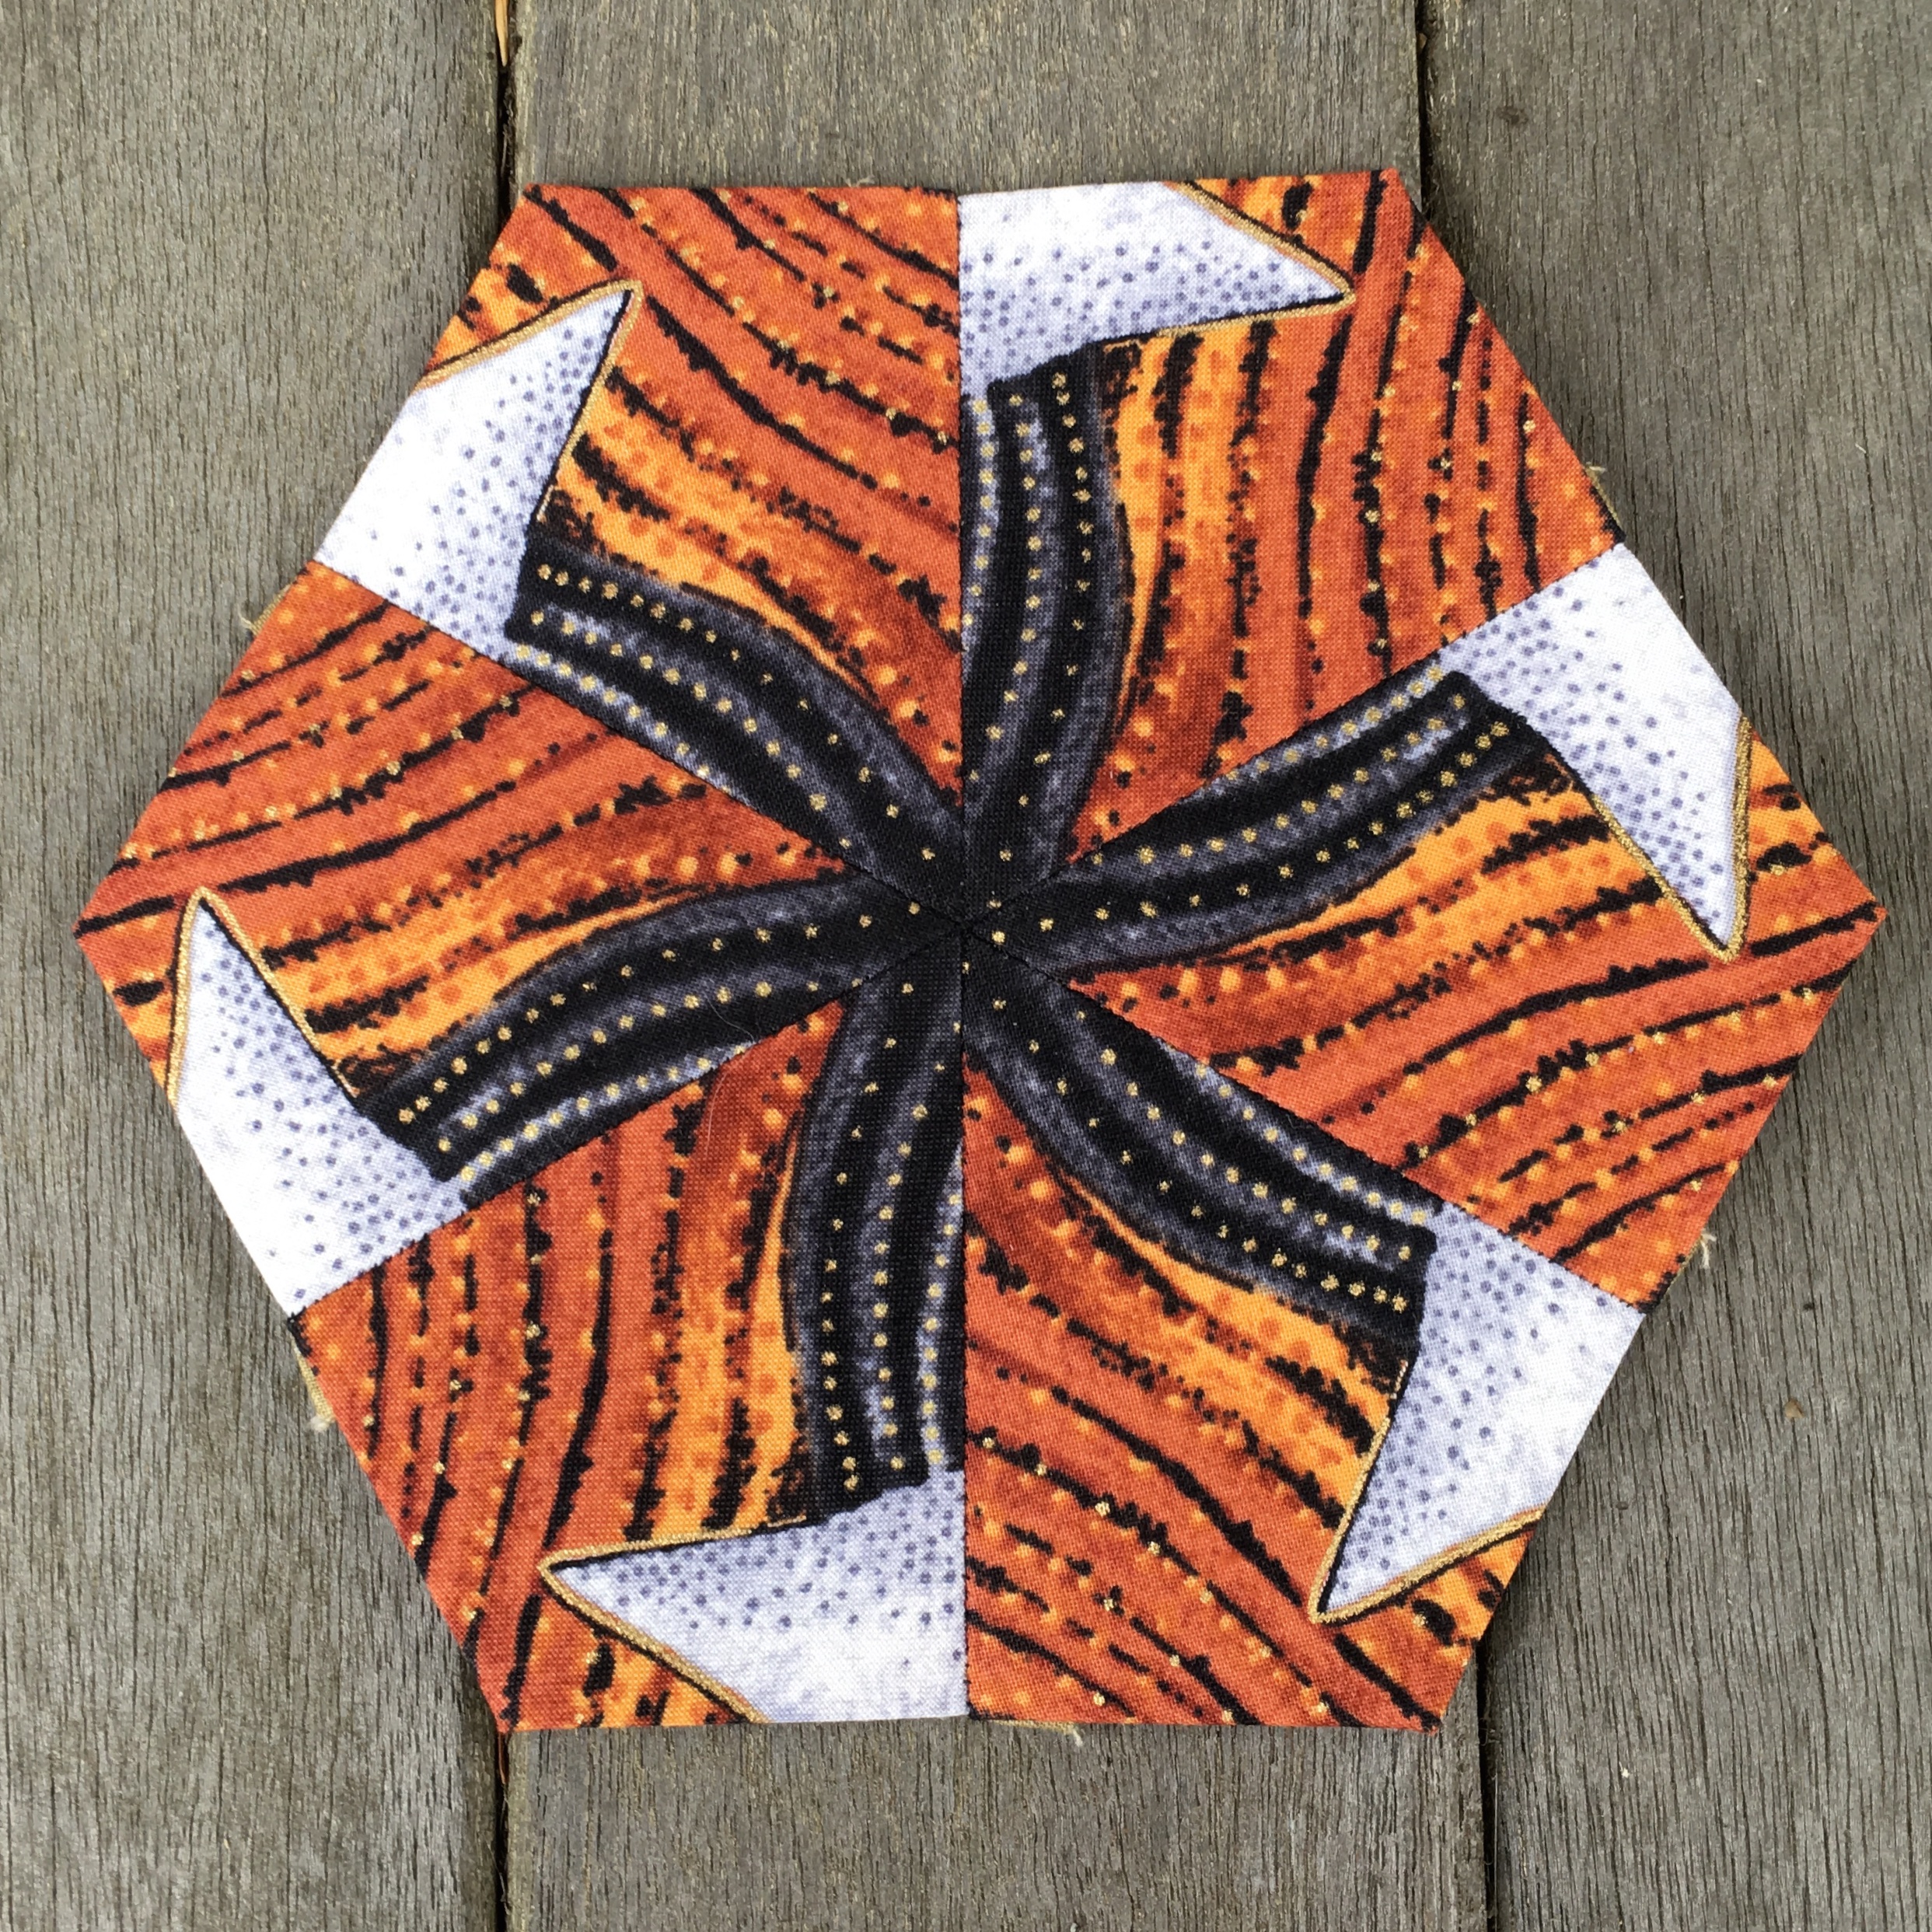
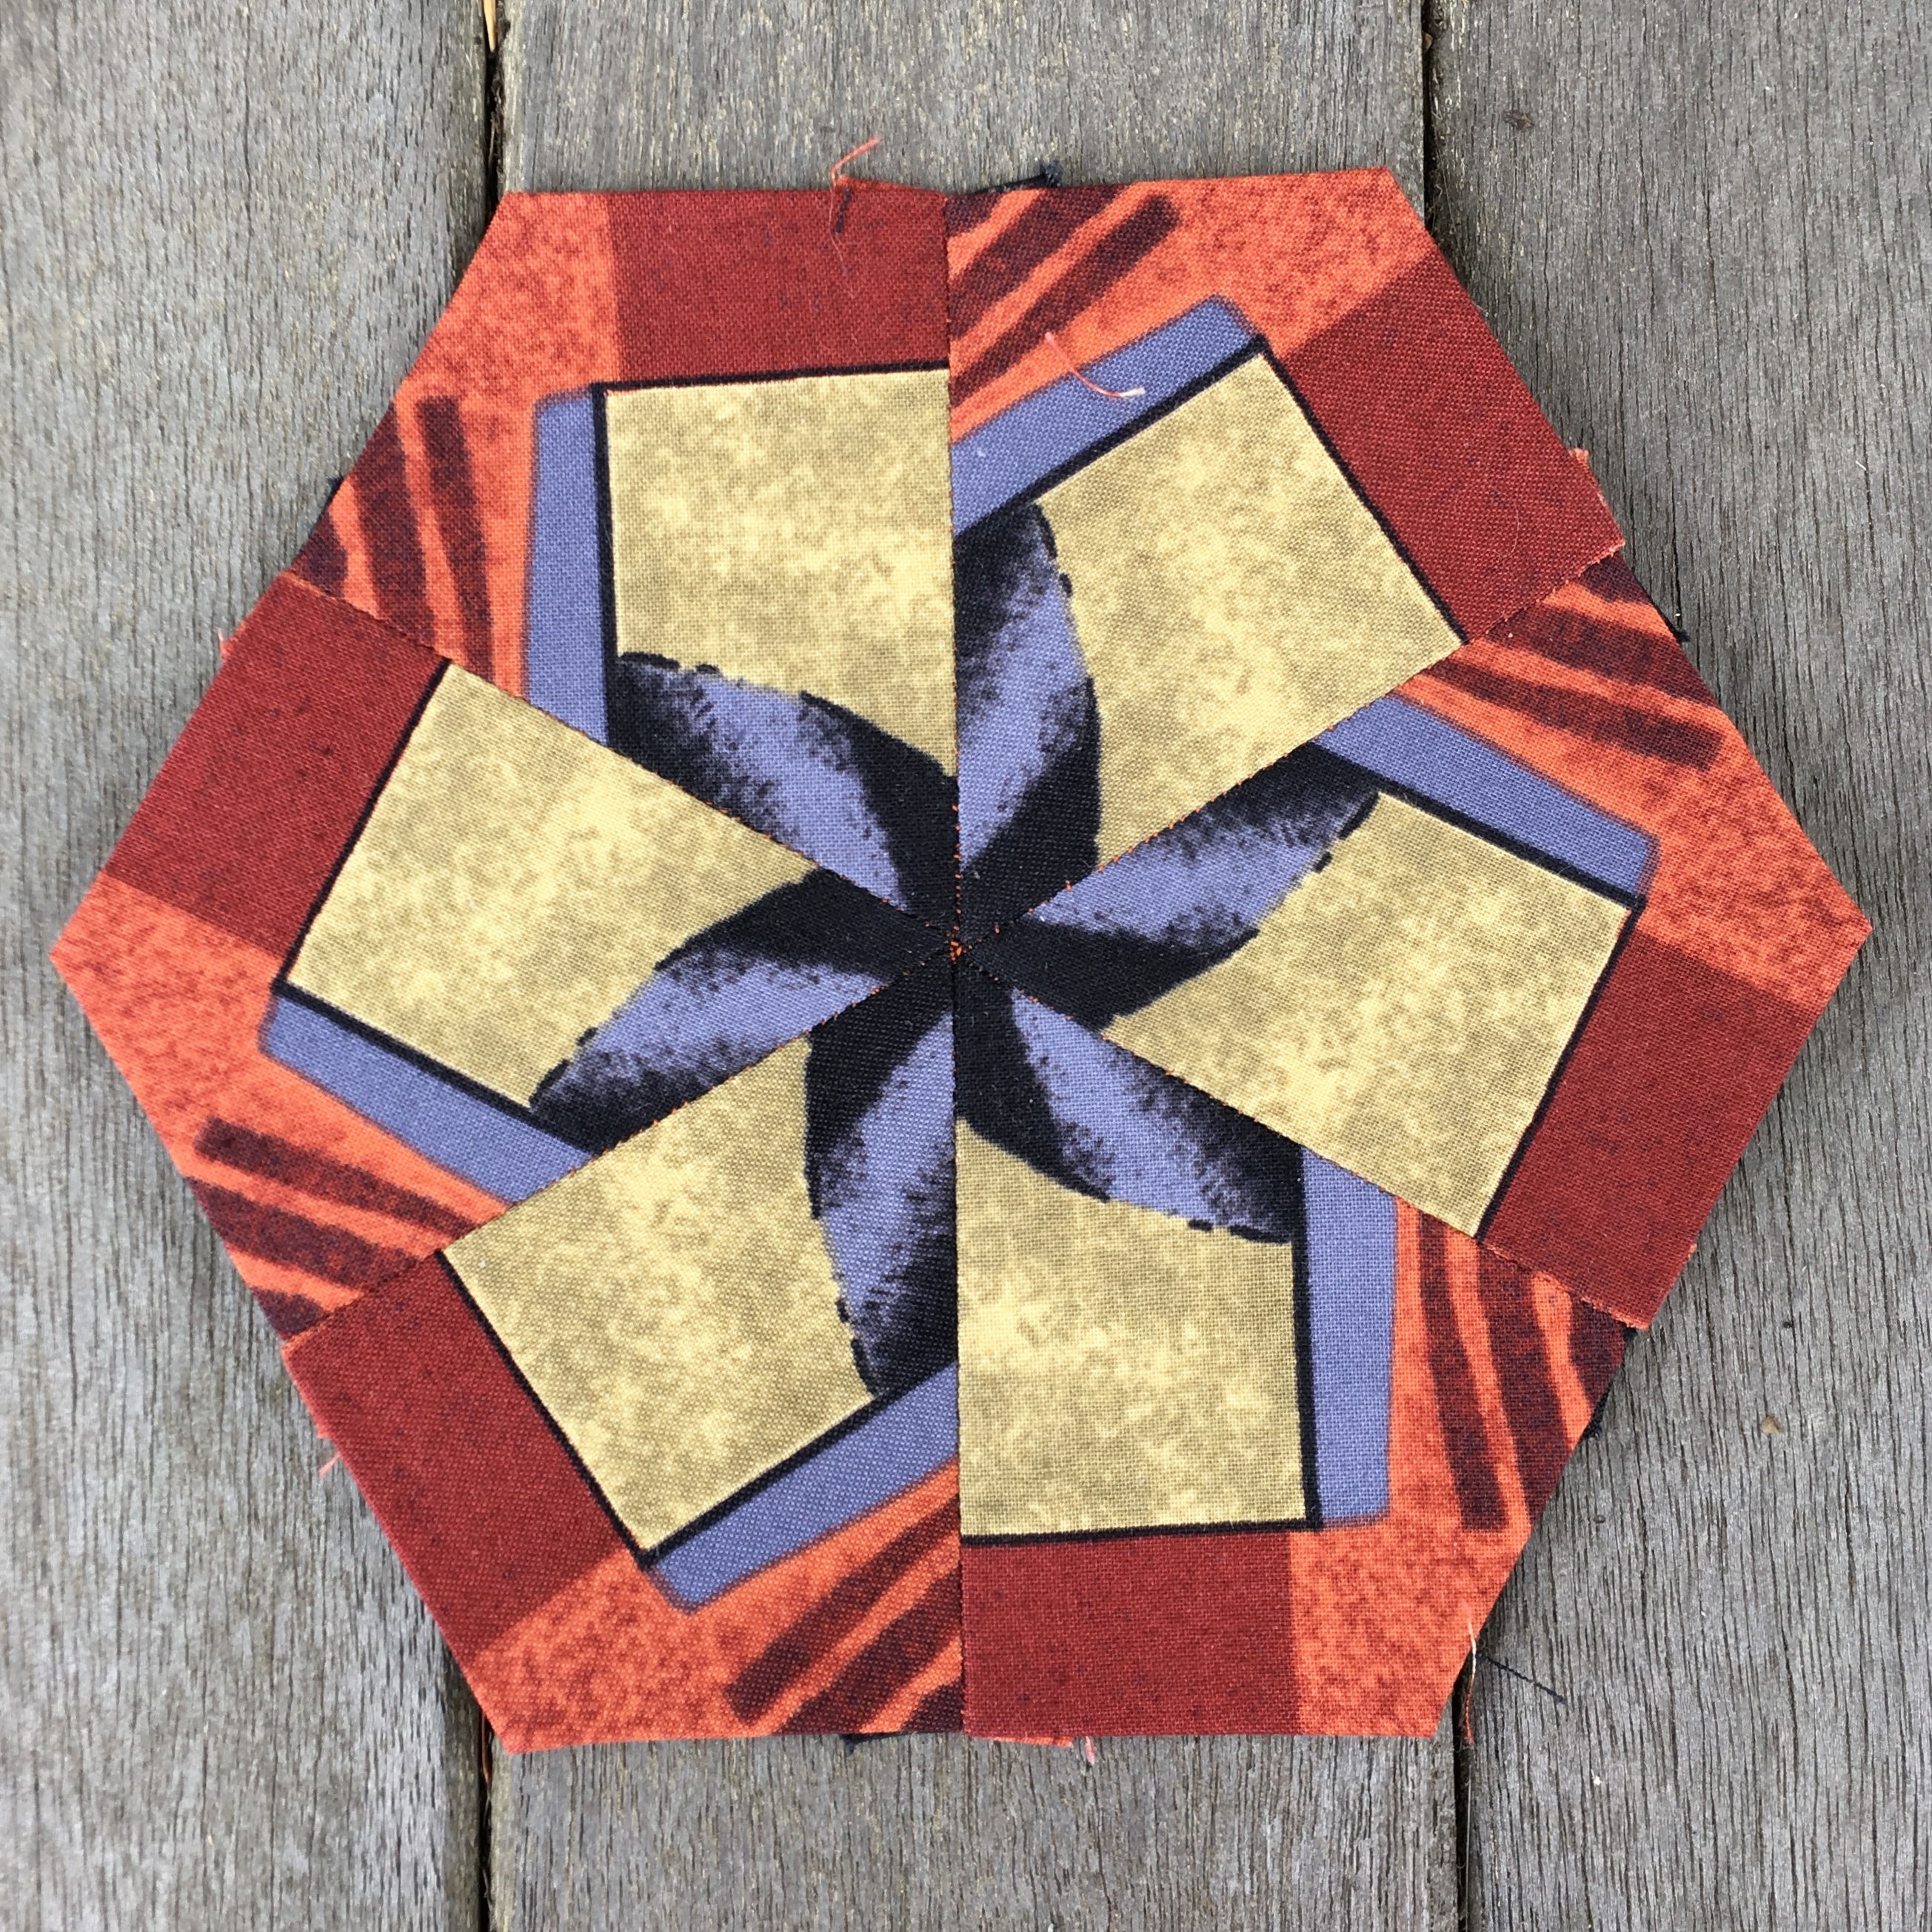
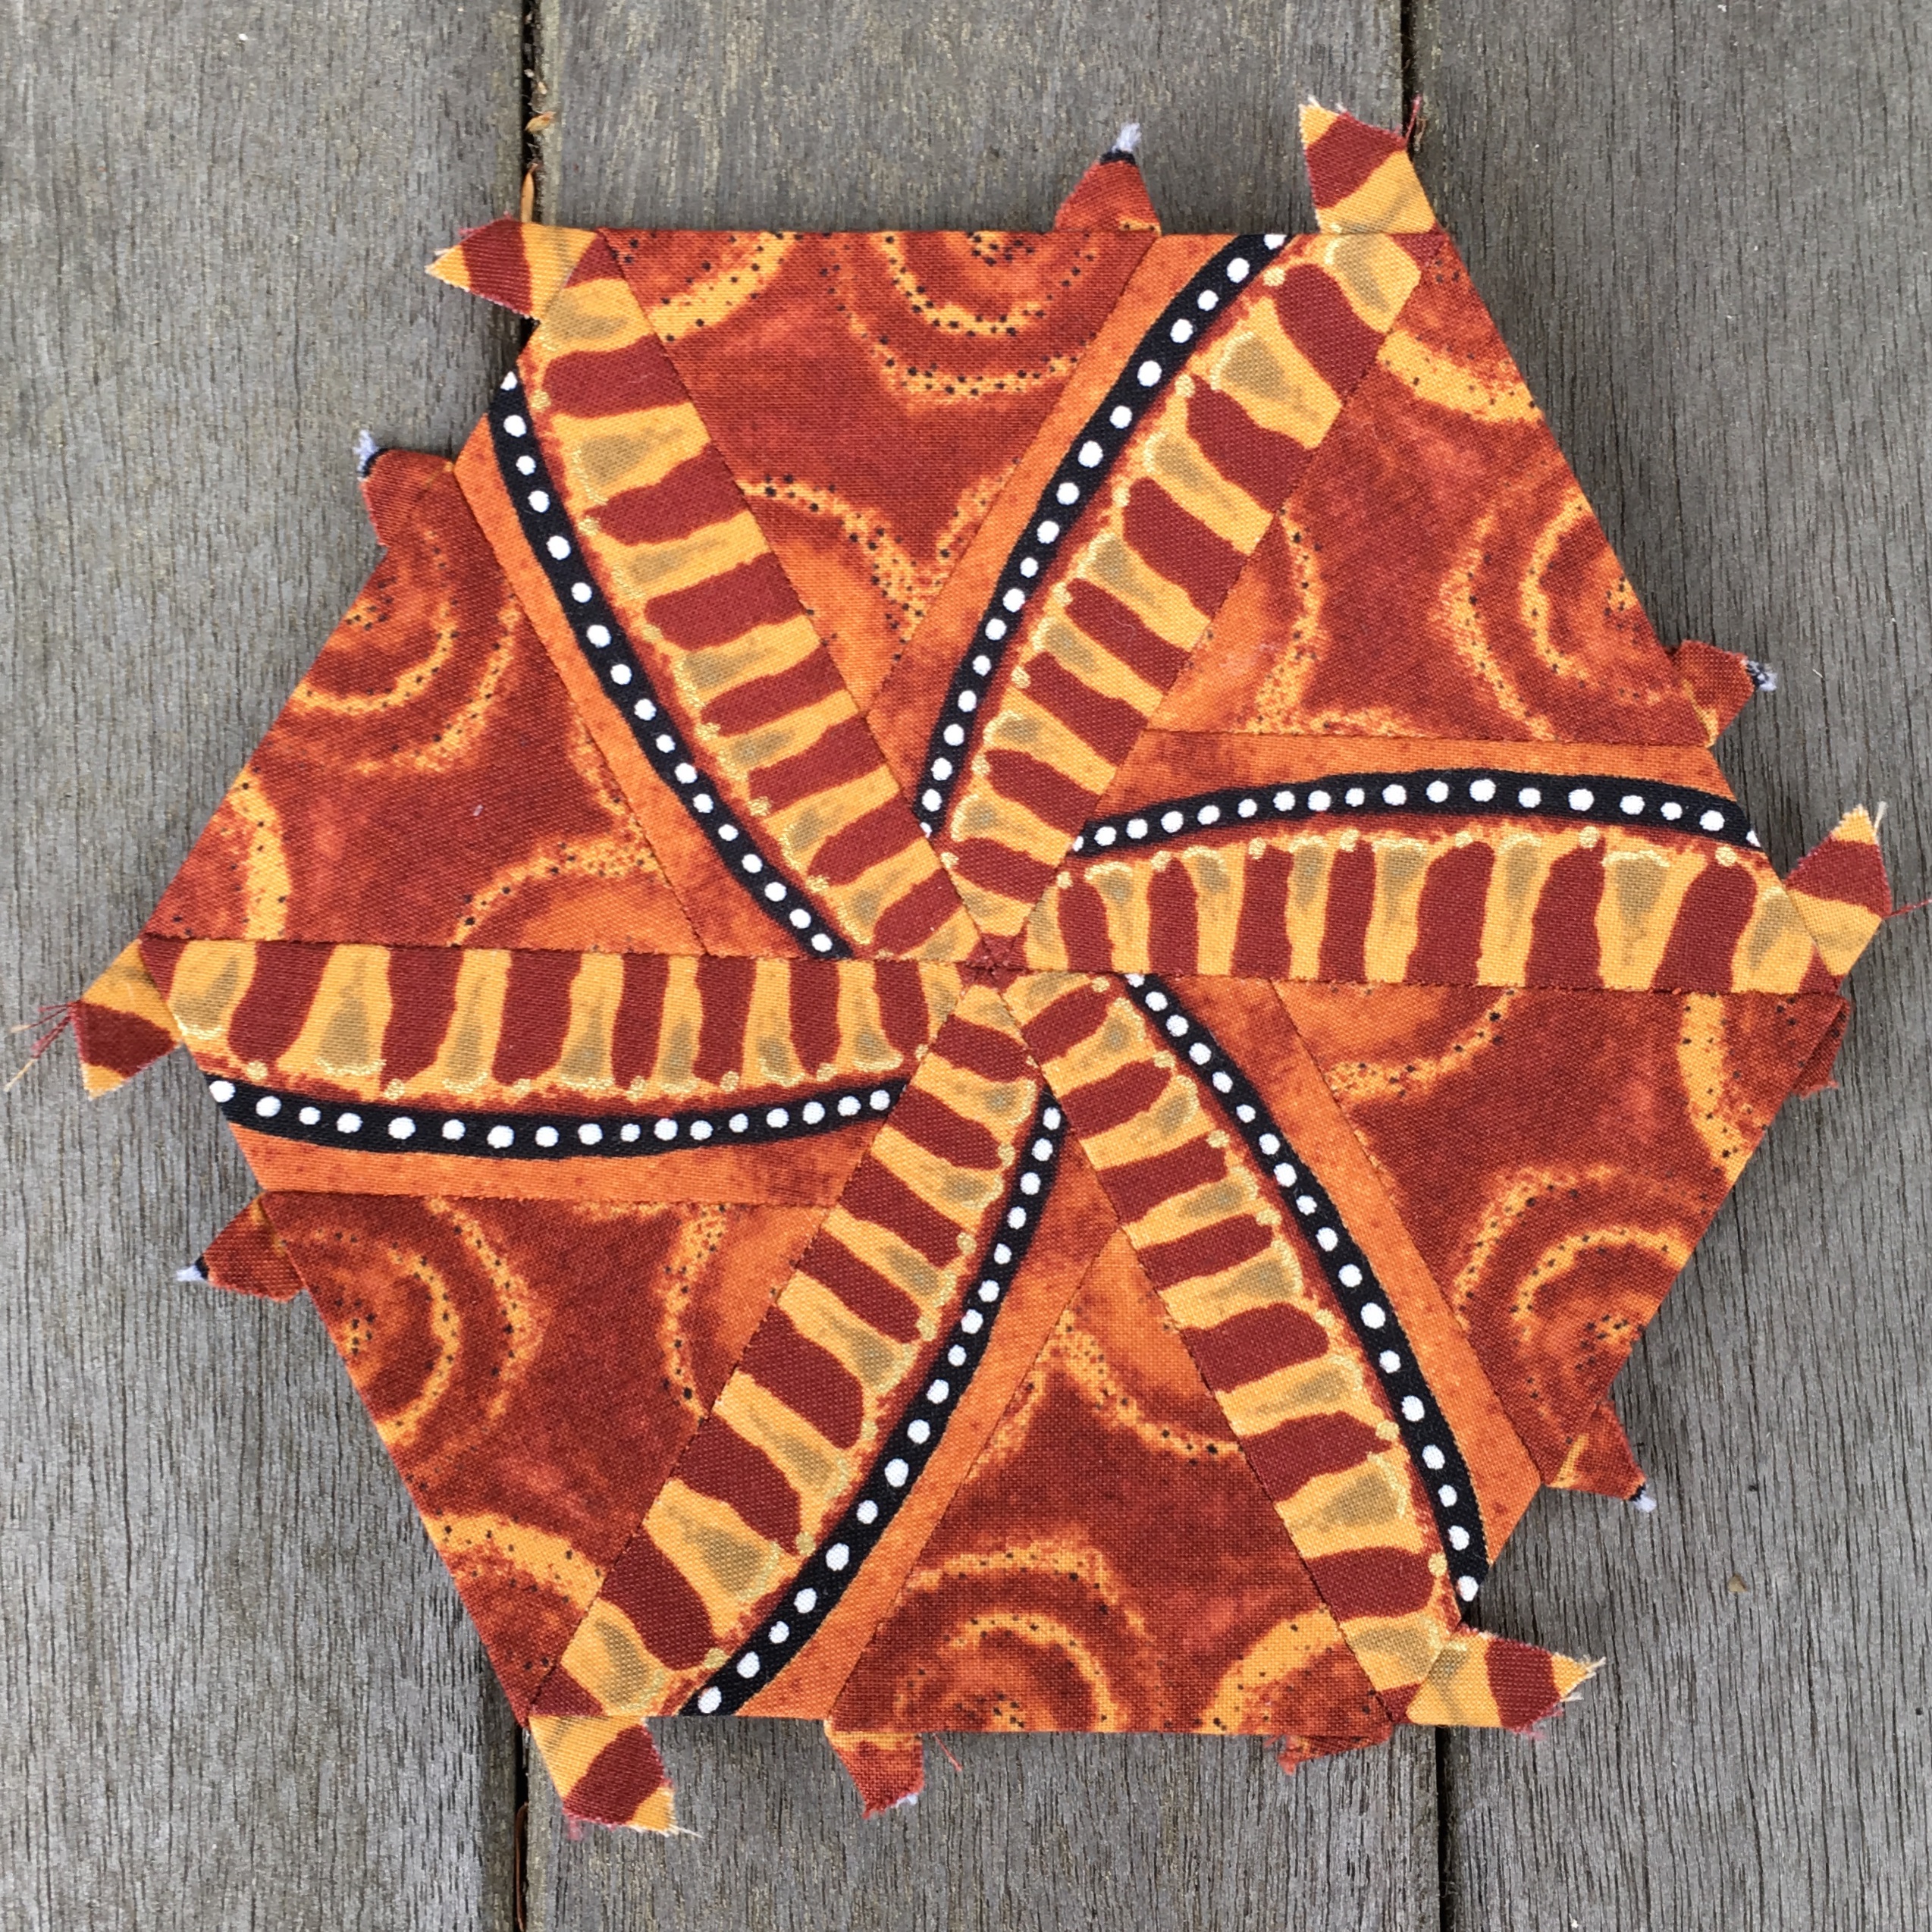
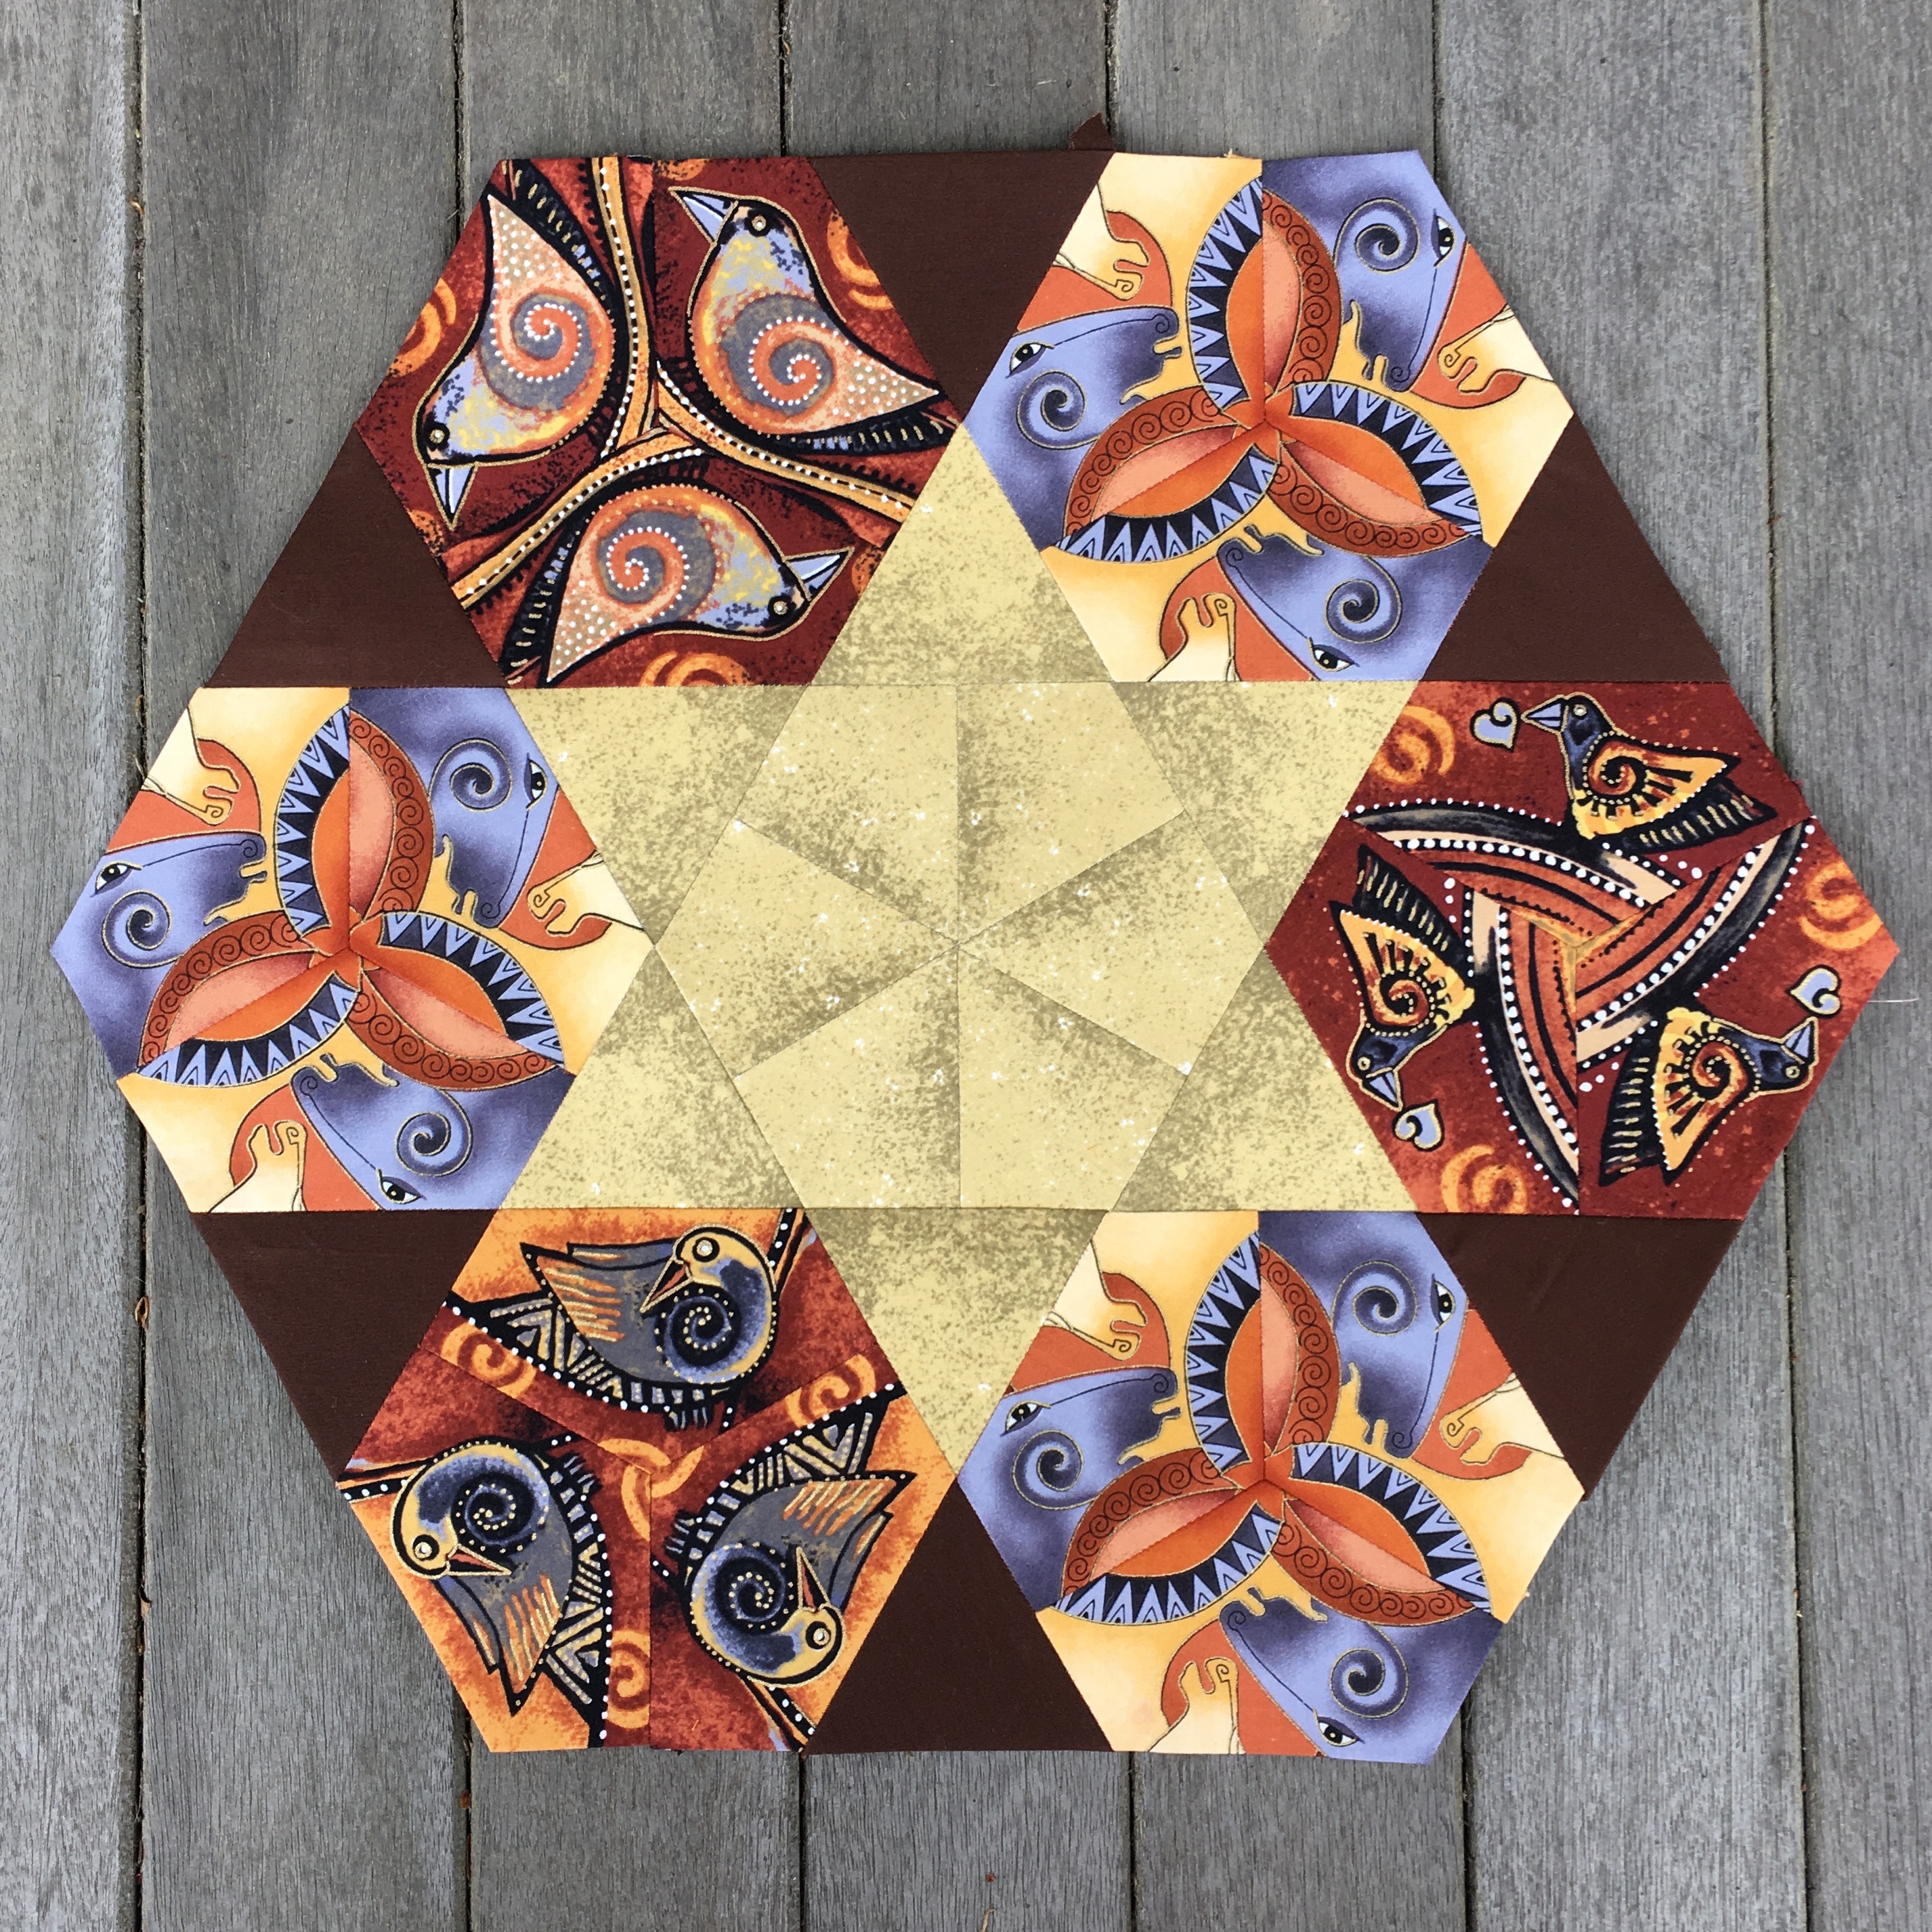
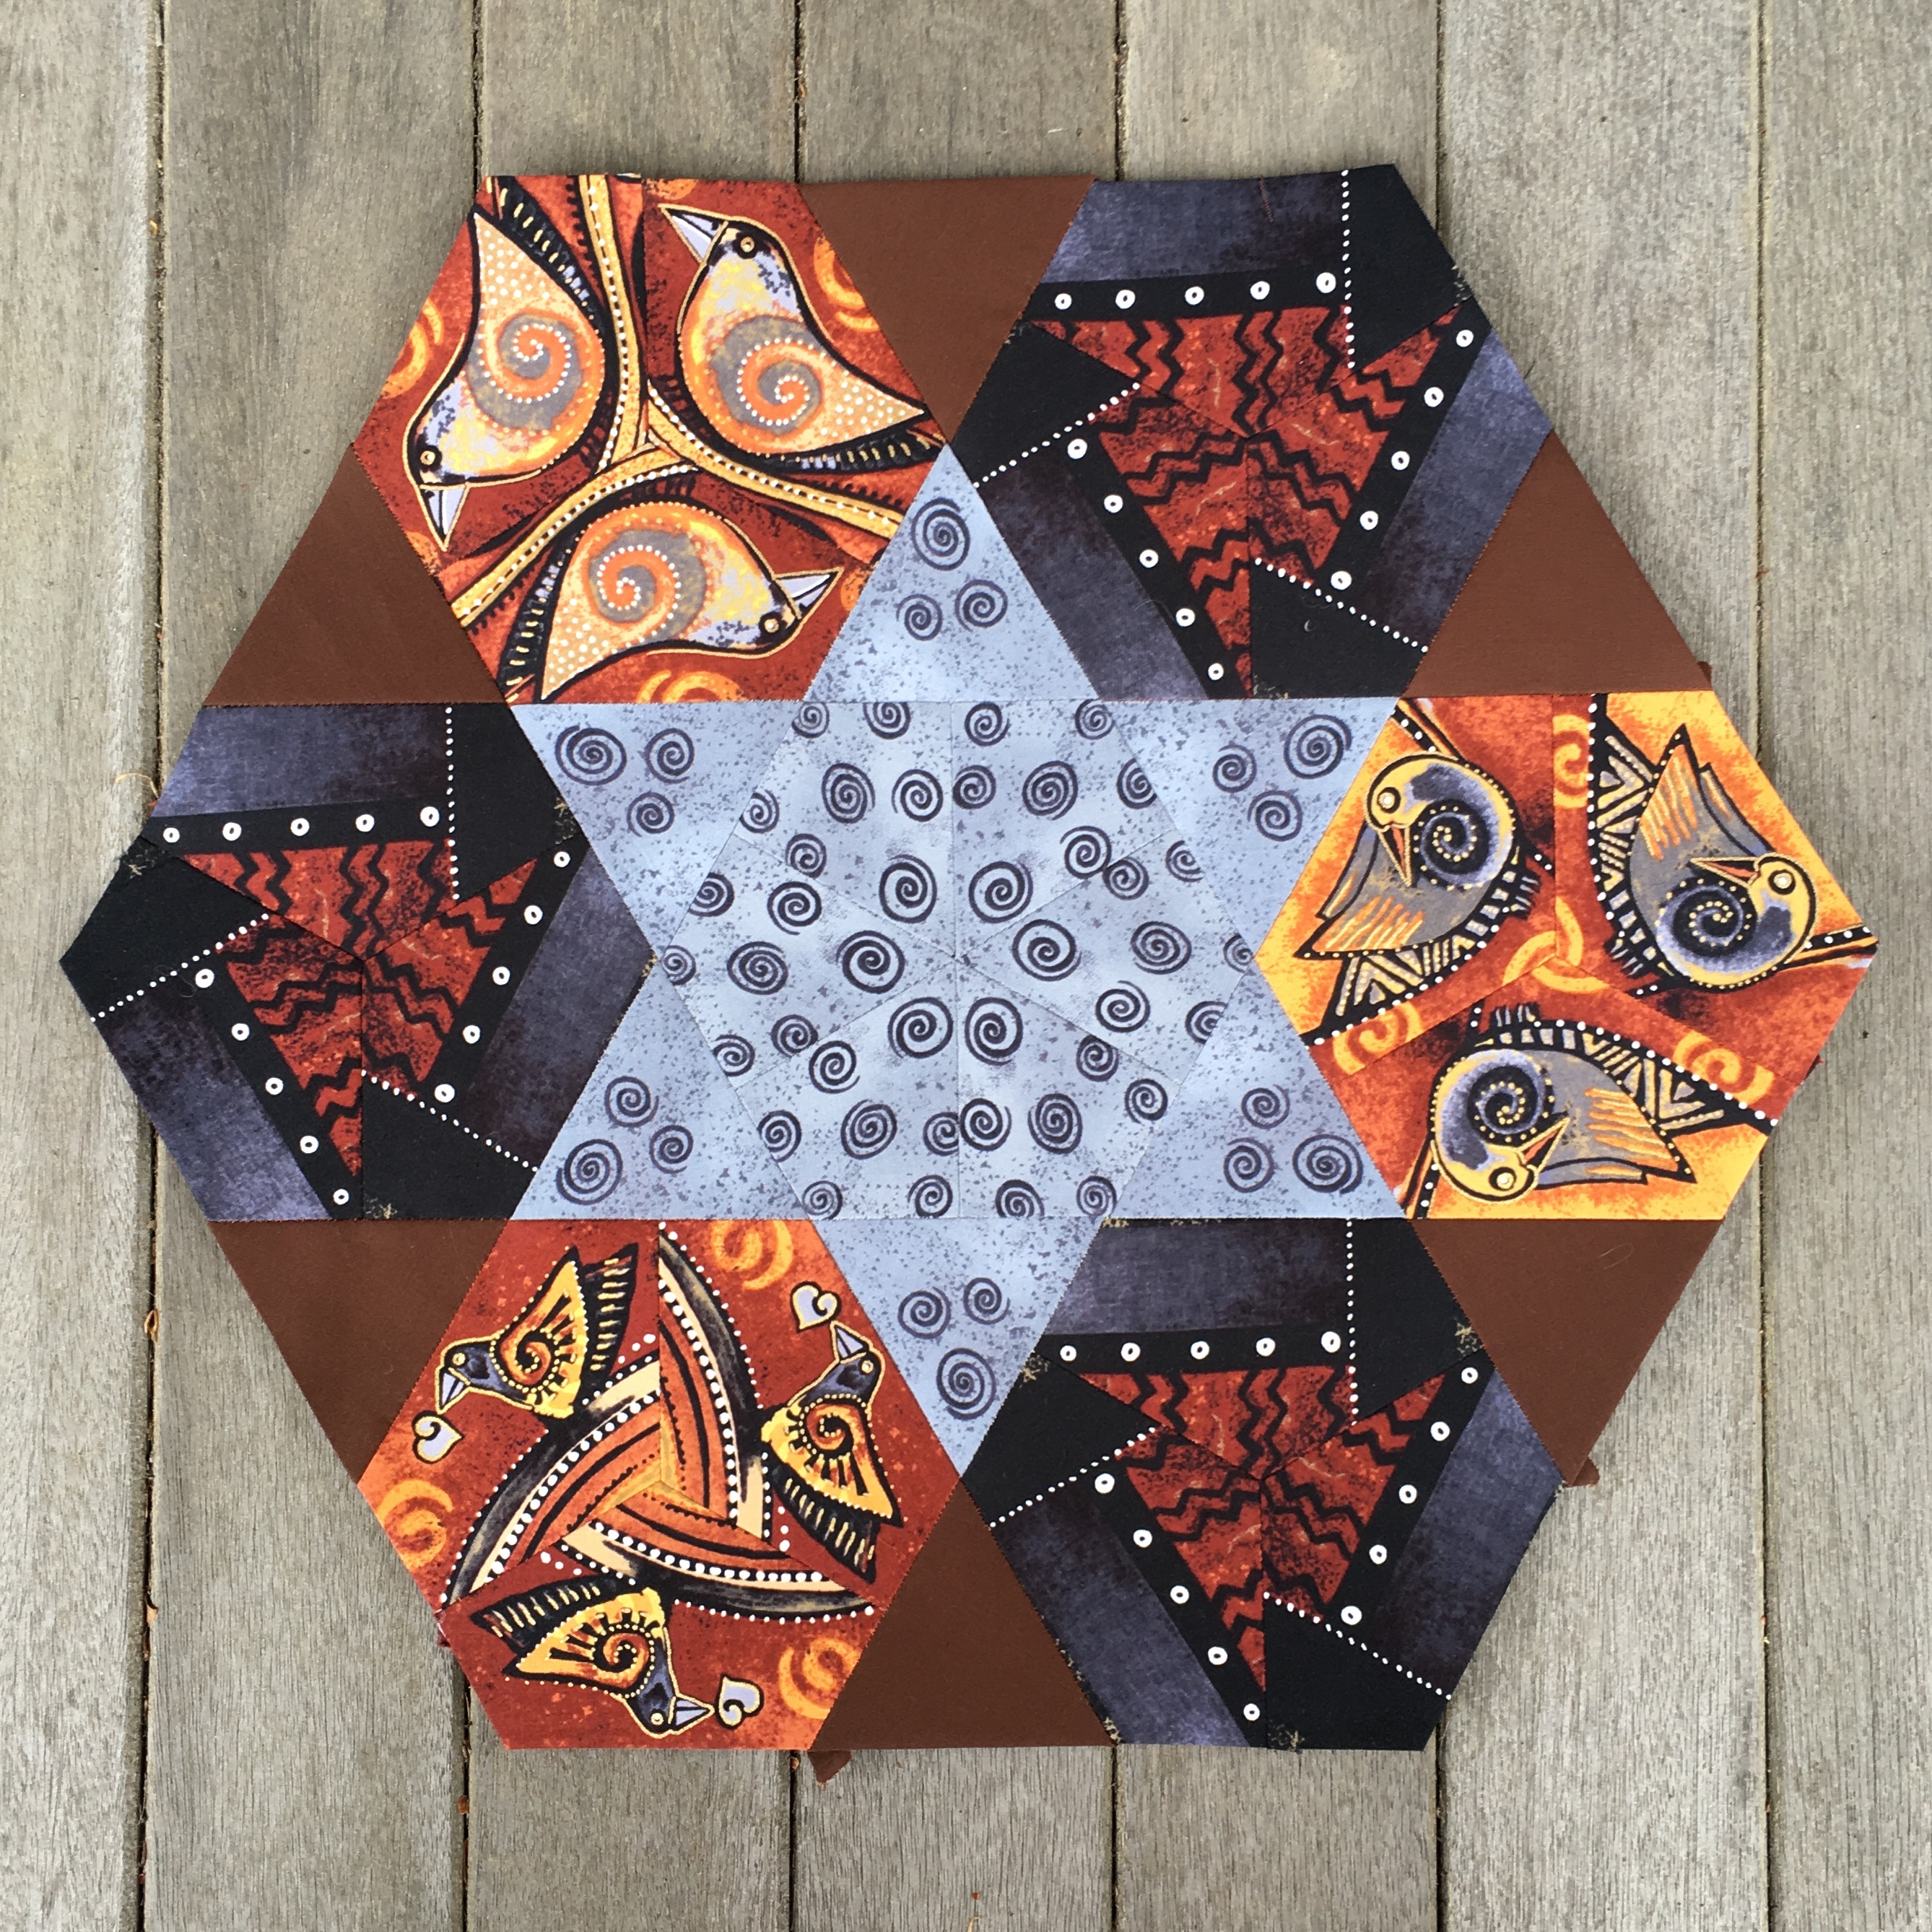
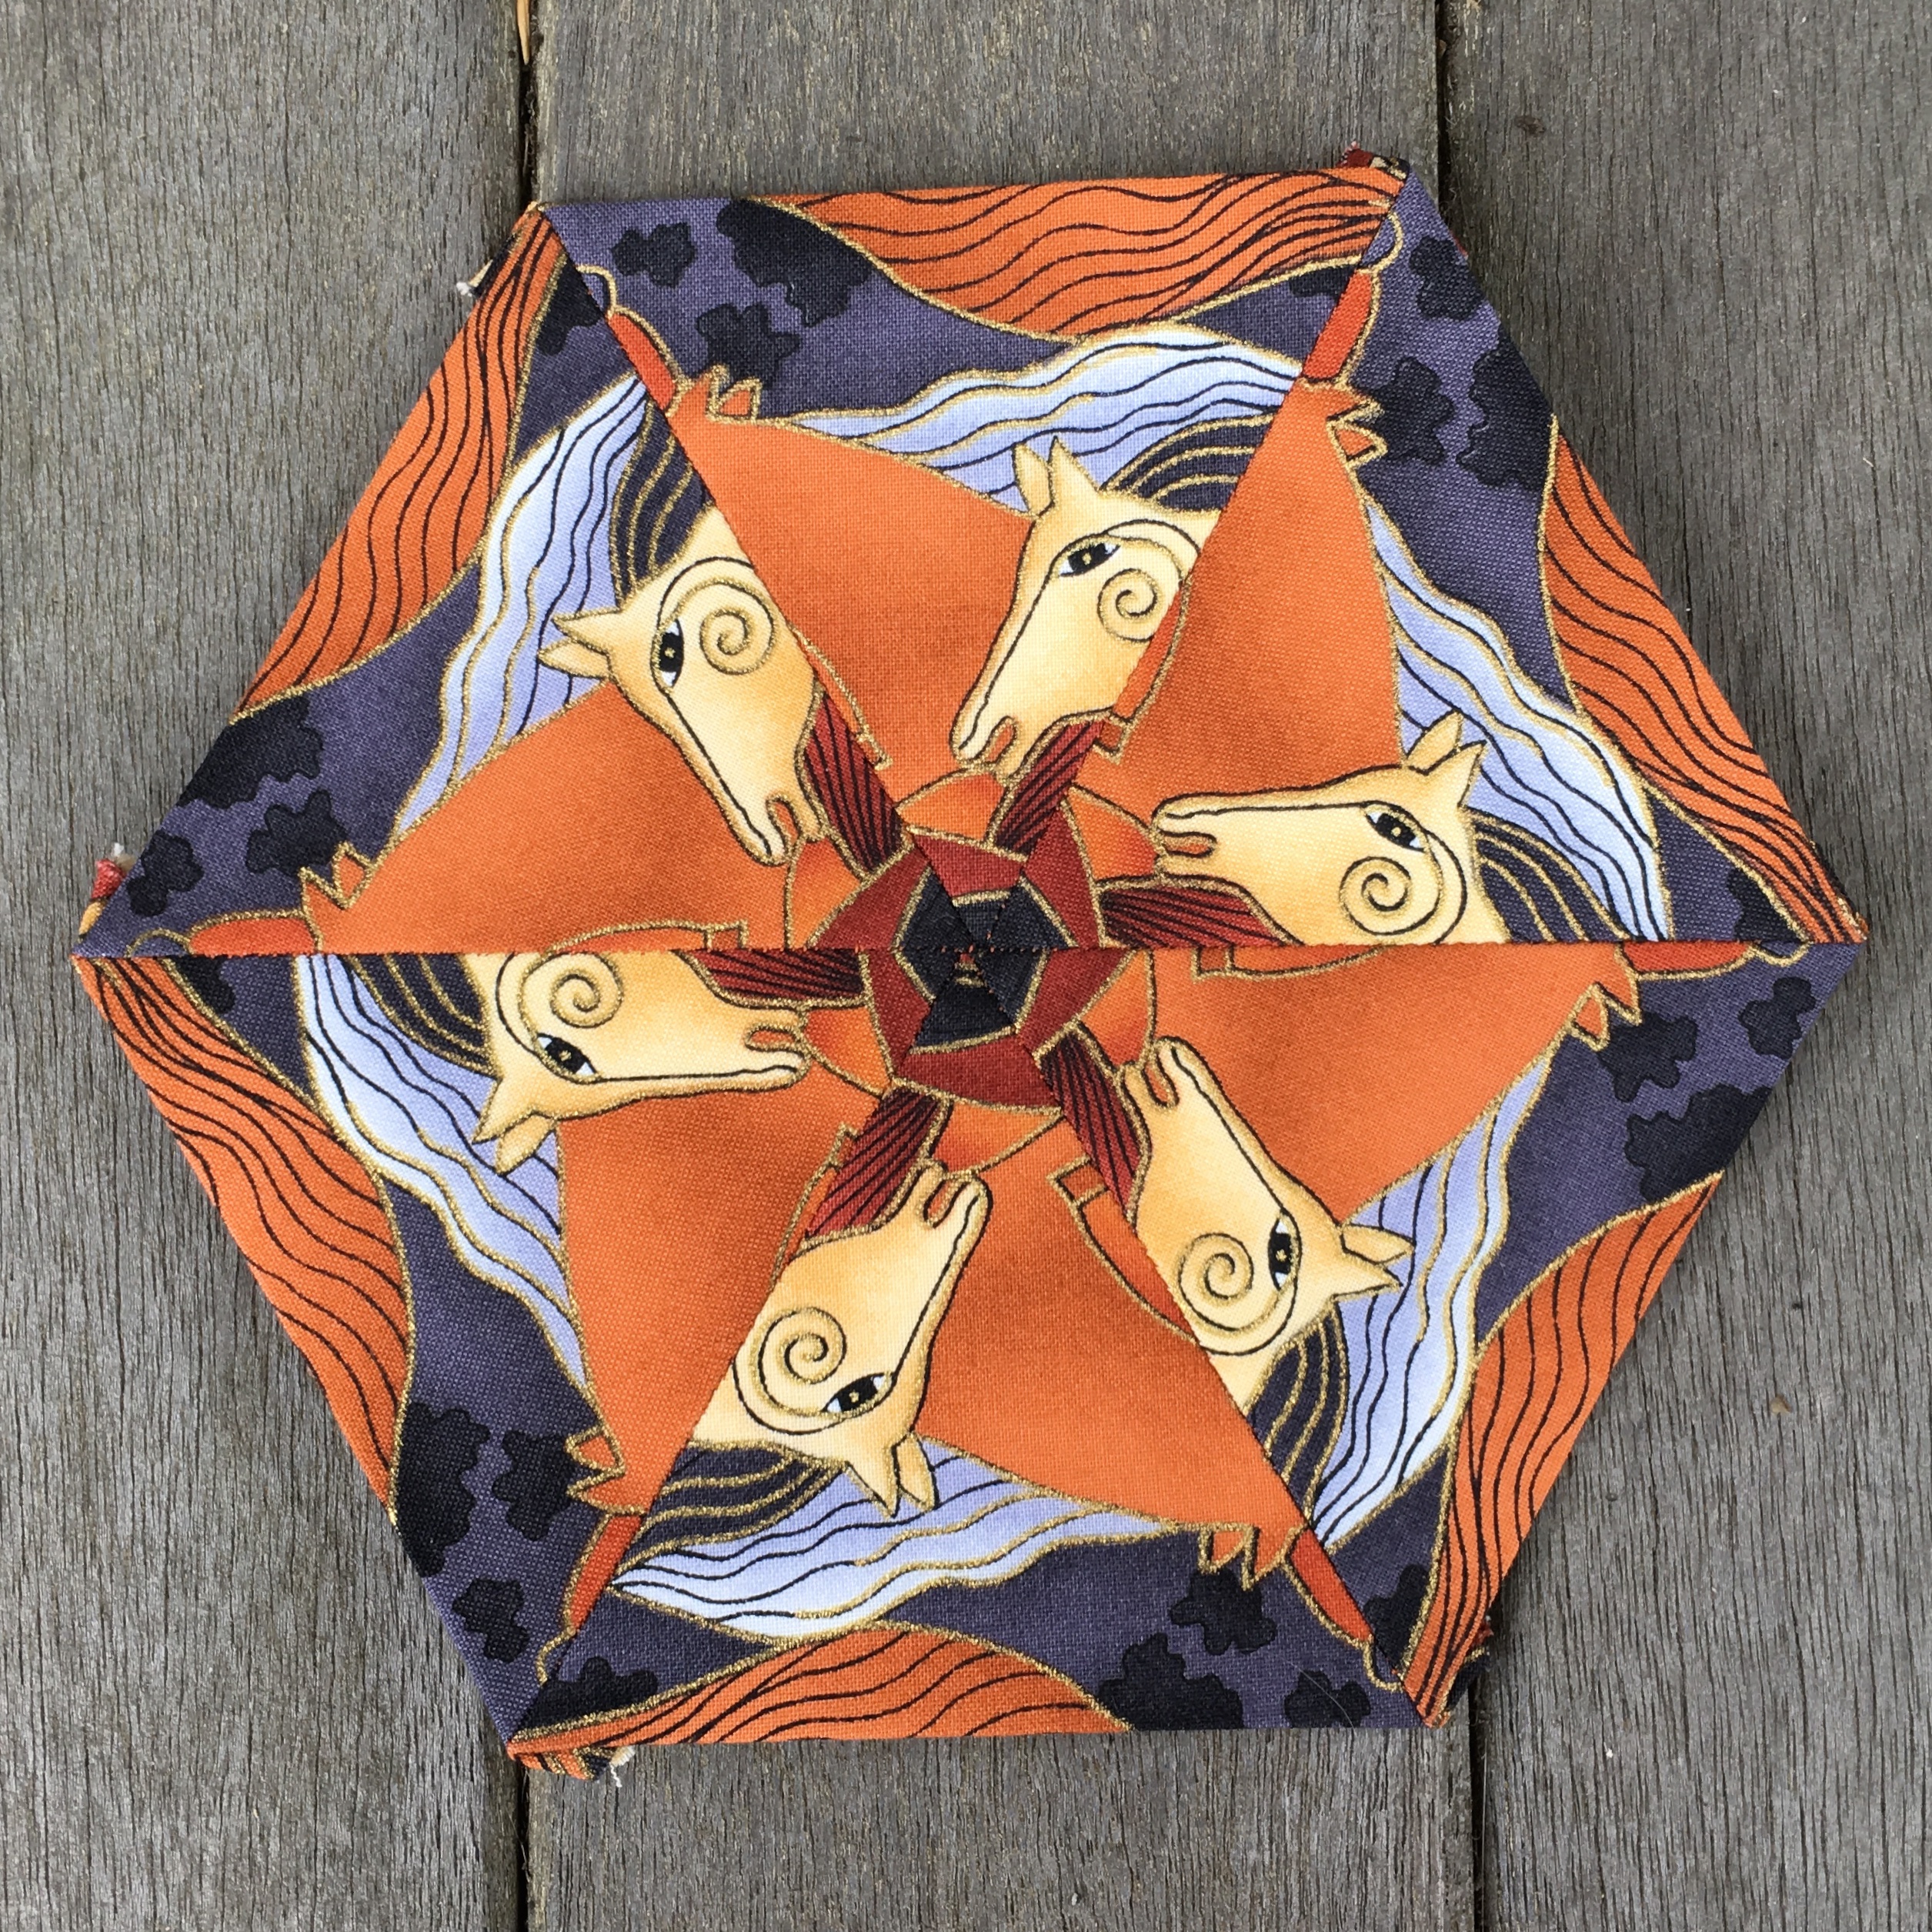
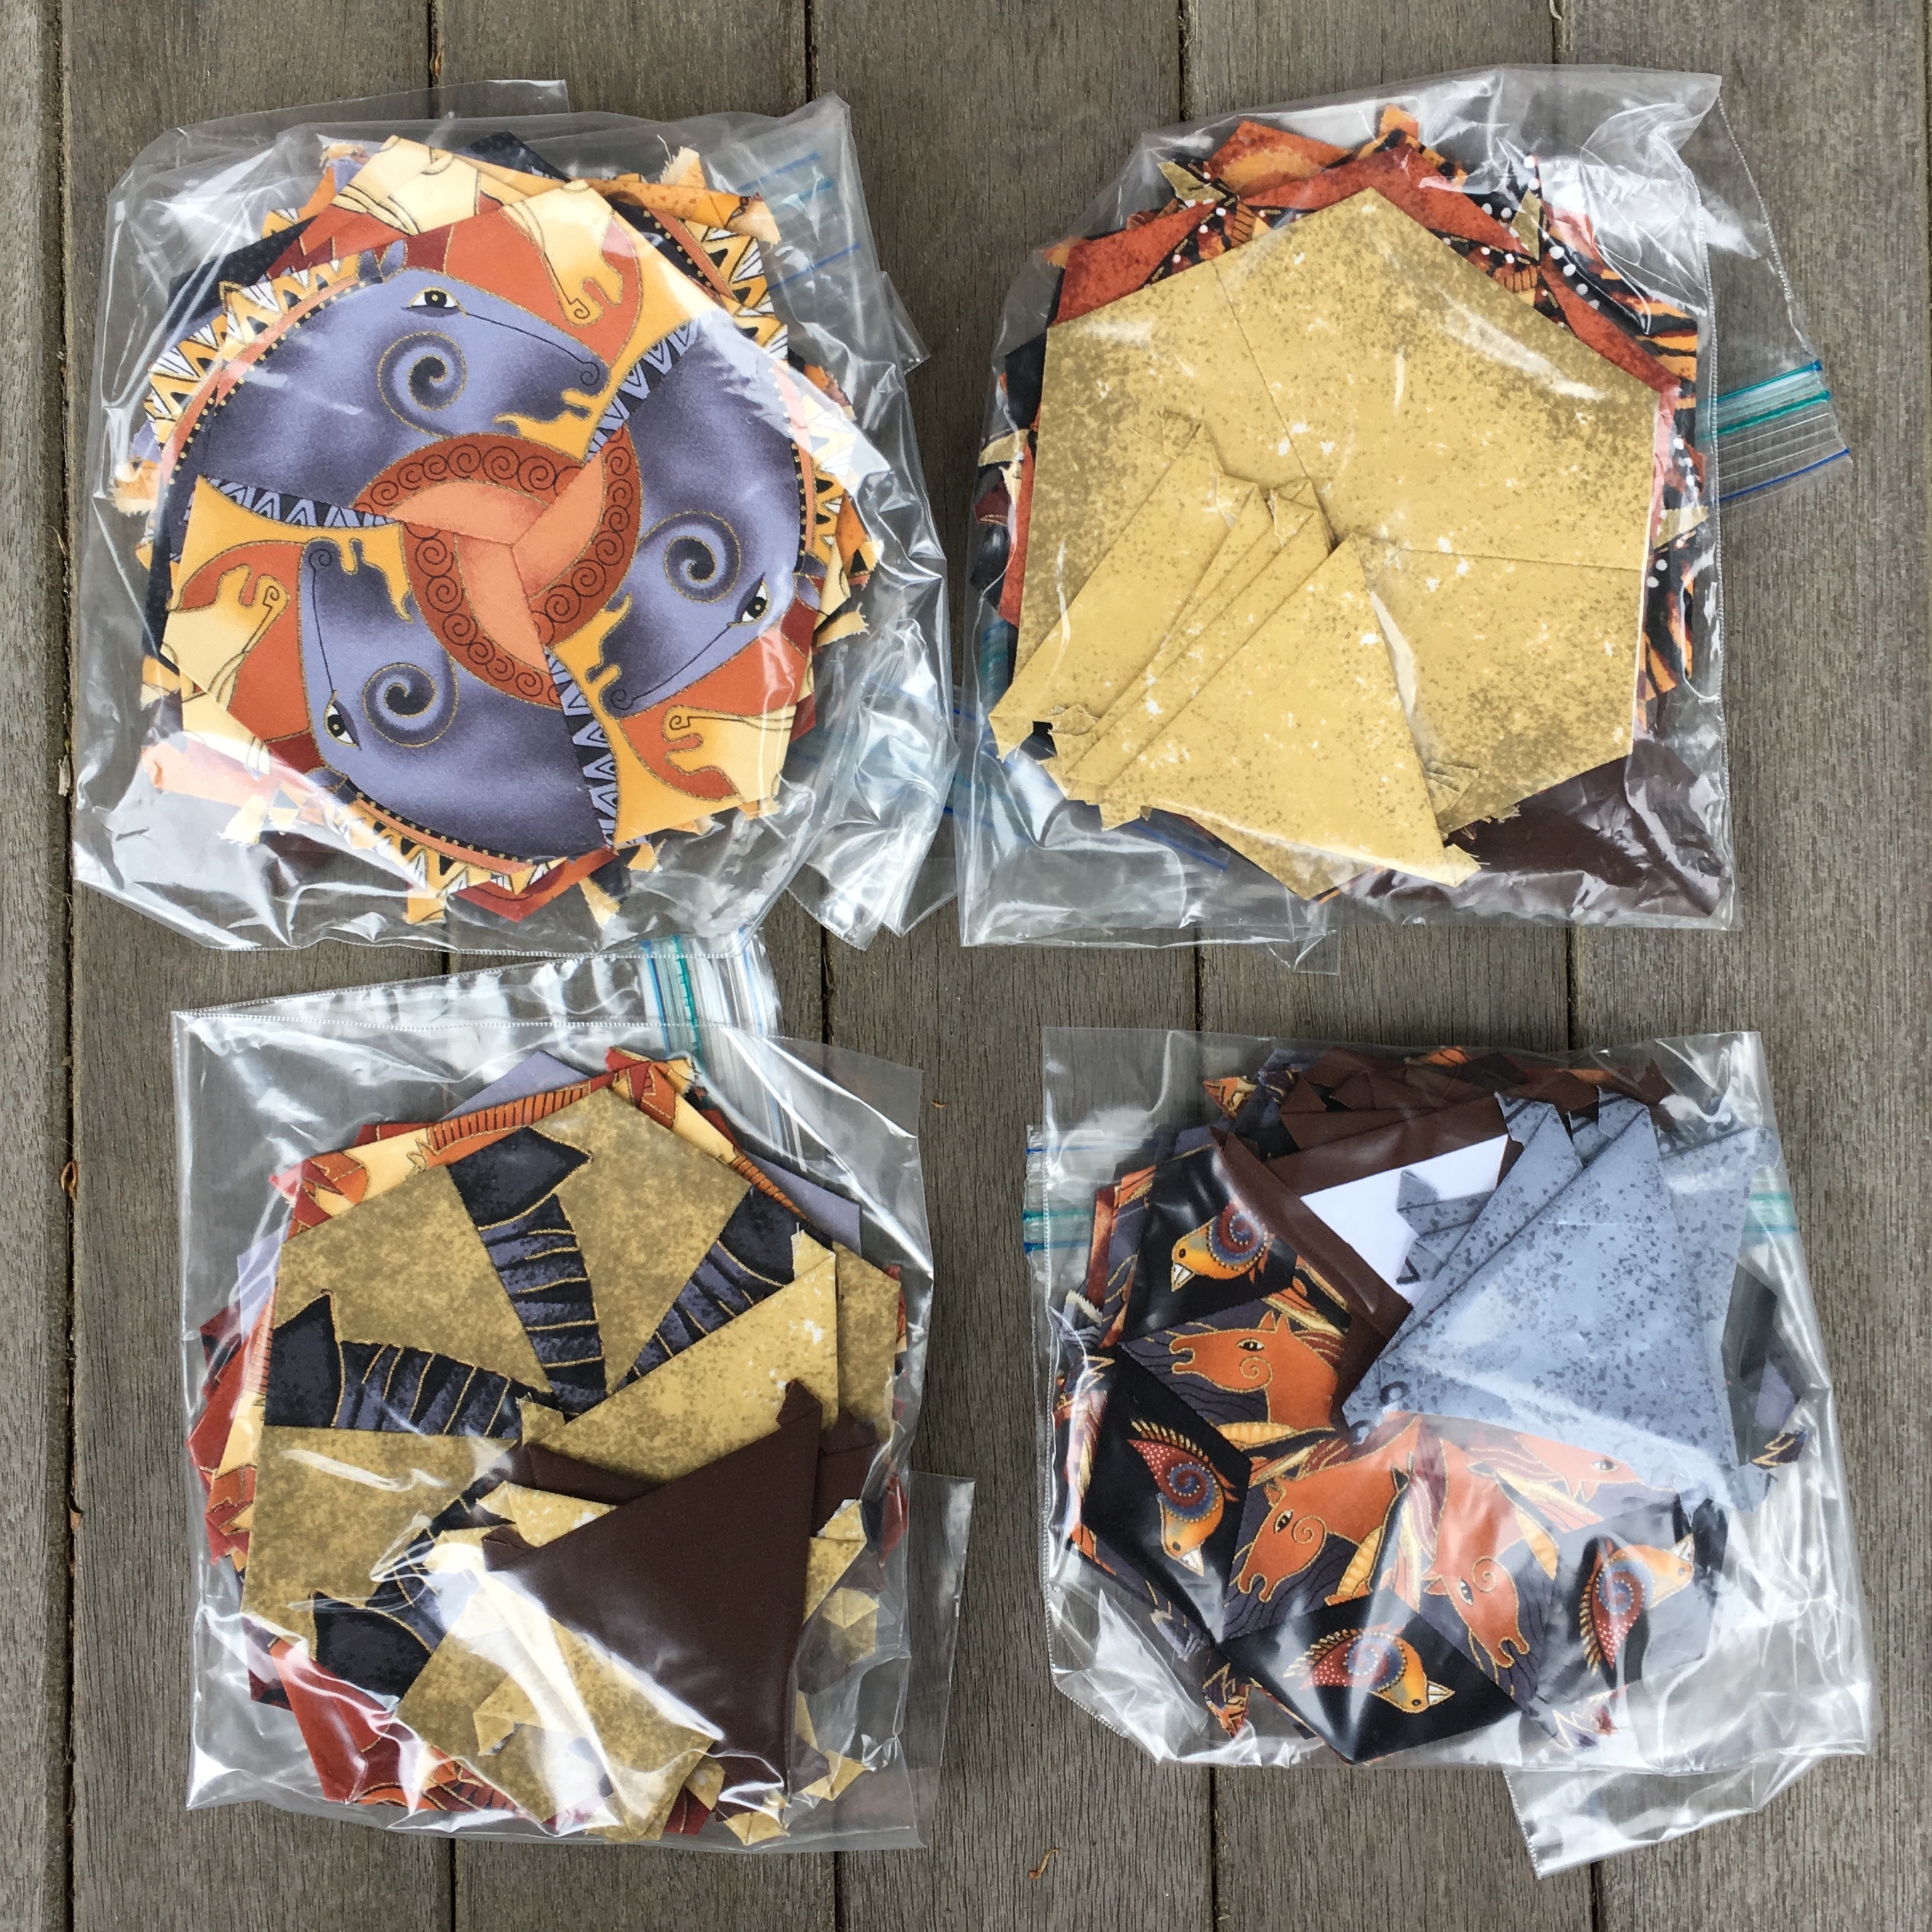
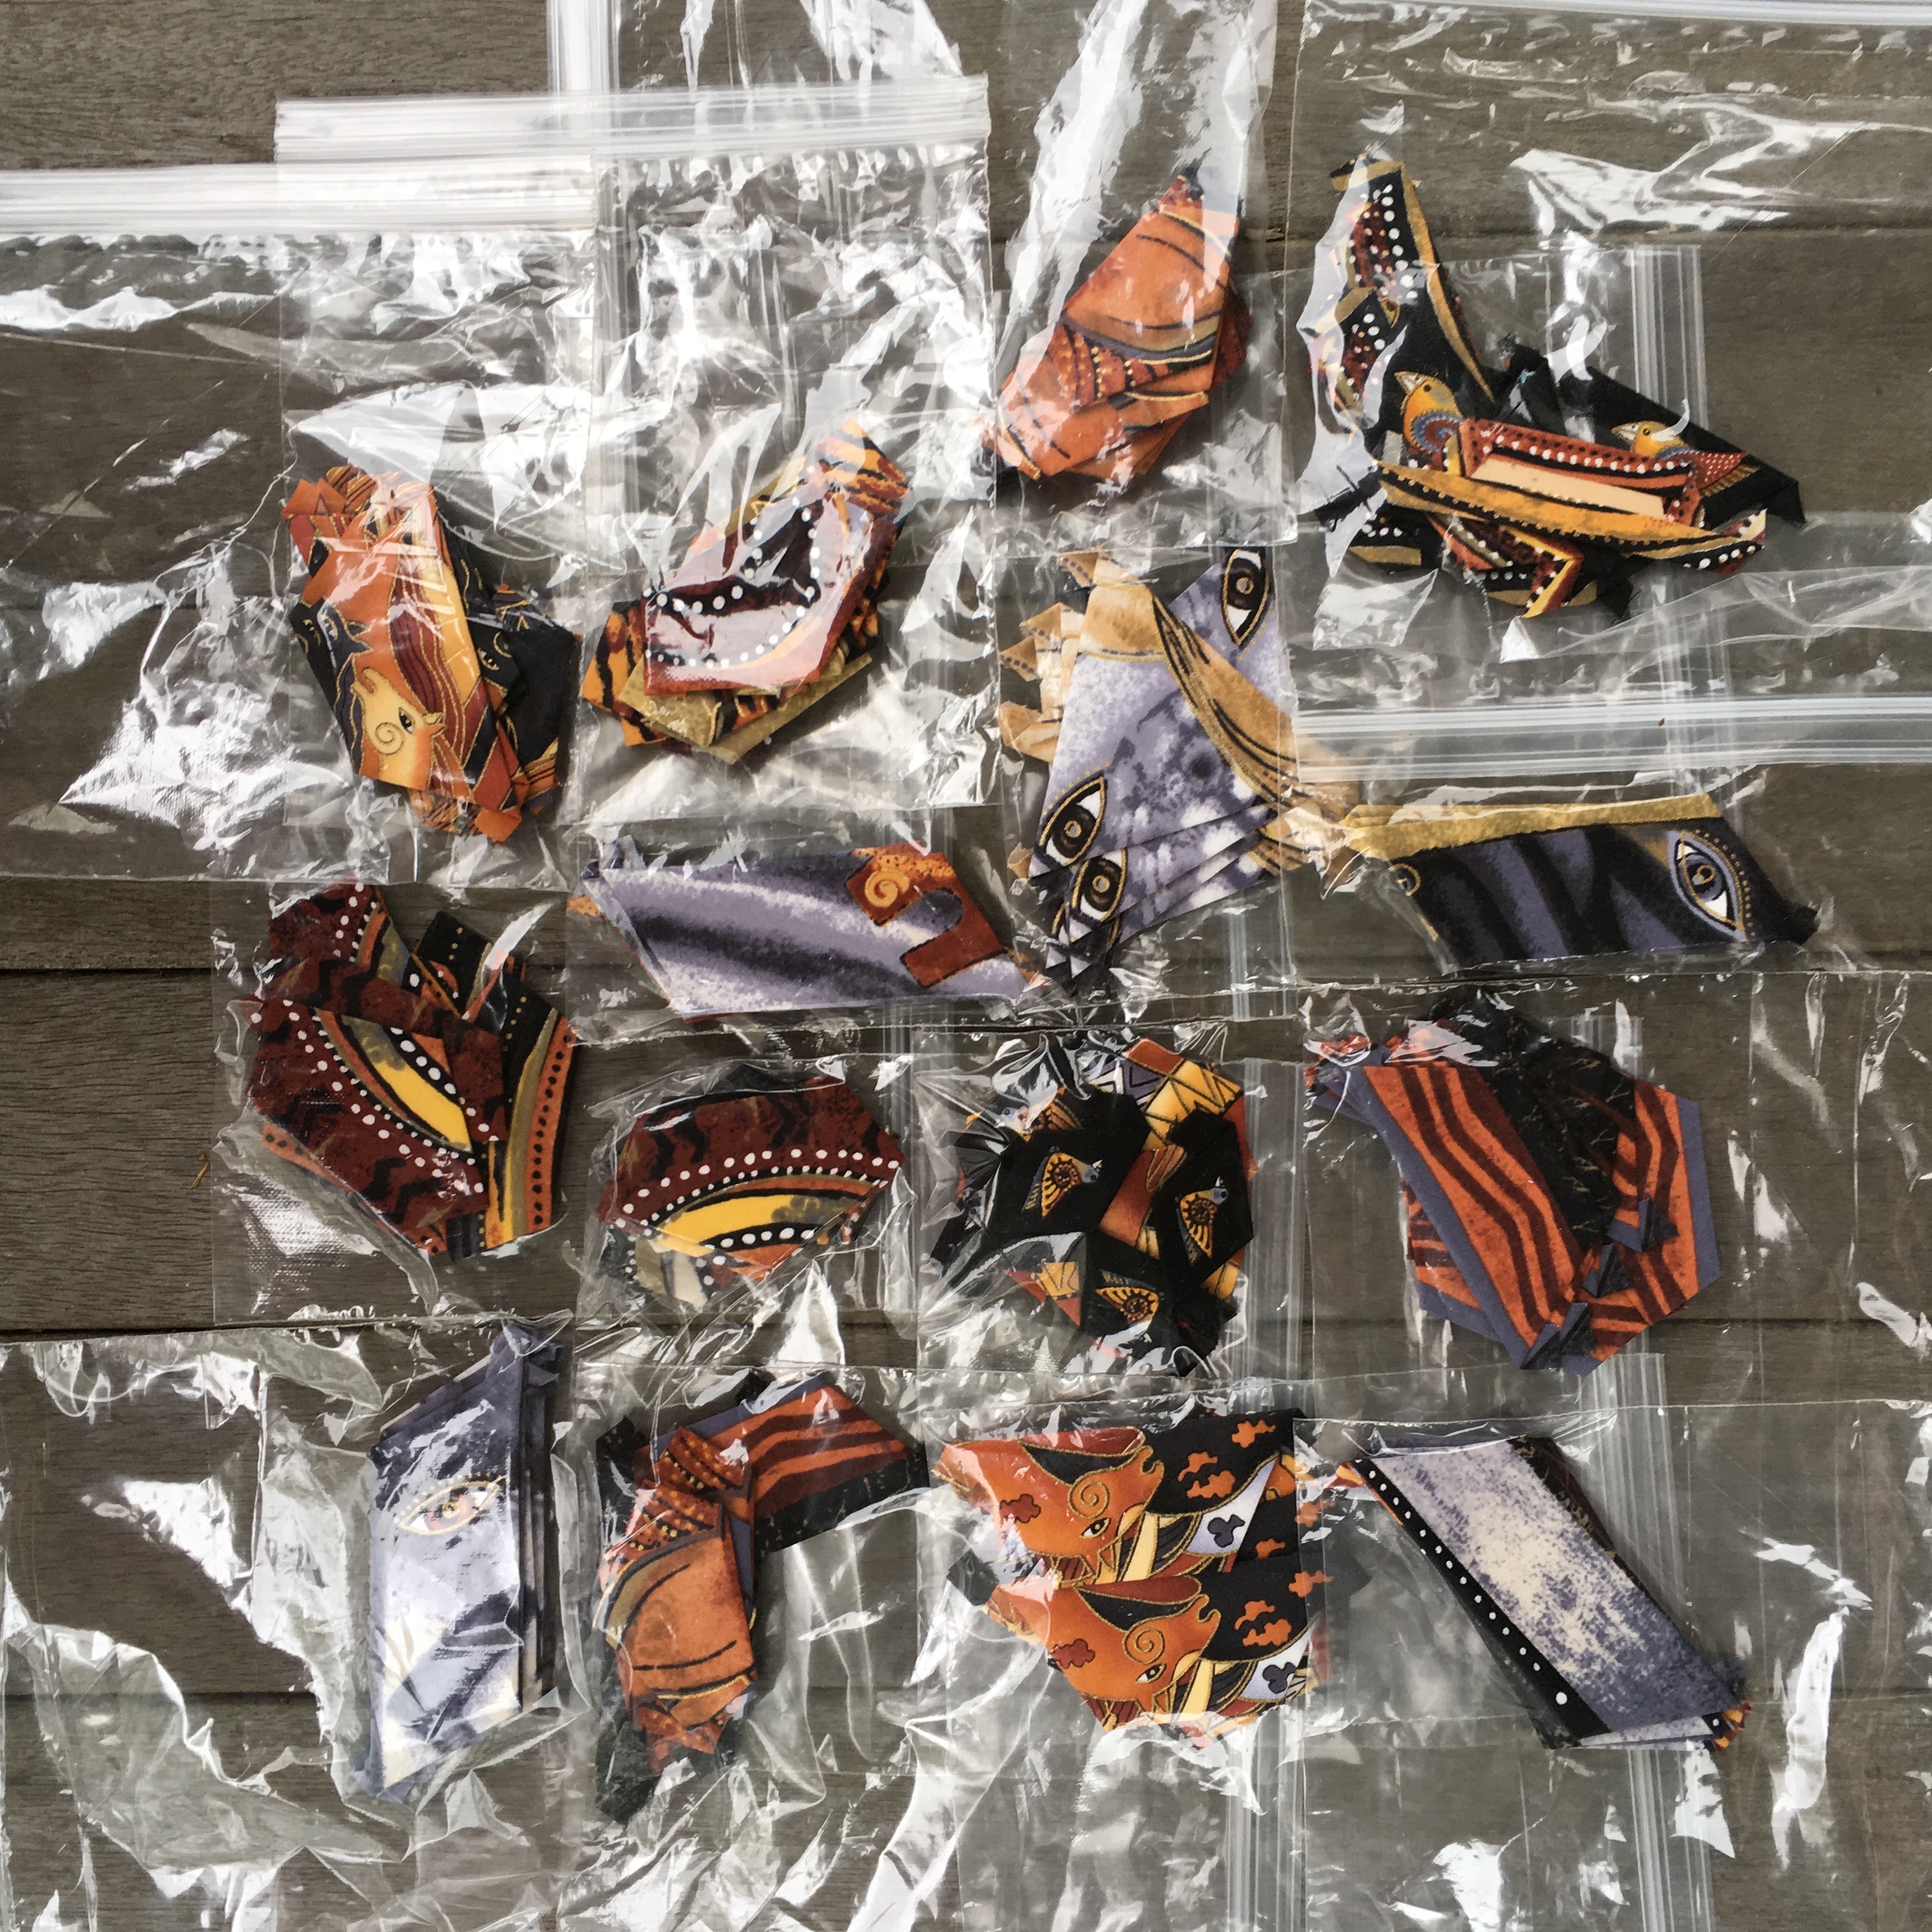
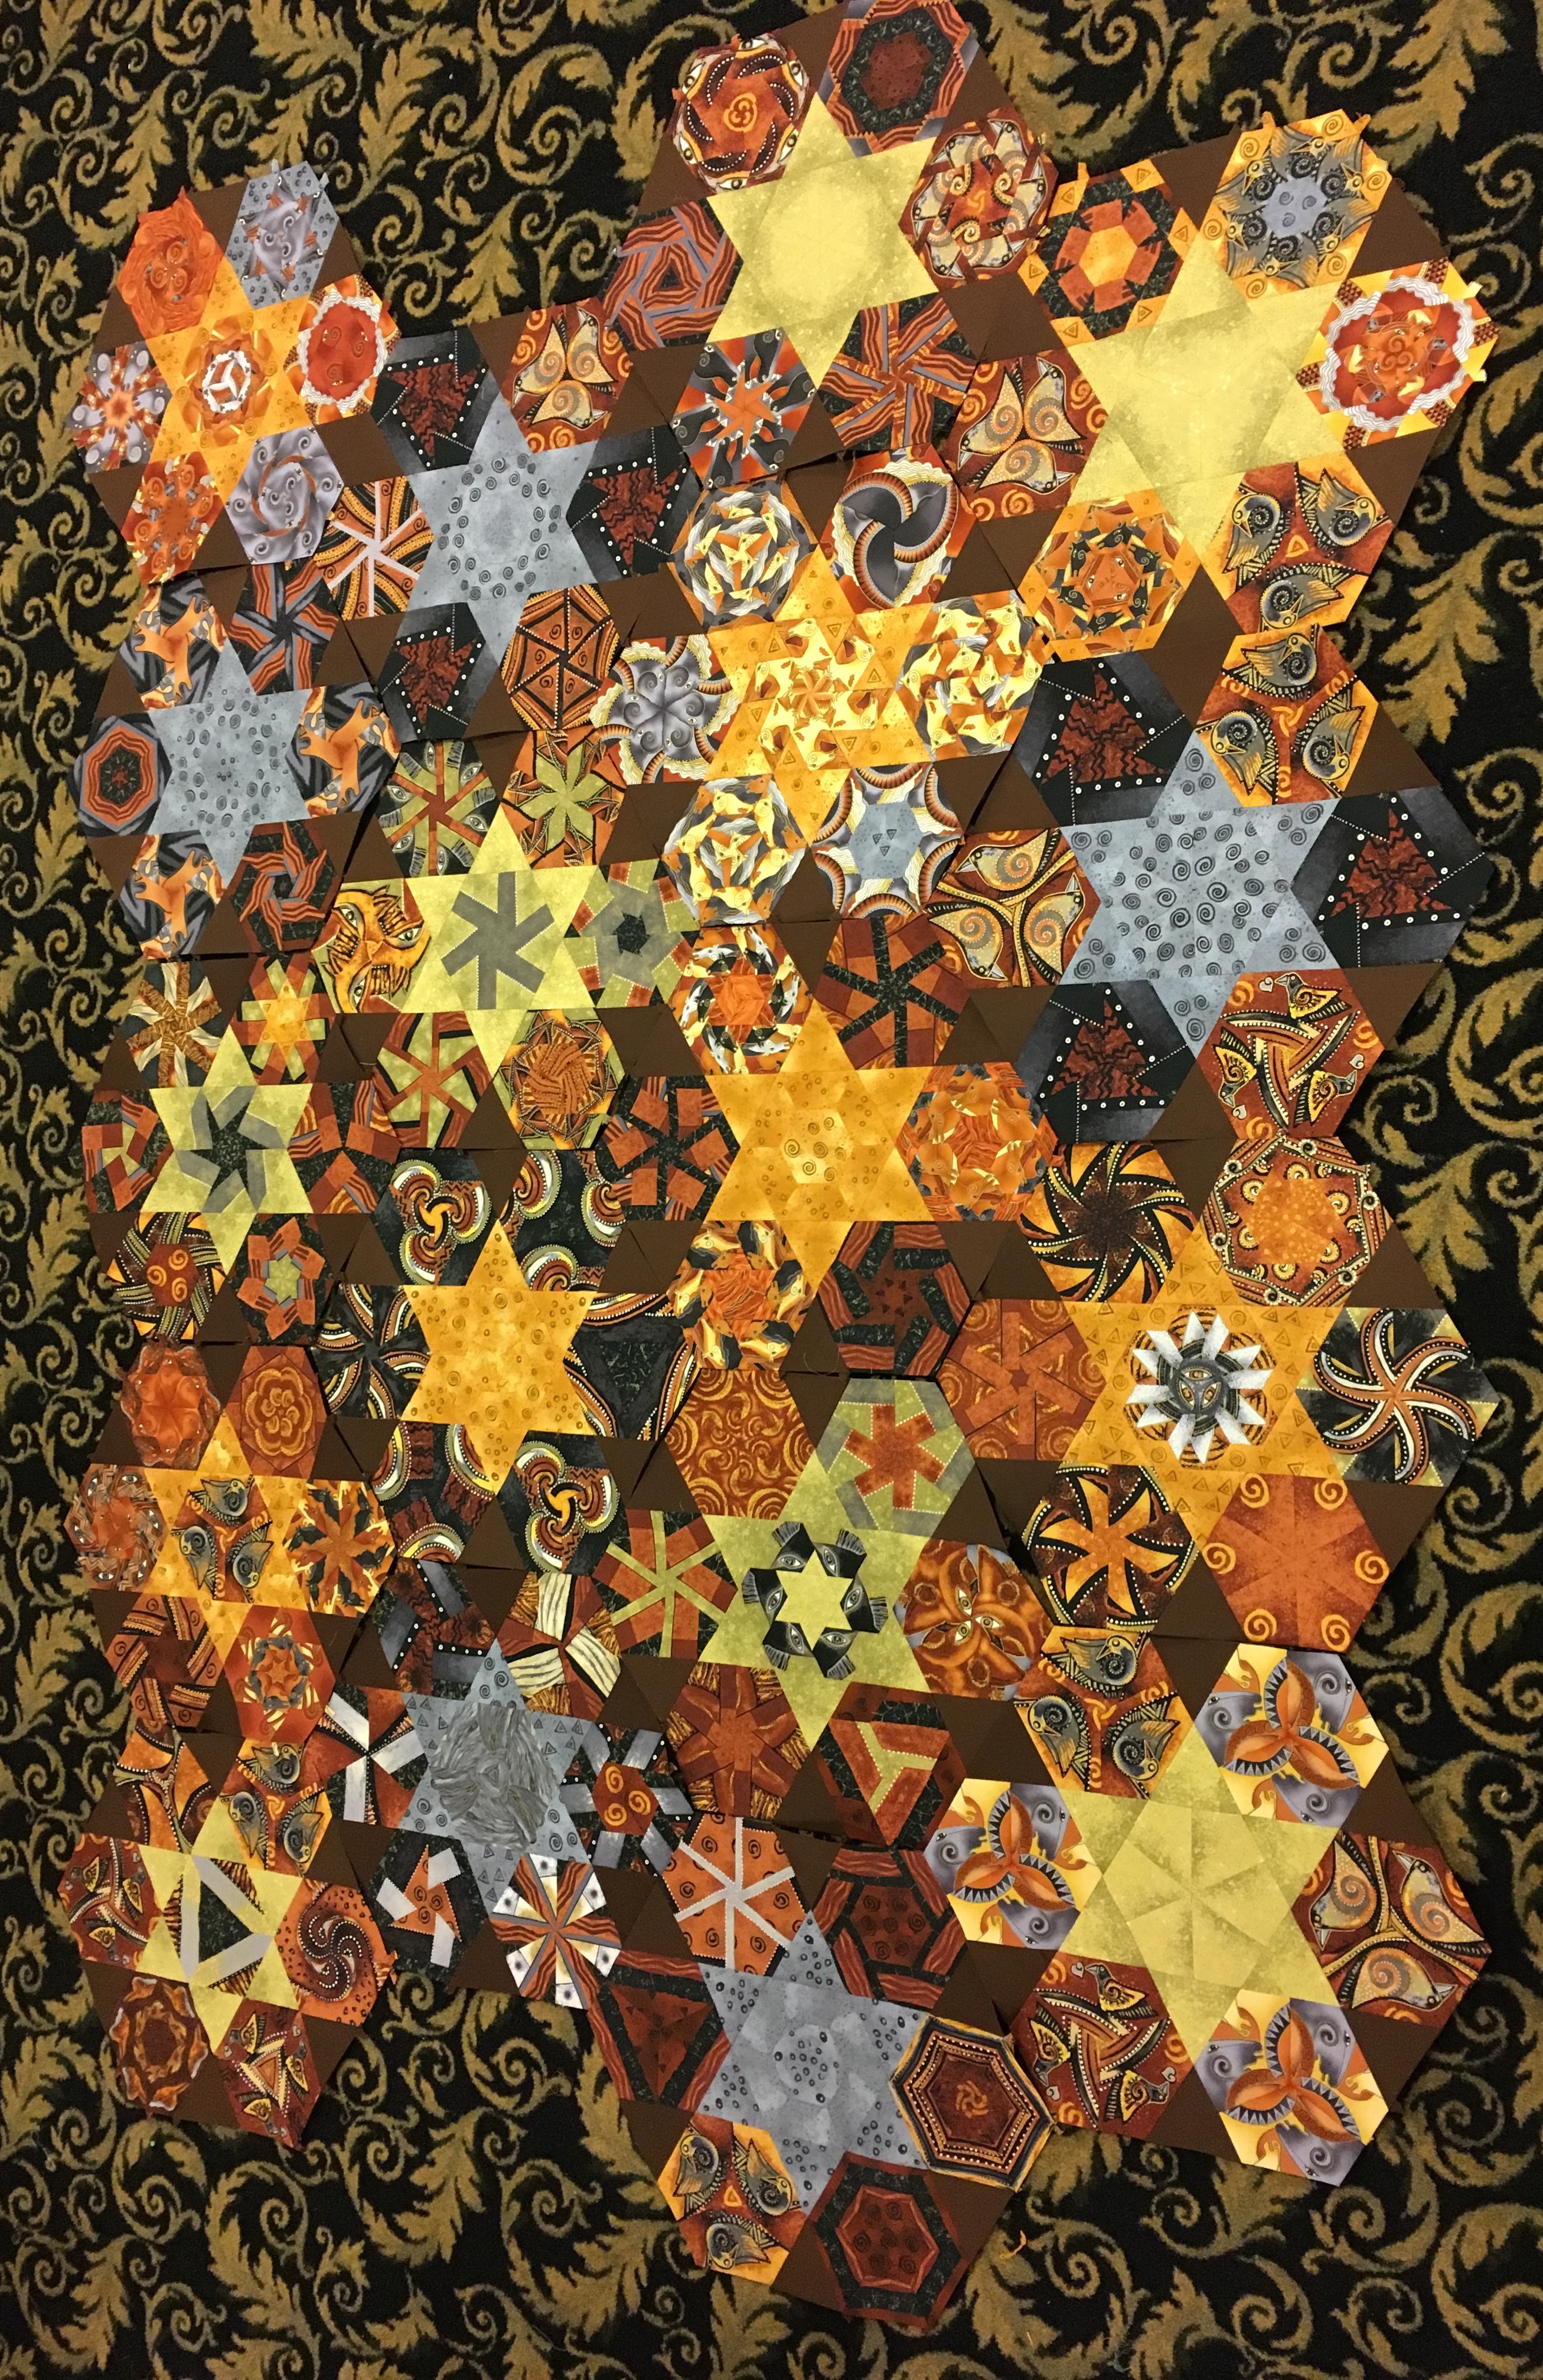
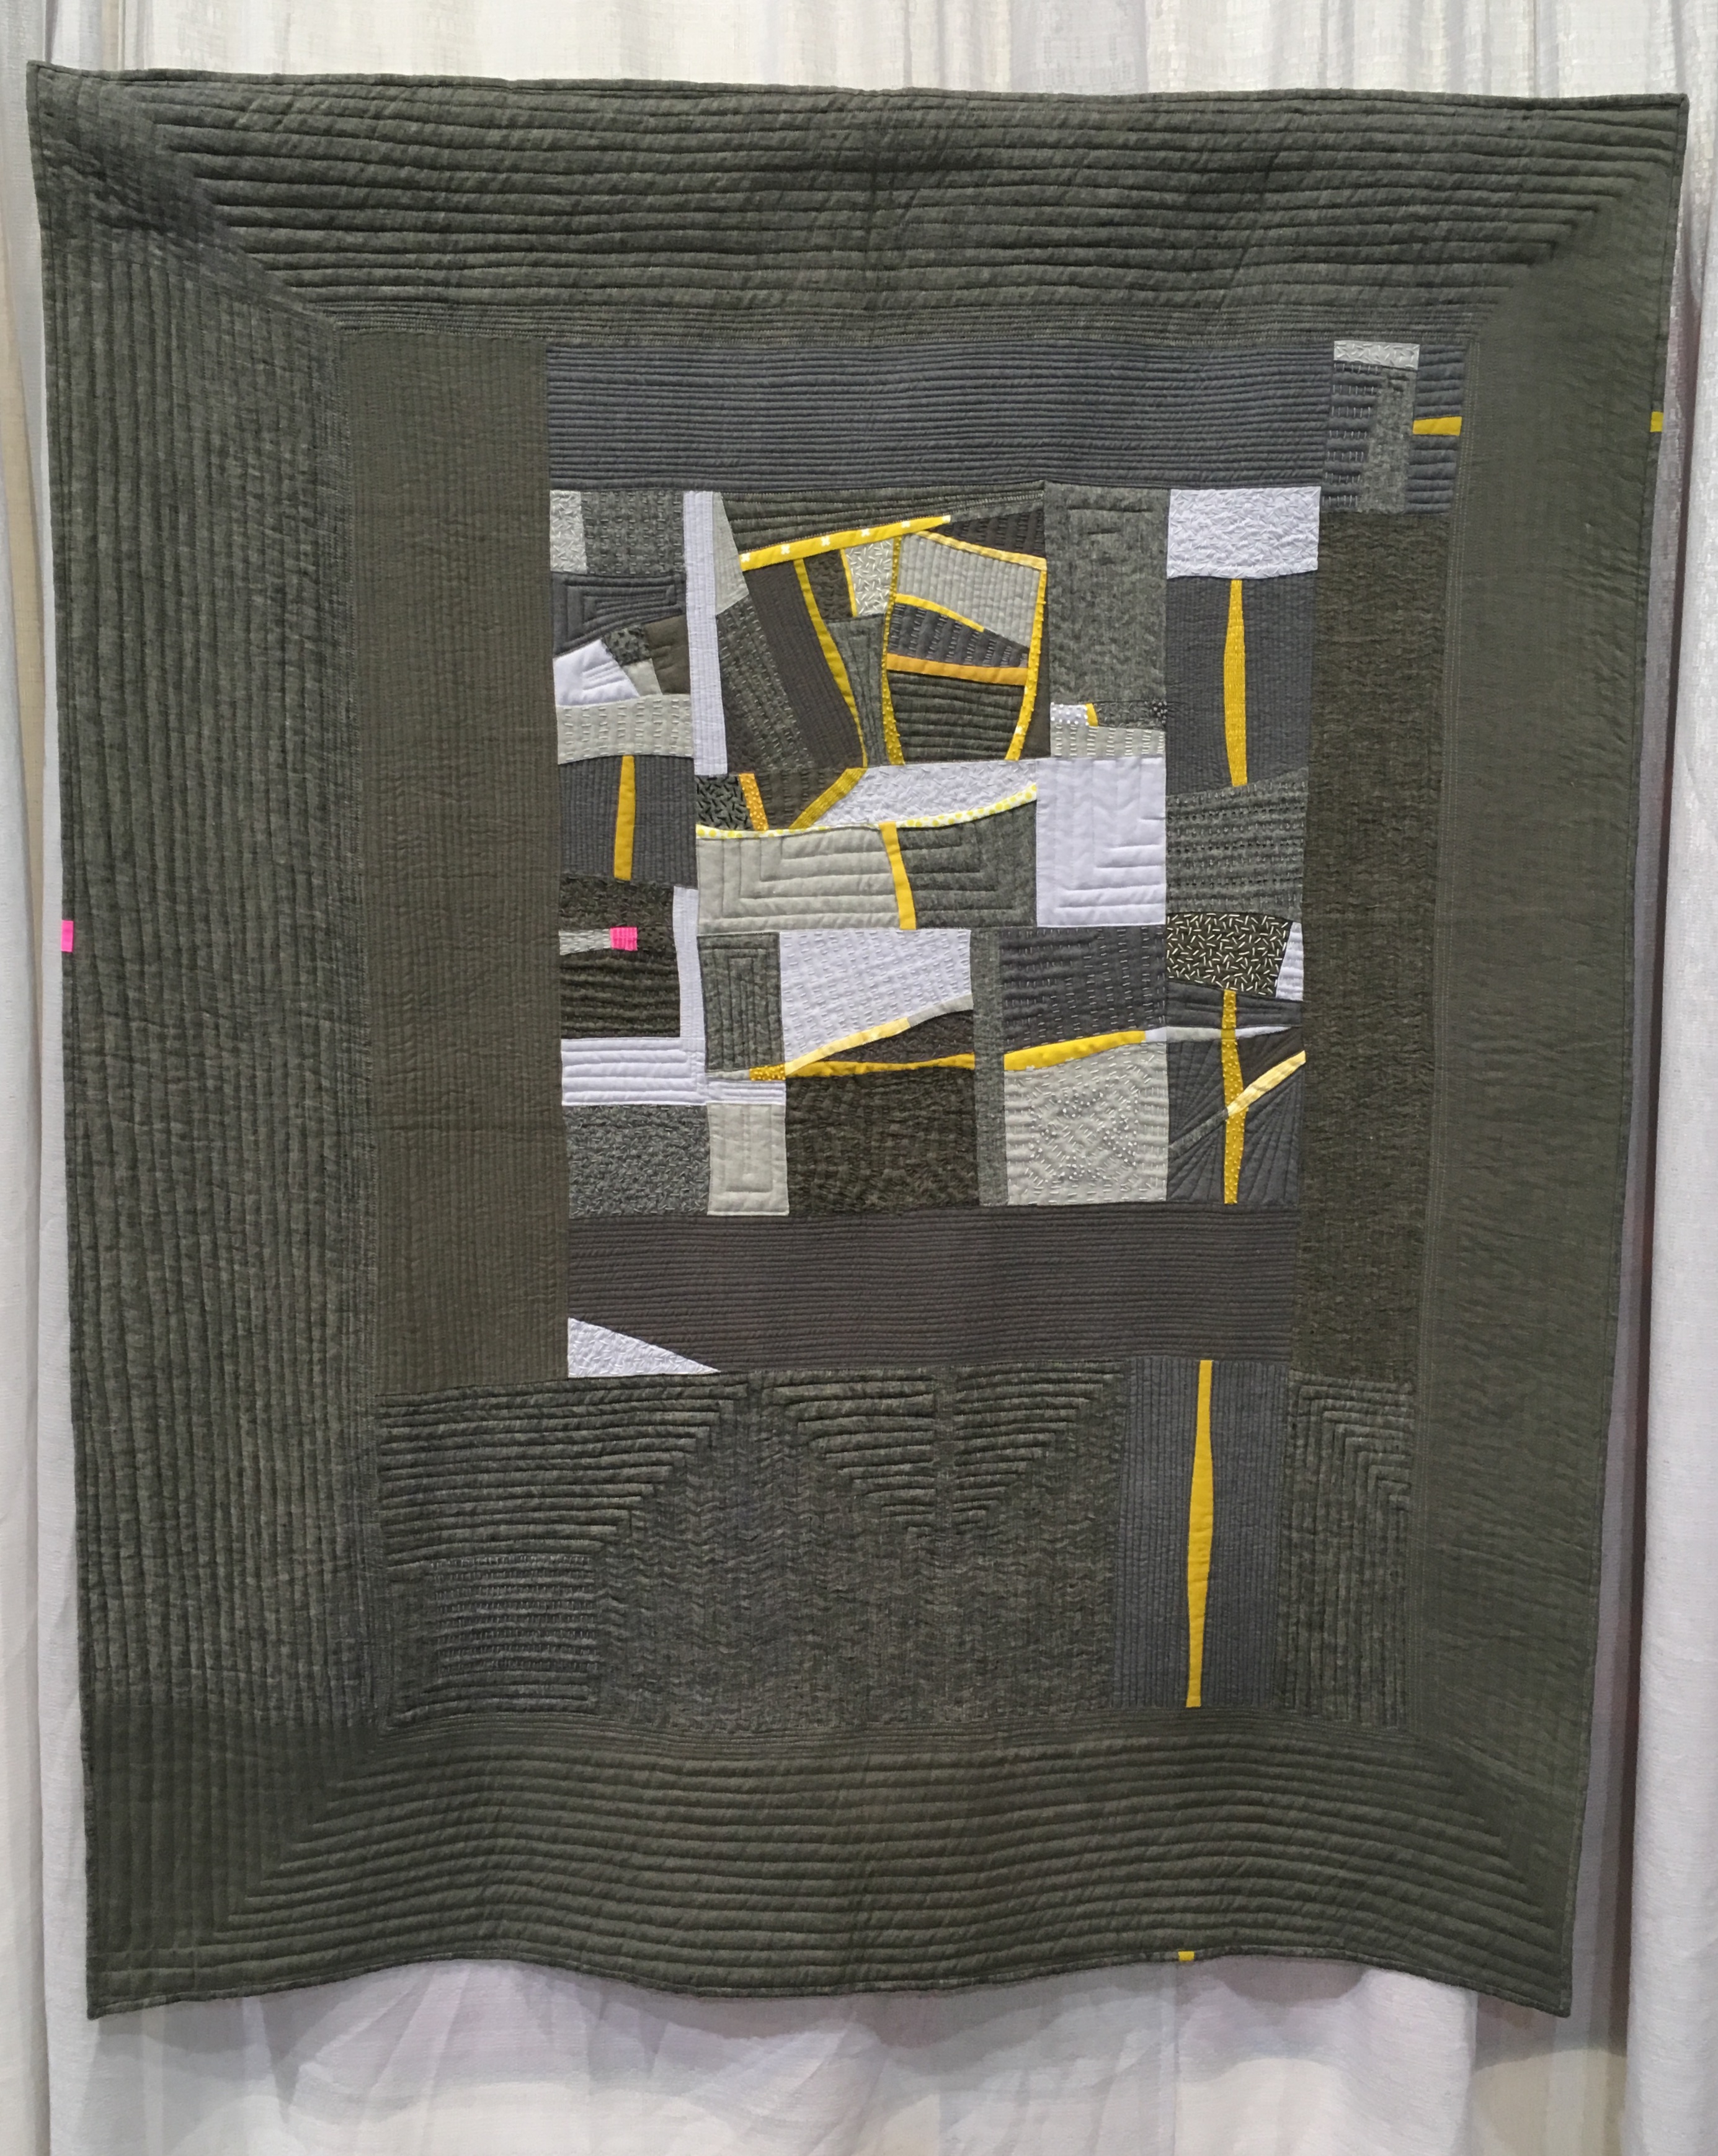
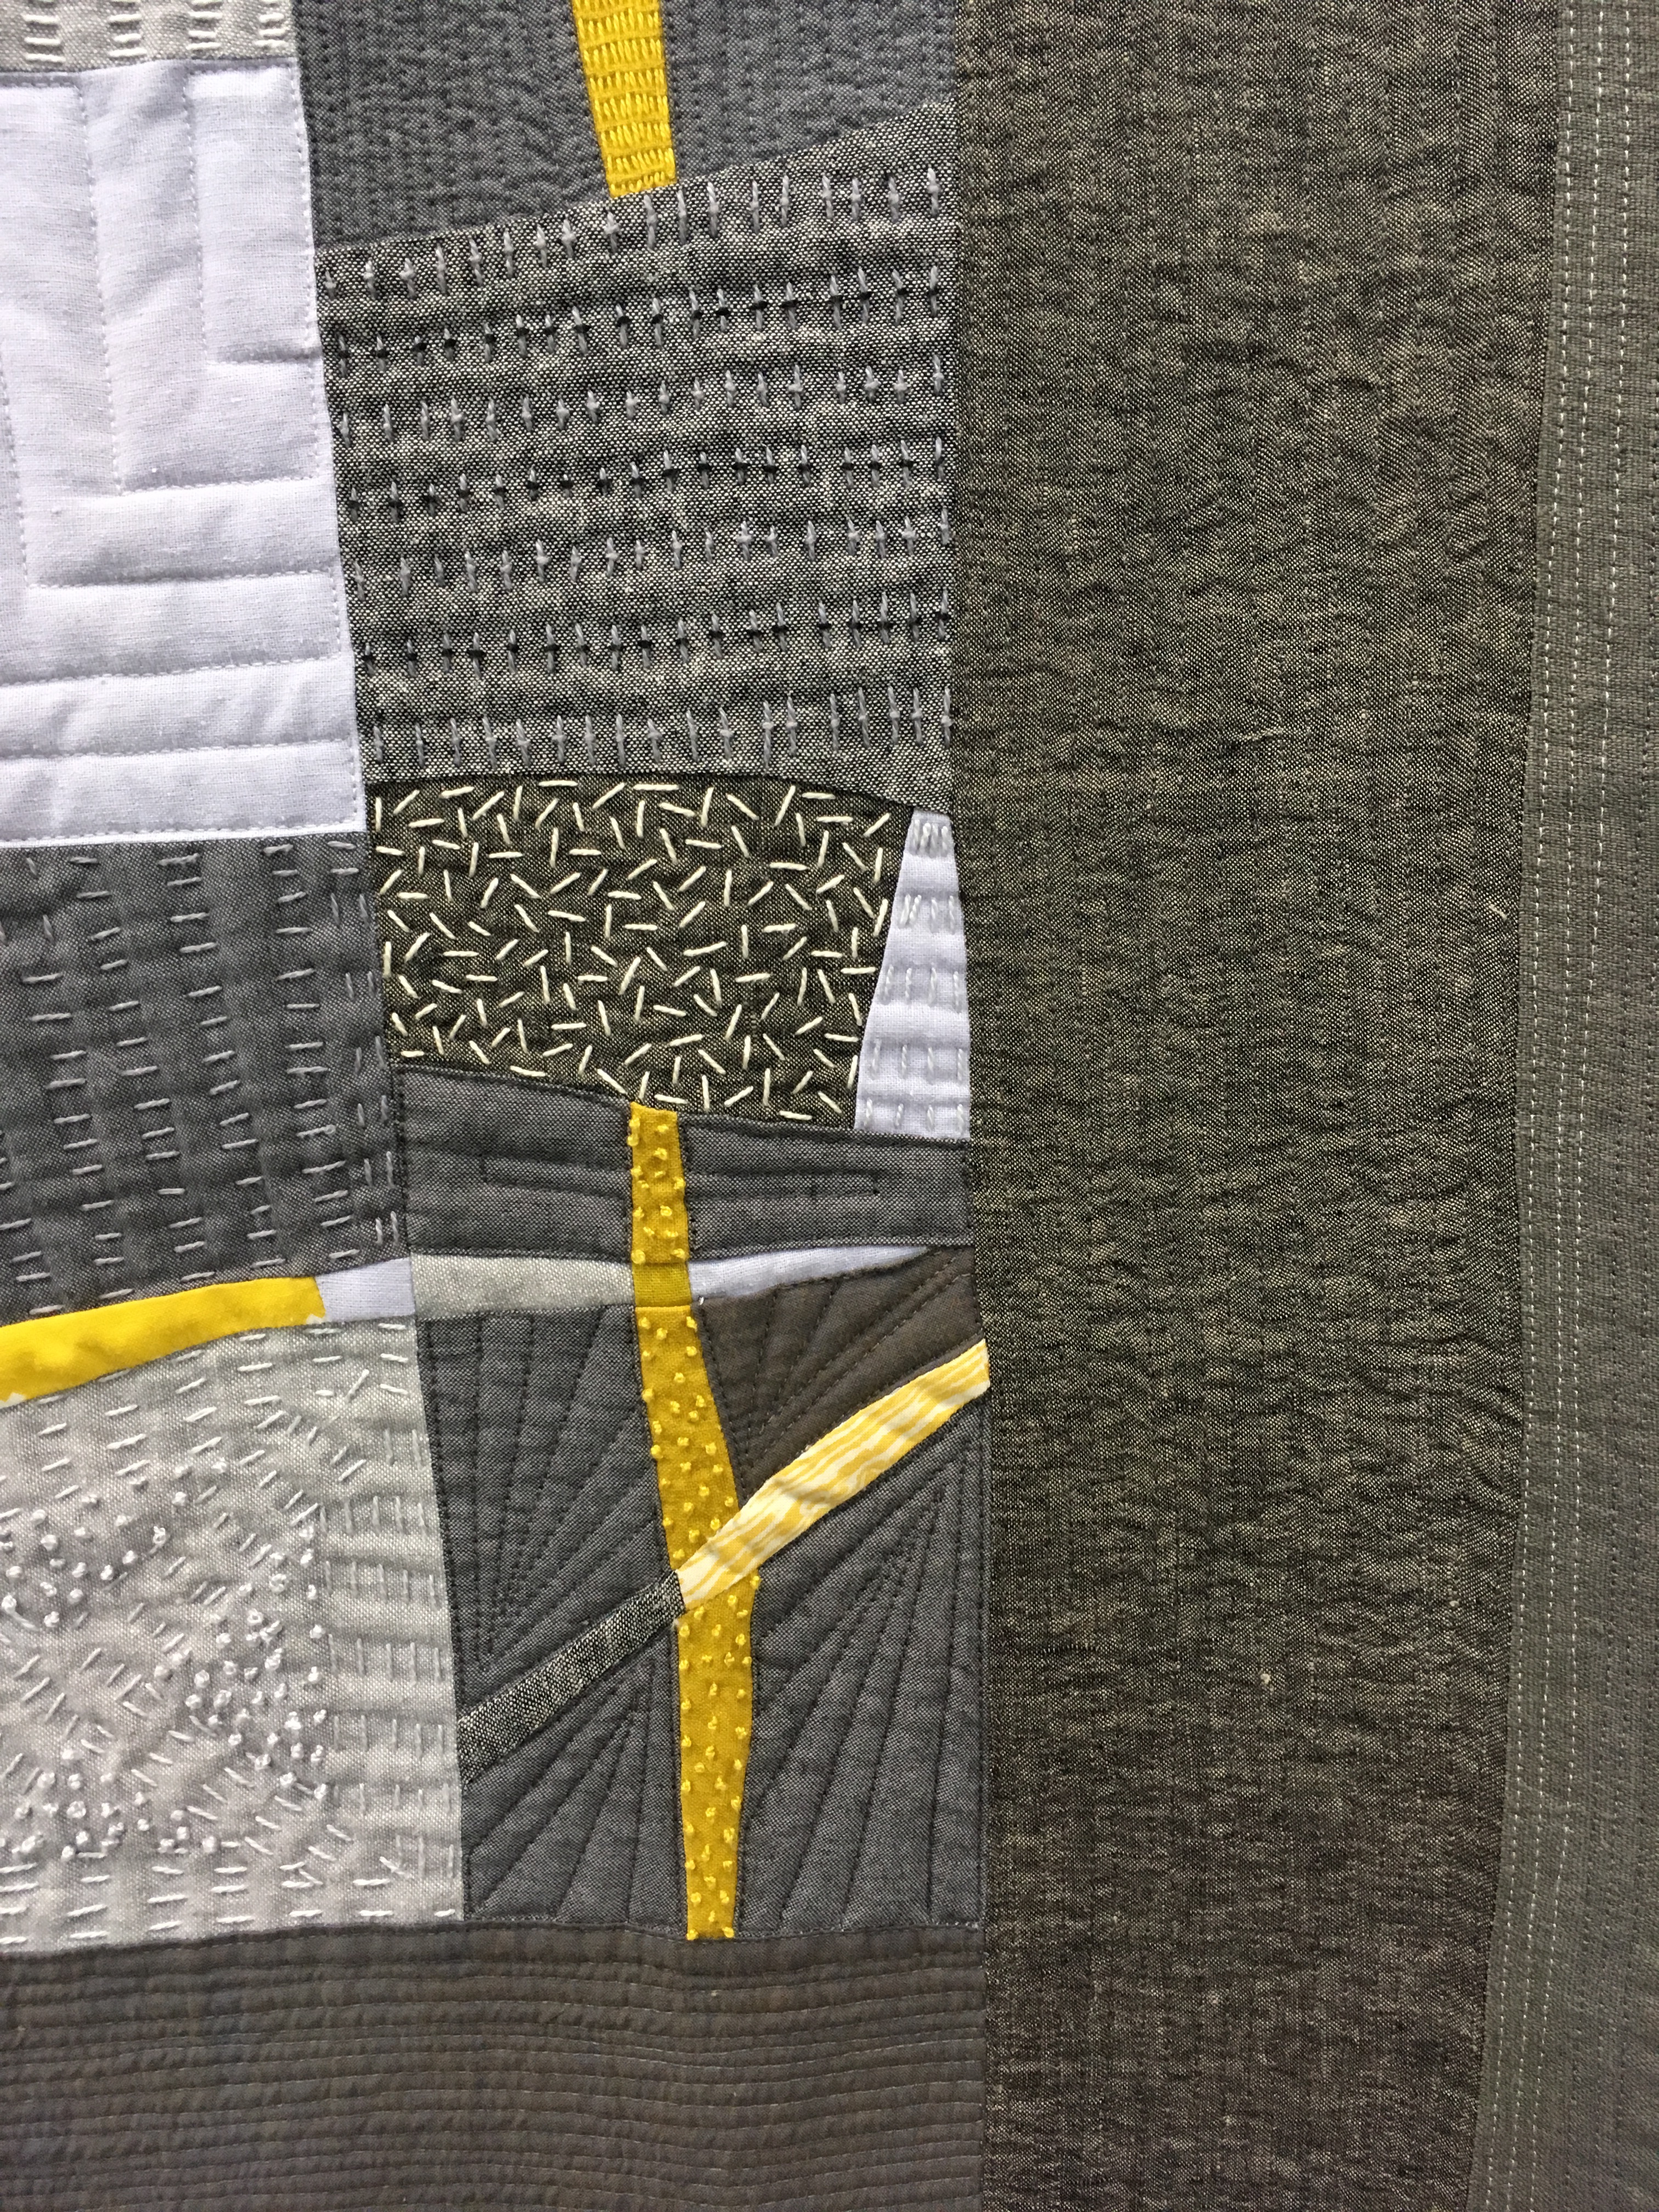
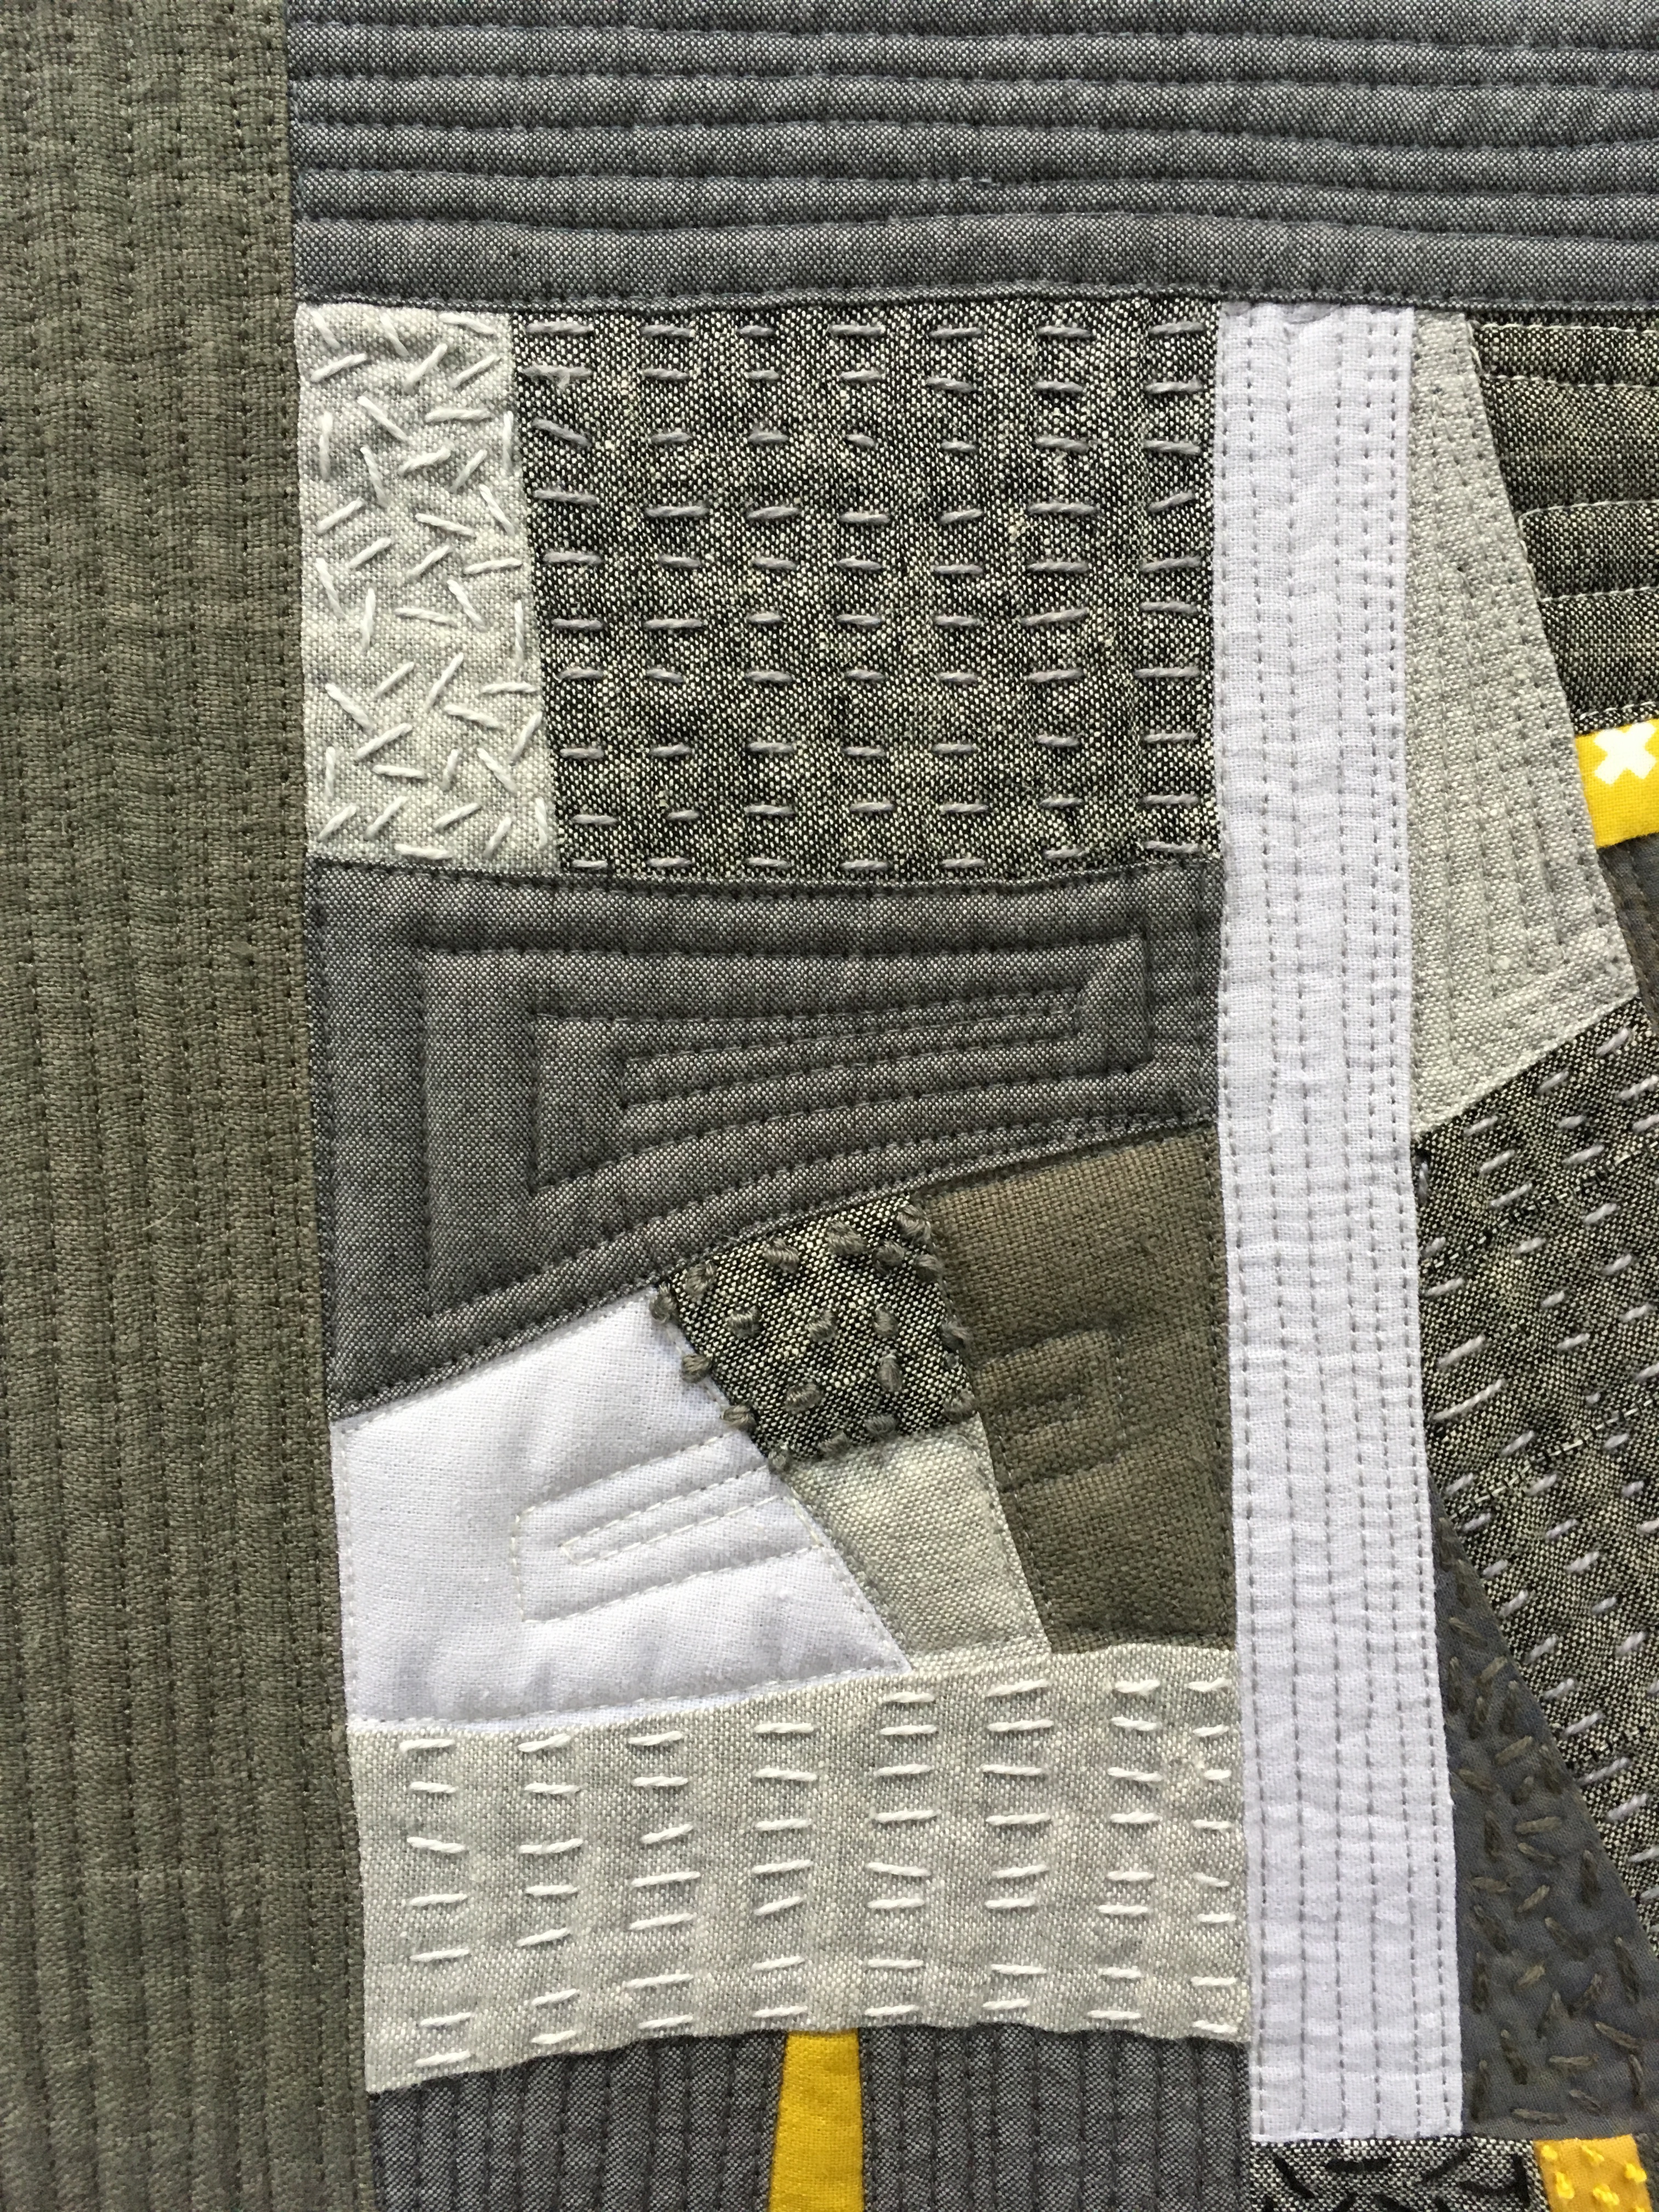
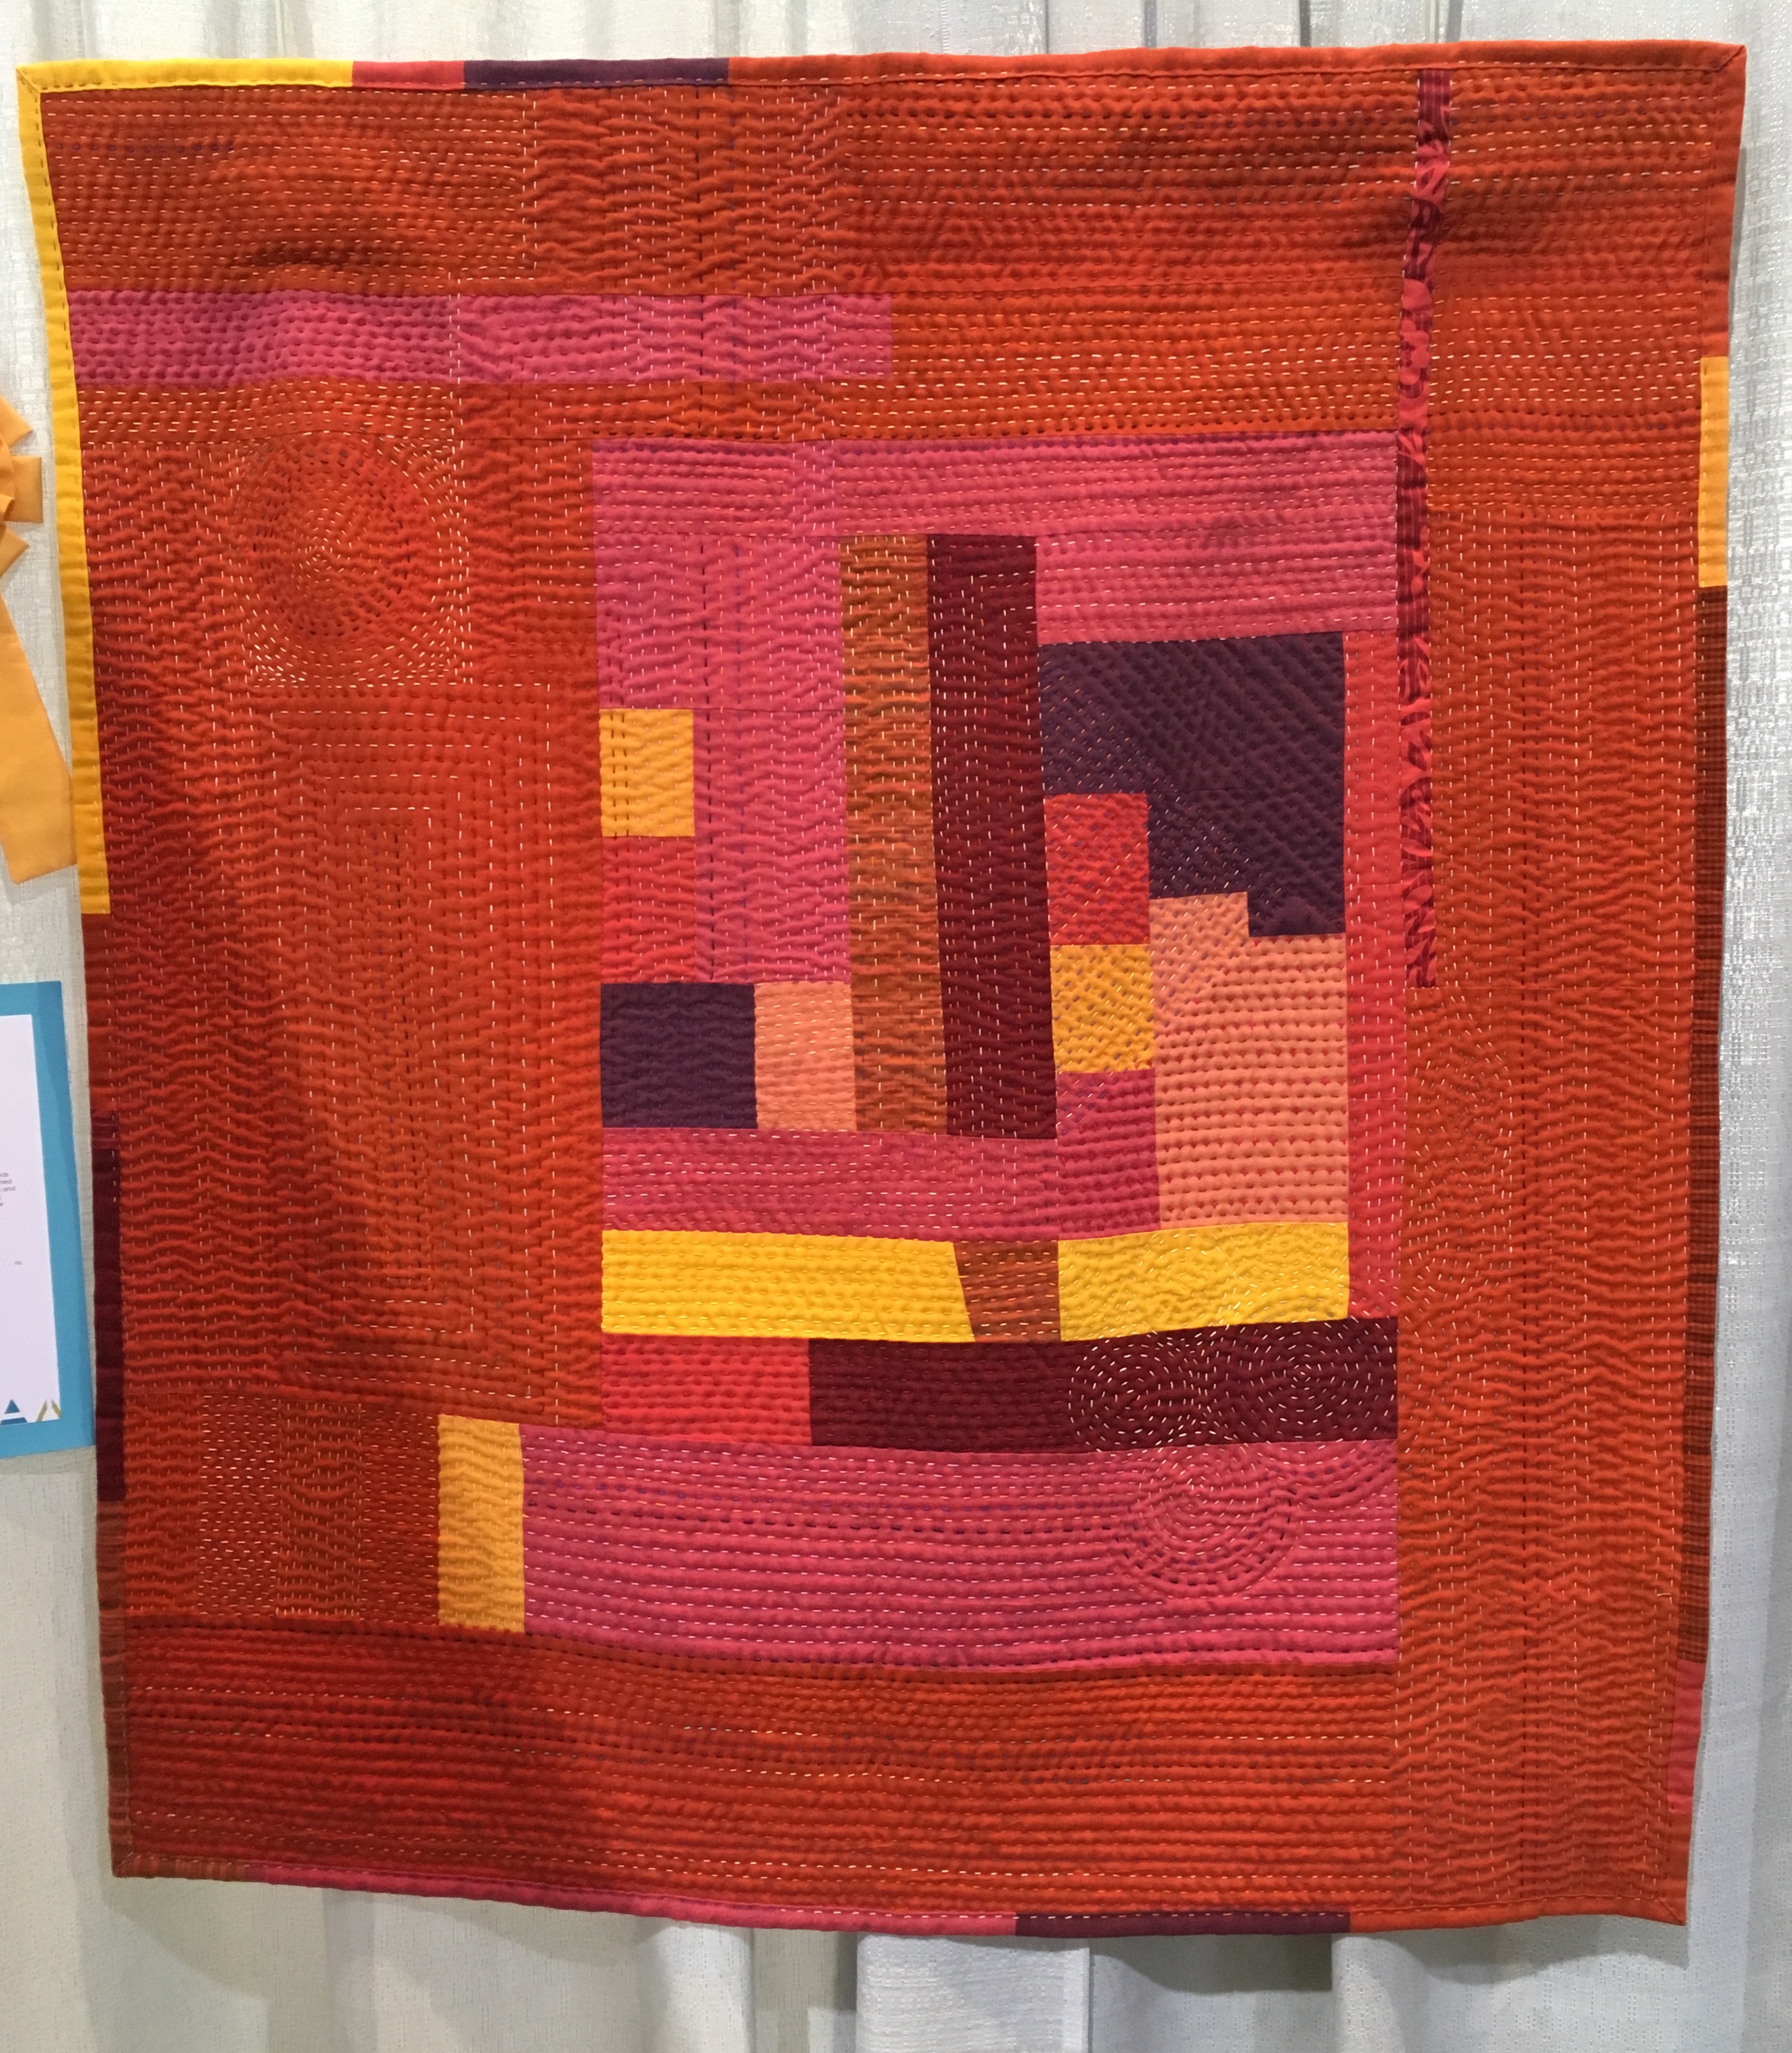
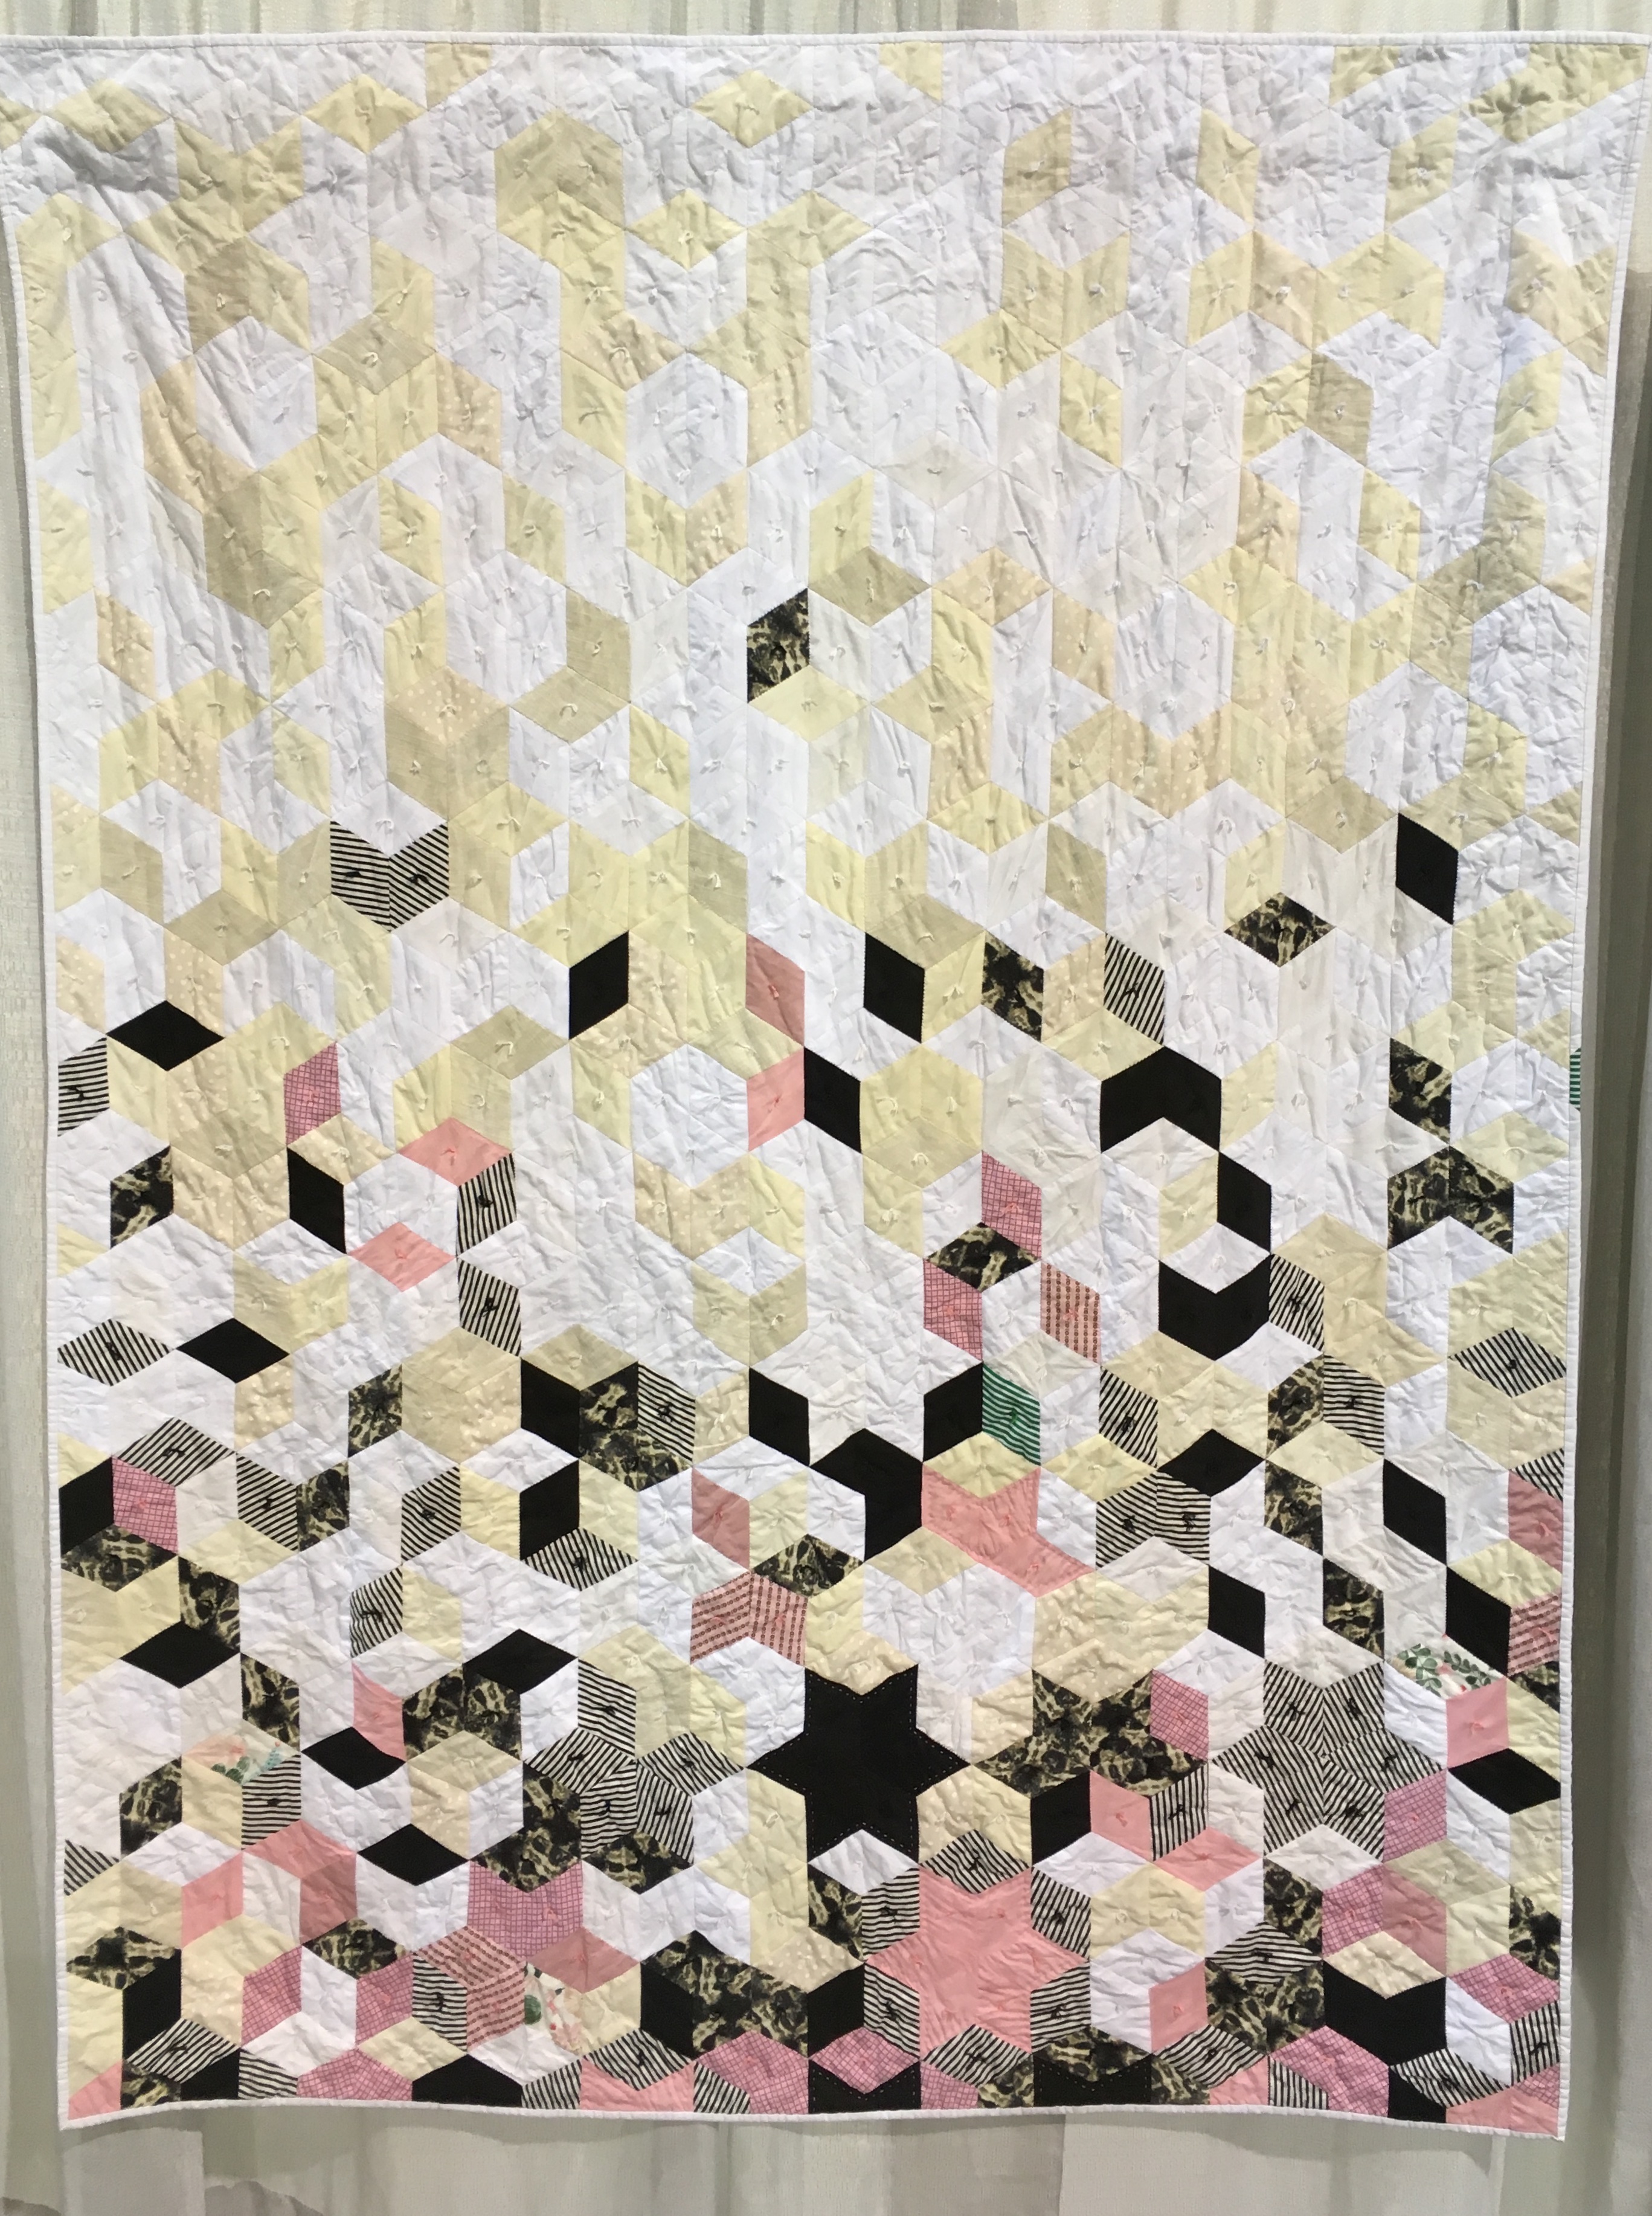
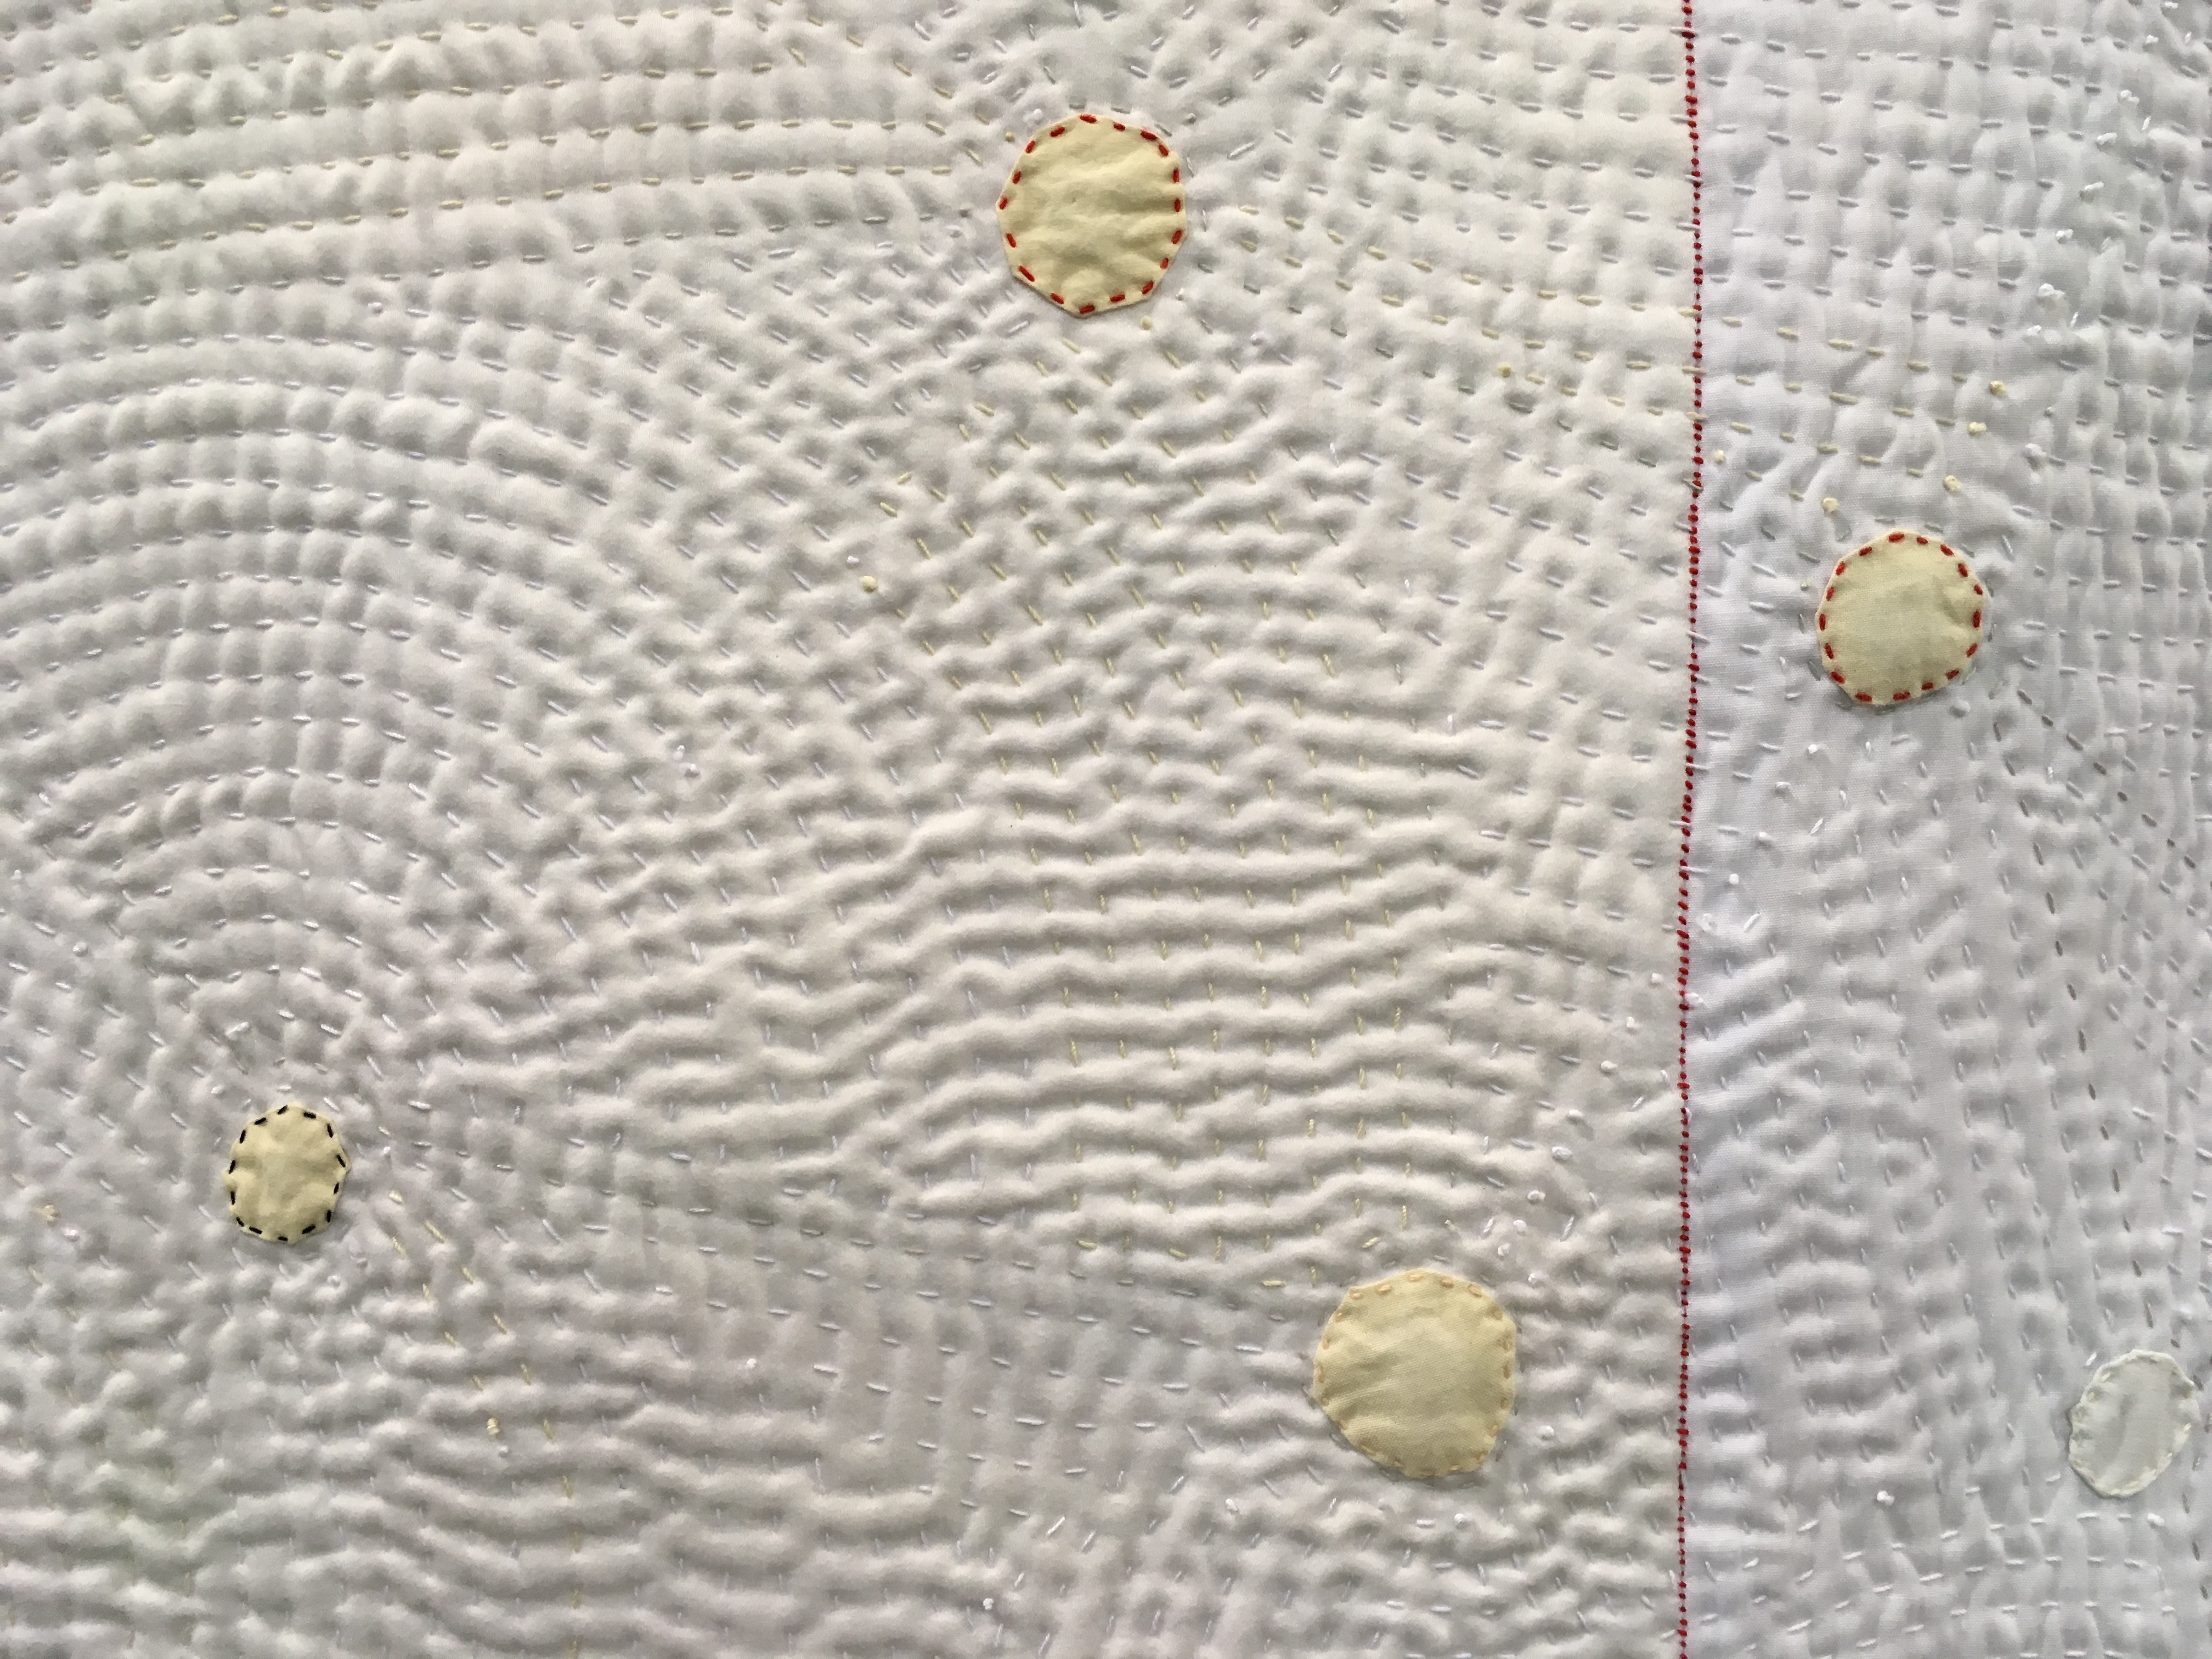
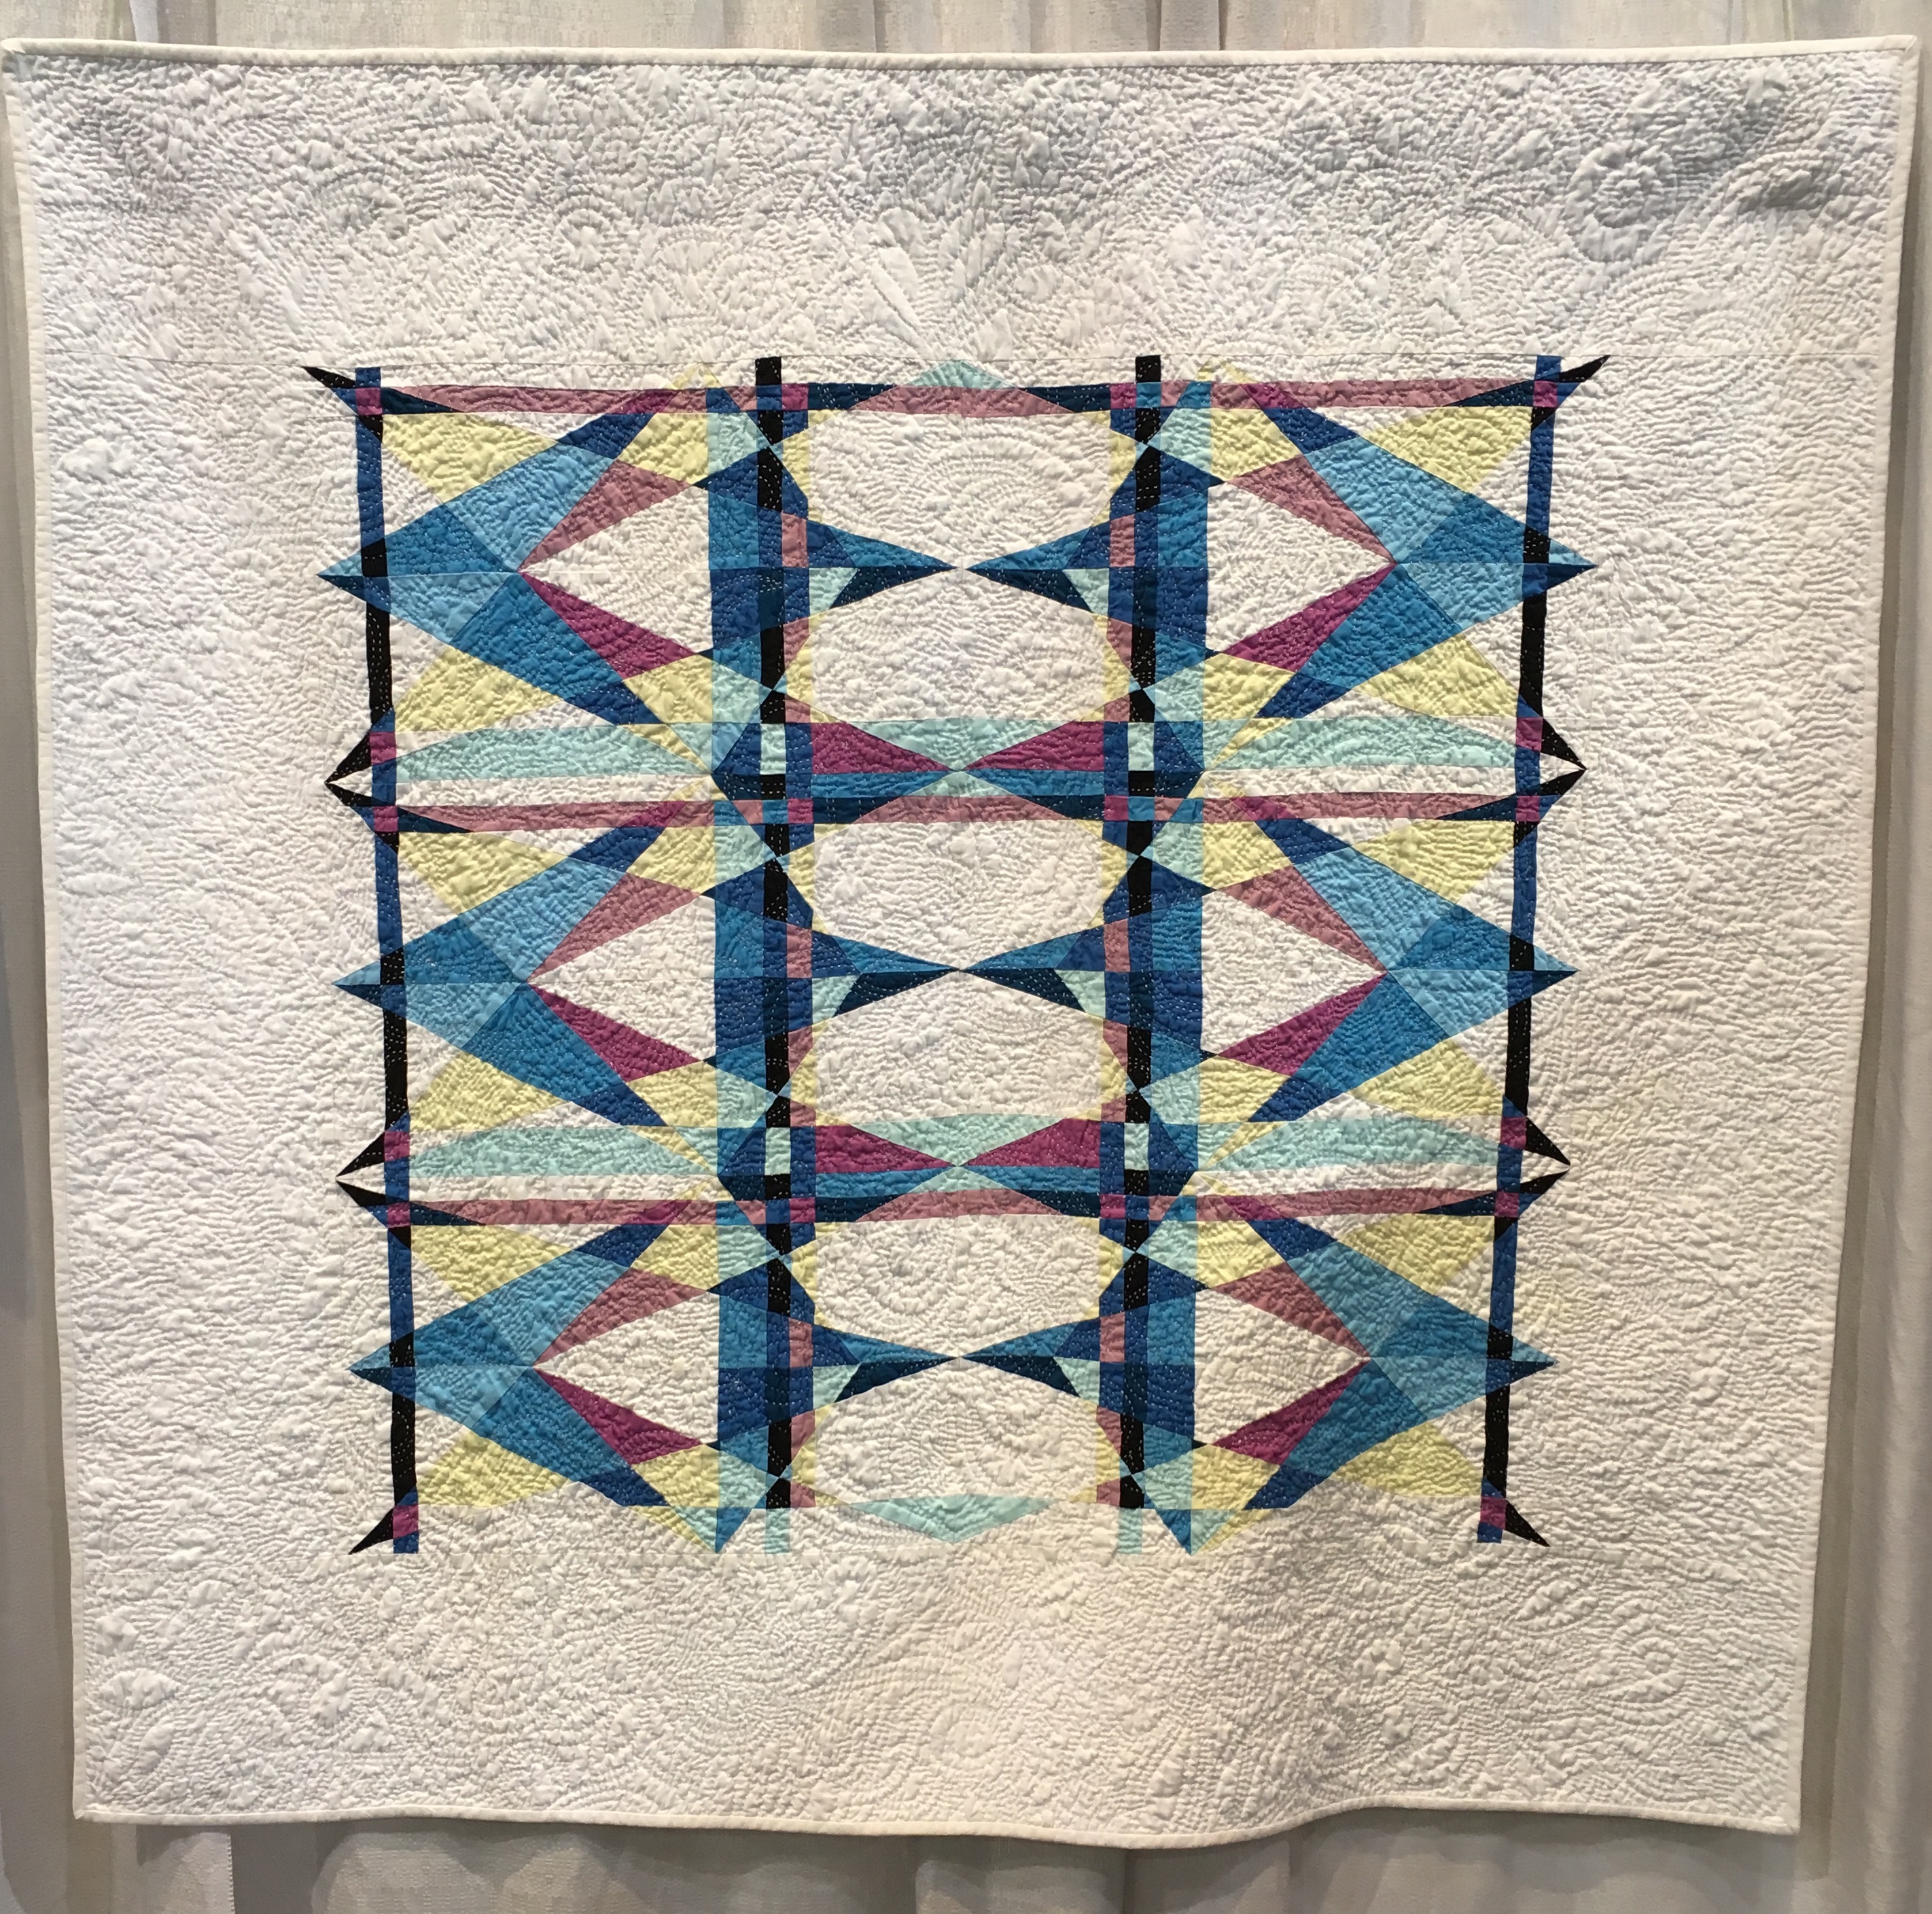
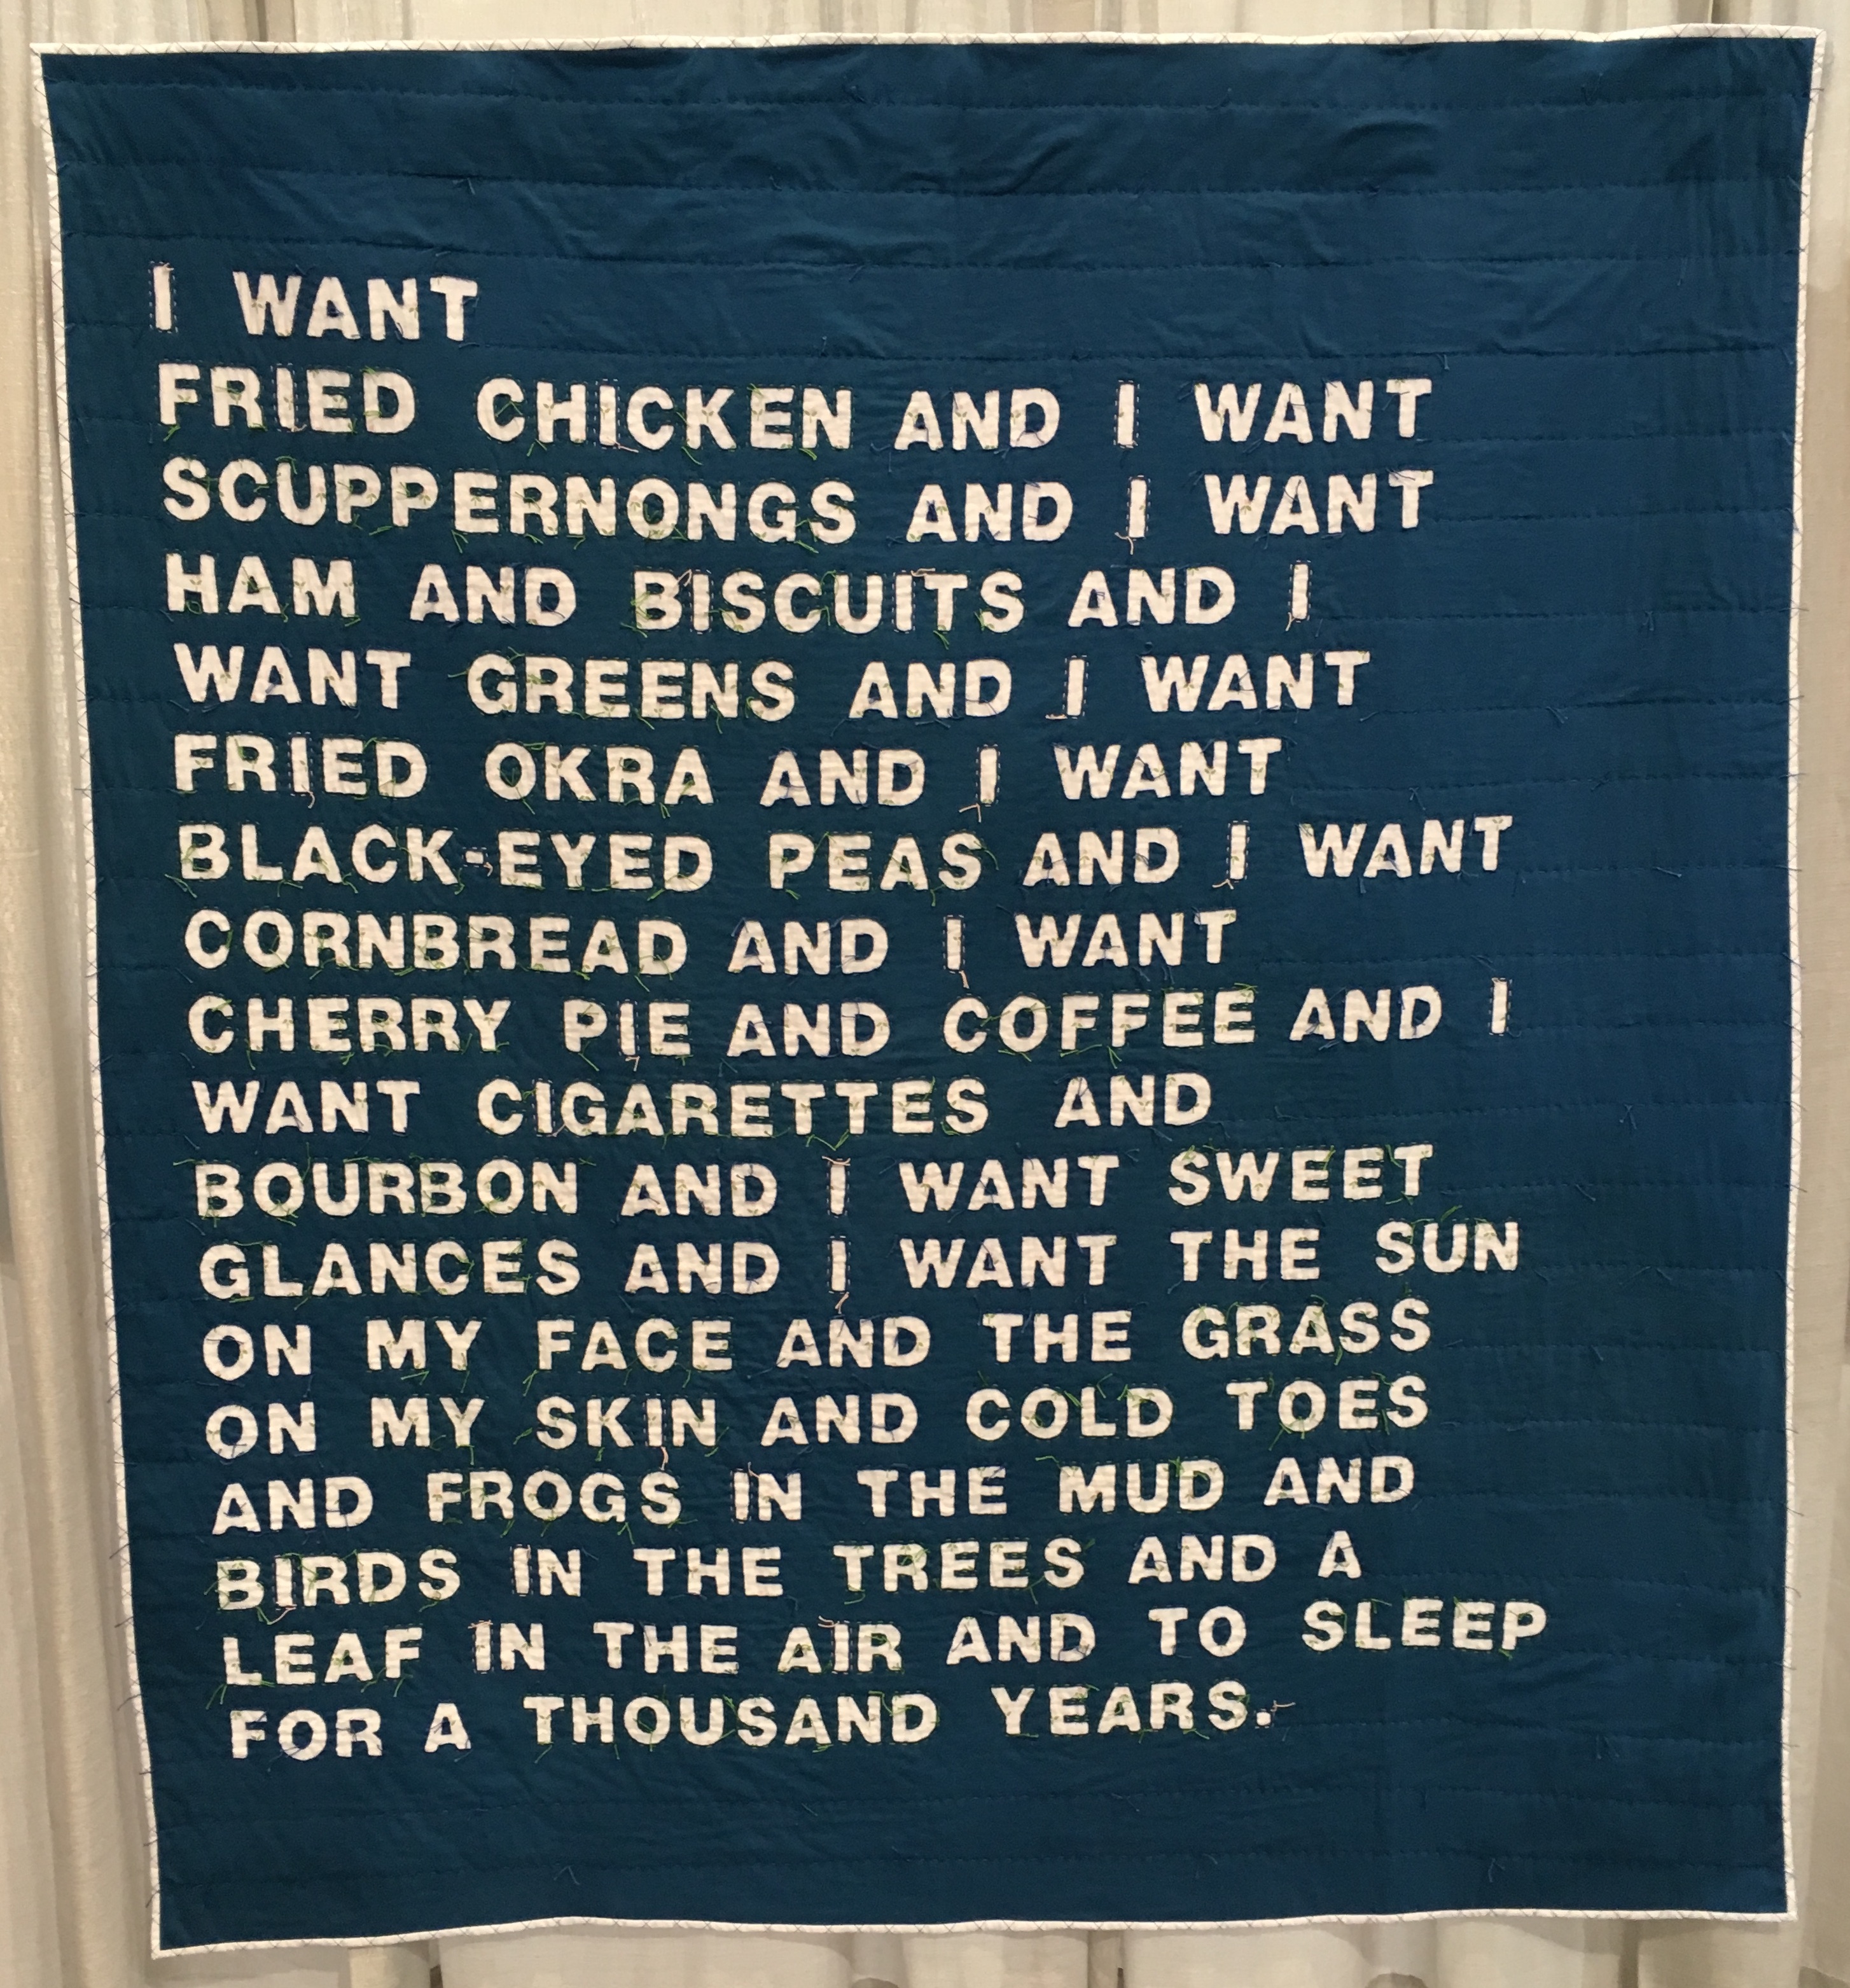
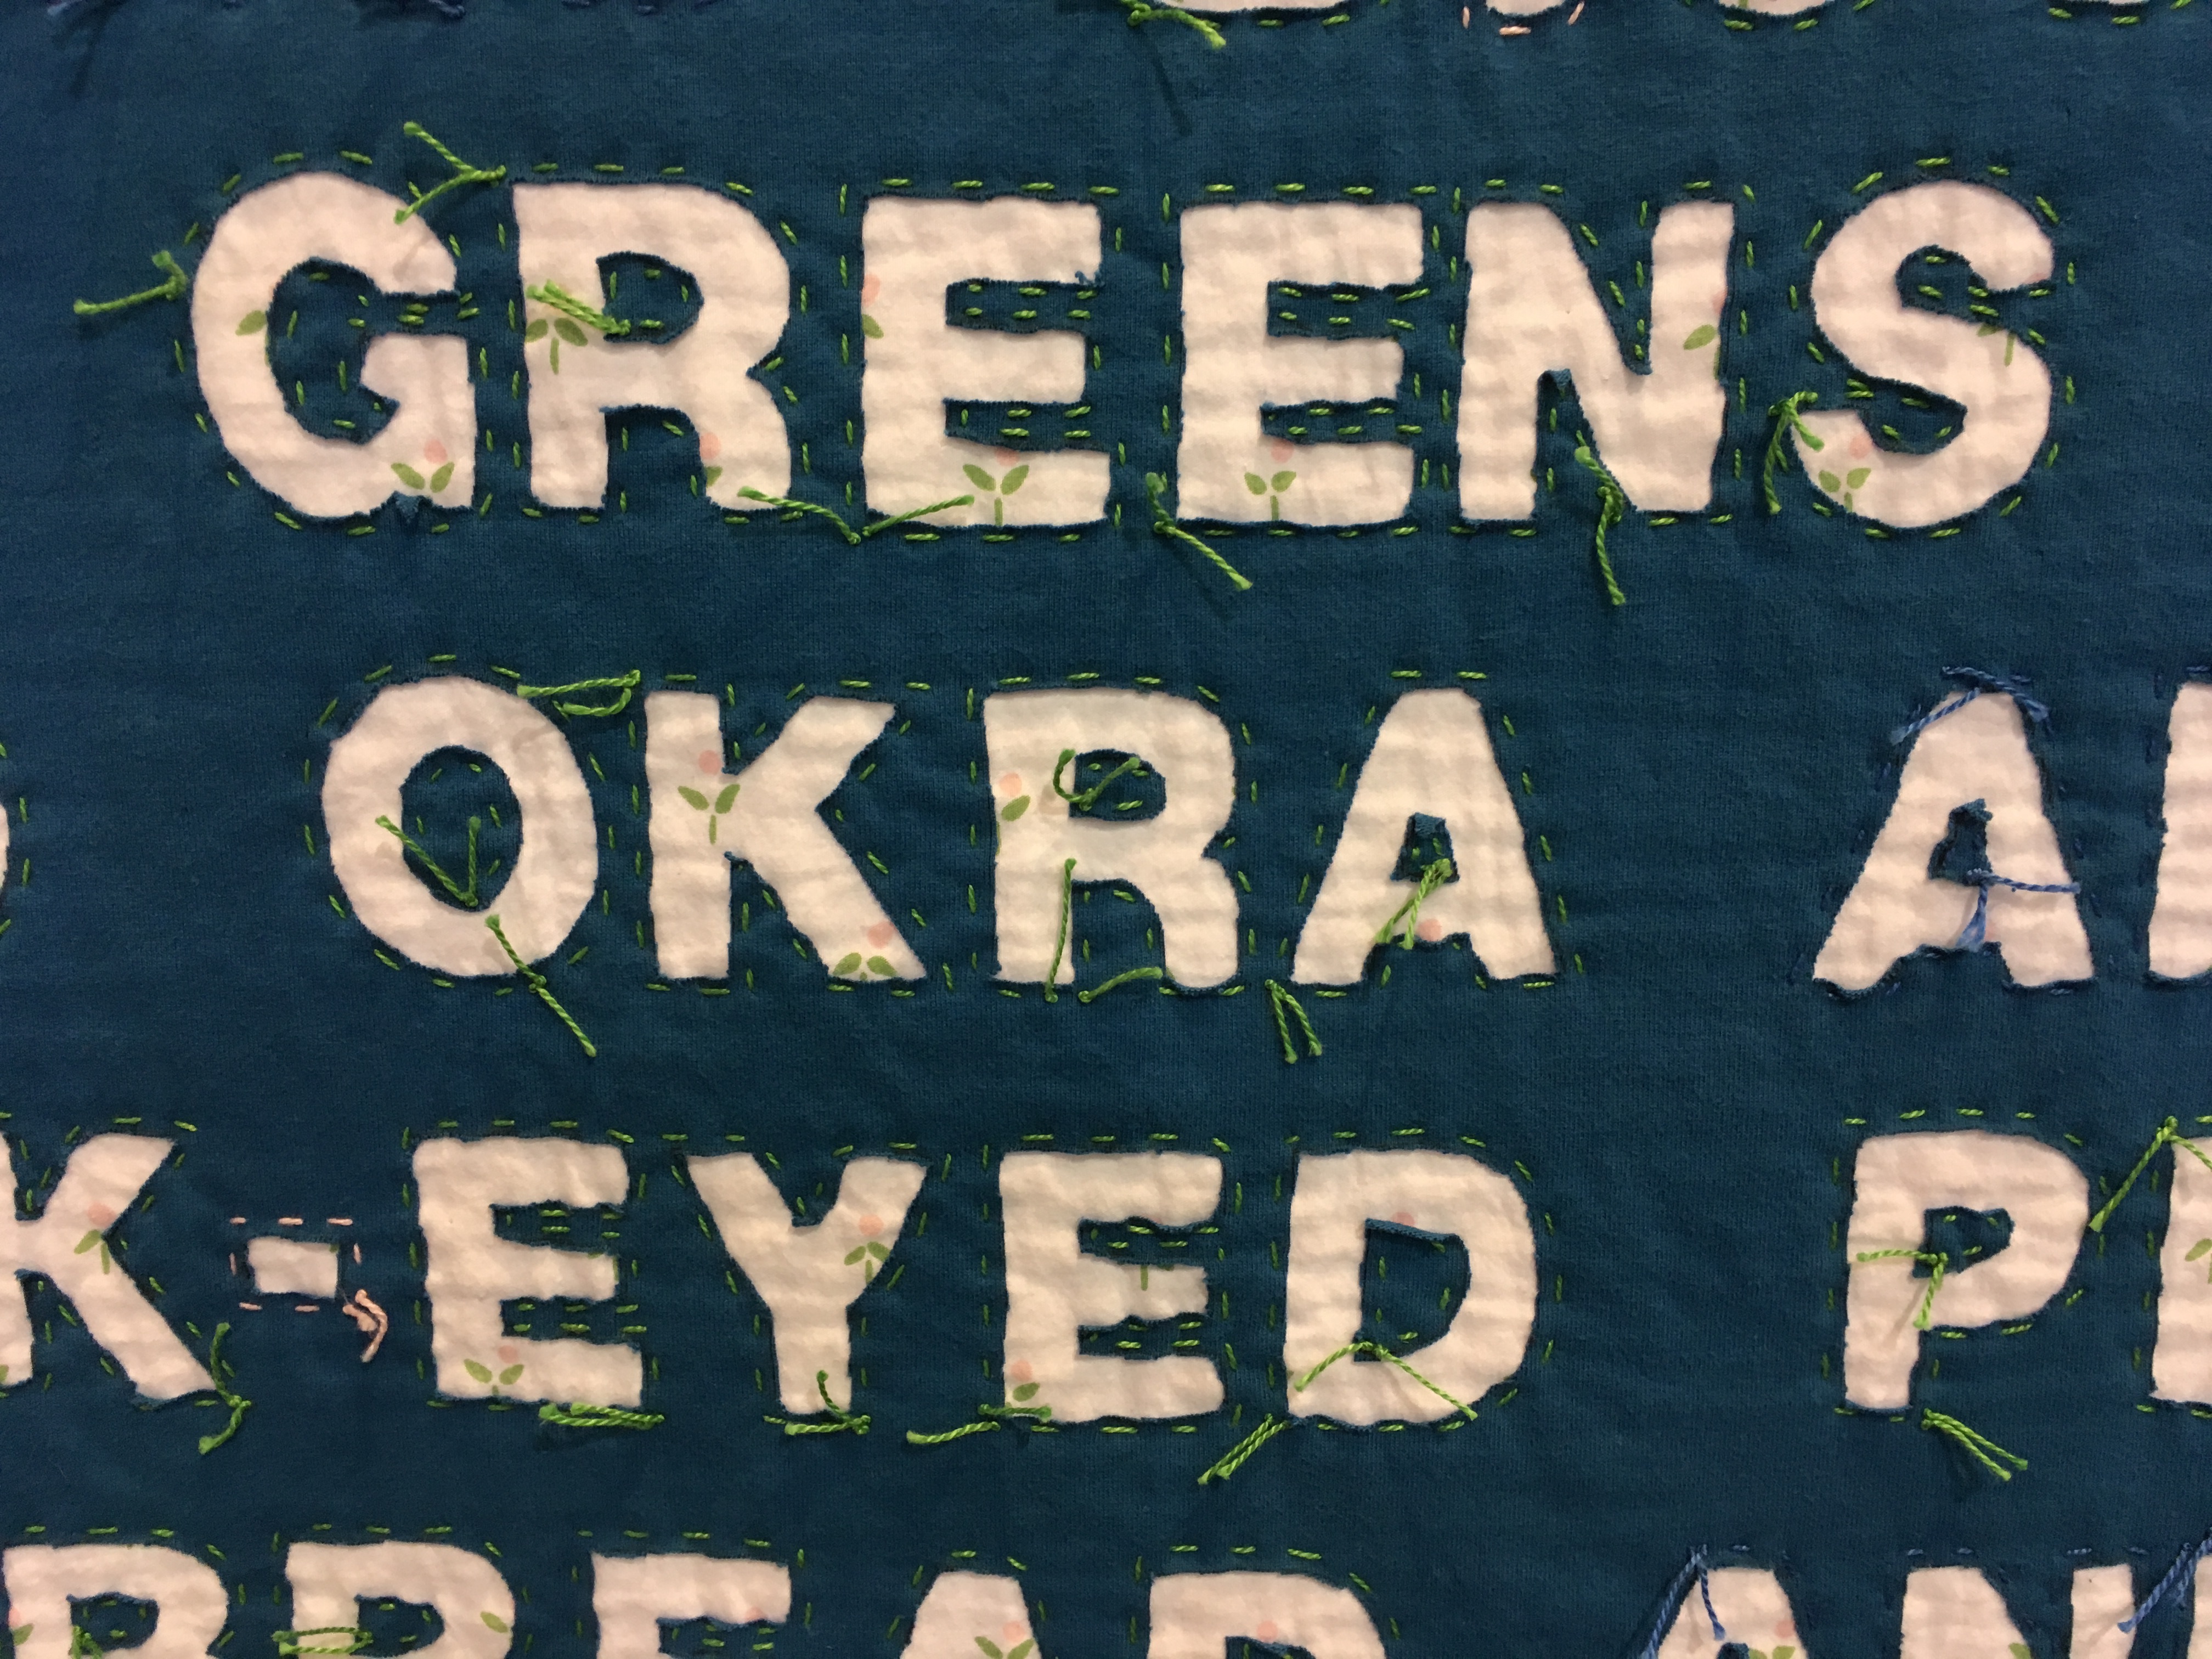
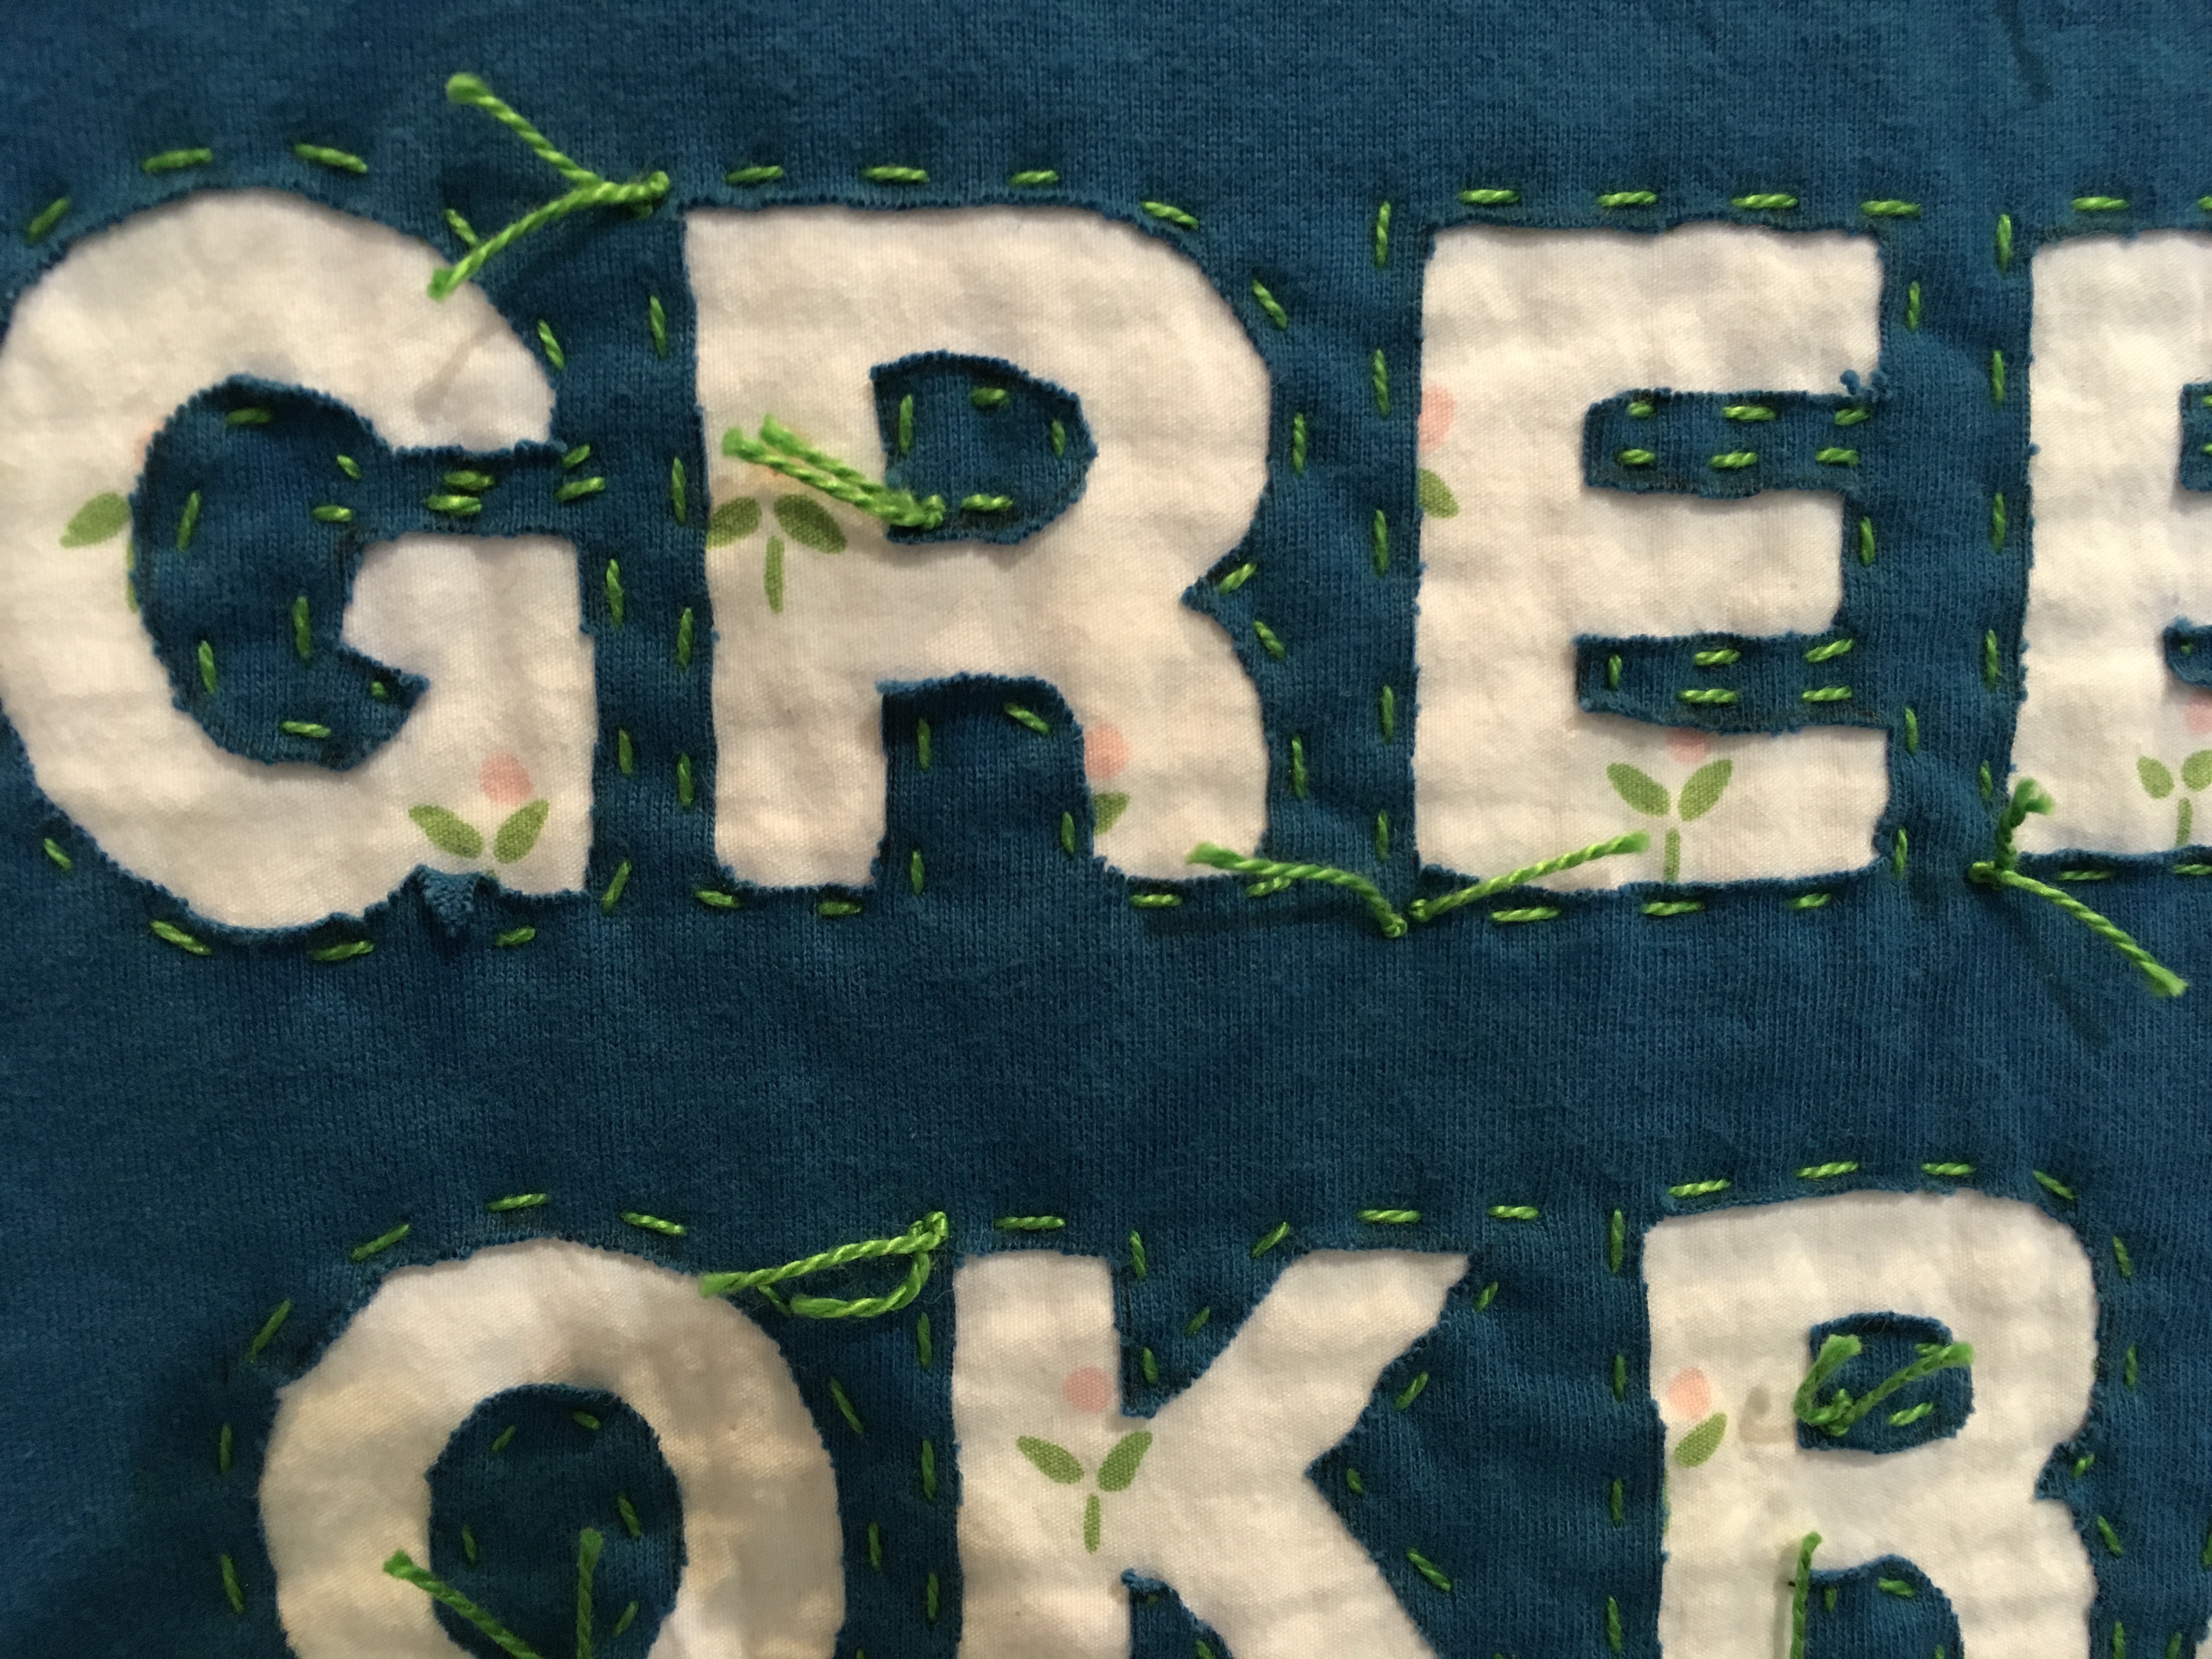
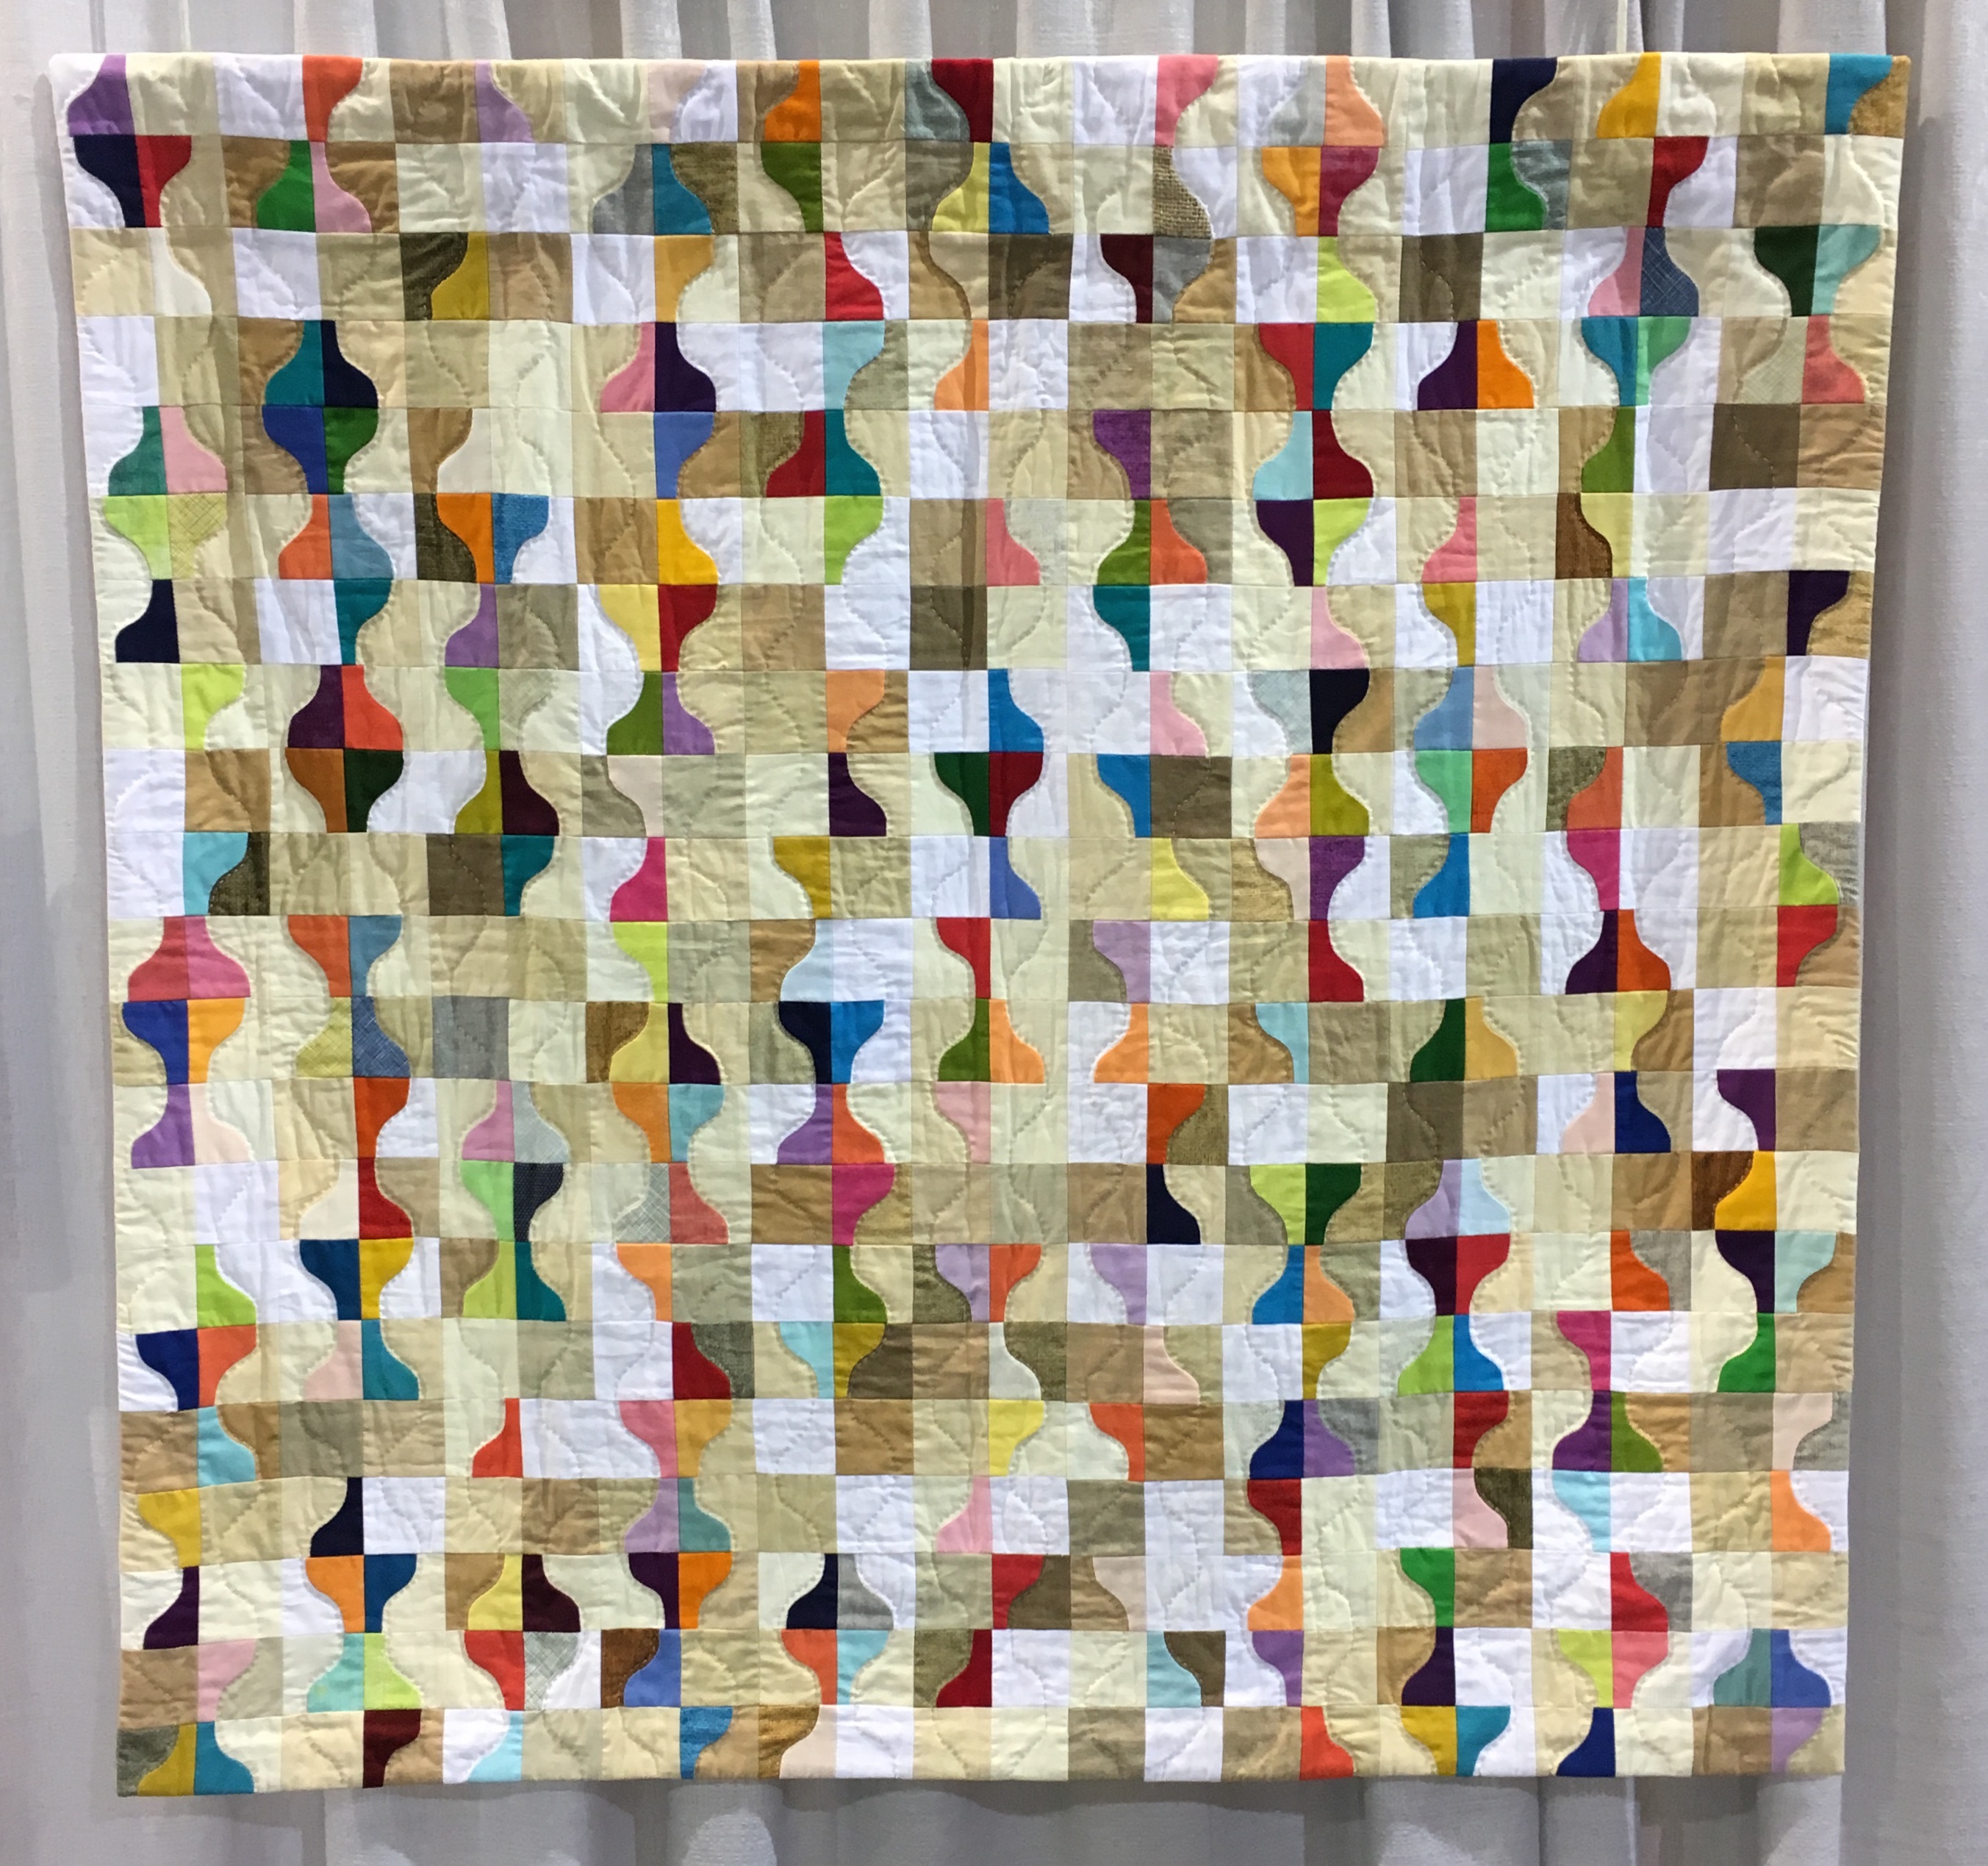
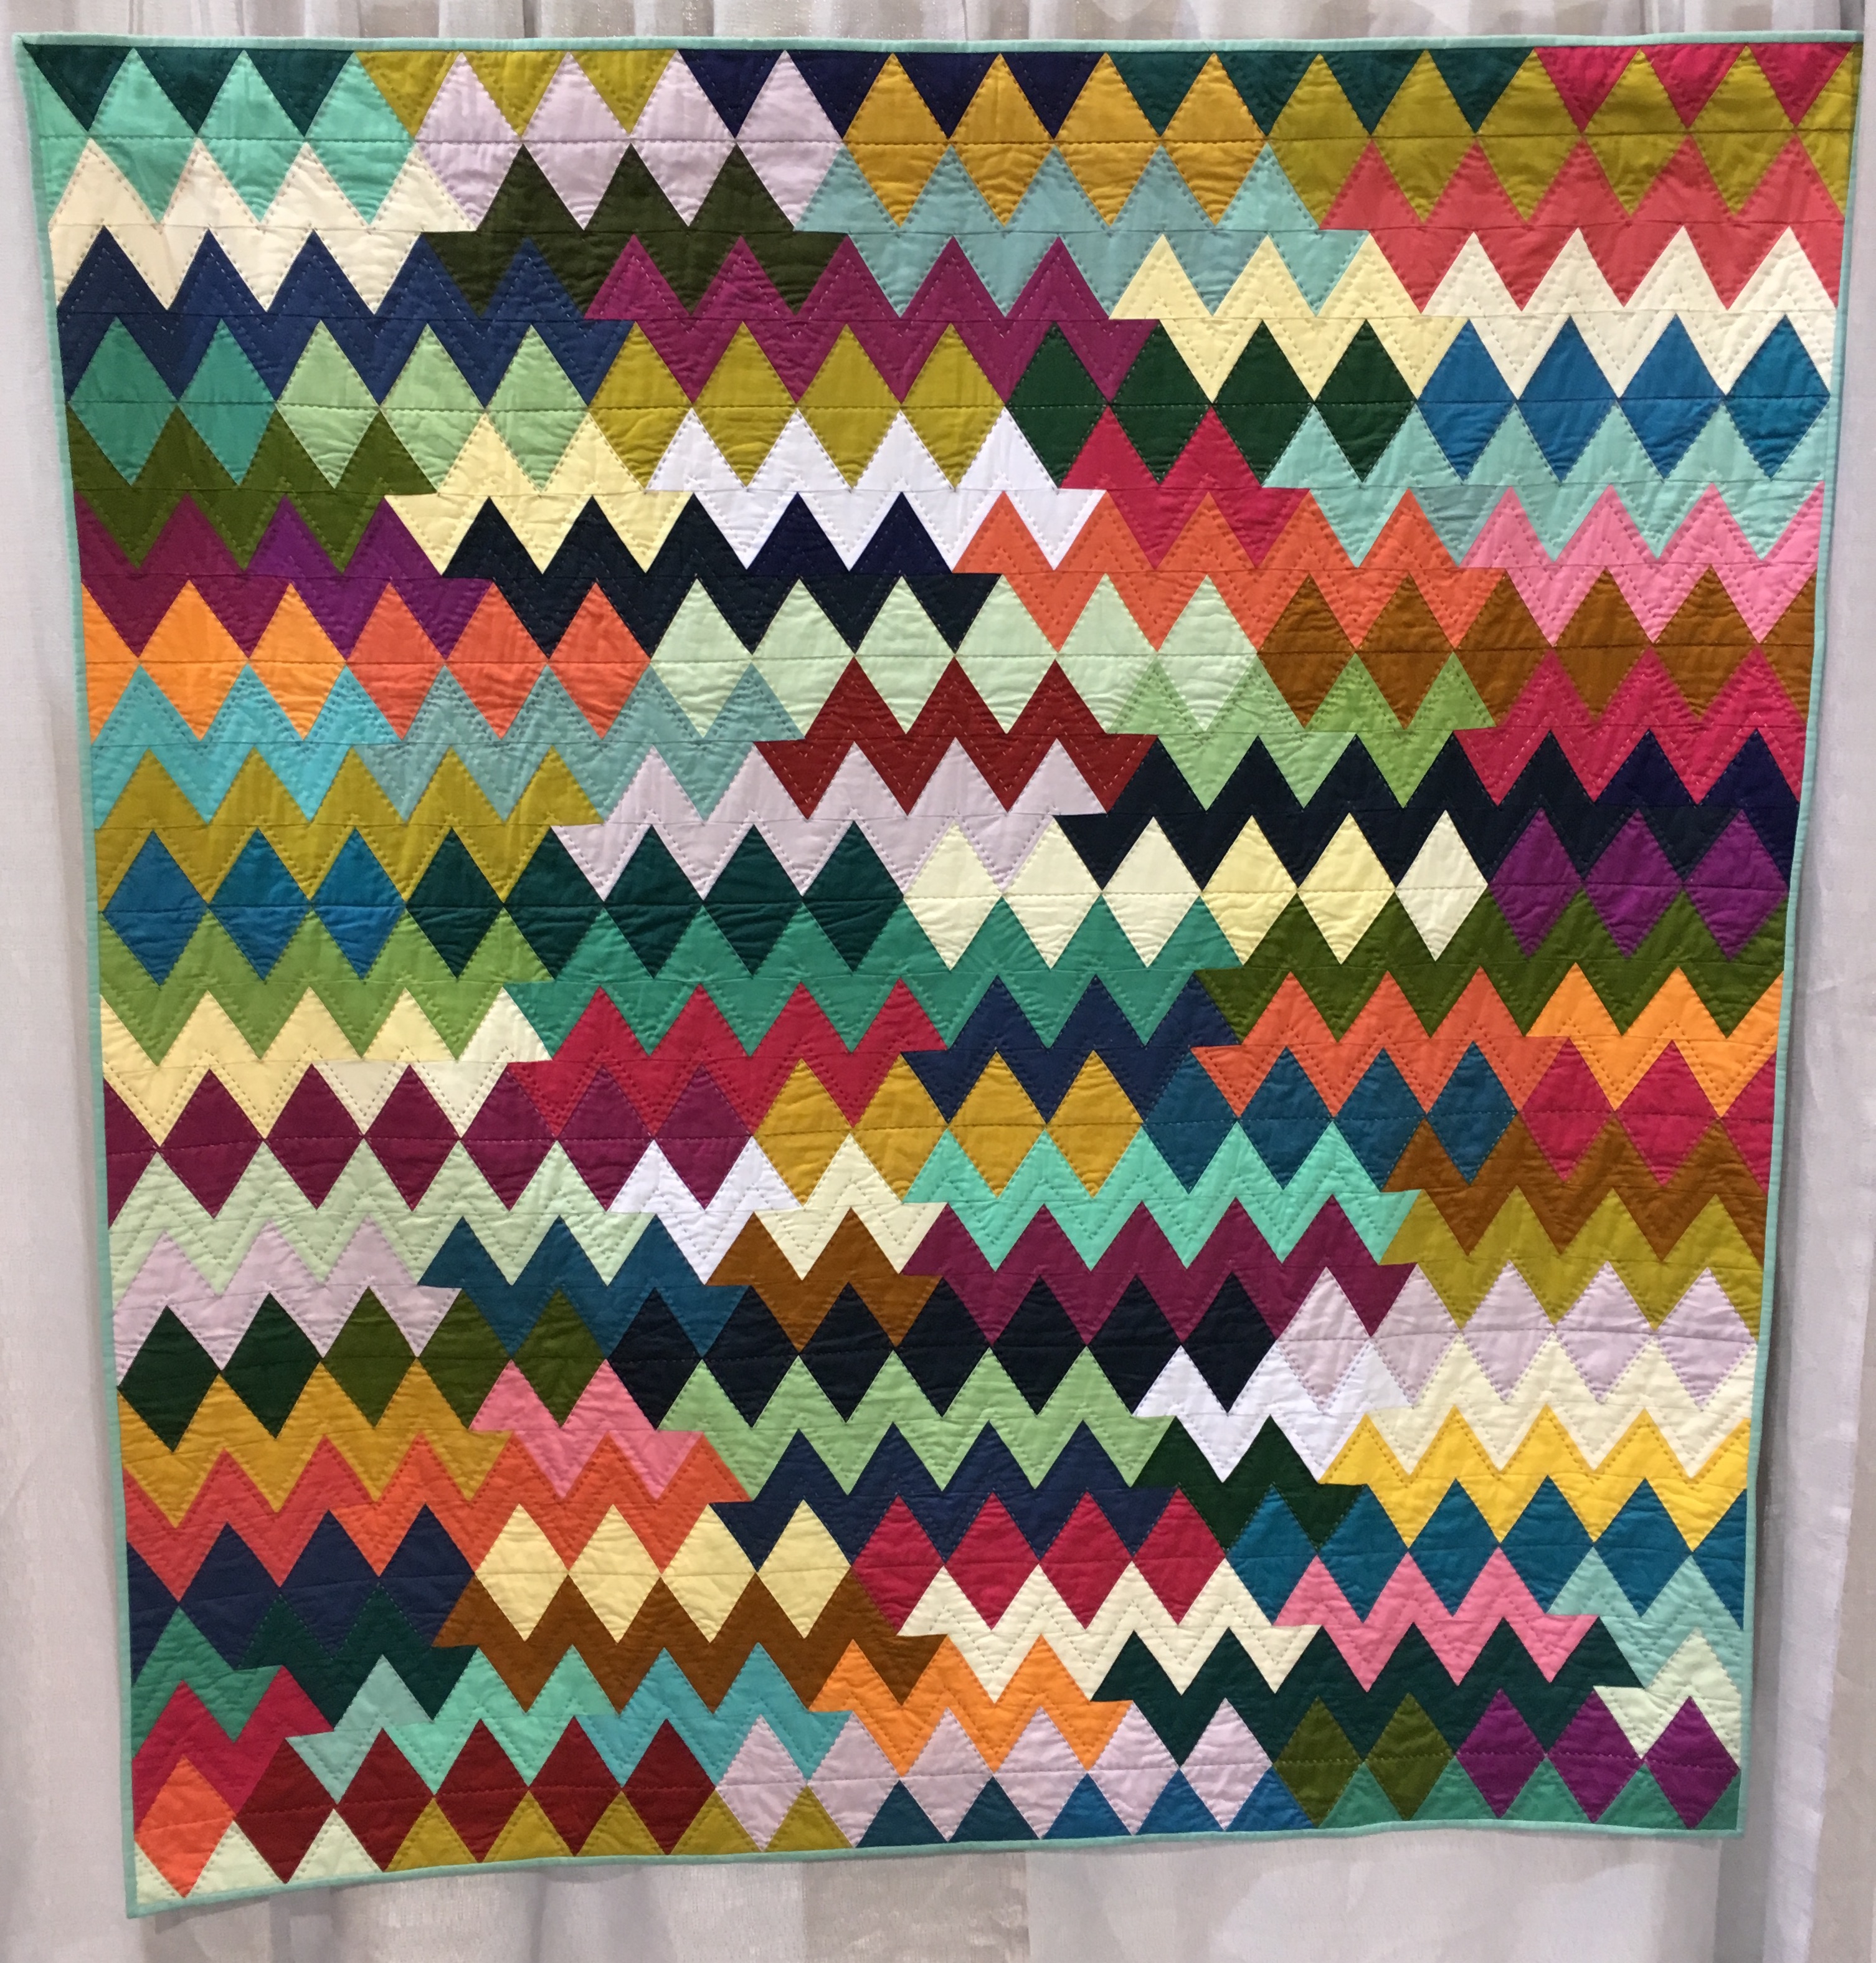
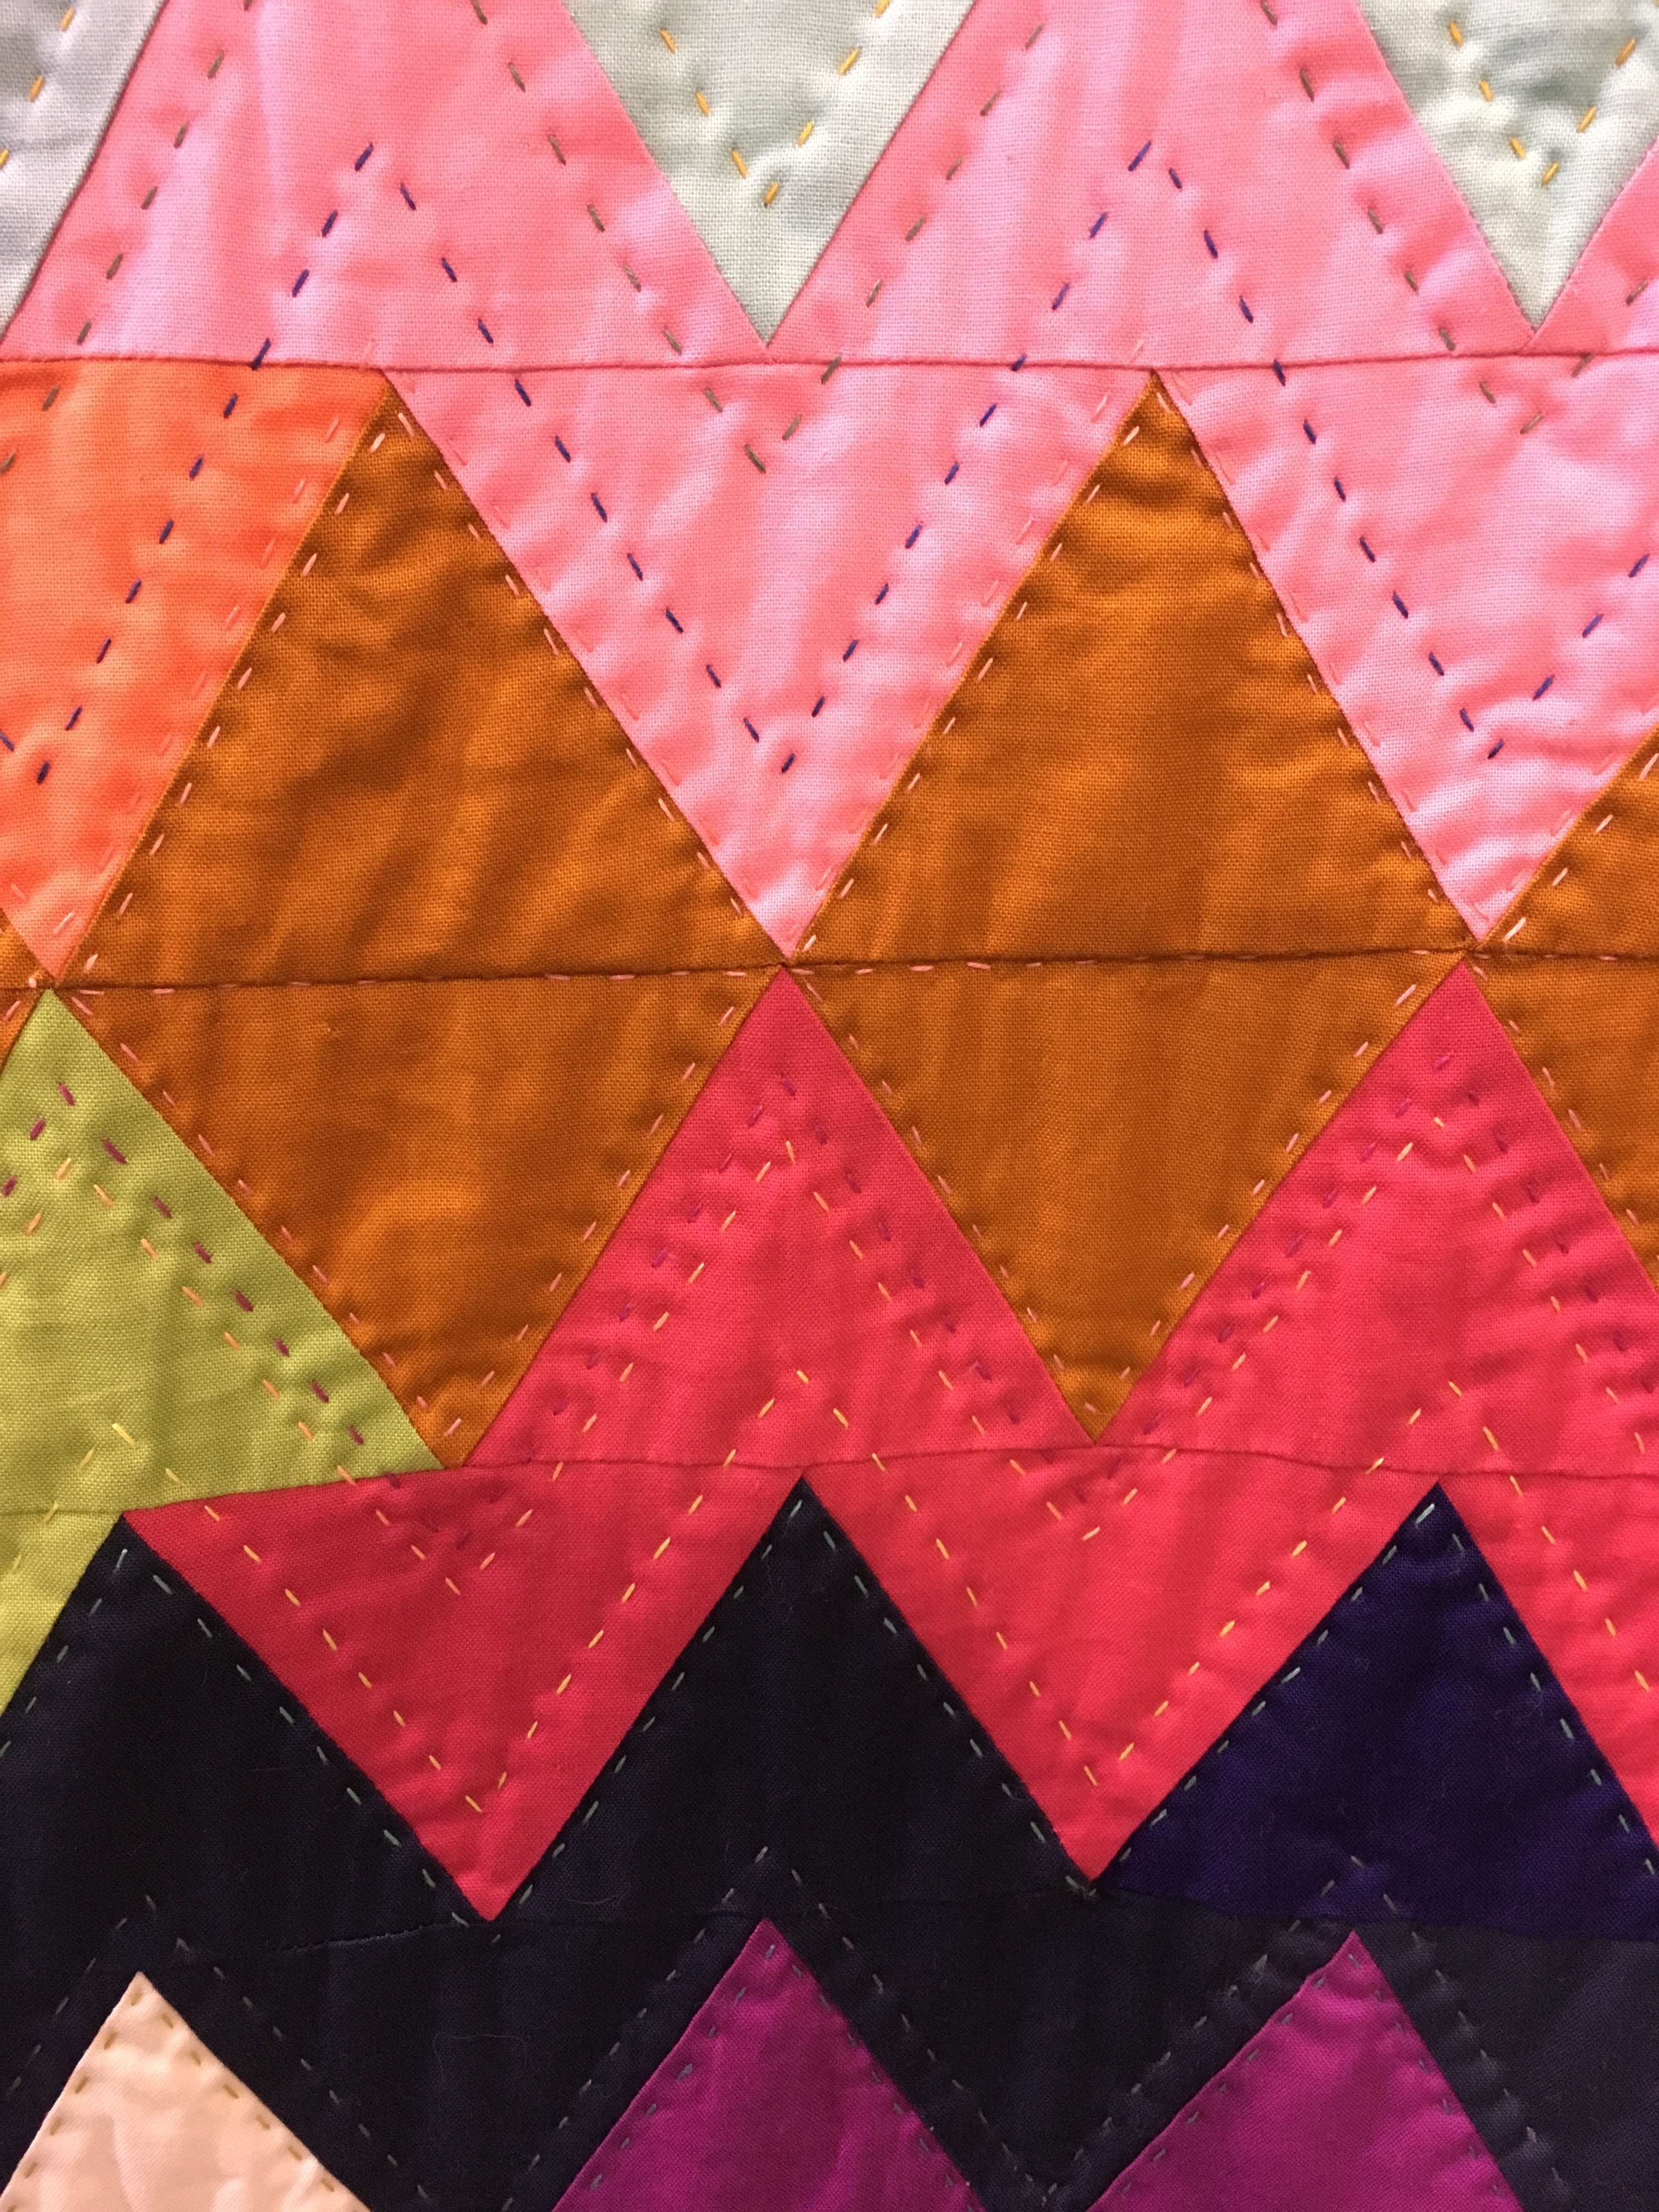
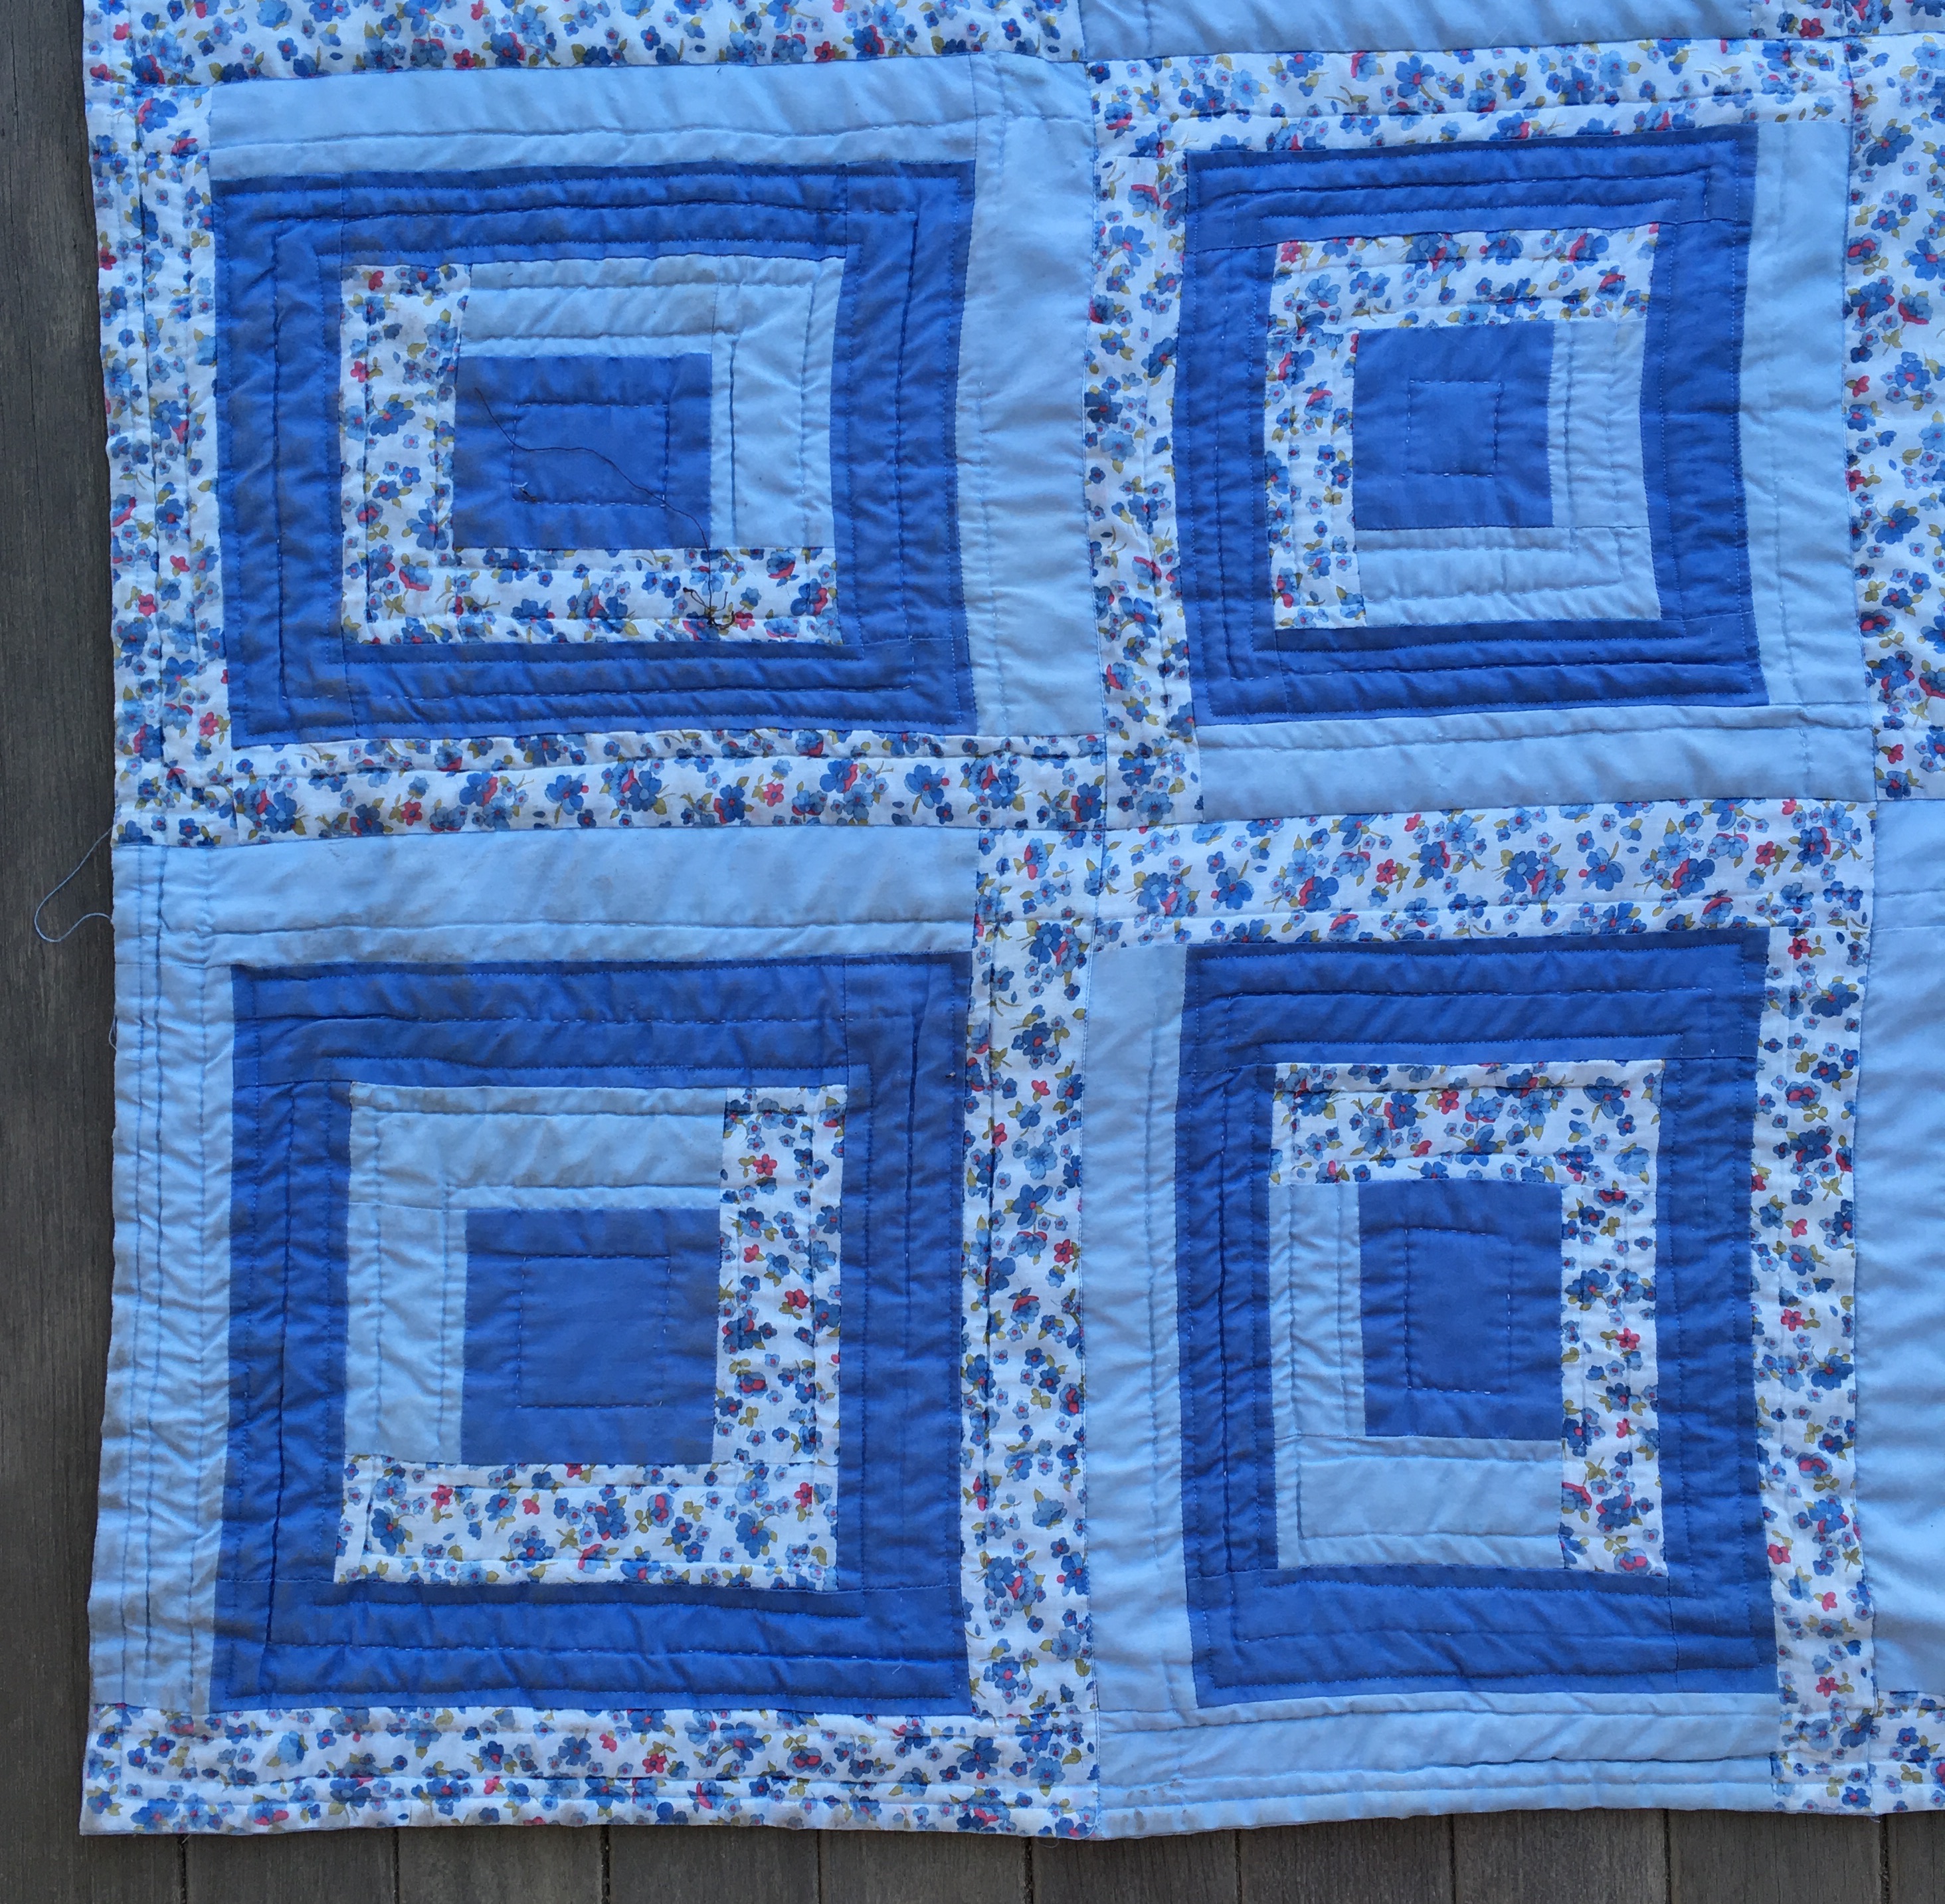
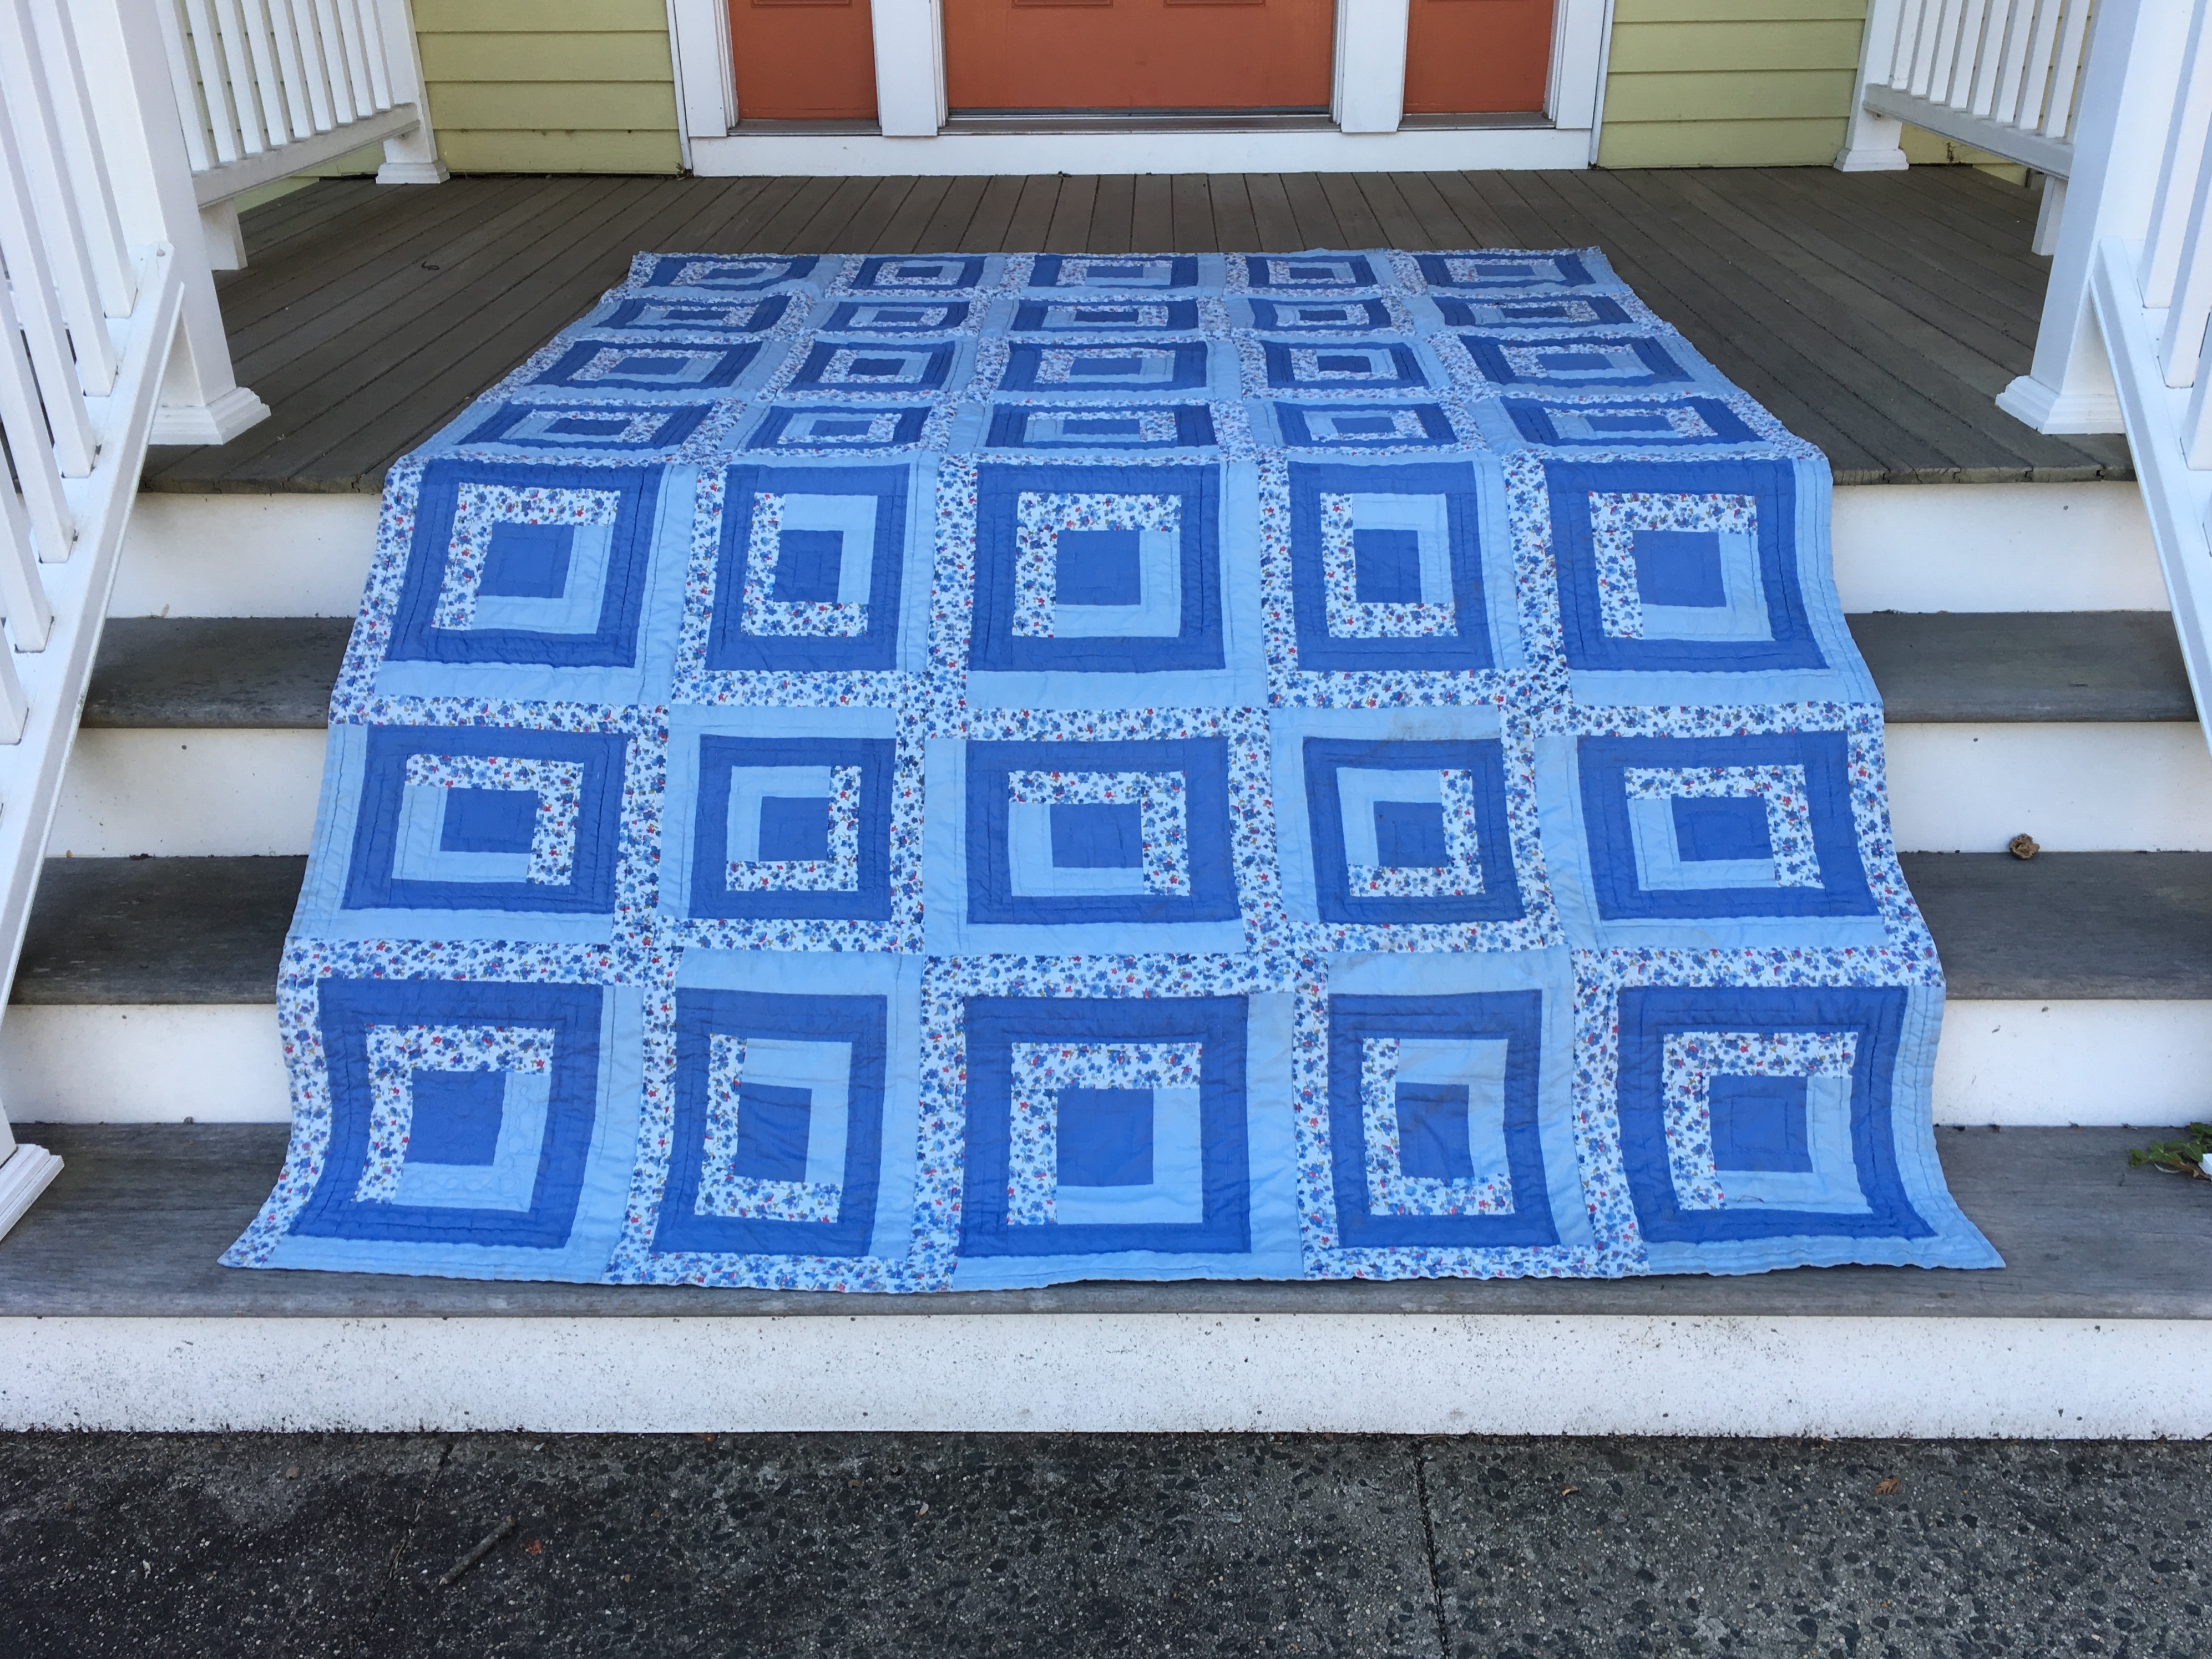
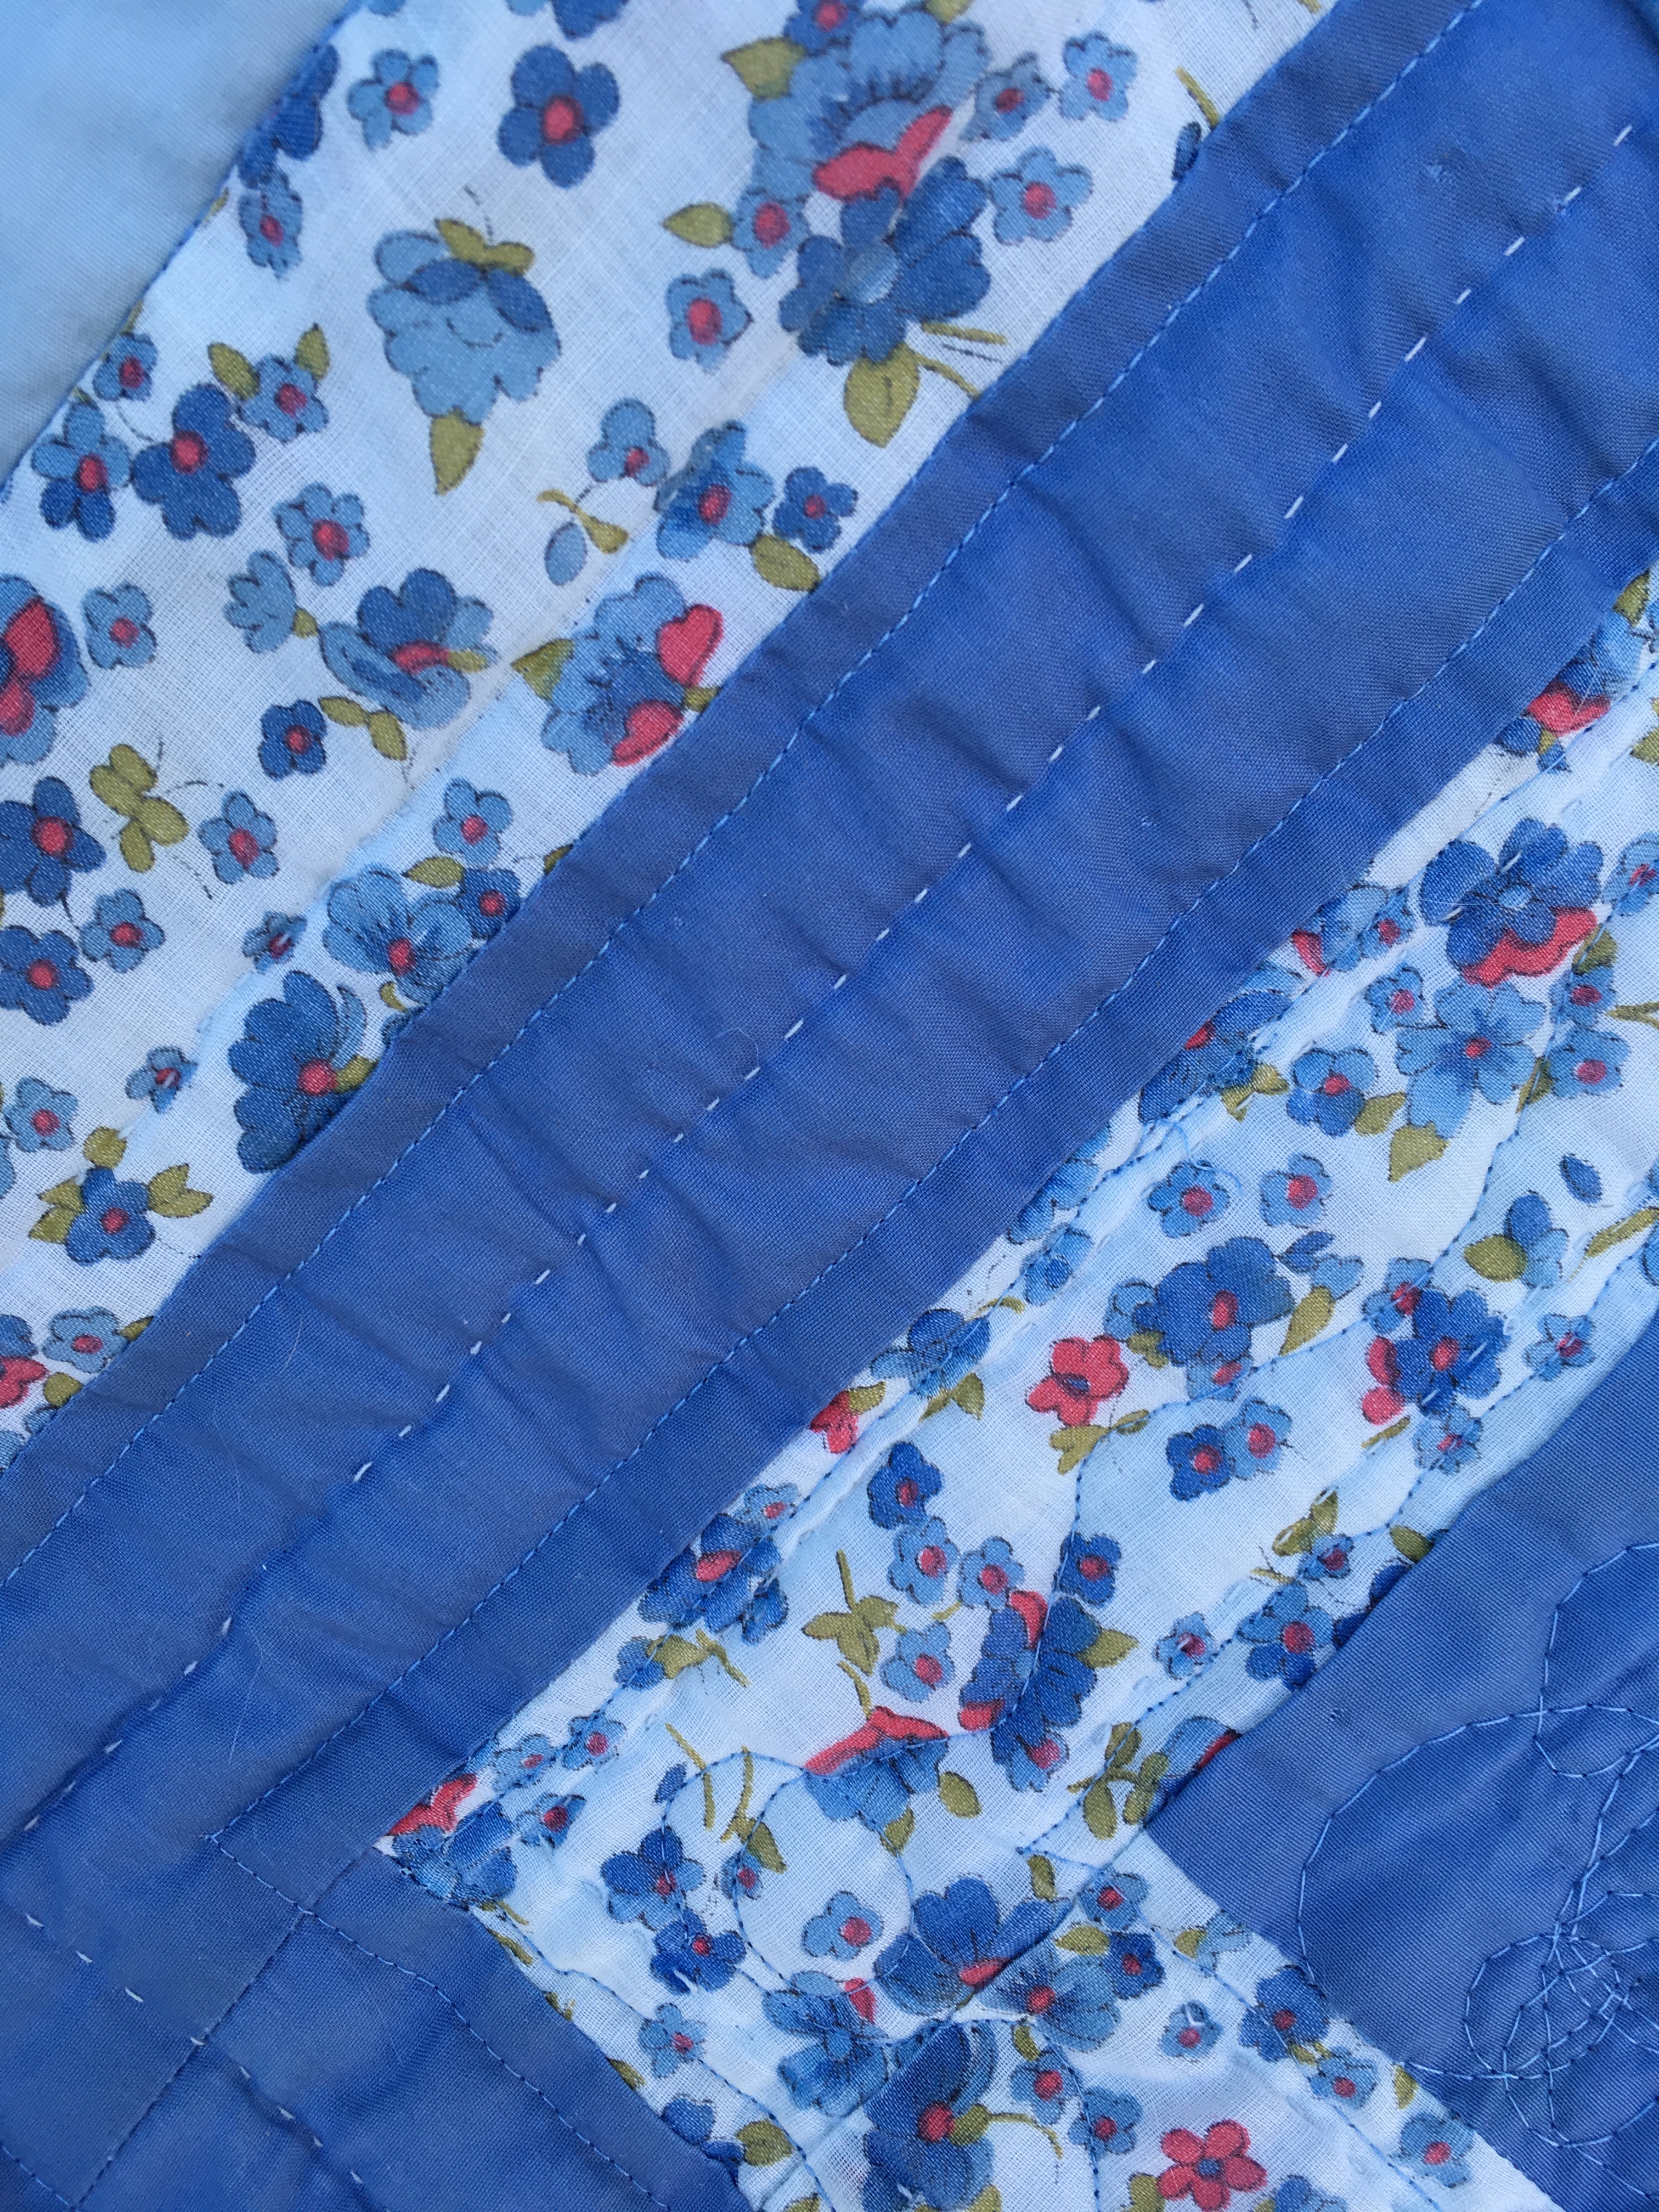
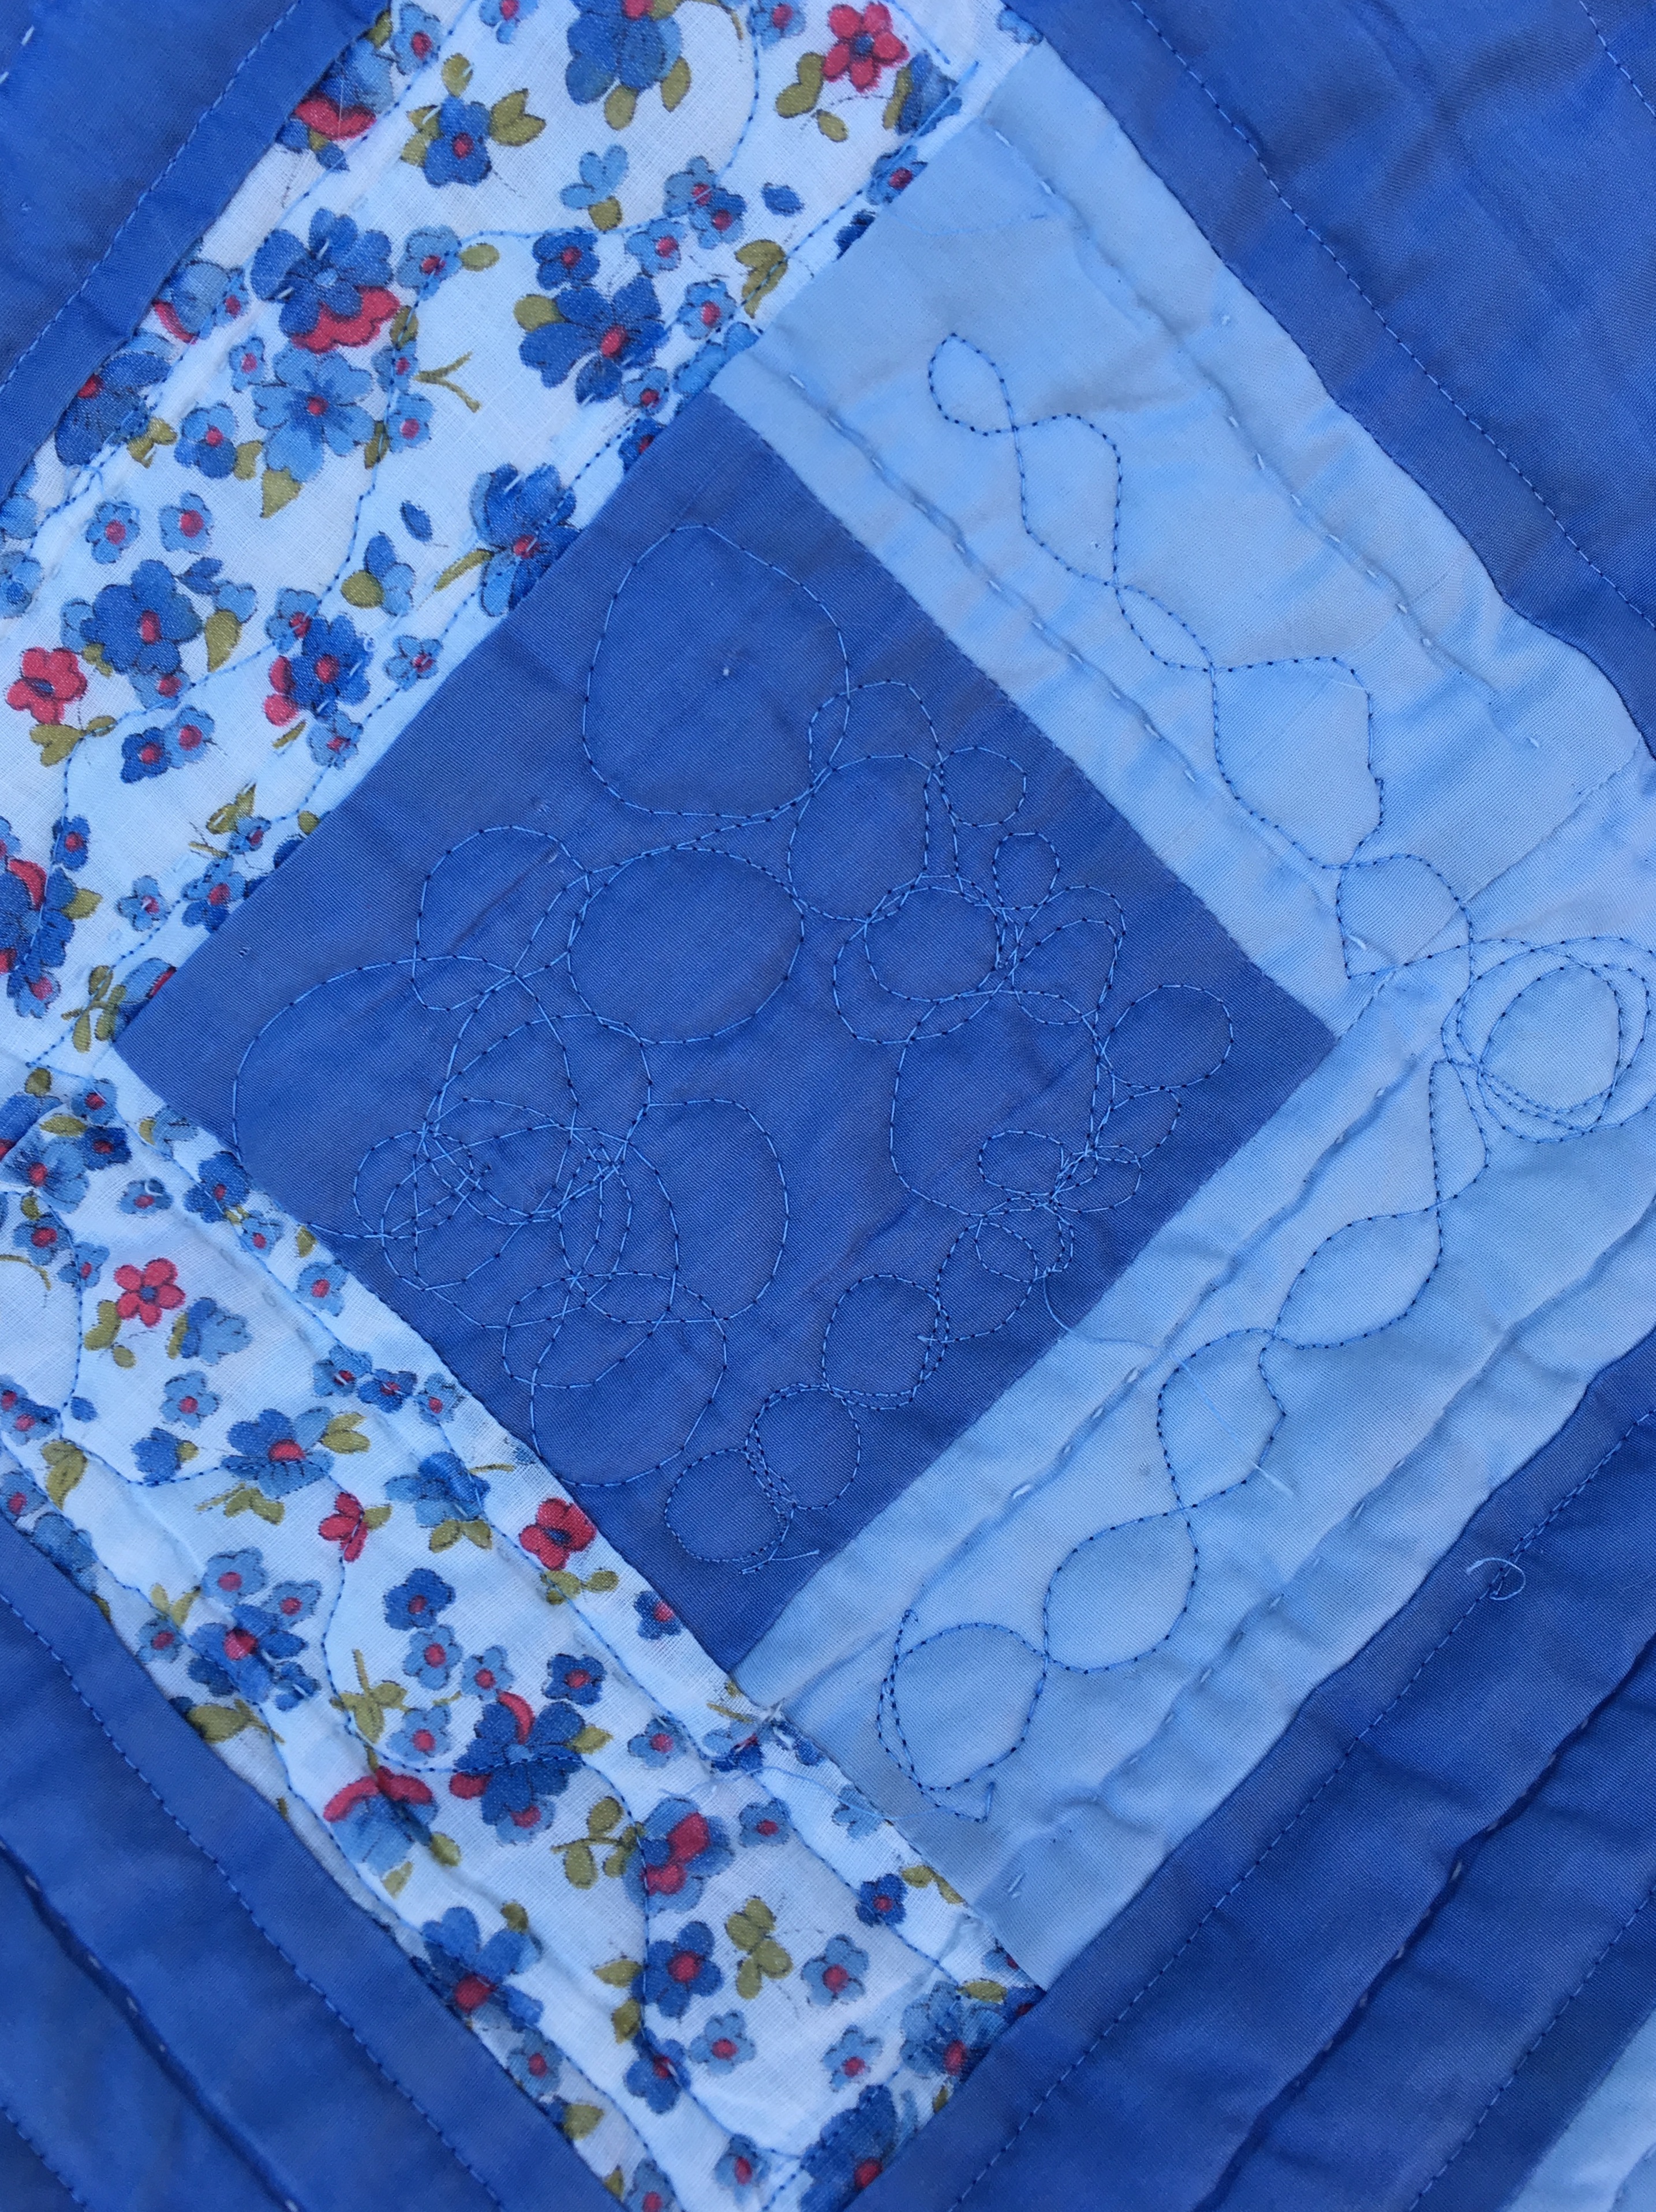
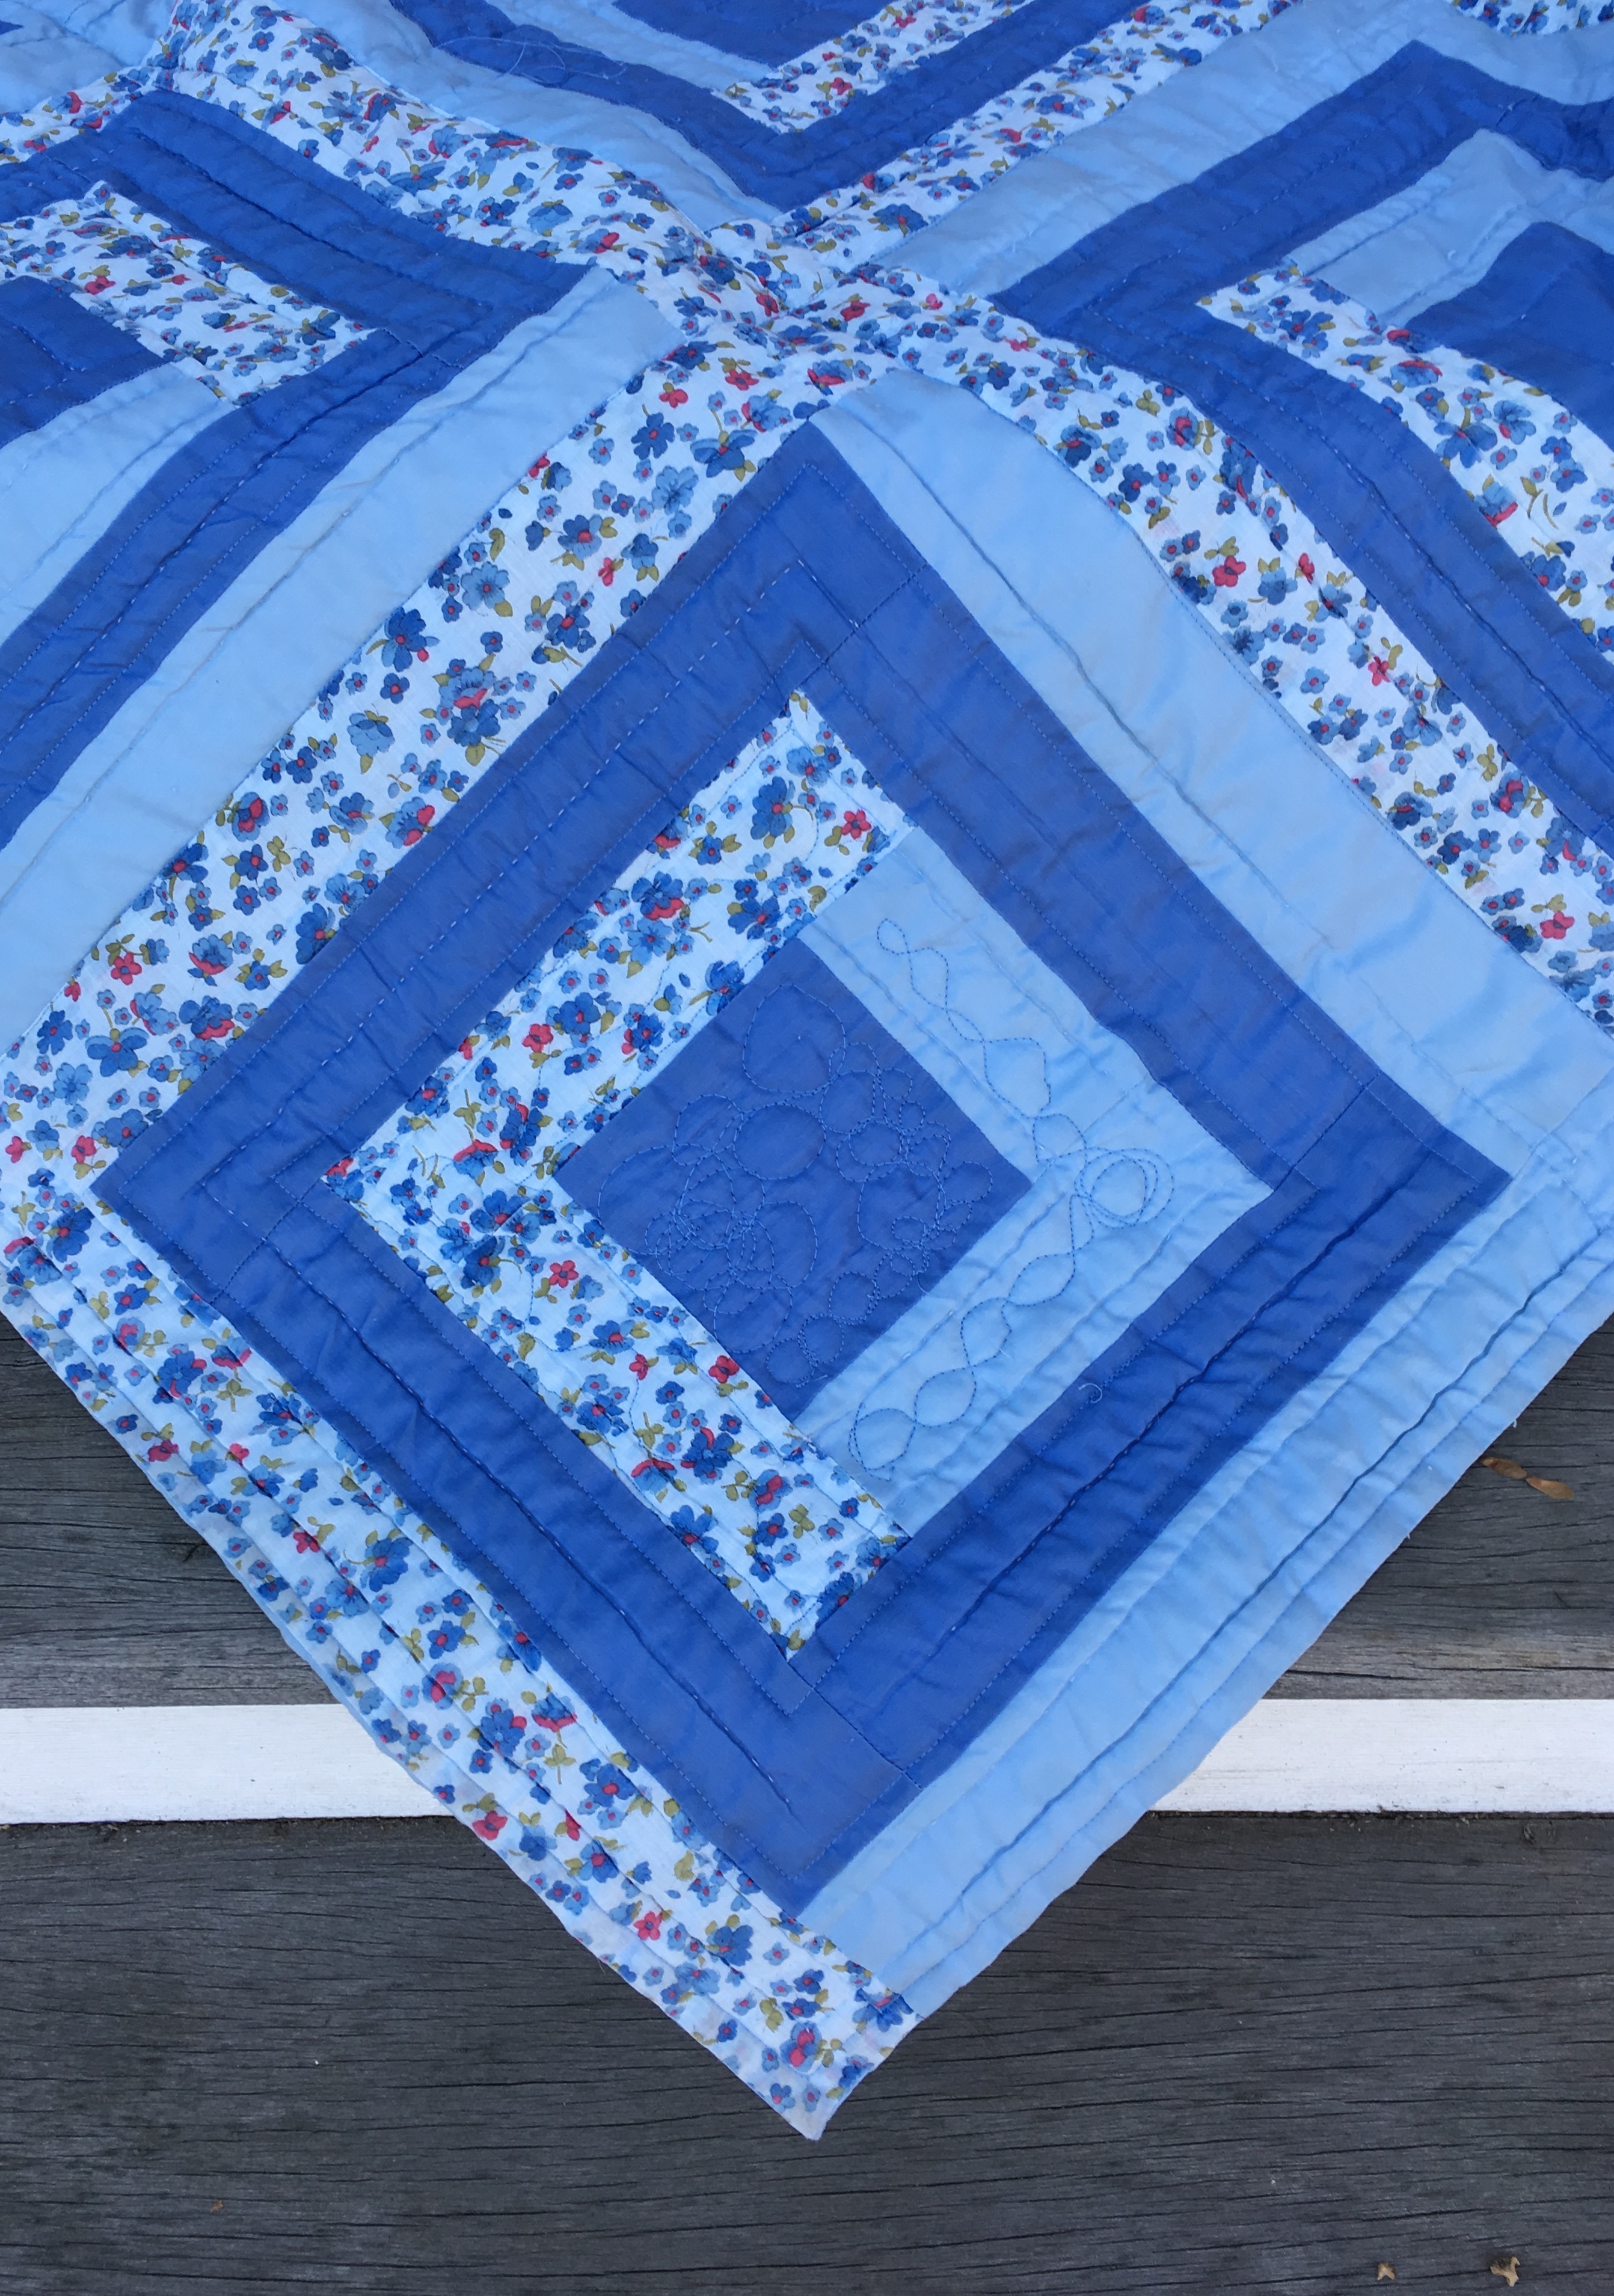
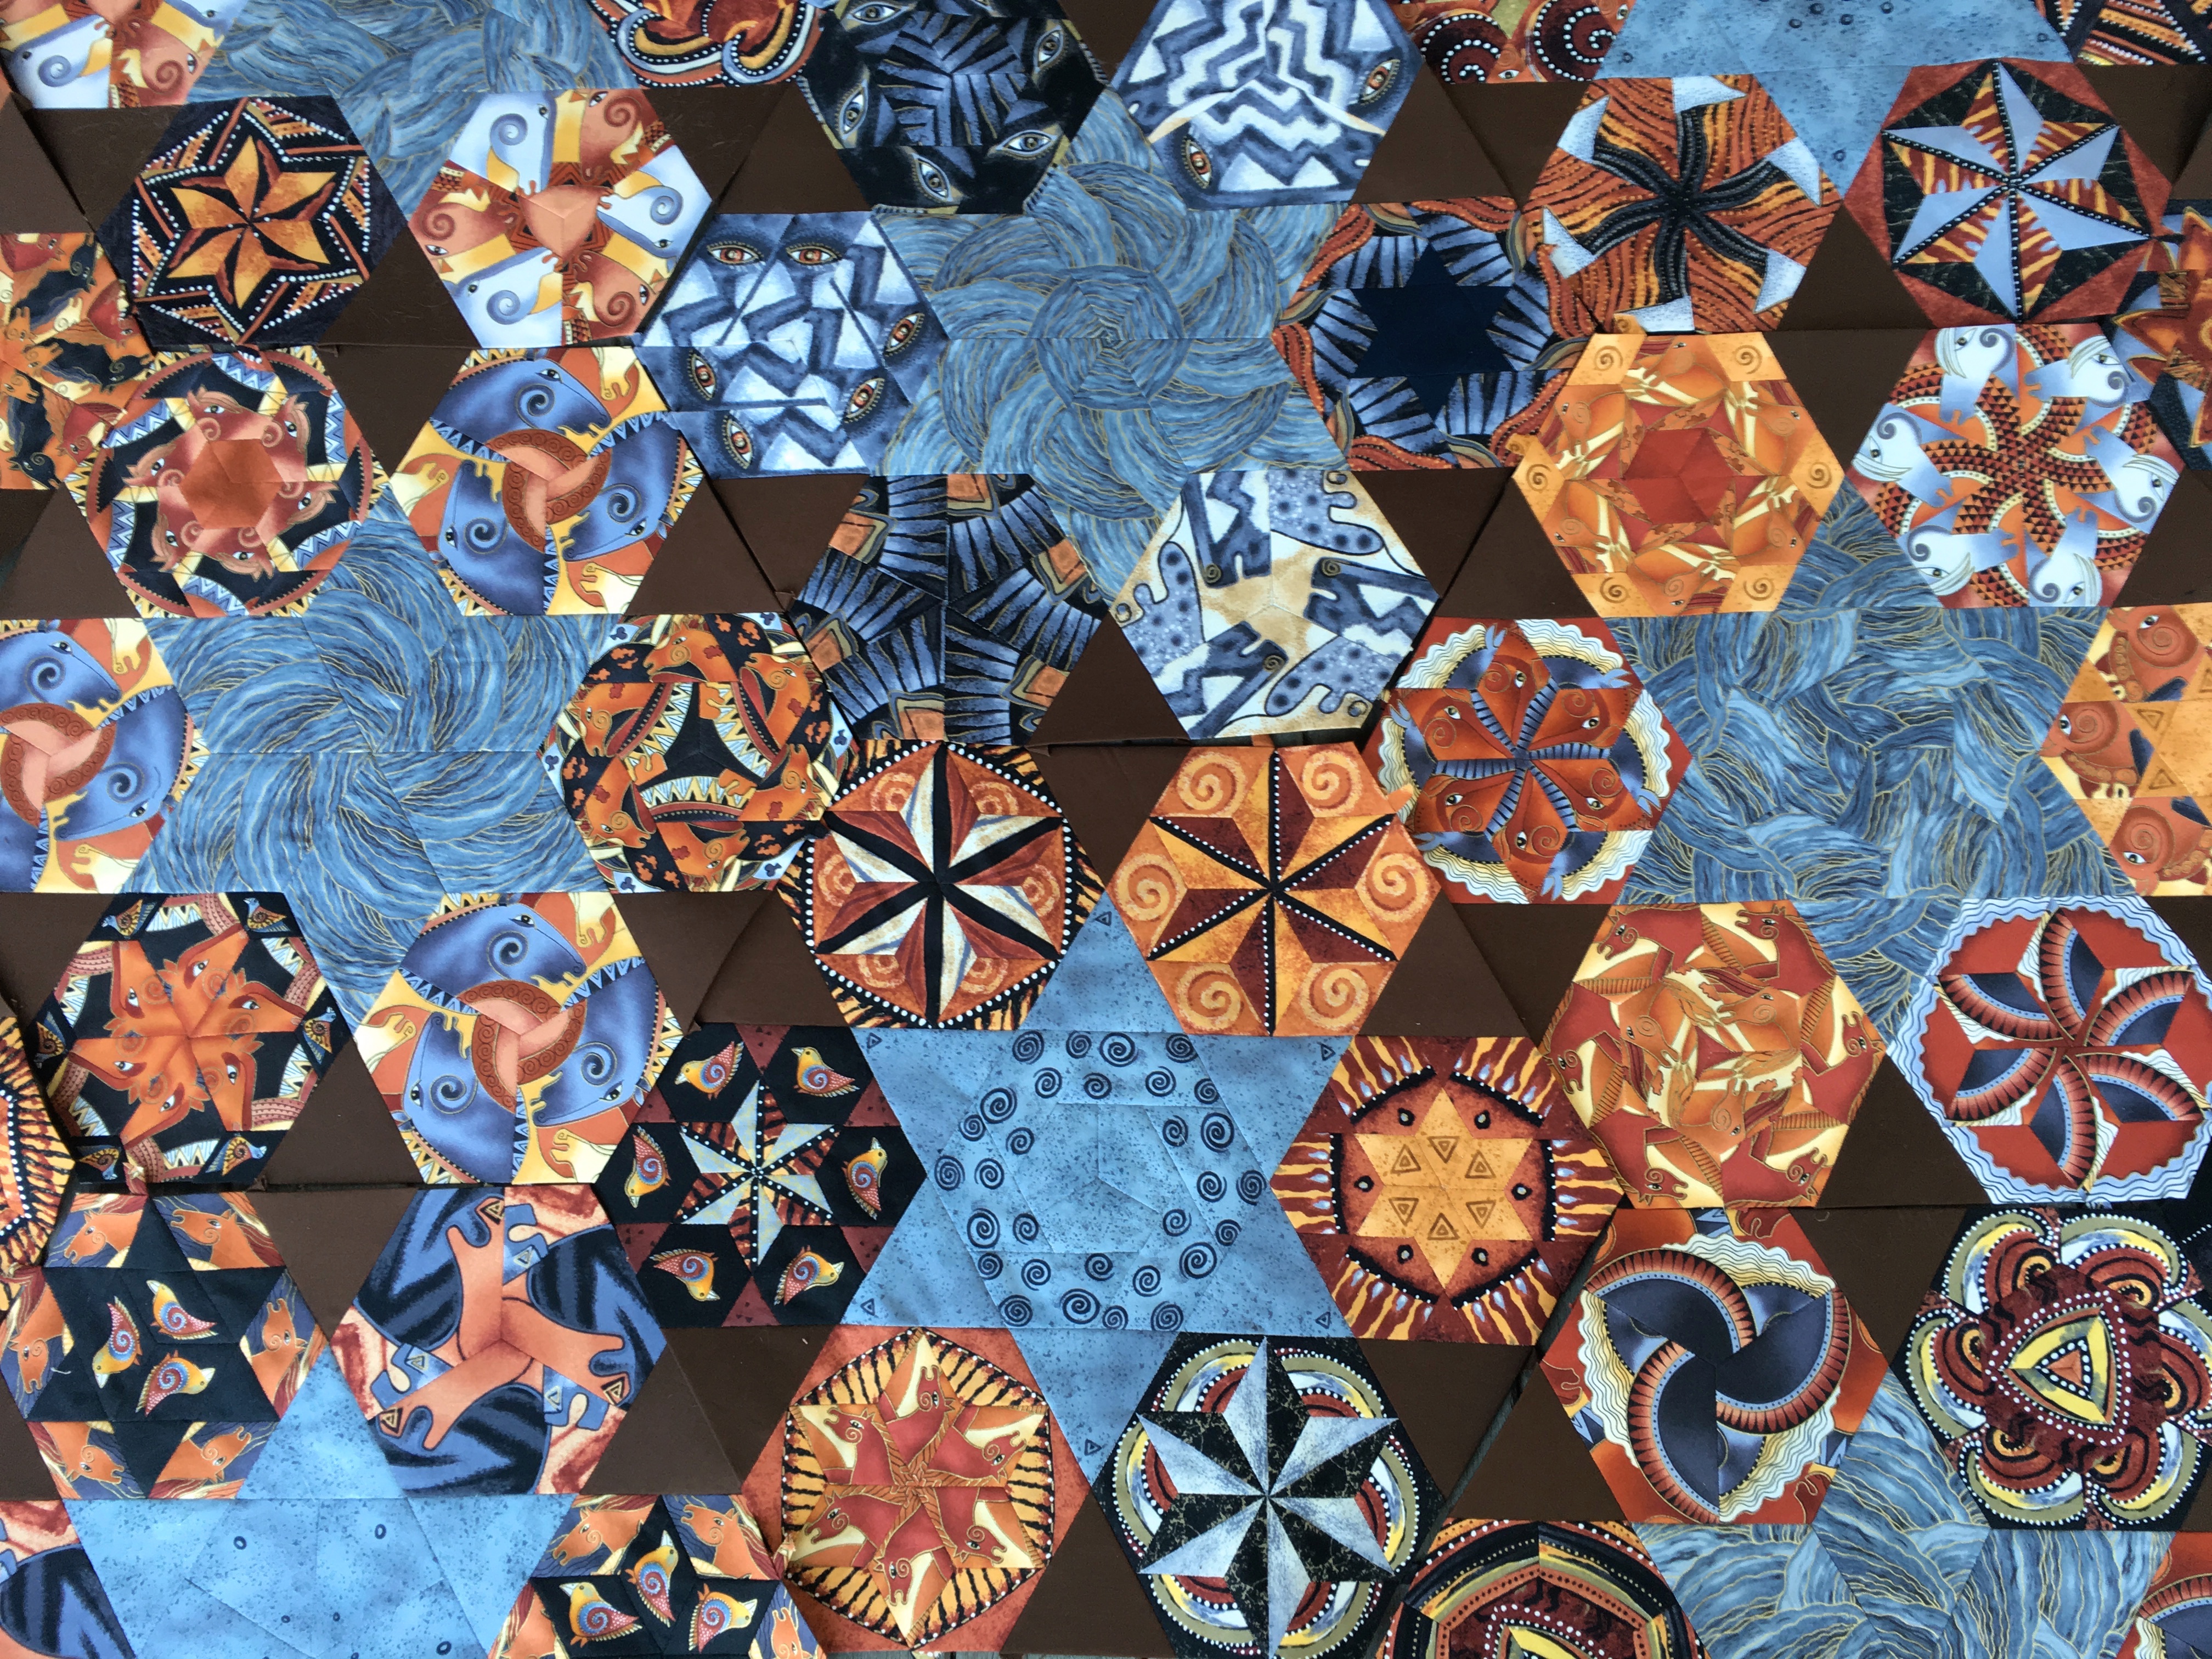
This topic is definitely quilt related because there is nothing more important to a quilter, especially a hand stitcher, than her vision. My vision has been severely compromised for a few years; more so than I would care to admit even to myself. So if you have been admiring the glory of my hand sewn Glorious Hexagons, you can be even more in awe of my work than you already were.
For the past three or more years my world has been getting increasingly smaller. I have depended more and more on my close vision in recent years because I felt that I could at least see things within three feet of my face. Distance vision was another thing altogether. I could see about as well without my glasses as with my glasses, which was not very good at all. My cataracts had gotten bad enough that adjustments in my prescription did nothing to improve my vision. My last new set of glasses was purchased over a decade ago. I stopped wearing my glasses except to see my computer screen or to drive, which I had little business doing. Around the house I mostly didn’t bother with glasses at all. I read on my iPad without my glasses. I never turned on the TV. Instead I watched all my video on my iPad. Needle threading and sewing took place about six inches away from my face. That’s where things were almost sharp.
I continued to drive because although I could not read road signs I could see well enough to get around locally during the day. I knew where I was going. I had given up on driving at night altogether. The cataracts prevented it, but it was made even more impossible because my irises were stuck in the shape of tiny little pin holes. My pupils could no longer dilate because they had been glued to the lenses of my eyes as a result of over 20 years of severe inflammation caused by a condition called iritis.
I think most people are a little afraid of cataract surgery, but I was absolutely terrified. It is bad enough to know that your eyes will be cut into when you are awake and aware, but I had the added burden of knowing that my irises were going to have to be scraped from my lenses before they could be removed.
In May I ended up choosing dates for my surgery. I chose August 1st and August 22nd. I wanted to give myself time to prepare myself mentally for the ordeal, and I also wanted time to make the decision of whether to focus my new lenses for near vision or far vision. I had to chose because I was not a candidate for lenses that could change focus, nor could I chose one eye near and one eye far because my surgeon would only do that for someone who had proven their ability to adjust by wearing contact lenses.
My first instinct was to choose near vision because I am a hand stitcher. My surgeon told me that people who have been nearsighted from an early age, such as myself, sometimes choose to maintain the status quo and focus for near vision while accepting the fact that they will need glasses for driving, TV viewing, and far vision in general. I ended up second guessing myself, however. I asked the opinion of members of the Glorious Hexagons group on Facebook if any of them had chosen near vision and were happy with their choice. I wanted to hear that it was a good choice. After getting a great deal of conflicting input I decided to go with my first impression for the simple reason that no one who corrected for near vision reported being sorry for doing so, while some who corrected for far vision wished that they had not done so.
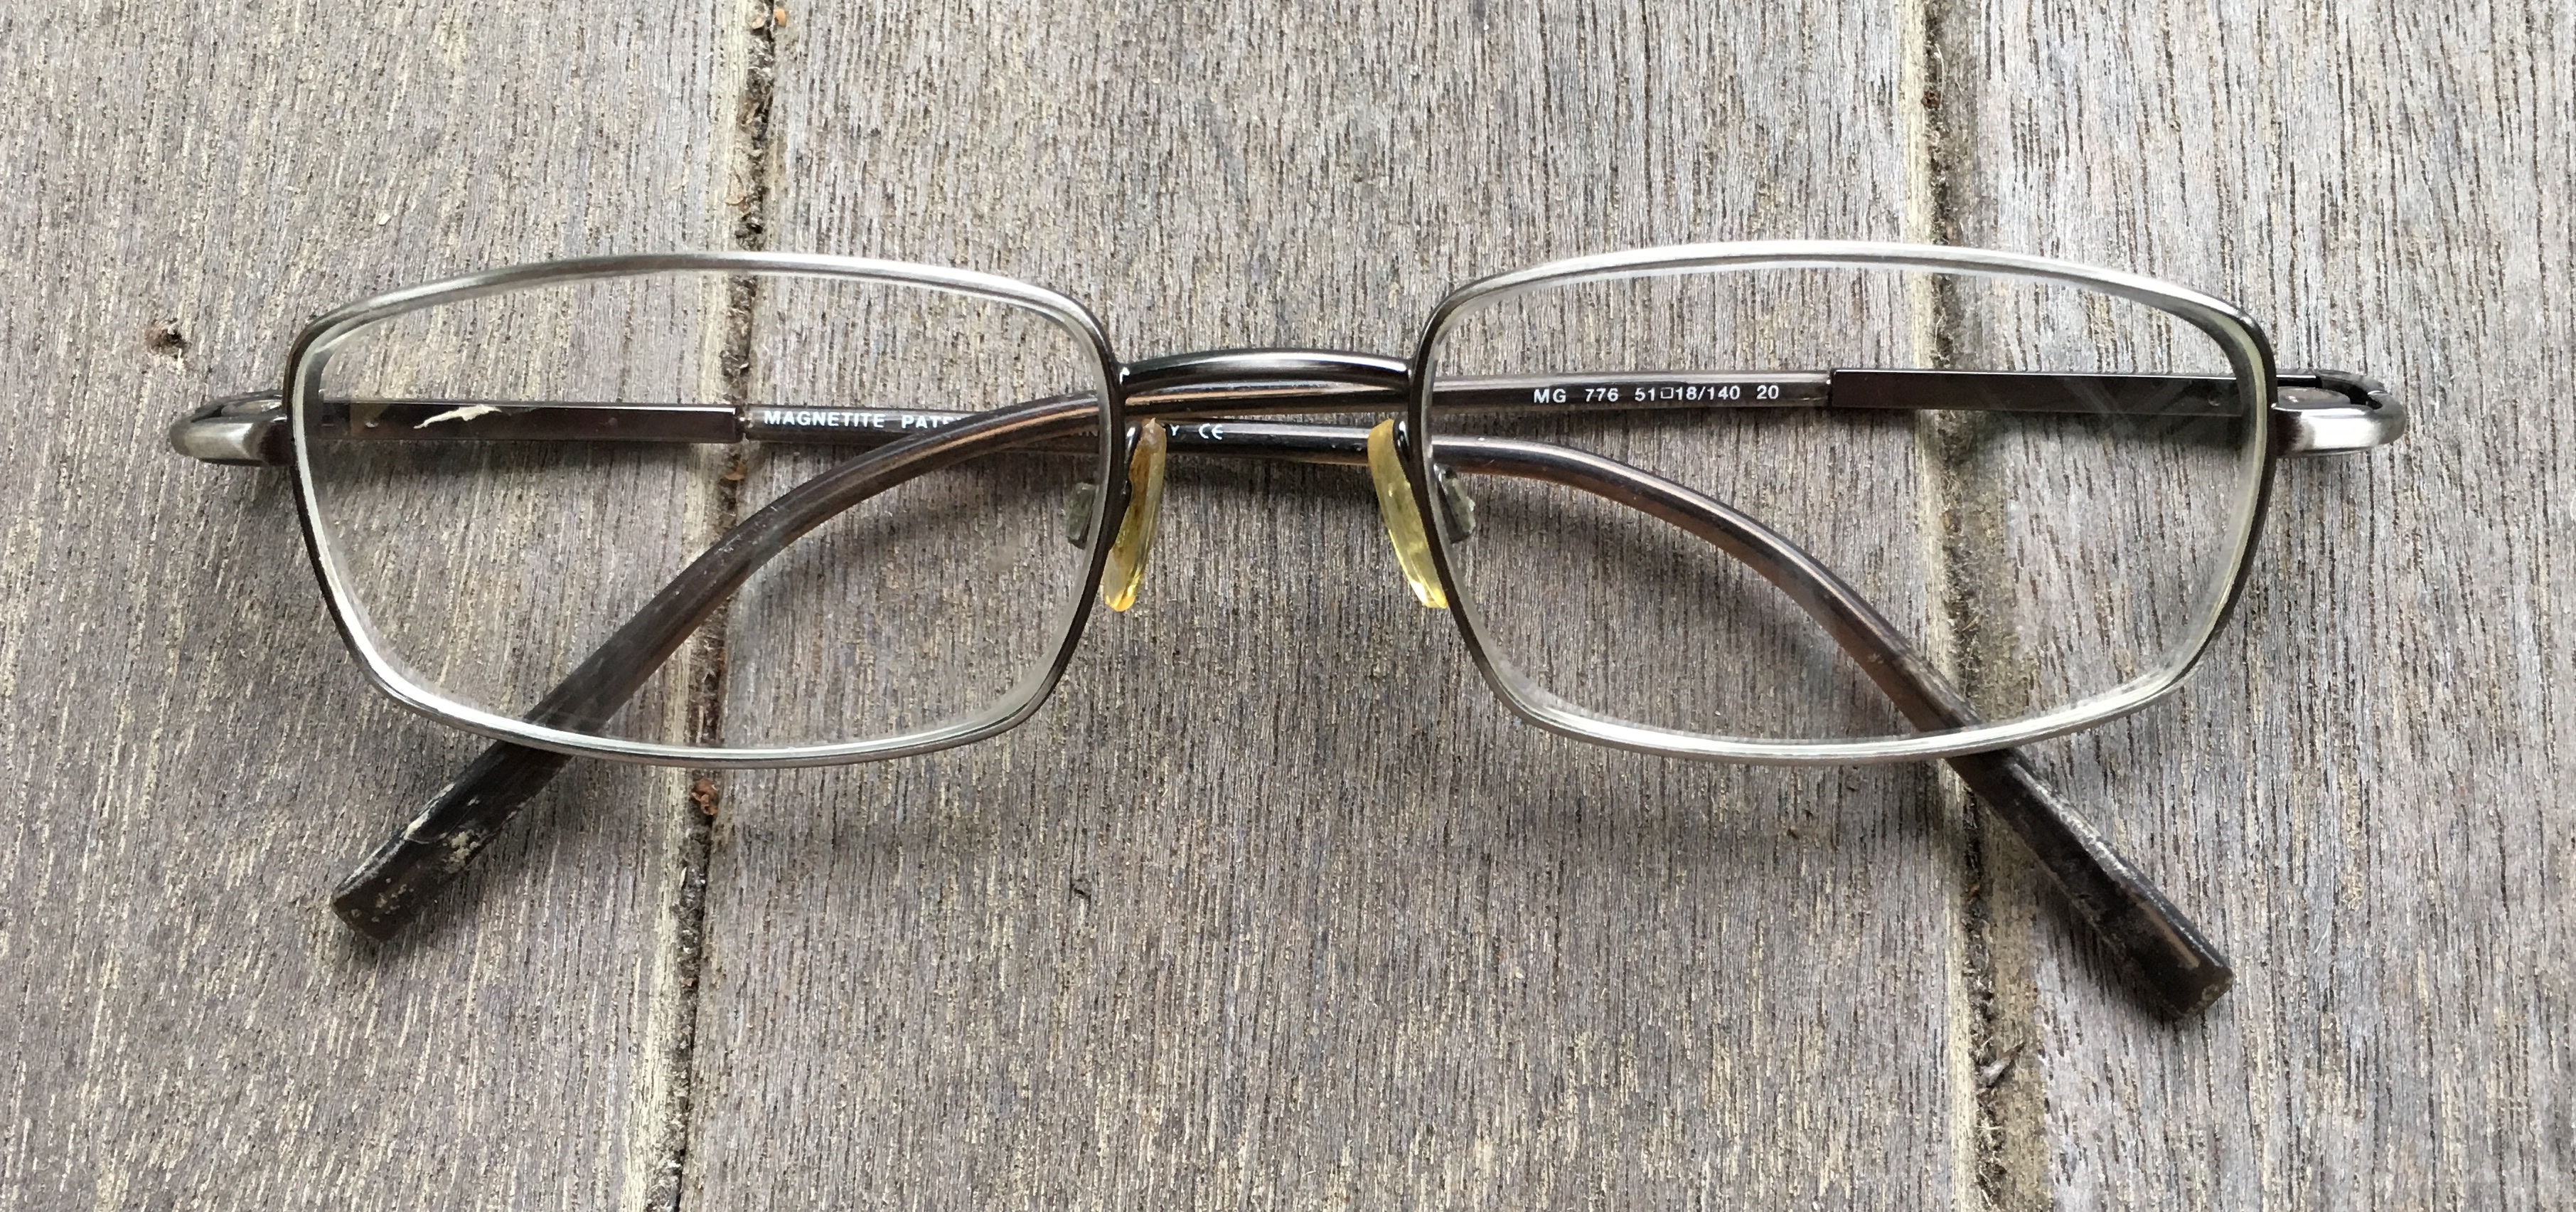
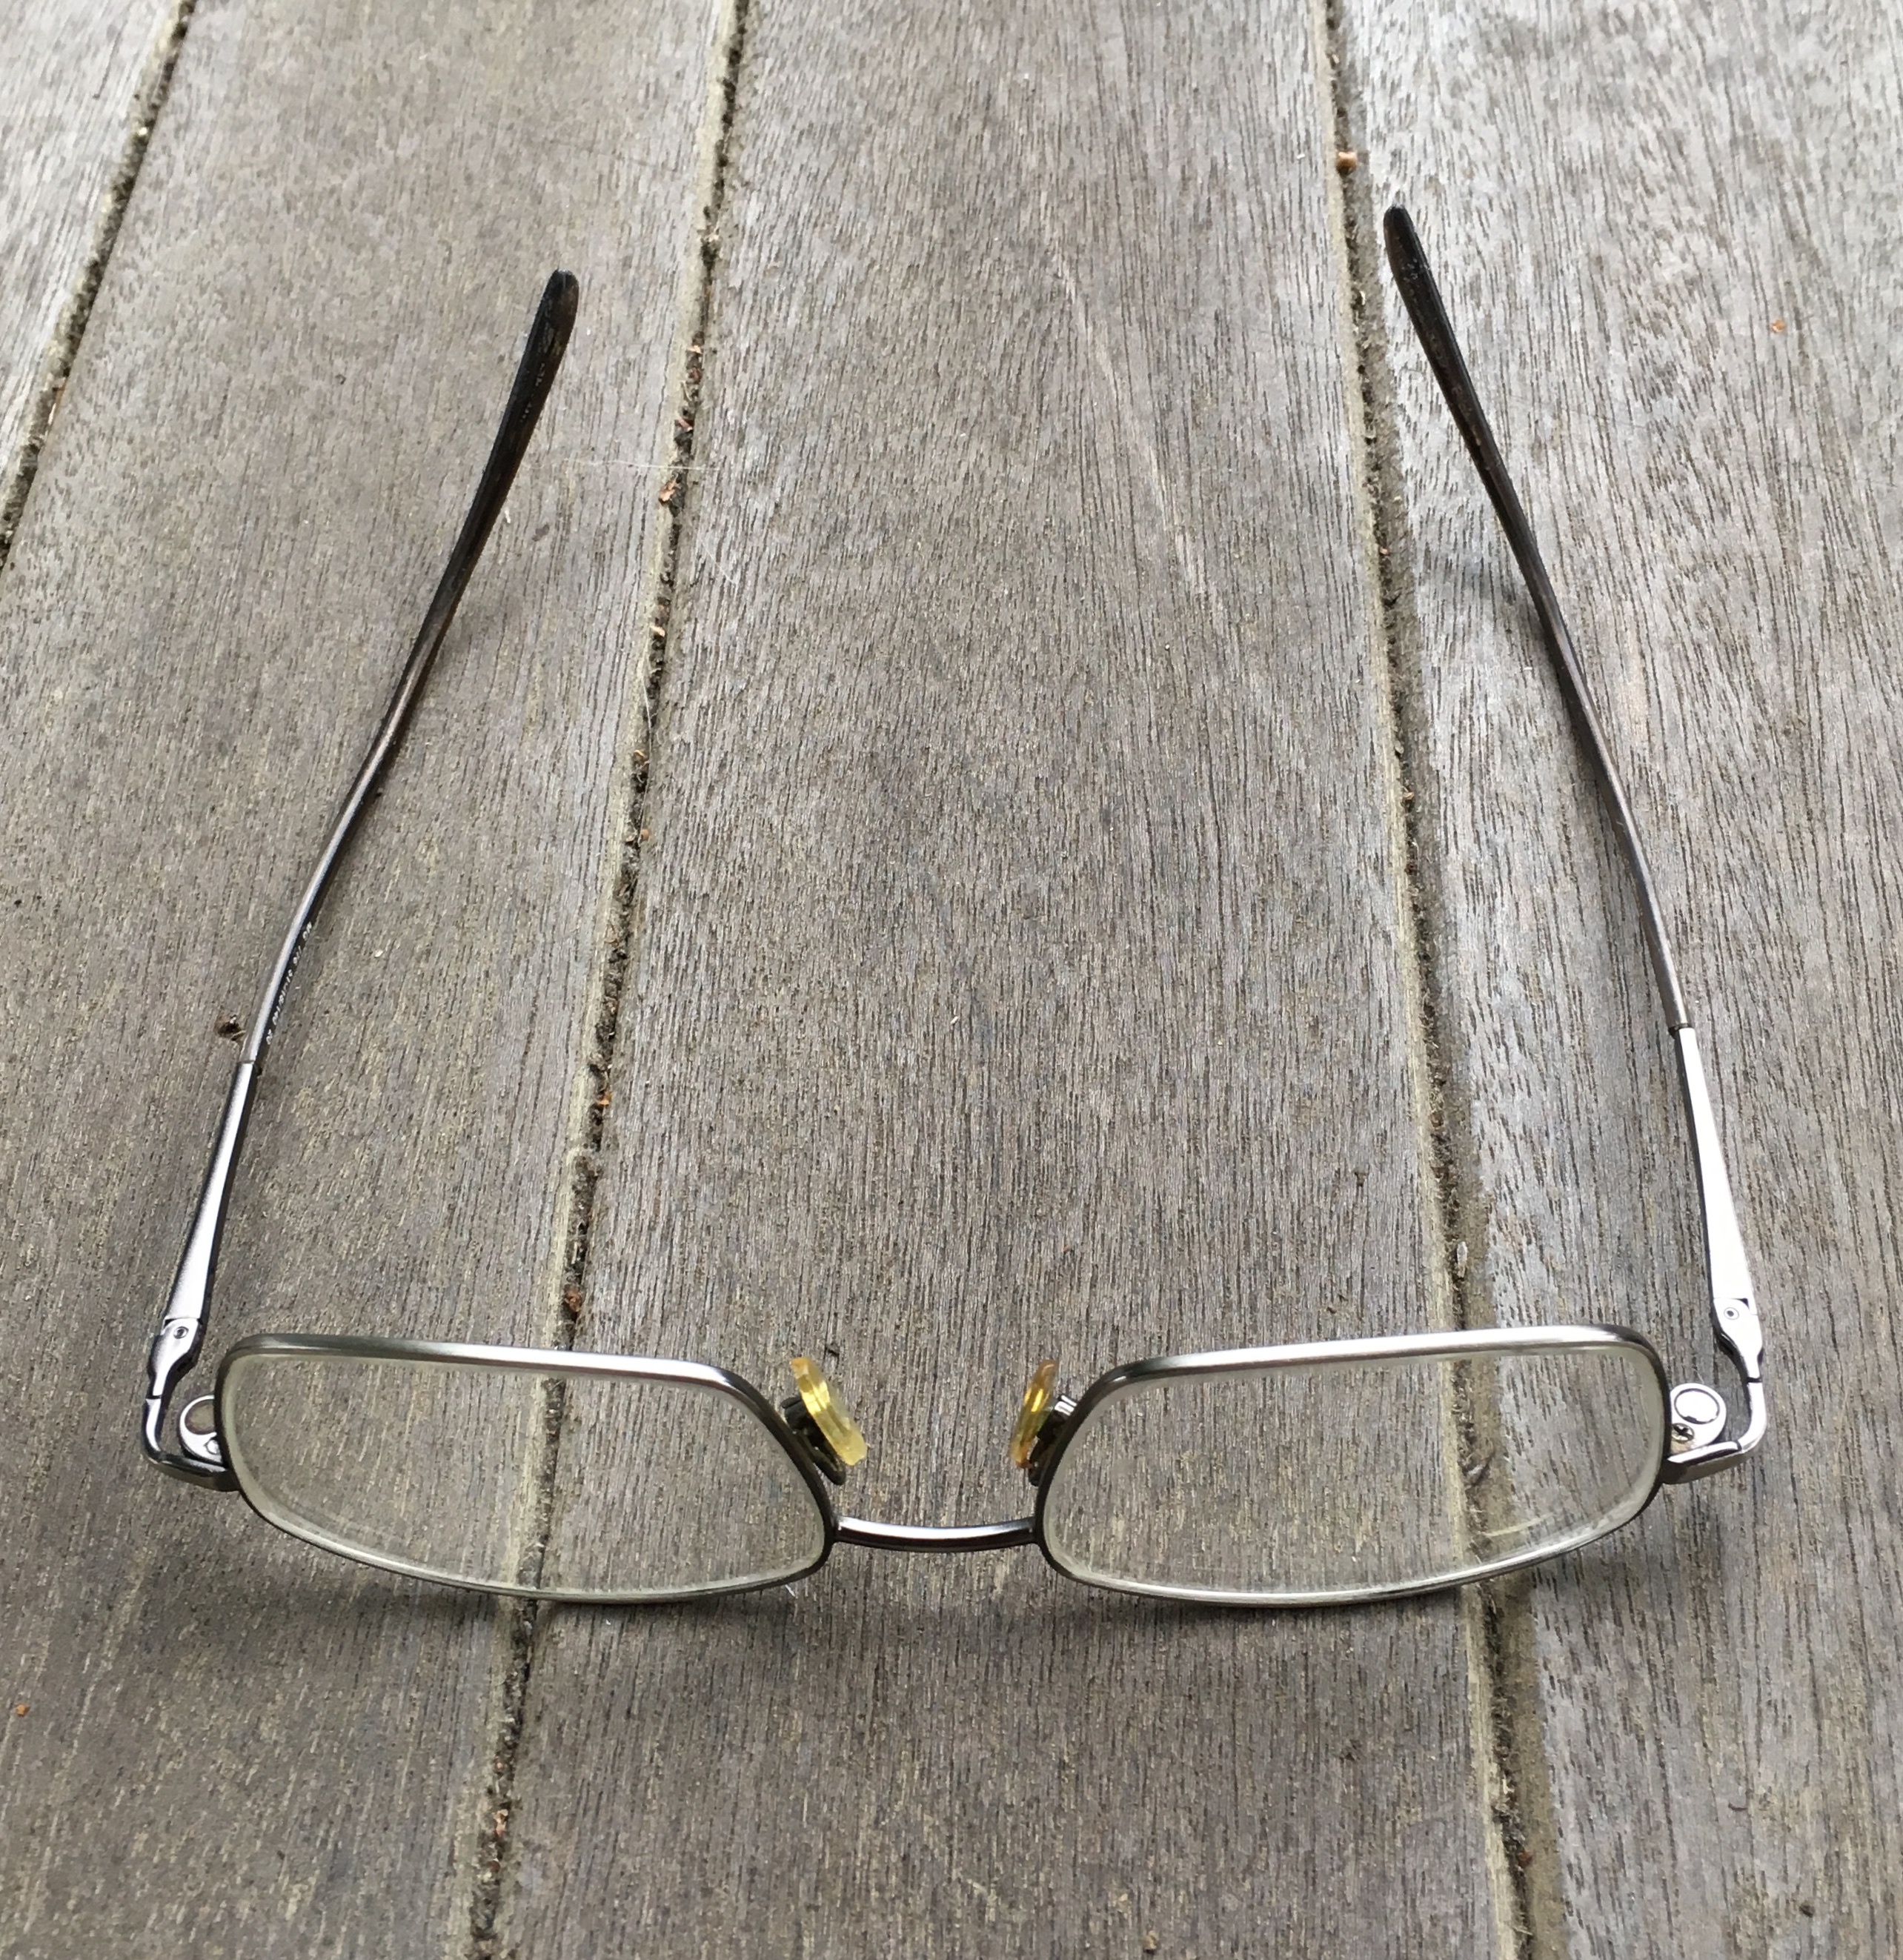
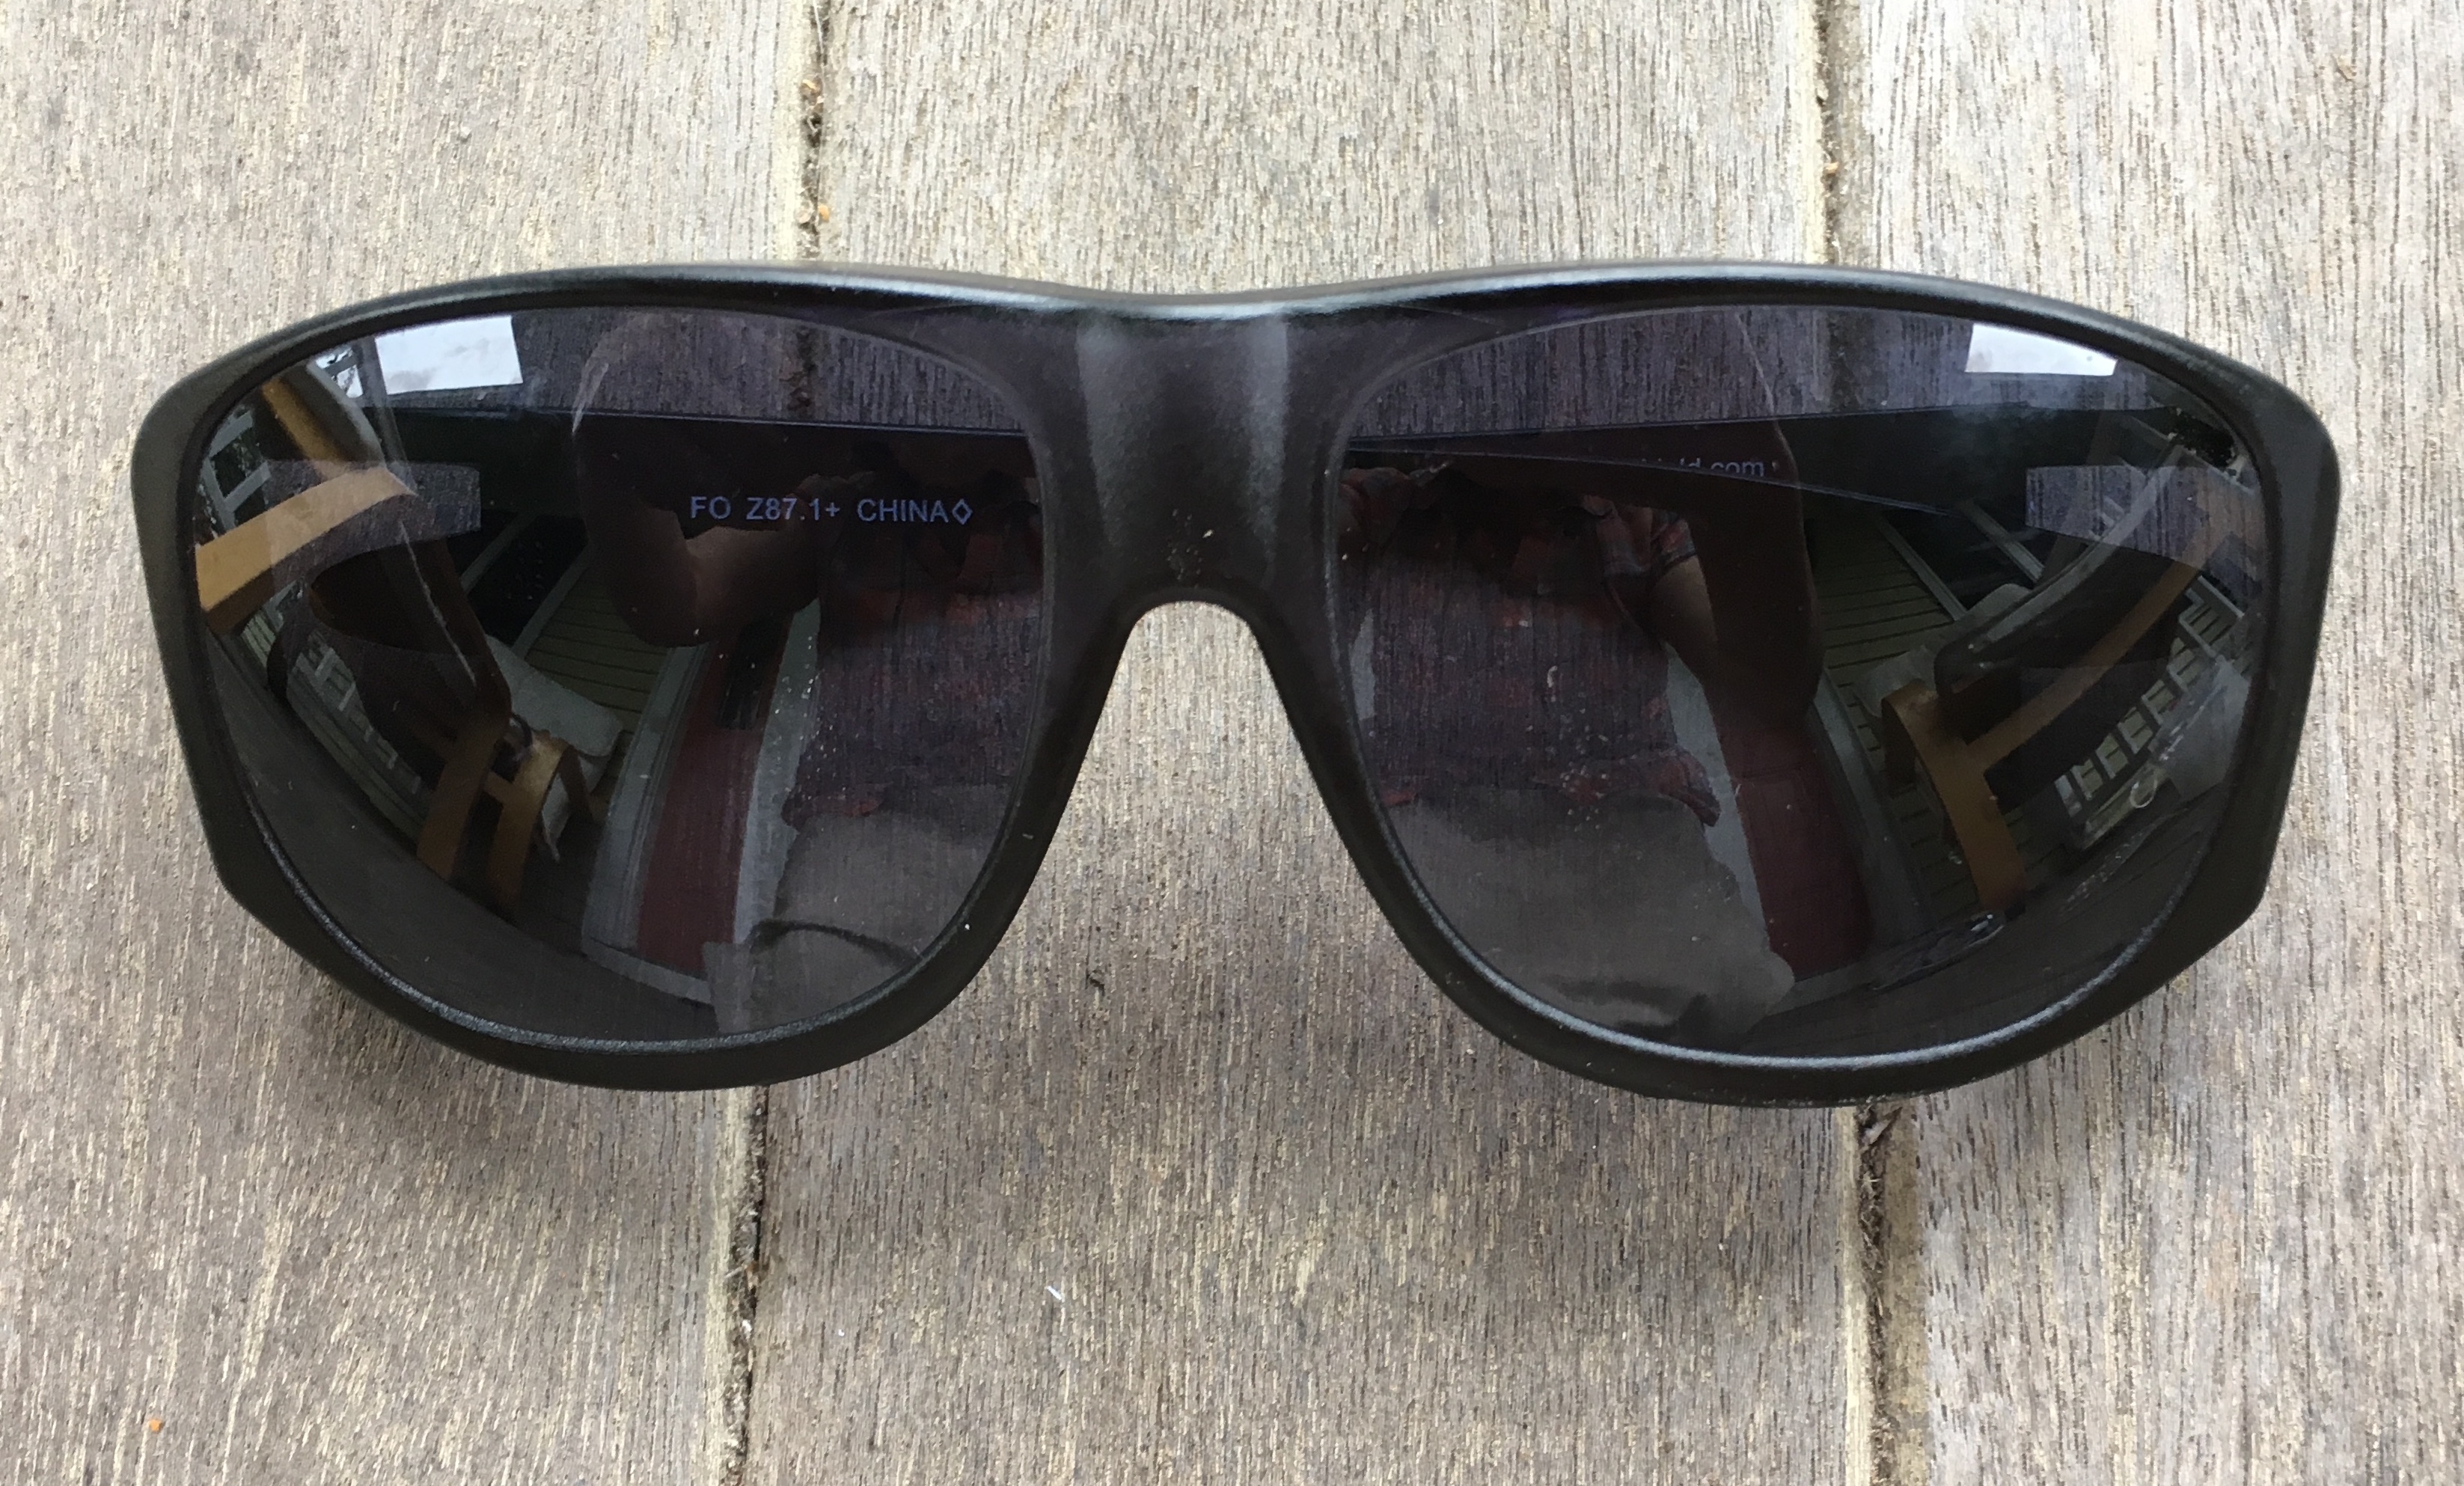
Here are the glasses that were doing me very little good while I still had cataracts obstructing my view. After my first surgery, on my right eye, I find myself using them more often because even with only one eye corrected I am getting some use out of them. I can read road signs again at least.
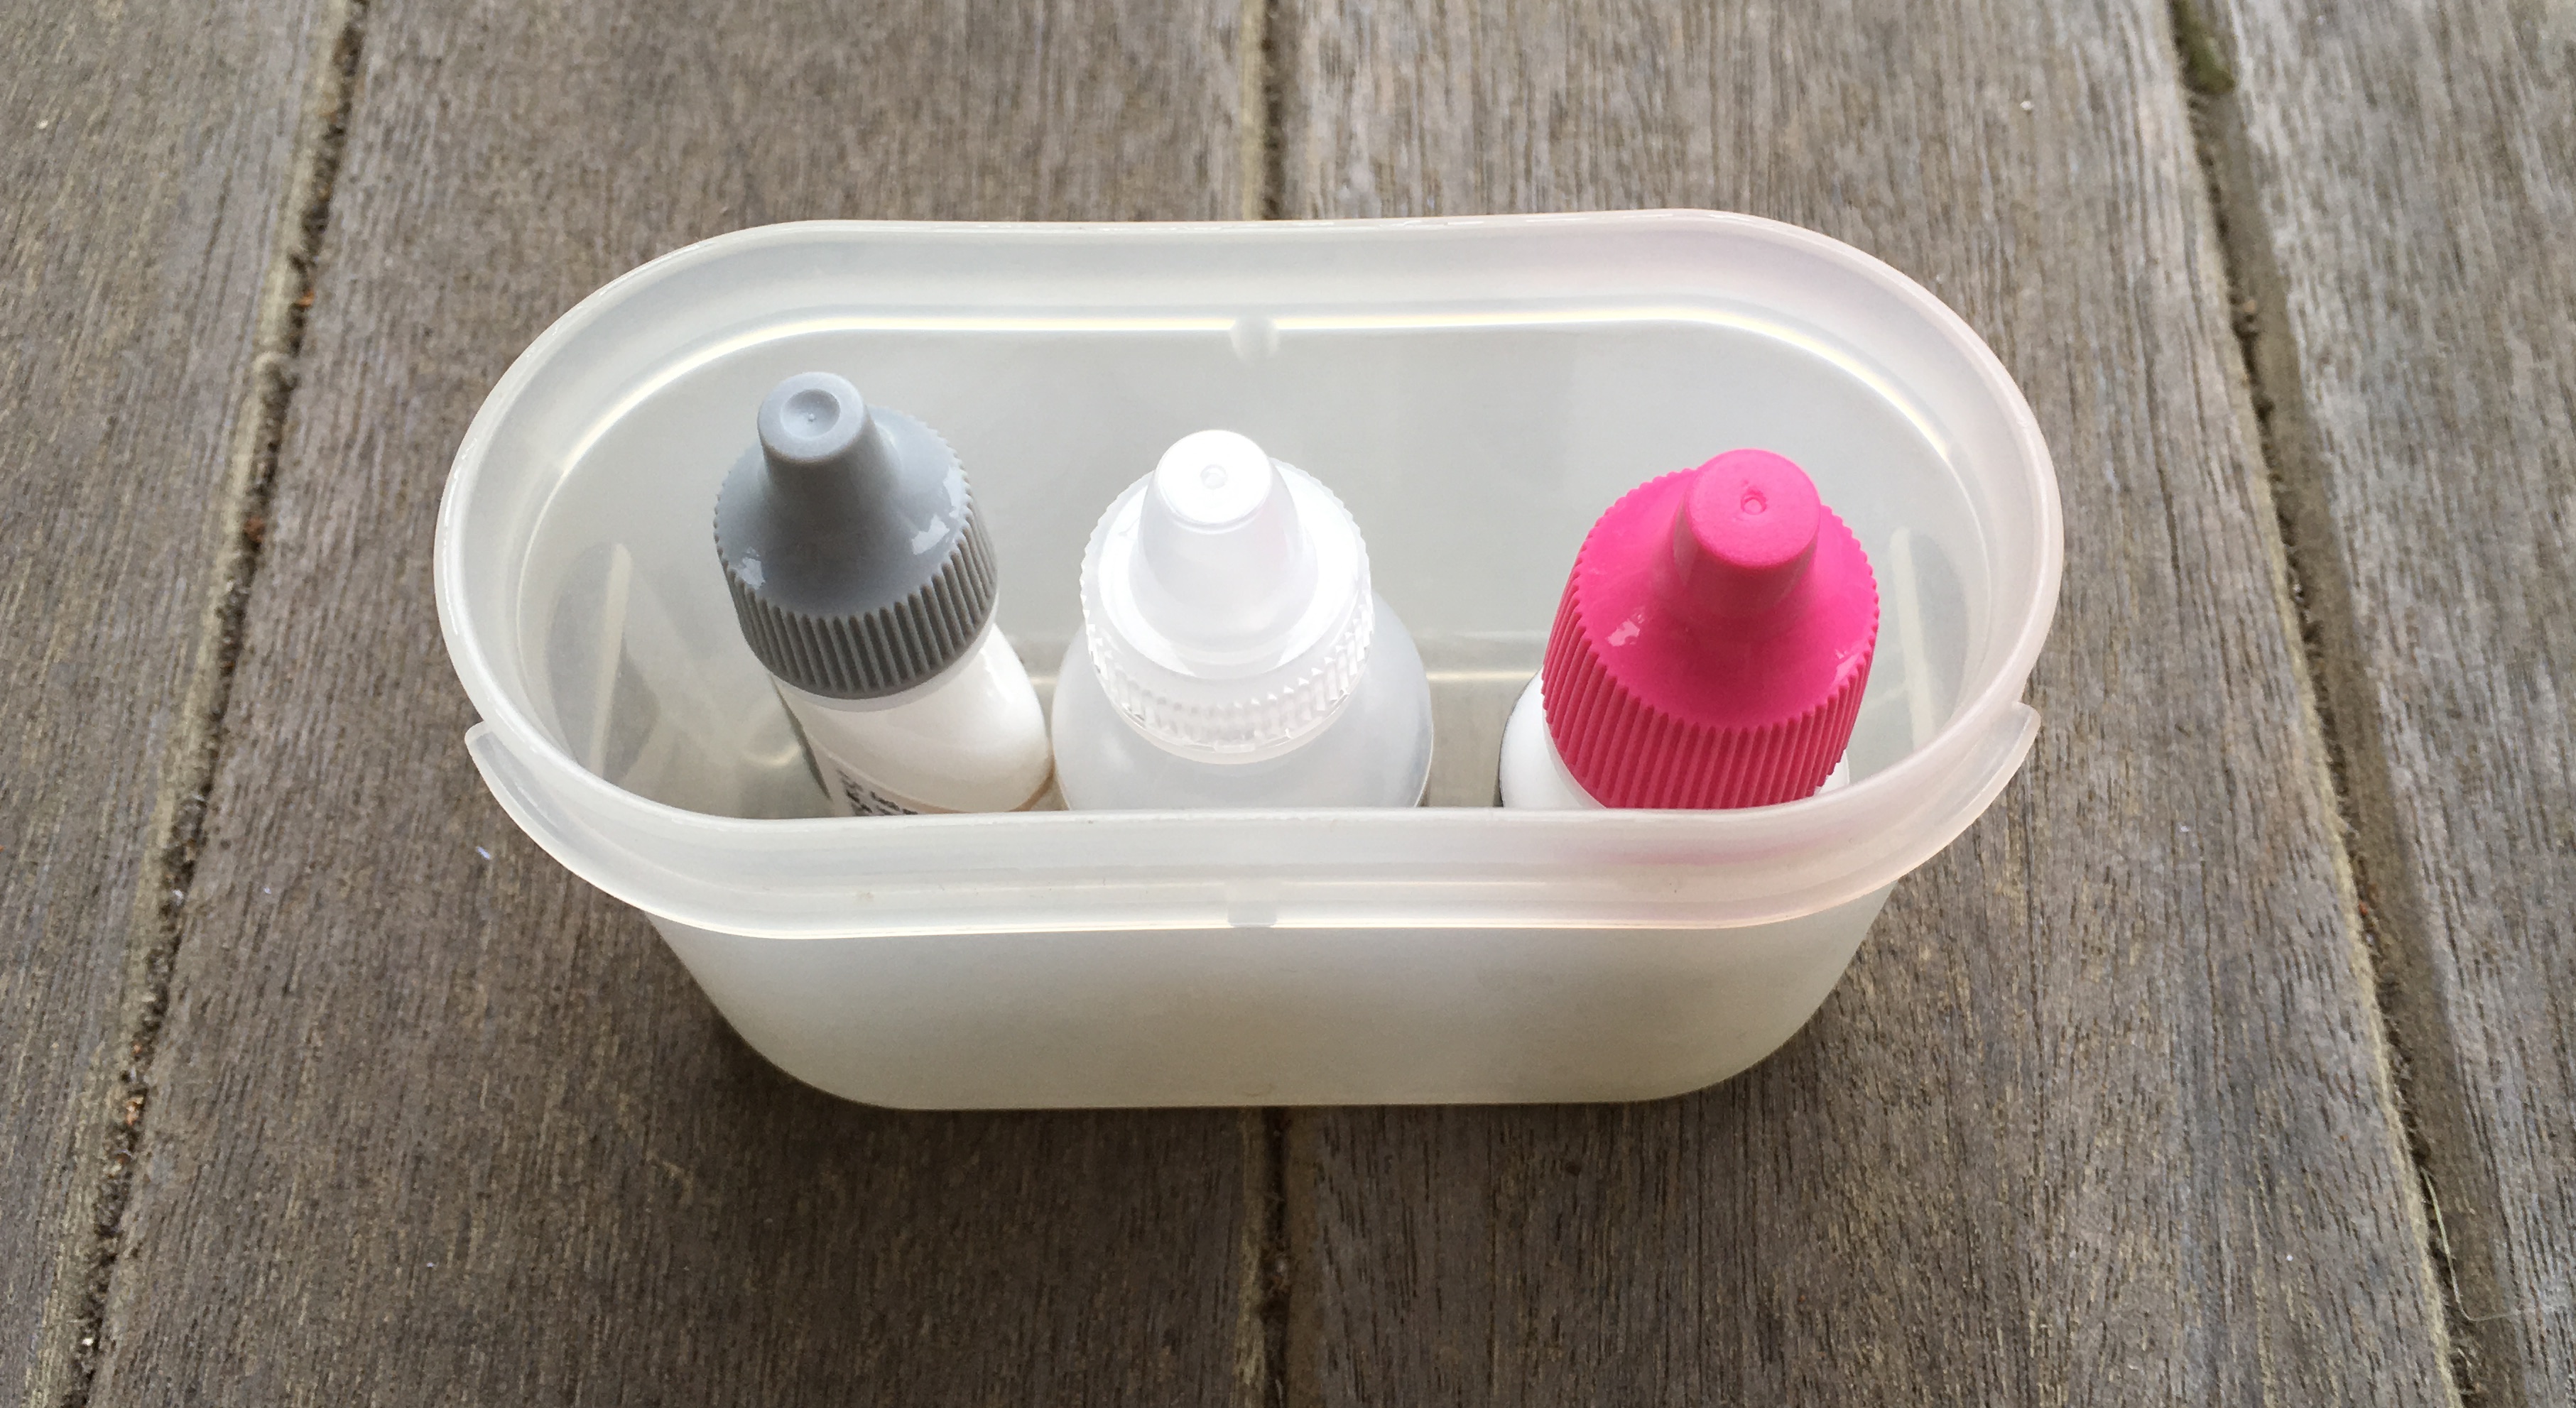
Here are the eye drops that I am required to use. I had to start them in the right eye a week before the first surgery, and I will taper off the last drop through November. I have to use it for a lot longer than most people would due to my propensity for inflammation.

Ted had gotten a calendar from a gas station that he takes our vehicles to. Neither of us had used it, but it proved to be the perfect size for me to document the use of my eyedrops. Today it is especially useful because it is the first day that I have had to use drops in both eyes.
These are the sunglasses I was required to wear outdoors for the first week following my first surgery. They fit over my regular glasses.
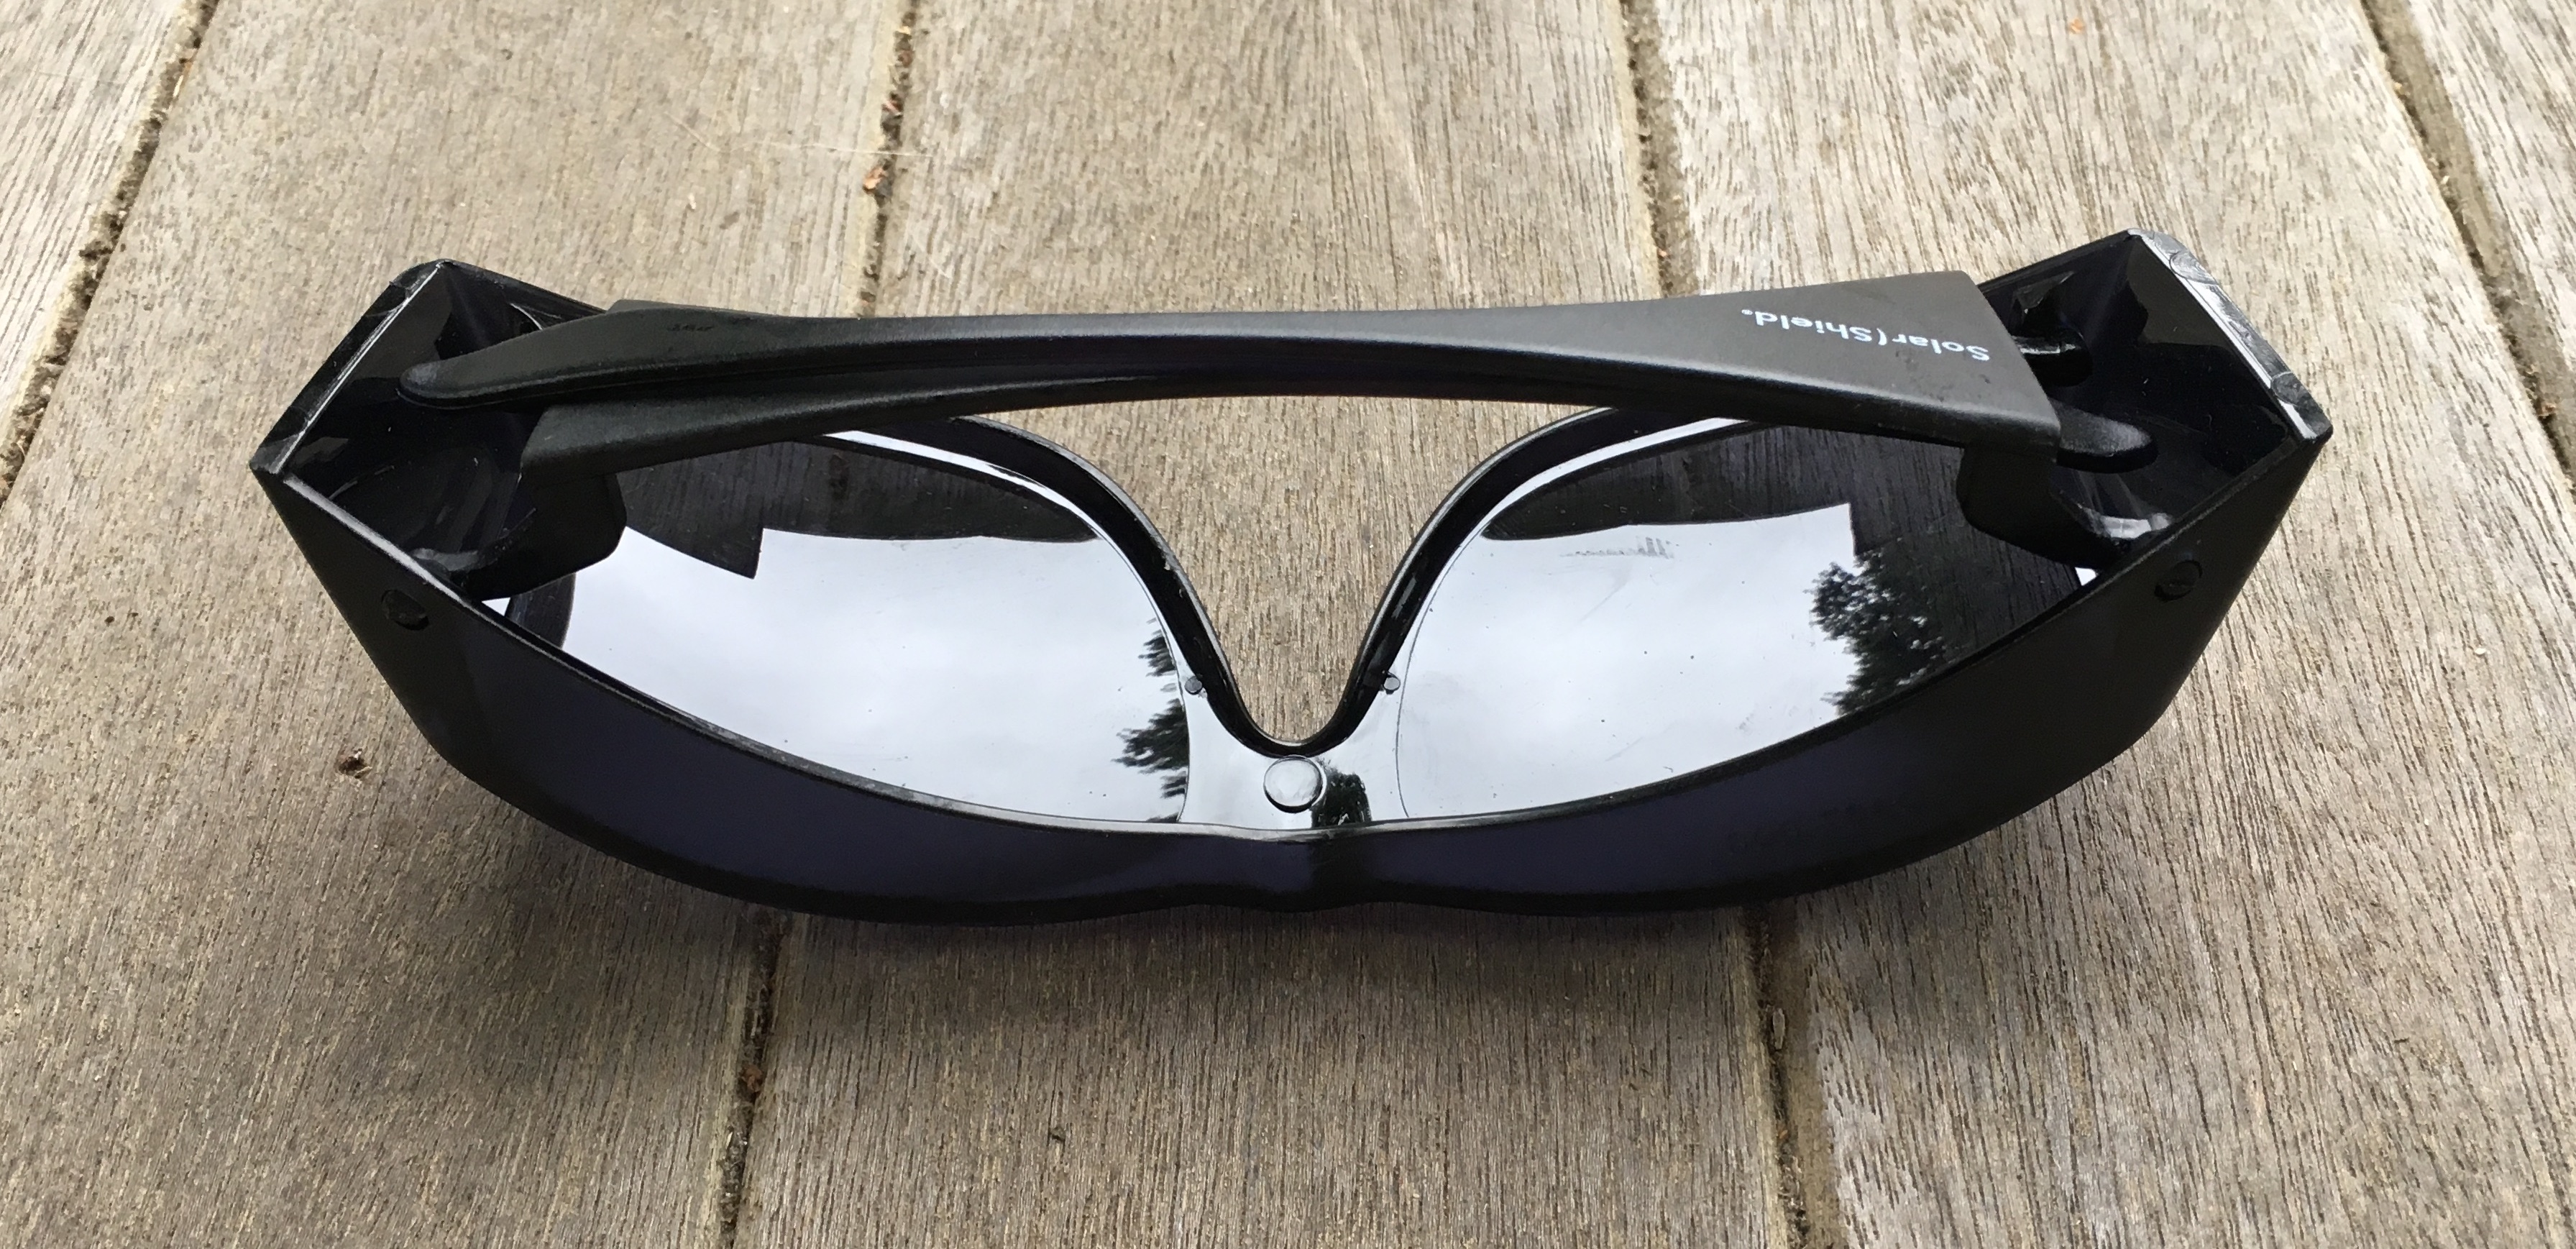
This angle makes it more clear that the glasses can fit over regular glasses. I will probably continue to use them even after I don’t need to.
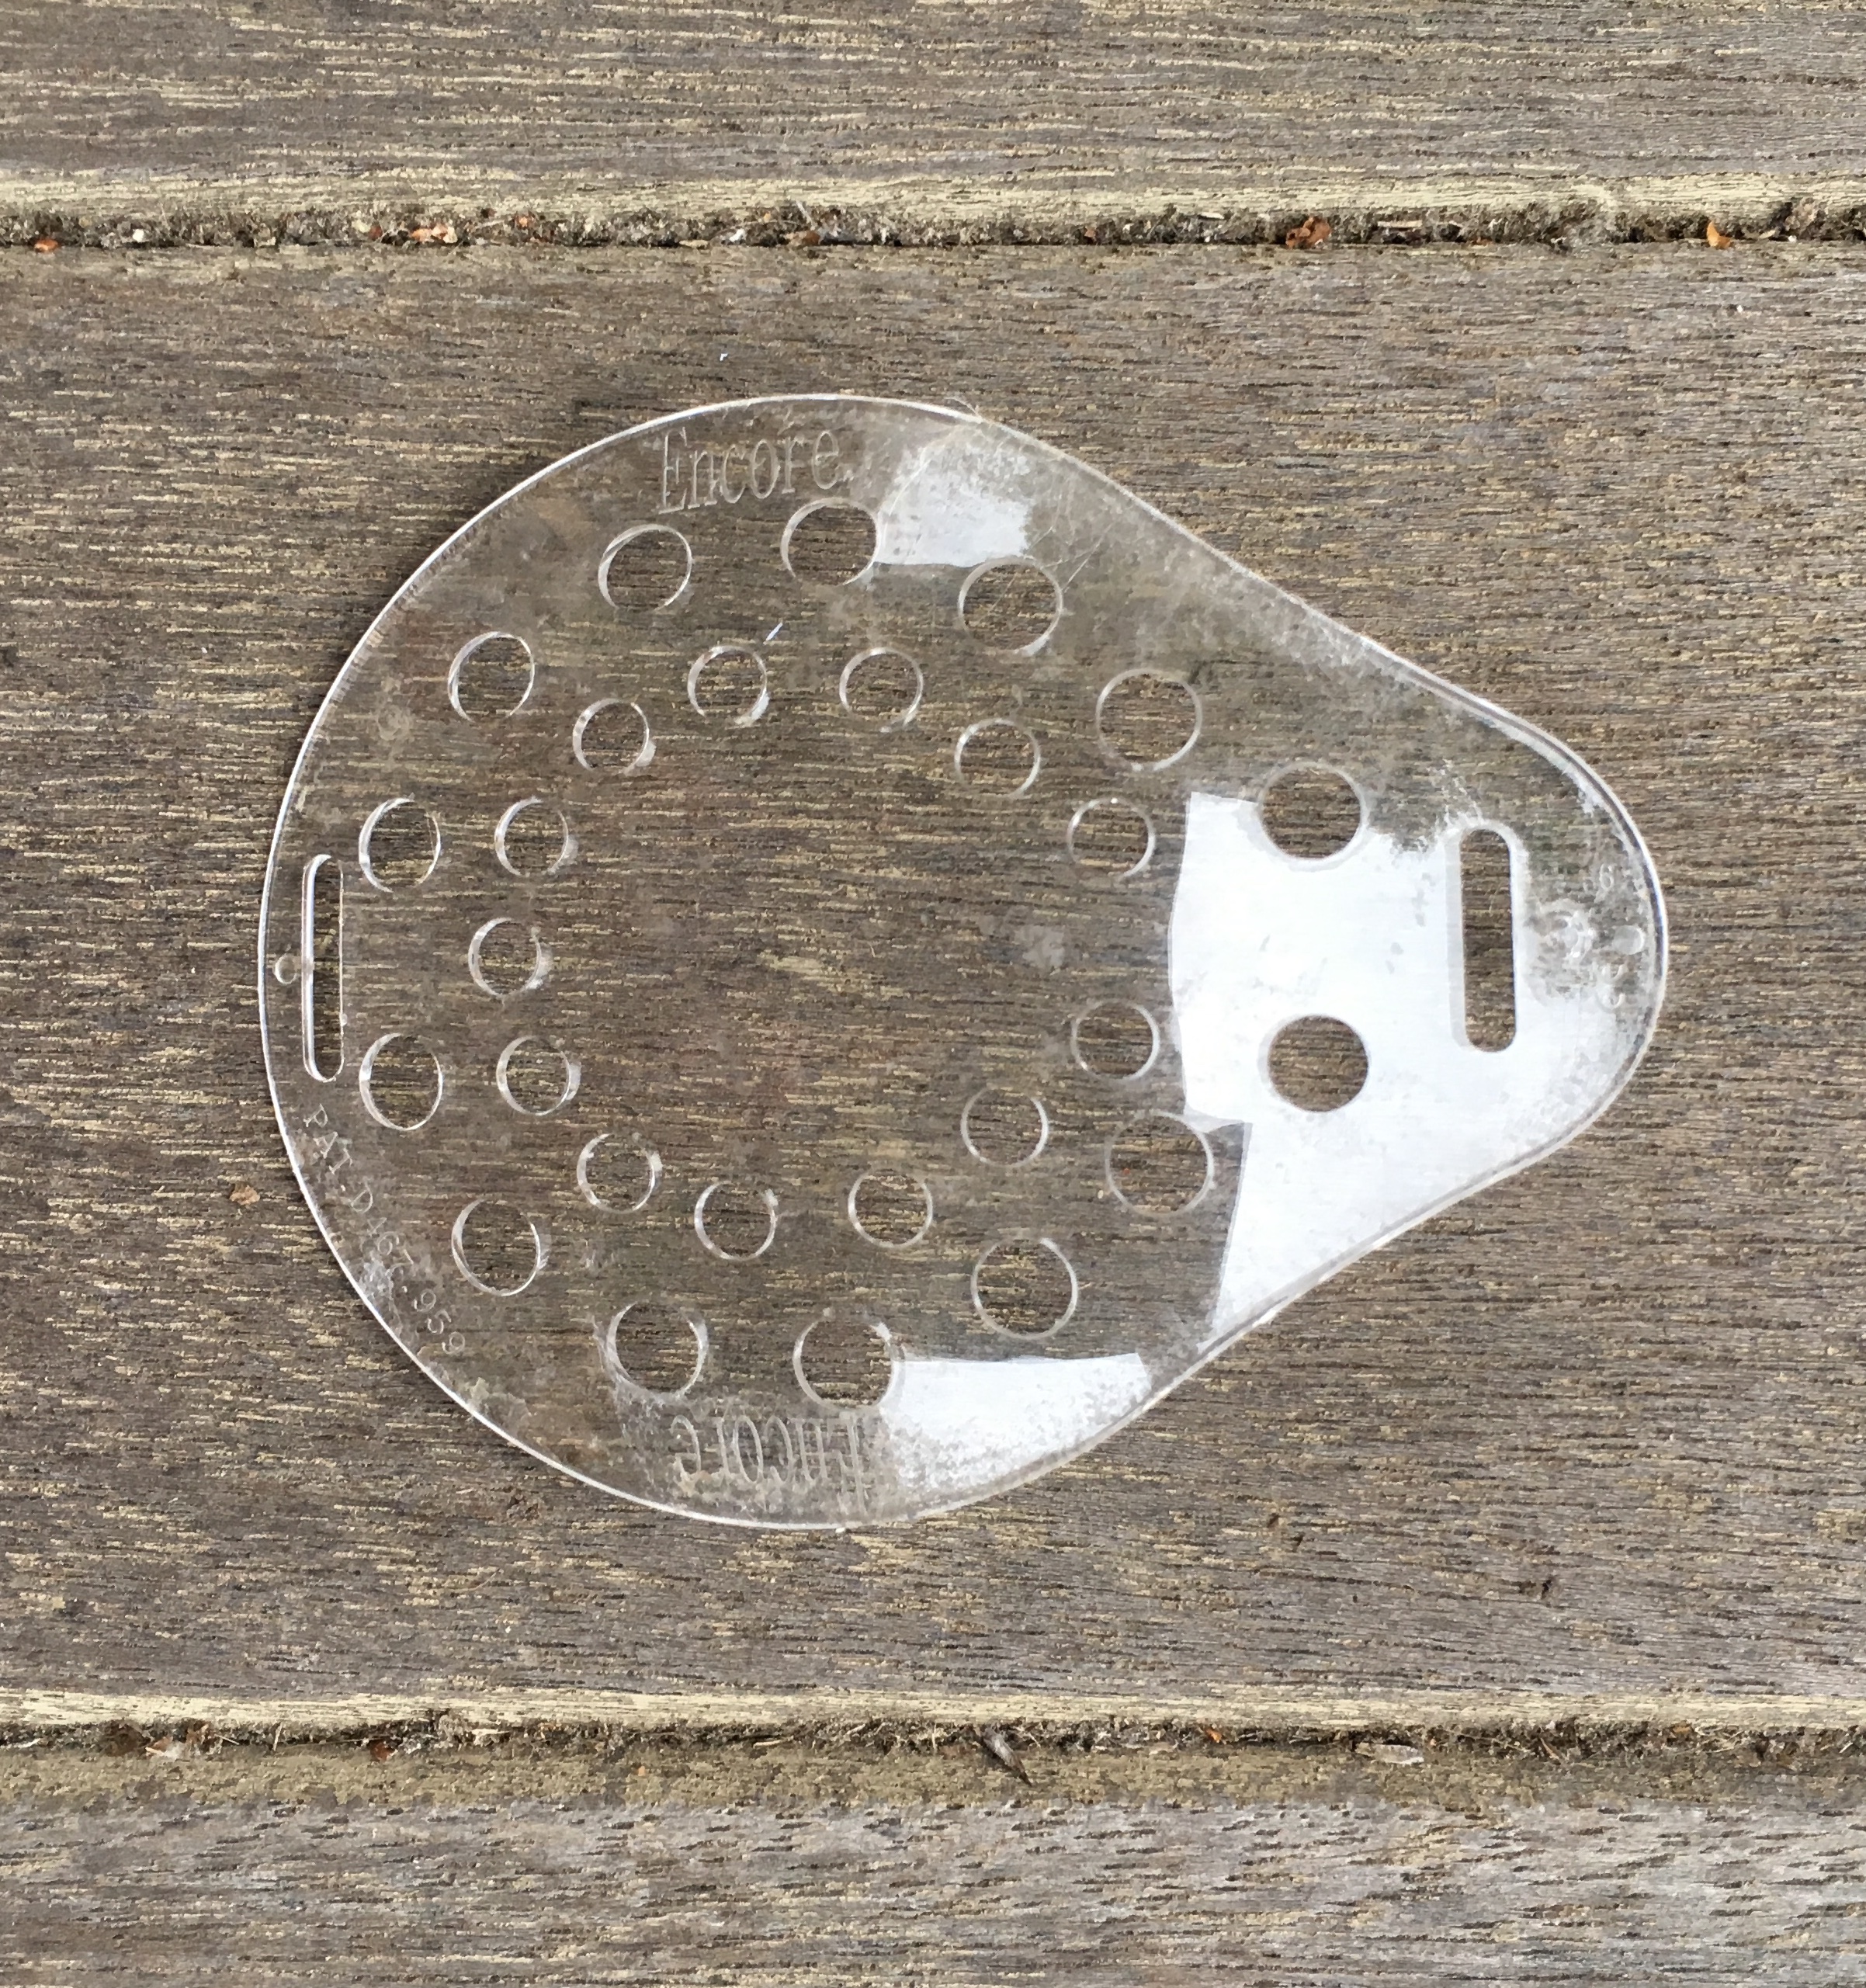
This lovely piece of plastic gets taped over my eye for the first week after surgery any time I take a nap or go to bed at night. This prevents me from rubbing my eye in my sleep. It is hard enough to keep from rubbing my eye while I am awake.
I am at a bit of an awkward stage right now with my close vision. My left eye is focusing about six inches from my face, and my right eye is focusing about twelve inches from my face. This is about as annoying as you might imagine. I can barely thread a needle. My best eye is my right eye, but holding my work that far away from my face while doing hand stitching feels awkward. The interference from the left eye is annoying, and if I close it I have no depth perception. I am hoping that the addition of depth perception from the second eye will help with needle threading, and close stitching, once the second eye has been corrected.
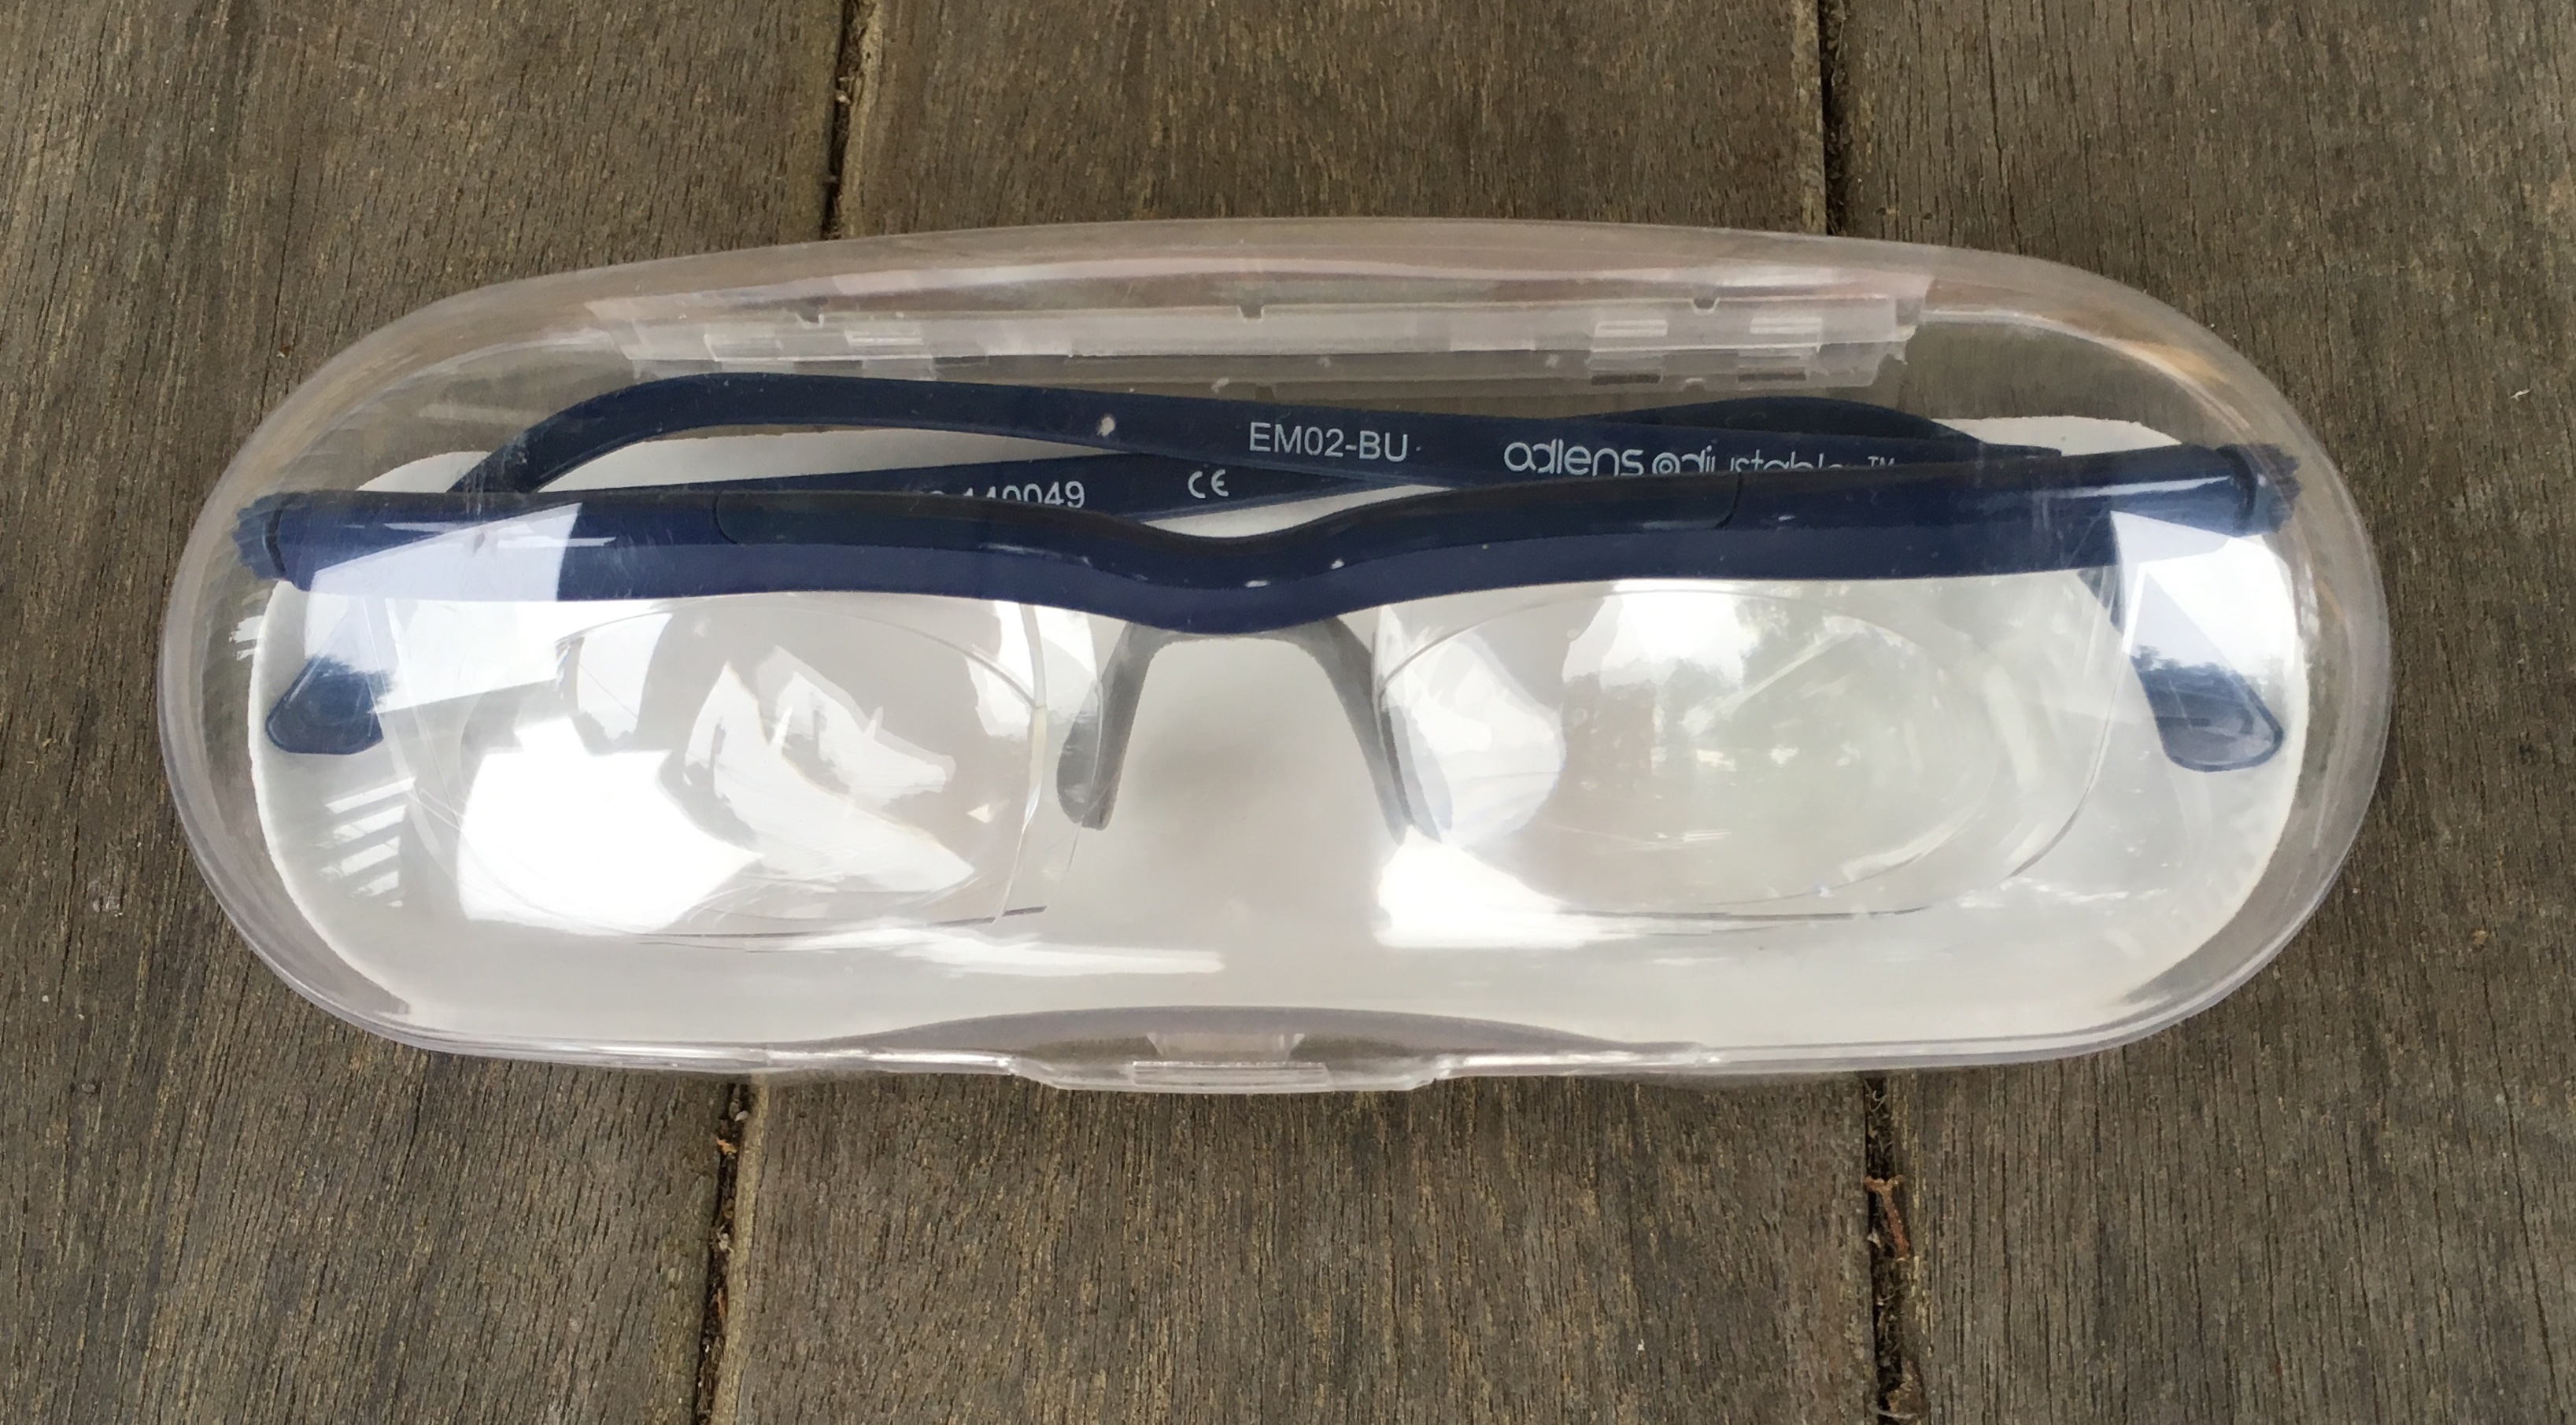
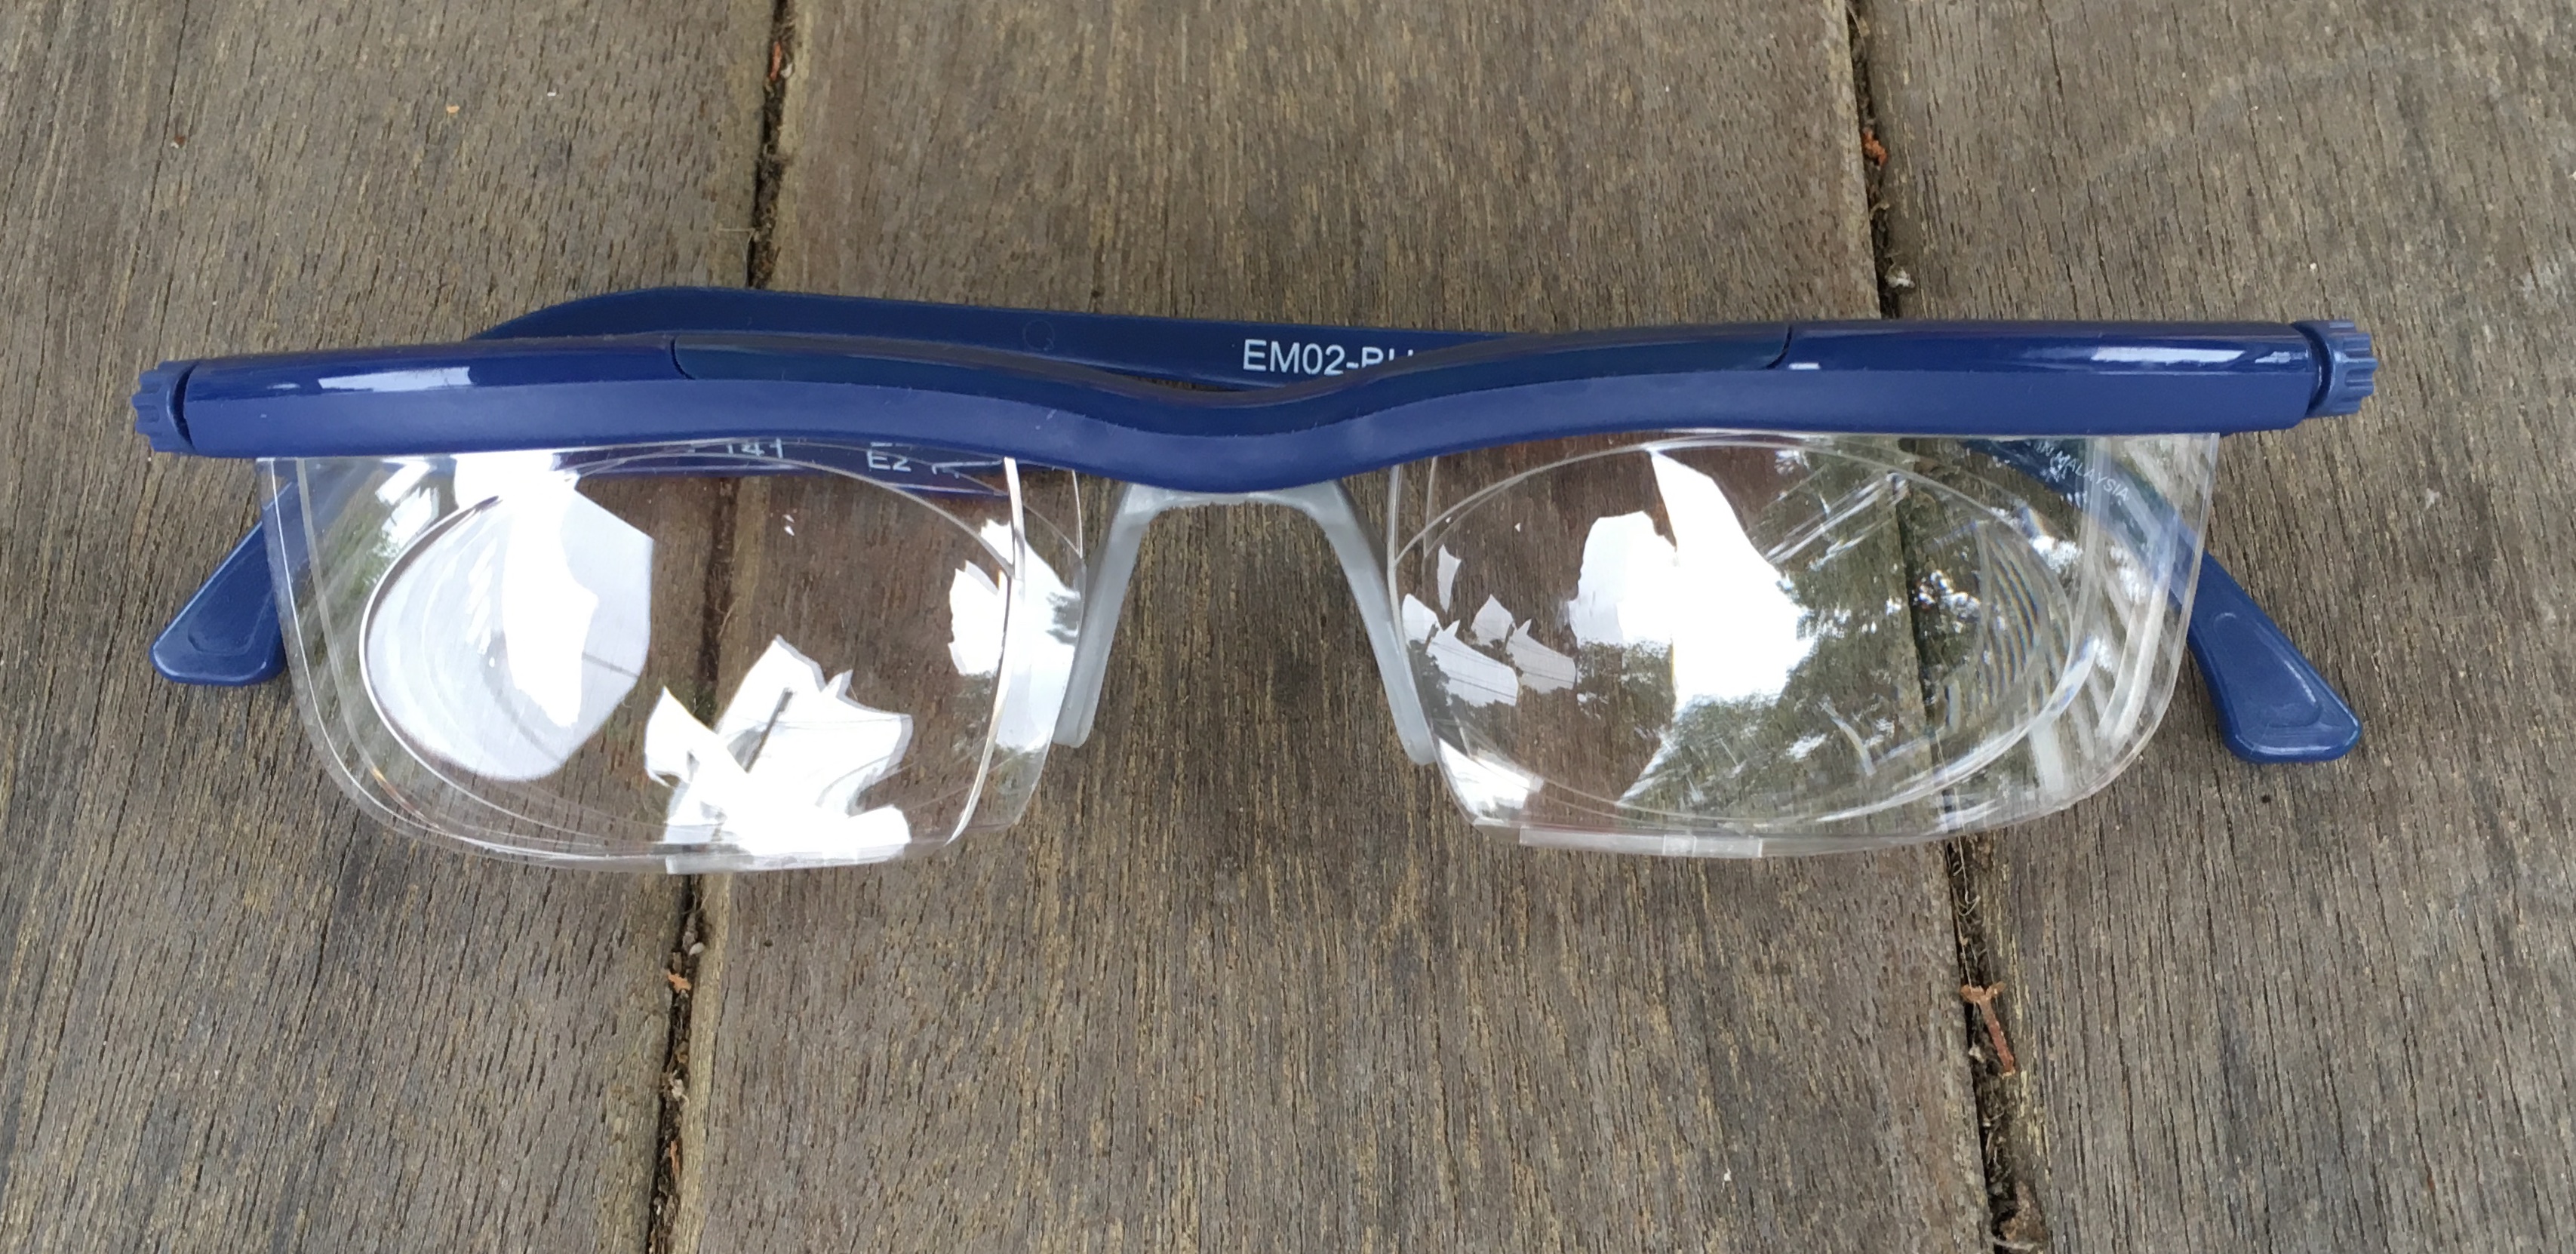
In the mean time a good friend from my local quilt guild has sent me a special pair of glasses on loan, the sides of which can be focused independently. I tried them briefly, but don’t think they are going to help much with the needle threading or stitching, though I certainly did appreciate the gesture.
In a little over a week I should have a better idea of what kind of special lenses I might need for stitching. If I am lucky I’ll get used to holding my work farther away and I won’t need any special corrective lenses for close work.
Reading will be a dream, and using my iPad will be fantastic.
We have an old tube type TV that is probably about 22 inches in size. I turned it on for the first time in years, and exclaimed to my husband, “Honey, I can see the TV!”