Thought My Walking Foot Was Okay

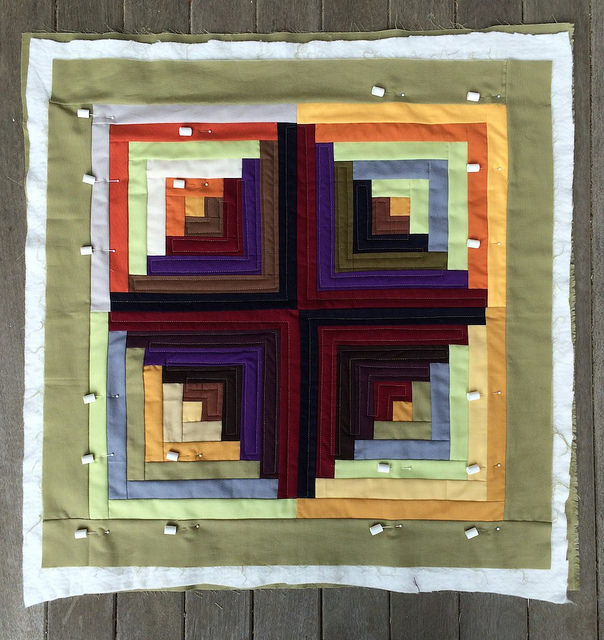
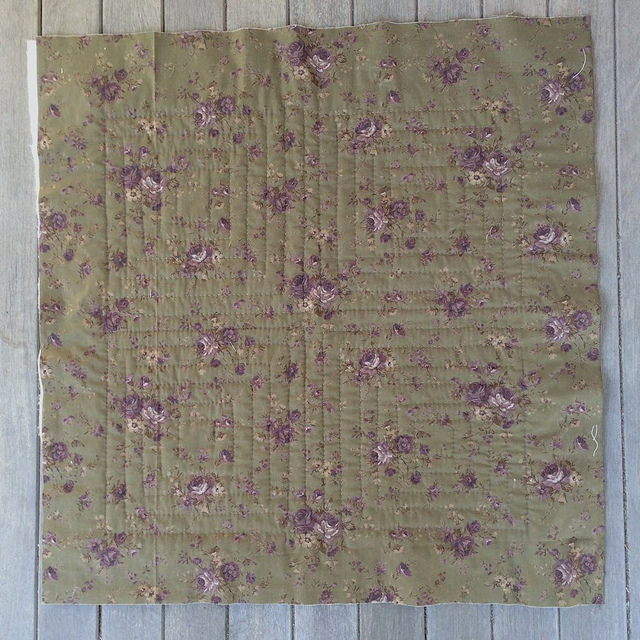
I thought that my walking foot was okay after having done a few samples with it. I thought maybe I just hadn’t installed it properly after finishing my first walking foot project, and maybe it wasn’t really broken after all. So I basted the night stand cover for my side of the bed, and started to work quilting it.

I am using a medium value thread from the box of Basics that Mark Lipinski put together for Aurifil. I bought the box from Craftsy.

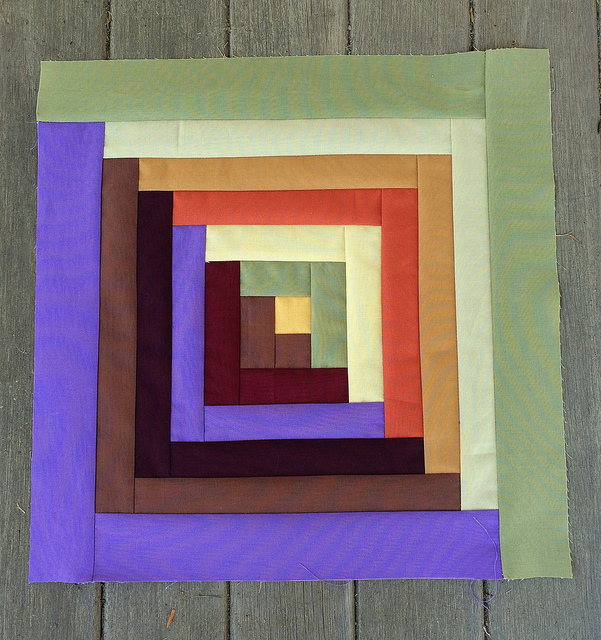
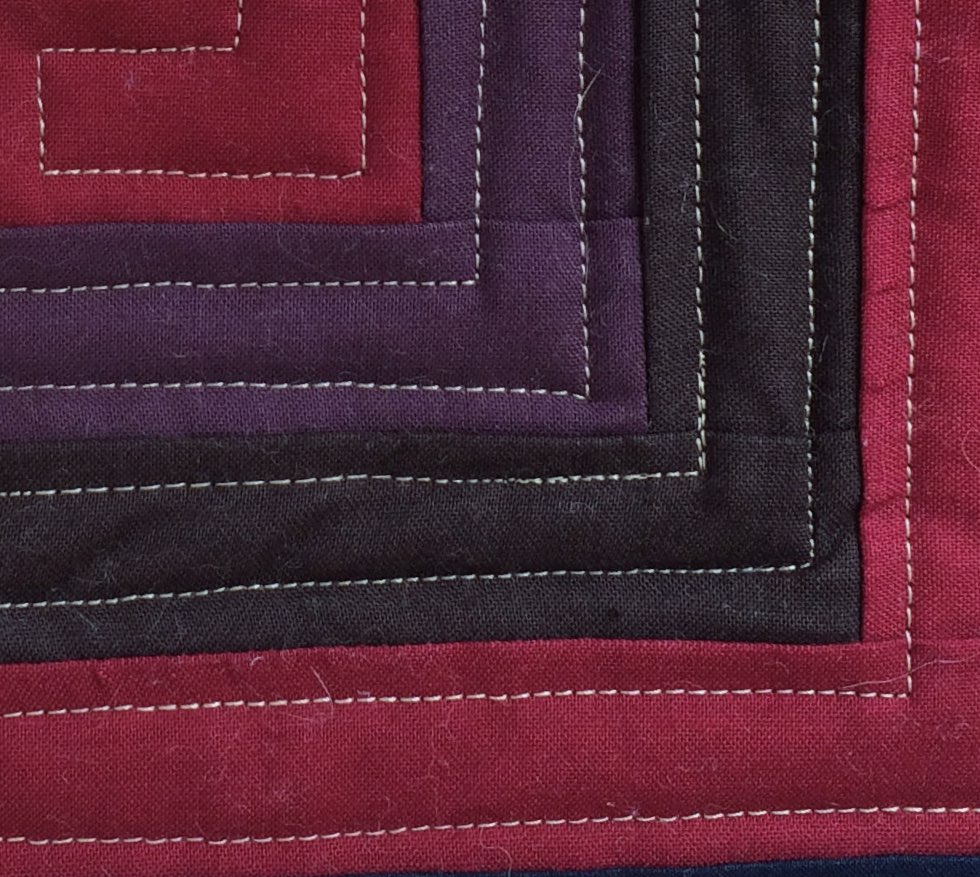
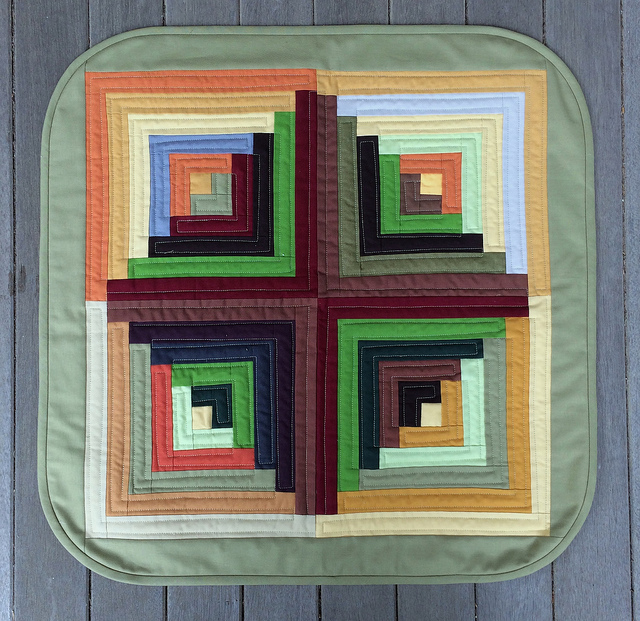
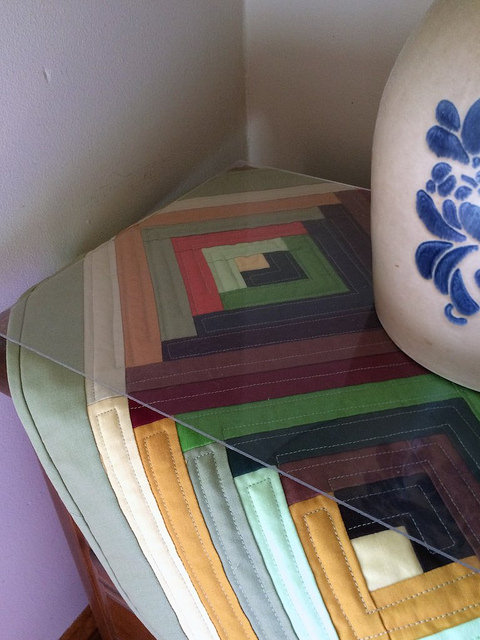
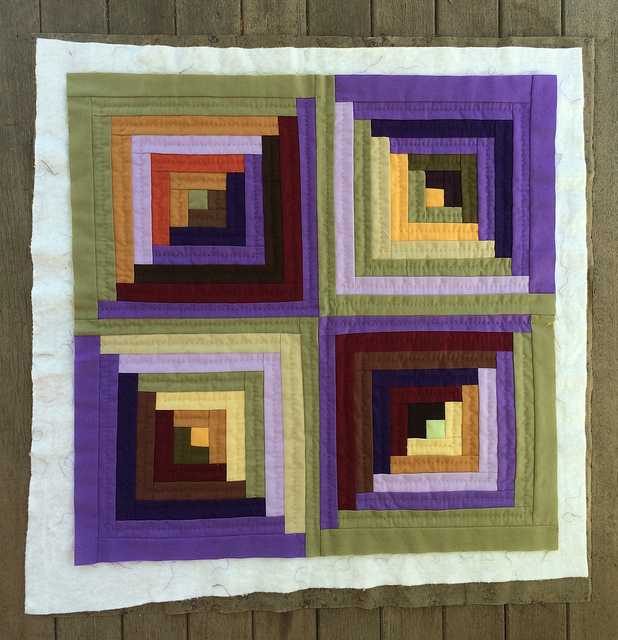
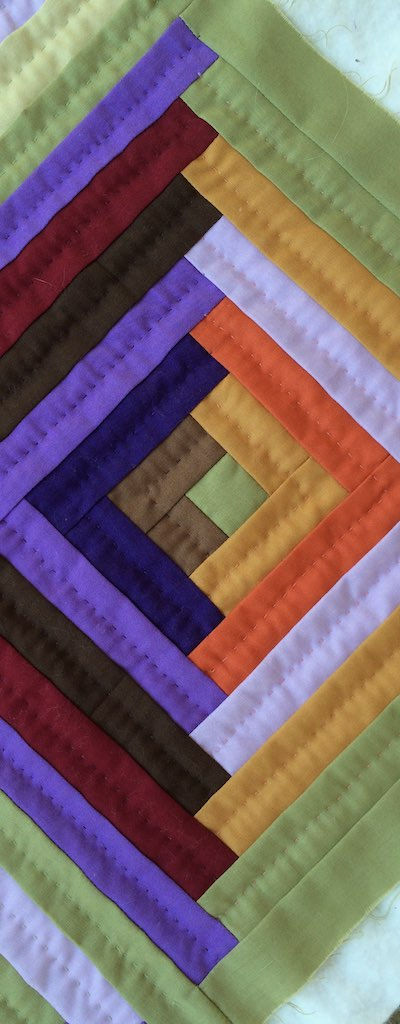
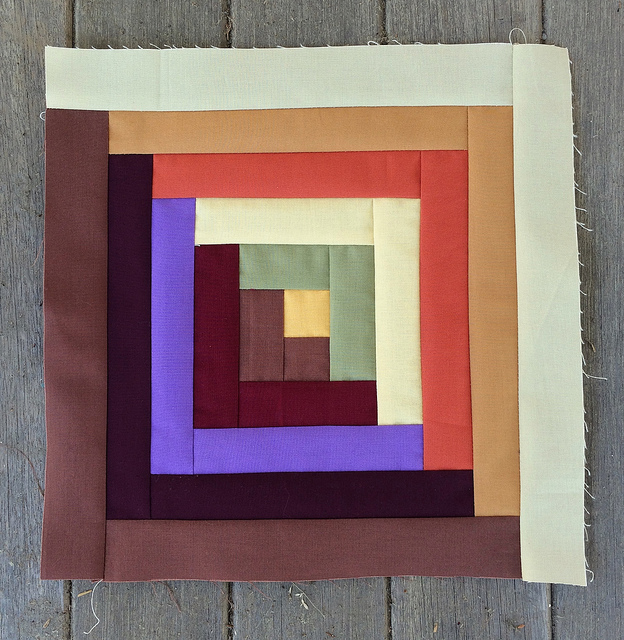
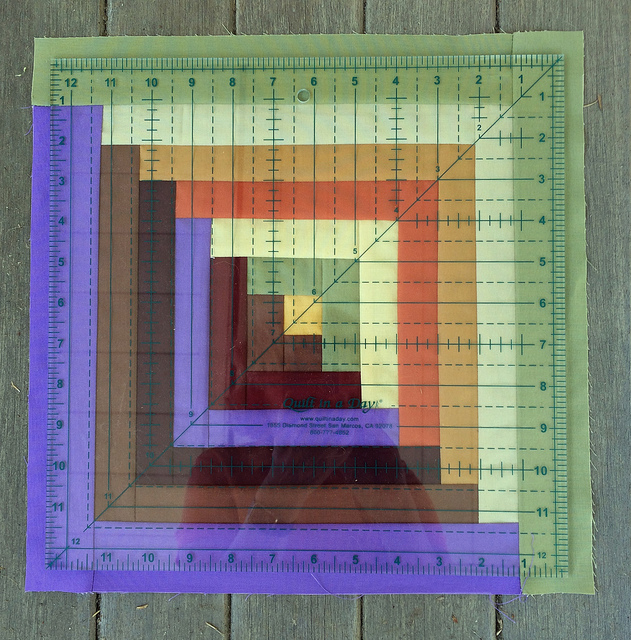
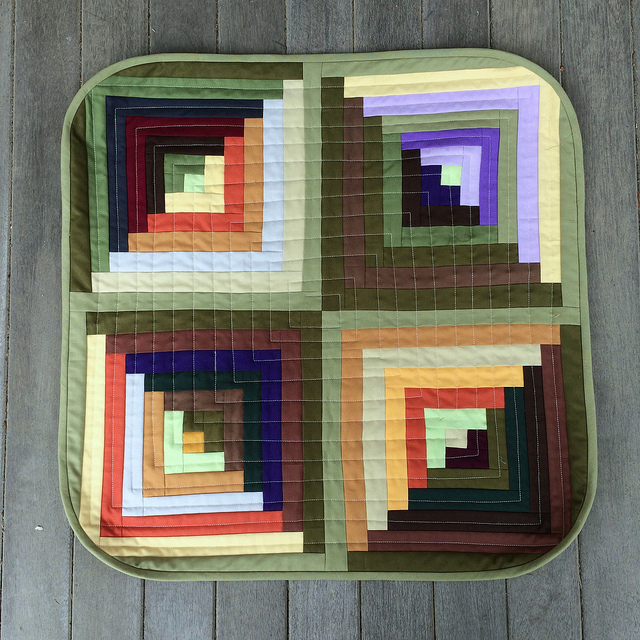
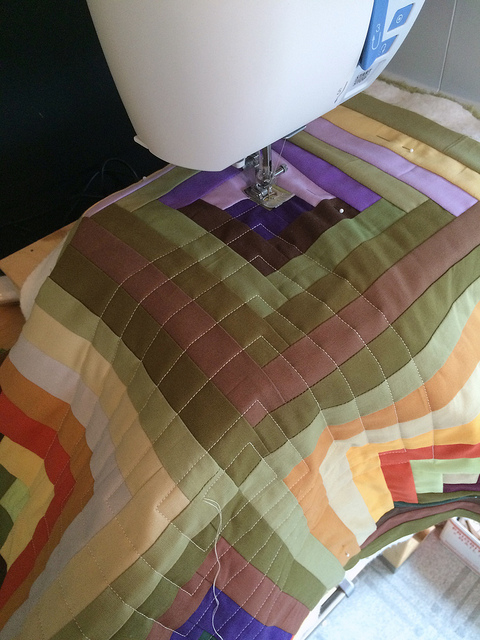
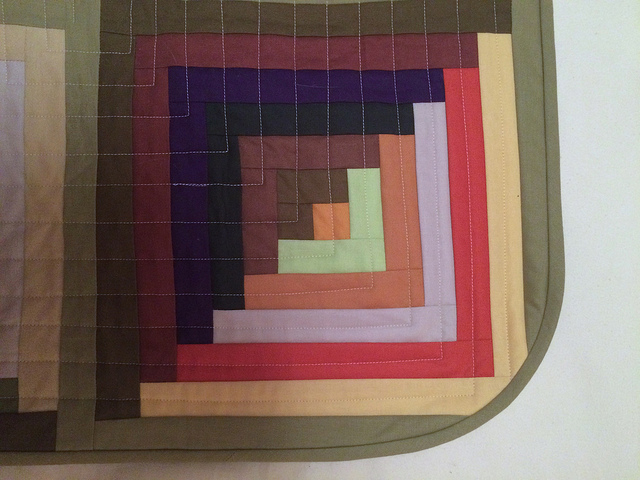
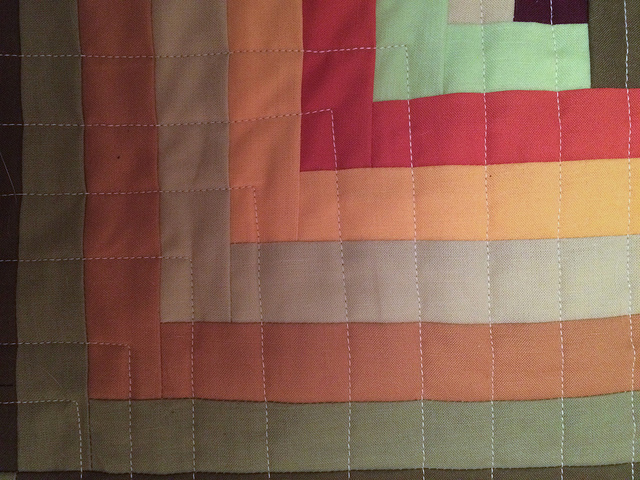
Above you can see how I used a continuous line to quilt the dark half of the block. If you start in the upper right on the crimson section you can trace the line all the way through to the final crimson section near the center. I used this quilting technique for the night stand cover I made for my husband recently.

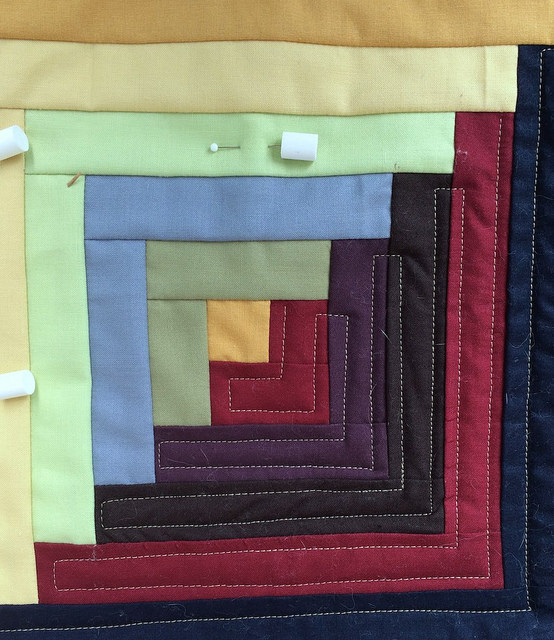
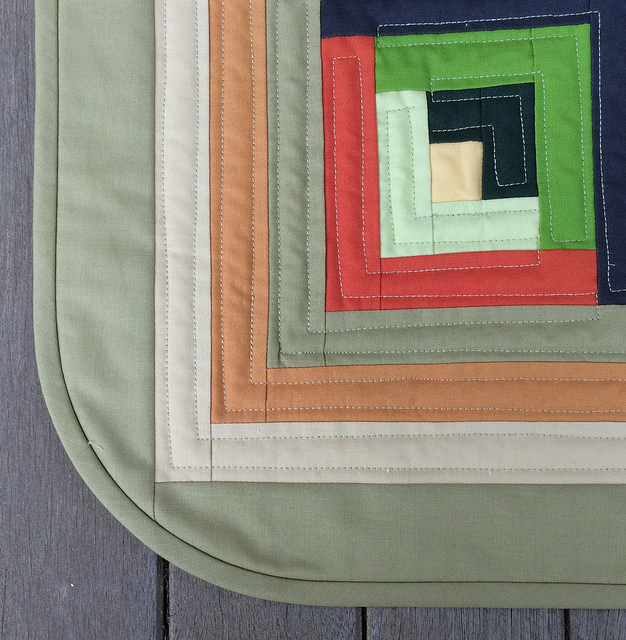
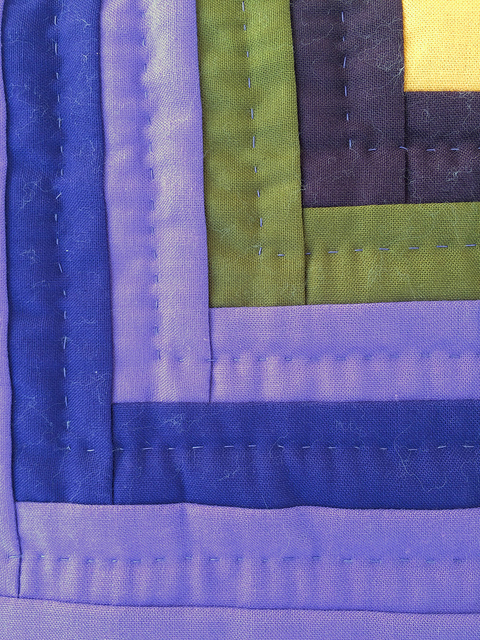
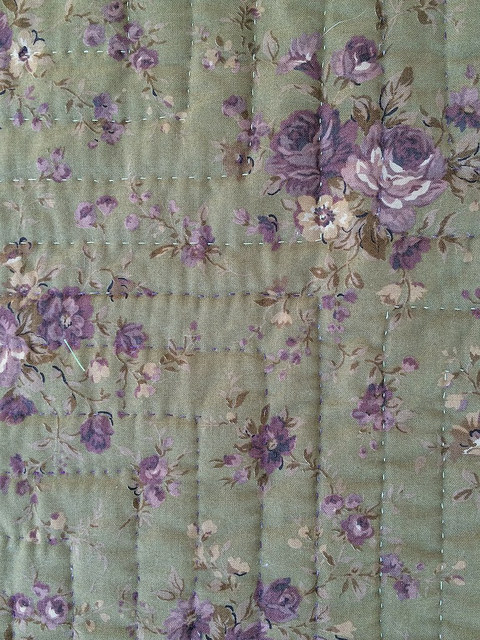
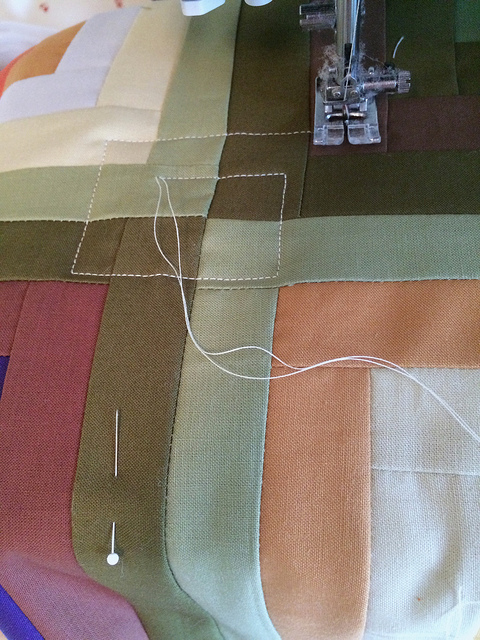
A close up, however, shows that my foot was failing. In the dark purple area you can see where I overlapped my stitching after stopping to experiment, and then giving up on the walking foot altogether.

When the walking foot started to give out it made really tiny stitches, and I could see that the upper feed dogs were making contact with the fabric only intermittently. I traded out the walking foot for the standard A foot and finished up the above section, and also the remaining dark section.

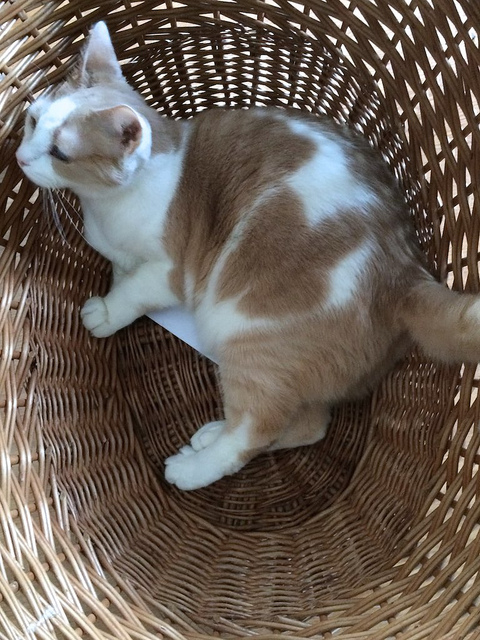
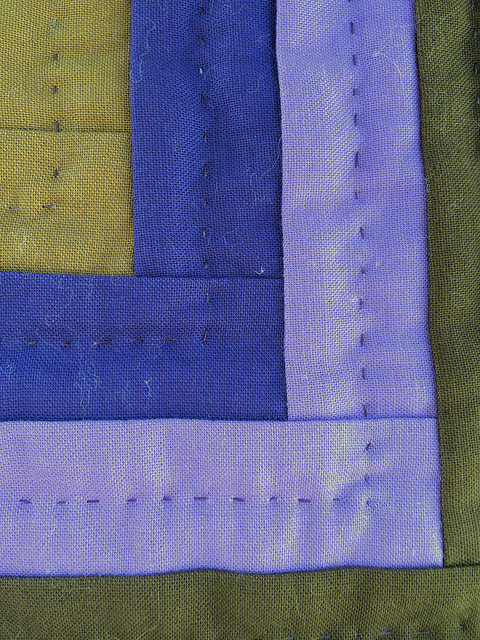
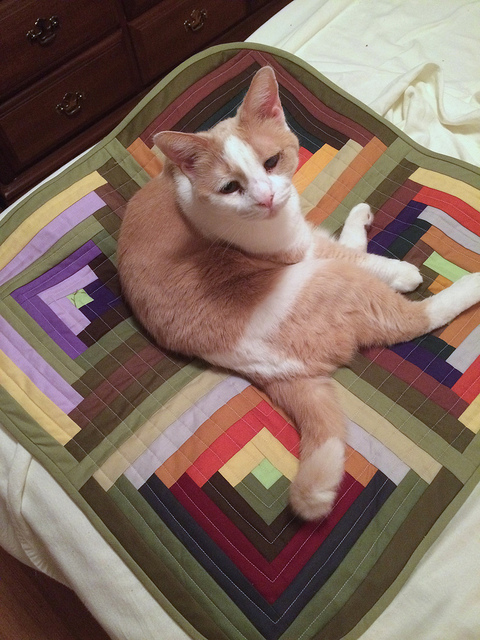
You can see that without the walking foot there is some bunching up of fabric in the final dark section. Please forgive the cat hair. Lori decided to sleep on this piece a few times while it was waiting to be quilted.

I put the piece aside and decided to order a replacement walking foot. I couldn’t find what I wanted online so I called Pocono Sew and Vac. I was prepared with the part number for the even feed foot for the standard issue foot for the Janome Skyline S5. They don’t carry that part, but they had a package with a set of quilting feet which they assured me would work with the Skyline. They offered it to me for 40% off, so I took it along with two packages of Janome bobbins. The package has a free motion foot, and stitch in the ditch quilting foot, and an even feed (walking) foot. When the feet arrive I will finish this project.

I don’t need the free motion foot because I still have the standard issue darning foot, but it will be interesting to see if it differs. I am anxious to try the stitch in the ditch quilting foot. It is supposed to hold open the seam for you.

Low Volume Quilt Progress: Post Nine

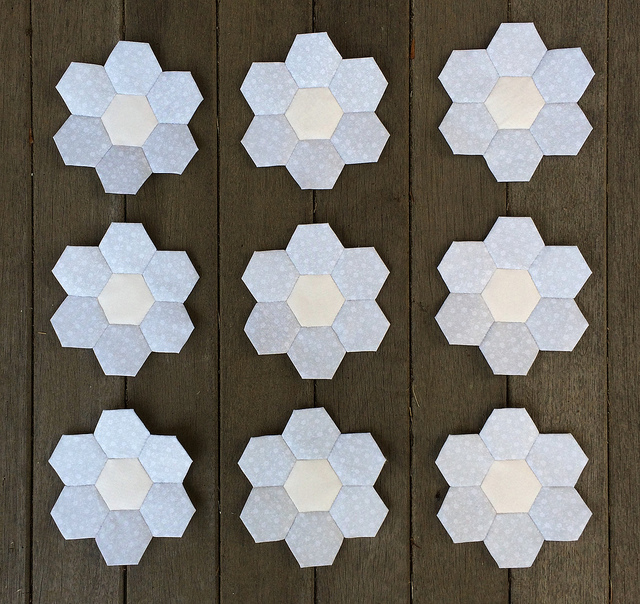
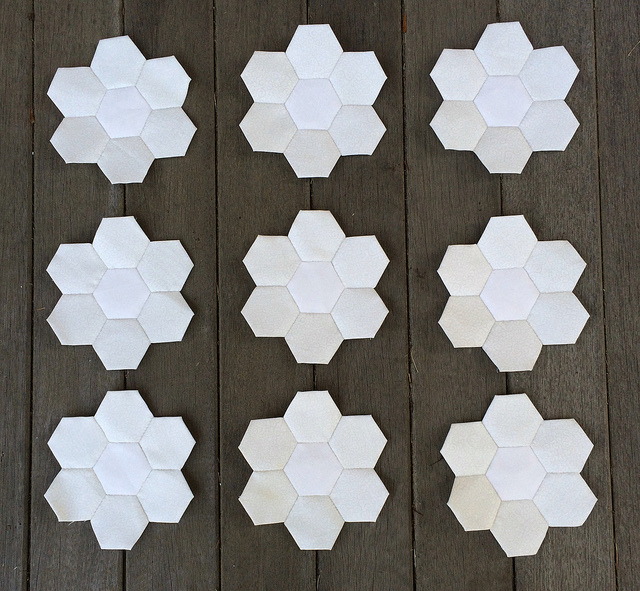
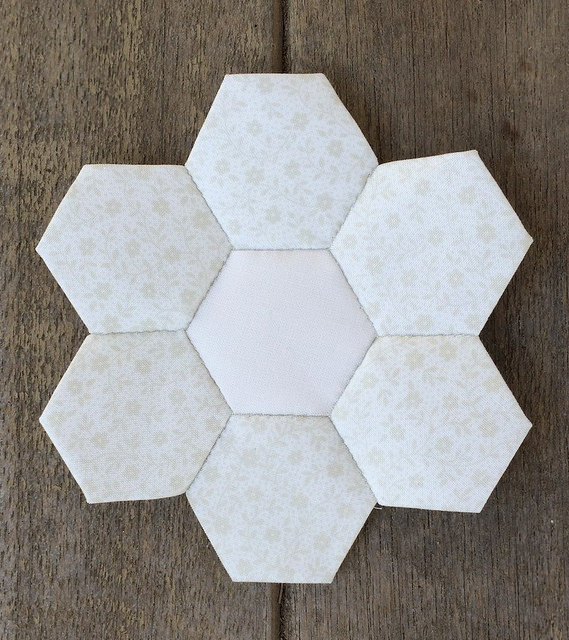
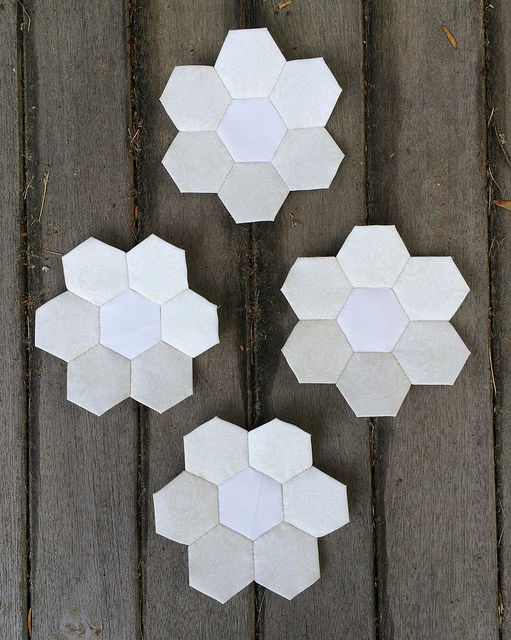
This week I pieced 19 new flowers making a total of 94 flowers for the Low Volume Quilt.  Here they are.

I made nine of these:

I made nine of these:


And I made one lonely flower of a different pattern:


Those of you visiting from Jessica’s Monday Morning Star Count might enjoy reading my recent post about my first experience using a walking foot.

My First Piece Quilted with a Walking Foot

It all started when I attached my walking foot and did a little experimentation on the sample piece that I started at Pocono Sew and Vac a couple weeks ago.

I was feeling confident after that, so I pulled out the piece I created to cover my husband’s night stand. It will coordinate with a queen sized quilt that I will eventually create for the bed. I’ve been referring to that project as my Log Cabin Quilt. I started by doing come stabilizing stitching through the center most patches using one continuous line. I then quilted the blocks with a double echo of patches using one continuous line of quilting for each block half. This meant that I had fewer ends to knot and hide.

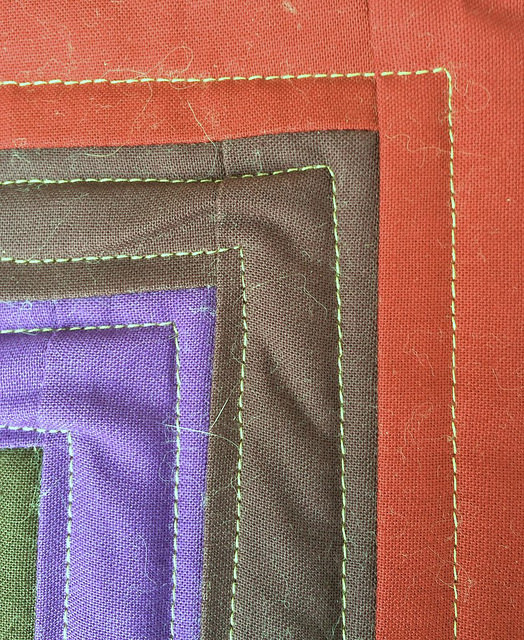
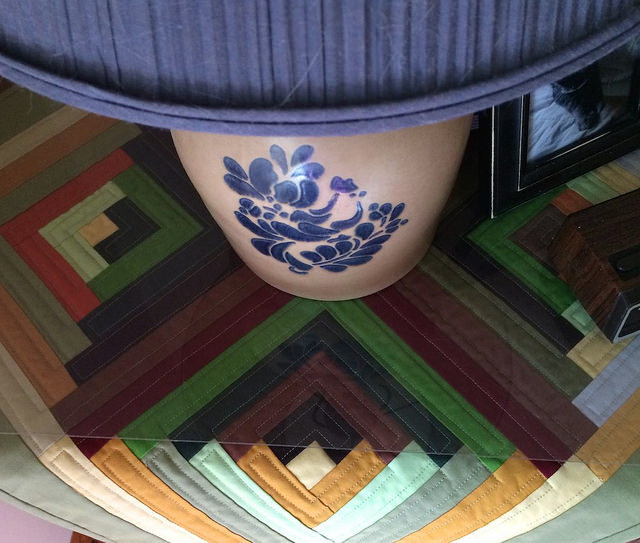
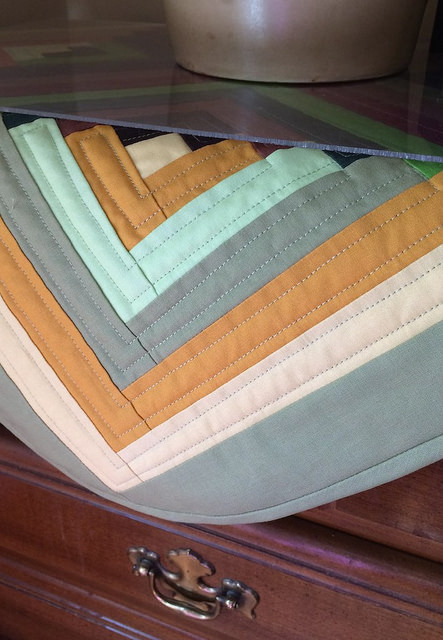
Here is a closeup of the quilting as well as the rounded corners that I decided to use for this piece. I really enjoyed using the walking foot. It felt really natural to use.

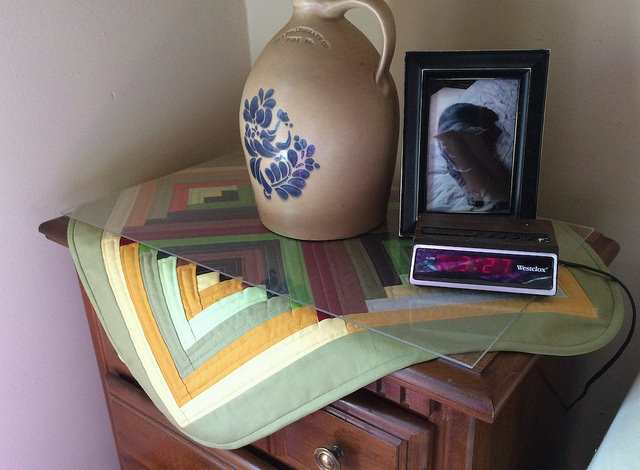
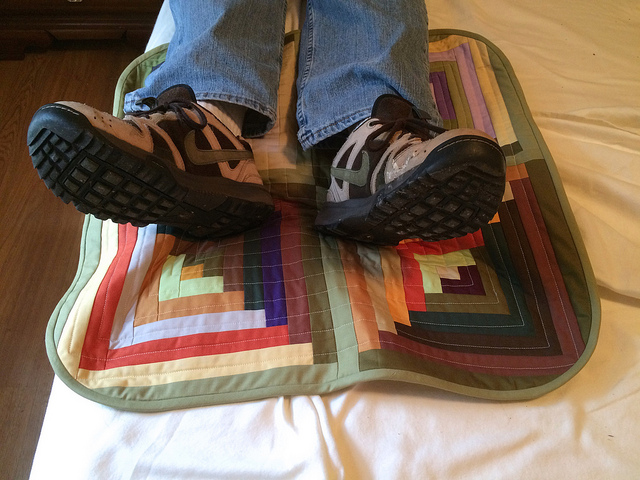
Originally I had intended to place this piece on top of the night stand so that the sides of the piece would be parallel with the sides of the night stand. After seeing how nice the corners looked, however, I got the idea to turn the piece 45 degrees and allow the corners to hang down in the front and the back, and to stick out on the left and the right.

When I changed the orientation of the piece, the curved corners were shown to optimal benefit. In addition to that, it became clear that the darker segment of the piece exactly fit the depth of the night stand. It looked as if it had been planned that way, even though it was merely a happy accident.

I decided to allow the plexiglass to remain as protection for the quilted piece. We like our coffee in bed, and it is easy to spill when placing a cup on the nightstand.

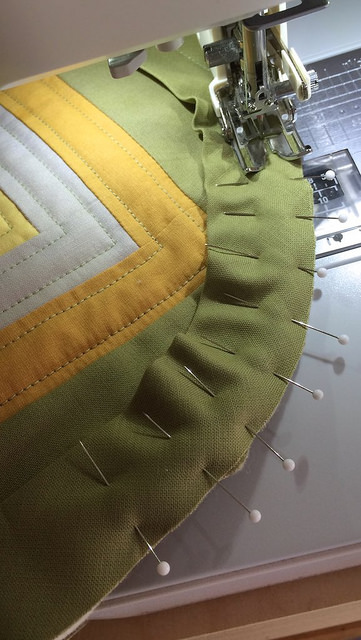
There is only one thing I am unhappy about. I appear to have broken my walking foot by using it to do the curved corners on the binding. Looking at the way the fabric bunches up below it makes sense that having more fabric on the left side of the foot may have put undue pressure on the top level feed dogs.

I can’t be 100% sure that the foot is broken, but after doing that binding it only works properly for a short distance and then it ends up giving me really tiny stitches for awhile. And the threads on the bottom get messed up a bit. I cleaned the machine just incase it needed it, but that didn’t help. It is really a shame because I didn’t realize that the curved corners might hurt the foot. What a shame. I was really enjoying the walking foot while it lasted.

Although my love affair with hand quilting is not yet over, my love affair with machine quilting (at least with the walking foot) has definitely begun. I’ll be purchasing a replacement soon.

Tonight I will be taking my walking foot to my guild meeting and comparing it to one that works to see if I can figure out what the problem is.

Low Volume Solids

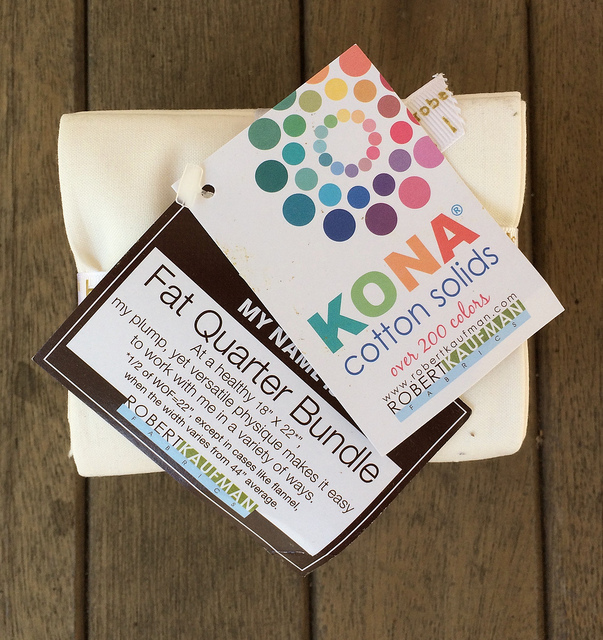
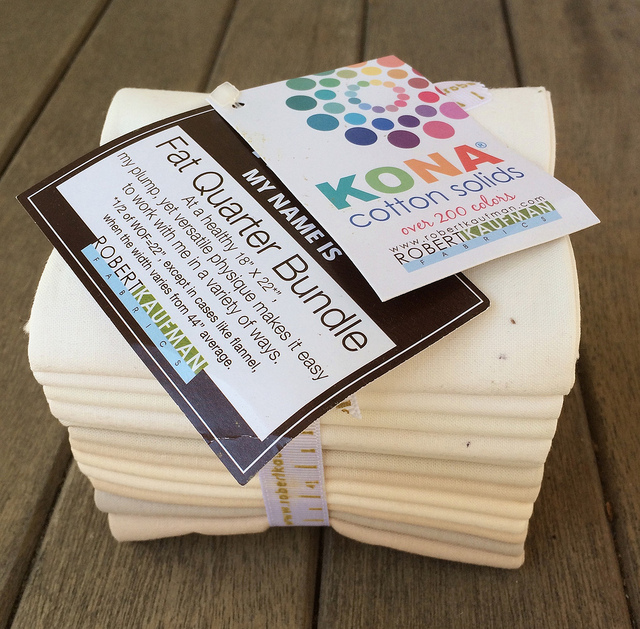
In addition to creating more low volume flowers this week, I’ve been thinking about adding some solids to the mix in my low volume quilt. Not long ago I purchased two fat quarter bundles of the Kona “Not That White” collection.

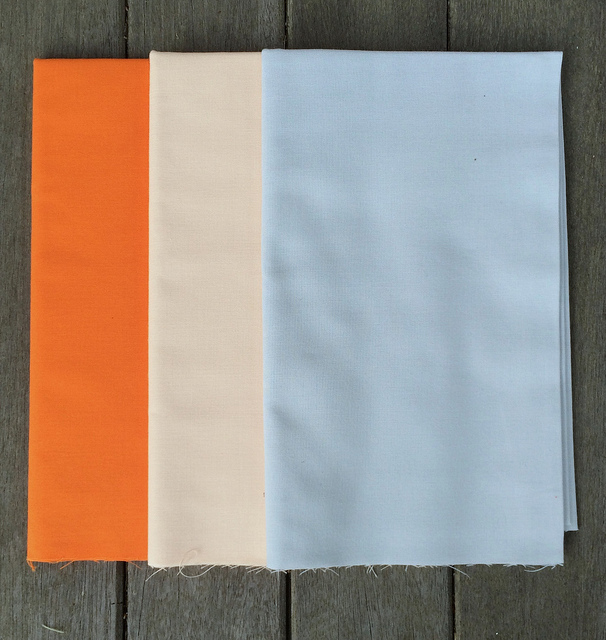
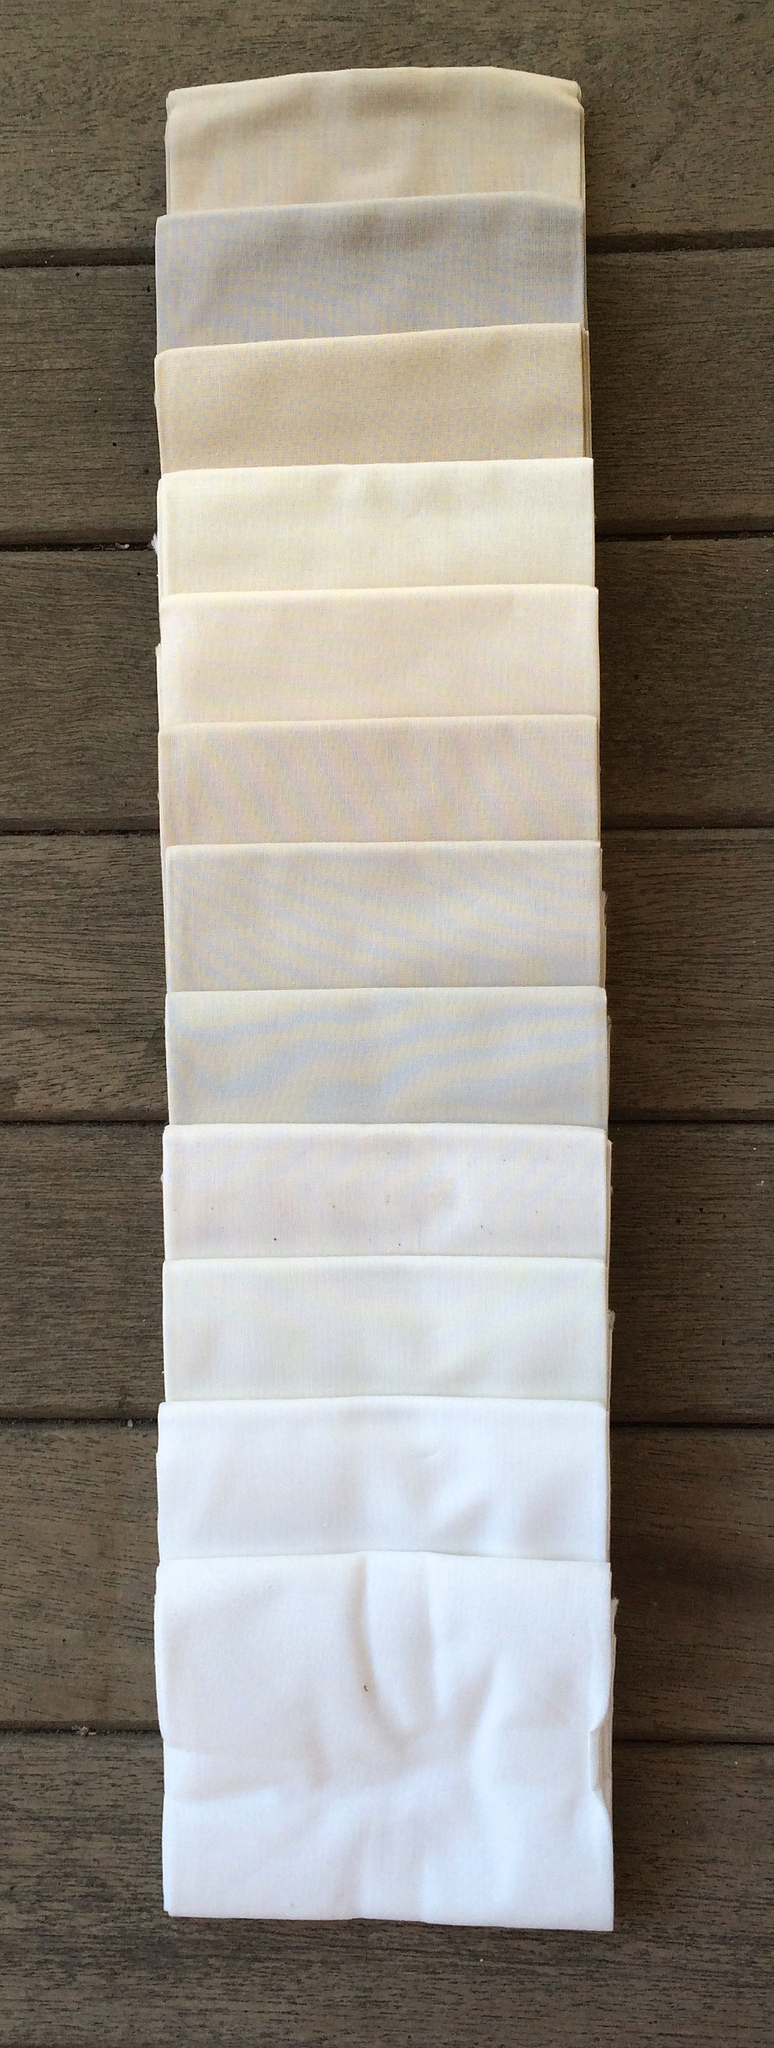
There are twelve Kona solids in this collection, and there are unfortunately specs of lint on my otherwise enticing photograph above.

The challenge might be matching these solids up with their sample chips on the Kona Cotton Solids sample card to create 6″ x 6″ sample pieces. By the way there is some strange photographic occurrence going on in the photo above, but you can get the idea of the variety of the solids.

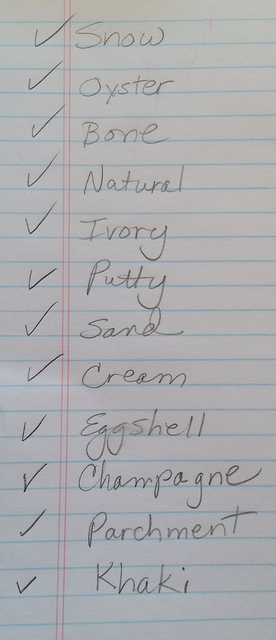
The collection did not come with a list of the fabrics included, but a little research revealed a list online for the collection which I copied to help me with my task of matching the fabrics to the Kona sample card.

Matching the fabrics to the chips turned out to be much easier than I suspected it would be because the fabrics were packaged in the above order with Snow at the top and Khaki at the bottom. I didn’t realize this until I had started matching the fabrics from the bottom of the pile. After matching the Khaki and then the Parchment fat quarters I saw the pattern. All of the other color names simply fell into place for me.

It was lucky indeed that I had not mixed up the order of the pieces when I was photographing them before trying to match them up.

I found all of the colors on two sections of the Kona sample card…

And was able to easily label the fat quarters. The bundle included all but five of the above 17 colors.

For now the fat quarters are sitting on a shelf waiting for me to cut 6 inch by 6 inch samples from the short ends of each piece.The remaining fabric from those ends will be used to make solid hexagons, which I will store in meticulously labeled sandwich bags. I learned my lesson from throwing completed low volume hexagons in a bowl… never again, unless I really want to be random.

If I decide to use any of these colors in the Low Volume Quilt I will be ordering more of the yardage from the Fat Quarter Shop, which is my favorite source for Kona solids.

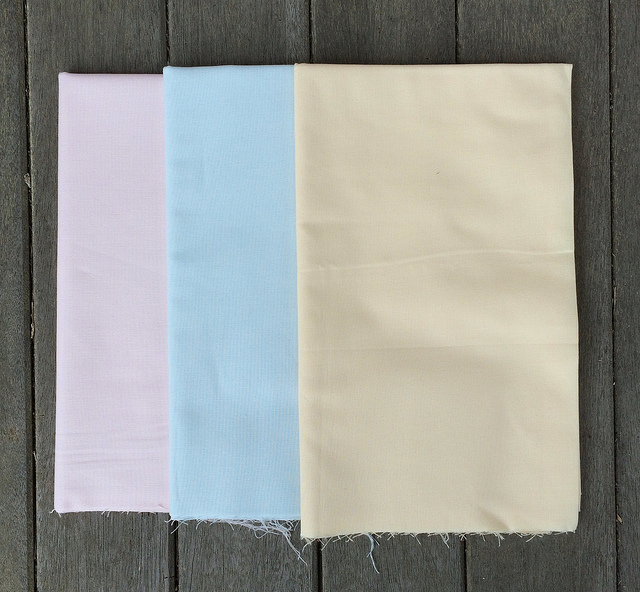
In addition to these variations on white I am considering purchasing some of the very lightest pastel colors. Some of them are so light that they could almost be mistaken for white. Those of you with a Kona Solids sample card can look up these fabrics that I am considering for purchase: SILVER, SKY, CELERY, PEARL PINK, BUTTER, LIMESTONE, AND LT PARFAIT.

I’m leaning toward SKY, PEARL PINK, AND BUTTER as primary colors to complement the patterned fabrics. I was a bit disappointed that there is not a really good light green. They are all too dark to pass for white under any circumstances.

As for my progress on the Low Volume Quilt this week?

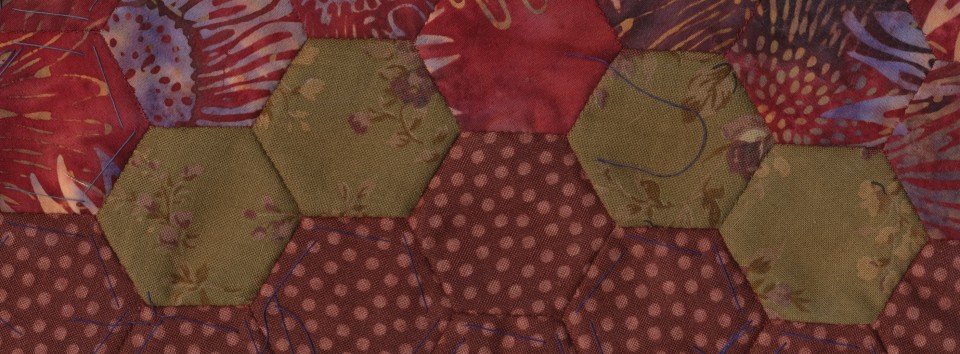
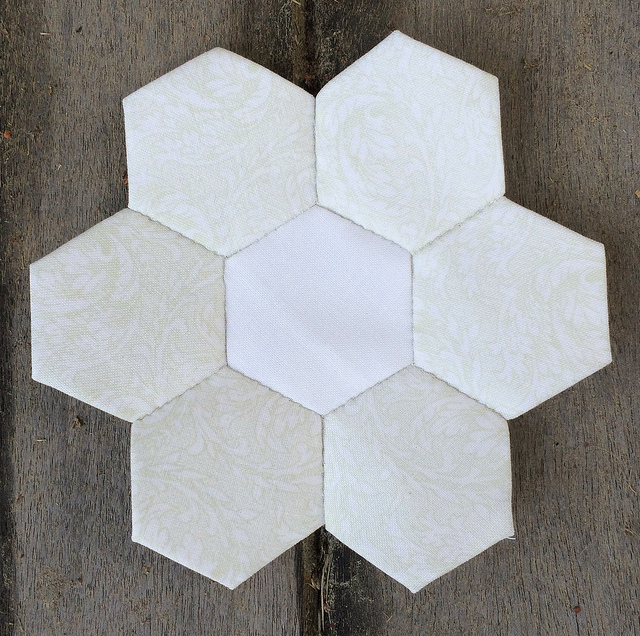
I cut up a new fat quarter and basted it into hexagons. Here is a closeup of one of the flowers I made from it so you can see the pattern of the fabric.

I completed eight flowers from that pattern of fabric this week.

This makes a total of 75 flowers completed for the Low Volume Quilt.

Those of you visiting from Jessica’s Monday Morning Star Count might enjoy reading my recent post about my hand quilted foot rest.

Hand Quilted Foot Rest

I had machine quilted a foot rest for my husband, and fully intended to machine quilt the one I am making for myself. I even ordered a package of Pinmoor pin anchors to assist me in the process.

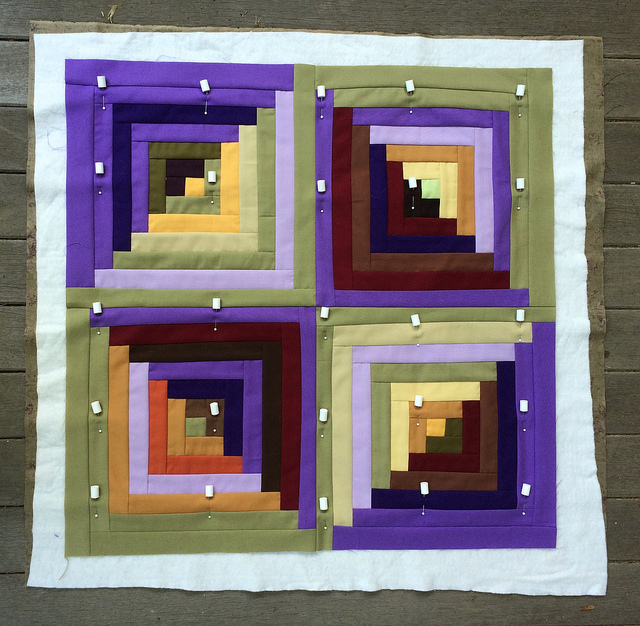
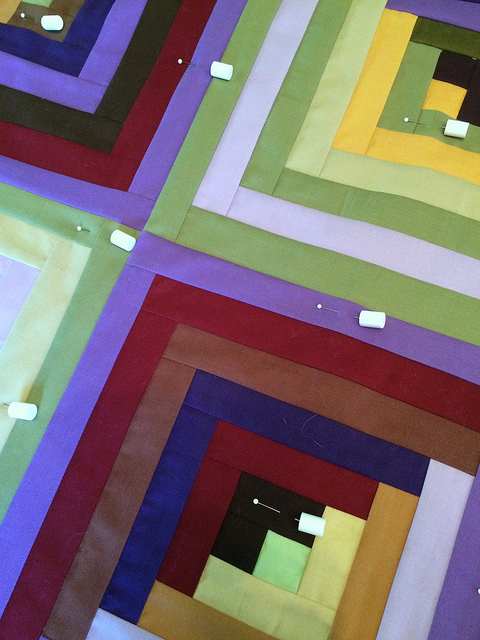
I batted, backed, and basted the piece with the help of the Pinmoor anchors.

It was really easy to do, and I would have jumped right into the machine quilting except for one thing, or rather five things.

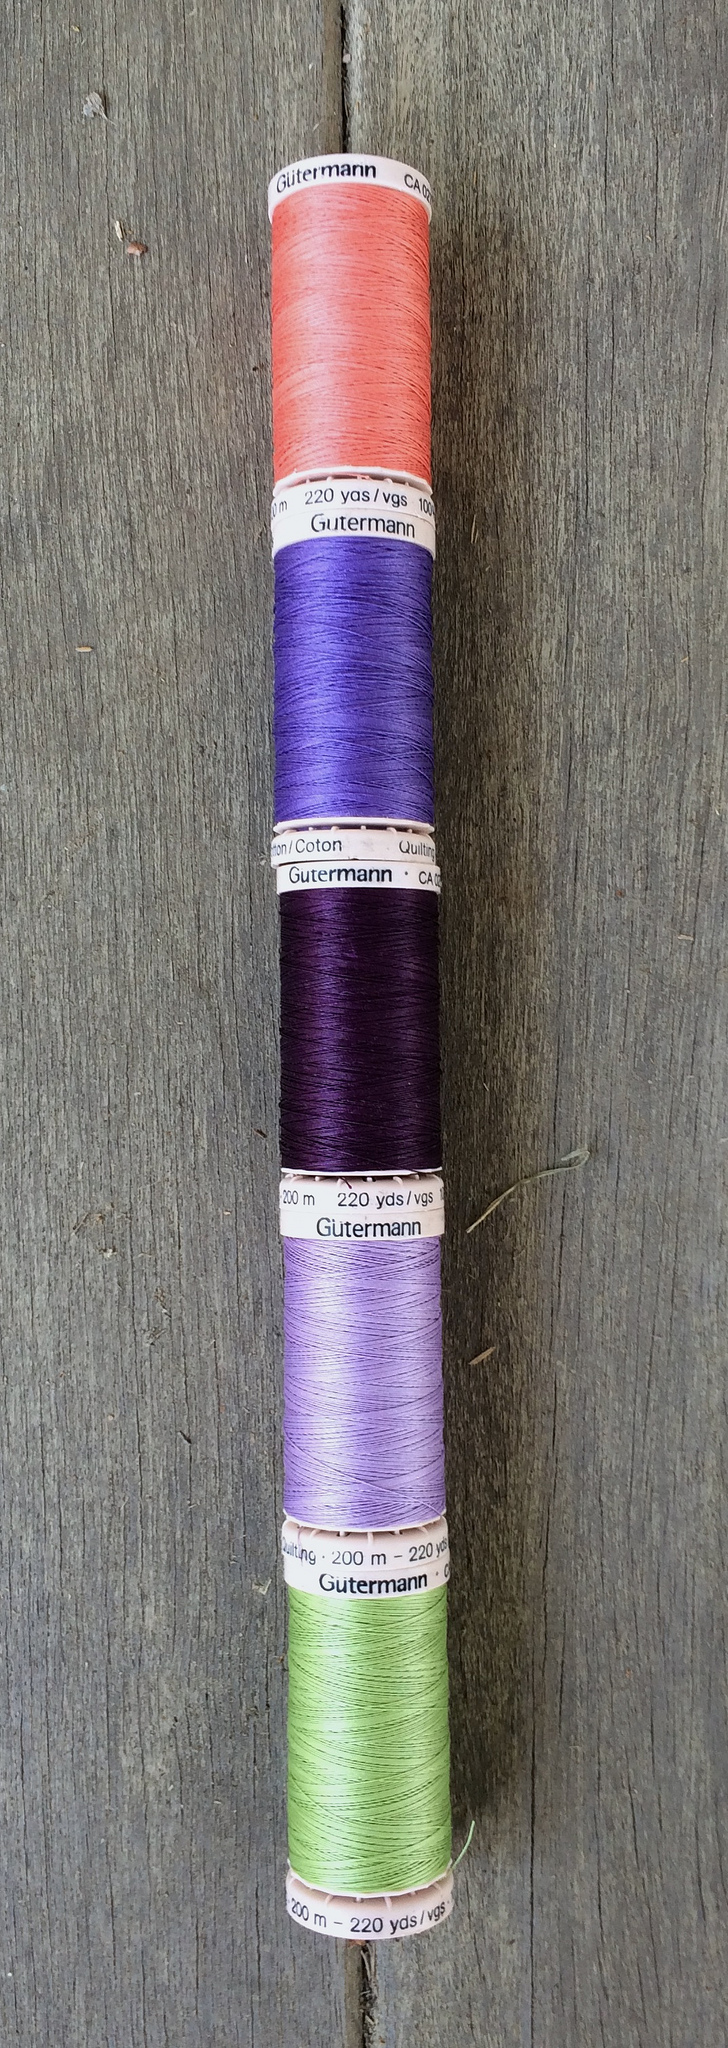
I had purchased five new colors of quilting thread from the Pennington Quilt Works, and I was itching to use them. I ended up using four of them to quilt this piece. I used all but the lightest violet.

One thing I really love about the hand quilting on this piece is the way it comes together where the light strips meet the dark strips in the steps of the log cabin design.

To achieve this effect I had to make the thread travel through the batting to begin in the next location which was about an inch away. You can’t get that kind of fine control with machine stitching without traveling in a ditch or going back over preciously quilted lines. As I fondle this piece in my hands I can’t say that my love affair with hand quilting is over yet. I promise to give machine quilting a fair chance though.

Comfort zone… comfort zone… comfort zone… I will drag myself away from my comfort zone.

I quilted this piece densely with rows one inch apart, which gives a rather nice effect. Alternate patches would have been sufficient for utility quilting, but I wanted to do better.

You can not really tell from a distance that I used different colors of thread for the quilting, but if you get close up to the work it is more obvious.

Above is the green thread.

Here is the orange.

There is the medium violet,

and the dark violet.

There is the back. This is one of the very first fabrics I purchased when I started to quilt again two years ago, and I bought up as much of it as I could find through online sources when I discovered it was no longer available in stores.

I’m thinking that a Kona Moss binding might harmonize well with the front and the back.

Kona Log Cabin Quilt Progress: Post Five

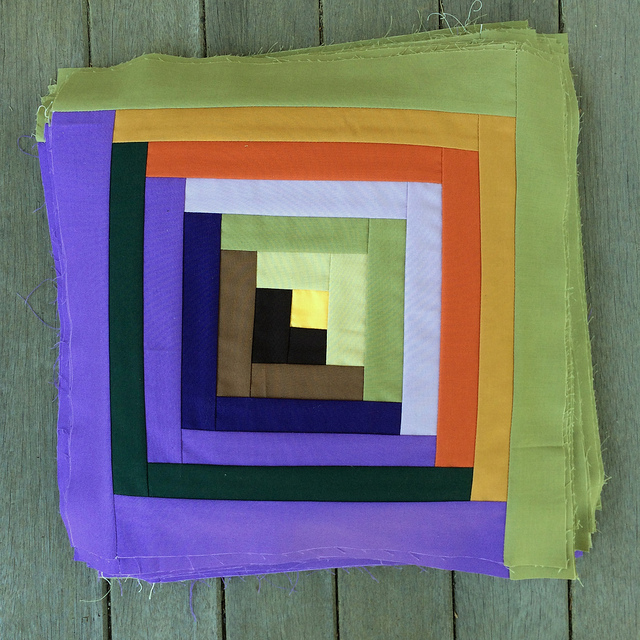
When I first started to work on this project I made my blocks with five “rounds” of fabric on each of the sides. Then I noticed that there is a certain level of variation in the finished size of the blocks. It was very small, but enough that I thought that it would be a good idea to square up the blocks.

I recently purchased a class from Craftsy called “Piece by Piece: Quilt-As-You-Go Techniques”. In that class the instructor talked about squaring up blocks and showed a ruler specifically designed to accomplish that. I ended up buying such a ruler on Amazon that measures 12.5 inches by 12.5 inches.
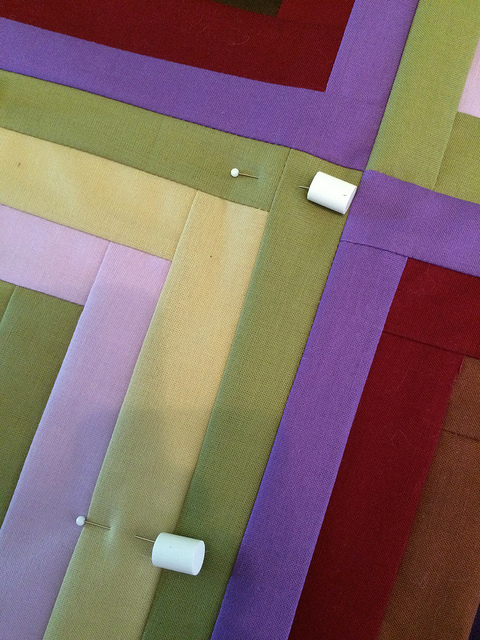
I decided to add one more round of fabric strips to each square using the Sweet Pea and the Morning Glory fabrics. I decided to make these last strips 2 inches wide instead of the 1.5 inches wide I had been using for the rest of the block.

Using wider strips for the final round will give me plenty of extra fabric to be sure that I will be able to square up my blocks nicely. Using these two colors consistently for the final round of each block will also unify the piece.

I will have a bit more waste than I would like due to the trimming of the wider strips, but I would rather waste a bit of fabric than struggle with the trimming.

I have forty blocks ready to trim. I anticipate needing 63 blocks for the quilt since I am planning on doing nine rows with seven blocks in each row.

I am planning to purchase a small cutting mat that I can use with my Ikea table at my standing sewing station so I can trim these blocks without having to bend so far over the dining room table. I have a birthday coupon for 20% off at Pennington Quilt Works this month, so I will probably pick up the new mat before the end of the month.

My EPP UFO Projects

I think it is time to admit that I have a few Unfinished Objects.

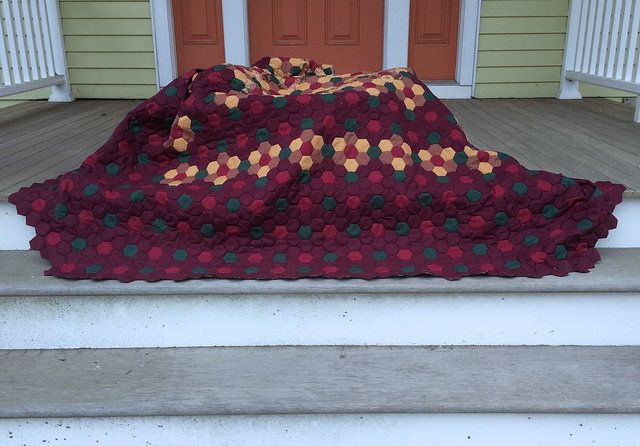
I have not touched the Batik Flower Garden Quilt in nearly three months since getting the Janome Skyline S5, and it is starting to feel like a UFO. I have been devoted to my Log Cabin work since getting my machine, and my EPP production has slowed to a snail’s pace. I wrote about wanting to add a few more rows of hexagons to the edges of the Batik Flower Garden Quilt, but I am seriously thinking of just basting it and getting started with the hand quilting. I definitely want to hand quilt this one. I think it may be large enough.

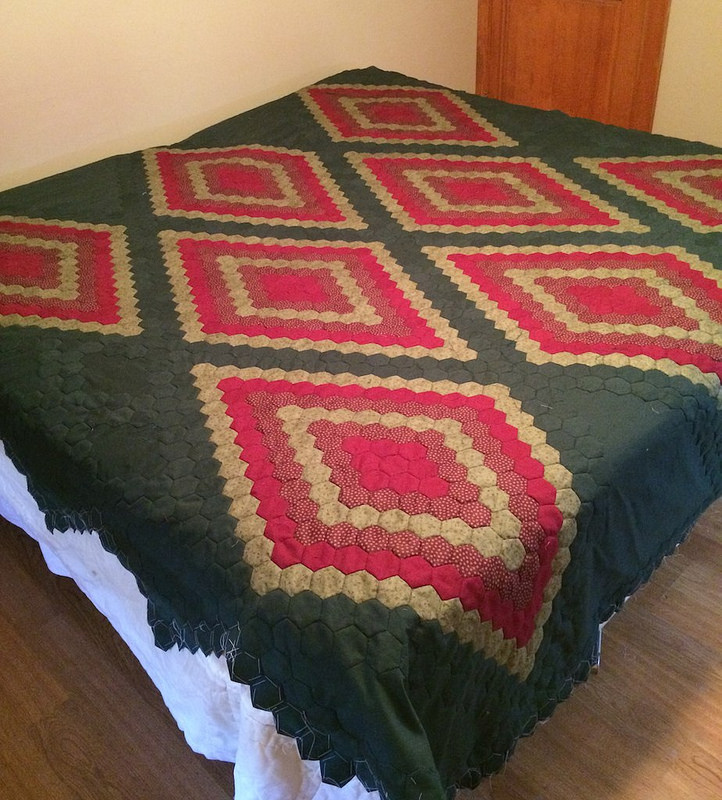
It was December of last year when I put the final border of hexagons on the Diamond Quilt. I think that qualifies it as a UFO. There is something intimidating about a finished quilt top waiting to be basted. That is where I stand with the Diamond Quilt. I am thinking that maybe I will baste it after I do some practice with machine quilting. Nearly a year of psychic distance makes me think that I might be willing to quilt this by machine instead of by hand.

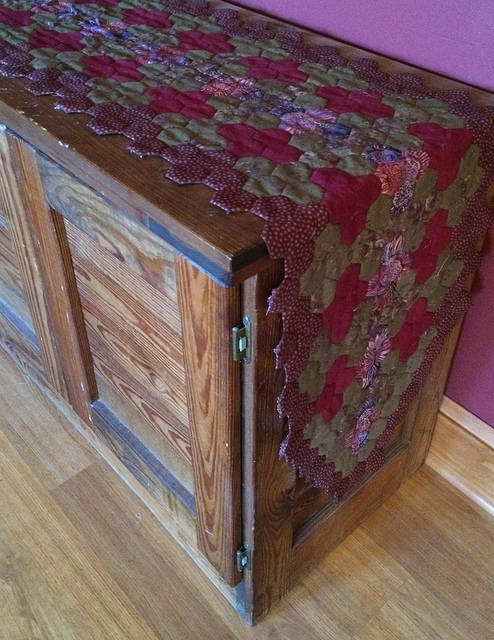
Then there is the table runner that has been sitting on the cabinet in my living room. It hasn’t been batted, backed or quilted yet, but it looks very nice on the cabinet.

As for my EEP progress this week? I have made six more flowers for the Low Volume Quilt.

Here is a close up of the fabric I recently cut into squares from my low volume fat quarter bundle.

It is hard to see the pattern, but it is a lovely subtle greenish color.

Here are four flowers made of that fabric.

In addition to that I made two other flowers.

I now have a total of 58 flowers for my Low Volume Quilt.

Those of you visiting from Jessica’s Monday Morning Star Count might enjoy reading my post about my first machine quilting project.


My Very First Machine Quilted Piece

I had done a bit of “quilt-as-you-go” strip piecing to make a pillow cover at one time, but this is the very first time that I pieced something, batted it, backed it, and quilted it by machine rather than by hand. This piece measures 24 inches by 24 inches, and I quilted it standing up on my Janome Skyline S5.

I made this piece specifically to jump into machine quilting with something that I was not emotionally invested in. I used the standard foot that came with my machine, which is called the “A” foot. I wanted to use the Even Feed (Walking) Foot, but I was intimidated by it, and wasn’t really sure how to put the foot on the machine. I am quite sure that the quilting would have come out better if I had used the walking foot.

This piece is something for my husband to rest his feet on when he is lounging in bed but does not want to bother to take off his shoes.

I decided to baste this piece with straight pins. Because it was relatively small in size I figured I could get away with using the straight pins. It worked out fine. I eventually want to purchase this Baste Your Quilt Kit from the Leah Day web site, but I have not gotten around to doing that yet.

I started quilting from the center of the piece. I originally wanted to do concentric circles, but thought that might be too hard in a first attempt, so I decided to follow the insides of the strips. That worked rather well. I also pulled the bottom thread to the top so I would be able to keep it from getting tangled. Later the ends were sent to the back where they were knotted and buried.

When I got to the point where I had to traverse long portions of the project it seemed more difficult to control the piece. Putting my hands on either side of the work and letting the feed dogs to their job seemed to help.

When I quilt the companion to this piece for my side of the bed I am going to try something different.

Here are some observations about how things worked out.

The white thread looked best in the lighter areas of the blocks. That makes sense. I think it might be a good idea to pick one light color of thread and keep it limited to the light areas. I could also pick one dark color and keep that limited to the dark areas.

Light threads on light fabrics don’t look as good when they run in contrast to the direction of the strips.

The light threads on the dark fabric doesn’t look as bad when they follow the direction of the strips.

So there appear to be two factors at work here. The thread color and the thread direction. It seems as if the direction actually matters more than the color in these log cabin blocks. If I can get both factors to harmonize on the next piece I should get a better result.

By the way, I could definitely notice that the top was feeding more slowly than the bottom especially when the lines of stitching traversed large areas of the piece. The walking foot will hopefully fix that.
Note: This post was held for publication today, but was originally written last week before I attended my sewing class at Pocono Sew and Vac where I learned how to use the walking foot.
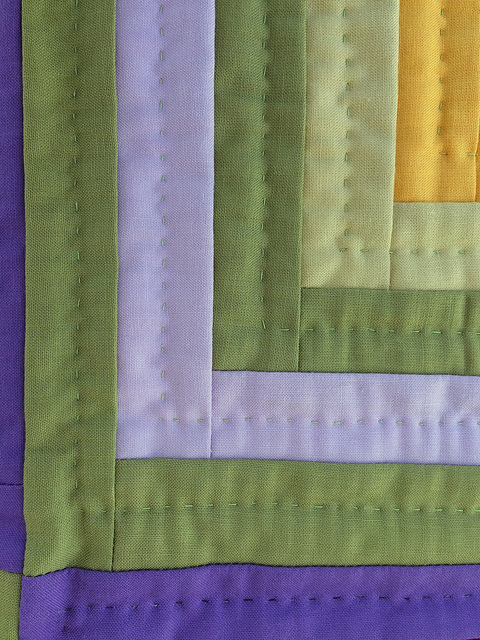
This piece has been kitty approved.
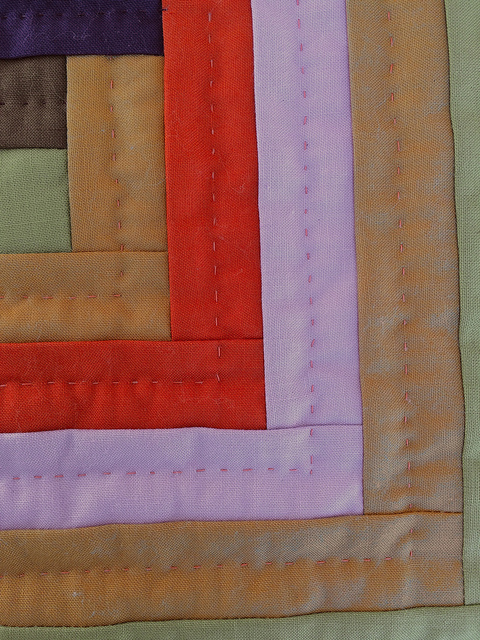
Low Volume Quilt Progress: Post Seven

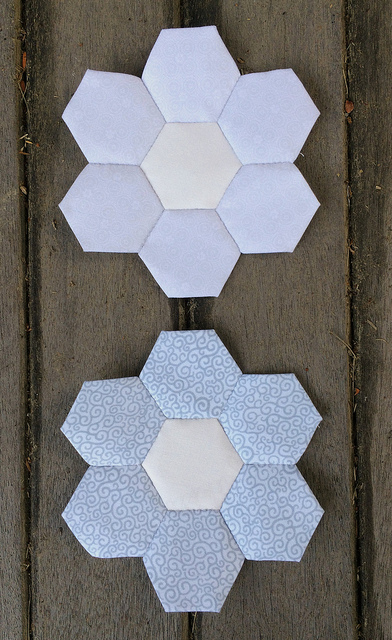
I have made five more low volume flowers this week for a total of 52 flowers so far. The bottom flower has the central paper removed, which doesn’t look great with the dark porch background, so I’ll try not to do that again.

Those of you visiting from Jessica’s Monday Morning Star Count might enjoy reading my post about my standing sewing station, and you also may enjoy reading about my sewing class at Pocono Sew and Vac.