Farmer’s Wife Quilt: Jewel and Sara

This week we had two blocks to complete for the Farmer’s Wife Quilt Along.

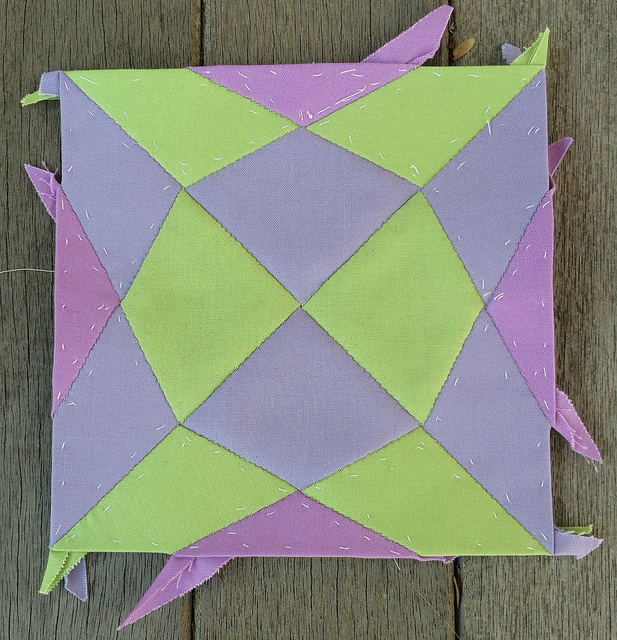
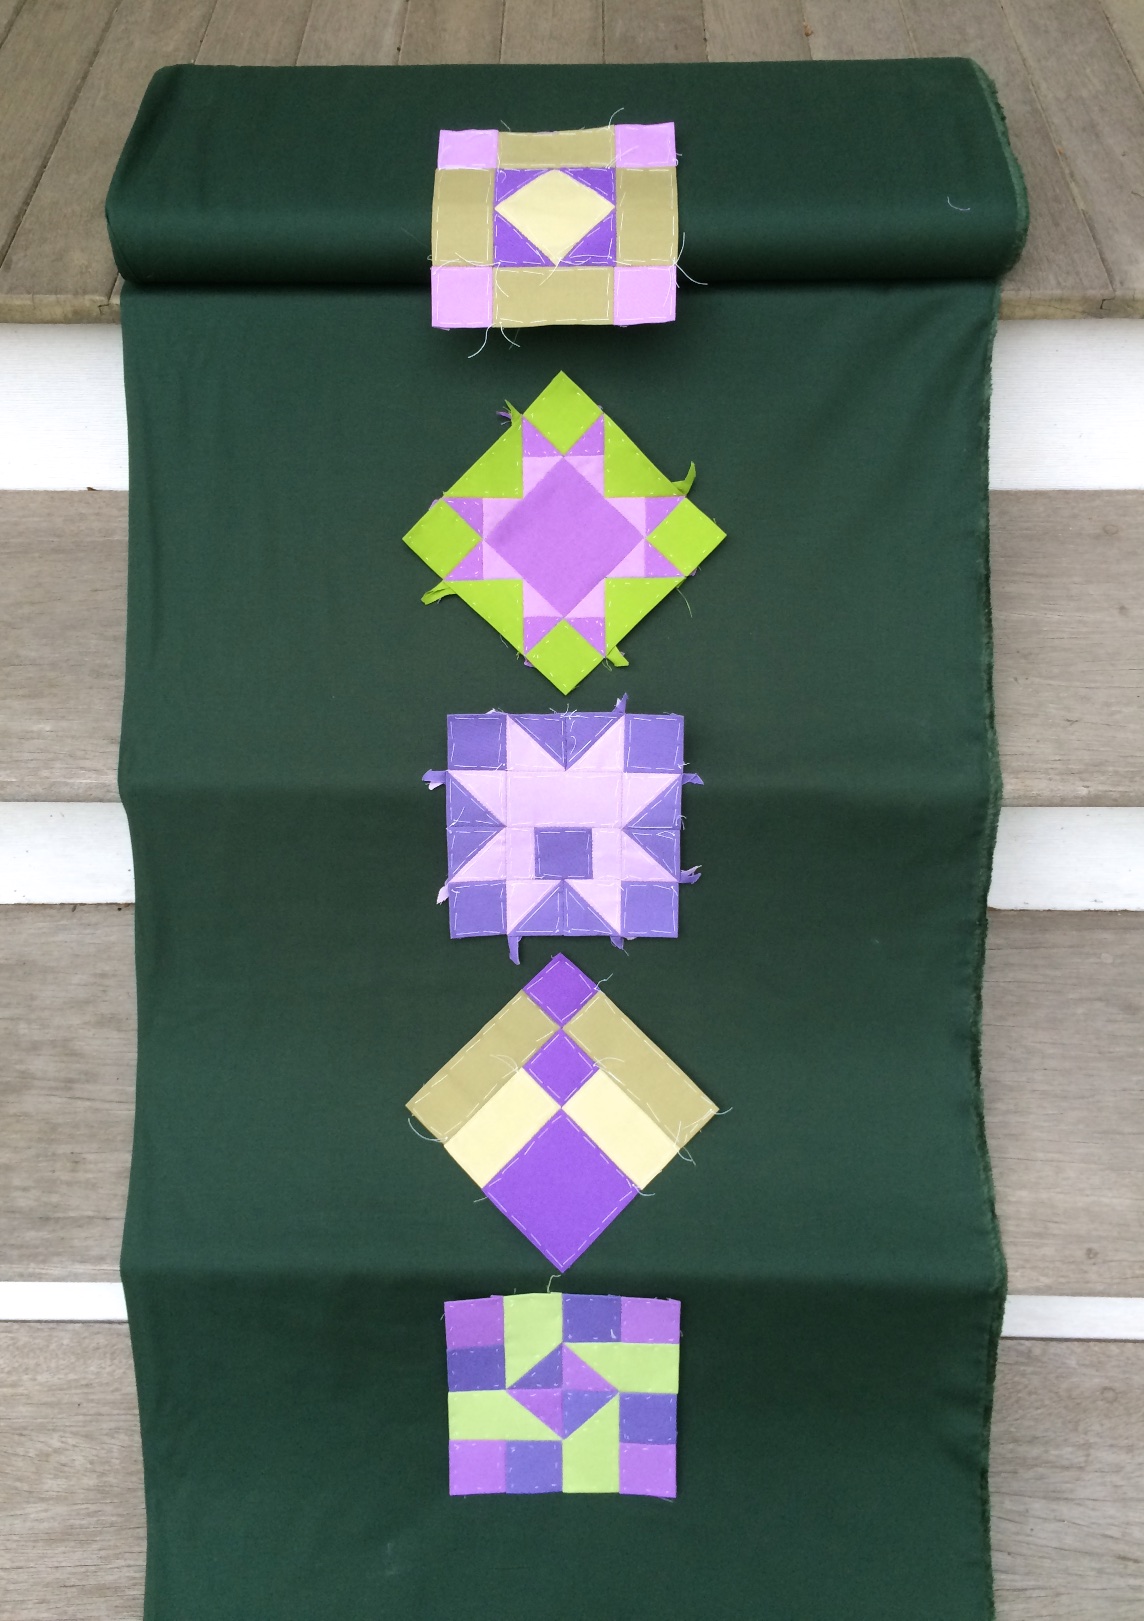
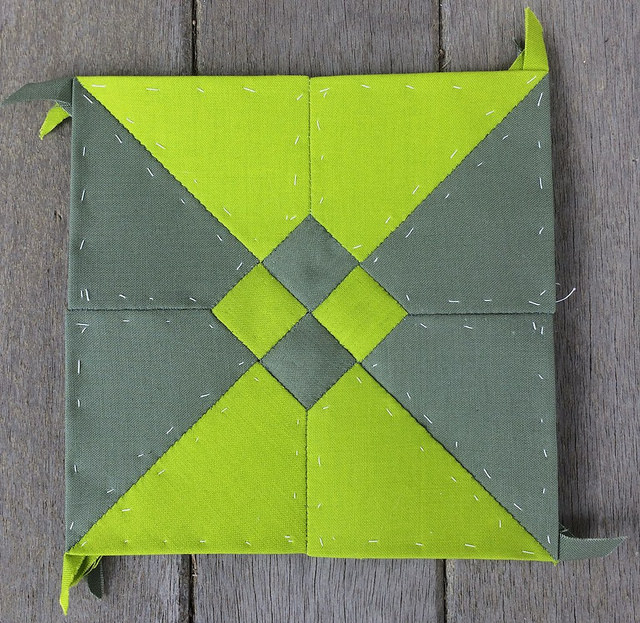
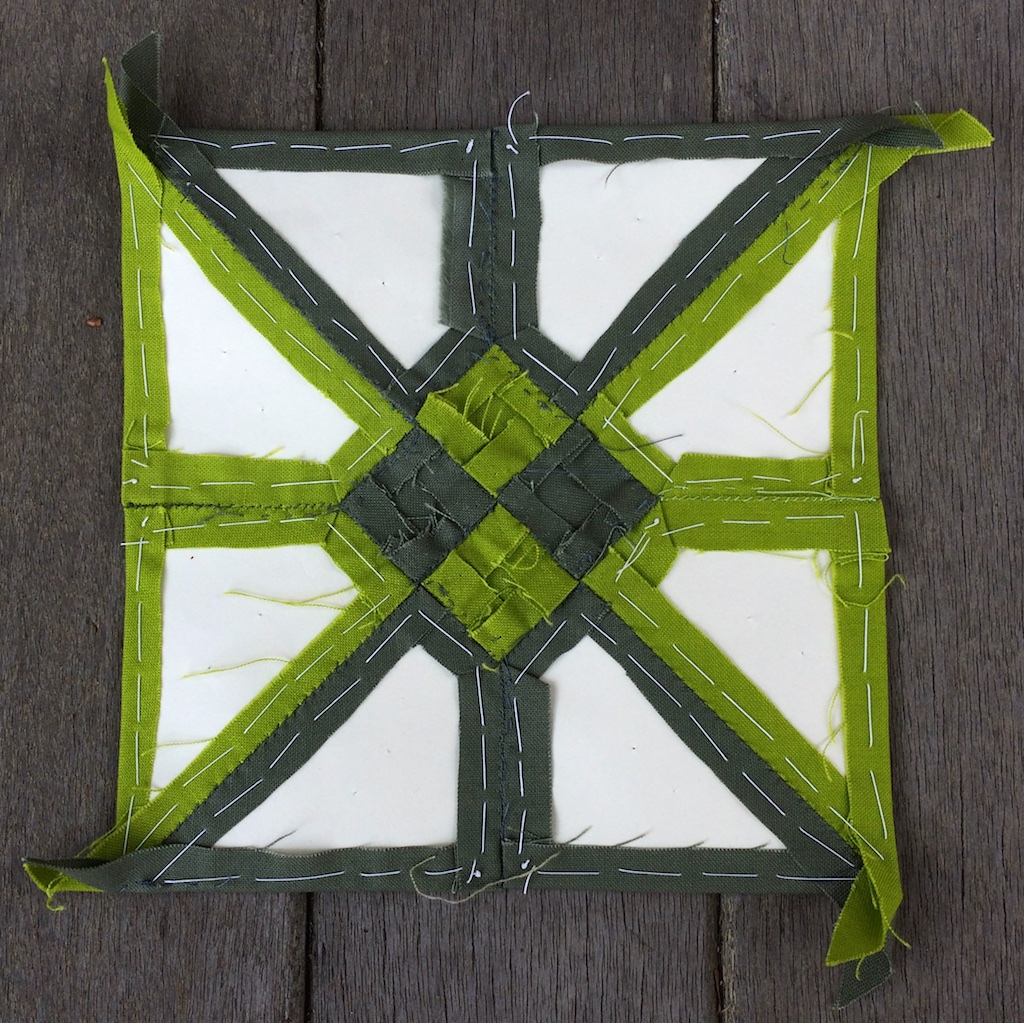
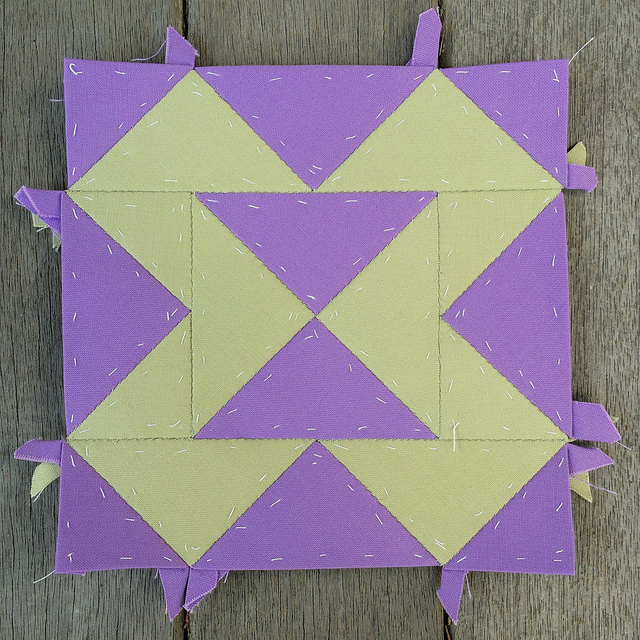
#46 Jewel

Jewel was created with the Kona Solids: Pansy, Tarragon, and Lilac.

Jewel was completed at the CJMQG Retreat last weekend. She only took about four hours to do. I was surprised that one of the five blocks that I did to get ahead was chosen as one of the blocks of the week. After all, there were more than 80 blocks left to go.

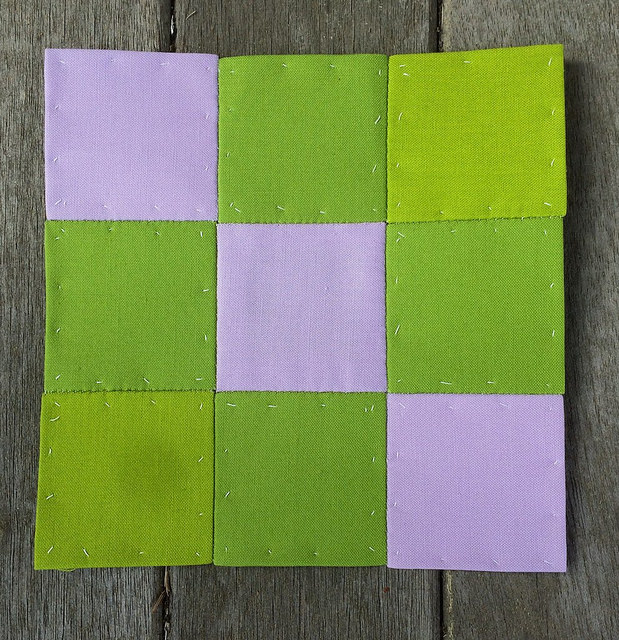
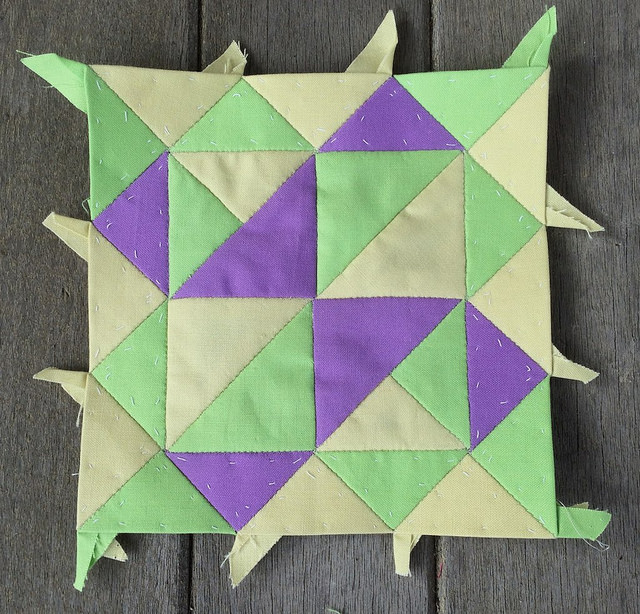
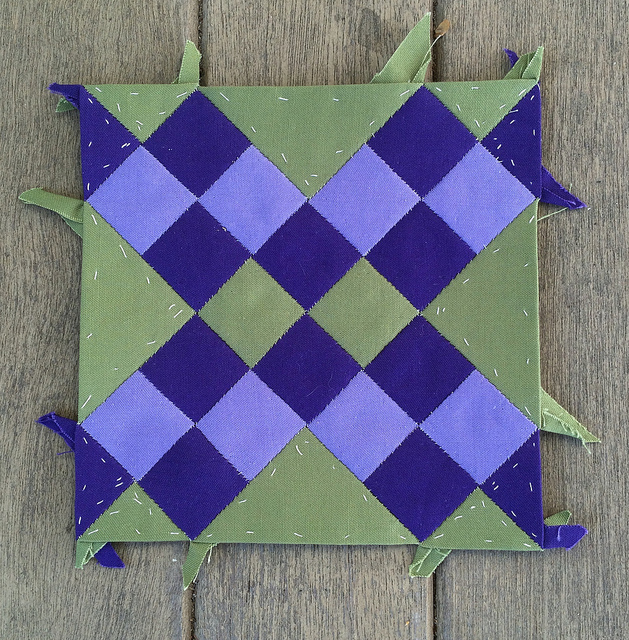
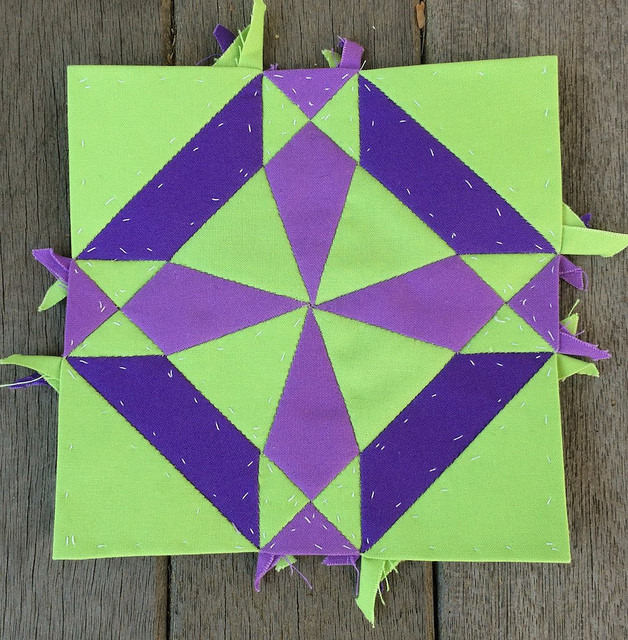
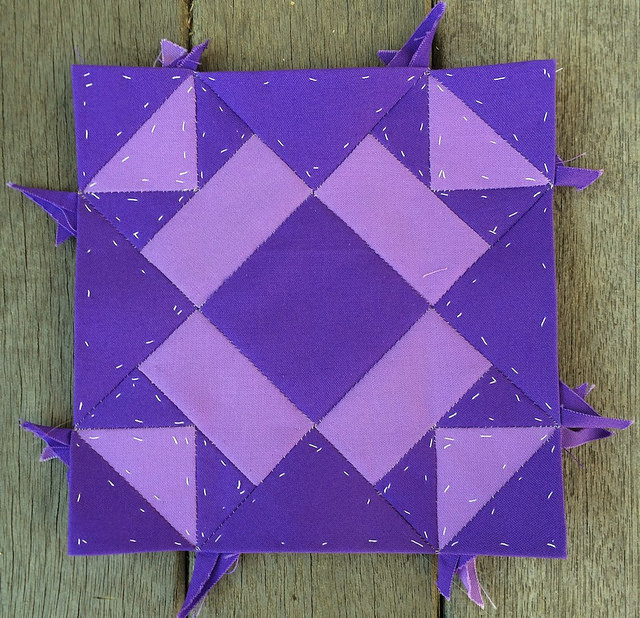
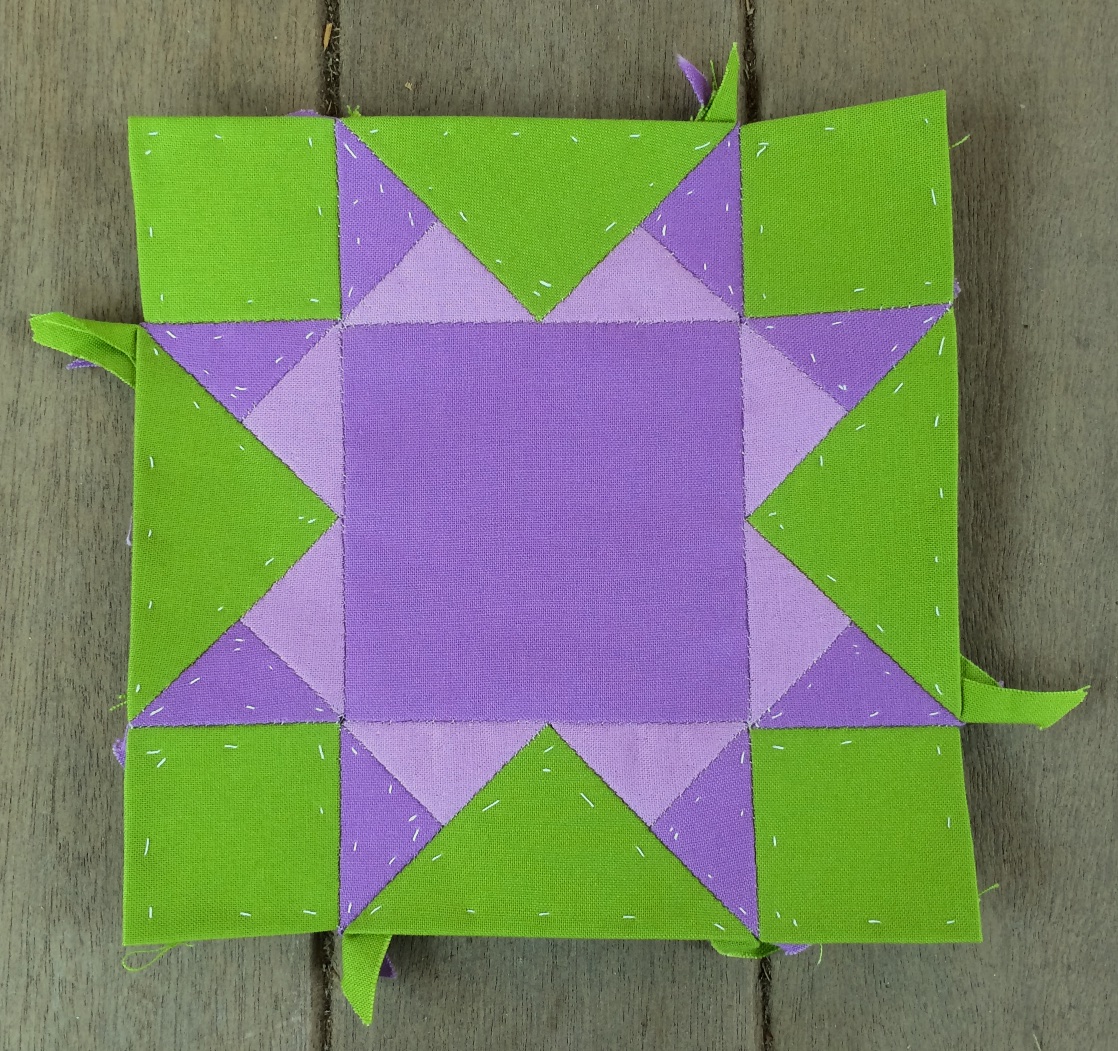
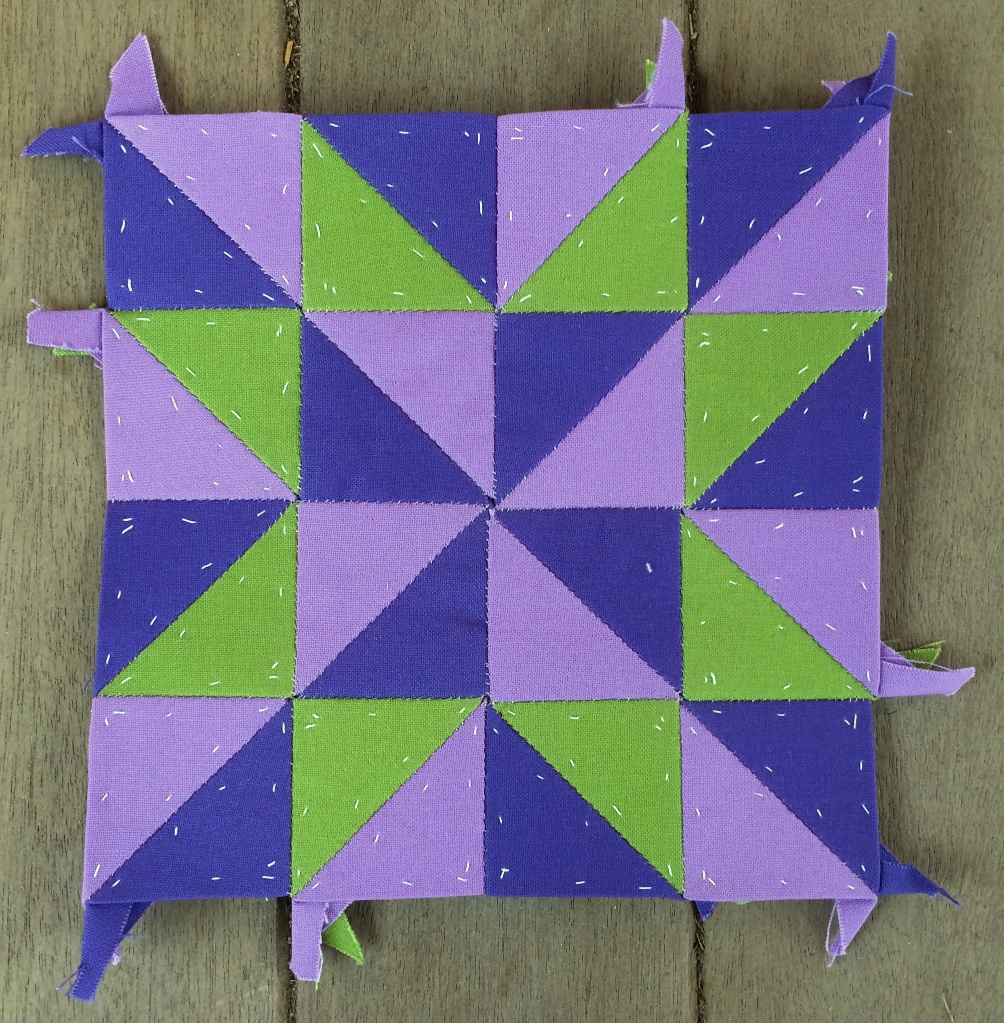
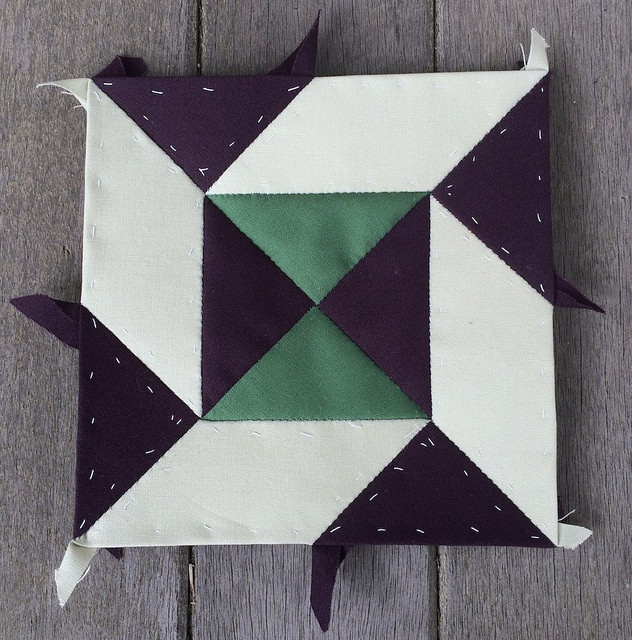
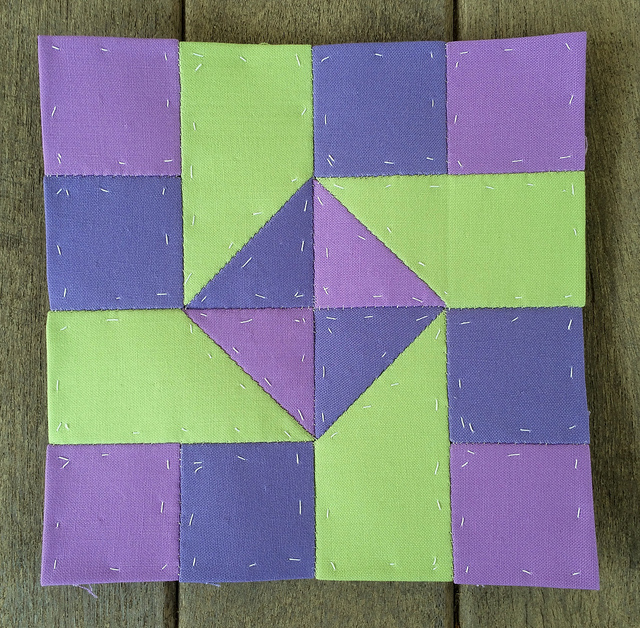
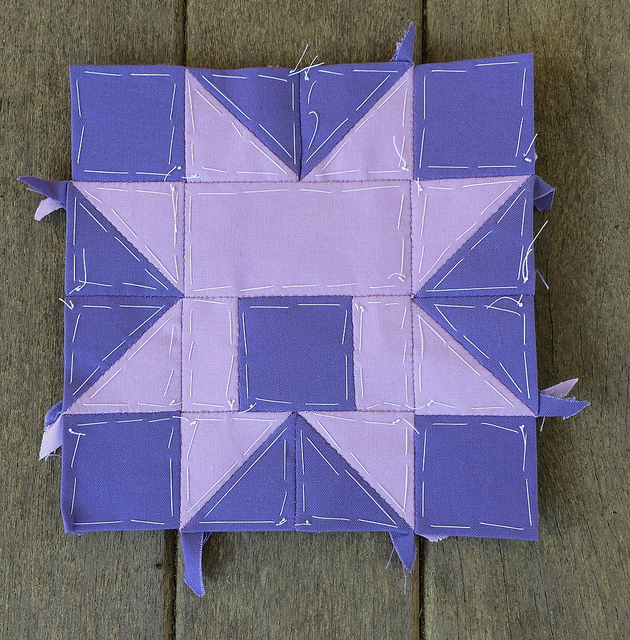
#90 Sara

Sara was created with the Kona Solids: Purple, Amethyst, and Ivy.

Sara took about five and a half hours to do.

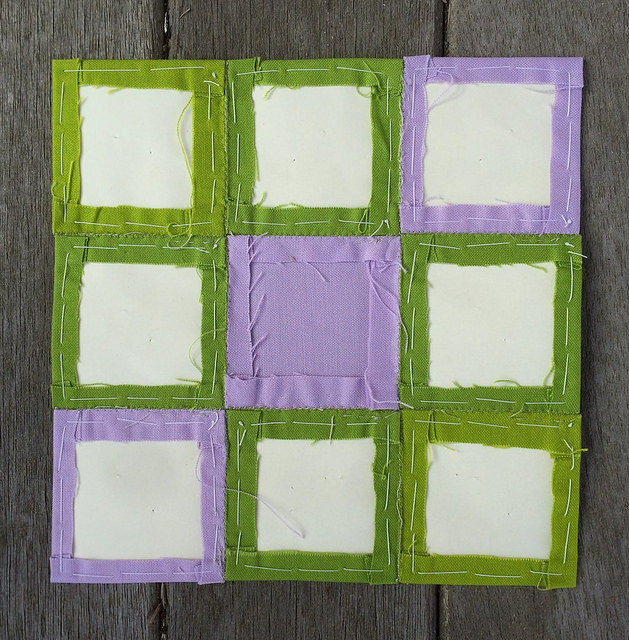
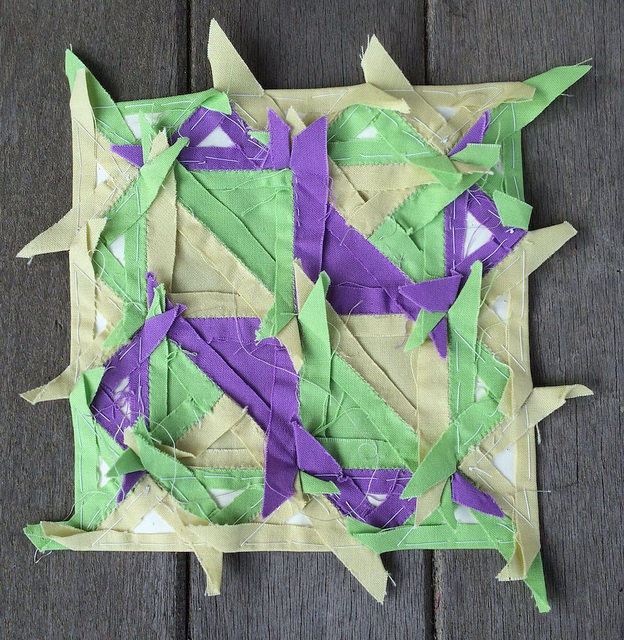
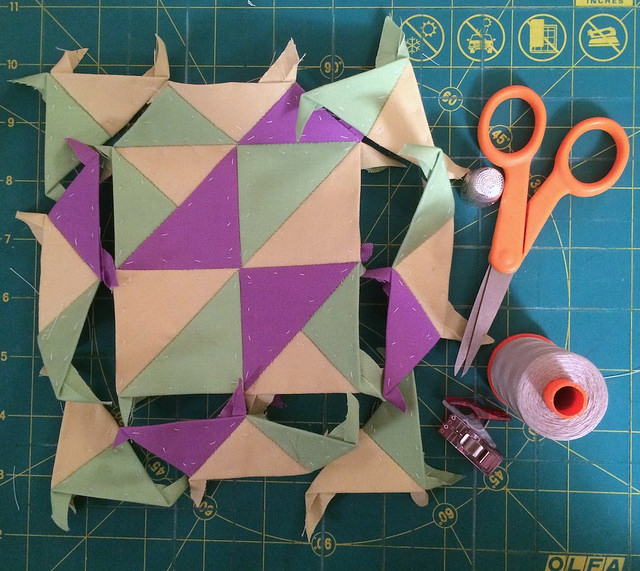
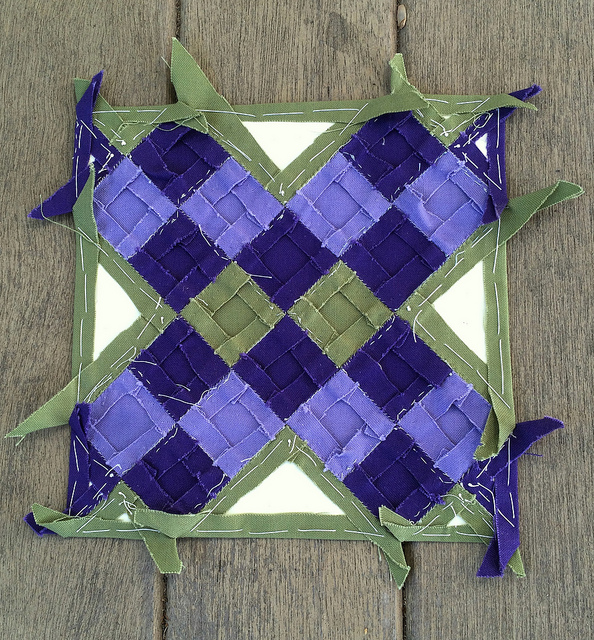
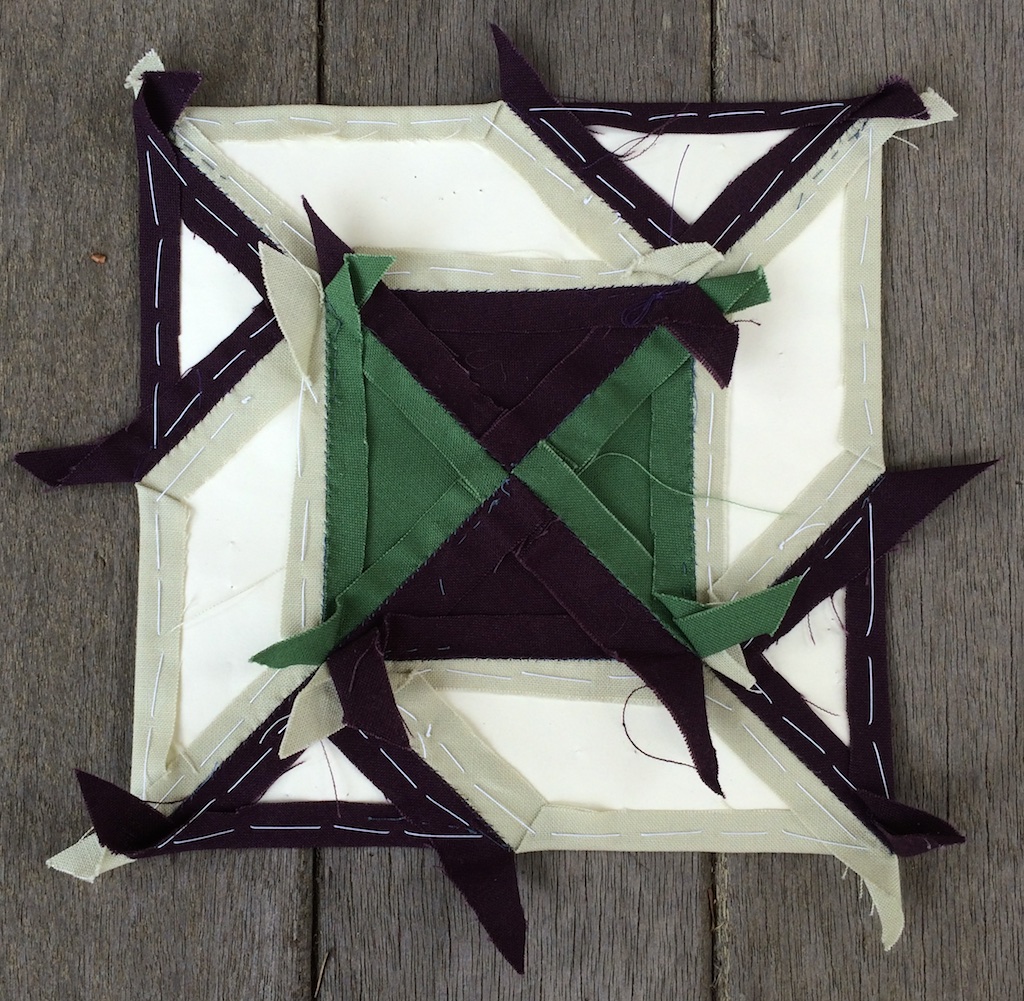
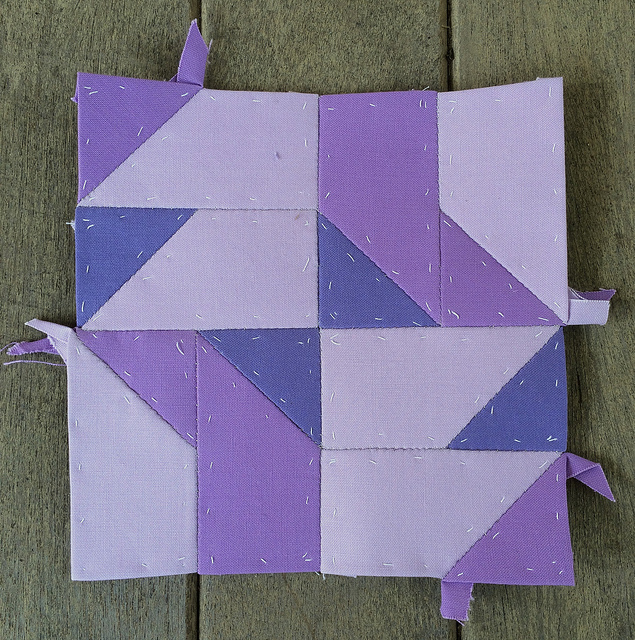
Sara from behind.


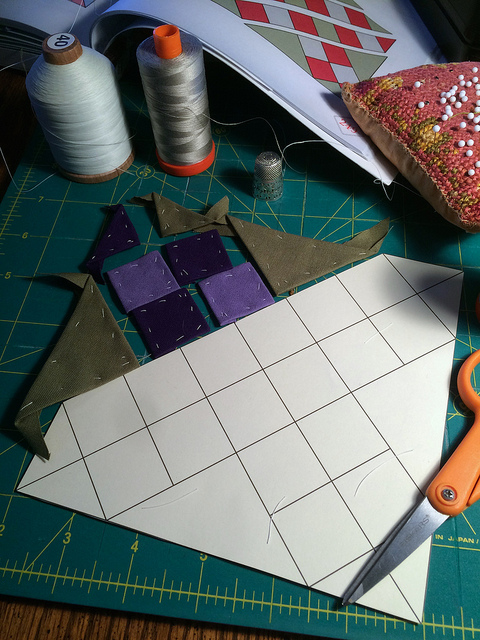
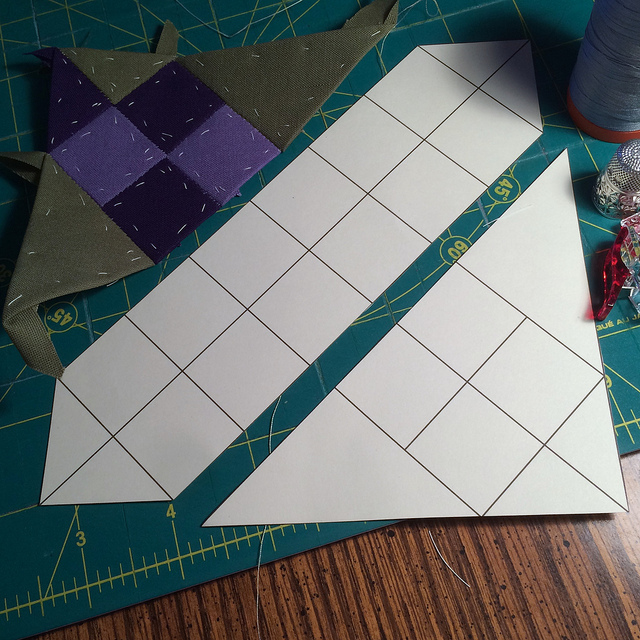
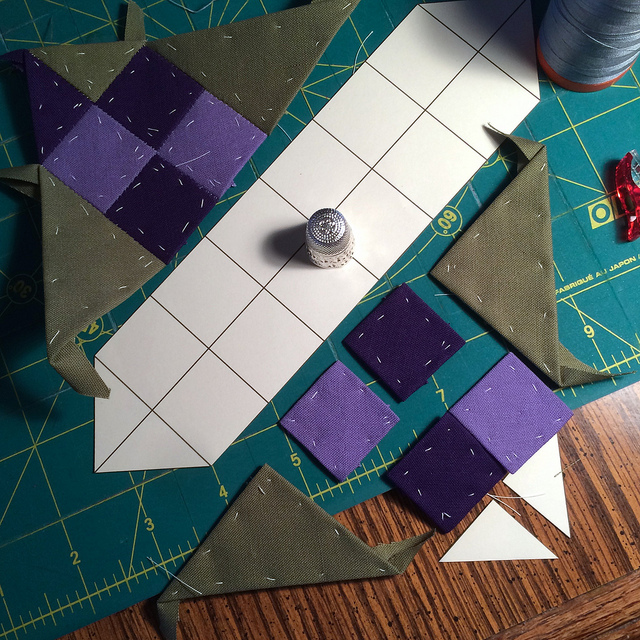
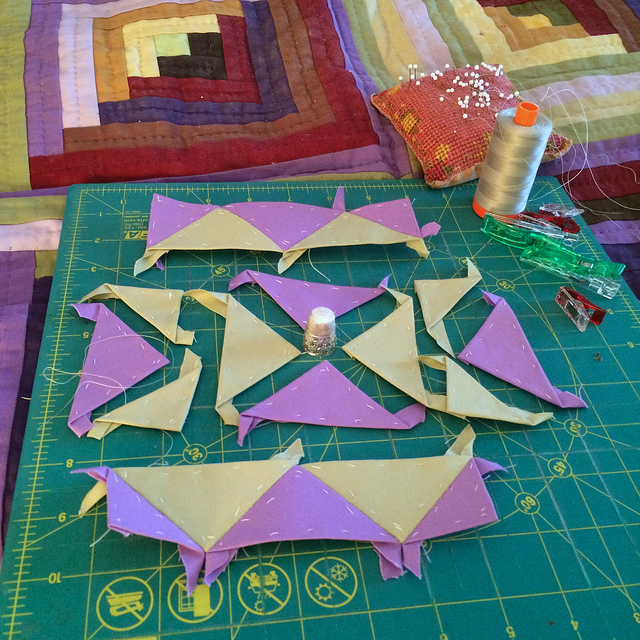
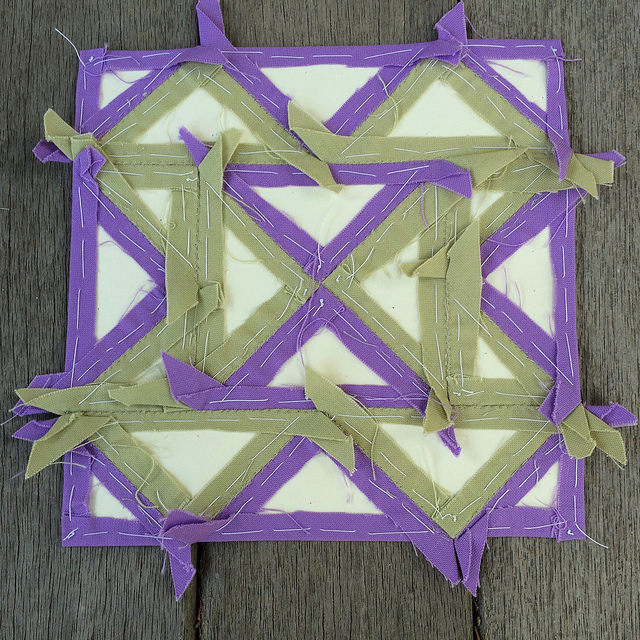
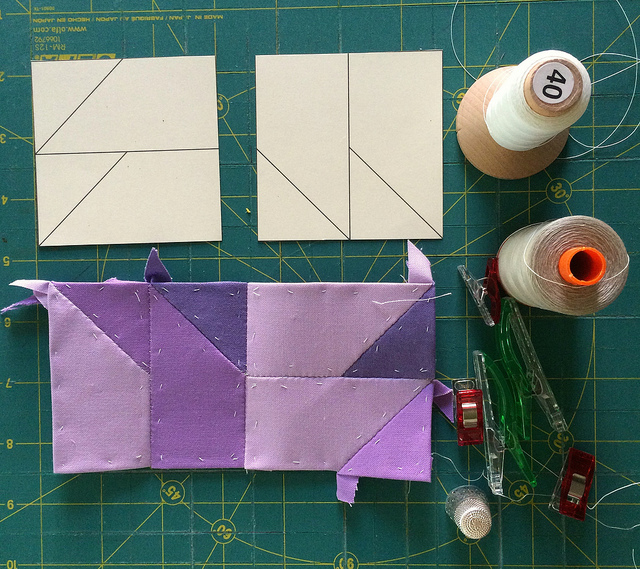
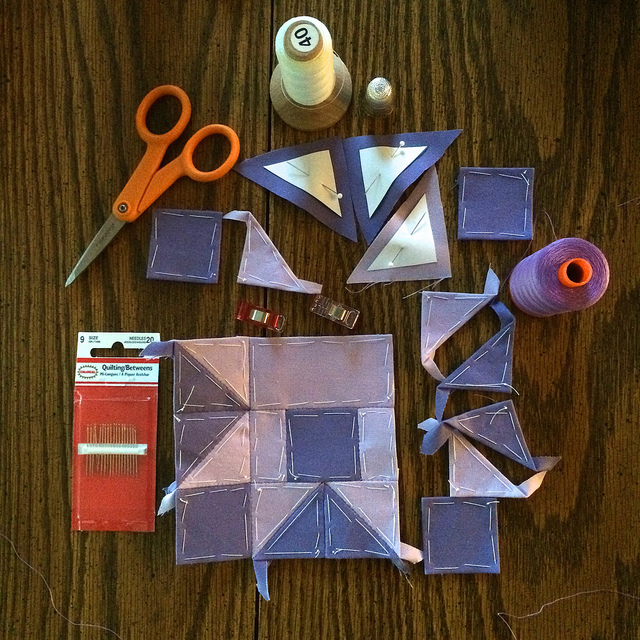
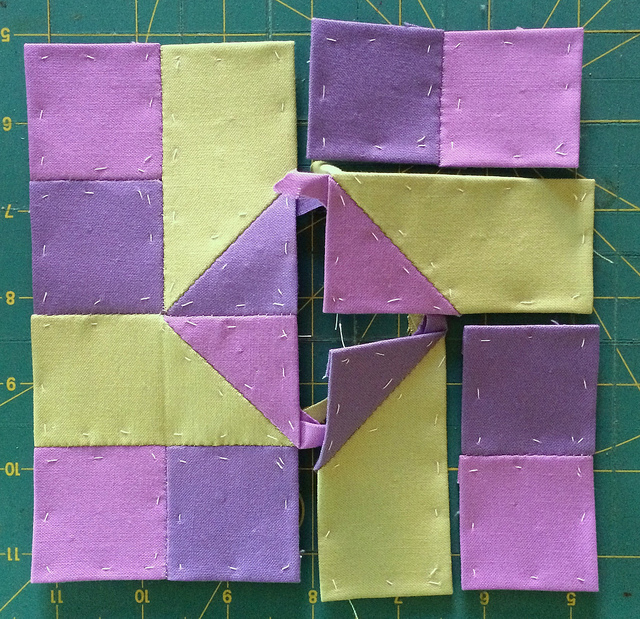
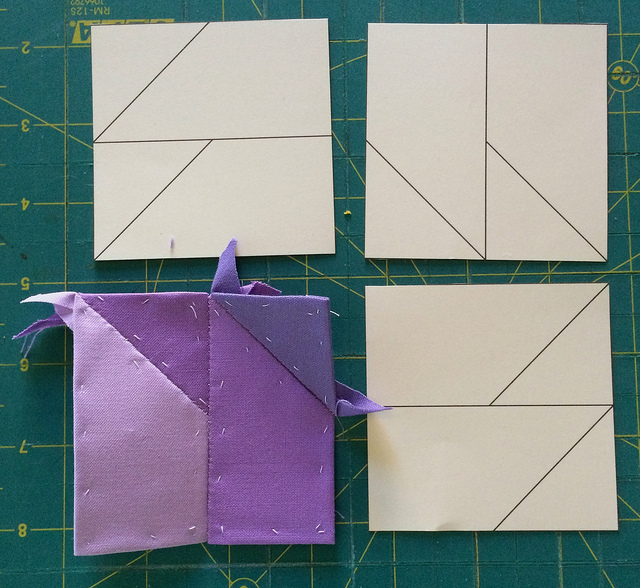
Here are a few process photos of Sara.


I am attending the Link up Party over at Gnome Angel.

I am also linking up with the Monday Morning Star Count with Jessica over at Life Under Quilts.


Farmer’s Wife Quilt: Aimee and Nancy

Our blocks for this week were #2 Aimee and #76 Nancy.

#2 Aimee

Aimee is made with the Kona Solids: Dahlia, Cabbage, and Heliotrope.

Aimee was quite a challenge because she had the smallest pieces yet. Those triangles were really tiny. I did find out though that I was able to baste them without pinning the fabric to the paper. I later tried this with the slightly larger triangles in Nancy and was successful basting them without pins as well.

I paid particular attention to the grain of the fabric in the central portion of Aimee. When I first started to cut pieces for blocks I used to align the right angles of triangles with the grain of the fabric. It was later that I realized that sometimes the hypotenuse needed to be aligned with the grain. Aimee presents an even greater challenge with the placement of the green triangles needing to be eyeballed to go along with the grain.


#76 Nancy

Nancy is made with the Kona Solids: Heliotrope and Dahlia.

Nancy is one of my favorite blocks so far.

This weekend I was in the unique position of attending a quilting retreat. I was at the Central Jersey Modern Quilt Guild annual fall retreat, which I attended last year. It is three days of stitching with friends in a hotel. It is a great way to get to know other guild members.

I was lucky enough to be sitting right next to someone who had been following my blog posts about this quilt with interest. So I got a lot of positive feedback about my progress during the weekend. I felt as if I was being cheered on, which really helped because of how slow it is working on these blocks with the EPP technique.

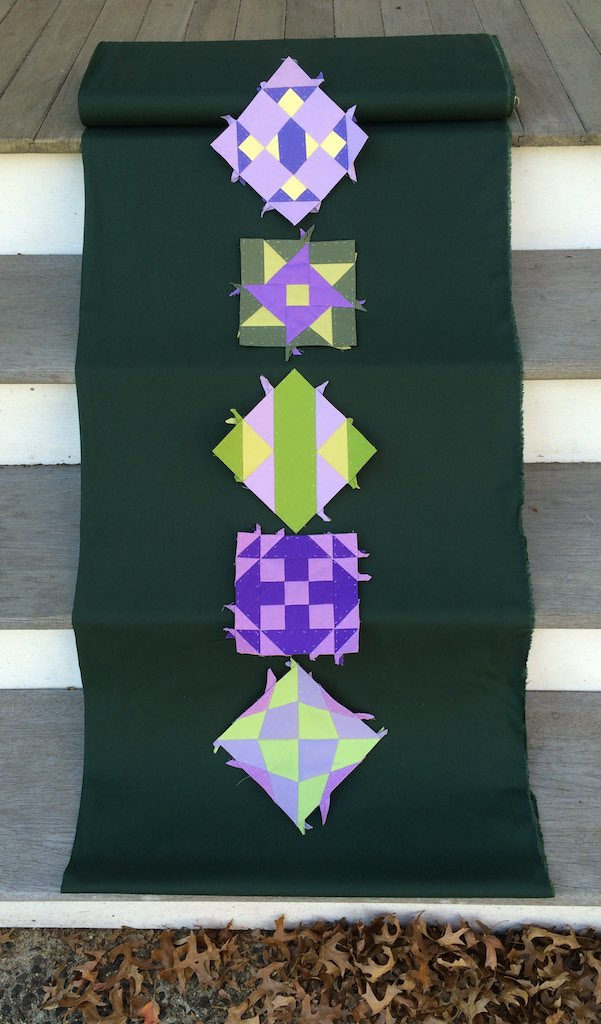
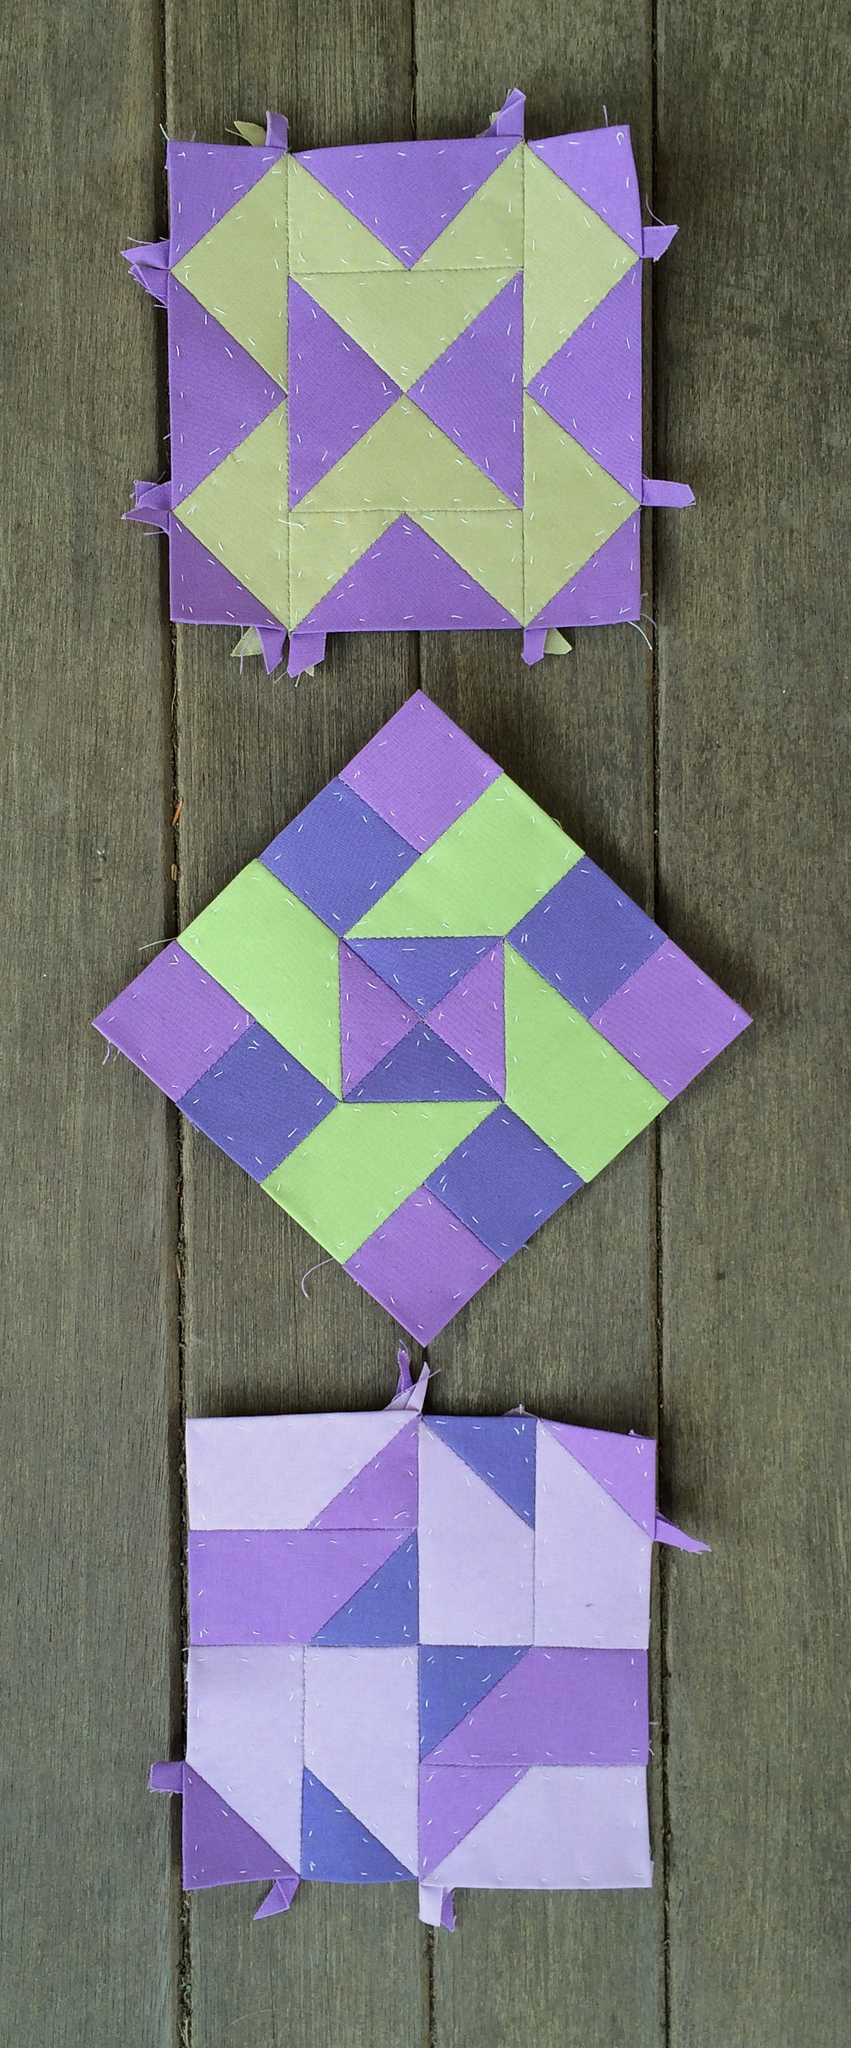
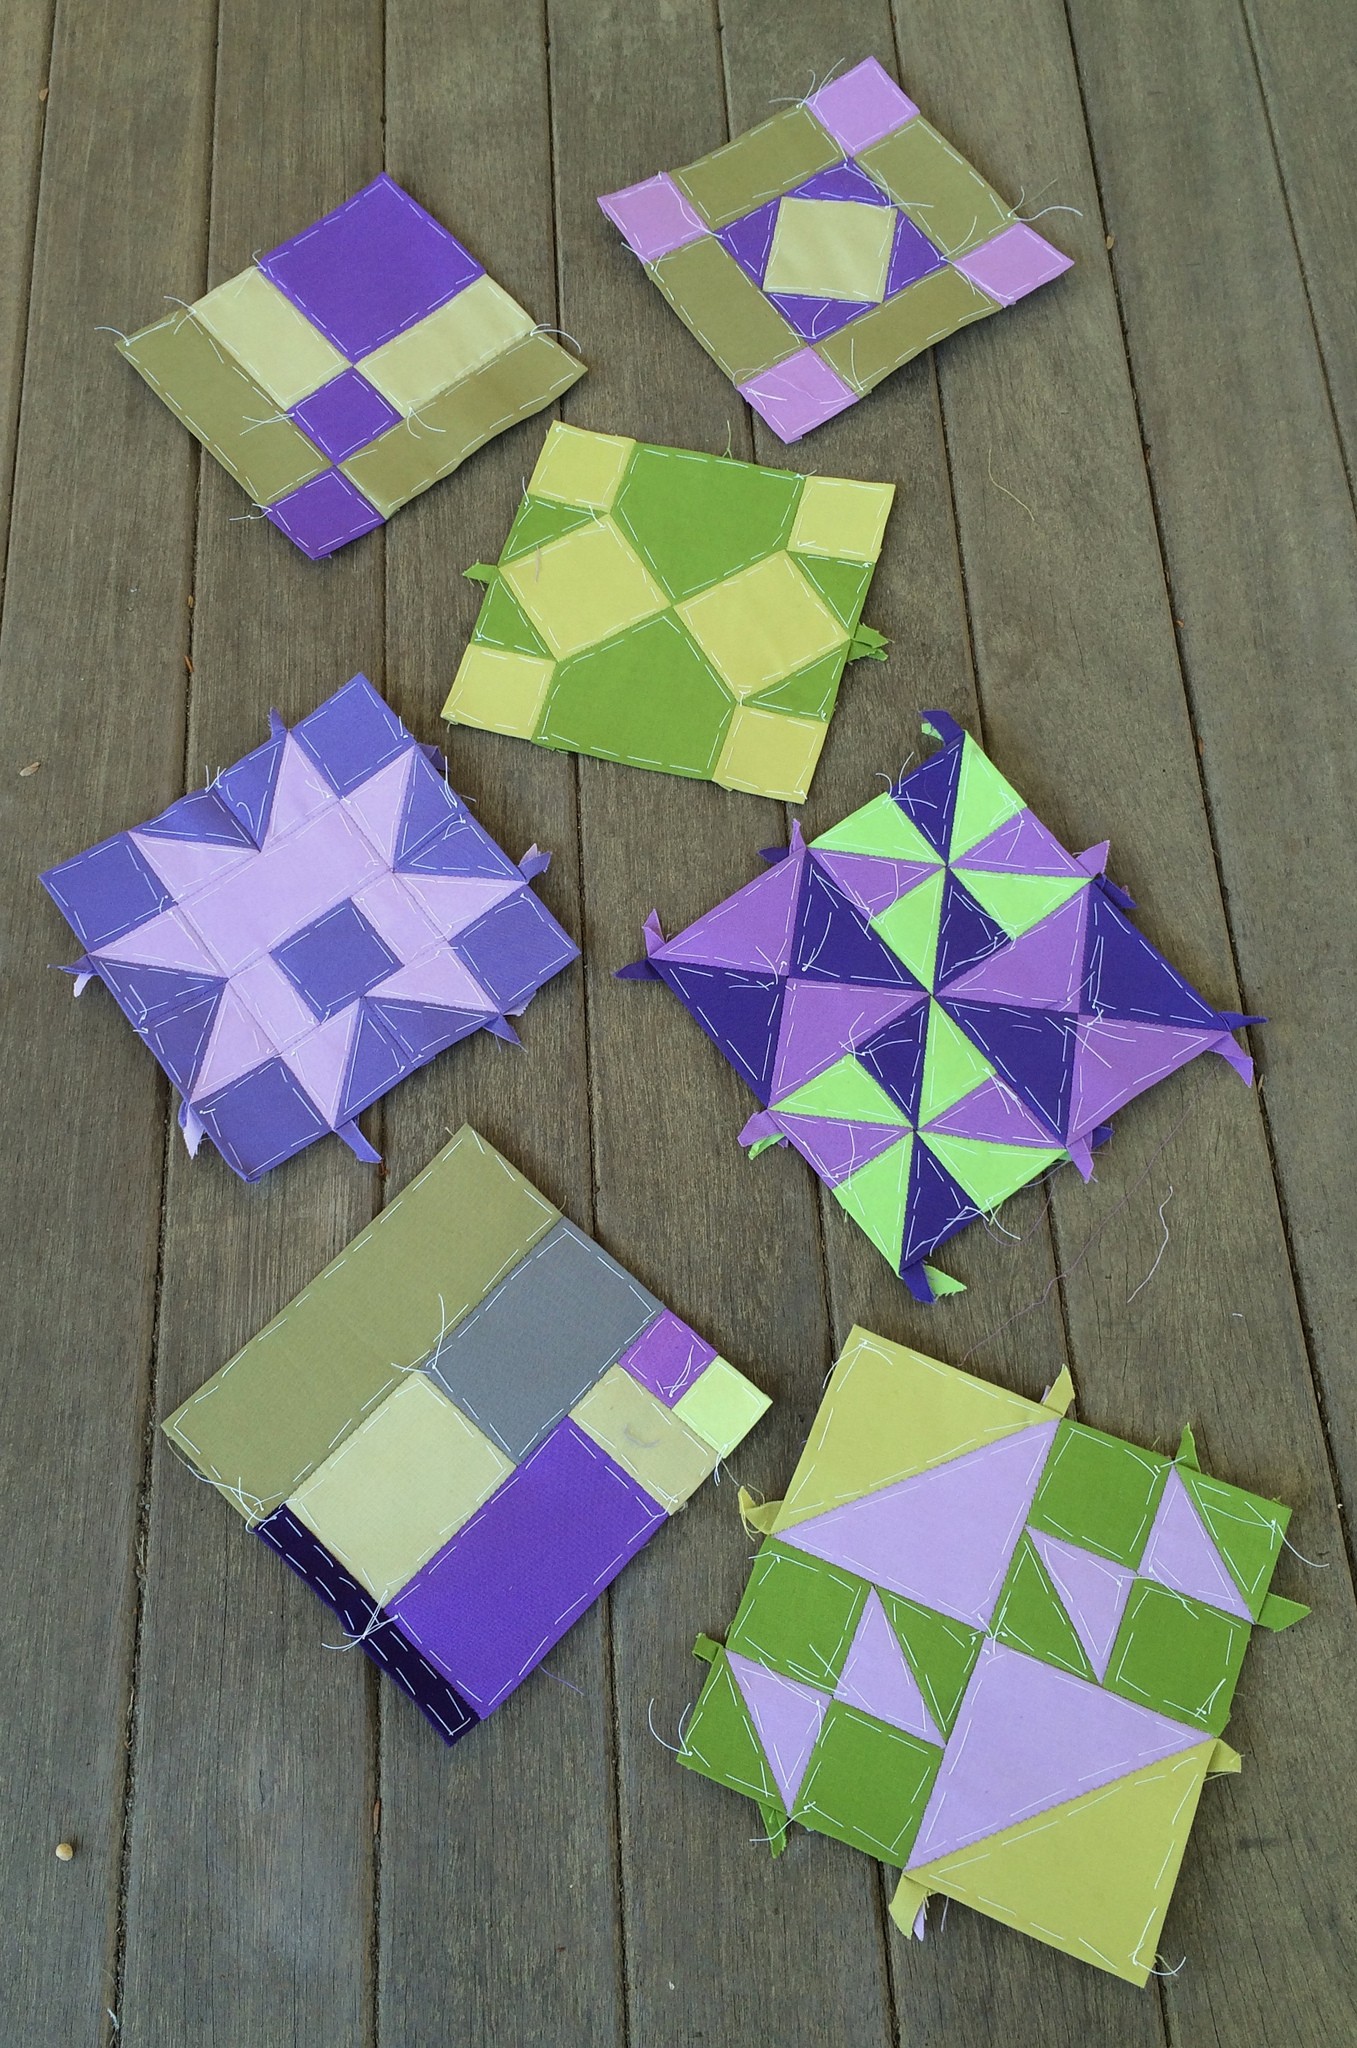
Going into the weekend I had Aimee finished. I completed Nancy over the weekend and five other blocks that I chose from among those not yet assigned. So I am a full five blocks ahead. Those blocks are pictured below, but I will not bother to name them at this time. They will make their solo appearances when they are assigned, and will be named at that point as well.

I will admit to choosing the block in the middle so I would have a feeling of accomplishment completing an easy block. I’m not in love with that one, and it may not even make its way into the final quilt. I am also not in love with the block on the bottom, but that may be because I did not provide enough contrast in the color choices.

Edit: A couple hours after posting this I discovered that the bottom block in the photograph above is the first block for this week. I am hoping that one of the others is chosen as the second block. That would blow my mind. What are the odds of choosing even one of them with so many blocks yet to go.

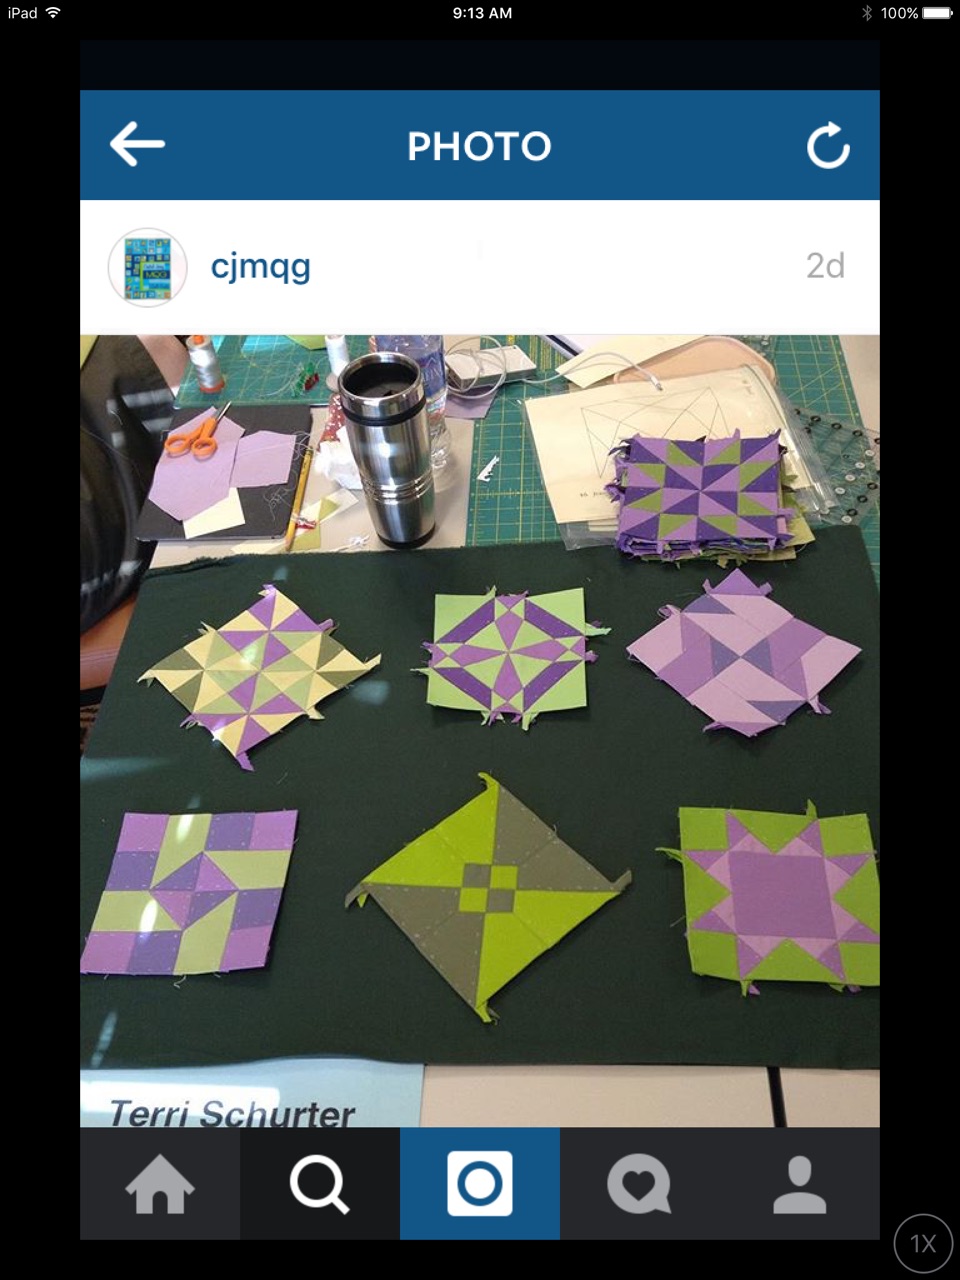
Mid way through the retreat the guild Instagram photographer walked about and posted some pictures. I was surprised to see the one below. I’m glad I tidied up just shortly before it was taken.

Photo Credit: Laura Bennet

I am linking up with the Link Up Party over at Gnome Angel.

Farmer’s Wife Quilt: Addie, Margaret, and Milly

This week was a difficult week with three blocks to complete, all of them with a lot of detail. Here they are in the order in which I completed them.

#1 Addie

Addie was made with the Kona Solids: Dahlia, Pansy, and Lime.

#57 Margaret

Margaret was made with the Kona Solids: Bright Periwinkle, Wisteria, and Peridot.

#62 Milly

Milly was made with the Kona Solids: Tarragon, Ivy, Dahlia, and Celery

Addie was the easiest of these three to complete. She had only 25 pieces compared to the 32 pieces in the other two blocks. Margaret was the second easiest because she did not require the nesting of eight tails except in one location. Milly brought back bad memories of Caroline. Milly had a total of five locations where it was necessary to nest eight tails.

I think of all the blocks I have completed so far I like Milly the best in terms of my selection of colors.

Farmer’s Wife Quilt: Jenny and Granny


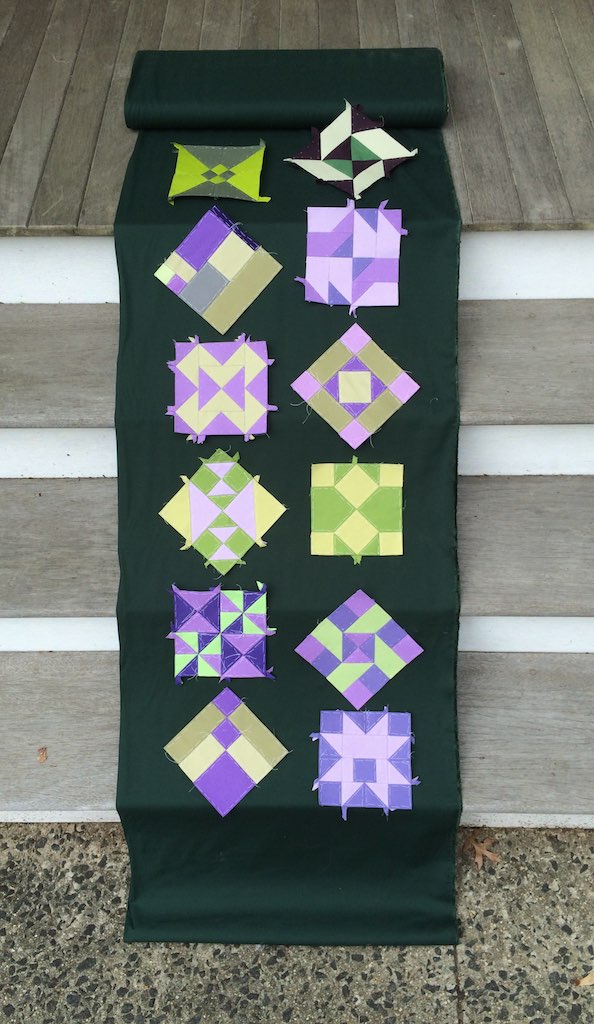
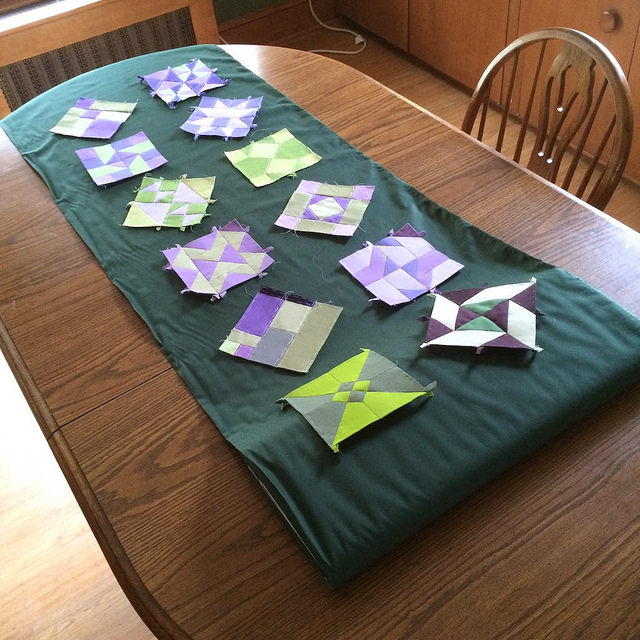
We have come to the end of the first month of the Farmer’s Wife QAL. In that time we have completed twelve blocks. I have displayed these blocks above on a dark background. I have a full bolt of Kona Hunter Green that I thought I would audition as a potential sashing color.

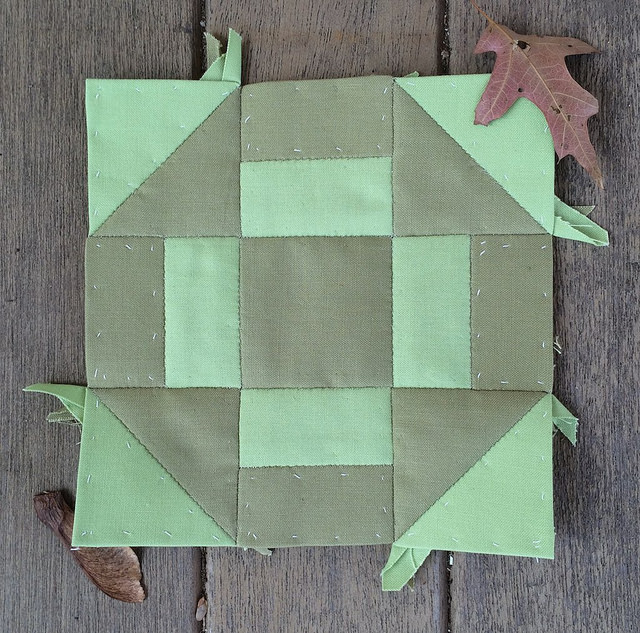
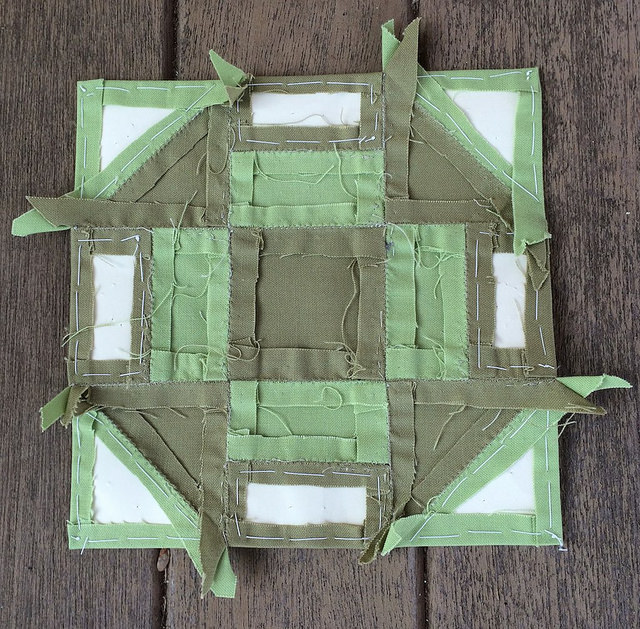
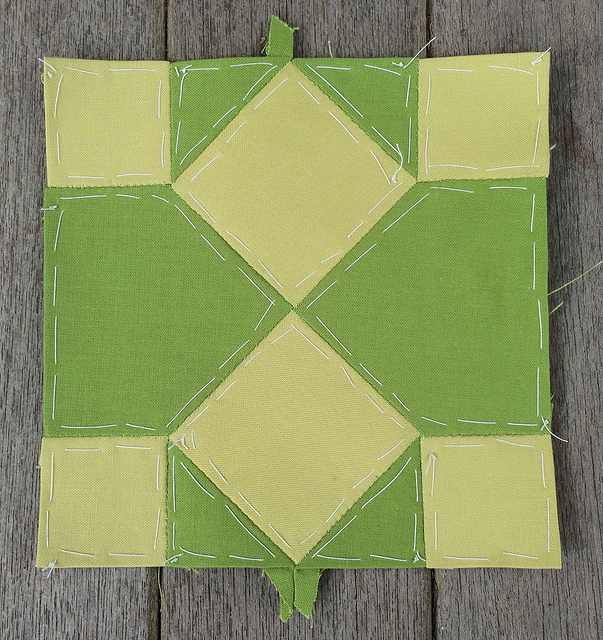
This week we had two blocks to make, #41 Granny, and #45 Jenny.

#41 Granny

Granny was made with the following Kona Solids: Pea Pod and O.D. Green.

Granny has the smallest pieces to date. They were challenging to baste because the fabric that was turned behind nearly met in the middle of the pieces because the pieces were so small. Granny would have been even more challenging if I had not chosen to do her with EPP. Those tiny squares are actually supposed to be two tiny triangles joined.

You can see that the basting stitches have been removed from the smaller shapes. This is possible to do because these shapes do not touch the outside of the block.

#45 Jenny

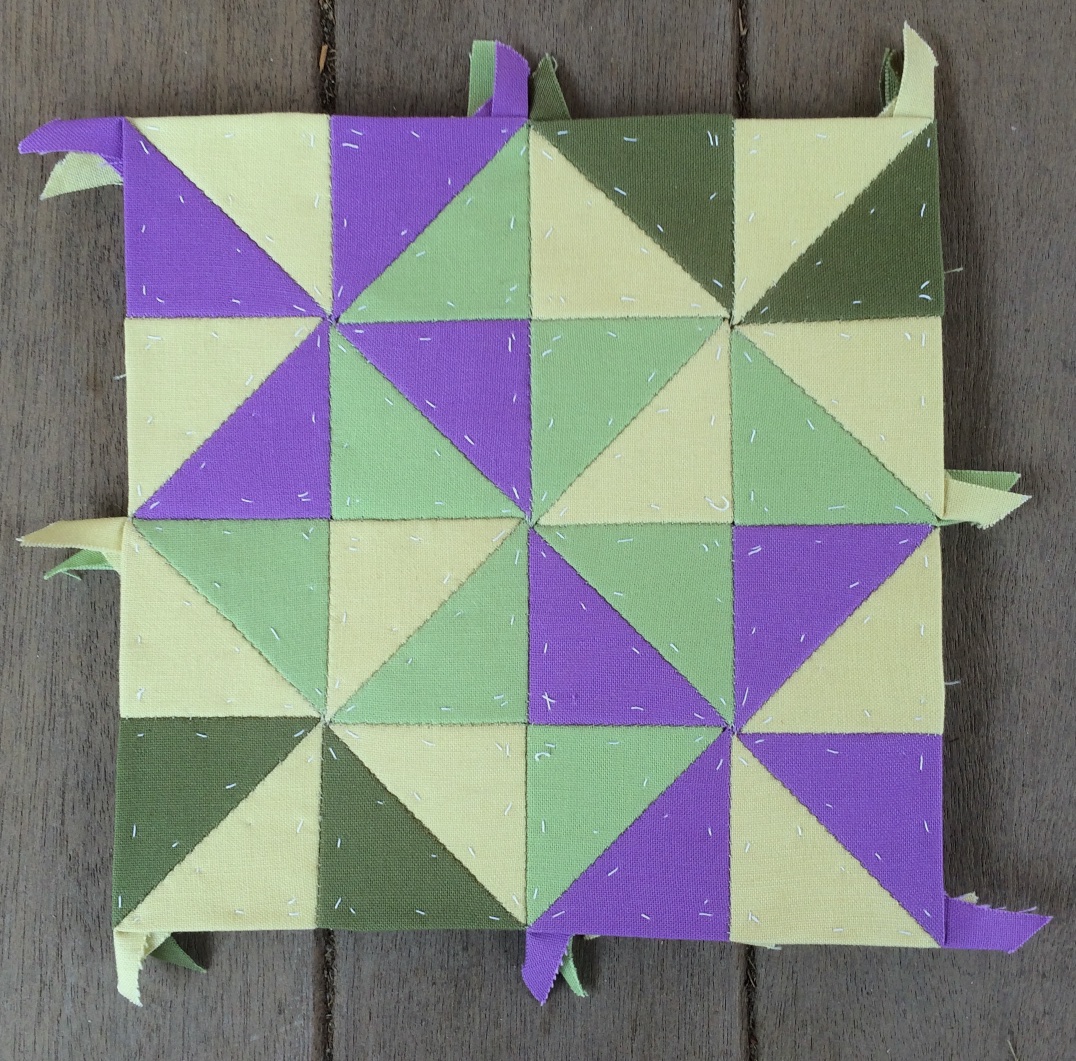
Jenny was made with the following Kona Solids: Raisin, Palm, and Limestone.

IMG_5882

Here is the back of Jenny.

Working on Jenny prompted me to think a lot about value in my blocks. Raisin looks nearly black compared to the other violets. Limestone appears nearly white. Jenny has the highest contrast of any block so far. I really enjoy the subtle contrast in value between the Palm and the Raisin in the center of Jenny.

On the other hand, Granny has good contrast, but it is not extremely high contrast as with Jenny.

One thing I forgot to comment on last week was how I enjoyed using the 32 pound weight paper compared to 20 pound copy paper for making my paper pieces. I really like it and I will continue to use it. I think it allows me to obtain nice sharp corners without fear of distorting the shape. Heavier weight card stock would probably also be good, but then I might have some trouble piercing the paper with the needle.

The papers above were removed from the center of Granny.

The papers above were removed from the center of Jenny.

Although I prefer the photo at the beginning of this post for showing my progress for the month, I took the photograph above to share on Instagram because I needed a square format.

I am participating in the Link Up Party on Gnome Angel.

Farmer’s Wife Quilt: Old Maid, Susannah, and Katherine

I was busy this week making three blocks, and I invested approximately 15 hours of my life in the process. If these blocks look nicer than the previous ones, it may be because I decided to run the long basting threads around the back for the sake of presentation. I think the blocks look better, and I think I even enjoyed working on them more, so I will continue in this vein as I complete the Farmer’s Wife Quilt.

Here they are:

#78 Old Maid

Old Maid was made with the following Kona Solids: Parsley and Wisteria

#94 Susannah

Susannah was made with the following Kona Solids: Amethyst, Tarragon, and Wisteria

#49 Katherine

Katherine was made with the following Kona Solids: Amethyst, Thistle, and Wisteria

I have a few process photos to share with you.

Here is Old Maid coming together.

And Old Maid from the back.

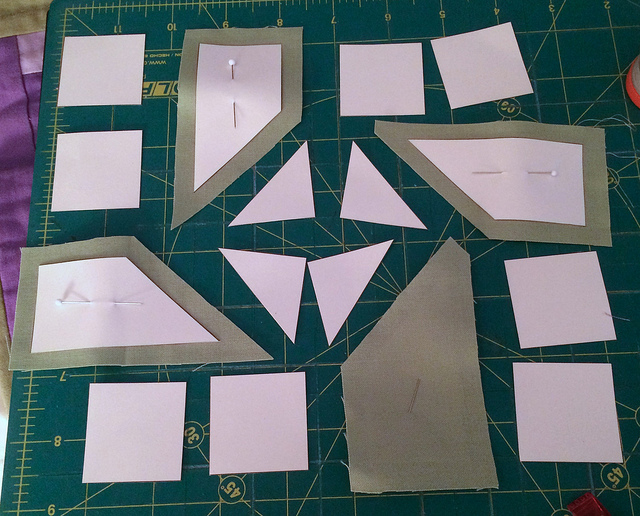
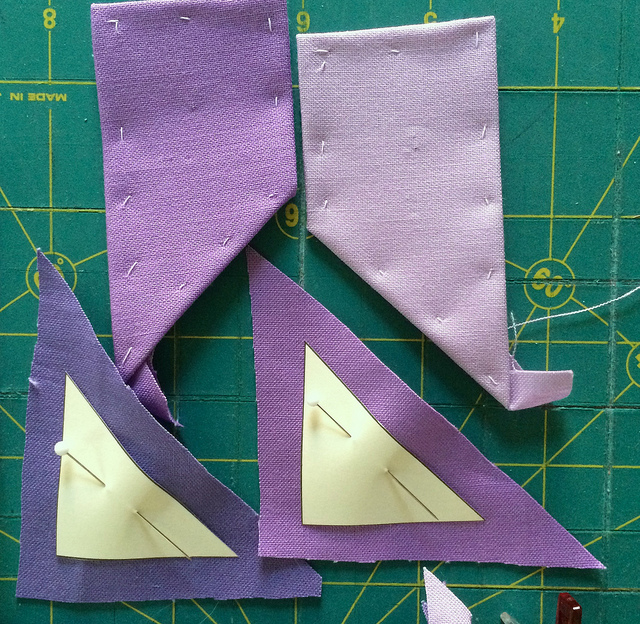
Here is Susannah as I started to baste. It was at this point that I realized that Susannah has a shape in it that has to be reversed in the basting process. This had not come up in any other block before. While some blocks may not have been symmetrical, they had all, up until now, been composed of shapes that were themselves symmetrical. The pinned shapes above are not symmetrical.

Here is Susannah coming together.

I felt that Katherine was going to be particularly challenging from the standpoint of making sure that I got the colors in the right place. In order to keep myself from becoming confused I decided to cut only a portion of this block at one time, baste that portion, and then sew that portion together before moving on to the next portion. I found this a great way to stay organized, and I will probably continue doing this with the remaining blocks. This method will have the advantage of making the work more portable because I won’t have to keep so many pieces laid out on a flat surface at one time. I think I will set up a large plastic bag for upcoming blocks so they will be ready to travel if necessary. I can even choose my colors and include layer cake sized pieces of fabric for easy cutting on the road.

I can’t begin to guess the number of times I flipped open the book to check on the value of these pieces in the diagram for Katherine. I was constantly double checking.

Katherine had the same non symmetrical shape as Susannah. I was trying to be careful, but I messed up, and I managed to baste the shape incorrectly one time. Snip, snip, spritz, spritz, press, press, and I was back in business. You can see the mistake in the photo above in the upper left.

Katherine didn’t come out exactly perfect along the edge. It is very hard to get that intersection of four points perfectly straight, but I think I will be able to ease it in when I add the sashing. I am thinking more and more that the sashing is going to be as finely pieced as the blocks. It will almost be like making a second quilt.

And here the blocks are together.

What a week. I look forward to next week and to the next two blocks. This quilt has really taken over my life, but I promise that I will get back to work on Kona Log Cabin Quilt. I have actually been working on it in the background, but I have nothing new to post about yet.

I am linking up to the Link Party over at Gnome Angel. Stop on over and see what everyone else is up to.

Farmer’s Wife Quilt: Belle and Coral

Belle was considered to be a challenging block by many because she had “Y” seams. However, one look at Belle, and I knew she was going to be a breeze to complete because she was MADE for EPP with those “Y” seams. Not only that, but she had only had 12 pieces, some of them being quite large.

Coral, on the other hand, was a throw back to the trials of Caroline. She had 24 pieces, like Caroline, with many of them being triangles. Yet, there were at least a few squares and rectangles to ease the way to the completion of Coral.

#13 Belle

Belle is made with the follow Kona Solids: Artichoke and Peridot


#24 Coral

Coral is made with the follow Kona Solids: Amethyst and Thistle

The first thing I did when piecing Coral was to sew together the three pieces that make up the rectangle that gets paired with the other long rectangle. Those four pieces make up the center of Coral. I had long suspected that it might not be enough to simply cut on the lines of the diagrams when making these blocks because of the added width provided by the overlap of the fabric to the back of the paper pieces. A reader suggested the same thing when commenting on my post last week. She suggested cutting away the lines rather than merely cutting through them. I know that this is probably the best thing to do, yet it adds an entirely new level of tedious precision to the process. I did not do it for this block because I wanted to measure the difference when I went to add that pieced long rectangle to the single long rectangle in the center. The difference came to 1/16 of an inch. I’m still on the fence about trimming vs. cutting. As the blocks become even more detailed I may not be able to avoid trimming.


Process photo of work on Coral.

There has to be at least one process photo.

Another reader last week answered my question about which direction to turn the seam allowance on my triangles. She said to be consistent in turning in either a clockwise or a counter clockwise direction. Upon digesting that information, I  realized that I had been doing that instinctively all along. I knew this because I found it nearly impossible to turn the corners in the opposite direction when I attempted to do so. So I knew I could only have been turning them in one direction. I guess that was what allowed me to finally tame my tails last week.

All of my blocks.

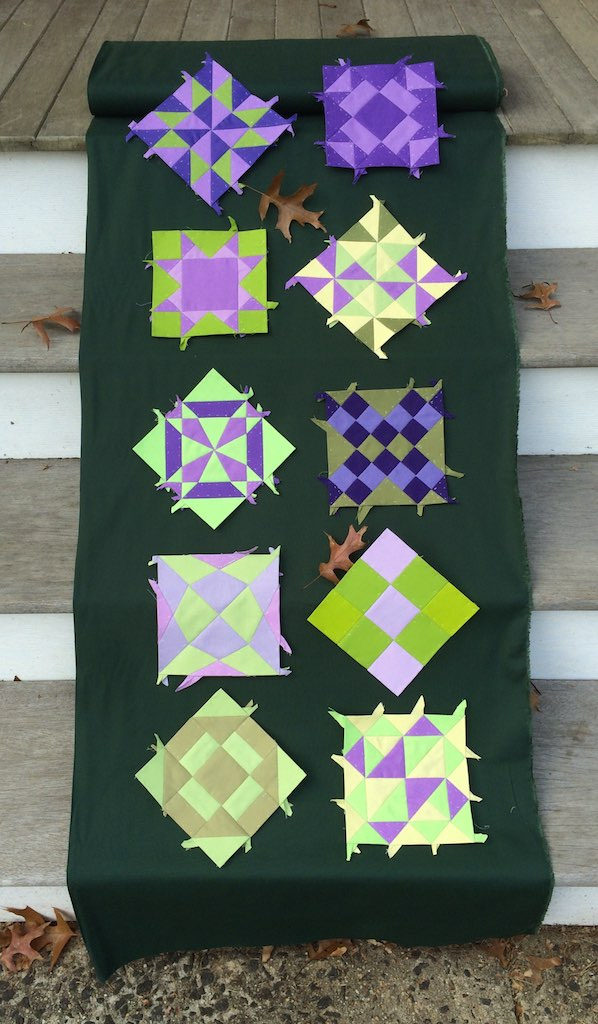
The two blocks I made this week were a slight departure in terms of color use. I had originally planned to use both violet and green in every block. However, so many blocks involve only two values, so I decided that I would make some of them with only violets, and some with only greens. The sprinkling of blocks above proves to me that this color strategy will likely be successful in the final layout.

I think it is tremendously inspiring that some of the participants on the Facebook group for this QAL are moving ahead and producing blocks before they have been assigned. Because they have shared their industry with us, I have been inspired to try to do the same. I have printed out a couple of blocks that I think are particularly well suited to being done with EPP, and hope to attempt them soon. These blocks are: #46 Jewel and #44 Iris.

I picked up some heavier weight paper to use for my paper pieces. I got some 32 pound laser paper from Staples this week, but have not used it yet. I will use it for the next two blocks and report back on how I like it.

The Facebook group continues to be an amazingly helpful and positive place thanks to the diligent efforts of the admins to keep it that way.

I am linking back to Gnome Angel’s Link Back Party. Come and see the beautiful work being produced by everyone, and take a look at what others have to say on their blogs.

I am also linking up with Jessica’s Monday Morning Star Count over at Life Under Quilts.

Vintage Quilts Galore

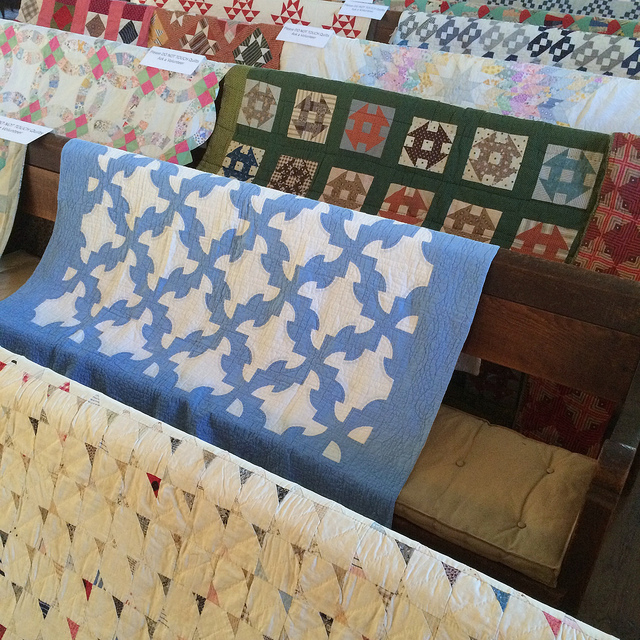
Yesterday my husband and I attended the Chesterfield Township Historical Society Heritage Day. My husband’s cousin is the President of the society. Having seen my Facebook posts, she thought I would enjoy seeing the quilts on display. She was right about that. I think you might enjoy seeing them too, so here they are for your viewing pleasure.

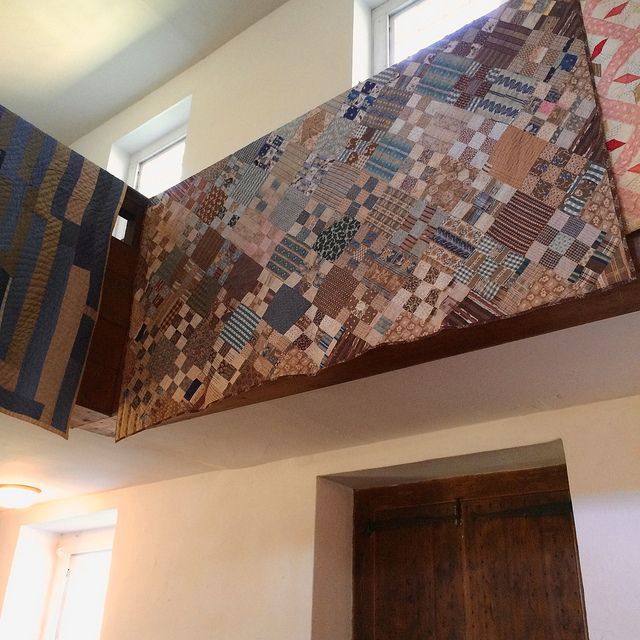
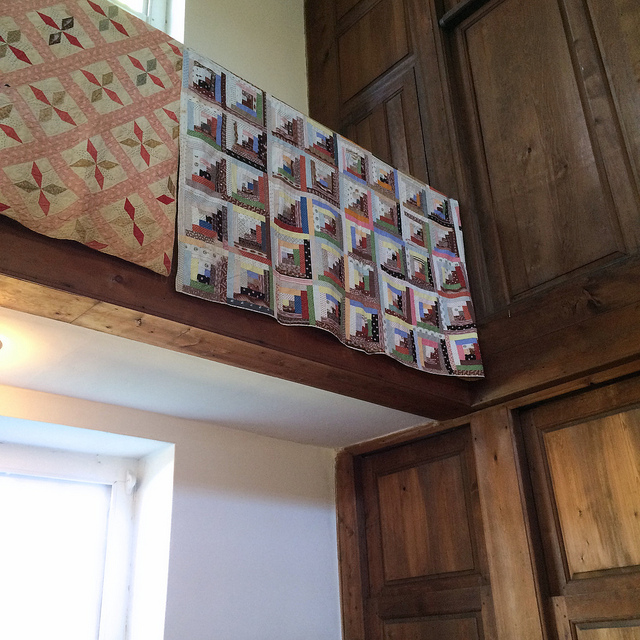
The quilts were displayed in a Quaker Meeting House draped over benches, and also hanging from the upper level.
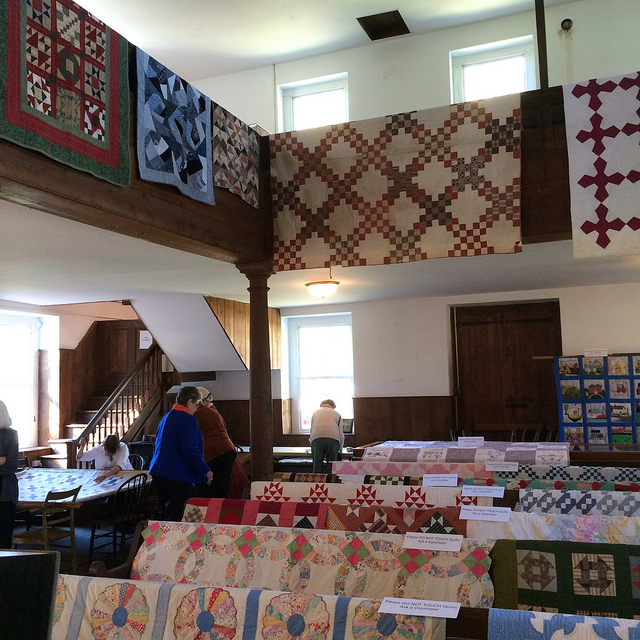
I found this to be a delightful way to display the variety of quilts in such a small area/ It also allowed people to get up close and view the details by walking through the isles. The only down side was that you didn’t get to see the entire quilt.
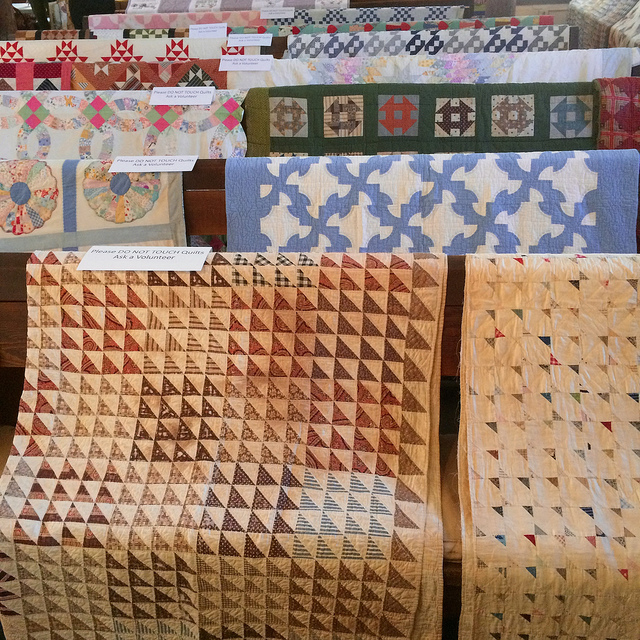
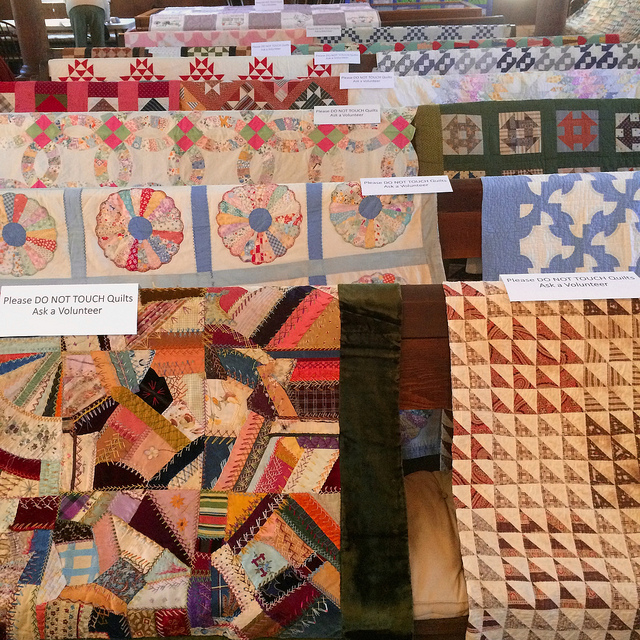
There were far too many quilts to take photos of each one individually, but I have taken individual shots for a few of the quilts that particularly caught my eye. Let’s start with the quilt toward the front of the photo above.
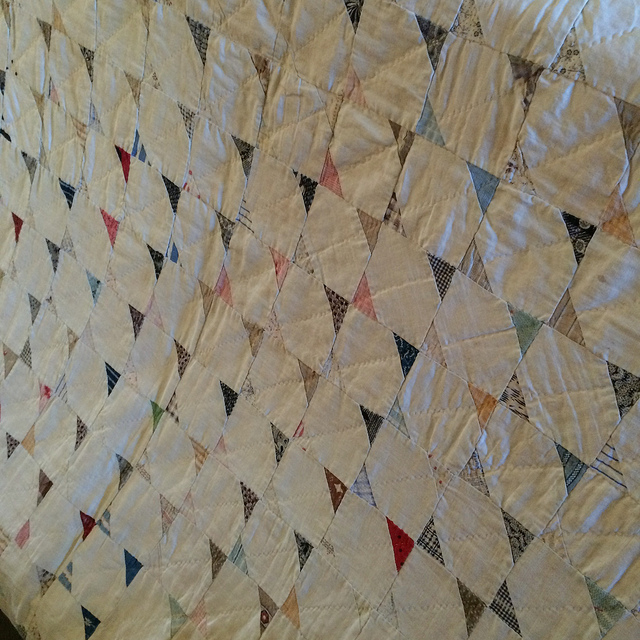
I think I am going to have to put this on my bucket list of quilts to make. This would be a great way of using up teeny tiny pieces of Kona Solids. I can see it done with bright colors for the tiny triangles using a variety of subtle gray colors for the background areas.
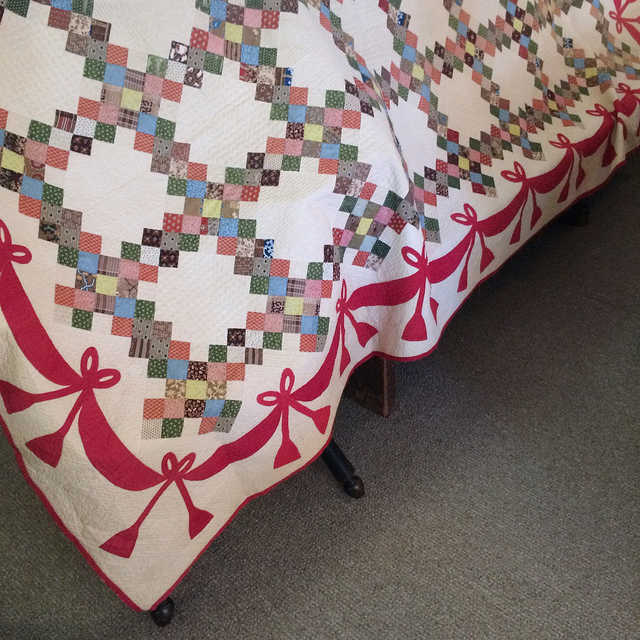
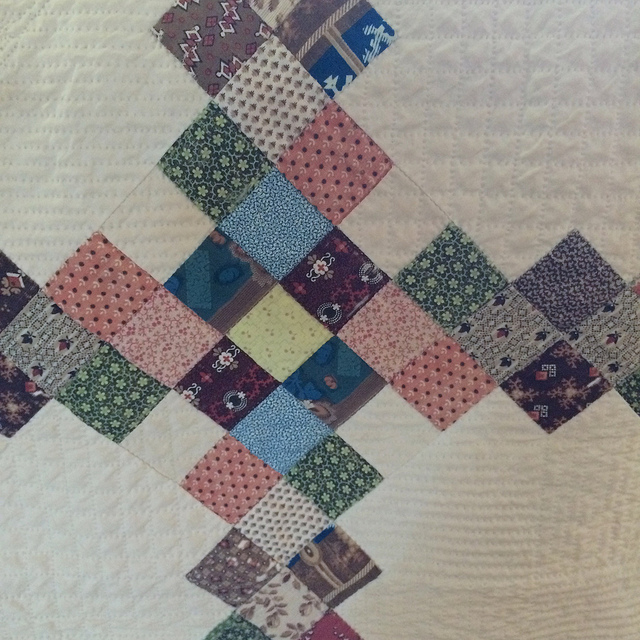
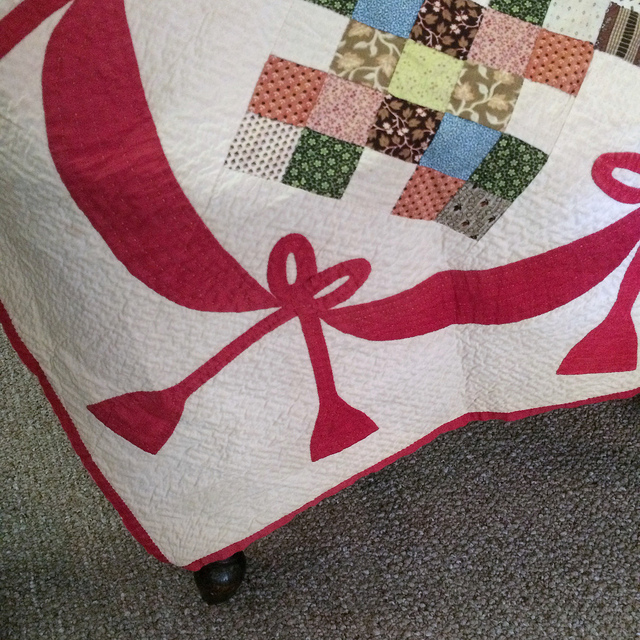
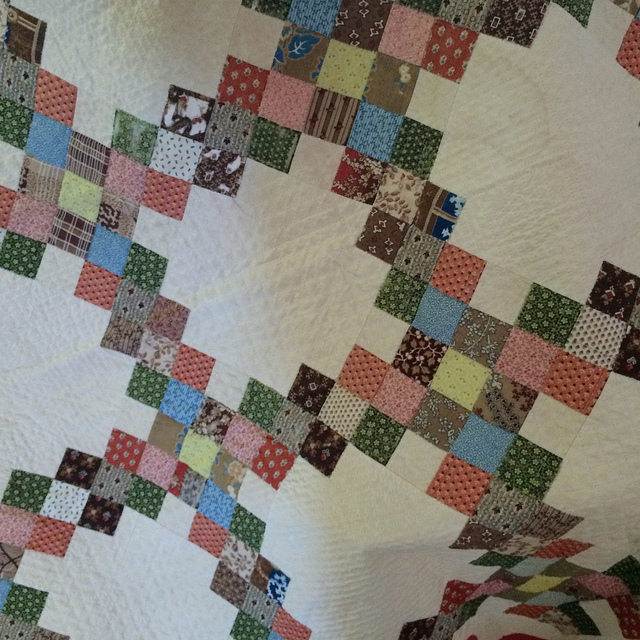
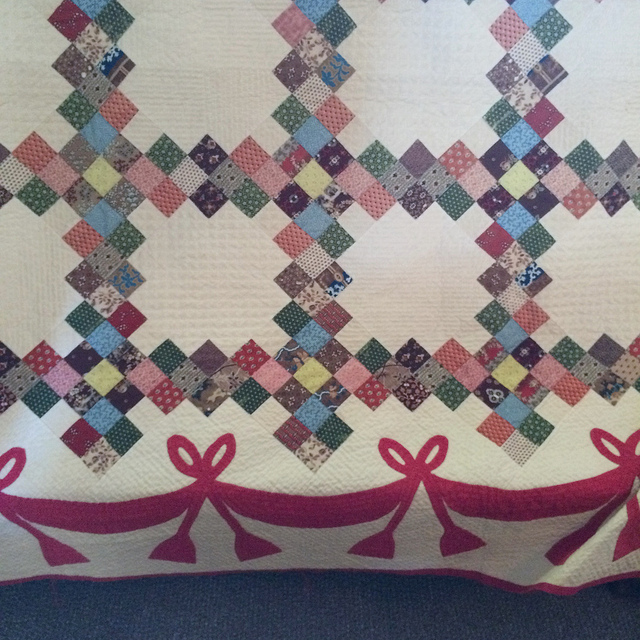
Here is a quilt displaying a delightful combination of patchwork and appliqué. It deserves a few close ups.
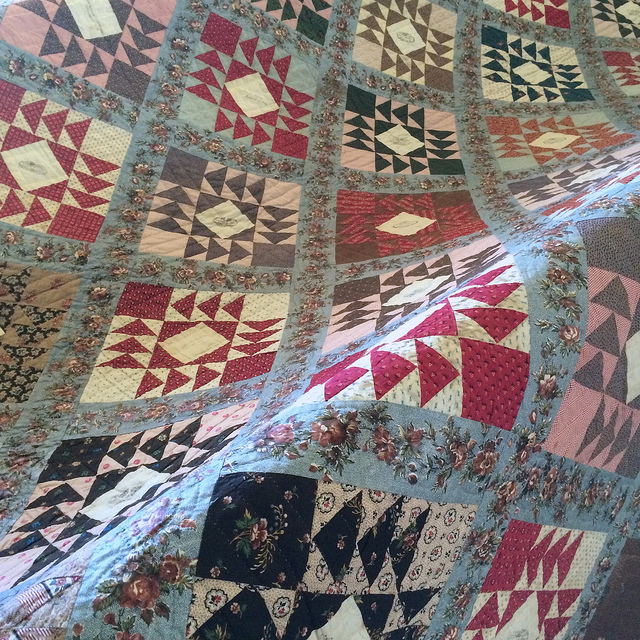
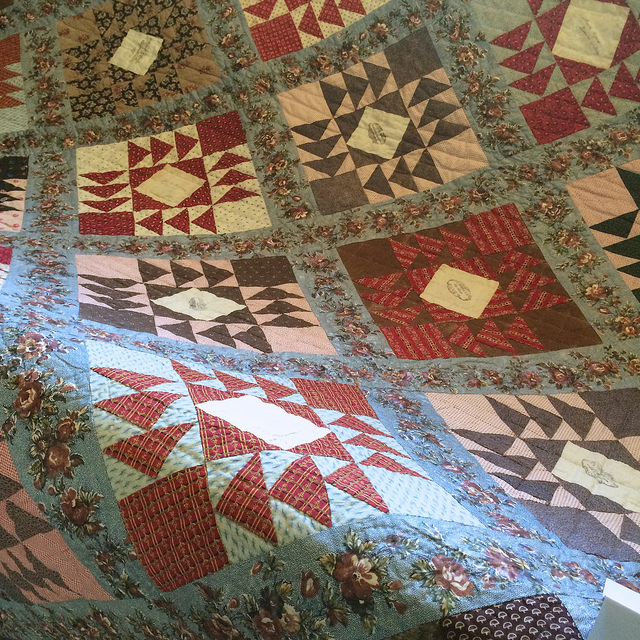
I was told that this quilt featuring flying geese is particularly meaningful to the township. It has diamond patches in the centers of the blocks with information on them. Here is a second view of the same quilt.
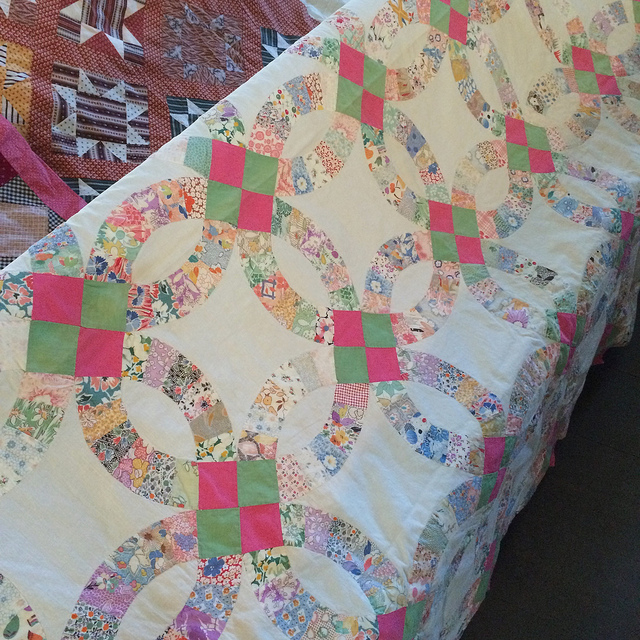
What would a quilt display be without the obligatory Wedding Ring Quilt?
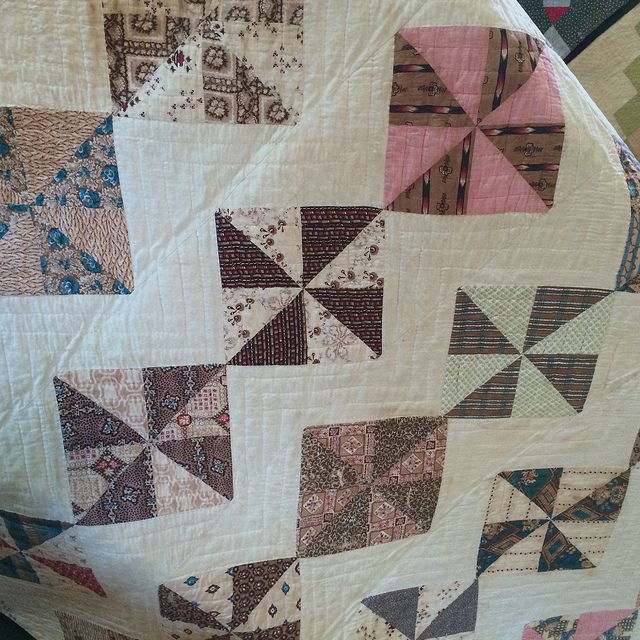
We have a Pinwheel on display utilizing white sashing.
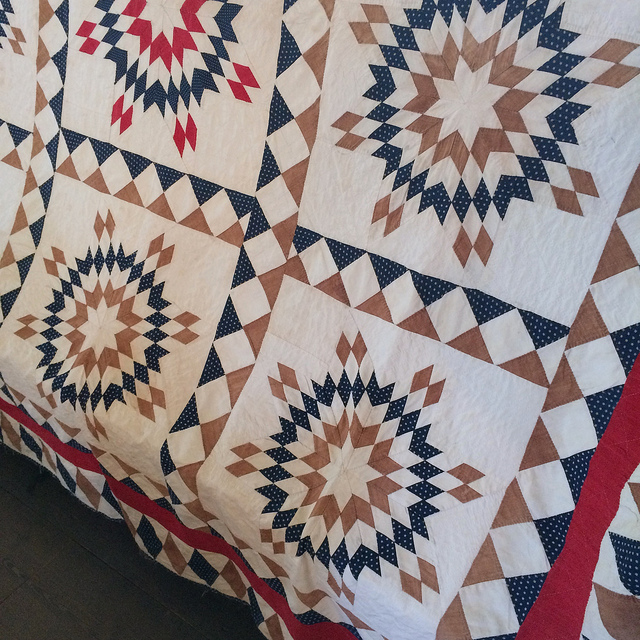
Here is one I can’t name, but I can guarantee you it was hand pieced with either a traditional method or with English Paper Piecing. EPP would have been my preferred method of tackling it.
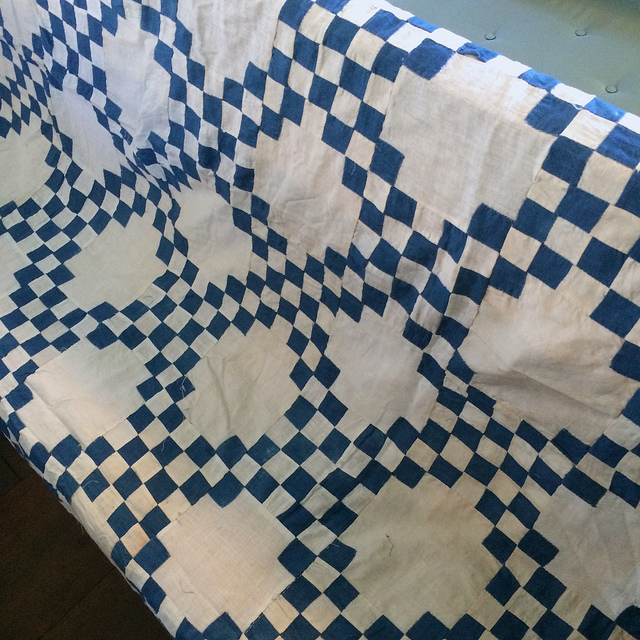
And, of course, we must show the beauty of the two color quilt. I’m pretty sure that you would call this an Irish Chain.
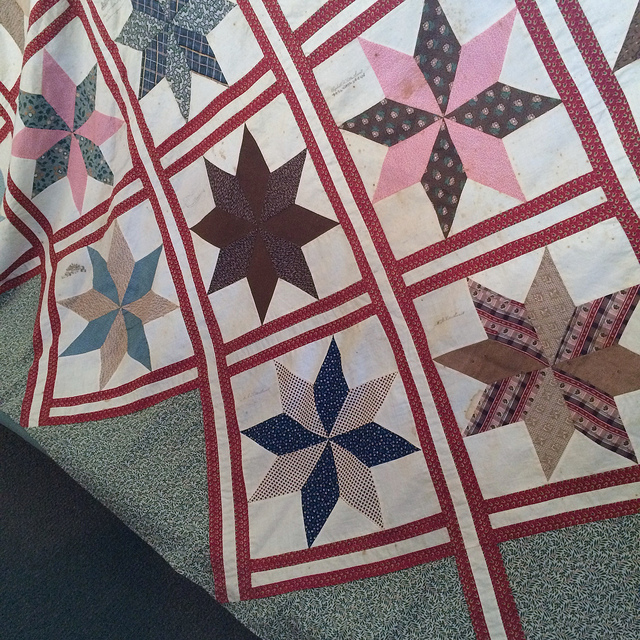
I don’t have a name for this, but it is some type of a star.
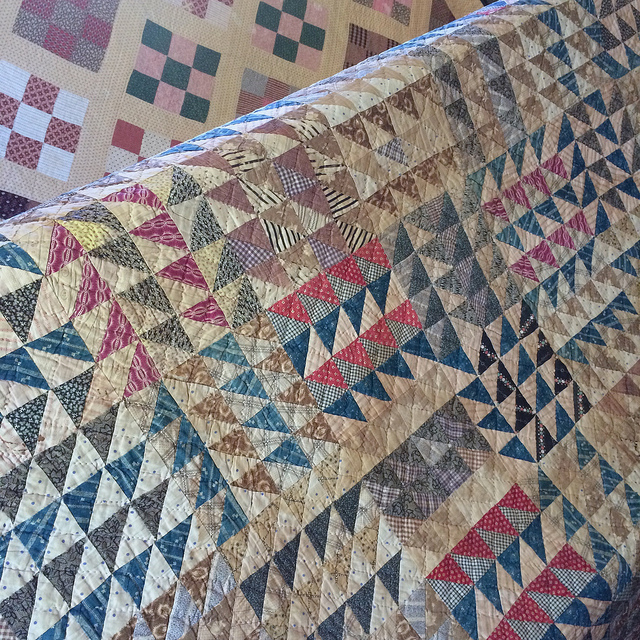
I don’t have a name for this either, but it is definitely a Half Square Triangle party taking place.
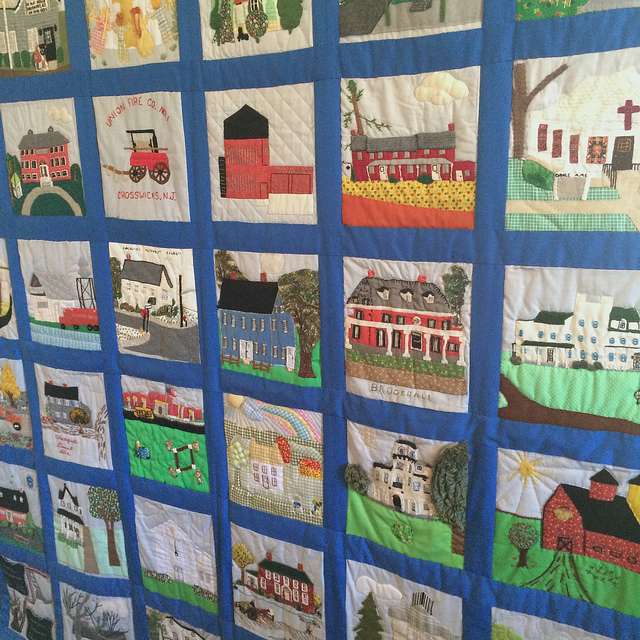
I almost didn’t take this photograph because album quilts are not my thing at all, but I am glad I included it to show that the display was inclusive of appliqué even though it was heavily weighted toward patchwork.

Let’s have a look at the quilts displayed above:
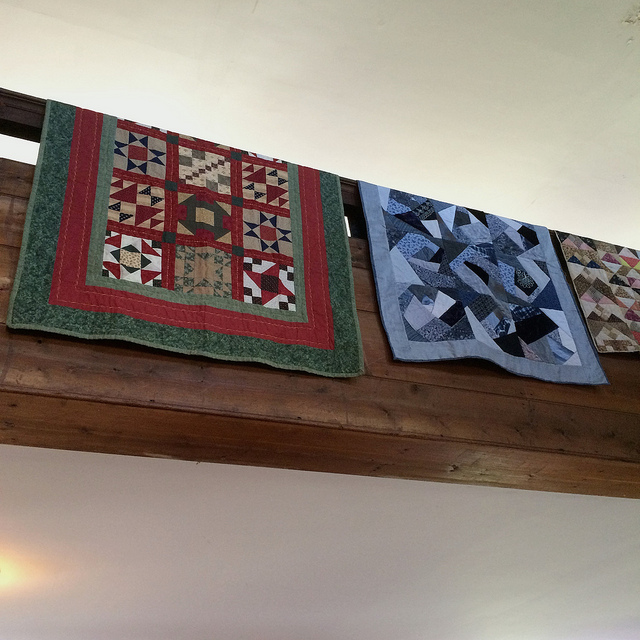
You’ve got to love a log cabin quilt. I know I do.

Last we’ll take a peak at the Quilting Bee taking place, which visitors were invited to participate in. I didn’t try my hand at quilting on the frame. I already know that I prefer to lap quilt. It was early in the day when I took this photograph, but we have one woman taking part in the fun already.
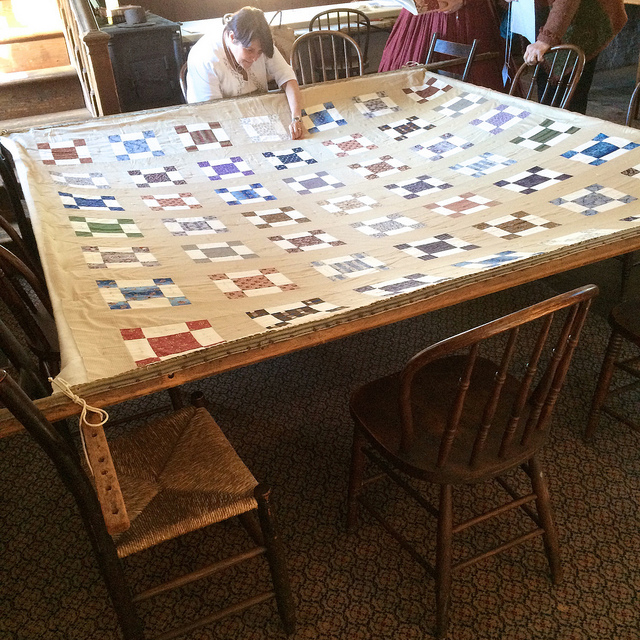
Some of these quilts must have been done recently because the the display was described as being “antique and contemporary quilts on display.” You would have to get up close to tell the difference because even the contemporary quilts were vintage in design. It didn’t seem productive to try to guess which were antique and which were not. They were all well crafted, and as far as I could tell, none were machine quilted. I didn’t get close enough the ones that were hung high to know that for sure, but it was a Heritage Festival and the quilts followed through on the theme, so I would imagine that machine quilting would probably not have been in keeping with the theme.
Fabric Friday: New Kona Solids

Photo Credit: Laura Bennet

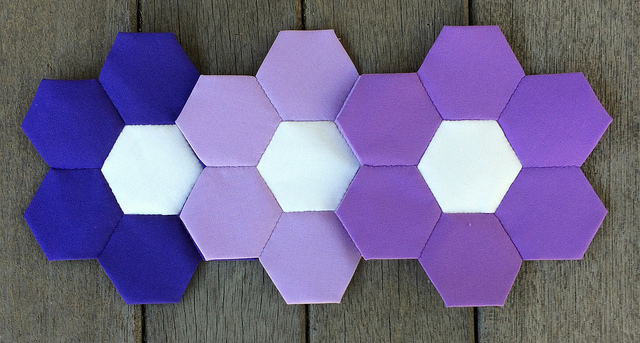
Tuesday night I attended the monthly meeting of the Central Jersey Modern Quilt Guild. Our challenge for the month was to make a quilt with just two colors, or to bring in something that was just two colors that had already been made by us or by someone else. This challenge was proposed at just the time that I was deciding what colors to use for my Farmer’s Wife Quilt. Initially I had thought that I might make the quilt a secondary color themed quilt using Violets, Greens, and Oranges. However, the challenge helped me make up my mind to go with only shades of Violet and Green.
Although my quilt is nowhere near done, and will take over a year to complete, I had finished six blocks. What was even more significant, and of potential interest to the group, is that I had amassed an amazing number of Kona solids from which to choose as I continued to work. So I clipped my Kona flowers together and brought them to show to the group along with my six blocks.

I received a great complement from one of the guild members, who upon examining my points, proclaimed me the “Queen of Precision”. I did not hesitate to accept the crown. I said with no false modesty, “Yes, I am.”

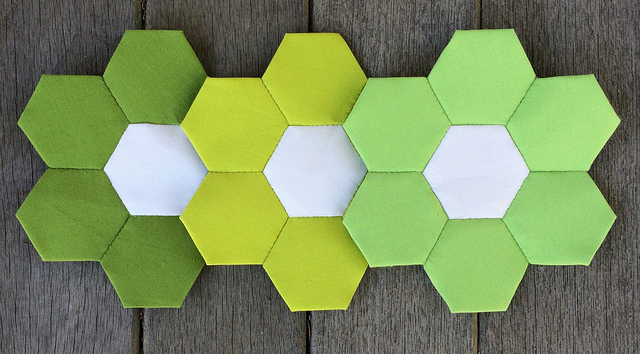
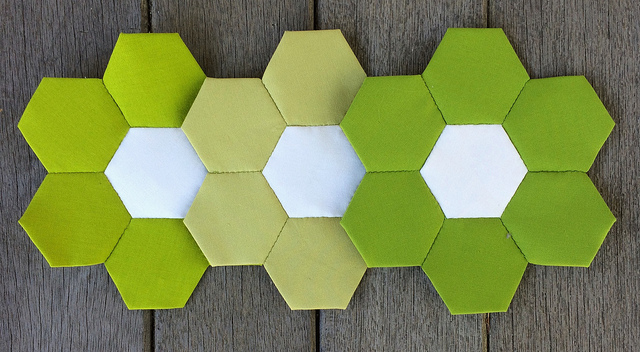
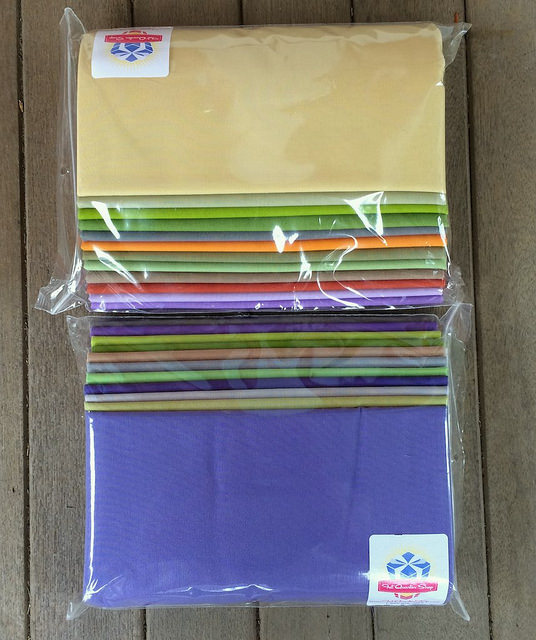
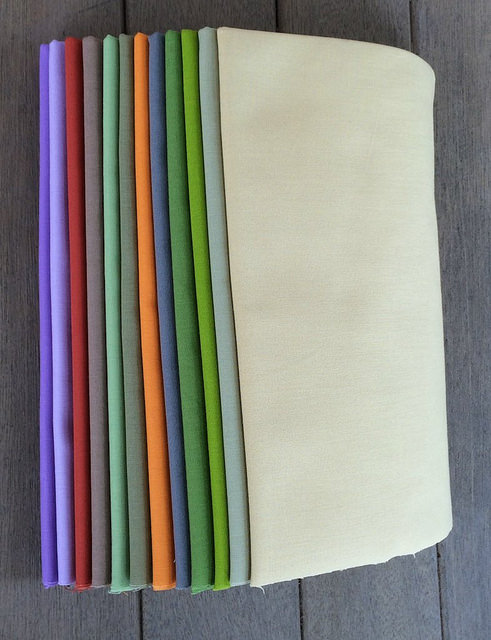
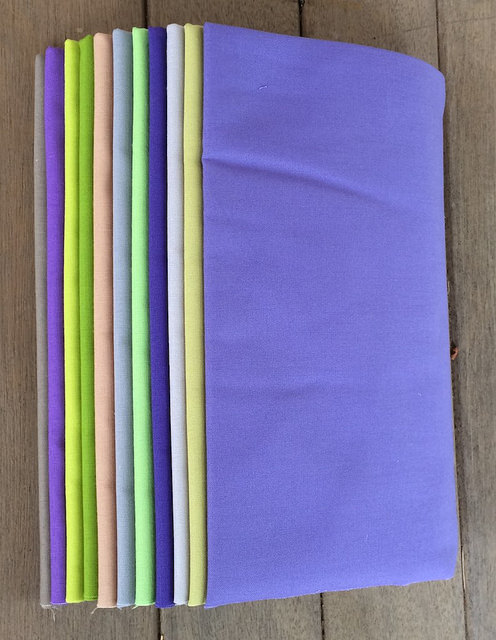
Last week I received 23 half yards of Kona solids from the Fat Quarter Shop. Twelve of those colors were new, and I am showing them below.

Peridot, Limelight, and Cabbage


Pea Pod, Artichoke, and Lime


Bright Periwinkle, Thistle, and Wisteria


Tarragon, Amethyst, and Ash

This yardage came packaged in two zip lock bags. The Fat Quarter Shop does a beautiful job of fanning out the yardage so you can see each piece. This order came to $80.50, which is exactly enough (plus 50 cents) to avoid shipping charges.

This is what they looked like when they first arrived. The fabrics look even better once the plastic has been stripped away.

There is something I did not previously realize about the way these fabrics are packaged. The Fat Quarter shop places the yardage into the bag in the EXACT SAME ORDER as the names of the fabrics are listed on the packing list! If you are ordering solids this is tremendously helpful in sorting them out. I will never again need to try to match up fabrics with the tiny fabric swatches on the Kona Solids Sample Card.

Now I feel a little bit foolish about this post.

If you want to see what my guild is up to, just search Instagram for #cjmqg


Farmer’s Wife Quilt: Betty and Caroline

The blocks are getting harder, and the heat is definitely on. In this installment of “The Farmer’s Wife Saga” I am going to show my two blocks for this week. I am also going to talk a little bit about my process. Then I will share my thoughts for the future of this quilt.

#14 Betty

Betty is made with the following Kona solids: Artichoke, Thistle, and Peridot.

#20 Caroline

Caroline is made with the follow Kona solids: Bright Periwinkle, Wisteria, and Cabbage.

Caroline from Behind

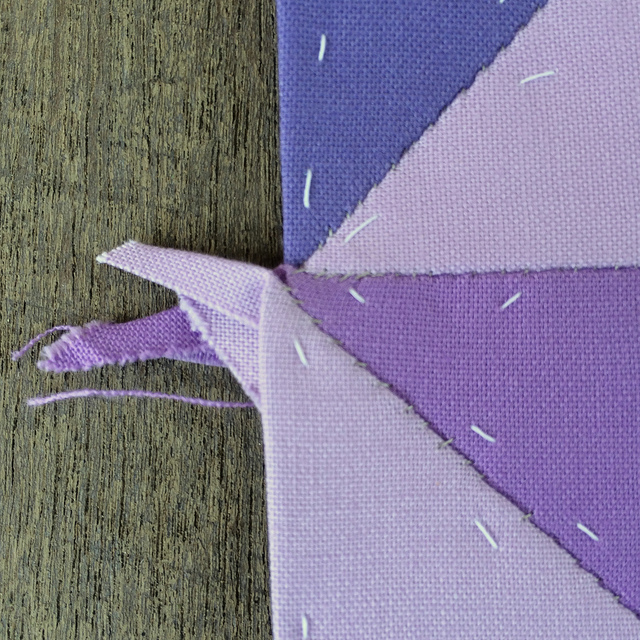
I share a photo of Caroline from the back side to begin the discussion of my process. This photo illustrates the complexity of Caroline. Get a load of all of those tails, especially those converging at the center of the block, and also at the centers of the two pinwheels which make up the upper right and lower left of the block.

Caroline is the first block composed entirely of triangles. This proved to be a challenge in terms of basting and matching up points at the center of the three locations mentioned above.

Here are a few things I was aware of as I worked on the triangles that make up Caroline:

Placing pins along the diagonal edge and placing the head of the pin to the right made it easiest for me to baste because the head of the pin was as far away as possible from my starting point.

I found it prudent to begin basting triangles at the 90 degree angle corner of the triangle to give myself a good start before tackling the corners that would produce the tails.

I was able to remove the pin on the smaller triangles after making only one additional basting stitch along the first side of the triangle. With the larger triangles I waited until I turned the first sharp corner to remove my pin.

I am still a little bit unsure about which side of the triangle fabric I should be placing uppermost when turning those acute angles.

I found the small red Clover clips to be very useful in holding the edges together when joining my pieces, especially for matching seams. (The above photo shows this process with Aunt, as I had not documented it with Caroline.) That is my lap by the way… one of my favorite photo staging areas for fine details.

Speaking of deTAILS, let’s talk about tails…

Man, they do stick up.

I could not imagine that I could tame this beast… the beast with eight tails.

I thought of clipping the tails, but somehow that seemed unnecessarily cruel, and somehow not right, as well as fraught with possibilities for regret if it did not go well. If you EPP, how do you deal with your tails?

Well, I finally decided to pay attention to one tail at a time and try to flatten each out in relation to the tail nearest it, and eventually I got them to nest. Then the application of some heat managed to put those tails in their places as flat as they could go. I am wondering if I should do a tiny bit of tacking with thread to keep them in place.

I think the points match up rather well considering how hard it is to see what you are doing with all of those tails wagging in your face when you do the stitching at the the intersection of all eight pieces.

I didn’t get out a timer for these blocks, but my best guess is that Betty clocked in at about three hours, and Caroline may have taken as many as five hours. Let’s not even talk about the time spent documenting and blogging because that doesn’t count. I do that because I must.

I have been paper piecing hexagons now for about two and a half years. In eight hours of time I imagine that I would have been able to cut, baste and assemble enough hexagons to cover ten times the area that these two little squares will cover, but that isn’t really the point. The issue is, do I want to continue spending my time this way, when there might be a better way to do this? Perhaps there is a more appropriate way to complete this project. At the risk of seeming shallow, I have to admit that part of my conflict comes not only from the amount of time this project will consume, but also from knowing that there is going to be nothing about the appearance of the finished product that will suggest that it was hand pieced. It will look like a machine pieced quilt. There is something about hexagons that say, to at least the experienced quilter, “I was hand pieced.” You can hear that declaration from twenty feet away. I like that.

I definitely want to continue with the QAL, but perhaps I should look at this as an opportunity to learn something new. Maybe I should be buying the Marti Mitchell templates and trying traditional hand piecing. It would be another way of relaxing with hand stitching. There is a lot of excitement for the templates in the QAL Facebook group discussion. I imagine that hand piecing with the templates would be faster than the EPP approach I am taking. Perhaps I should consider learning to do Foundation Paper Piecing. As much as it would tie me to the machine, which I hate, it would provide me with a new skill.

It is worth noting that my finished blocks are measuring slightly larger than the prescribed finished length. This error is between 1/16 of an inch and 1/8th of an inch. Luckily it is consistent. But I should take it into account when I go about finishing the quilt.

One of the things I worry about a little bit is how I am going to finish this quilt with sashing. I have pretty much rejected the idea of engineering my squares so I can recover the quarter inch seam allowance. It is something I don’t want to worry about as I baste. Plus if I am going to do the blocks with EPP, I want to EPP it all. I am considering drafting a sashing with a variety of gray fabrics that are light in value. I’ve done a few sketches, but if I go this route I am likely to drag out the old school drafting tools and draw out a portion of the sashing to scale. I may even “hide” some hexagons in the sashing to “prove” that the work is EPP.

In most likelihood I will continue with EPP at least until I have completed enough blocks to do a sample with EPP sashing.

Stay tuned.

I’d like to hear from you. If you are doing the Farmer’s Wife with EPP, how is it going for you? What challenges have you encountered? Do you have any plans for sashing?

I am joining in the fun of The Farmer’s Wife Link Party over at Gnome Angel. Thank you Angie Wilson for giving us the opportunity to share our blogs in this way.

I am also linking up with Jessica’s Monday Morning Star Count over at Life Under Quilts.