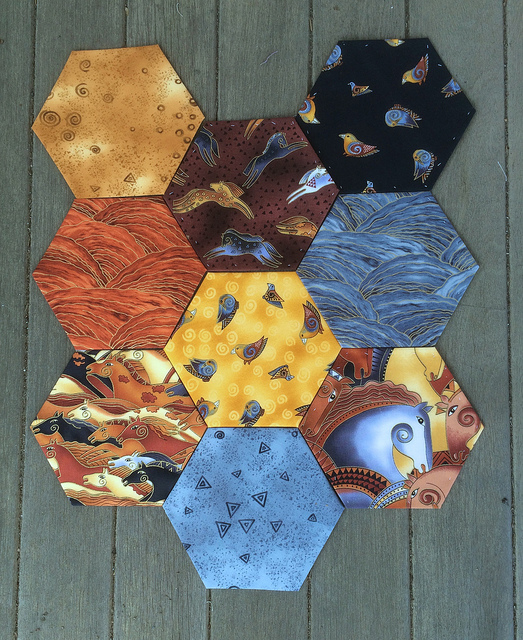
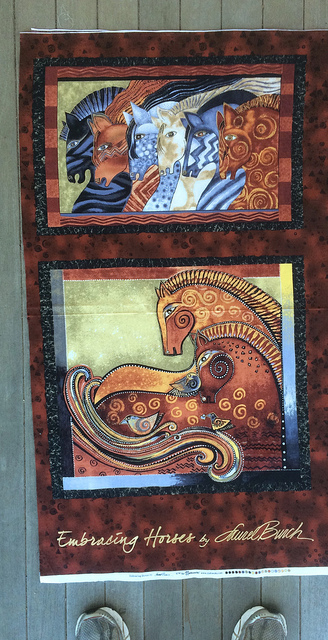
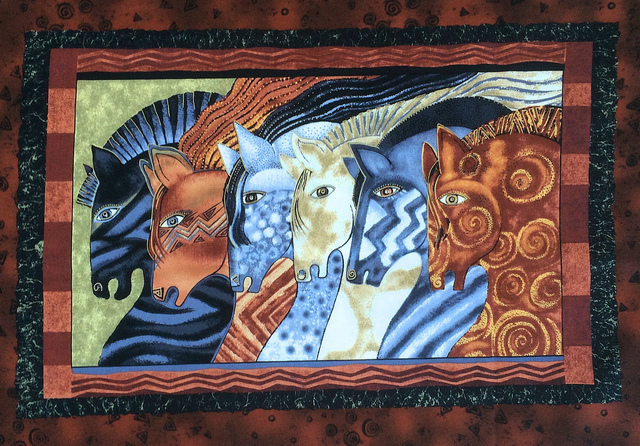
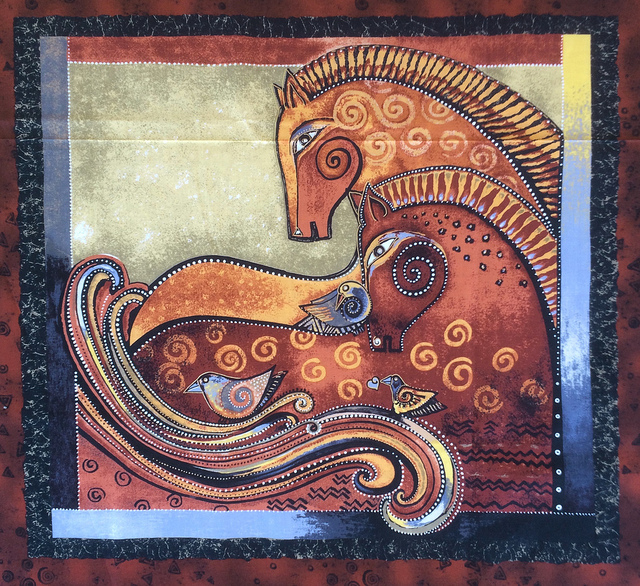
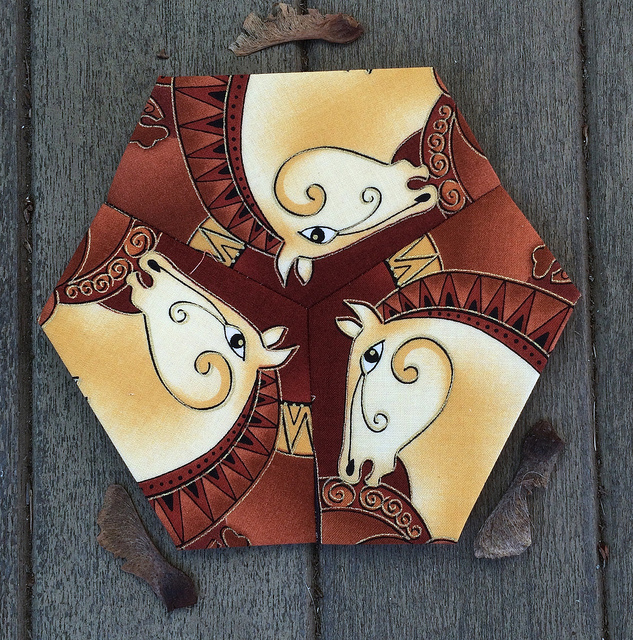
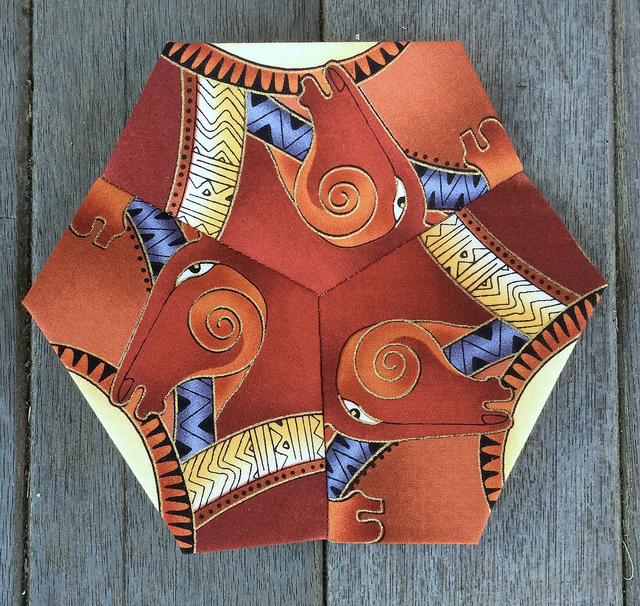
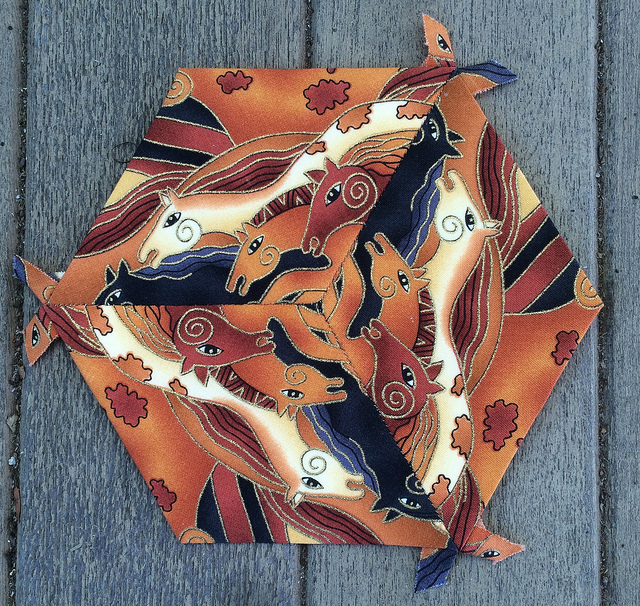
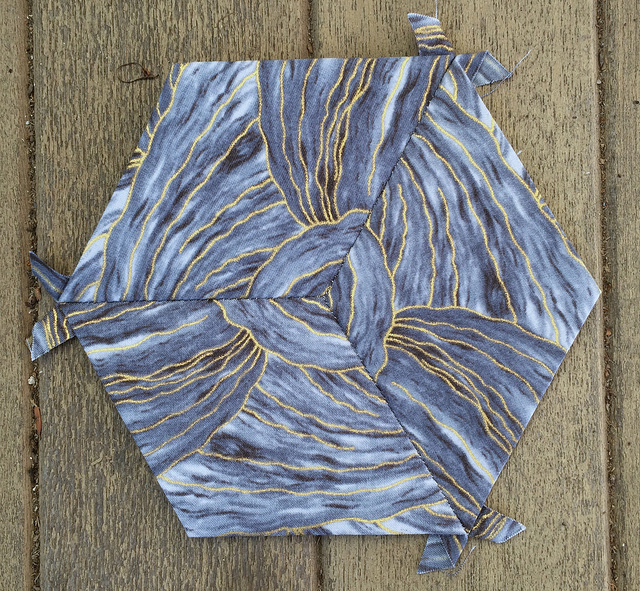
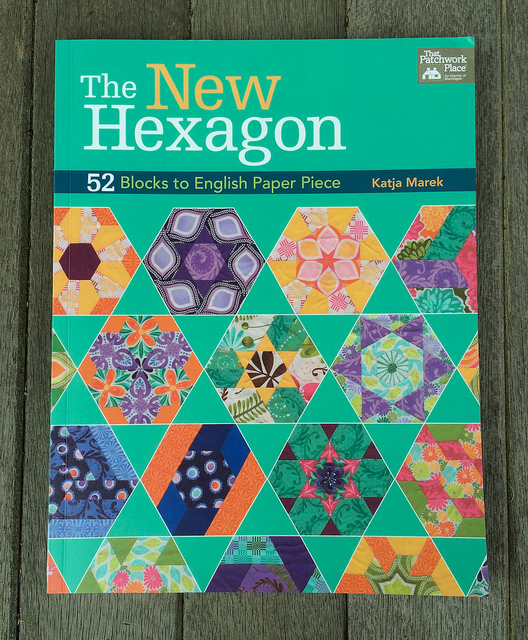
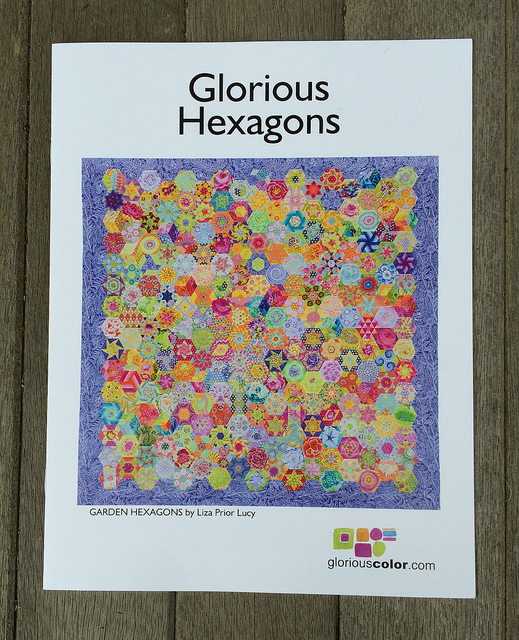
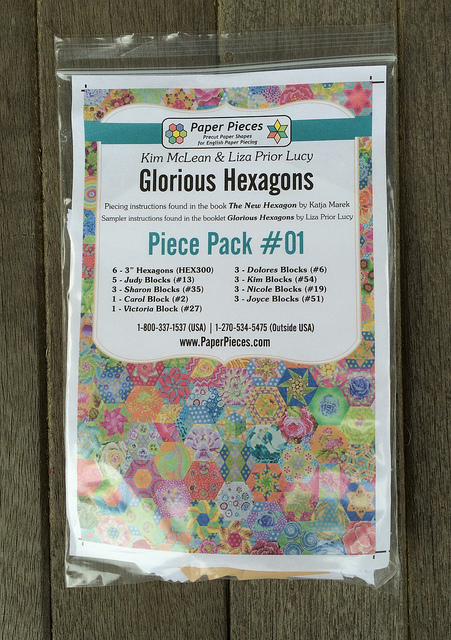
The key to creating great Glorious Hexagons is fussy cutting. This can be done one piece of fabric at a time. One can eyeball the remaining cuts to match the first going on to create multiples of 2, 3, 4, or 6 depending upon the effects desired. I started out eyeballing my fussy cuts, but I found that this resulted in pieces of yardage riddled with holes. It was also very difficult finding the repeats desired. After making a few cuts from a piece of yardage I found myself feeling as if I was on a hunting expedition to find what I needed. I also ended up with far more wasted fabric than necessary.
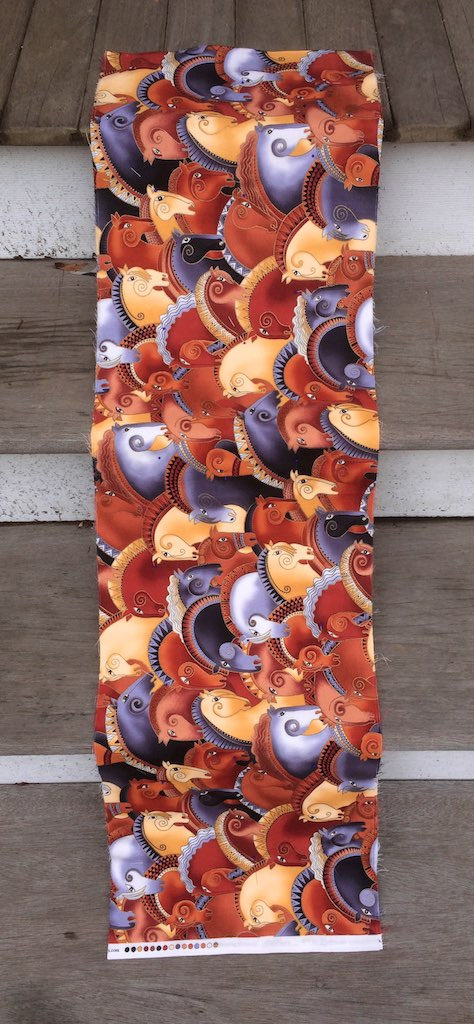
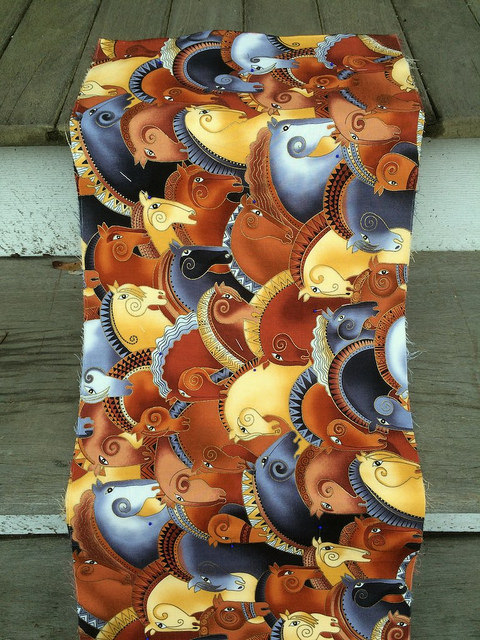
I knew about layering. It is explained in the companion booklet for the Glorious Hexagons project. But I was afraid to do it. I was afraid that I wouldn’t pin the layers accurately enough. I had six repeats of the large horse head print cut. I had even purchased extra thin pins to increase accuracy when layering. All that remained was to finally screwed up my courage to pin my repeats together.
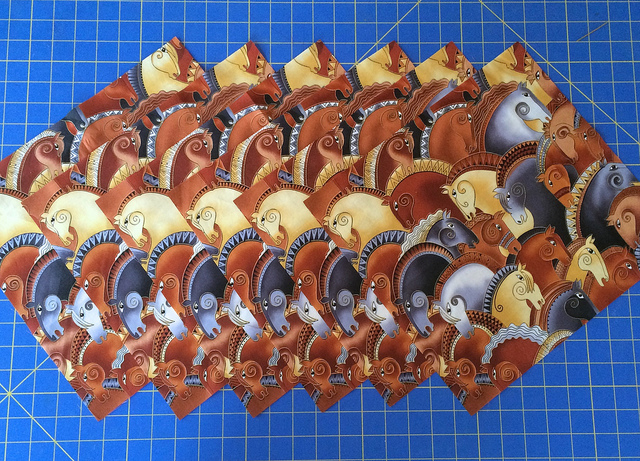
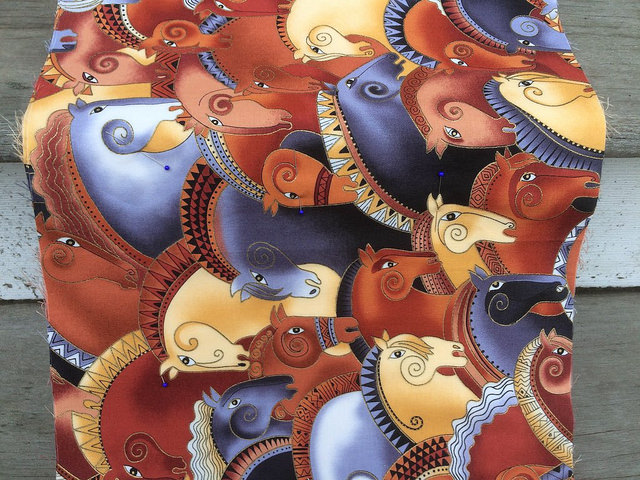
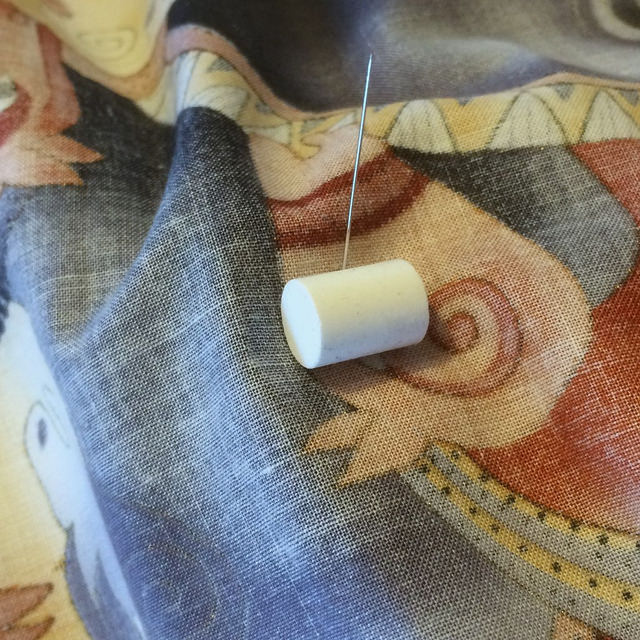
I started out with one pin near the center of the repeat (as recommended) and worked my way out.
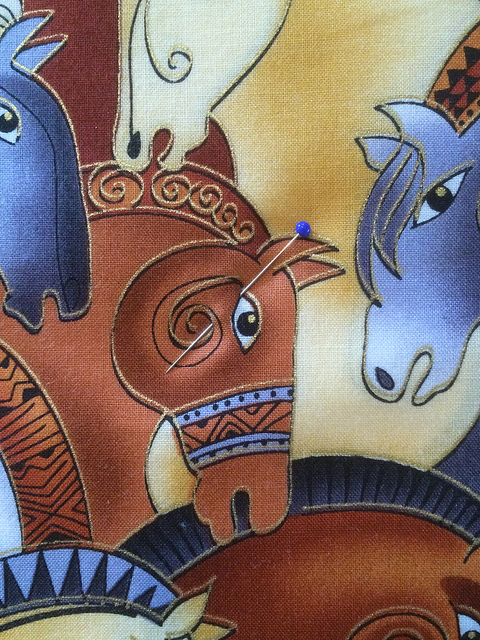
one pin
I found it helpful to pick really easily recognizable points to match in the pattern each time I added a pin. I started with the corner of the eye on the horse above. When matching points I slide the fabric all the way to the head of the pin before looking for the point on the next piece of fabric. Then I slide that one to the head of the pin and continue on in that manner. The first set of points is the hardest because the fabric needs to be aligned vertically and horizontally at this stage of the process. I looked to the edges of the repeat to see that I was doing this correctly.
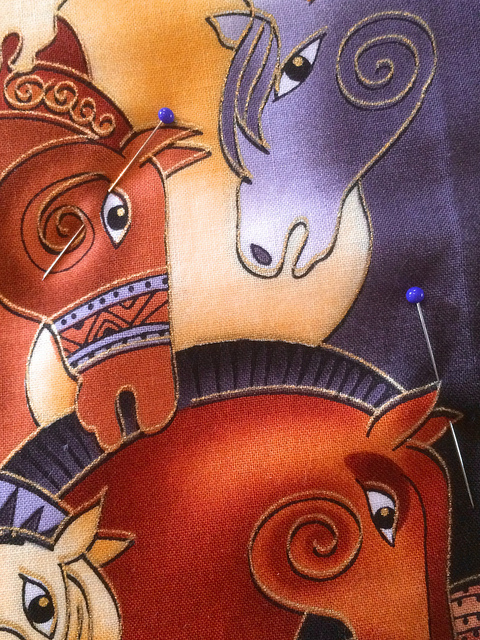
two pins
Each time I added a new pin I slipped my fabric slightly off the edge of the table to align each additional point having all layers pushed up against the head of the pin, grabbing the fabric to hold it in place before pulling the head up slightly to anchor the pin in place.
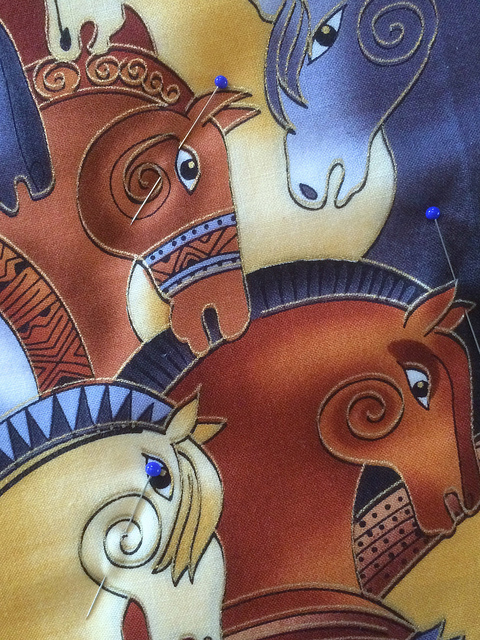
three pins
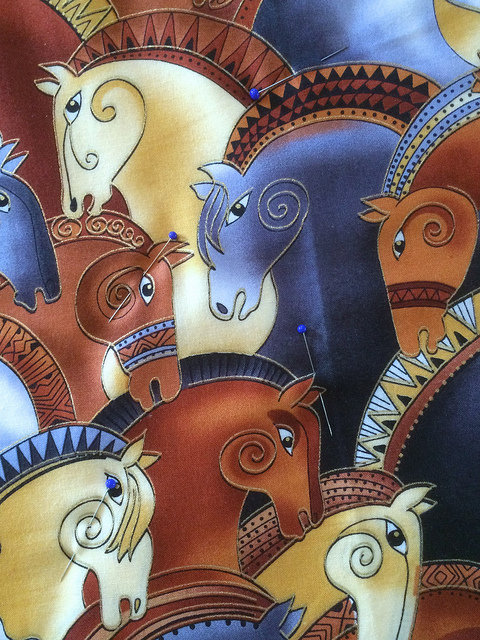
four pins
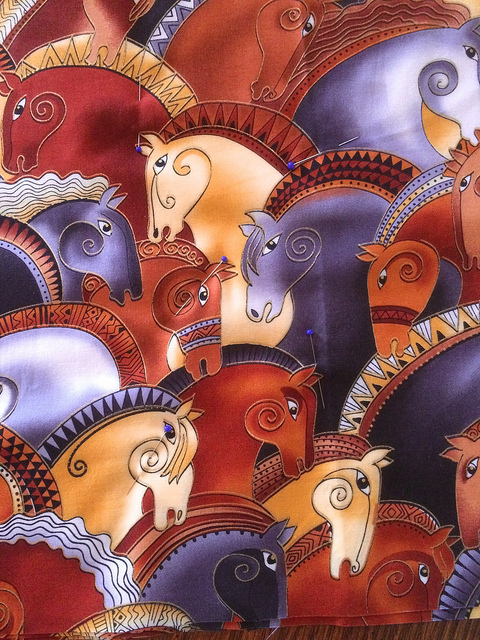
five pins
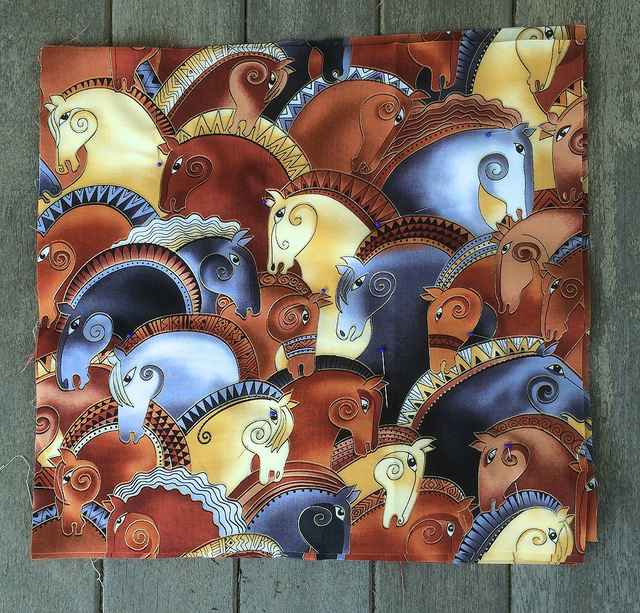
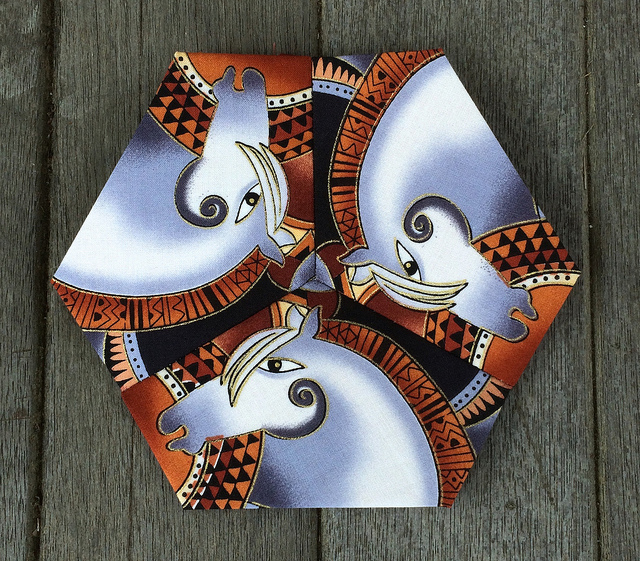
After getting the pieces adequately pinned I was ready to begin cutting. I put a fresh blade into my rotary cutter and picked an area to cut out a hexagon shape. I focused in on an area where two horse manes overlapped to get a repeat with an abstract feeling.
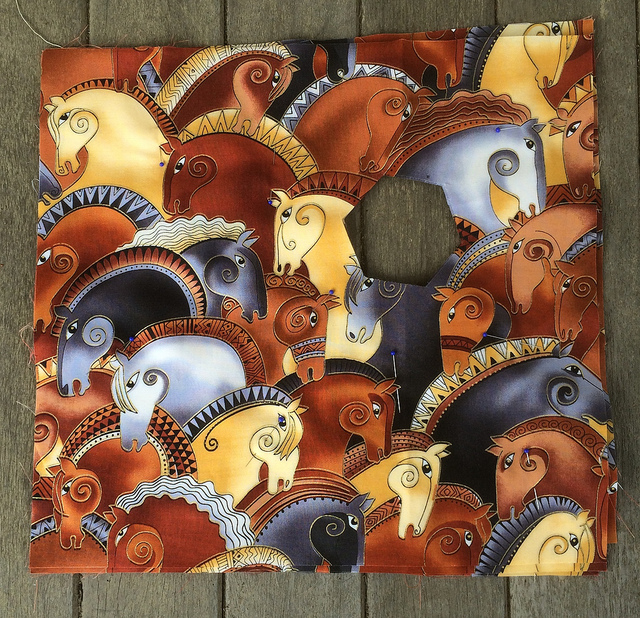
Sometimes an area I wanted to cut had a pin in it. in that case I simply added more pins nearby and eliminated any pins that interfered with the cutting of the shape I wanted to make. Once the initial anchor pins are lined up it is safe to add pins without needing to align the fabric because the fabric is already in alignment.
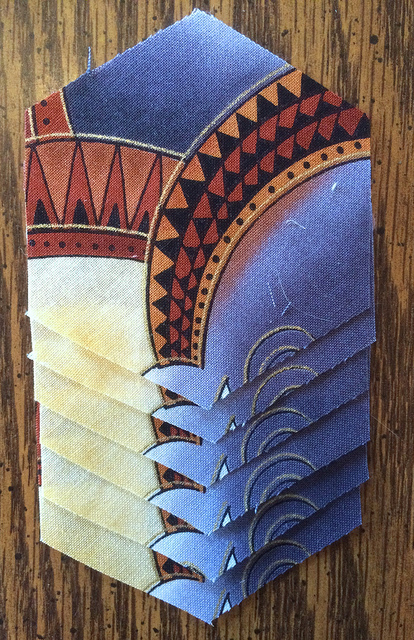
I was skeptical about the accuracy of the layering, but you can see from the image above that it was quite accurate. The second piece from the top is slightly miss aligned, but only by a little bit. “Good enough for government work”, as they say.

Not bad if you ask me.
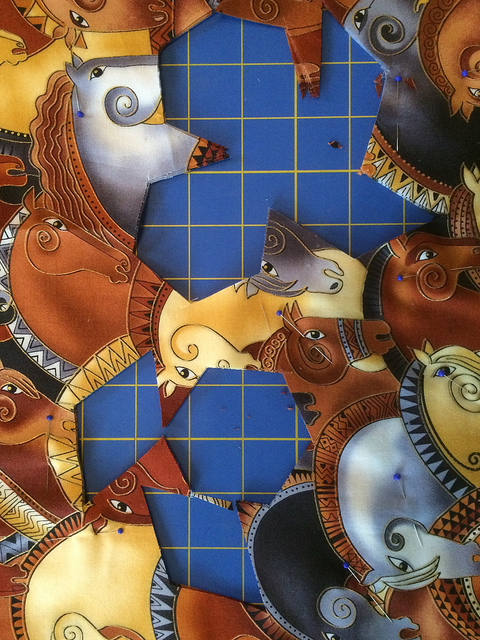
As I was cutting shapes I found that it was possible to place my cuts really close together to make optimal use of my fabric. I am really getting my money’s worth out of these pieces.
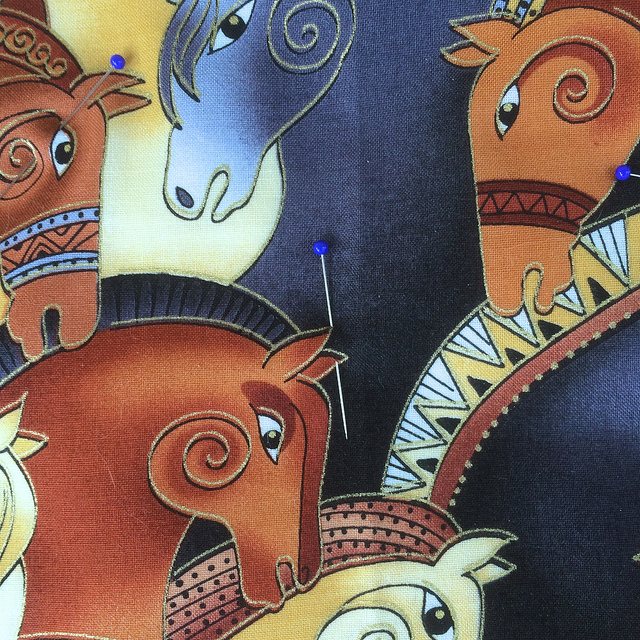
Cutting away shapes from the aligned fabric, and placing them close together, made me think beyond what I might have ordinarily cut. I was also no longer thinking about the next hexagon immediately at hand. Instead I was thinking of how to make the best use of my yardage, and looking for shapes that would do that. I was trusting that I would be able to use those shapes for future hexagons. As I was trying to get as much out of the fabric as possible I discovered that I could cut one inch diamonds of solid color by using the necks of the horses. I cut some shapes not even sure how I might use them in the future. I knew I would find a way to work them into some hexagon that would come along.
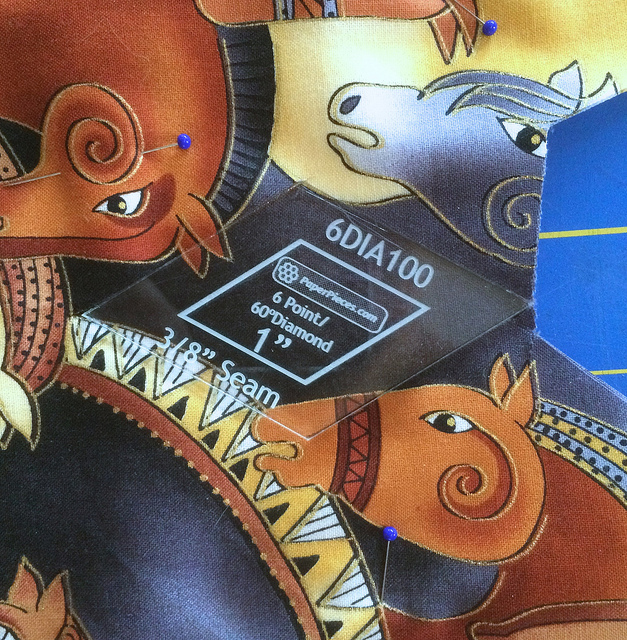
This is the same area as the photo above it but turned on its side. It shows how the one inch diamond fits in the solid area. I wanted to use some solids in my hexagons, but I thought it would be best if they came from the fabric rather than from some nearly matched Kona Solid.
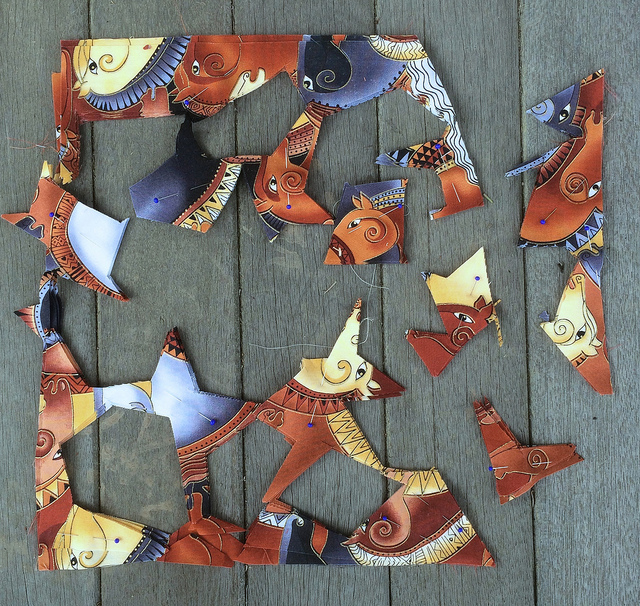
These are the pieces that were left after I had used every possible area on my first set of layered fabrics. I know it looks as if I could get shapes out of some of the remaining fabric, but I tried. The 3/8 inch seam allowance takes up quite a bit of room on the small shapes, and does make for quite a bit of wastage.
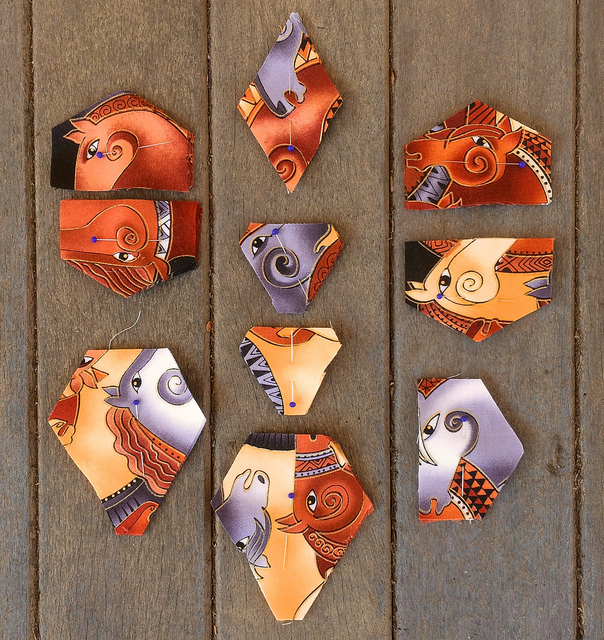
Here are some sets of six waiting for their final destinations…
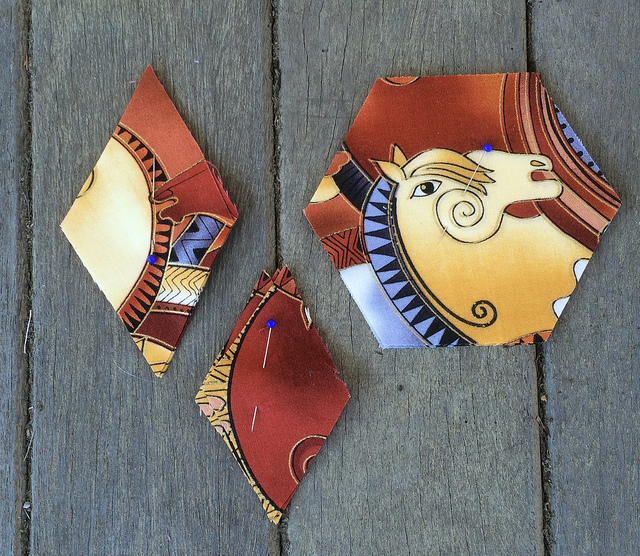
as well as some sets of three which remained after I used three of the shapes that had been cut.
My experience with aligning and cutting layers has convinced me that it is worth the effort to cut the repeats and pin them in place. With the large horse head print I want to cut and pin a few sets of fabric so I have more choices as I fussy cut for specific hexagon designs.
One thing to consider when cutting your repeats is where the repeat starts and ends. I don’t want to start and end my repeat in the exact same place for each set because that would make it impossible to cut parts of the design that correspond with the edge of the original repeat. If I start the repeat in another location I will have additional options.
If you are participating in the Facebook group for the Glorious Hexagon project consider trying layering if you have not already done so. The rewards are well worth the effort in my opinion.
I am updating this post. Today someone in the Glorious Hexagons Facebook group was asking about fussy cutting and I provided a link to this post. Another member of the group asked what happened with the six hexagons that were made with the first cut from this layer stack. Here is the answer to that question.
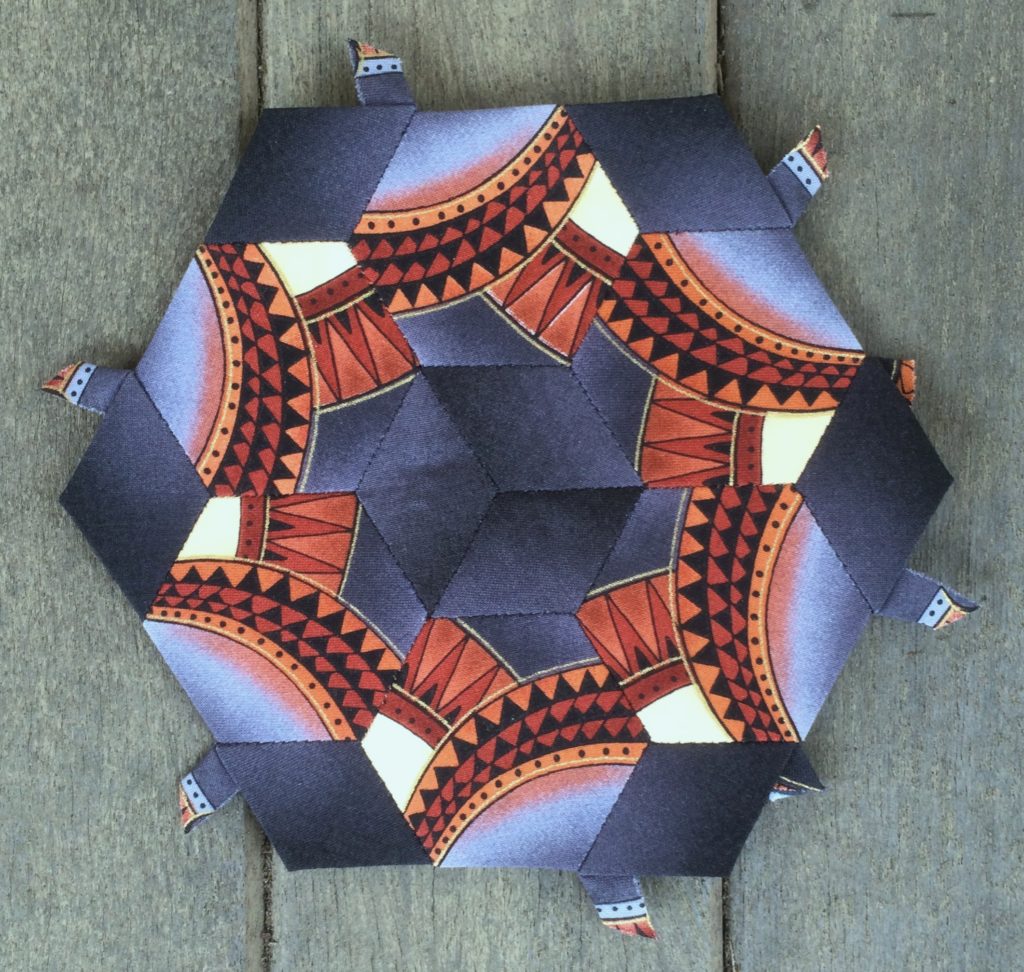
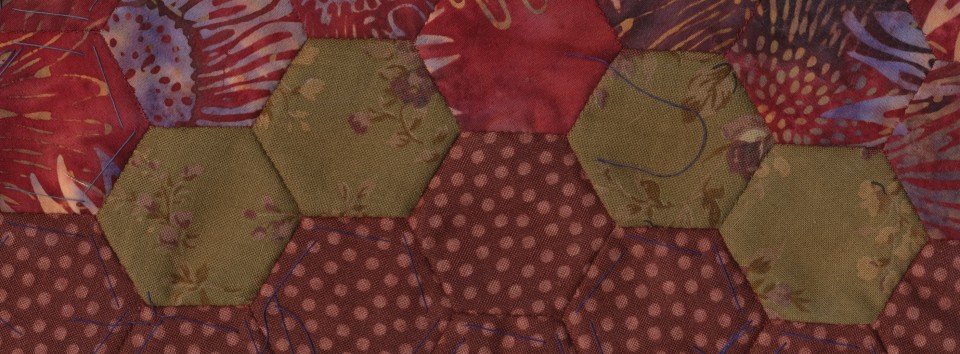
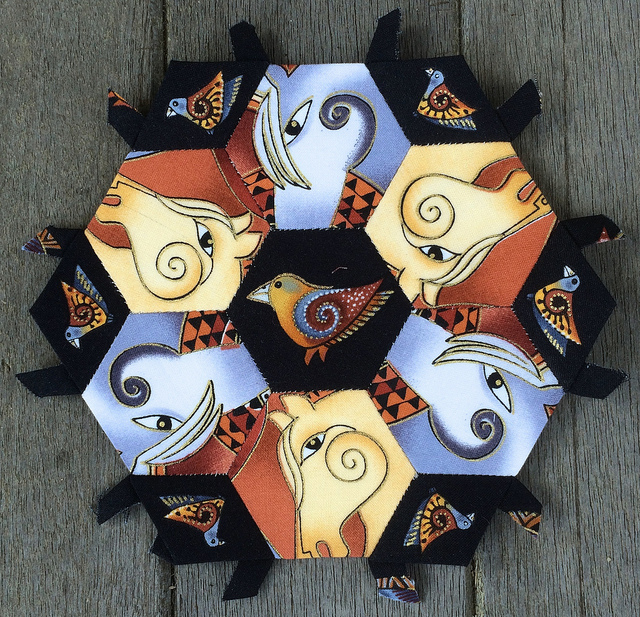
Those one inch hexagons found their way into a Judy block. In fact, it was the 17th block I created for the project. Notice that the central hexagon of this Judy is made from three diamonds. These diamonds and the diamonds along the outside of the block were cut from the neck of one of the horses in the fabric.
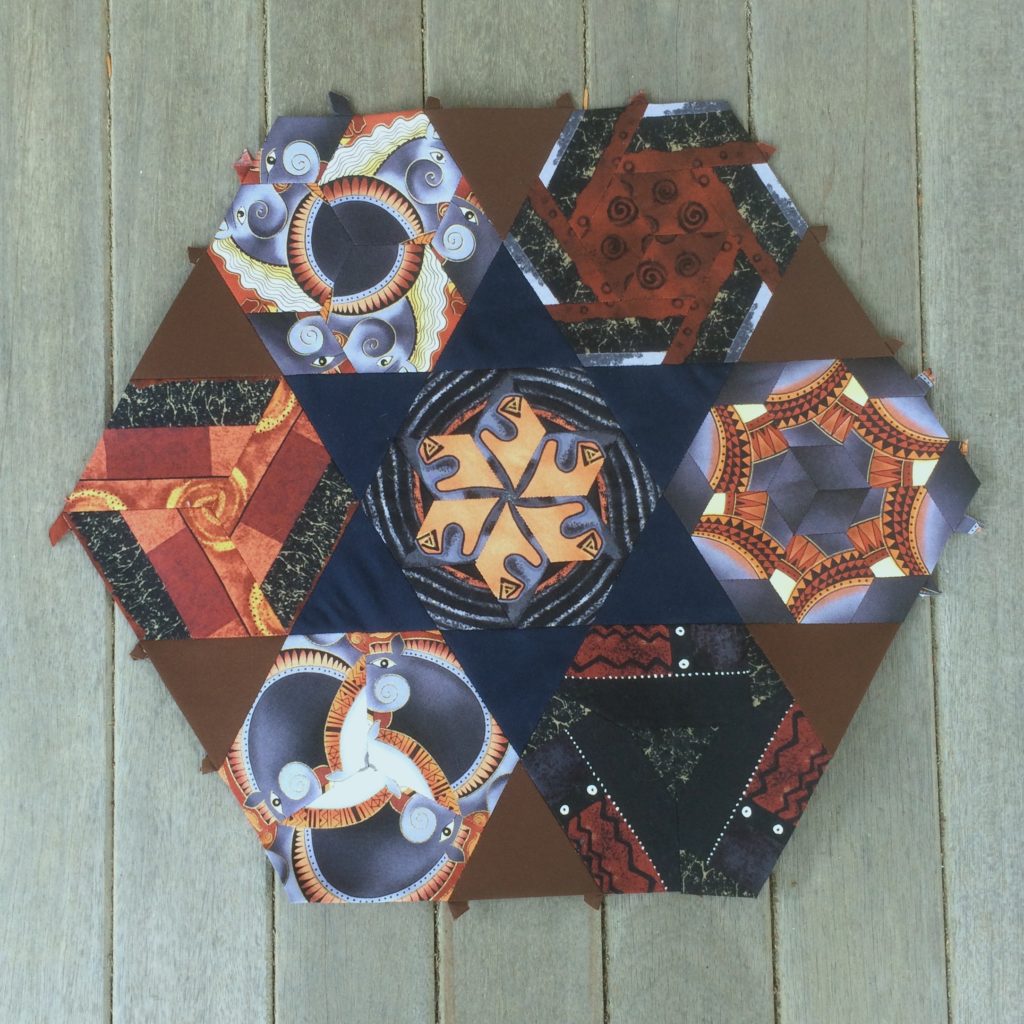
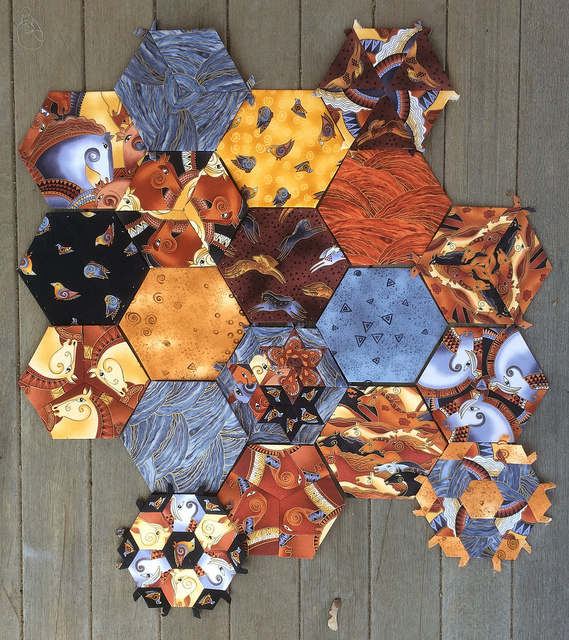
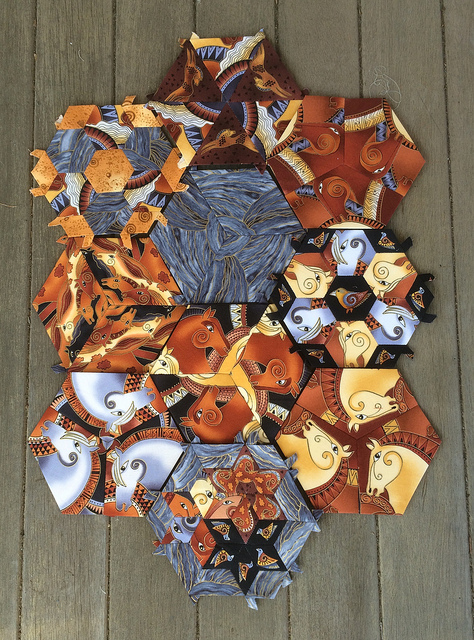
That Judy block made its way into the large hexagon above.
