
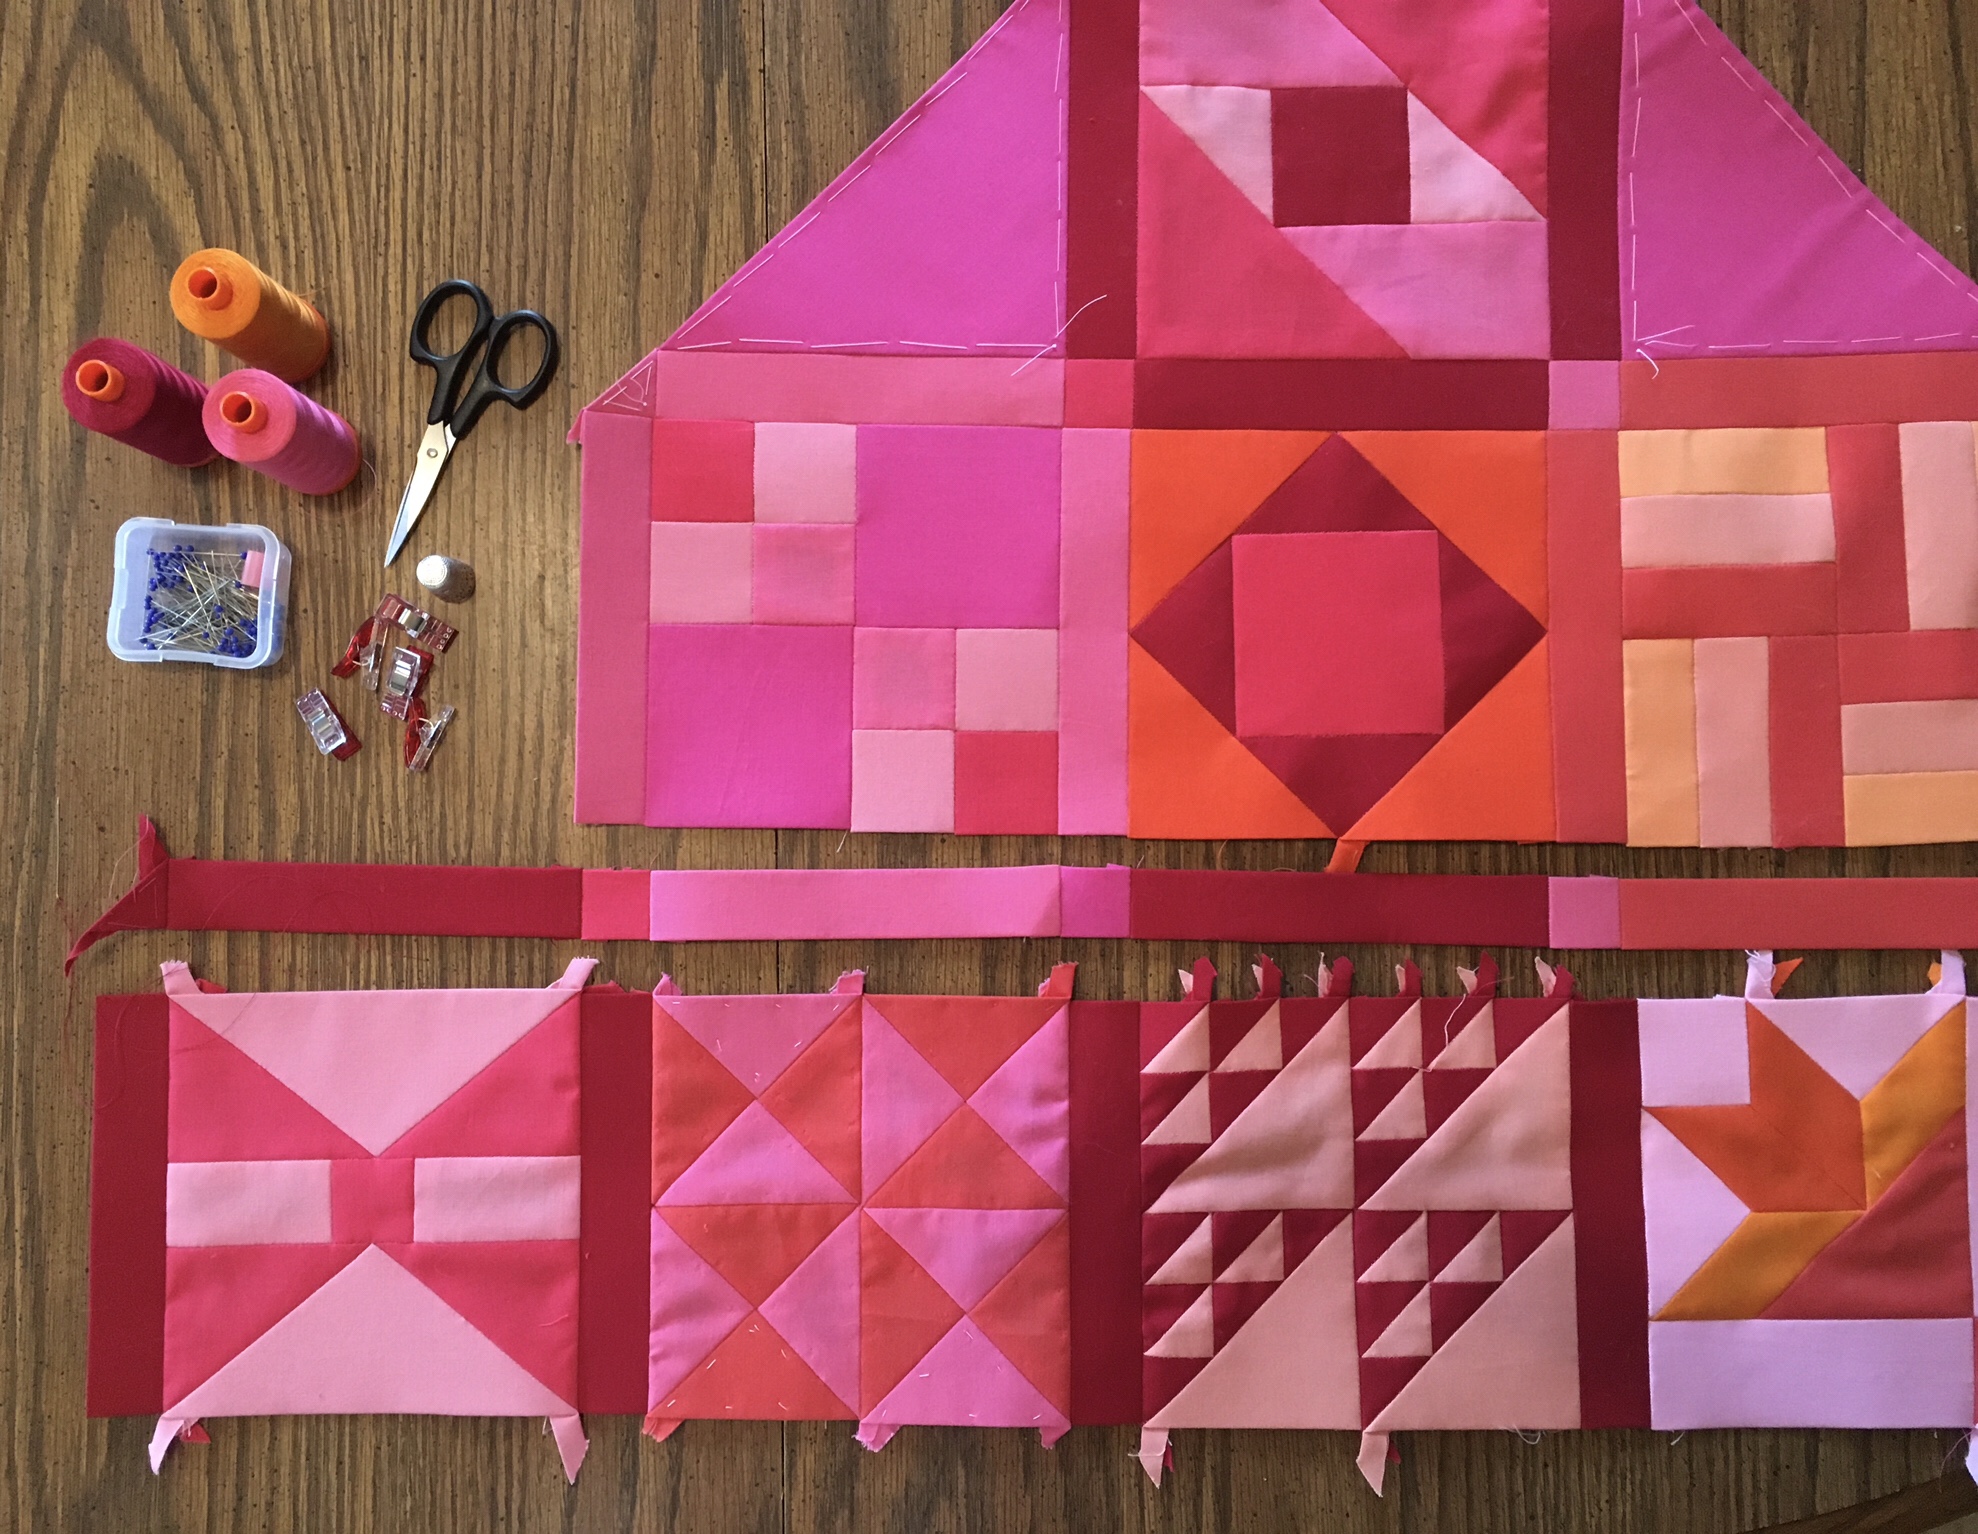
It is time to add row three, and also time to give some thought my construction methods.
The first step in adding another row will be to lay out the blocks of the new row along with their respective sashing choices. Blocks in the odd columns are being surrounded with one color of sashing. Blocks in even numbered columns get whatever sashing happens to end up next to them. Luckily there is an odd number of columns in the quilt, so my sashing concept can run the full width of the quilt top.
Once sashing has been placed, keystone blocks need to be carefully selected taking into account the need to balance values.
I’ve decided to sew the new row of blocks together first, and then the row of sashing. After that I sew the sashing to the new row rather than to the body of the quilt top. The reason Is so I will be able to add triangles without having to make 90 degree seams.
Why not add triangles as each row is being completed? If I did that I would not be able to audition the color with both rows to which it is adjacent. Therefore, when I display a new row on the quilt it will be absent its triangles.
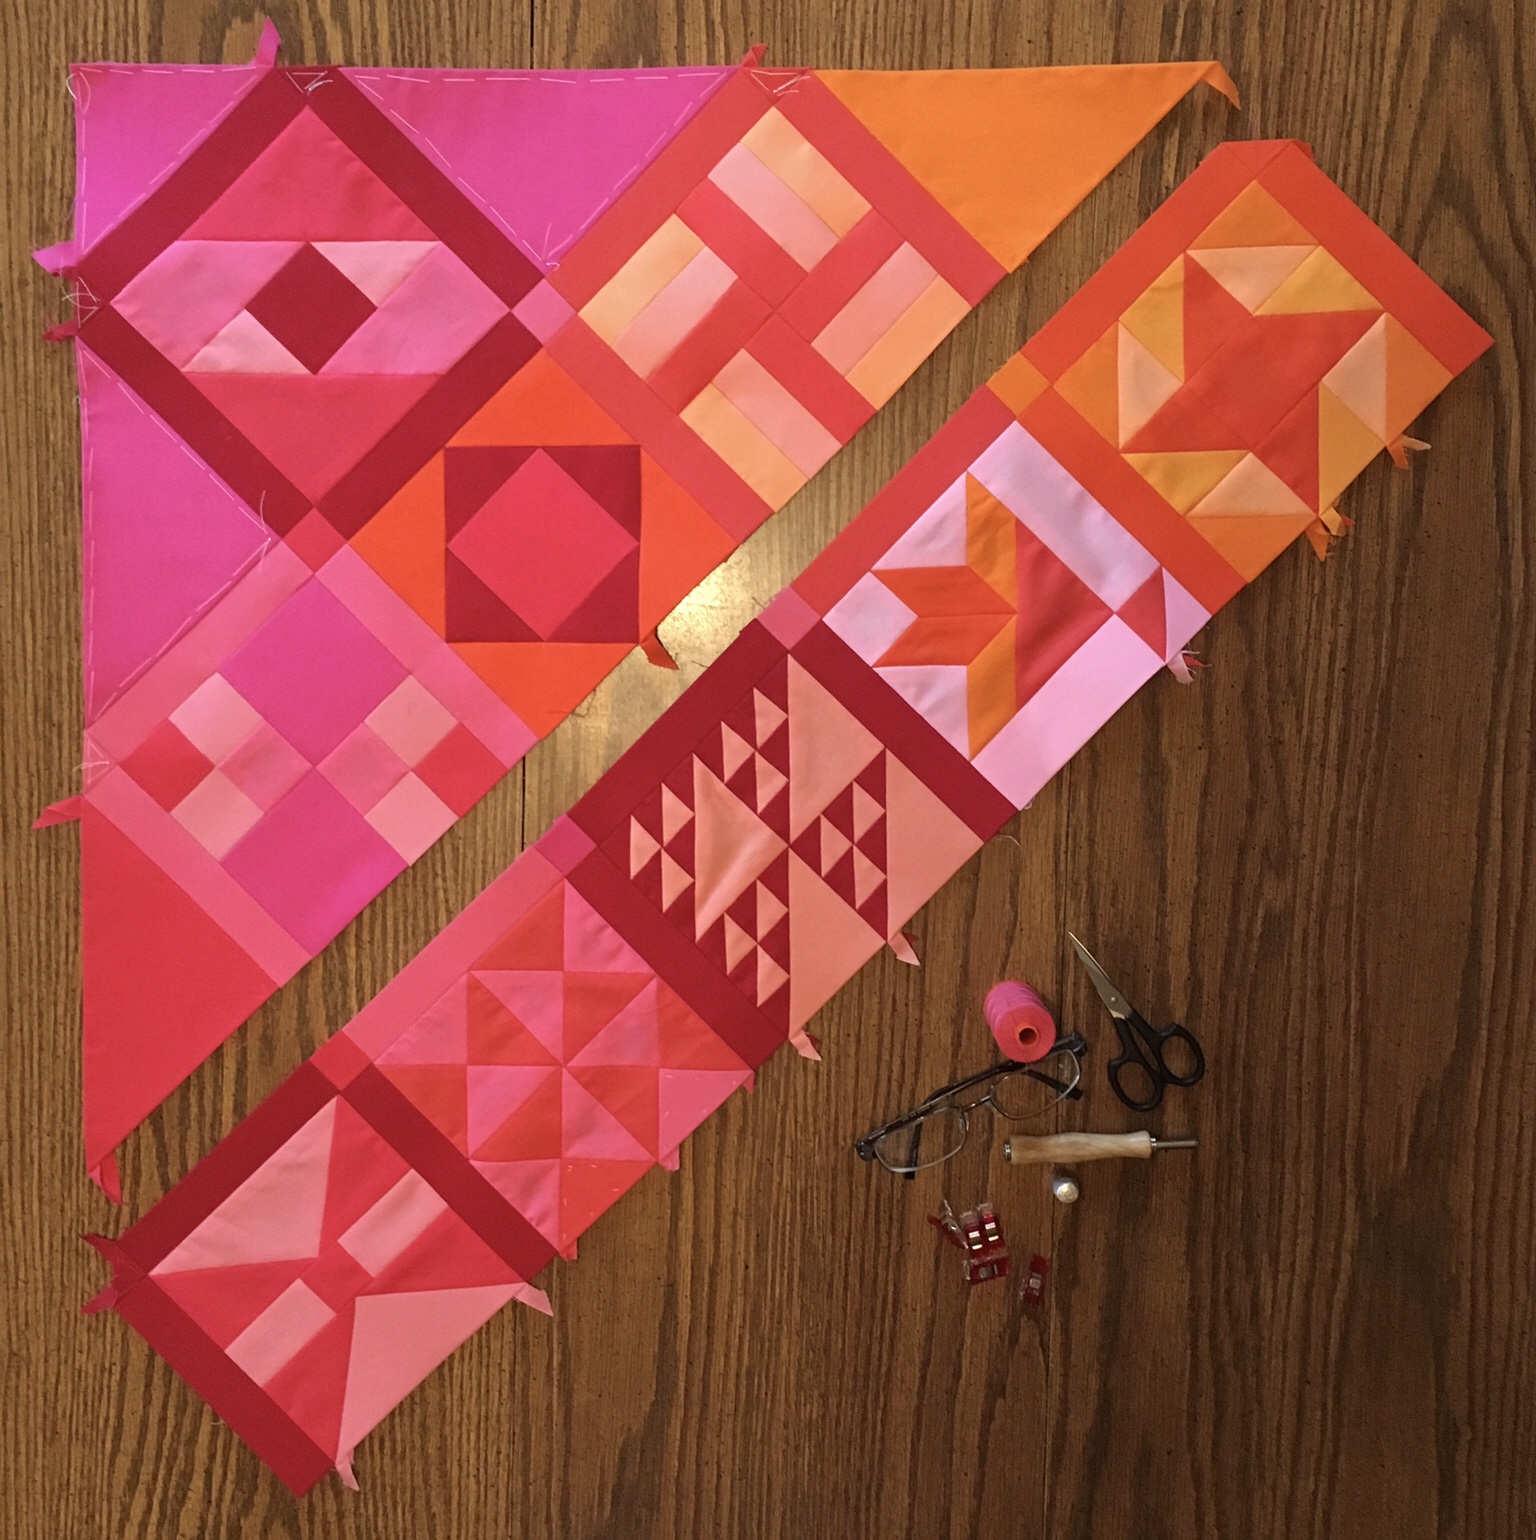
The sashing has been attached to the new row, and the row/sashing combo is ready to be joined to the quilt body, but first triangles must be auditioned and added to the body.
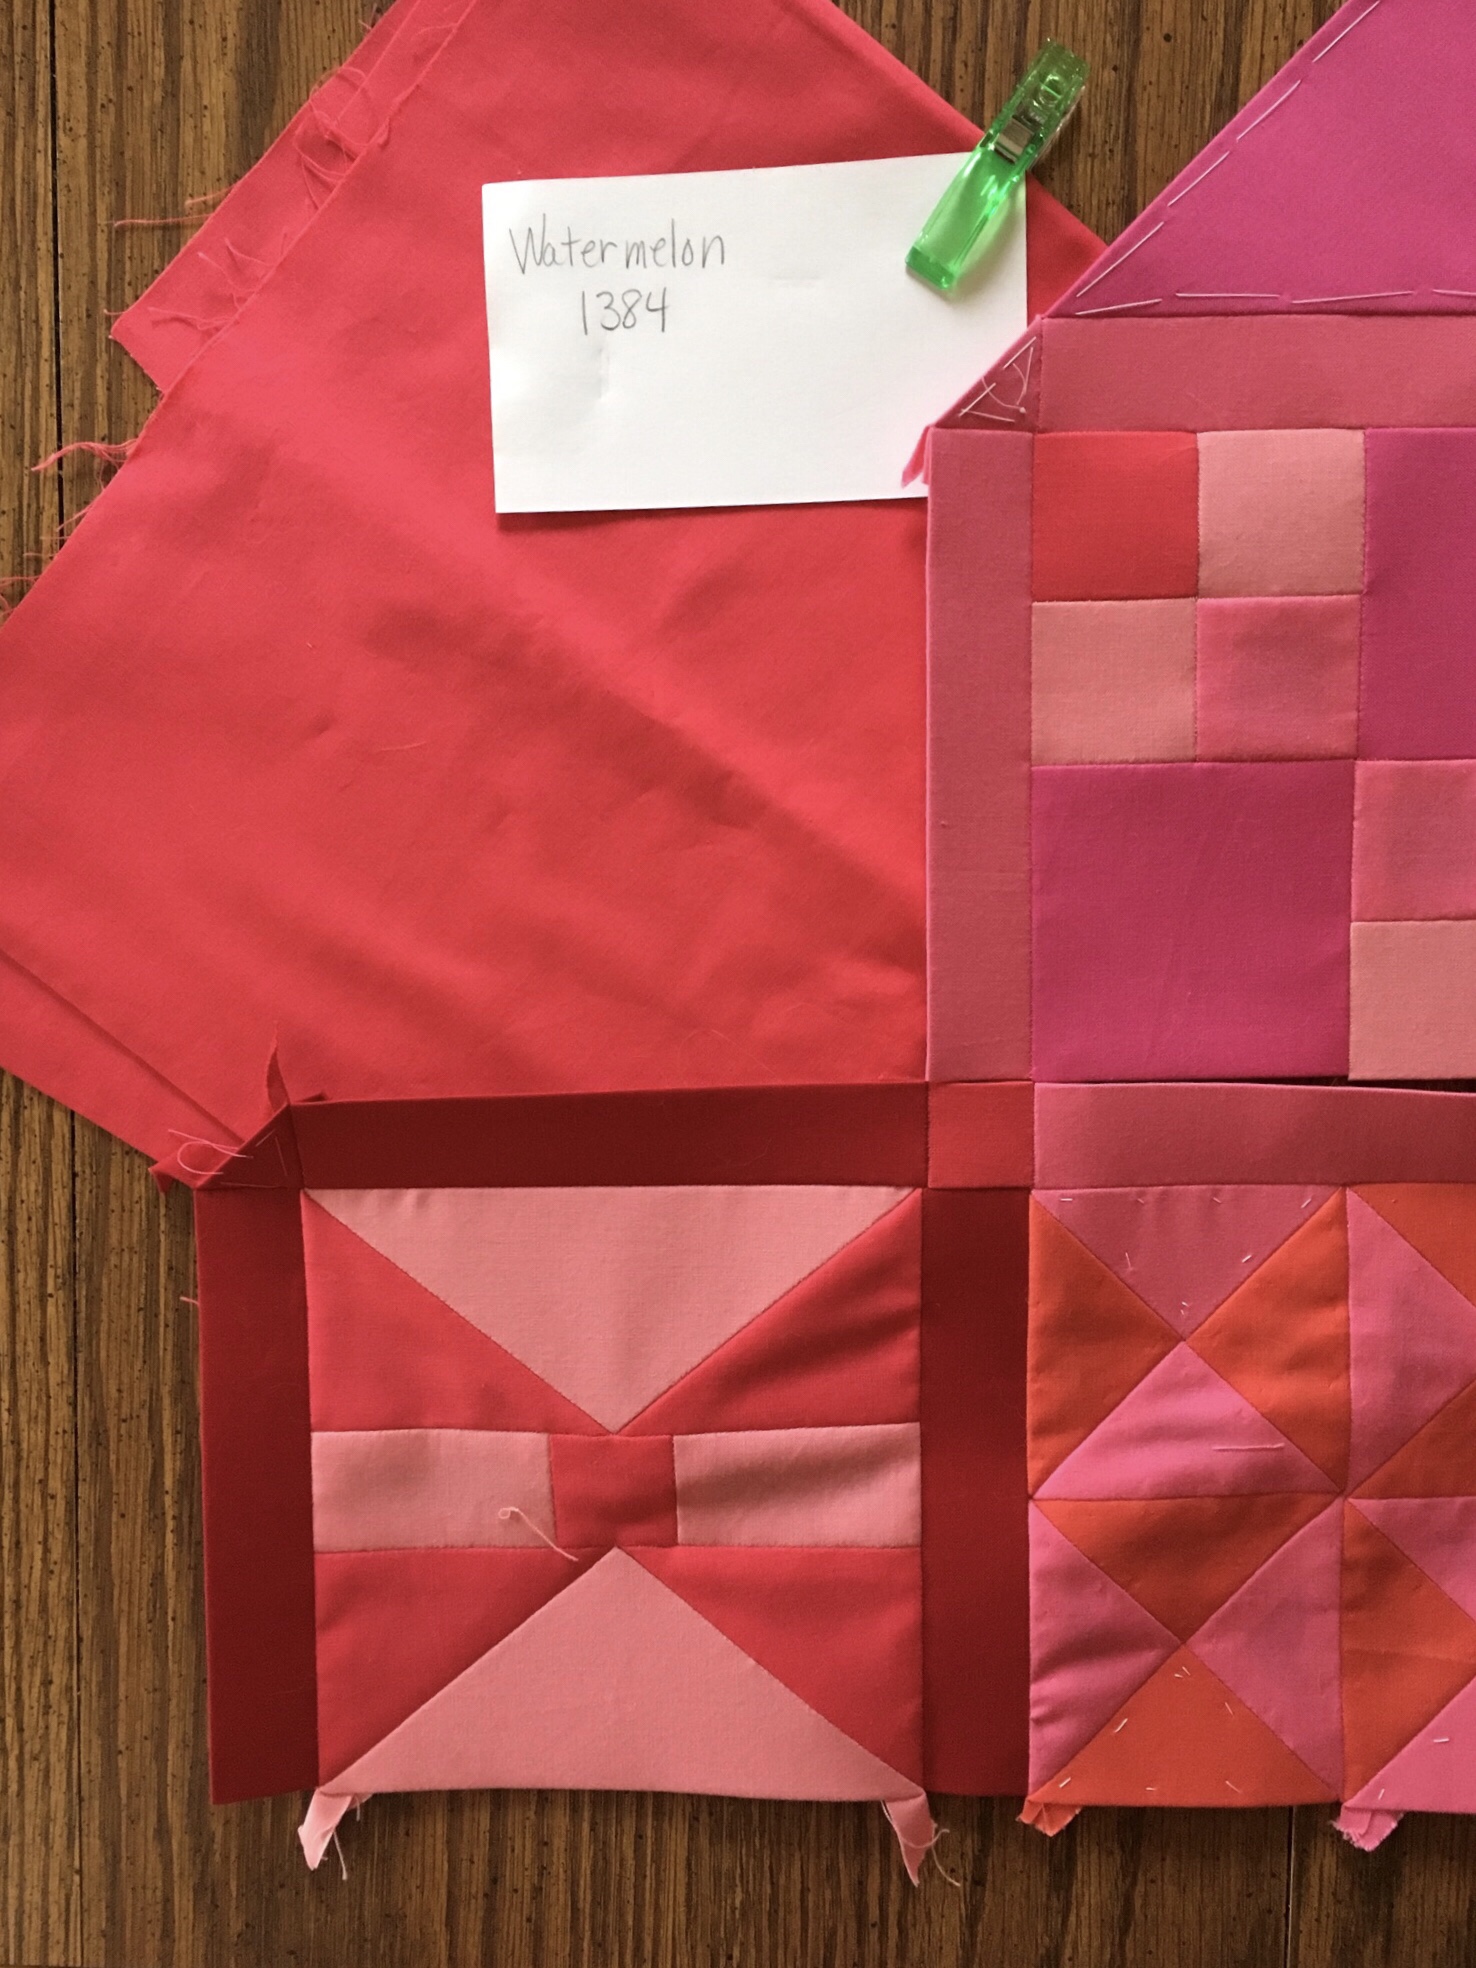
Watermelon takes the lead at the beginning of rows two and three.
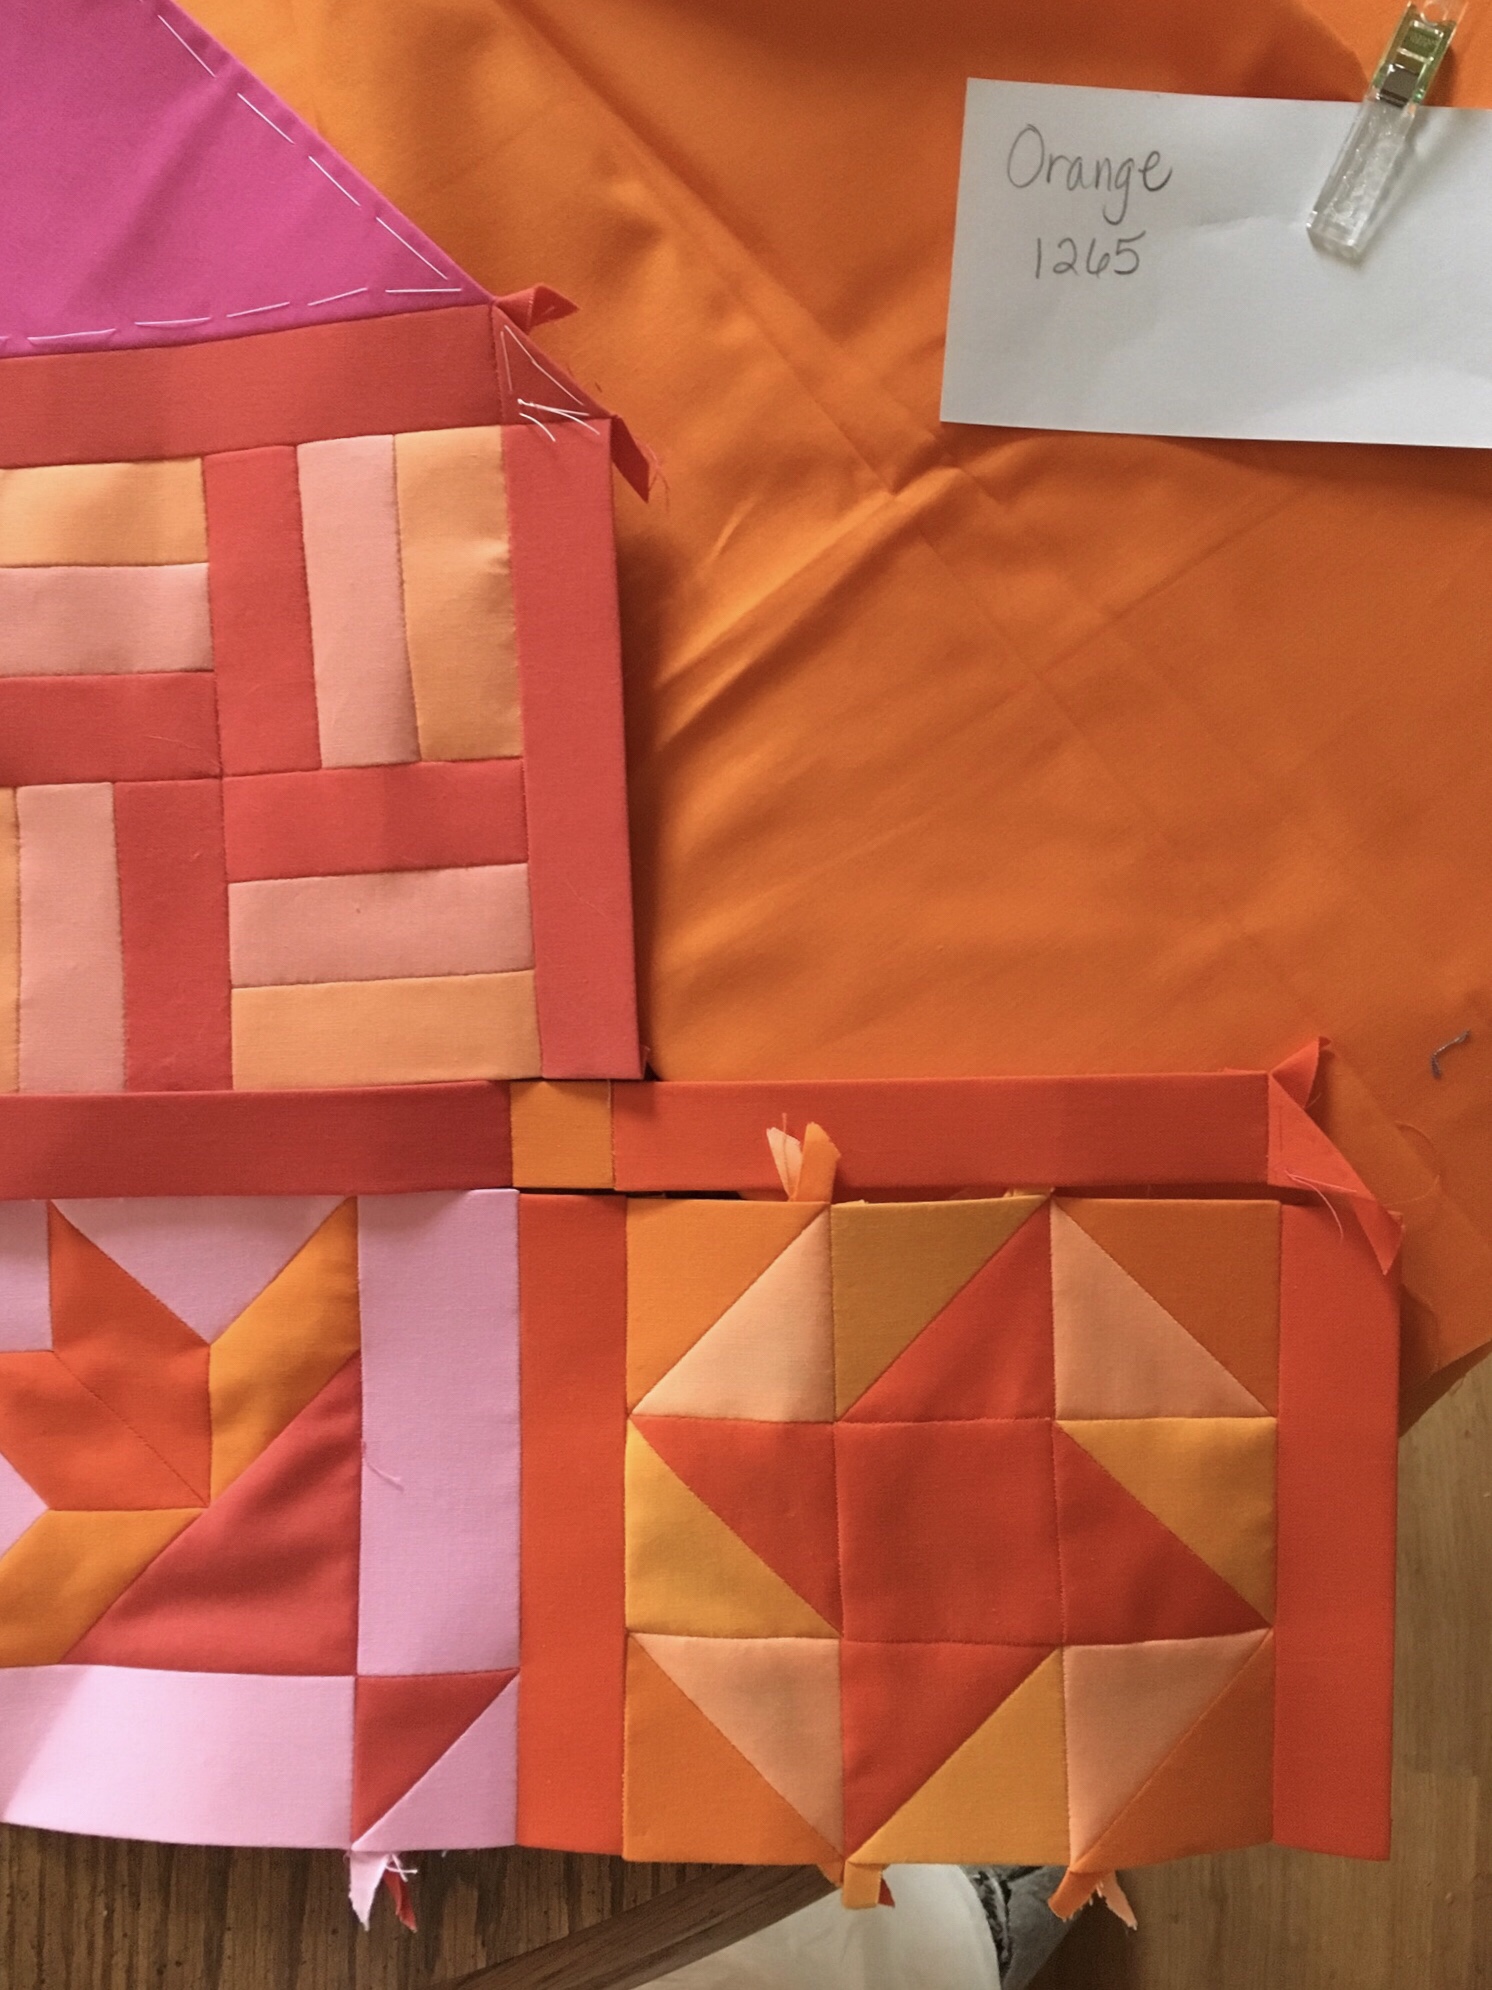
Orange gets to bring up the rear.
In the Farmer’s Wife Facebook Group I’ve been complemented on my accuracy and asked about how I achieve it. So I will address how I join my rows to make my blocks match up so well with my sashing. One of the things I do is to sew a little more than an inch on one side of a block after matching it up carefully with the sashing and clipping it into place. I then knot off the stitching and sew a little more than an inch from the other side before easing the loose portion of the block. This can be done for each block essentially from left to right. However, the rows are getting longer, and I decided to start in the middle of the row and work my way out this time. I will be continuing that way with future rows. The image below illustrates this idea.
Above you see cornerstones joined. The remaining fabric is eased where necessary. Most blocks need to be eased to fit the sashing, and the more pieces they have in them the more they need to be eased.
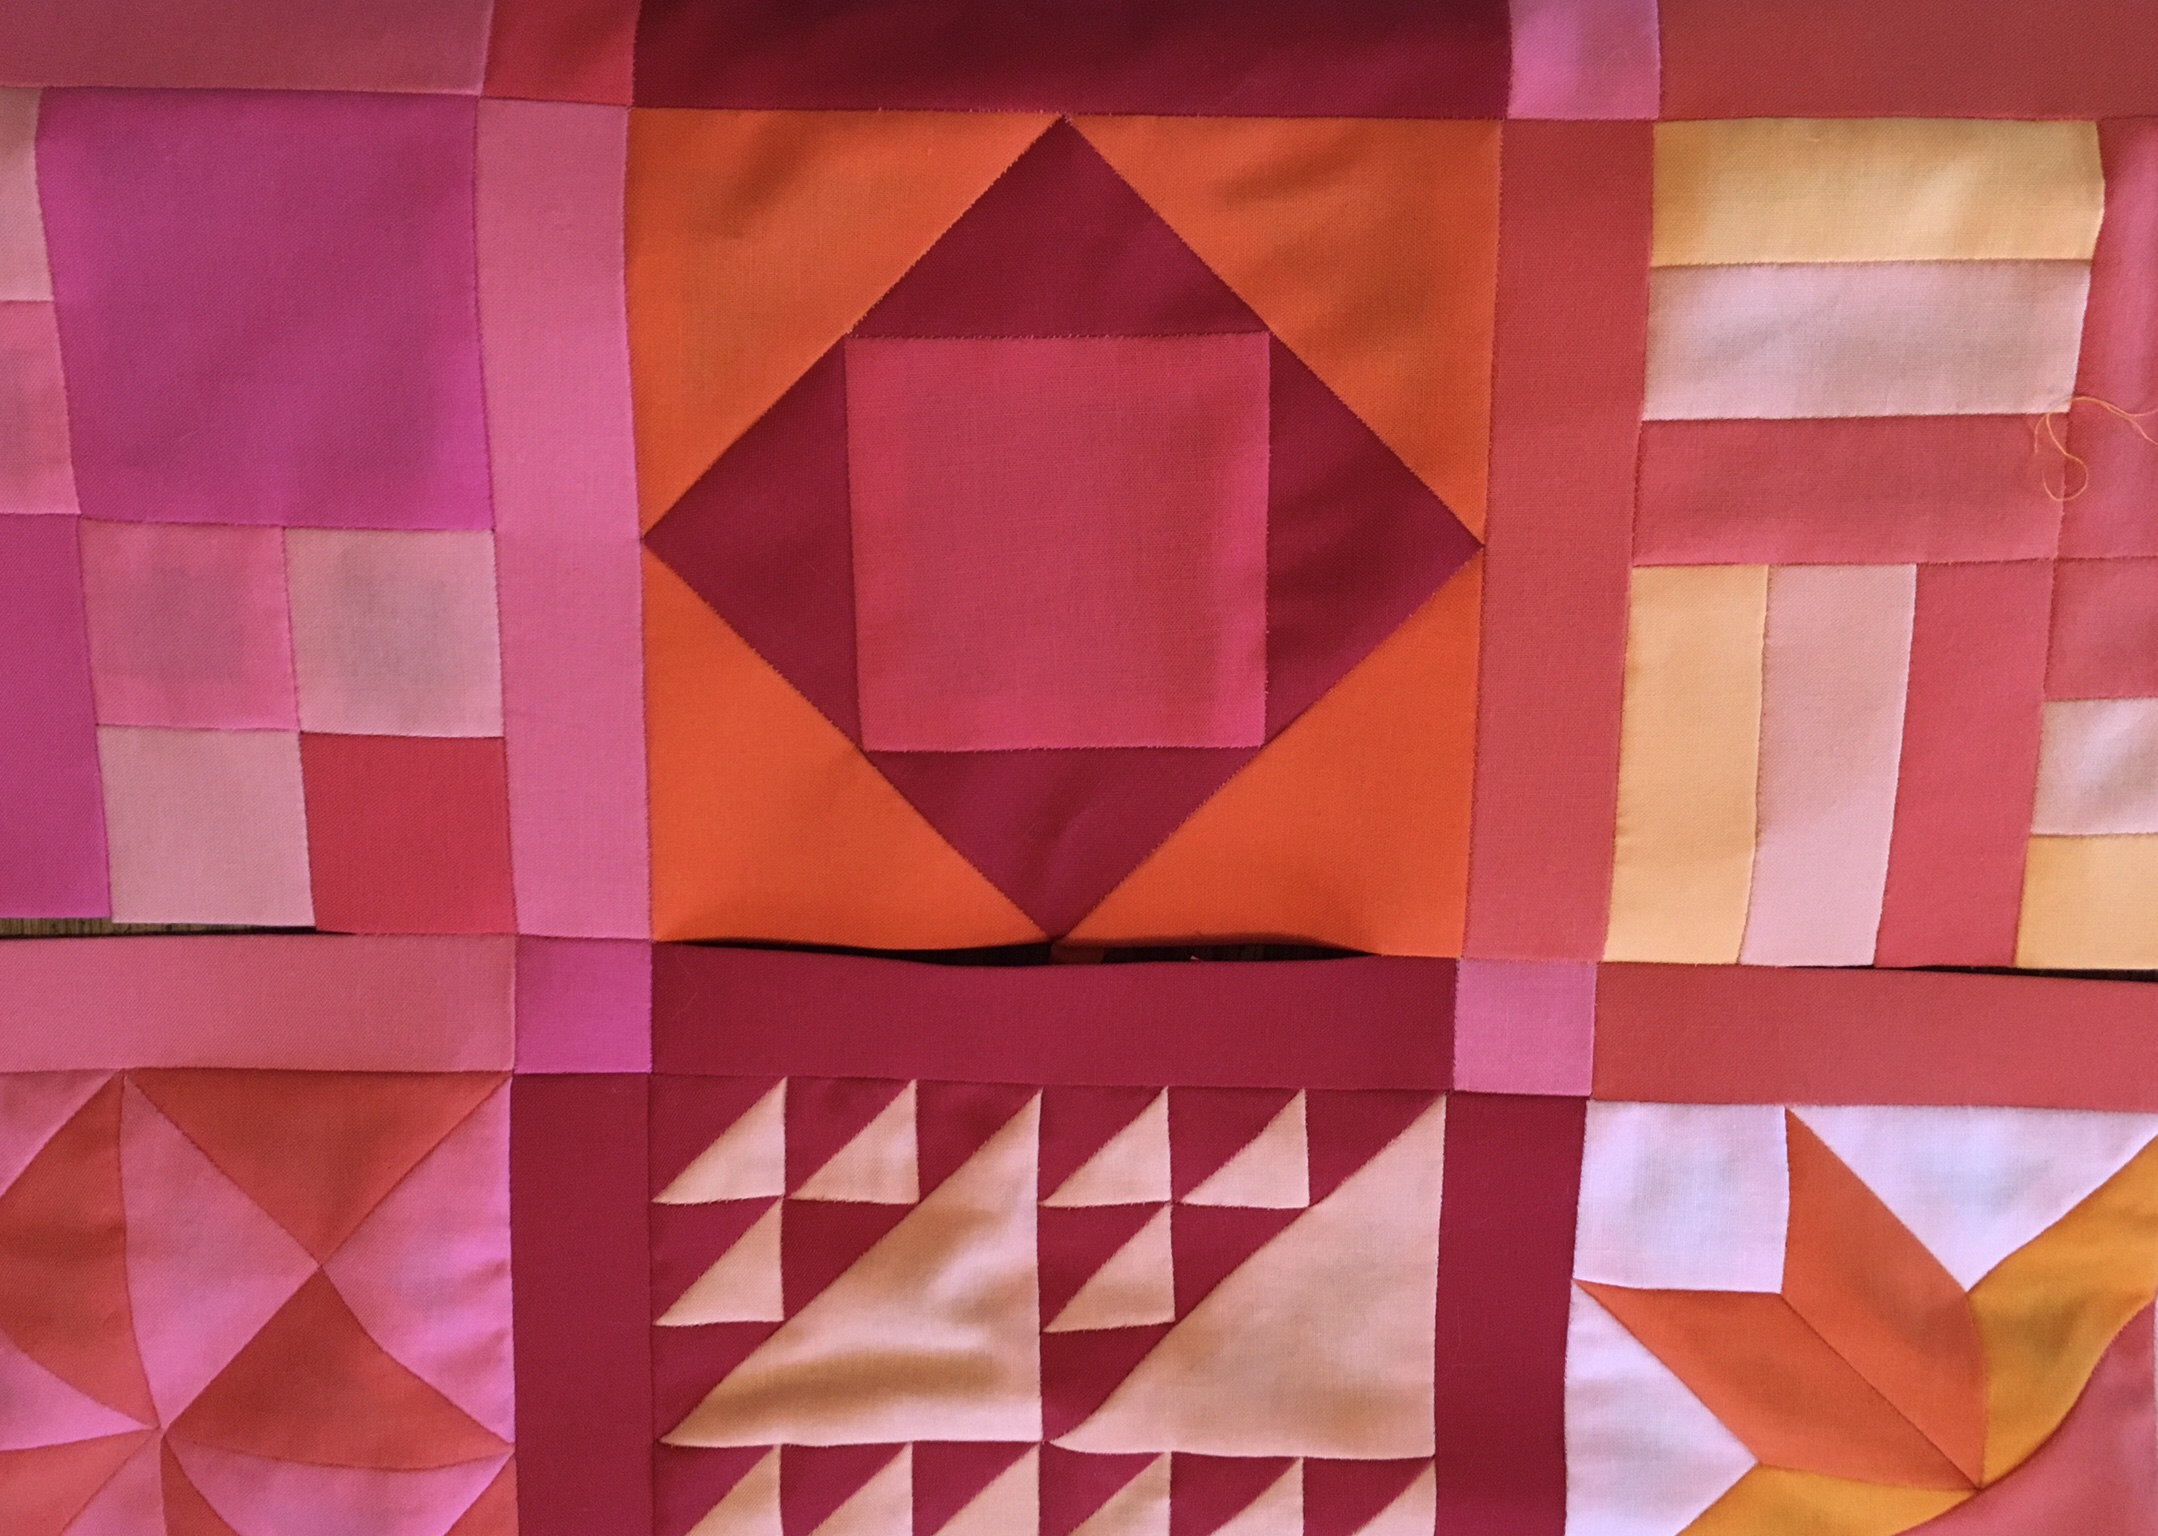
#7 Birds in the Air is a good example of a block that needs a lot of easing. By the way, I was unsure if I was going to like the Rich Red sashing around this block, but I love the way that the birds appear to fly into the sashing. I’m going to keep this in mind when selecting sashing for future blocks. I may allow some blocks to melt into the sashing by design.
That’s enough for one day. Tomorrow is the big reveal on row three fully attached in all its glory. I think that deserves its own post.