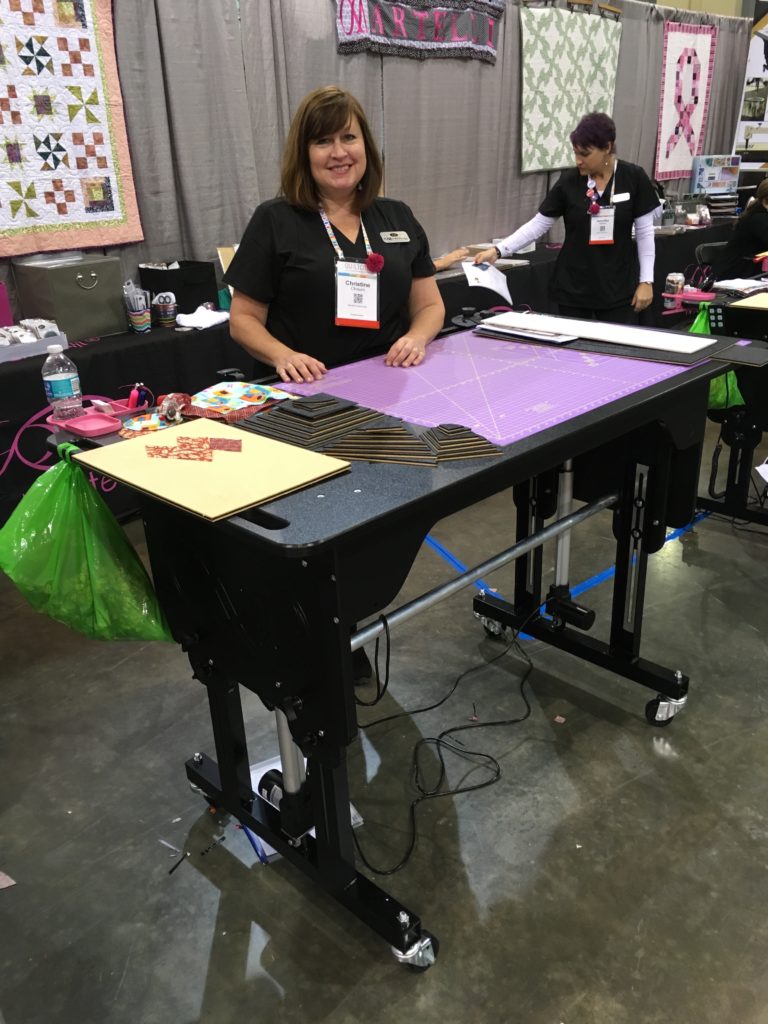
When I bought my Martelli Workstation at QuiltCon I wanted to take a picture of it to show my husband what I had just bought. When I composed the picture Christine started to move away. I guess she assumed I wanted the table all by itself. However, I asked her to remain in the picture because I wanted my husband to see the pretty lady who sold me the table. At that point I was still thinking of it as a table that had the added benefit of going up and down. I didn’t even realize that I had bought myself a complete cutting system. Christine was nice enough to pose for me. She had a nice big smile on her face. I’d be smiling too if I had just made a nearly $3.000.00 sale. That is expensive for a table, but these units are much more expensive on the website, and they don’t come standard with so many accessories on the website either. The event price was $2,500.00, plus it came with many accessories. In addition to that I was allowed to order things from the catalogue at 50% off at the time of purchase, so naturally I did add a few things to my purchase. Georgia got sales tax, ouch, so that brought the price up too.
Once I got home from QuiltCon I visited the Martelli web site and watched videos about the cutting system and the table. After that I had an idea of what I had gotten myself into. I knew I was in for a learning curve on the cutting system, but I resolved the get up to speed once my table was assembled. I didn’t need to wait too long for the table to arrive. Delivery was supposed to take place within four to six weeks, but my table was in the house within two weeks, and waiting to be assembled. It, and I, patiently waited a few more days for my husband to be ready to work with me to put it together.
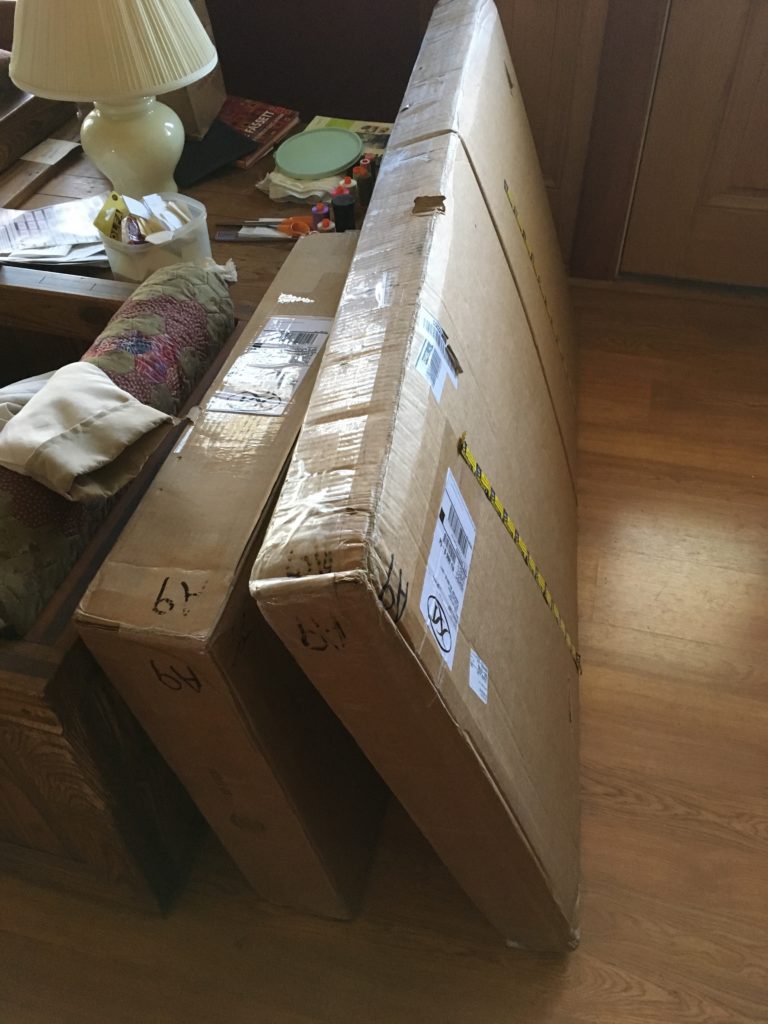
Here are the boxes hanging out just inside our living room door.
The first thing my husband wanted to do was to look at the directions. I found him a video that describes how the table is assembled. In the video someone points to various parts of the table and describs what needs to be done to achieve assembly. It is a short video, but it gives you an idea of what needs to be done. There were a number of boxes to cart upstairs and open, so we decided that we should try to figure out what box had the directions inside. We ended up calling Martelli for that information, and they were able to tell us which box to open first.
We took our sweet time with assembly and cleaned up after ourselves as we went. We took three days because we are old and weak, but a young whipersnaper could probably put that table together in a couple hours if they stayed on task. I think I could put together another table with confidence having done it once already.
I wish I had taken photos of the steps, but I didn’t.
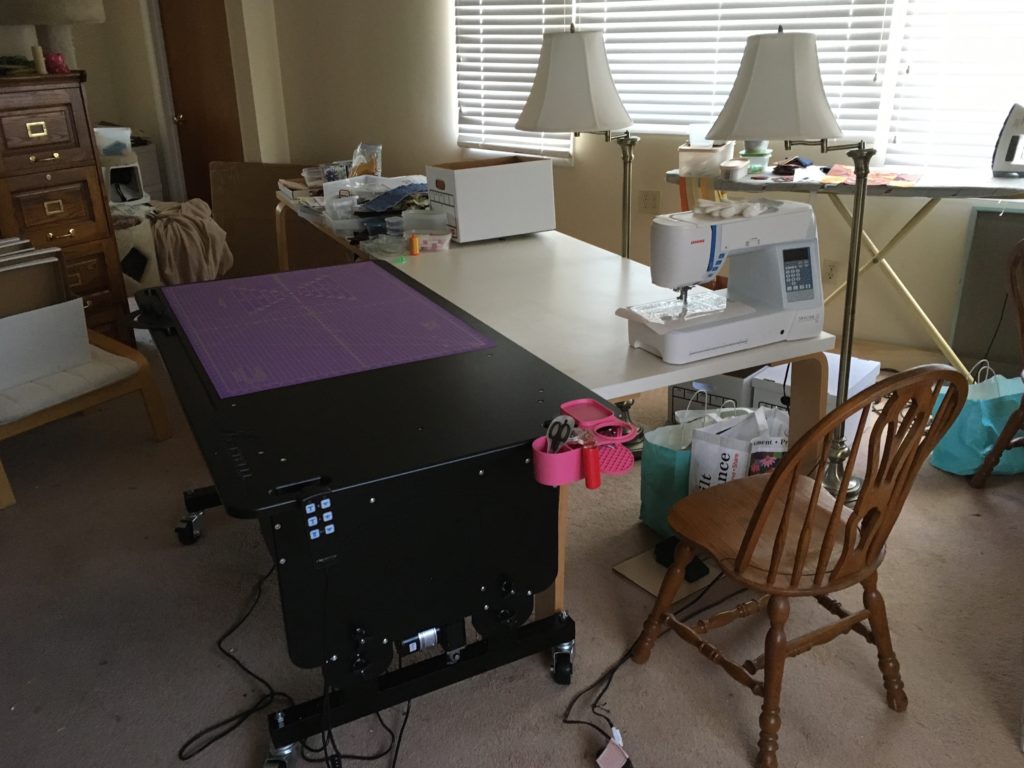
Here you can see my Martelli Workstation fully assembled and at its lowest position. I placed it next to one of my Ikea tables. The Ikea table is about a full inch lower than the Martelli table. I was hoping I would be able to get them at the same level, but the Martelli does not go that low. I don’t think it is a major issue for my purposes though. I’ve placed my sewing machine on the end of the Ikea table and will be using the Martelli to support the bulk of a quilt as I free motion quilt it. I’m planning to buy an acrylic table to extend the bed of the sewing machine and will then raise the Martelli to the same height. I’m going to have to be careful that I purchase an extension table that will not extend beyond the Ikea table though, which is 22 inches wide.
I’m looking at the Sew Steady tables. I am buying a queen sized Supreme Slider so I am going to need an extension table to accommodate it. In the mean time I broke down and ordered the small Supreme Slider for use on regular machine sewing bed.
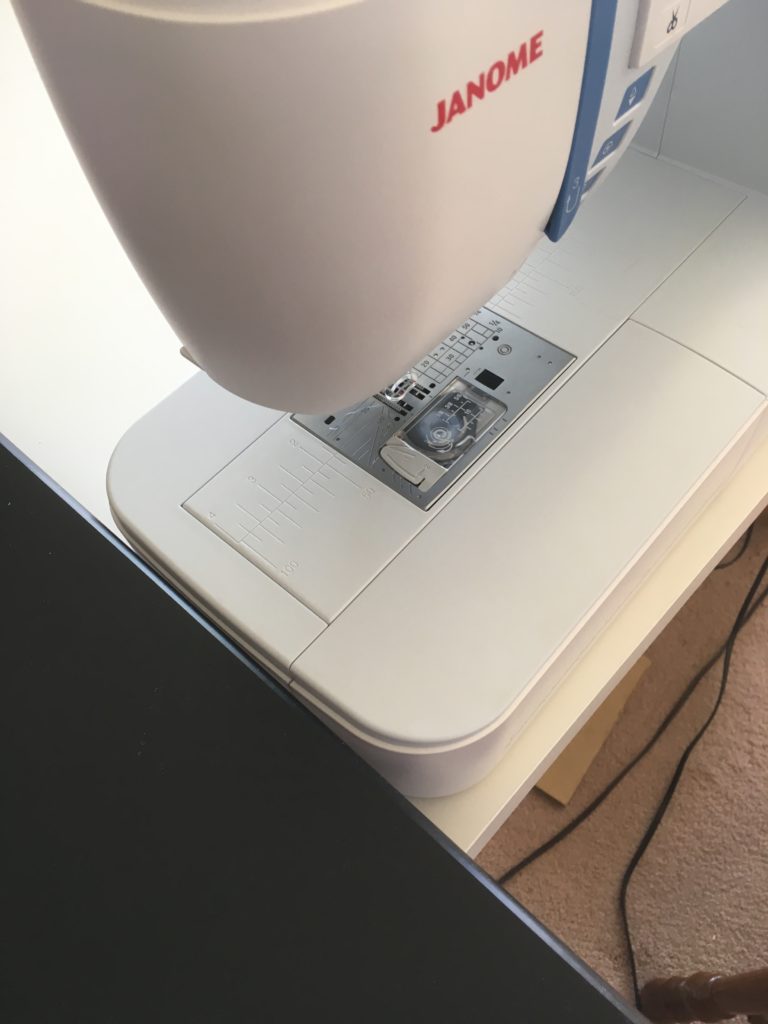
I tried moving the sewing machine to the edge of the table and raising the Martelli to meet the height of the bed of the machine. This is okay, but I would really like the have the bed extended back farther behind the machine.
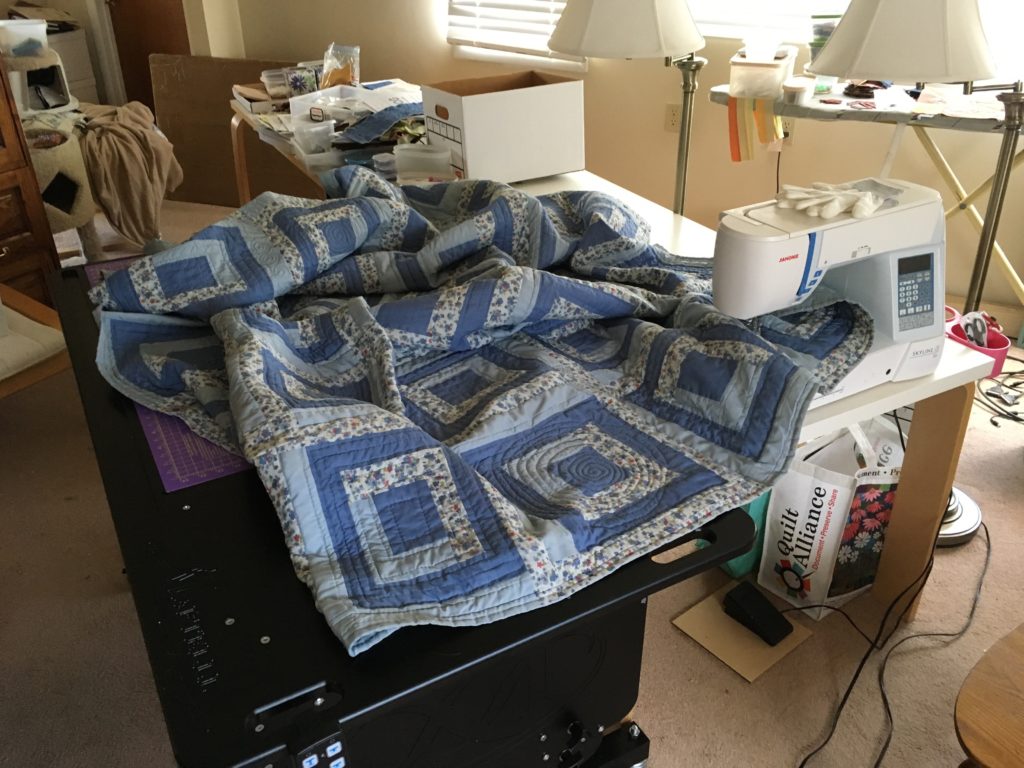
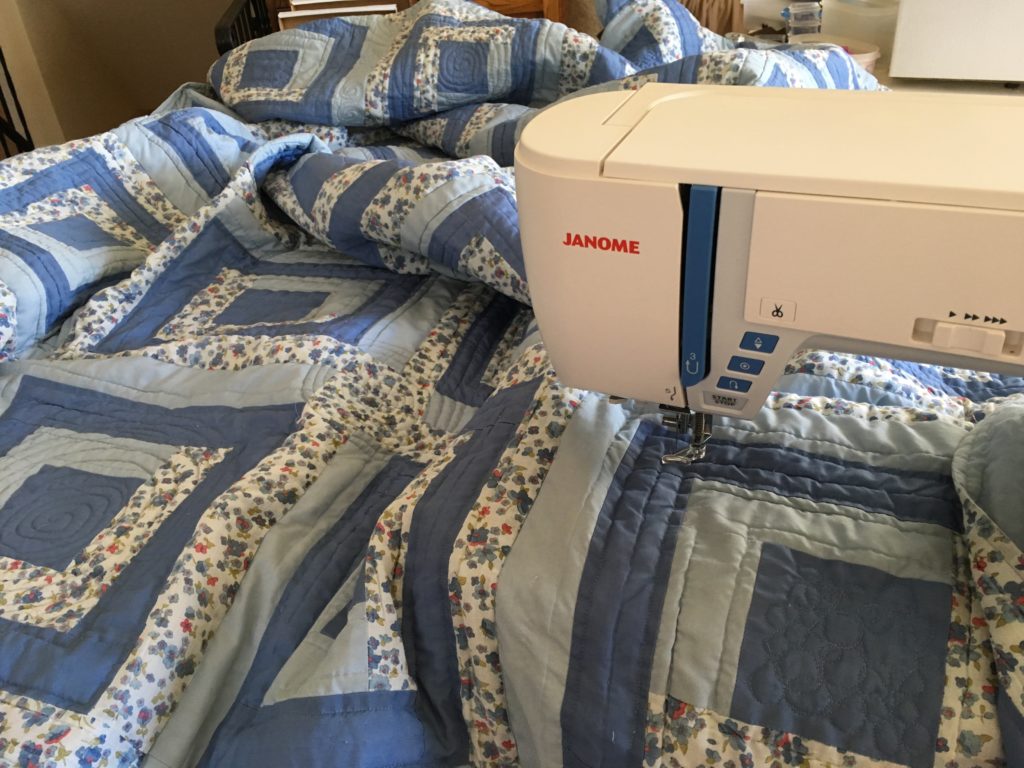
I did some quilting and was very happy with the way the Martelli table supported my work even at its lowest level.
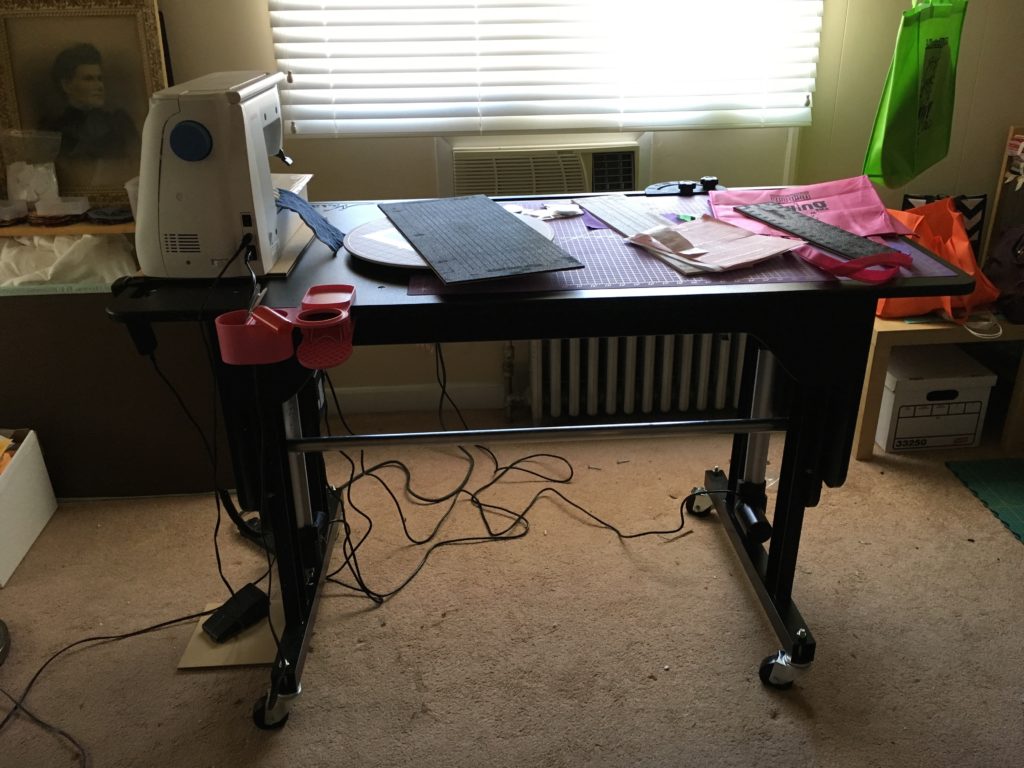
Initially I thought that I was going to locate the table in front of the window with the air conditioner. The photo above shows the table raised up to a comfortable level for sewing on my Janome while standing.
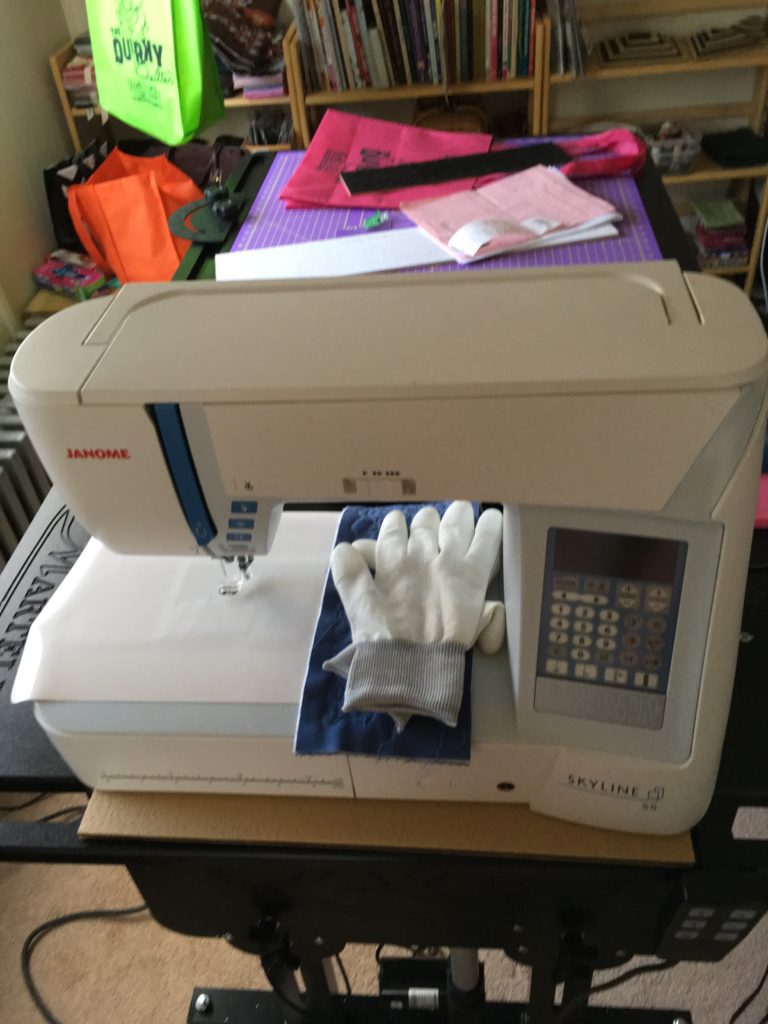
I have a mat which prevents the sewing machine from sliding when the table is angled. You can achieve a more comfortable viewing angle by lowering the side with the sewing machine. The table is level in the photo above. You can also see the Supreme Slider in place on the machine bed. I have since trimmed it to get rid of the spillover on the left and top sides.
I have a lot more work to do to get this room whipped into shape as a studio, but I feel as if I am well on my way, probably more than halfway done.

Thank you for sharing your new table and set up. How are you feeling about it now that you have had time to use it?? Do you feel you would purchase it again?? I am asking as I just placed an order for the table at the AQS show and I am now second guessing myself. Just not sure how I am going to really use it.
Thank you in advance for any feedback you can give me.
Kind Regards
Susan
Susan,thanks for asking how I feel about my Martelli workstation. I know EXACTLY how you are feeling right now. I too went through a phase of second guessing my purchase in the time between buying it at QuiltCon and putting it together. It is natural to question such a huge investment. You are probably telling yourself that you could have bought an Ikea counter and you could have been happy with it. Maybe, but then you could not change the height, certainly not angle the table, and maybe it’s an inch off of optimal height for you, which might come to bother you. You can compromise, but why compromise?
Since putting the table together I have moved it from one location to another and am very happy that it moves so easily and I don’t need to assign it a permanent location. I have raised it up to its highest and down to its lowest. I have used it as an ironing board to press yardage. (I bought the pressing topper.) Right now I have it at its highest, and I am using it to cut pieces for my Glorious Hexagons work. I am cutting and glue basting standing up. Before I started that activity I had the table a couple inches lower so I could cut pieces of fabrics to make layer stacks for my Glorious Hexagons work. Cutting yardage gave me a chance to begin to feel really comfortable with the Martelli cutting system.
Then I decided to cut some 2.5 inch squares from some of my leftover fabric. It was great to be able to swivel the template for the optimal cutting angle knowing that my fabric was going along for the ride.
I am using acrylic templates to cut pieces for my Glorious Hexagons, and I am using a third party cutting board on top of the table to do that to protect the Martelli board from the third party rotary cutters that I am using to do that work. I do notice that I am much more aware of how difficult it is to keep the acrylic templates stable compared to the Martelli templates.
Very soon I plan to cut some bias binding. I think that is a task for which the Martelli system will shine.
My feeling is that the money for the Martelli workstation is spent, and I’m going to get good value for it over time. If I had it to do over again I would do it agin with less hesitation than the first time.
Oddly, this table is actually inspiring me. I can’t quite explain it, but I feel energized because I have a quality tool.
My recommendation to you is that you is that you watch some of the videos on YouTube to get acquainted with the system.
Fear not. You have made a good decision.
Terri,
You said that you are using third party acrylic rulers to cut your 2-1/2” squares to save your Martelli Brand rulers. I too have the Martelli brand cutting system. But once in a while I just like to use my acrylic rulers too. I have a bunch of them. So I like to use them. But they do move around a bit as I’m cutting resulting in some uneven cuts and ruined fabric because of it once in a while. I learned a while ago that when I’m using those acrylic rulers that if I put a 5-8 LB hand weight on the far end of my ruler before I make the cut, it doesn’t move .at.all! Just thought I’d share.
I enjoyed reading this! At the Florida Quilt show, I was promised a Martelli demo table at the MQX show, where I live nearby. When I went to purchase it, one of the guys scorned me and would not honor the price, even though I have it on a sales slip. While it left a sour taste in my mouth, I still enjoy some of the products that they sell. I only wish that I hadn’t invested all of my money into inferior products. I’d love to sell what I don’t need, but that makes me feel guilty that I am not sharing the best quilting products with a fellow sewist/quilter! I sincerely feel that Martelli products are the best and when I need to purchase a notion, I always look there first. I can’t justify spending all that money on a table, but a demo would suit me just fine. So now I am on year two. No table and still feeling that I was not treated fairly. I will go back to the Florida show again next year and maybe I will run into the designer of the table. He signed his name on the bill of promissory sale. I do scour ads in hopes that someone either gives up on quilting, or is downsizing…It has happened! When I bought my Accuquilt Go, I invested over $500 for the machine and the templates… I felt sick spending that kind of money. What made me sicker was that I bought it due to shoulder issues. I was having a hard time cutting… but all I needed was a Martelli table. Maybe someday. Enjoy your tables ladies… I hope to own one some day!
I just got a Martelli Advantage from the reps who came to my local quilt shop. I’m right with you on the assembly and directions part! We opened the box with the top in it last, and that’s where the instructions were. Previously, I had watched the solo assembly video, where the steps are not the same, so I started setting up the pieces for assembly based on that video. But I was not solo, as my husband was helping me. So once we got the instructions, we had some juggling of parts before we could get started! Because of the weird entry door into my sewing/guest room, we had to put the table together in the room, because the table will not fit through the doorway after it’s put together. It took us old geezers about an hour, and I learned how to use the drill to put in the screws. We were worn out when it was all done!
Once we had it assembled, I realized I had the same problem that you did, in a way. Before, I had been sewing on an Ikea tabletop on trestle legs. The Martelli was to replace that. I didn’t realize that it would not be as low as that Ikea setup I was used to. And my chair is not height-adjustable. I had thought I could put my machine on the short end of the table, but didn’t take into account that I would not have leg room, and I couldn’t use the knee-lift either (it’s a Bernina). I’ve not sewn standing up so I suppose I could try that. But in the end, I may need to fit in an extra table for the Bernina, but it’s a small room. Or, set my machine on the Martelli on the long edge, rather than the end. I may have to get a new chair, or sit on a cushion! My excitement has waned a little and I hope I don’t regret my purchase. I really want to like it. At least I don’t have to go into the kitchen to cut any more. 😉