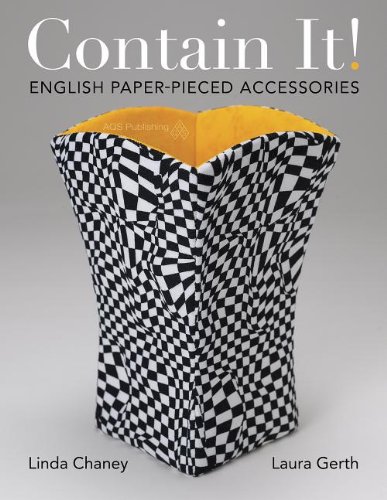
I was pleased to be asked to participate in the blog hop celebrating the one year anniversary of the publication of the book “Contain It! English Paper-Pieced Accessories” available from Amazon.
Don’t order the book just yet though, because if you comment below, you will have an opportunity to win an autographed copy of the book created by the mother/daughter team Linda Chaney and Laura Gerth. Make sure you visit the other five blog hop destinations to optimize your chances of wining. I’ll be listing those web addresses further down.
I’ll start by saying that making containers was a bit outside my comfort zone. I had never worked with stabilizer before, and I had never made any dimensional objects with fabric, not even a hand bag. My experience with English Paper Piecing helped me a great deal in grasping the fundamentals put forth in the book, yet I wasn’t sure that I was going to be able to pull this off. I did all the work using hand stitching even though some of the steps could have been achieved using a sewing machine. The book includes clear instructions on how to make a great variety of projects, and I was drawn immediately to the convex vase collection. However, I decided to start off slowly, and easily, with a flat hexagon coaster. I finished up big with a convex vase with a hexagonal base. It is only fitting that I should have started off and ended my journey with hexagons.
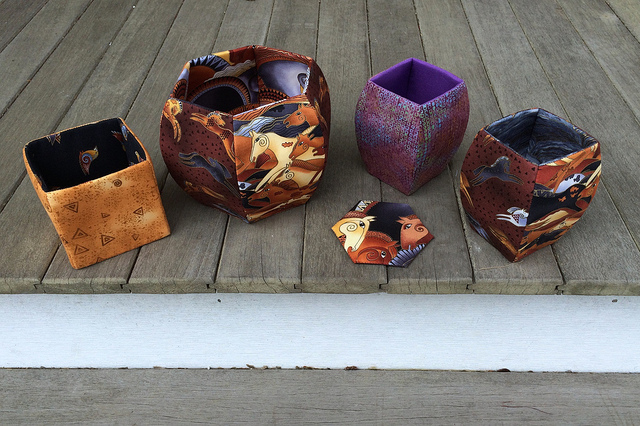
Here is a group photo of the projects I created from the book:
Which of these it not like the others? I obviously deviated from my color pallet somewhere along the line.
Here is my first project, the comfortingly flat coaster.
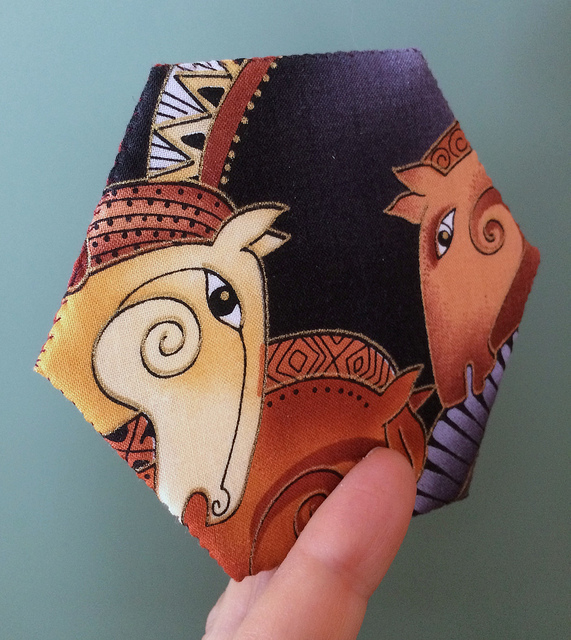 I was very proud of myself after making this little object, and felt that I had built up enough confidence to try making a cube shaped container. I was definitely NOT yet ready for curves.
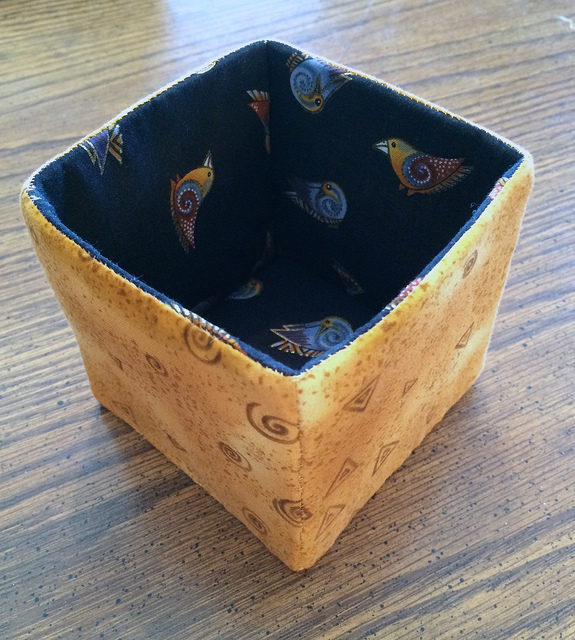
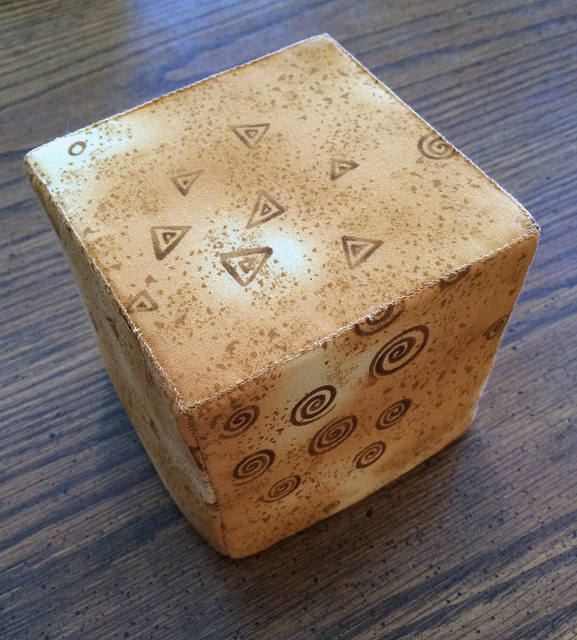
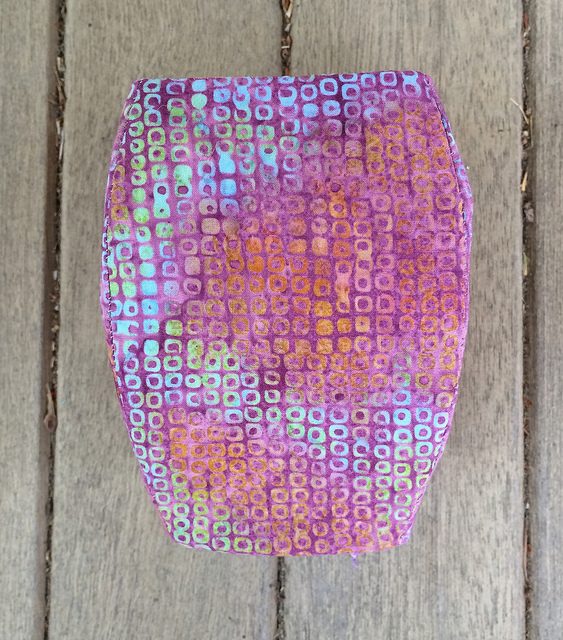
Here is my cube viewed from the top and from the bottom:
I might point out that sewing up the side seams of the cube required a major leap of faith on my part because I could not imagine how I was going to be able to fold back the outer sides to cover the inner sides. Remember my lack of experience with stabilizer material?
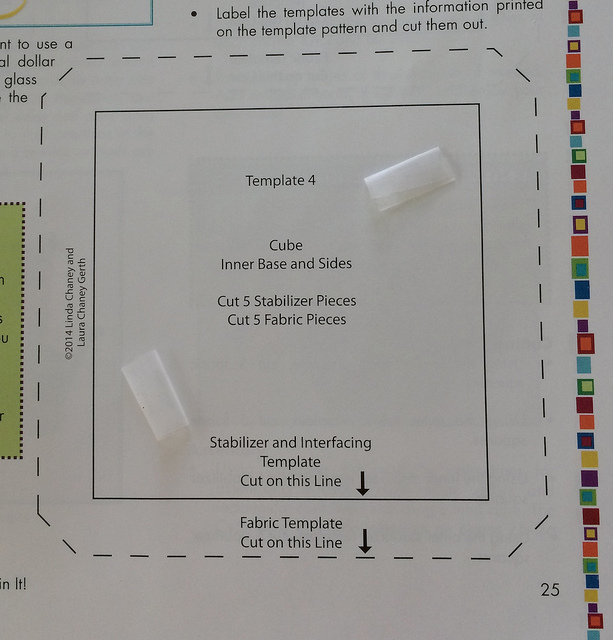
I was so proud of myself after making the cube and feeling a great deal more confident. I decided that it was time to tackle curves. All projects in the book require that you create plastic templates by tracing patterns provided in the book, which happens to be the most difficult step, in my opinion. That step becomes harder when you make containers with curves because you have to freehand your tracing on the plastic template material with a permanent marker. You can’t rest your marker against a ruler or a quilting cutting guide. Don’t let that put you off though. Sure, I was nervous free handing it, especially for the stabilizer shapes, for which accuracy is most important, but I relaxed and got better at the task. You will too. Using doughnuts of removable tape to hold the plastic to the book helps.
I also used doughnuts of tape to hold the templates in place while cutting around them on the stabilizer material and the fabric.
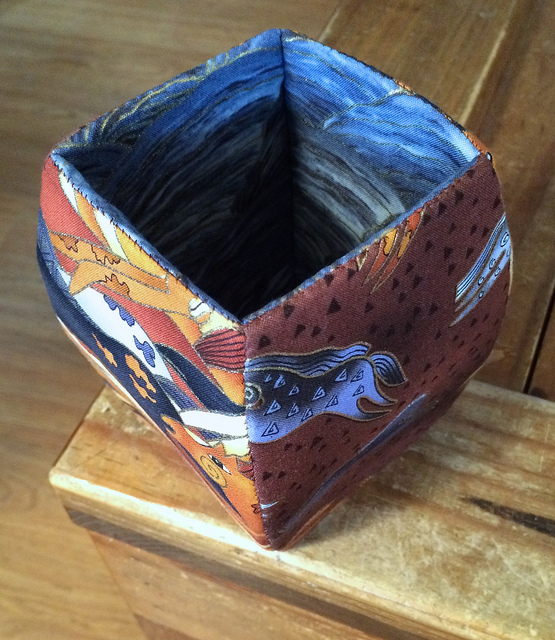
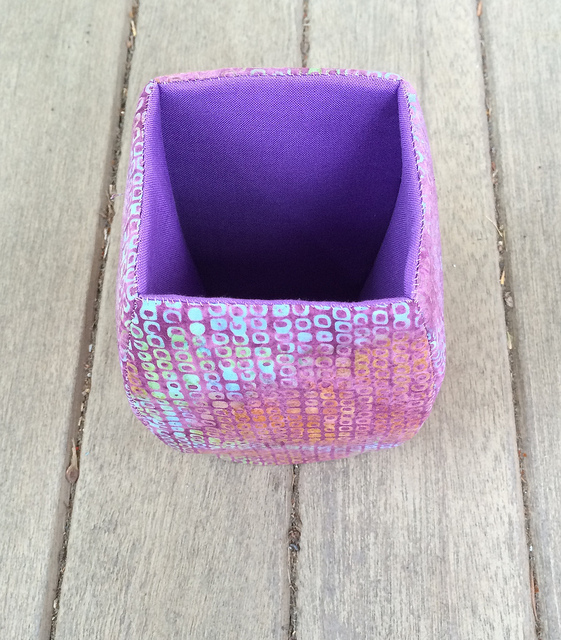
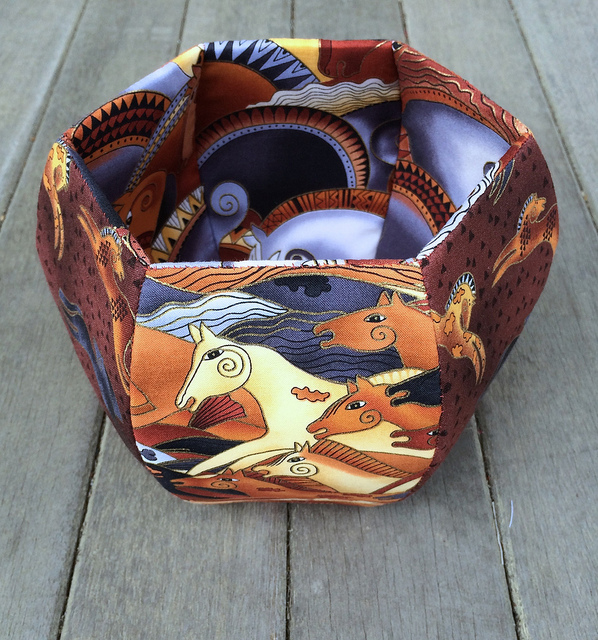
Here is my first convex container:
After making the above container I ran out of template material and had to order more, so I deviated from my color pallet and made another convex container using the same templates as I used for the container above.
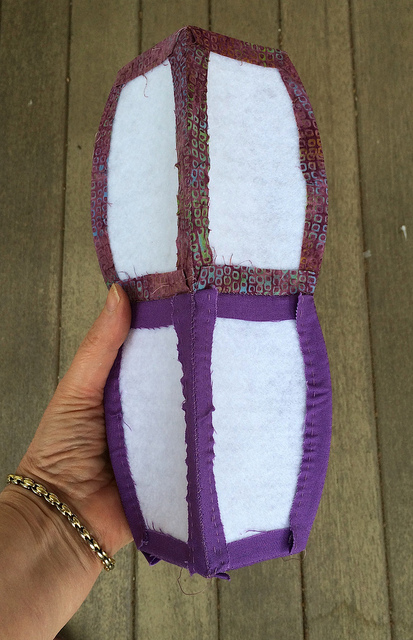
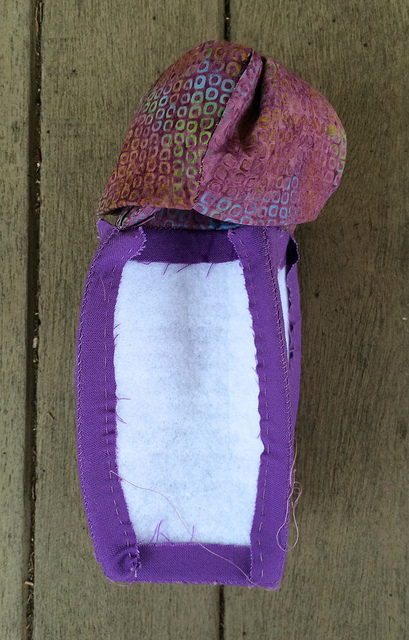
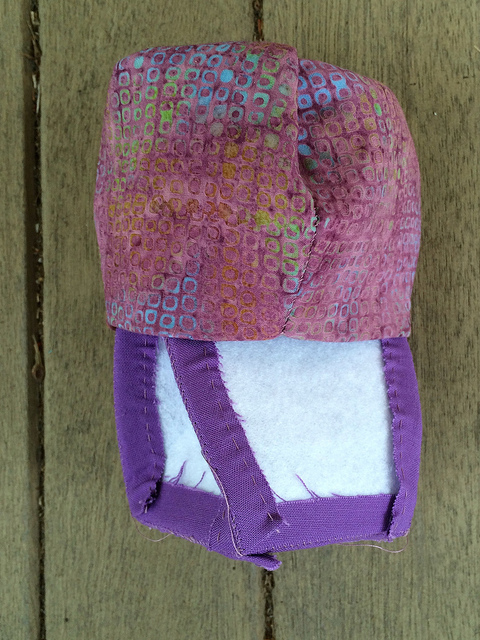
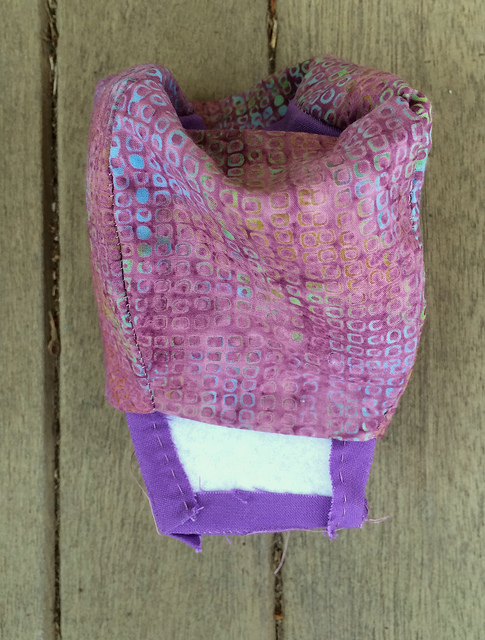
Here is where you get to see a few process photos showing how the outer sides actually DO fold down over the inner sides. You will not need to make a leap of faith after seeing this:
When the top gets close to the bottom it almost pops into place.
I have to say that making the same container a second time made me realize that even that small amount of repetition makes these containers a great deal easier to make. I developed a workflow. The basic concepts sank in for me, and I didn’t find the need to keep checking the steps in the book to make sure I was doing things correctly. I found the process quite relaxing once I really knew what I was doing.
Things really fell into place for me on the final project, and I had a great time making it.
What’s next? I am definitely not finished with containers. That’s for sure. I’ve got my eye on the Scalloped Bowl Collection.
I have taken a great number of process photos for these projects that will give you an idea of what is involved in making them. You can find them in a Flickr Album entitled Containers.
For me these containers are the ideal Guild exchange project. Our guild has an annual Christmas Secret Santa event that I never participated in because I didn’t know what I could make that would take a reasonable amount of time, reflect my personality, and also be appreciated. Now I think that the Large Convex Vase with Hexagonal Base will fit that bill nicely.
Add a comment below for your chance to win a copy of the book, and don’t forget to visit the other stops on the blog hop for more container fun. I will be keeping the comments open until next Friday, so check back to see who wins the following Saturday. Make sure that your email address is associated with your comment, or appears in body of the comment, or I won’t be able to contact you if you win to ask for your mailing address.
Blog hop participants:
April 13 Daryl Perry of Patchouli Moon Studio
April 14 Debbie Voigt of Around the Strawberry Patch
April 15 Christa Watson of Christa Quilts
April 16 Andrea Taddicken of Knitty Bitties
April 17 Terri Schurter of Hexy Lady (That’s Me, and you are here.)
April 18 Ren Murphy of The Inspired Wren
Disclosure: I received a free copy of the book so I could participate in the blog hop, but the opinions expressed are my own.
This book looks like it has all kinds of new ideas. I can’t wait to see it.
Looks great! I like the idea of doing a swap with these containers! Thanks for the chance to win.
Looks great!! I love these vases! So proud of you for stepping outside your comfort zone. Now I really want to make one of these vases too!
Great collection!!! I’m jealous you had the time to make so many. I have yet to get to the Convex Vase that attracted me to this book in the first place. And I completely agree these would make perfect grab-bag/secret Santa type gifts.
I’m retired. That is why I have the time to go all out on something like this. I gave up quilting altogether for about 25 years when I was teaching. I just didn’t have the time. Now I have all the time in the world.
So interesting, and I love your choice of fabrics! I will have to give this a try. I can think of a dozen uses for them.
Great job!!! Love the Laurel Burch fabrics!!!!!
Me too. I am probably going to see if I can order some more of them. I had originally bought a fat quarter bundle, and I had been hoarding it until this project came along. I also bought three yards of the largest horse print, which I used as the backing for the quilt sample for the Batik Flower Garden Quilt.
HI,very neat projects !
Thanks for sharing!
You did a great job on the containers Terri. I’m glad you stretched yourself and left your comfort zone.
Your bowl with the horses is beautiful! This looks like an awesome book! Thanks!
I love the idea and I see inserting some cross stitch blocks or monograms on some of the sides.
Love your projects, and maybe I could be brave enough to try them too. I think I would probably start with the coaster first, just to work up my courage 🙂 The bowls/vases would be WAY out of my comfort zone, but I appreciated seeing your pictures and explanations.
Refreshing to find new ways to use EPP. I’ll have to have a go at the vases! Thank you for the giveaway.
Your containers came out great! I love the Laurel Burch horses fabric on your final project and the process photos in Flickr will be a great help in making these. Thanks for the tips and giveaway!
I love these containers, and the fabrics you picked makes them even better. Pick me-this is a book I’ll use!
Love Laurel Burch fabric and your selection. I love EPP and have made several projects where the smaller pieces traveled with me. Thanks for the opportunity to win a book I will use over and over.
This book looks fantastic! Would love to own a copy. Thanks for showing us what you made from the book. So inspiring!
Your containers turned out beautifully. Love your fabric choices too. The book looks like it would be fun to make something new.
Wow! What a marvelous book and a great review. Thank you for sharing pictures during the process. I appreciate that very much. I think if I had tried one of these projects and had something similar to your picture and not had a visual to follow, I might have thought I was doing something wrong since I’ve never made a container. Your pictures are very helpful. Sometimes, I doubt myself more than I should. Your containers are wonderful and make me want the book more and more. Thanks for participating and I am hopeful that I, too, will soon have the book.
These containers are great…am lookoing forward to making this!
Your coaster is so pretty! It’s a great way to use specual fabrics. All your cointainers are so pretty and useful too. The 3-D piecing is very clever, I would love to try it.
Love your choice of fabric especially the horses! Looks like a great book and some fun projects!!
Pingback: Glorious Hexagons: Jumping In | Hexy Lady