
Aside from just blogging about my fiber arts I will occasionally blog about the process of blogging itself, including such things as taking photographs for blog posts. That’s the topic today.
Today I had a One-to-One training session at the Apple Store on how to use Aperture, which is the professional level image editing and asset management program offered by Apple. I’ve been using Aperture for about two years now, but it will soon no longer be supported by Apple. My primary interest in seeking training in the use of Aperture at this point is to come up with an exit strategy for the day when Apple stops supporting the application. I will most likely start using Lightroom, but knowing as much as possible about Aperture will help me with that transition.
Aperture is an important part of my image work flow for my blog. I take my blog pictures with my iPhone and I have Aperture set up to automatically import my photo stream. Once the images are in Aperture I copy them into albums related to specific quilting projects. I share these albums on Flickr. From there I download medium sized versions of the photos I want to use in my blog posts. I arrange the files in my downloads folder by “most recently added”. This way I can drag the images directly into my WordPress posts. This works well for me. The images load quickly on the blog because they are small, yet I didn’t have to resize them myself because Flickr does all the work for me by offering me a variety of sizes for download. I merely select the medium size that I want.
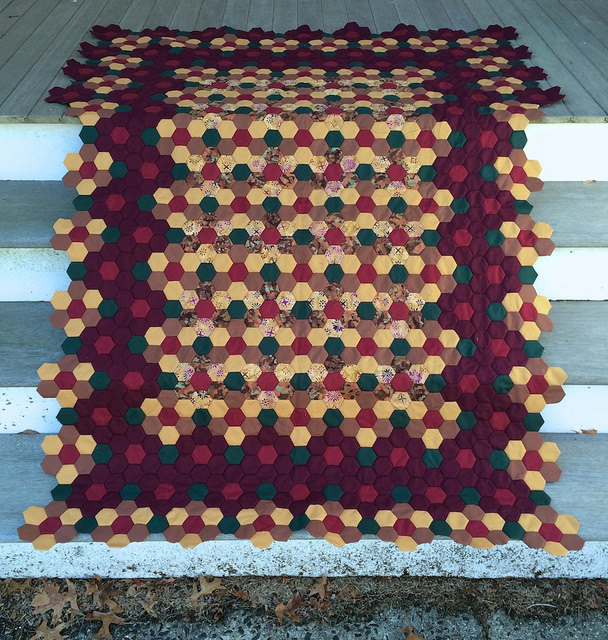
The Apple Creative who helped me today praised my workflow in Aperture, so I decided to describe to him the blog image workflow that incorporates Flickr into the mix. While explaining this I opened up my blog so he could see that it is very photo centric in terms of its content. While viewing the blog he asked if the wood in the background of most of my recent project images was a texture created in Photoshop. I told him that it was simply my front porch, and that I have a great staging area for taking photographs of my work using the surface of my front porch. I scrolled down to this image so he could see how nicely the staging area works. I was particularly pleased with the entire set of images from that post. which made very good use of the porch.
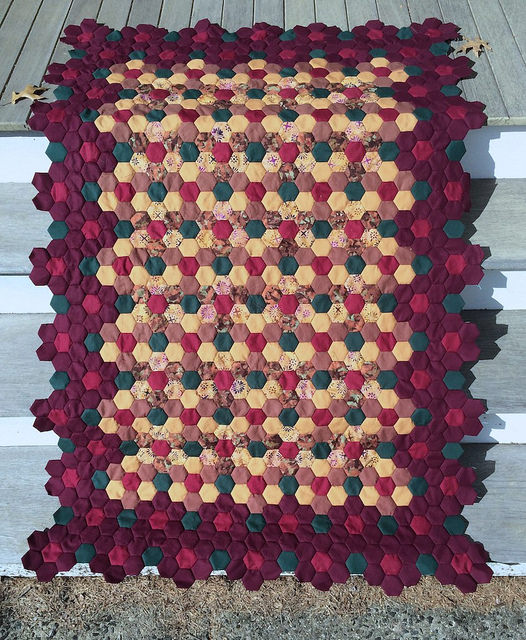
I like to use my porch because the really nice wood makes a great background, but also because I get nice natural light. I have not been pleased with most of the photos I took indoors for my blog. After talking about where I take my blog photographs with the Apple Creative for awhile, I decided that it would be nice to do a blog post showing my staging area in detail, so here we go…
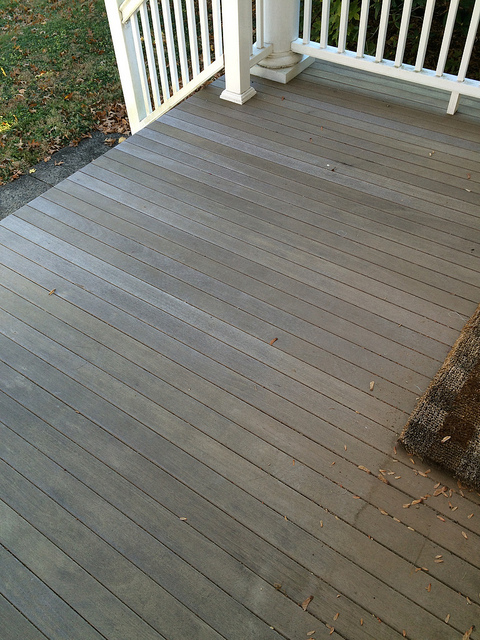
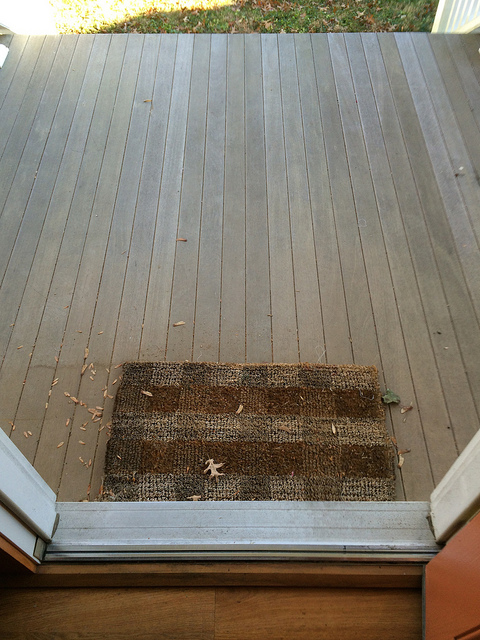
I’ll start with the steps that i used for photograph above. I deliberately placed the leaves at the top of the image above. The leaves in the image below just happened to be there when I took the photo. This is a great place to lay out a fairly large piece that just won’t fit well on the surface of the porch.
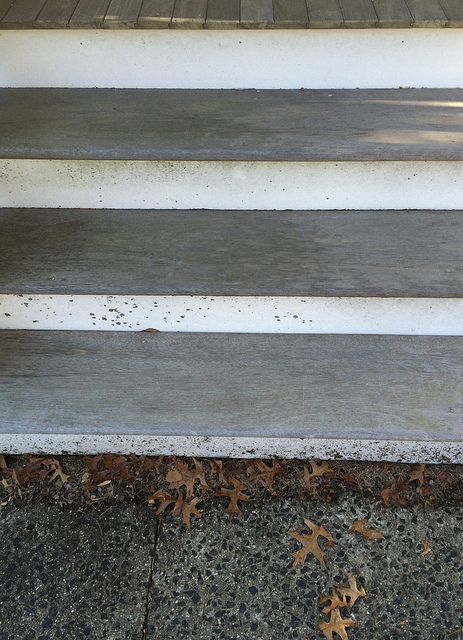
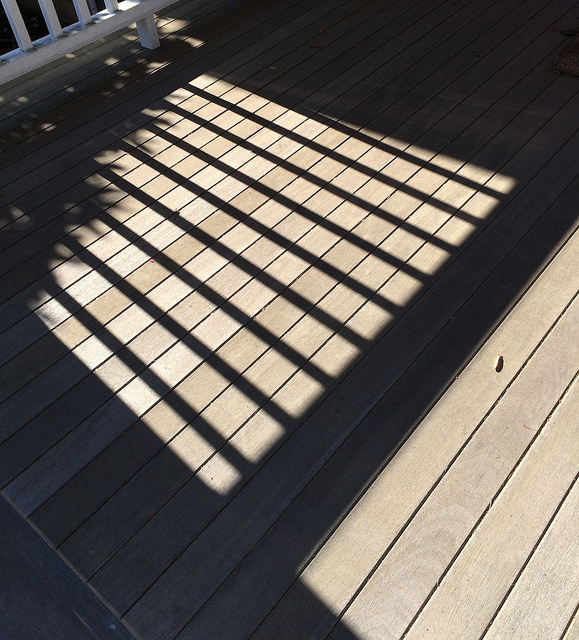
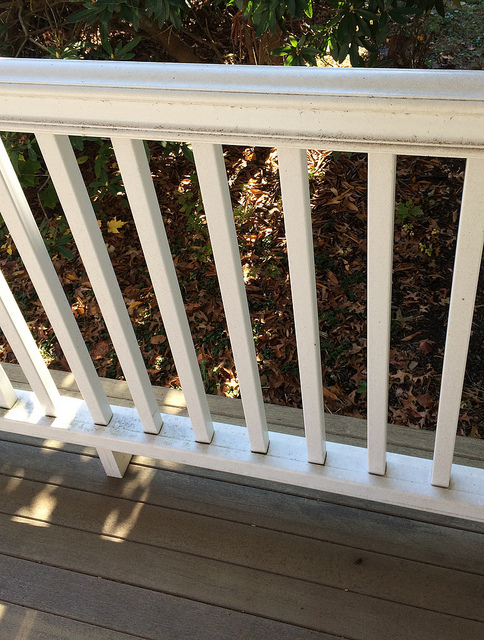
The porch gets a lot of direct sunlight in the morning which you can easily see in the photo below. Sometimes that makes for an artsy effect, but I like to wait to take my photos until the afternoon when the entire surface of the porch is in shade.
The railing can make an interesting background.
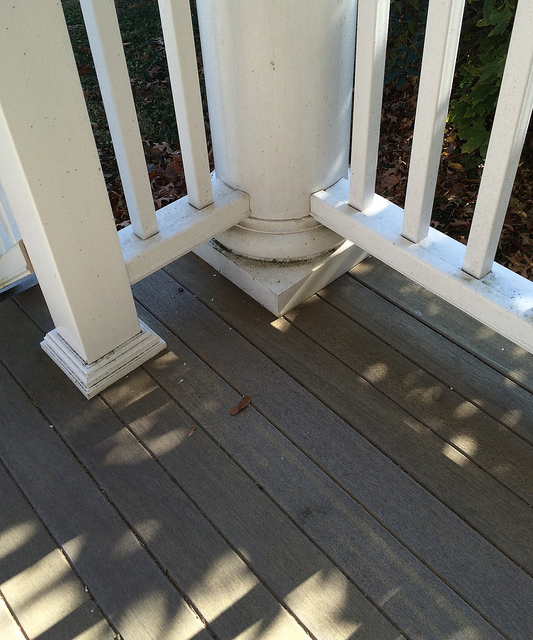 And there is a nice railing to hang things from too.
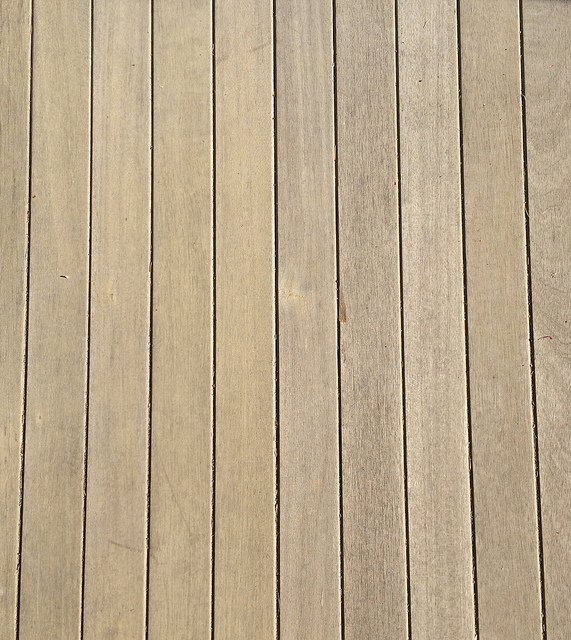
Here is the porch in direct sunlight. When I take photos this way I find it necessary to do white balance corrections and exposure corrections.
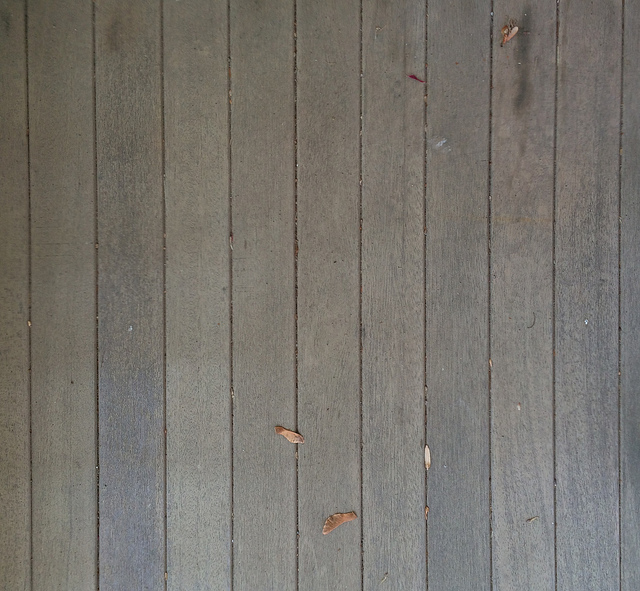
Here is a patch of porch in shade, which offers a better background for photographs in natural light. It is much less harsh than the morning sun.
By 1:30 PM the porch and stairs are in shadow and it is a good time to take photographs. The light remains good up through about 4:00 PM.
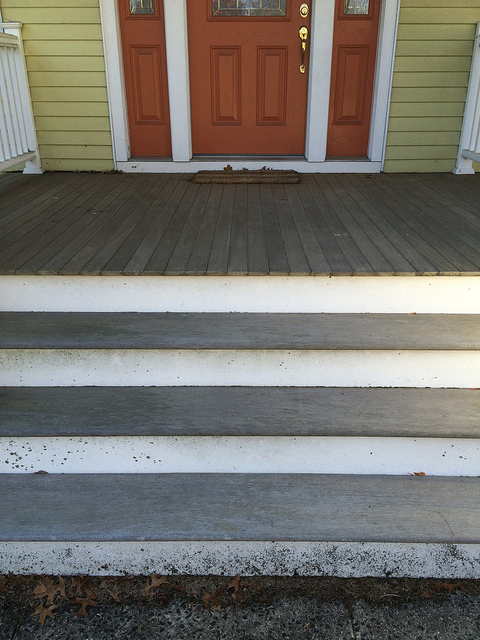
Here is the view of the porch in the afternoon from my open front door.
Pingback: The Batik Flower Garden Quilting Sample is Finished | Hexy Lady