
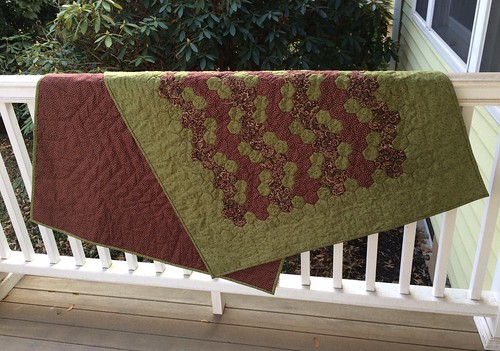
I call this piece “Room Divider Number Two” It was created to hang between the dining room and the kitchen during the summer months when we have our window unit air conditioner installed in the dining room. A similar unit “Room Divider Number One” was designed to hang between the dining room and the hallway.
Last week I decided to finish “Number Two” and spent two days quilting the five inch border strips and adding the binding. The quilting on the border strips took approximately six hours to achieve, and the binding may have taken another six between the piecing, machine stitching to the front, and hand binding on the back.
I had allowed the panel to remain unfinished for about a month while I decided how to quilt the borders. I had initially thought that I might use semi circles, but was unsure what to trace and what type of pen or pencil to use to do the drawing. I finally decided to use tape as a guide to follow while doing my quilting. I ended up creating a design of outward pointing arrows on the borders.
I really enjoyed quilting in a larger expanse of fabric as opposed to just making lines of quilting down the middle of rows of hexagons. One thing I decided to do was to begin my threads and end them as well with knots at the edge of the borders where the binding would hide the knots. It seemed easier to do that than to bury the ends elsewhere with quilting knots.
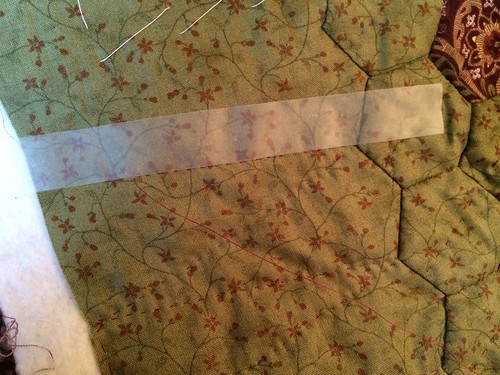
Above you can see the method that I used for marking my quilting on the borders.
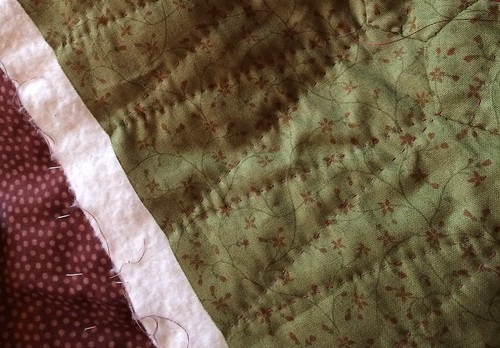
Above you can see what the finished quilting looks like on the borders.
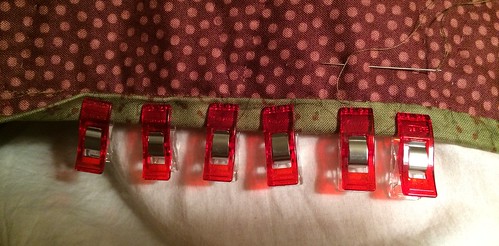
Binding provided more hours of handwork fun.

The final results were kitty approved, as usual.
I am storing my images on Flickr. If you click on any of the links above you will be taken to my photo stream on Flickr where you can see more images related to this piece.
Pingback: Diamond Quilt Progress | Hexy Lady