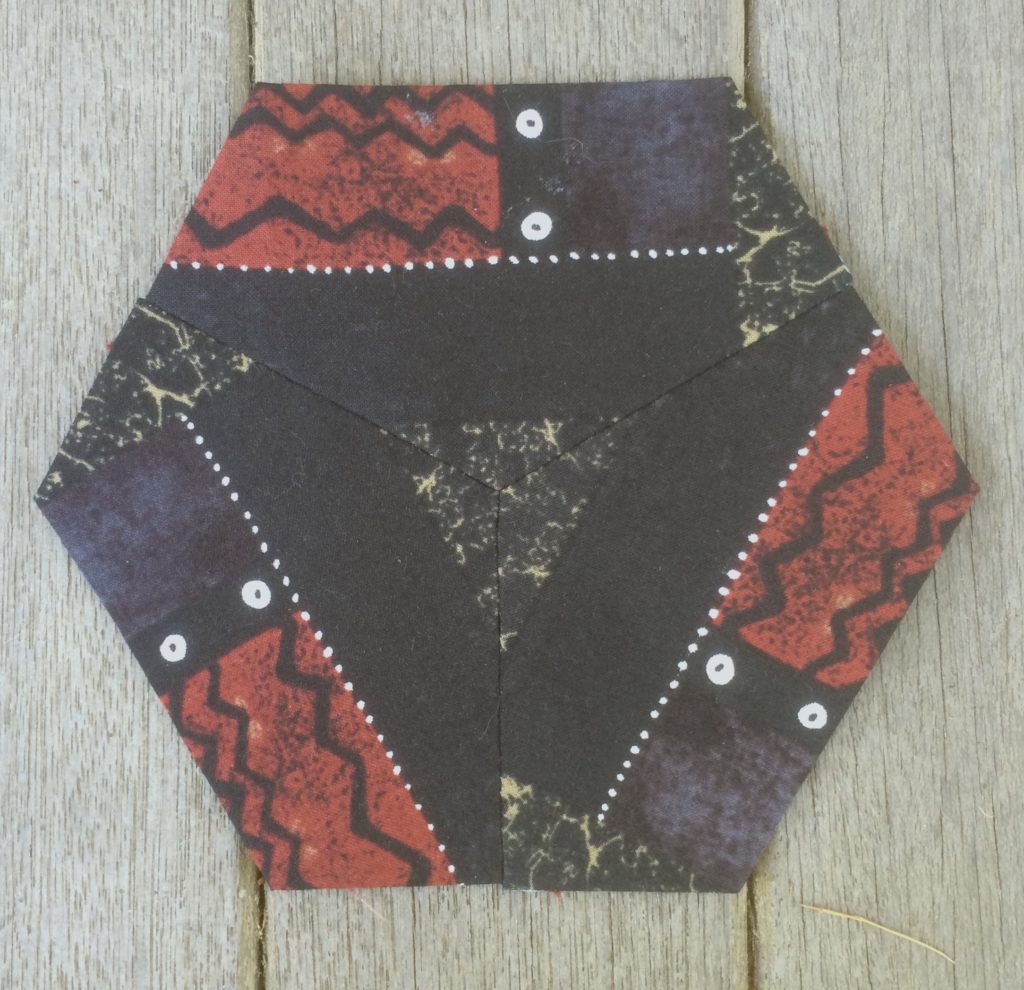
Glorious Hexagons: The 18th Decade

I have forty more hexagons left to show.

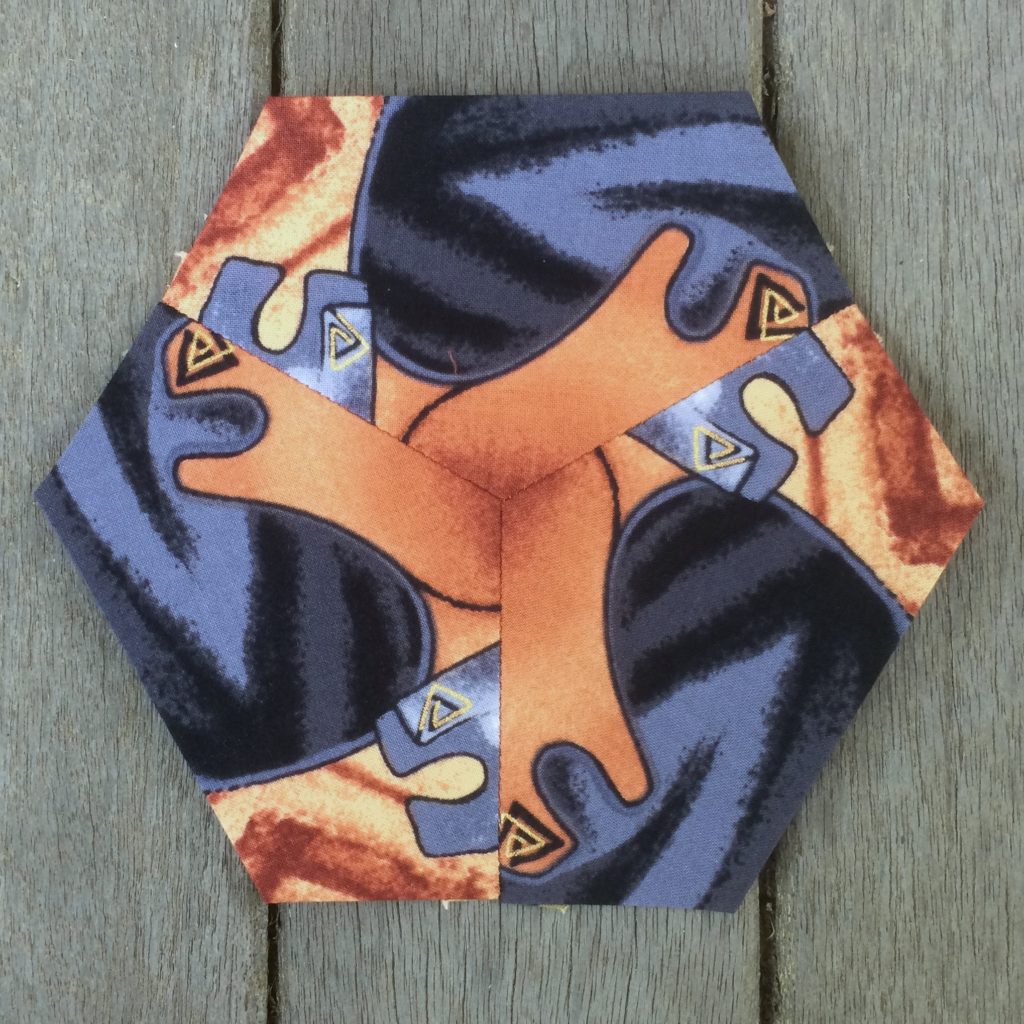
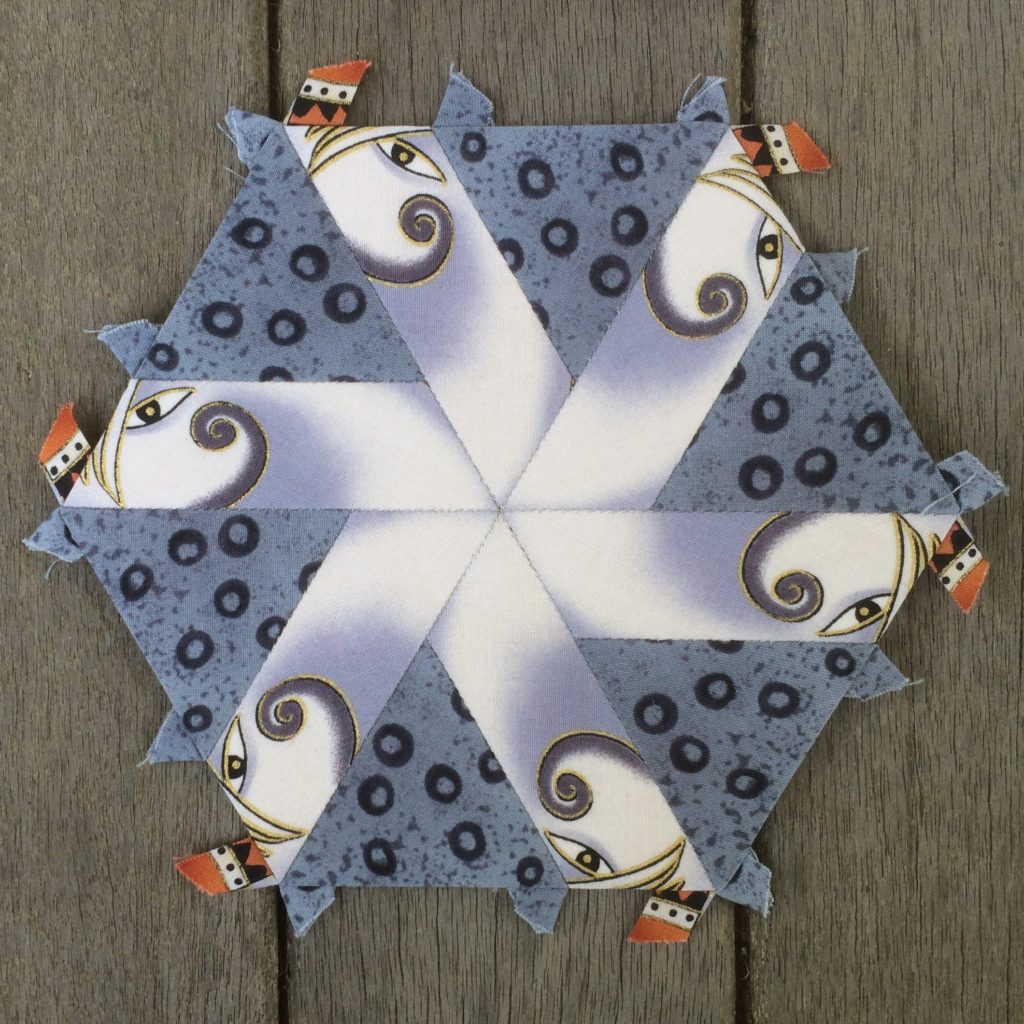
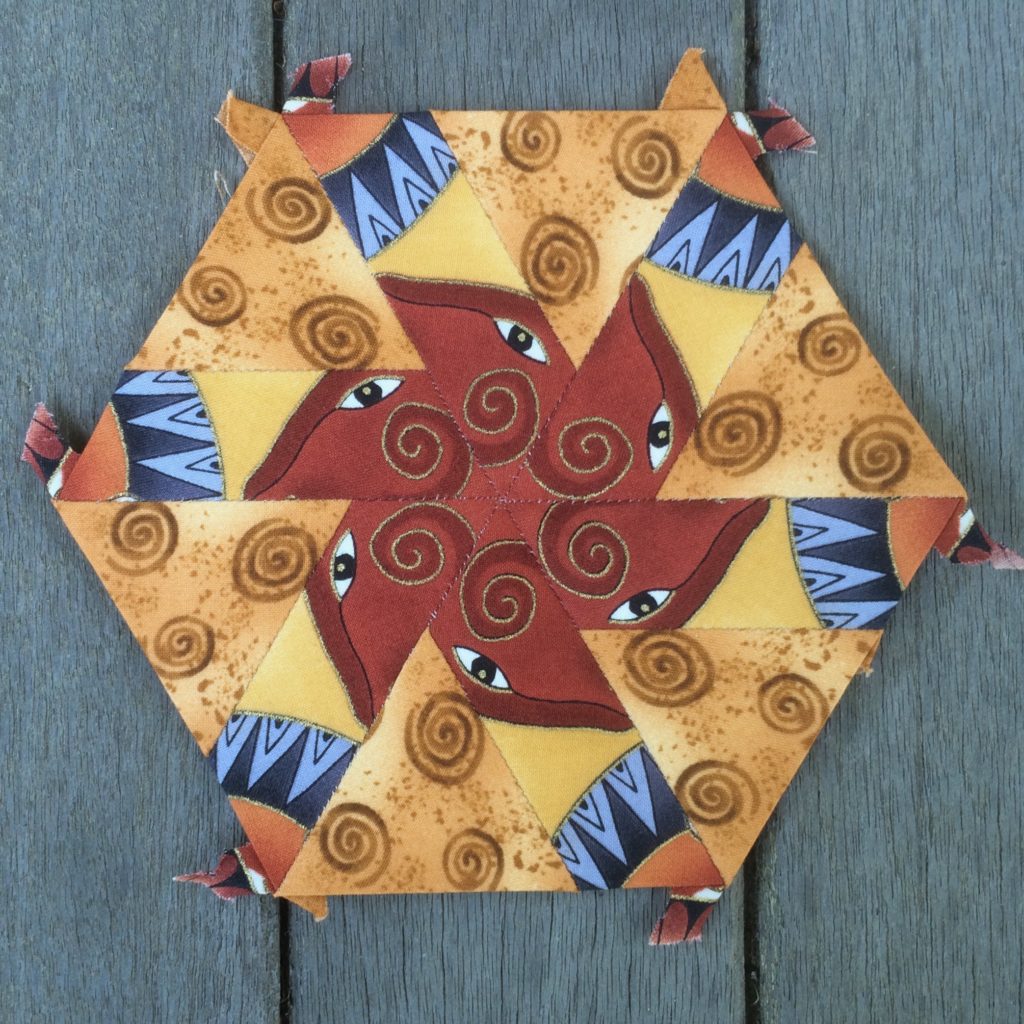
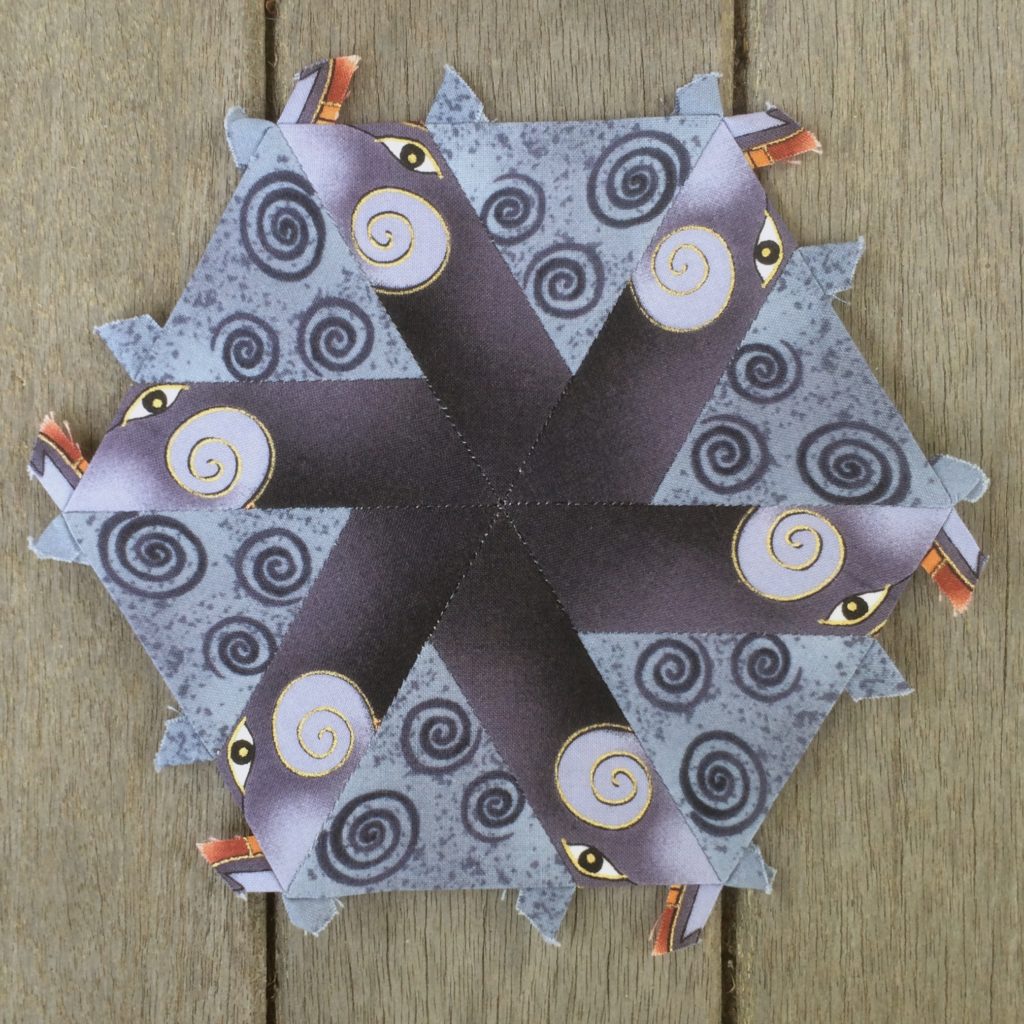
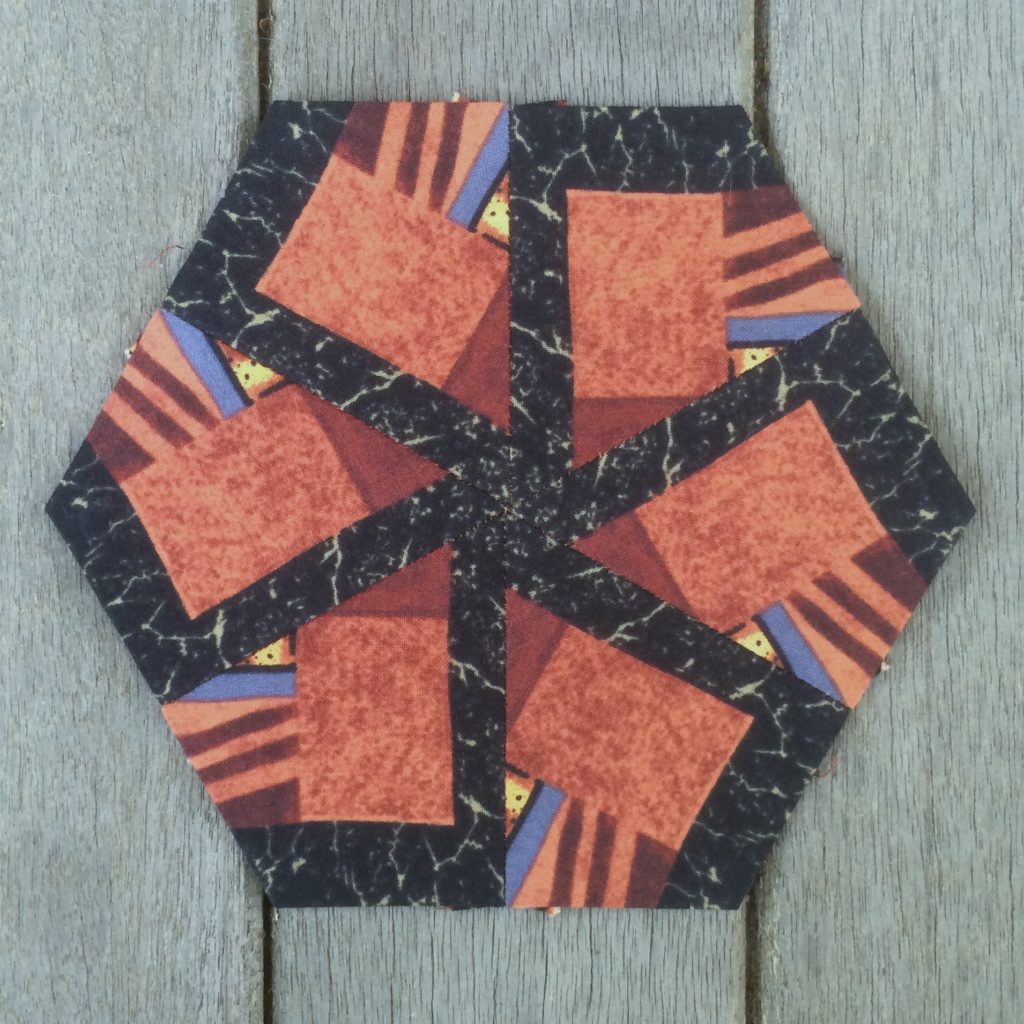
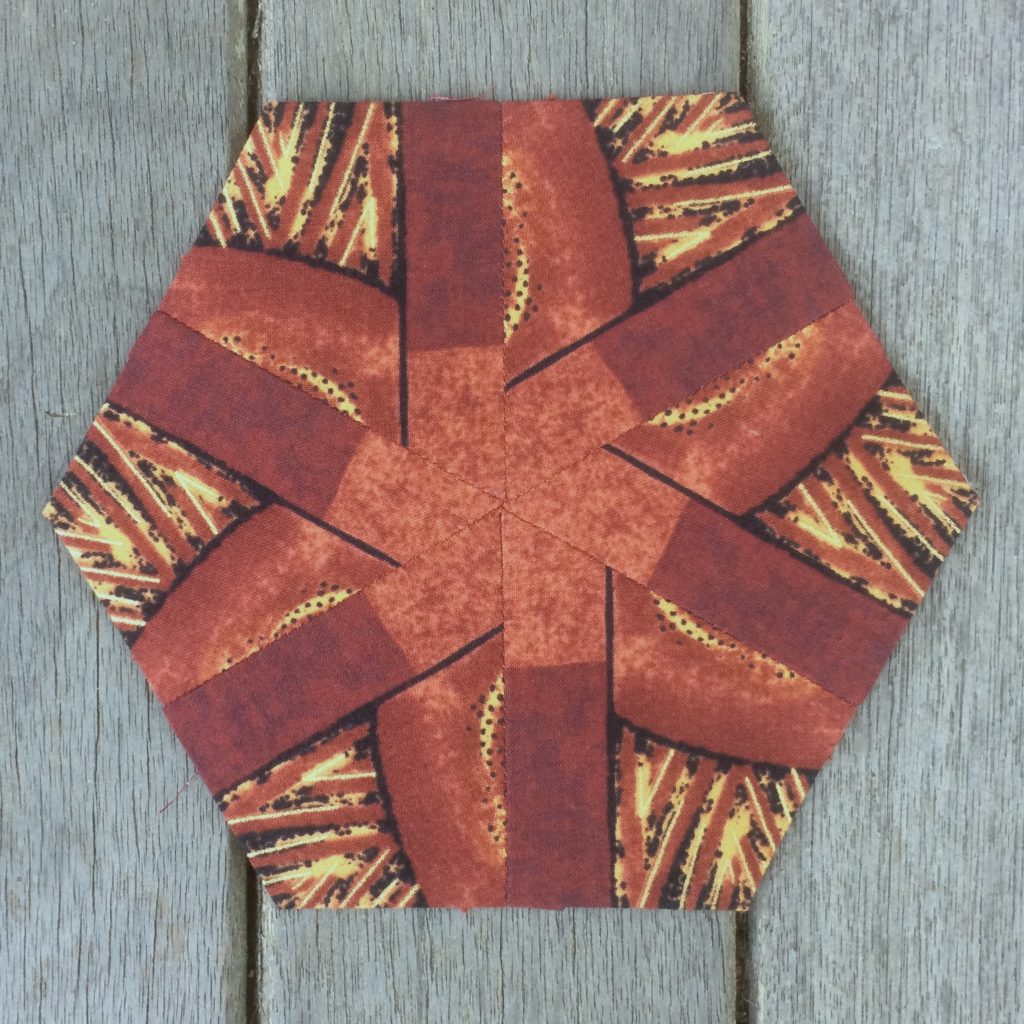
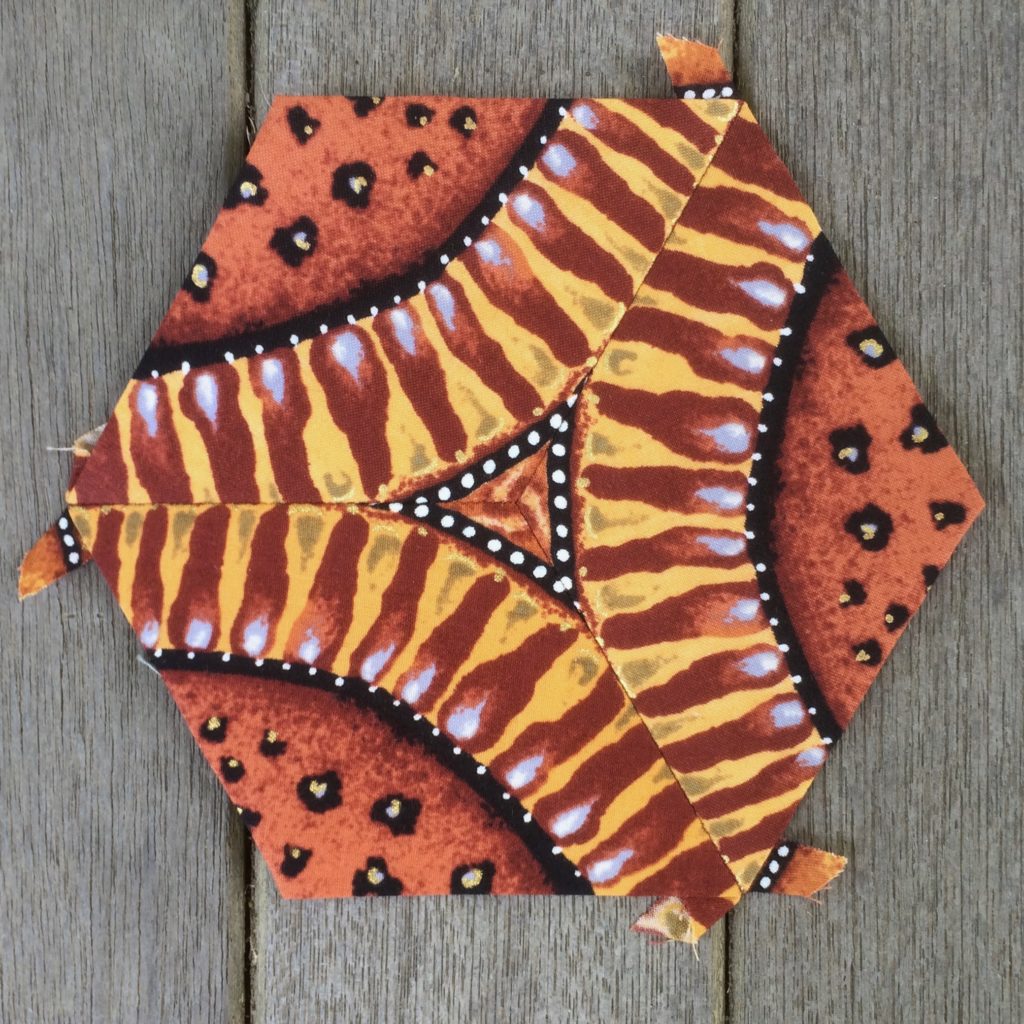
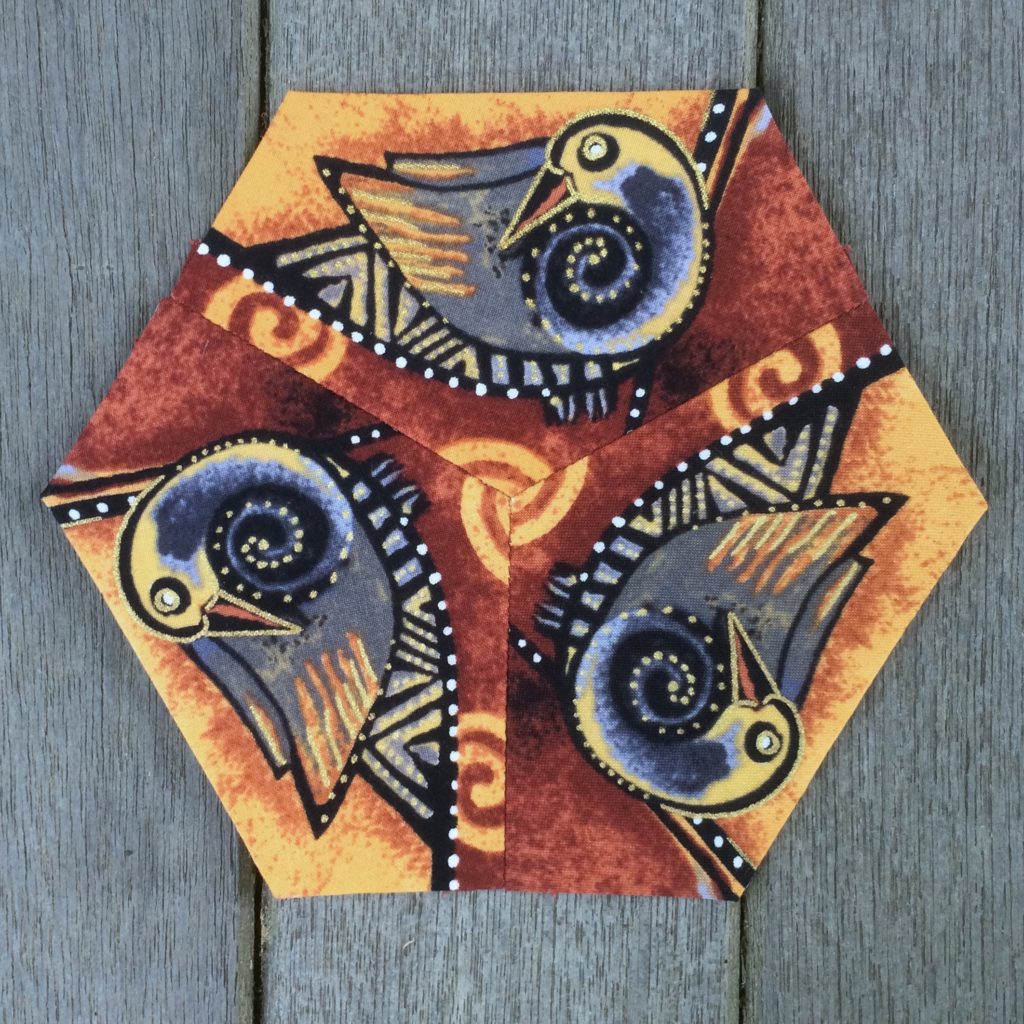
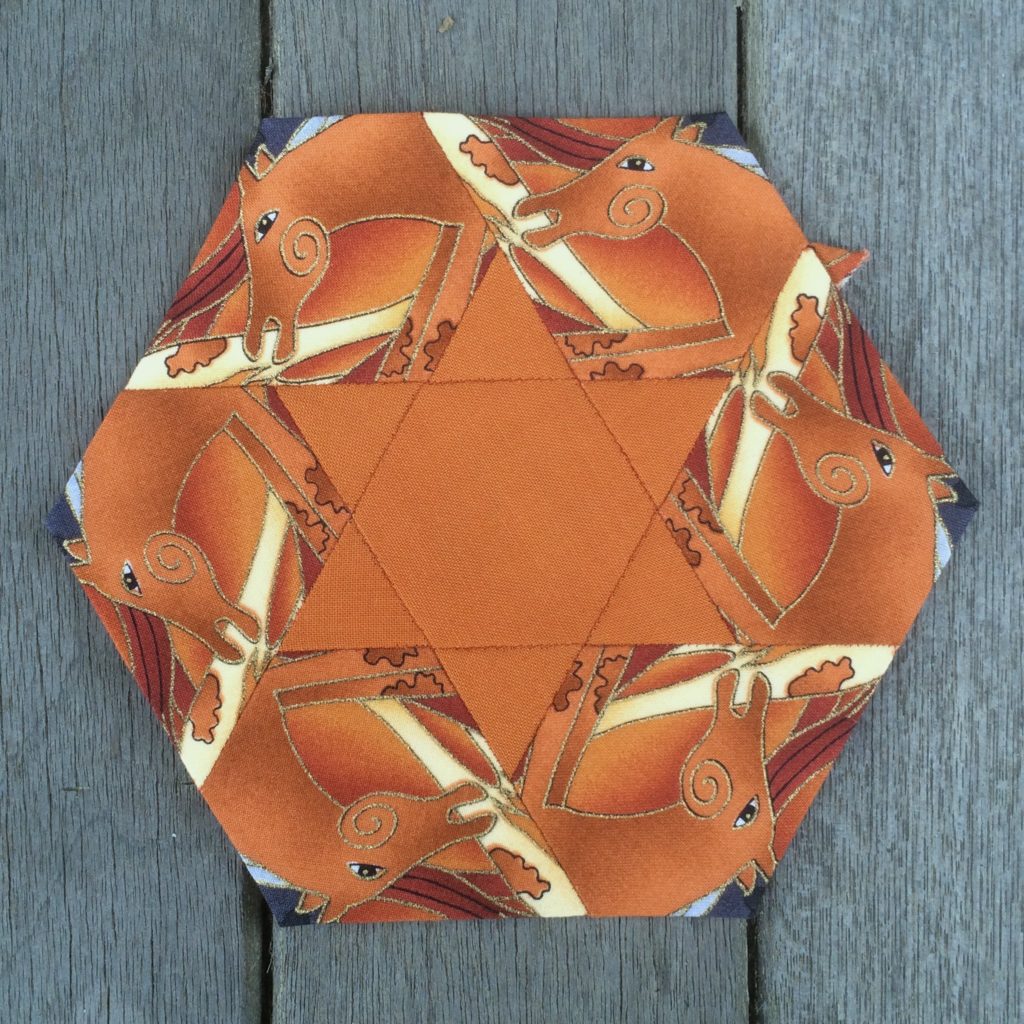
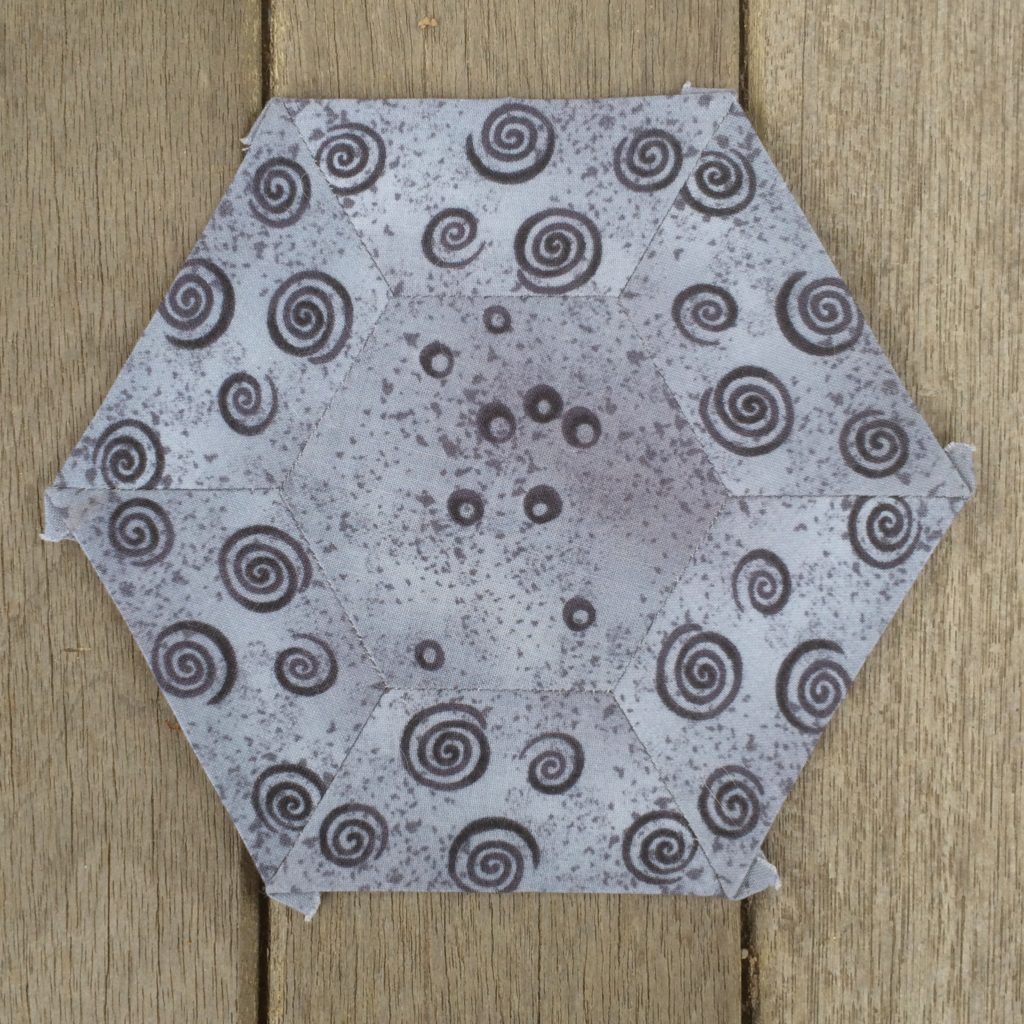
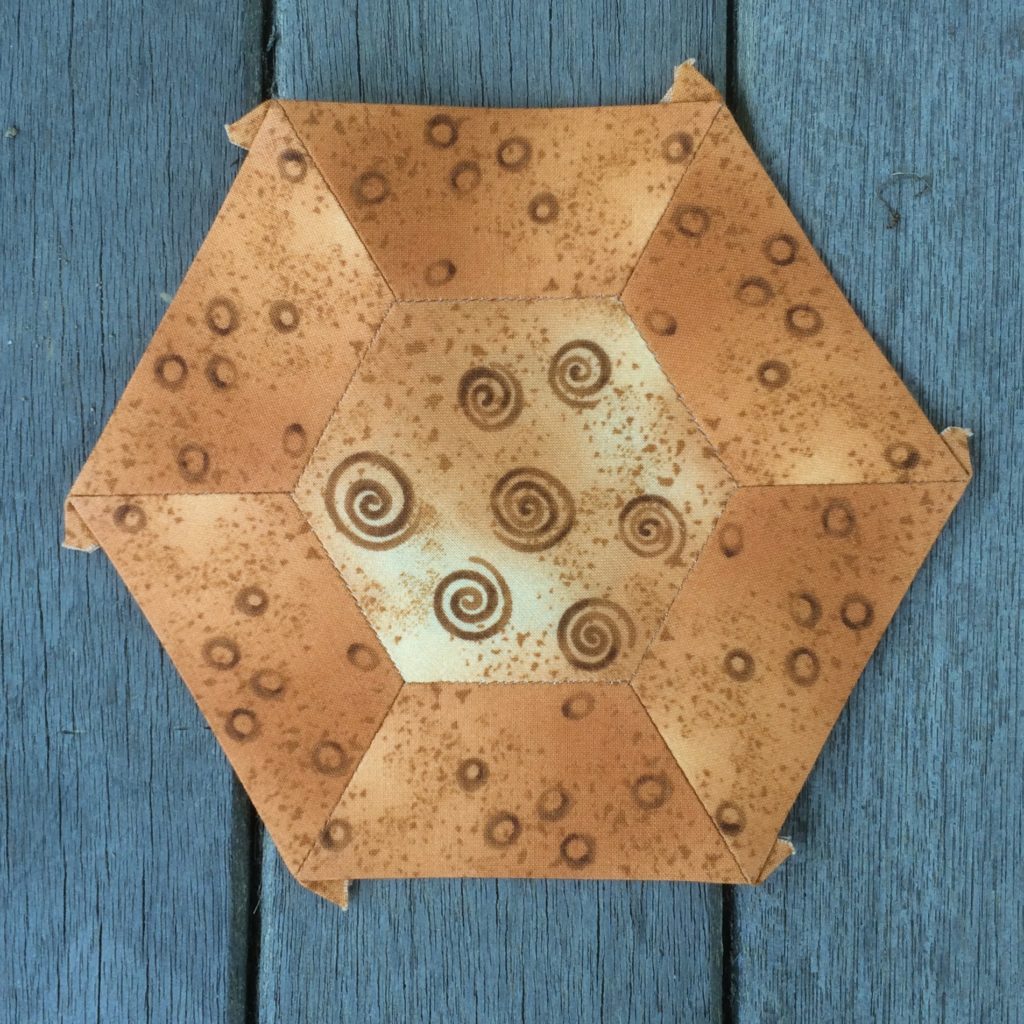
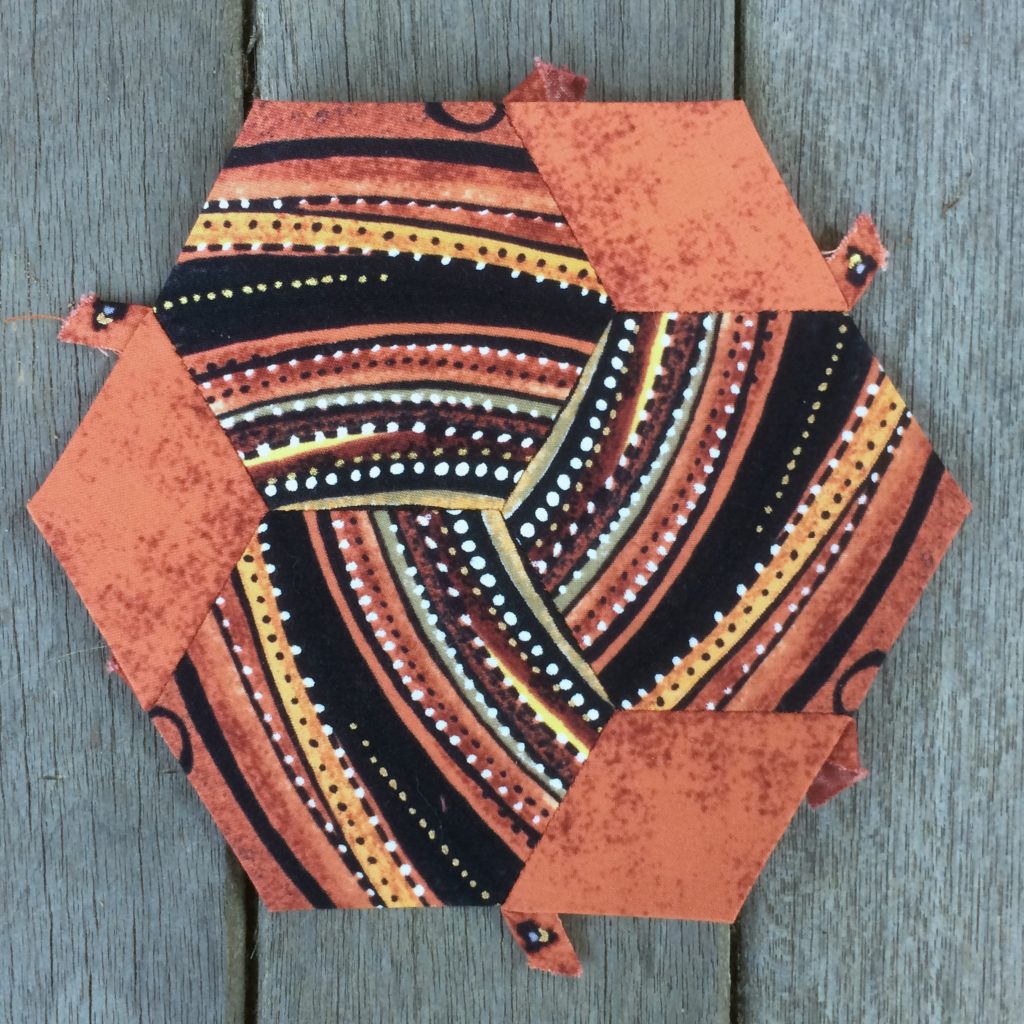
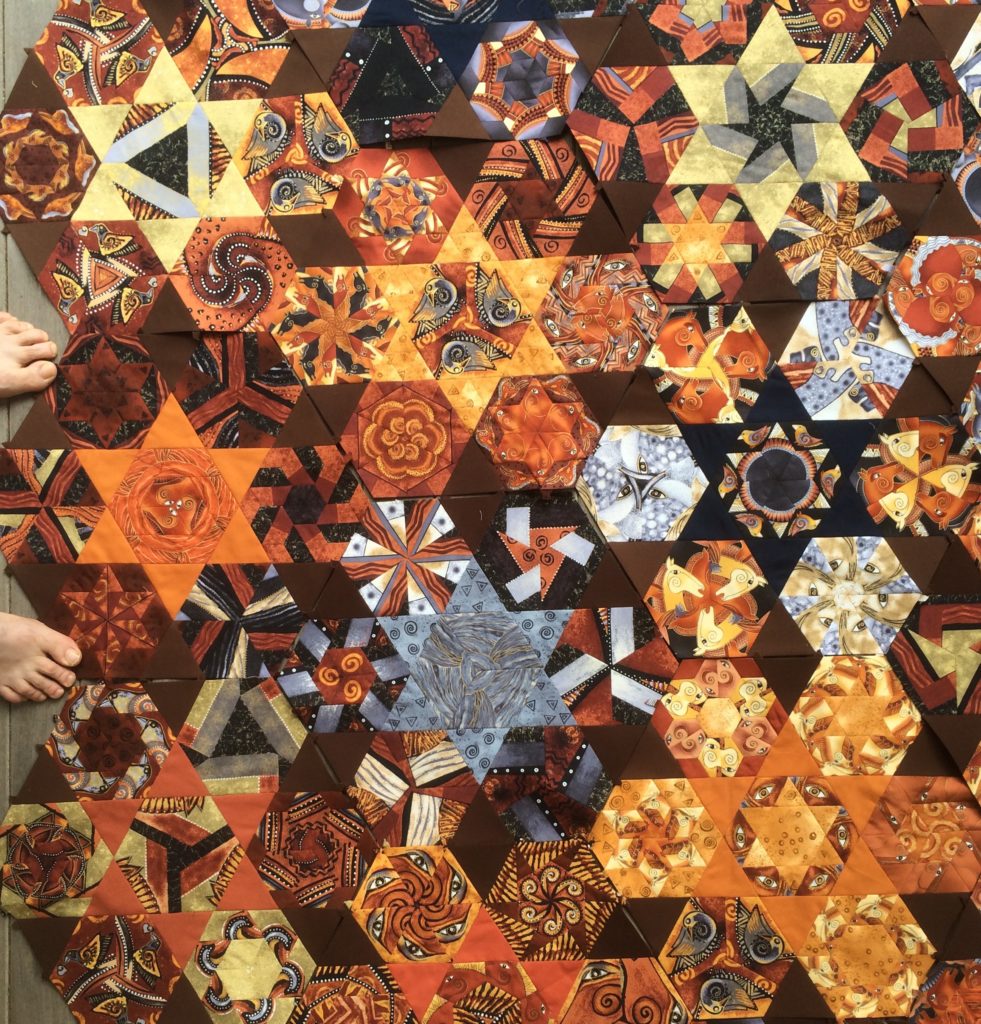
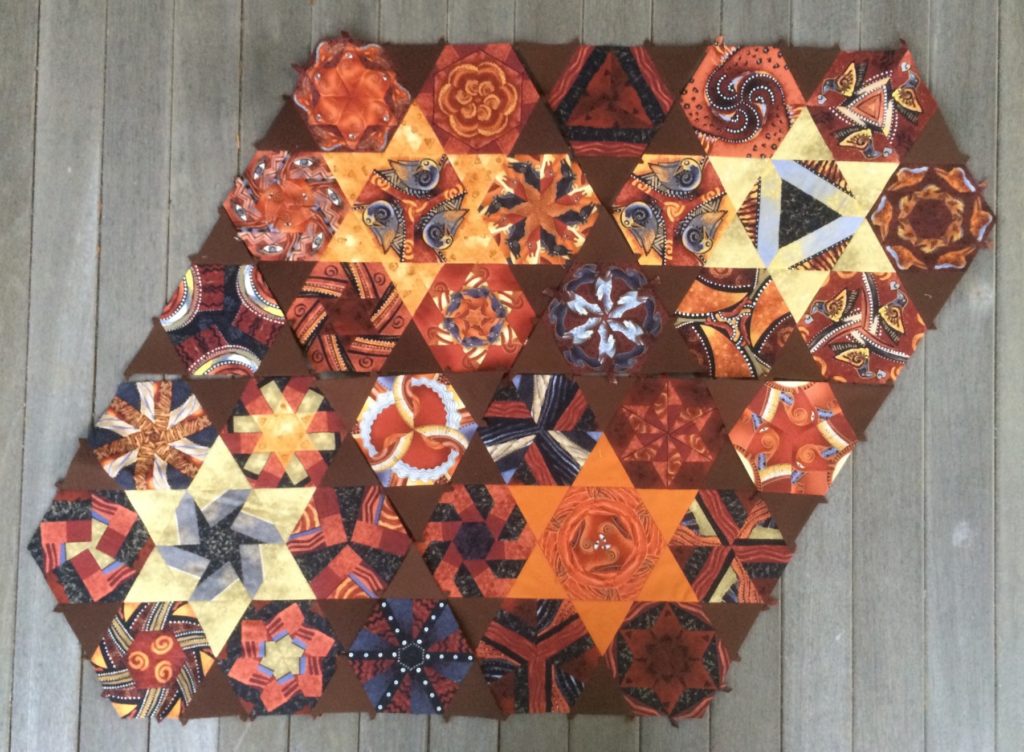
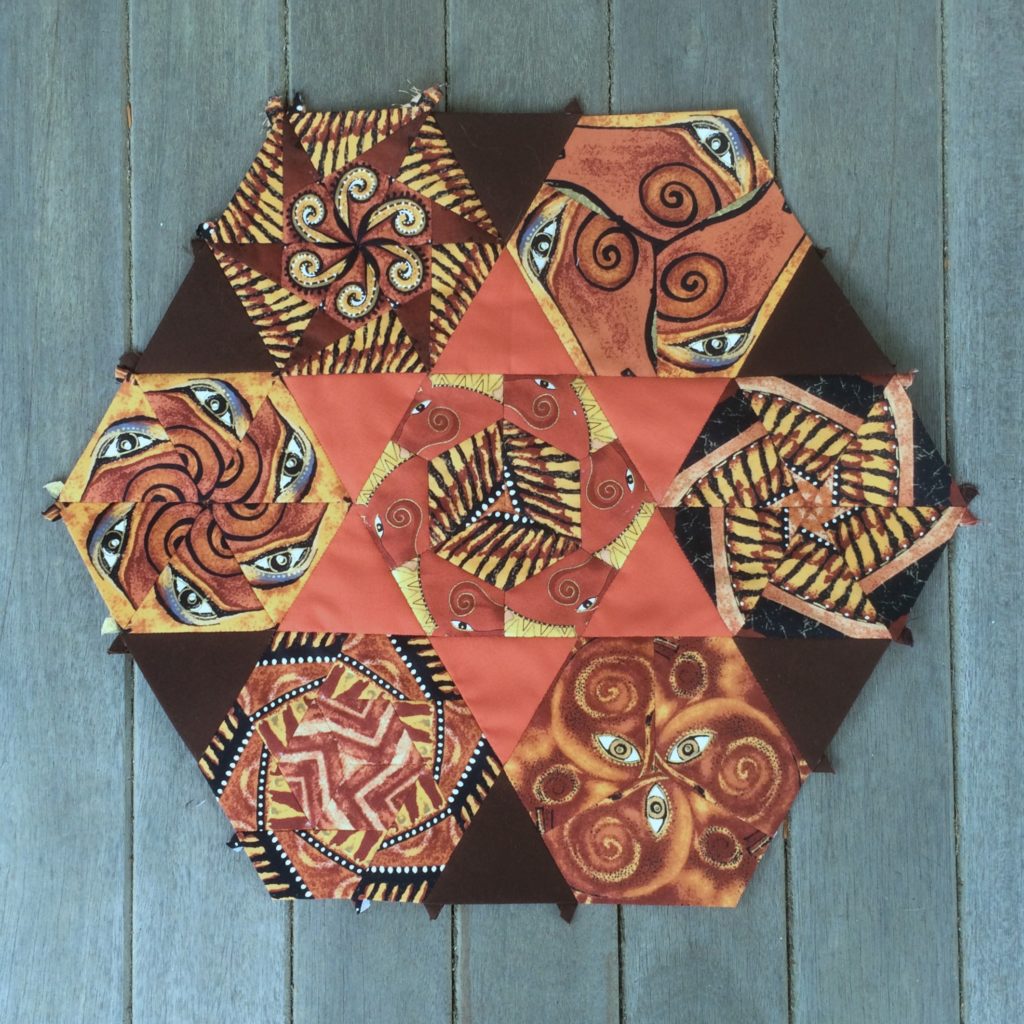
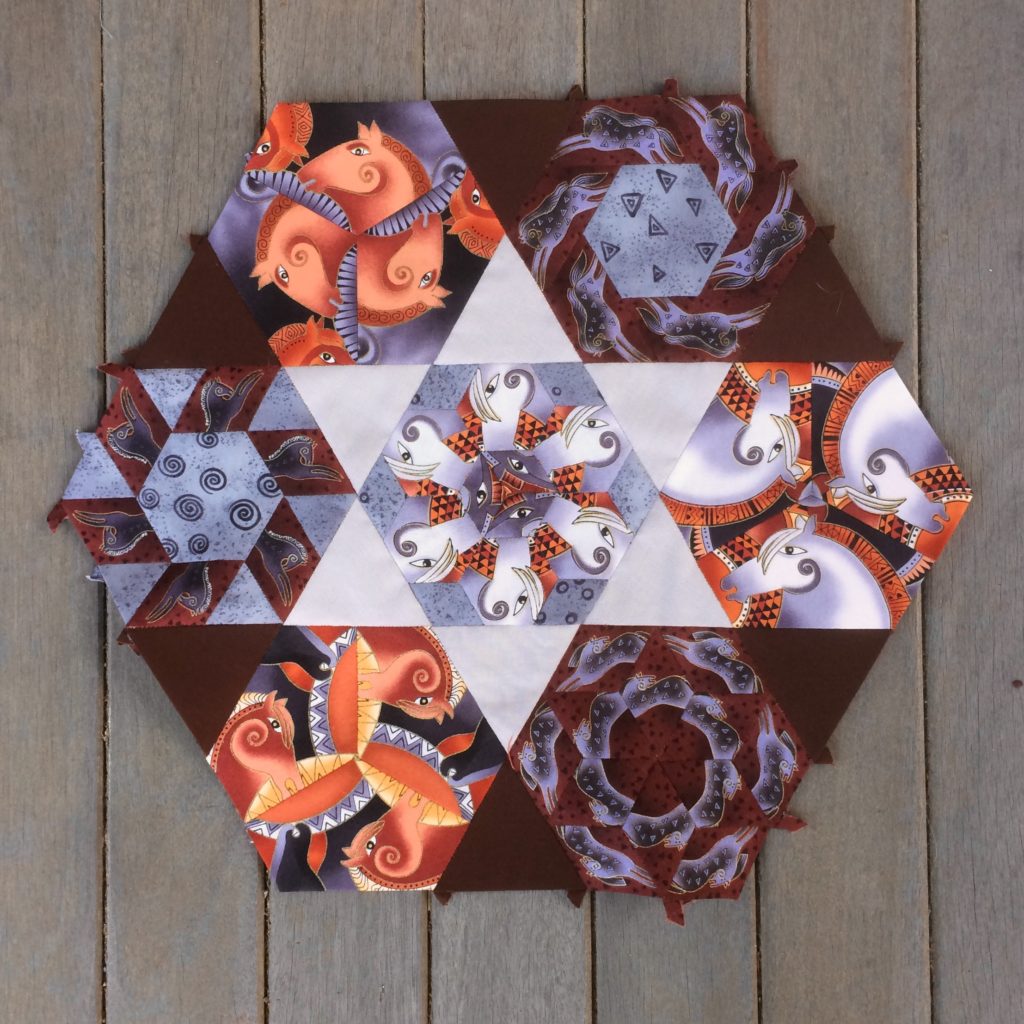
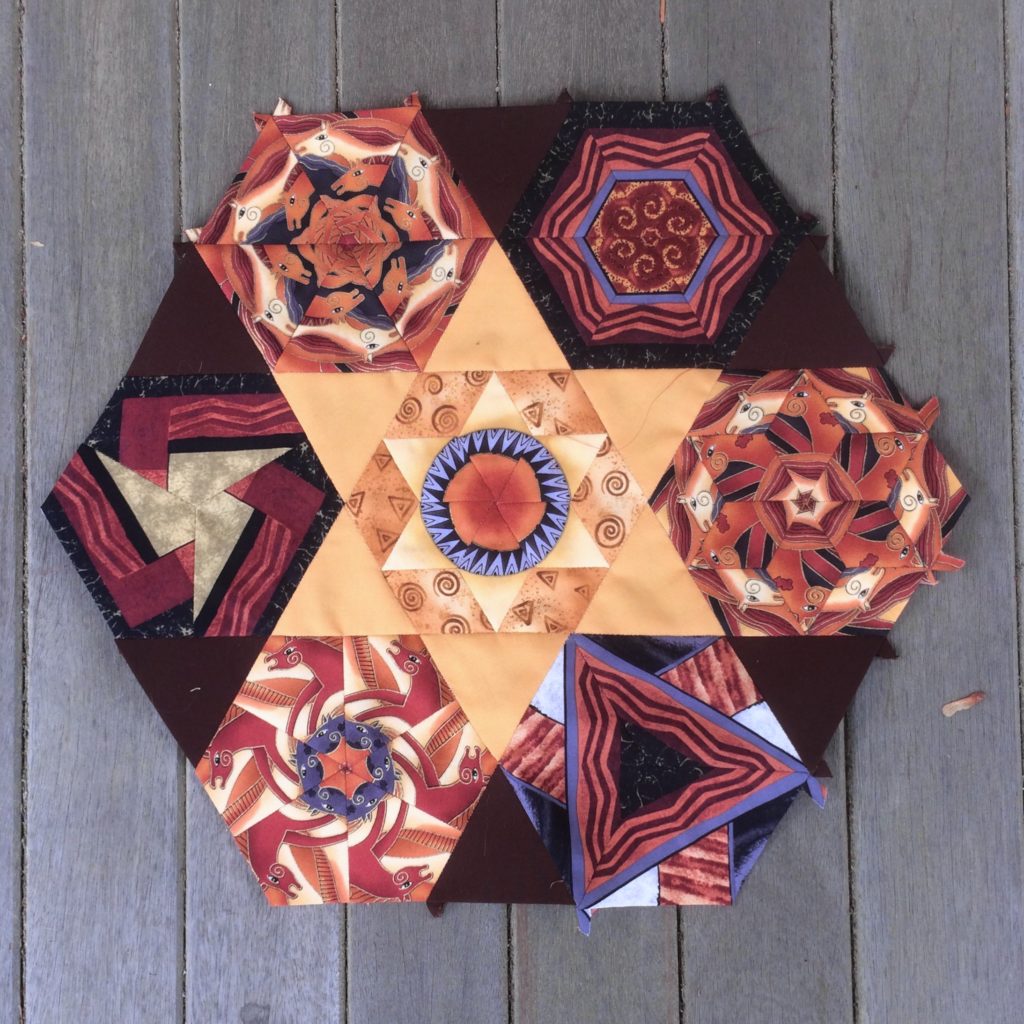
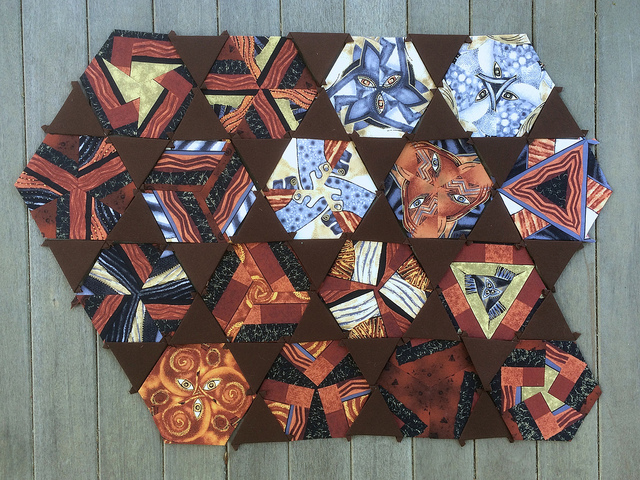
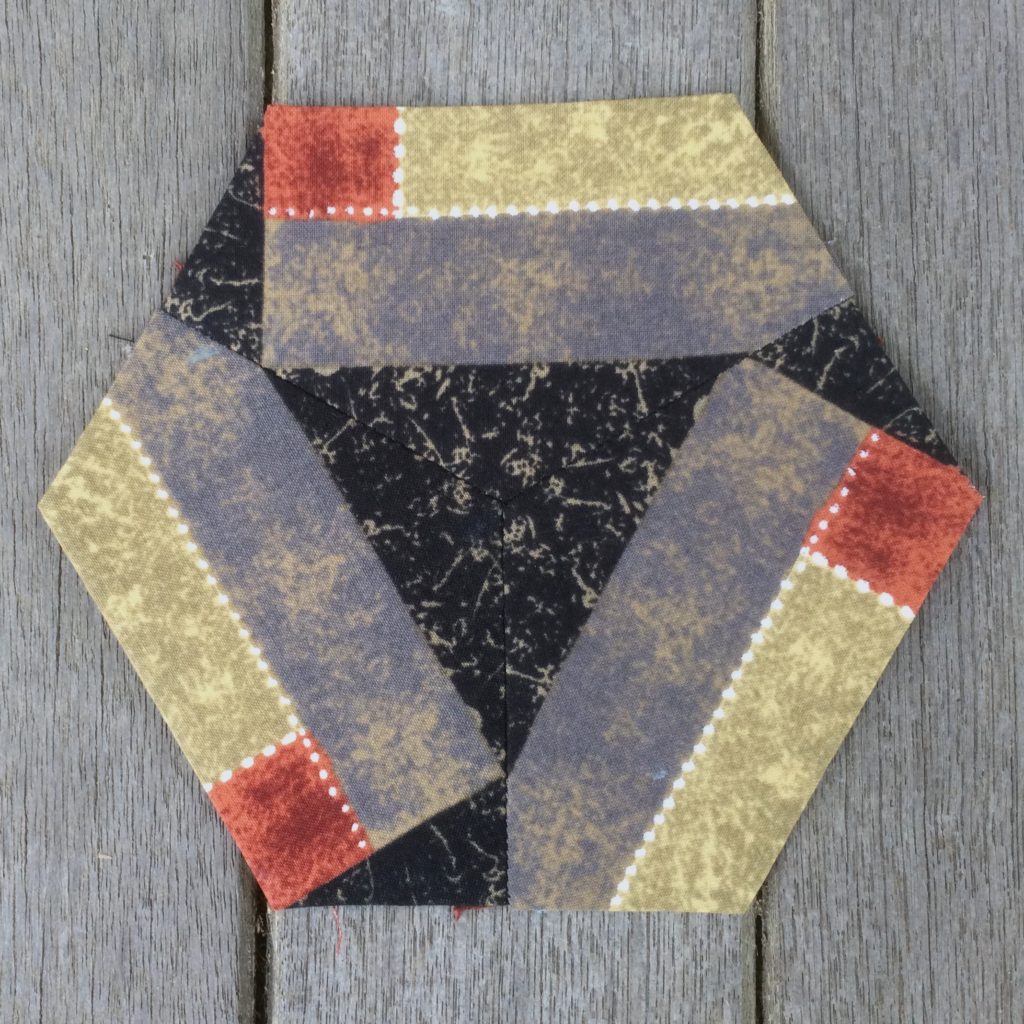
Here are the next ten, hexagons 171 through 180

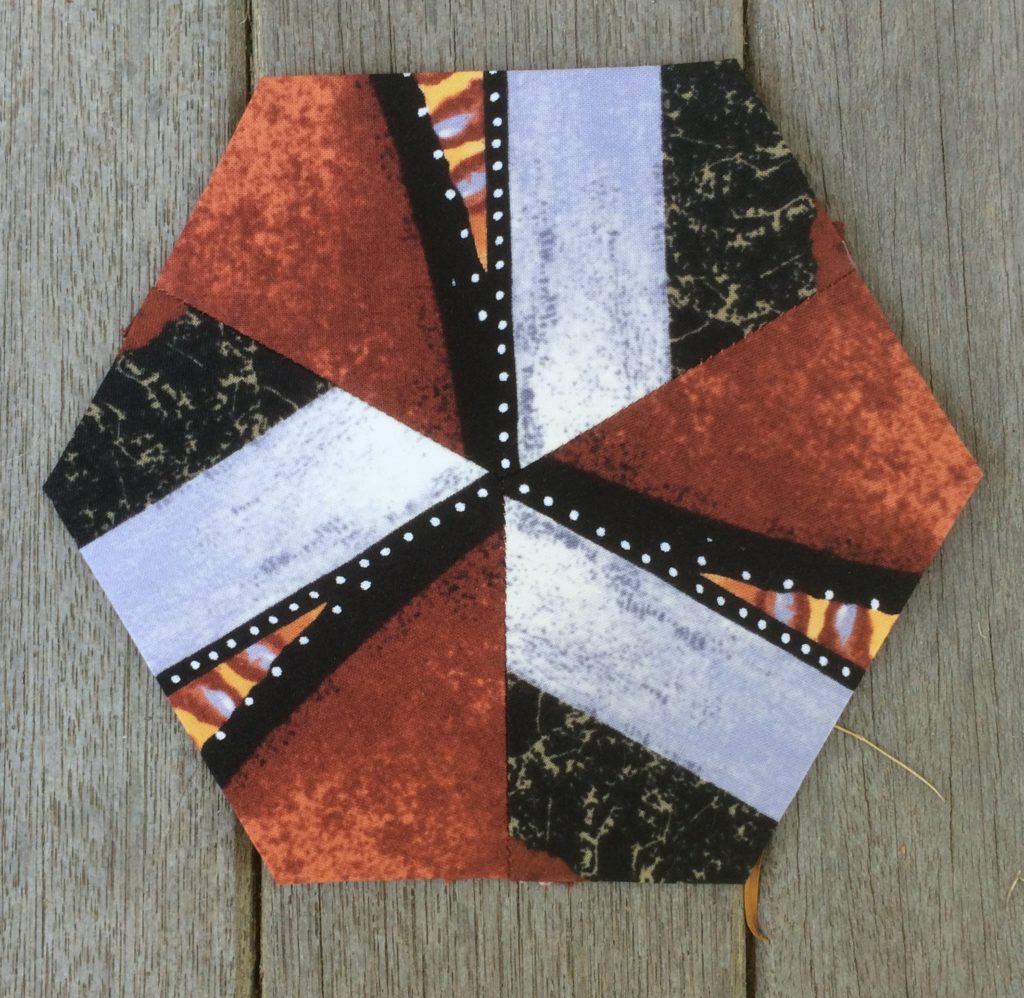
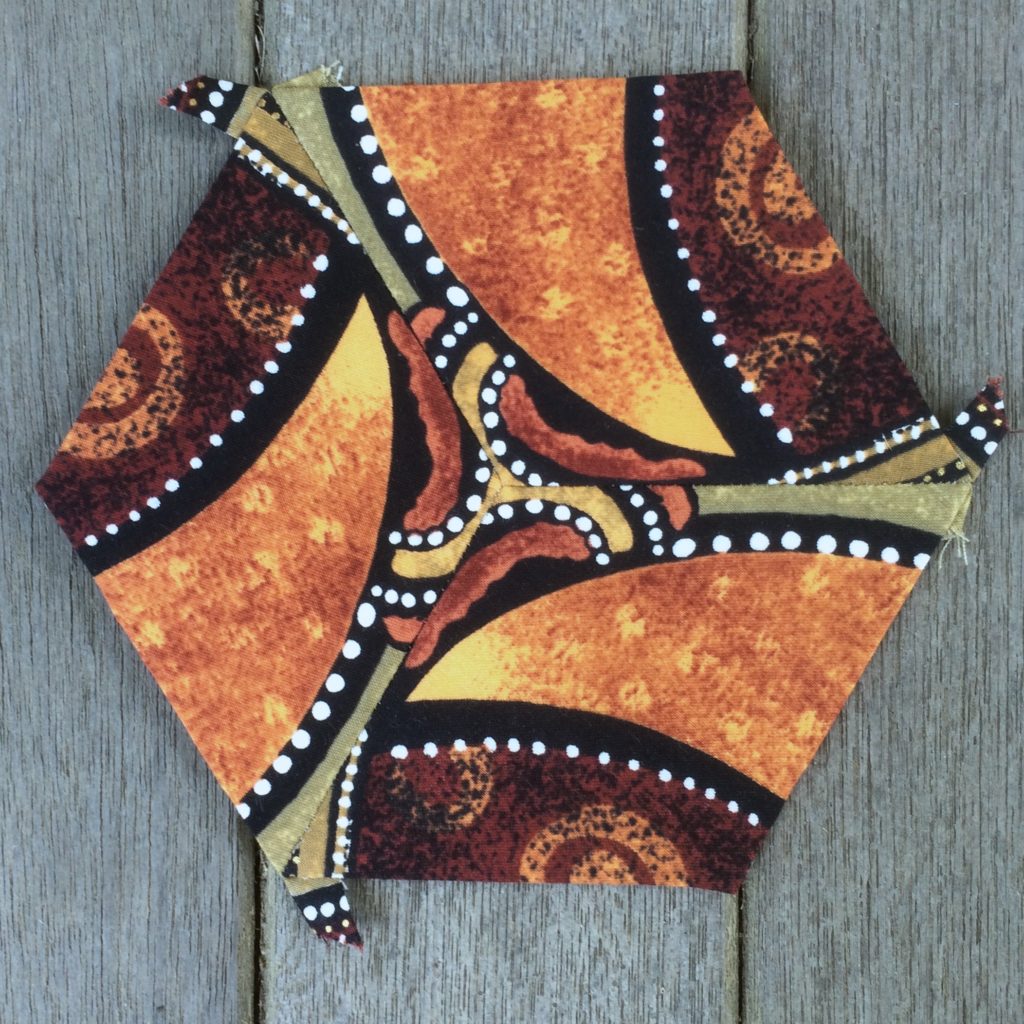
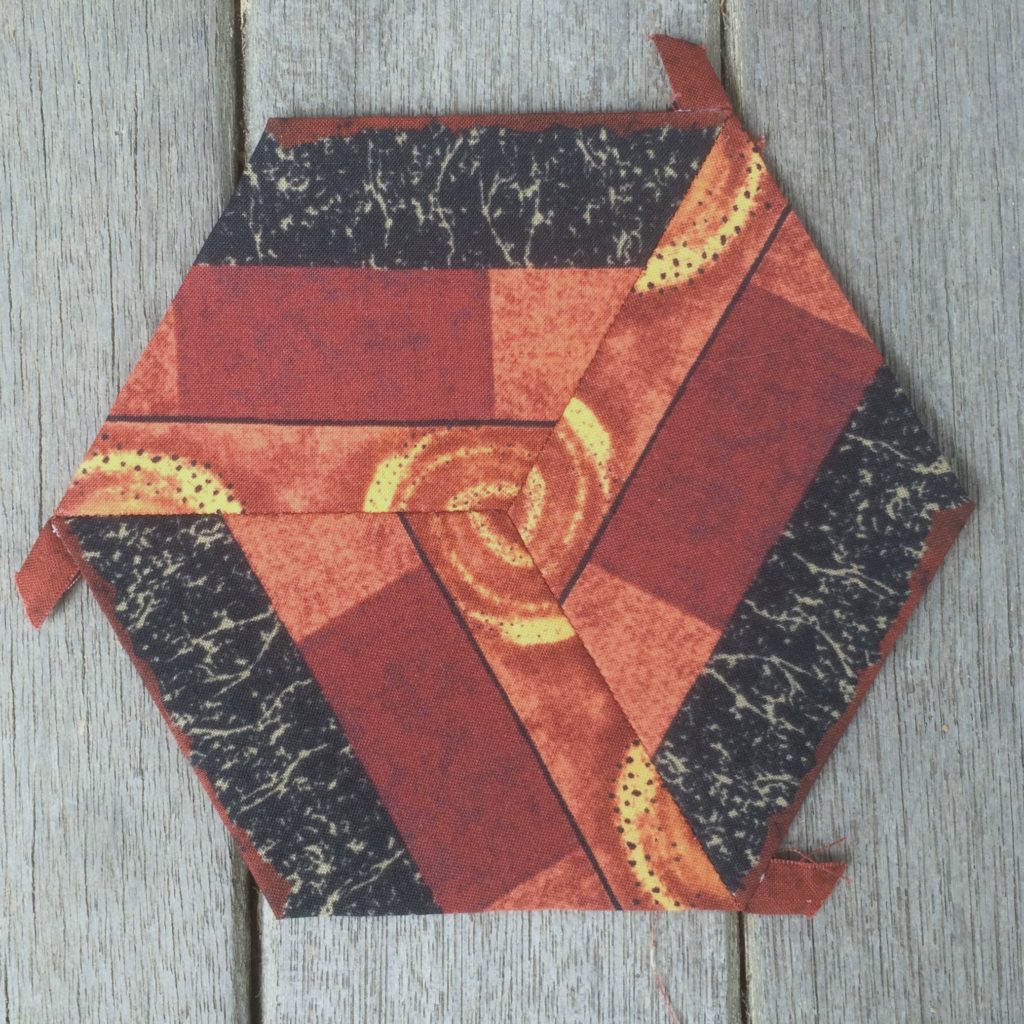
#1 Marie

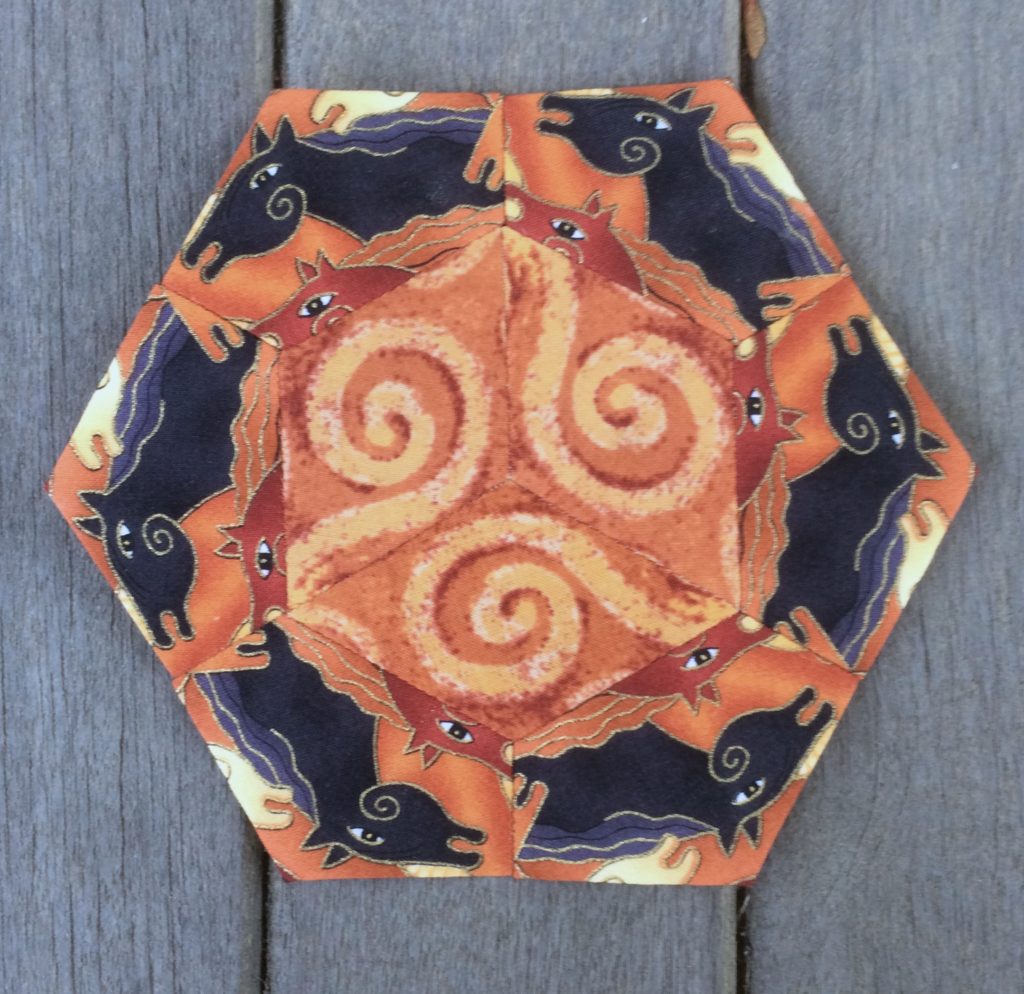
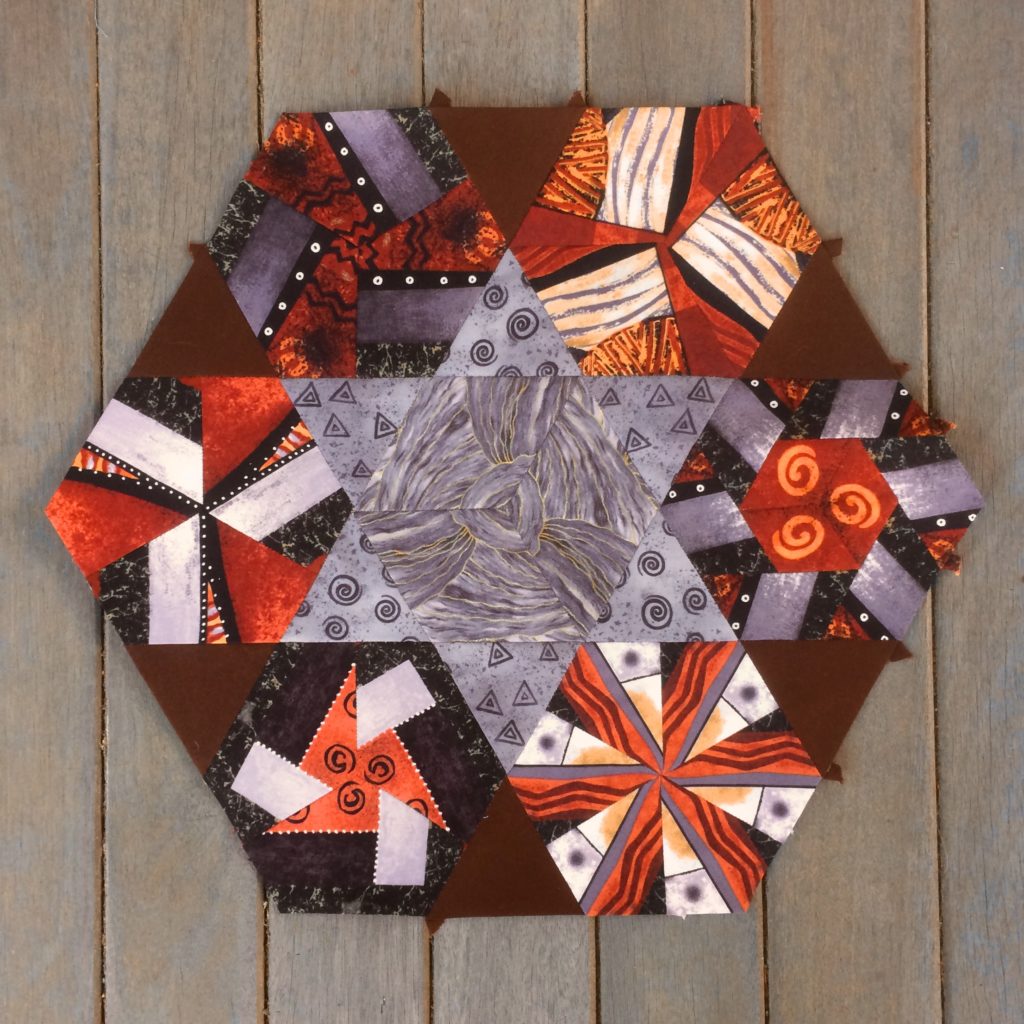
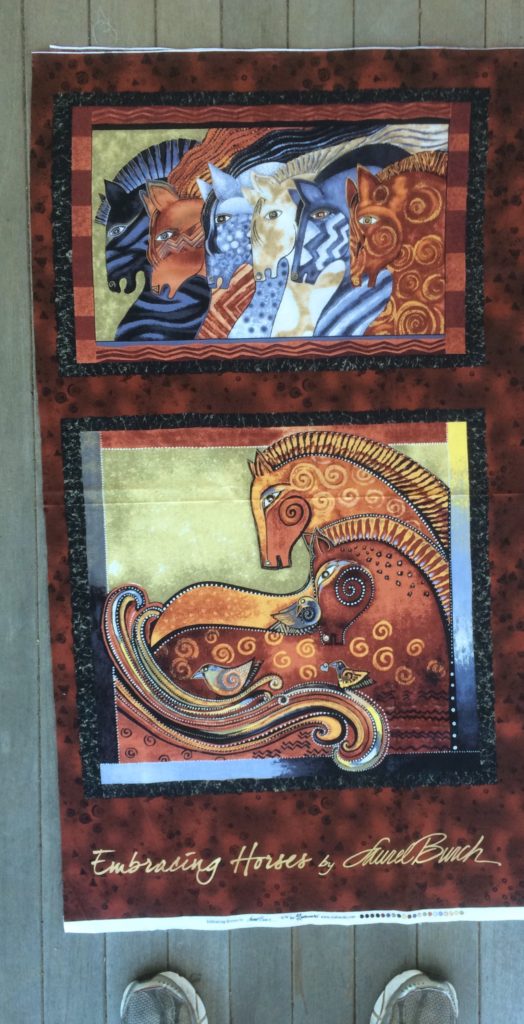
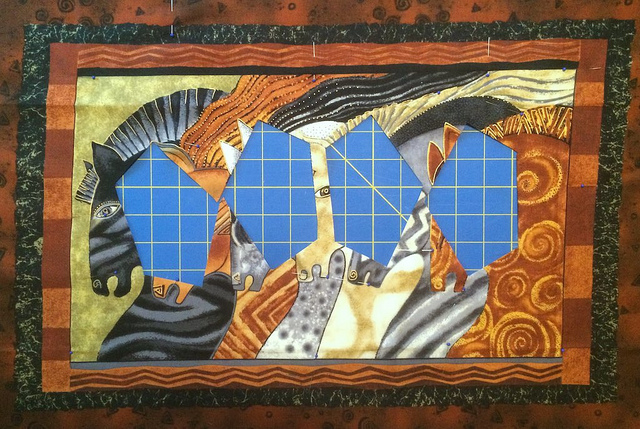
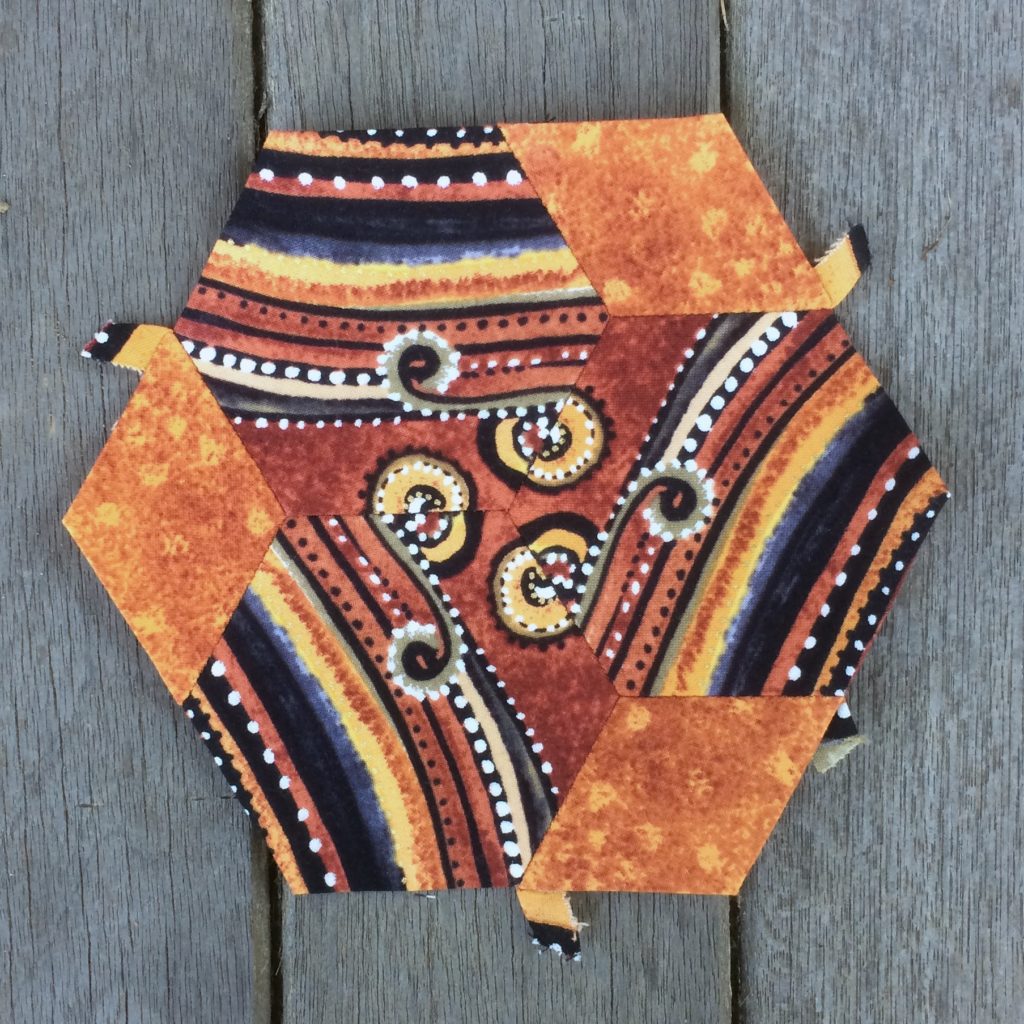
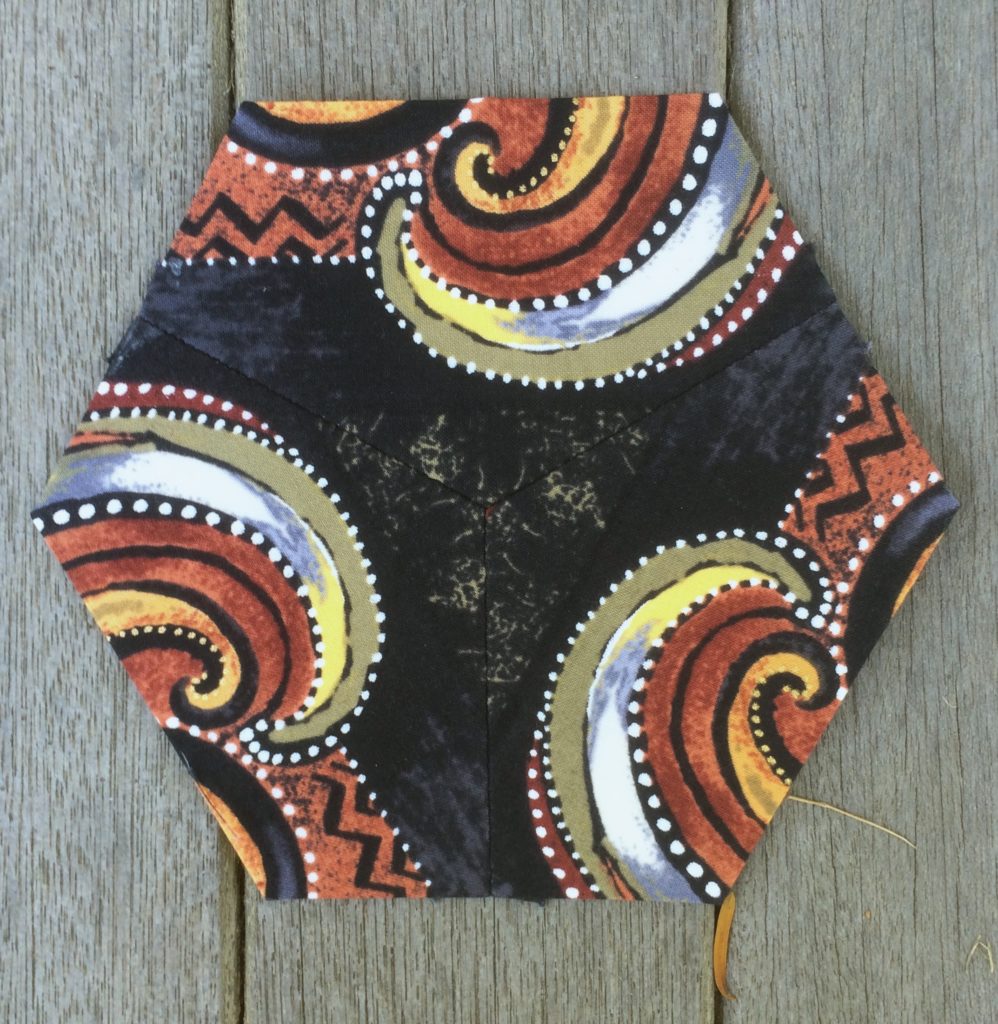
This Marie made from the panel fabric. The way the shapes matched up in the center was a happy accident.

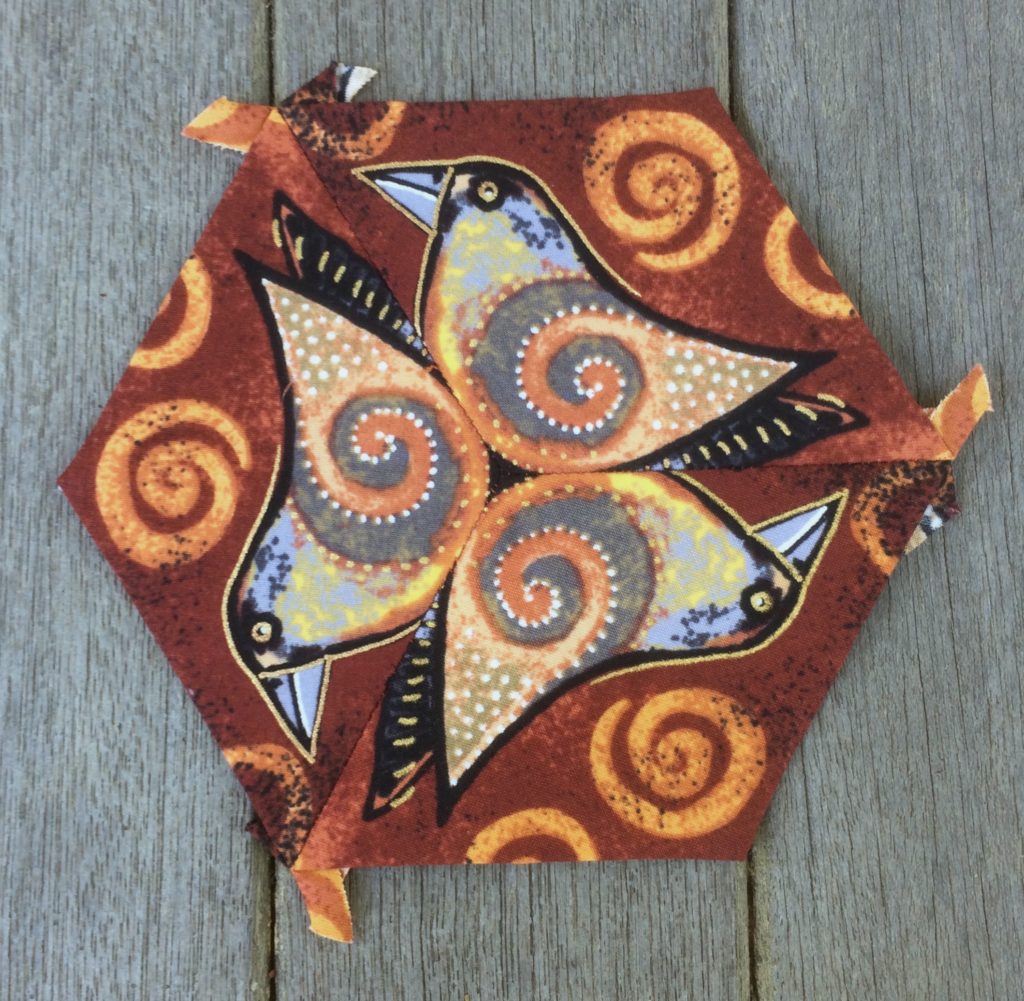
#54 Kim

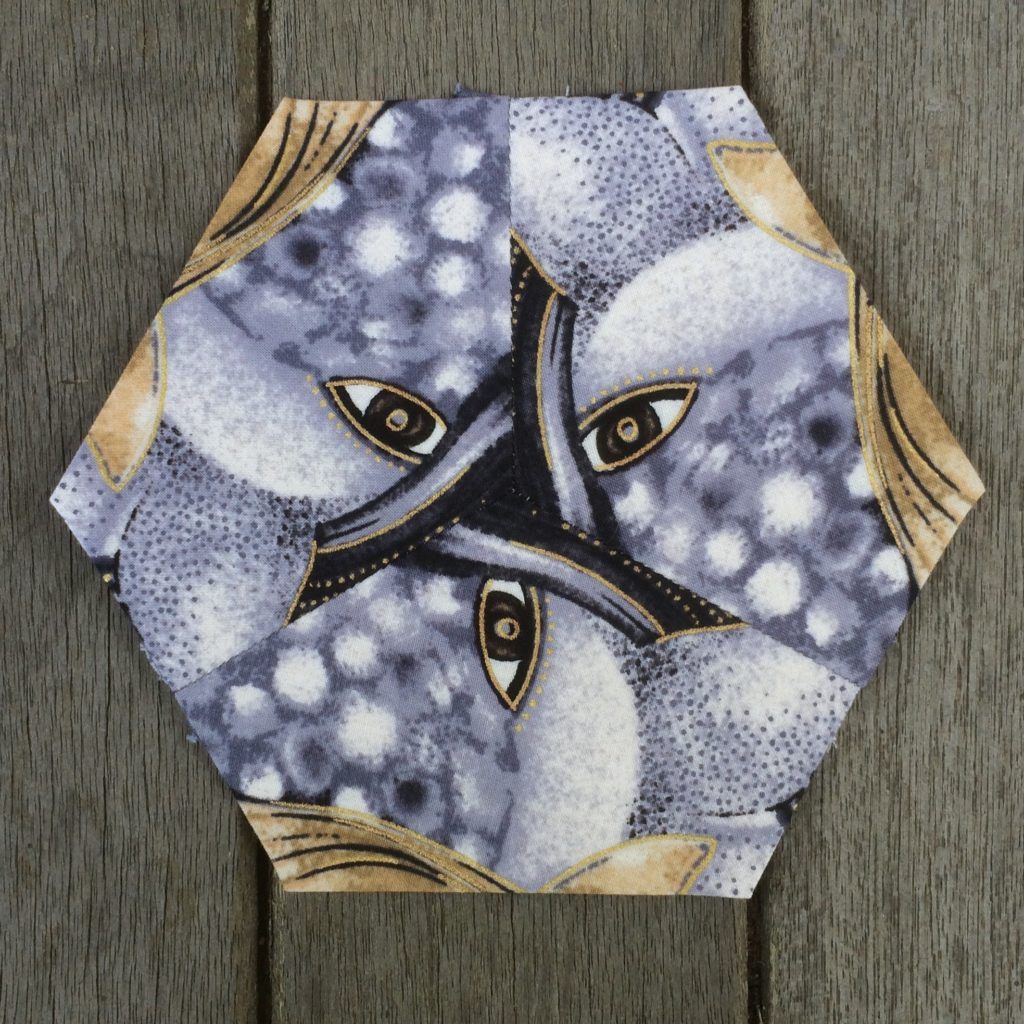
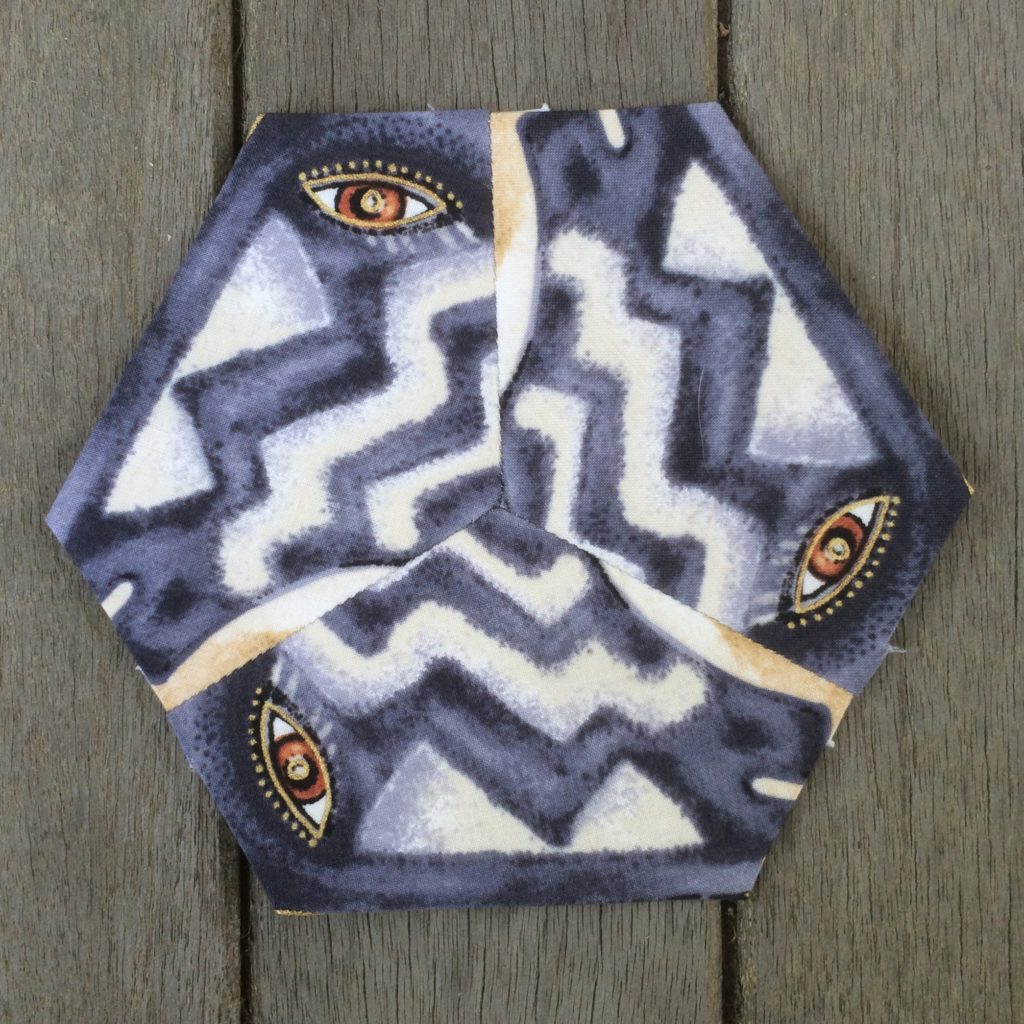
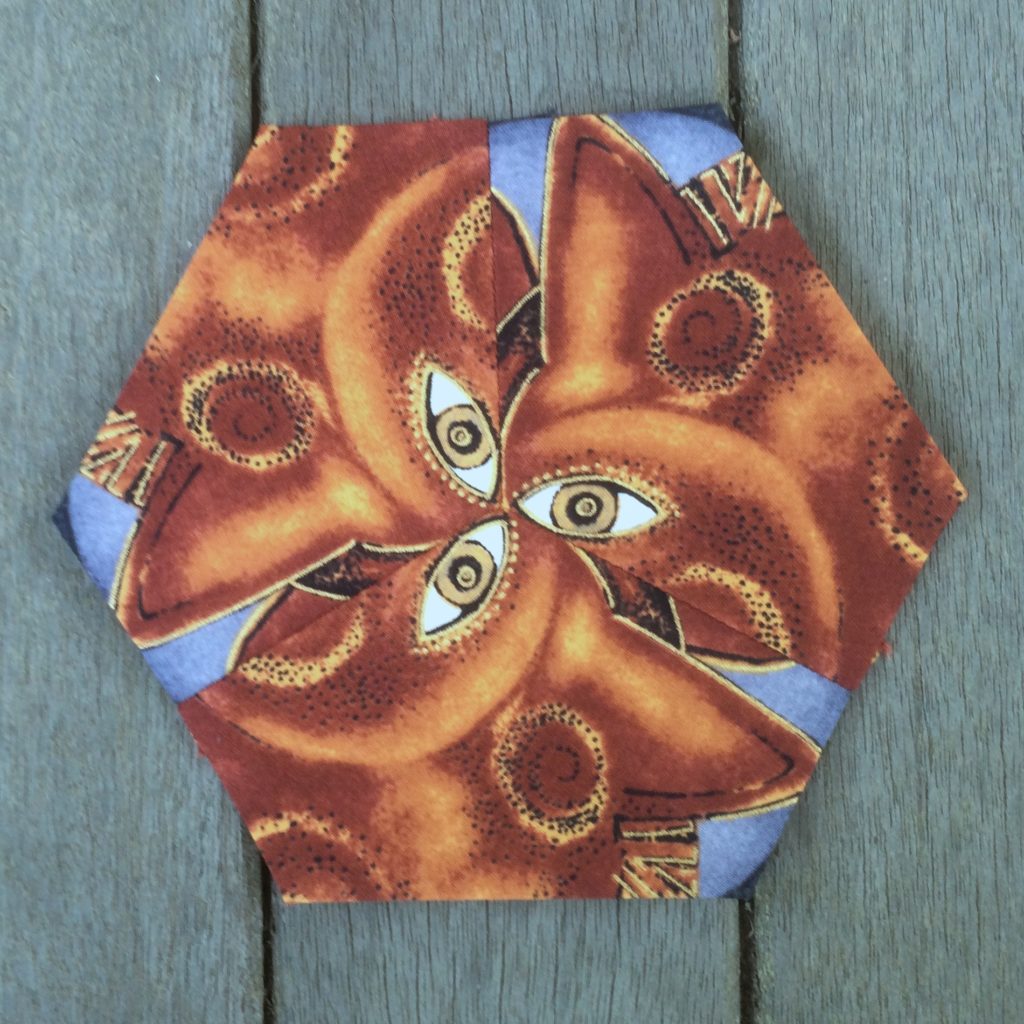
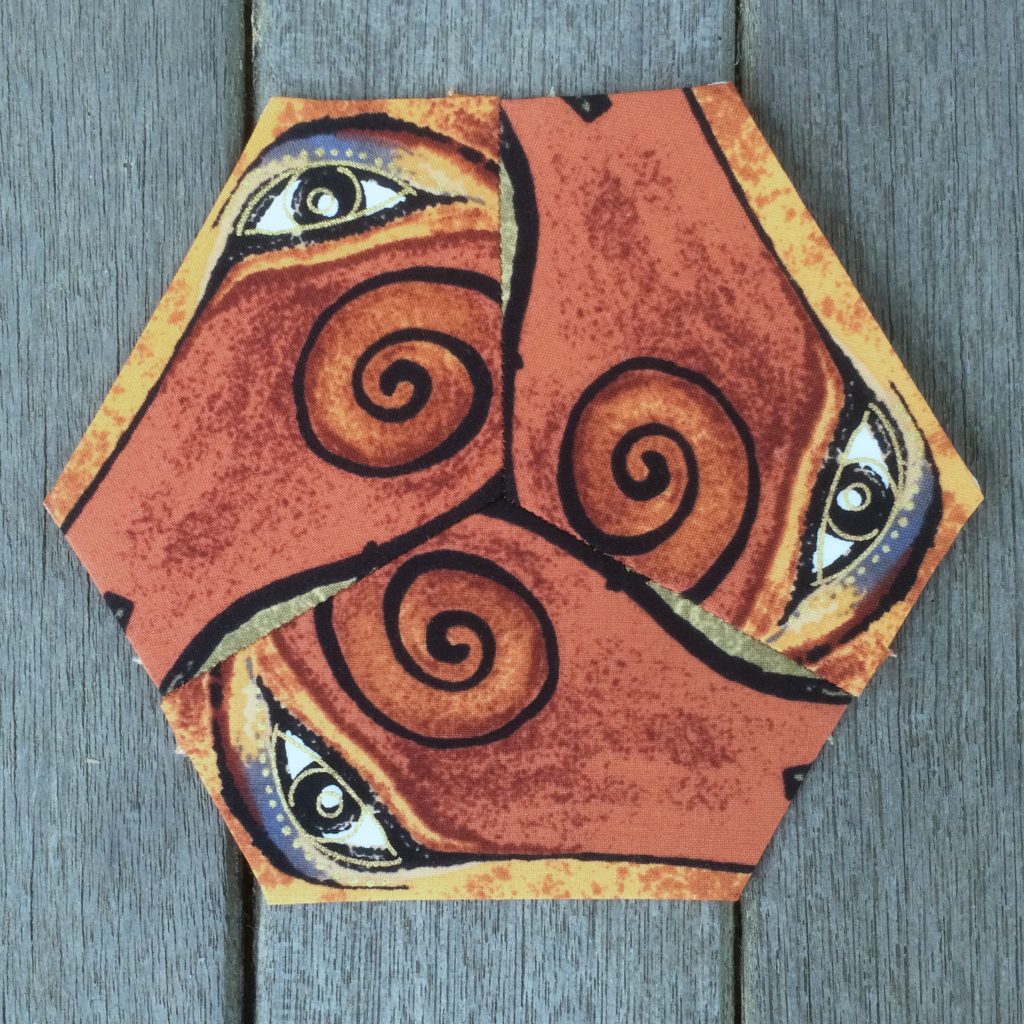
The eyes have it on this block and the next two blocks as well.

#54 Kim

#54 Kim

#54 Kim

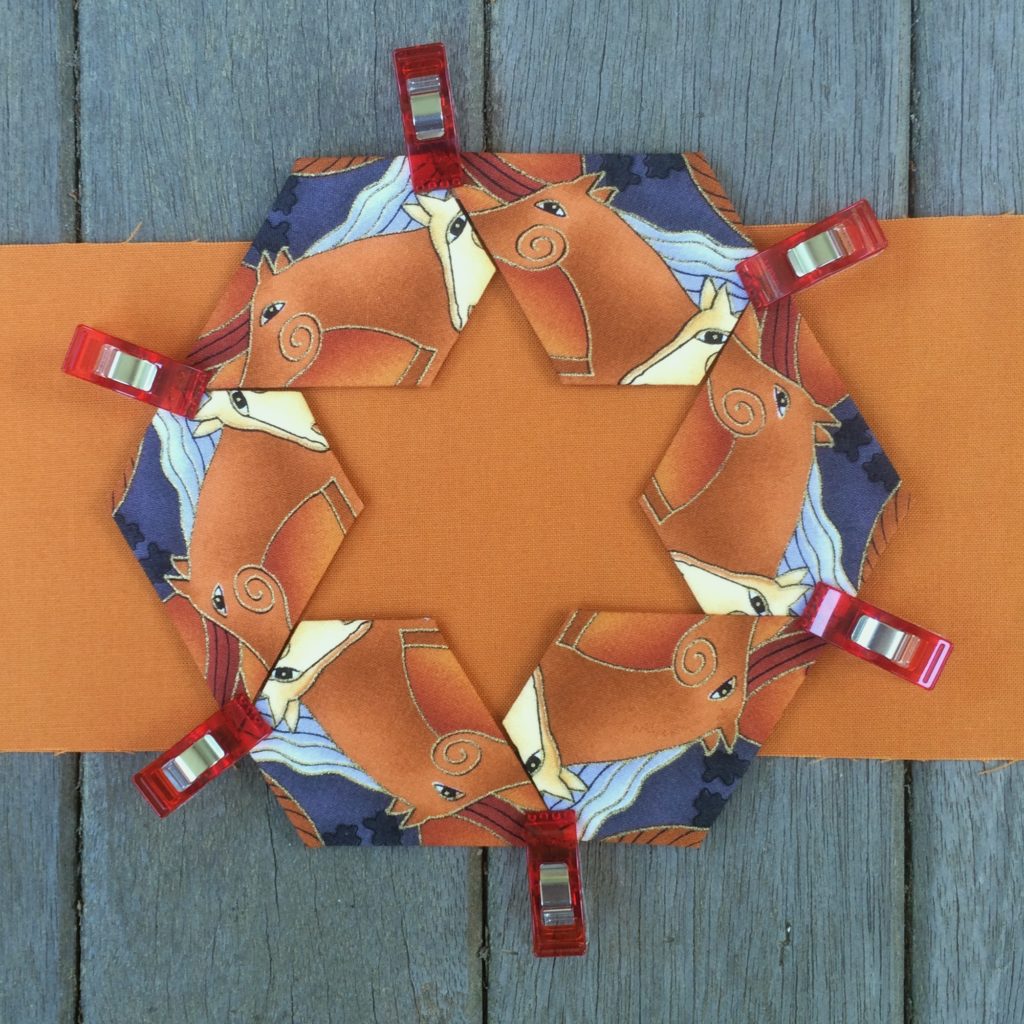
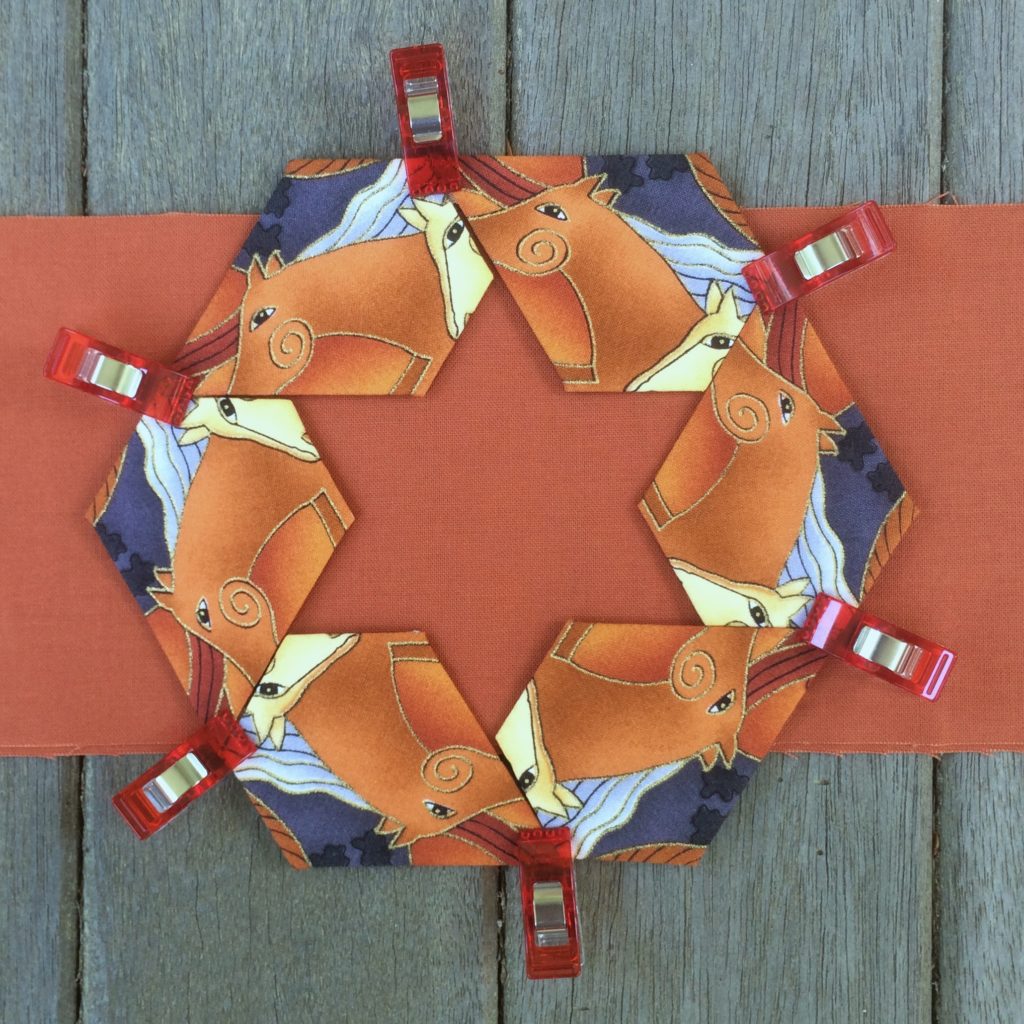
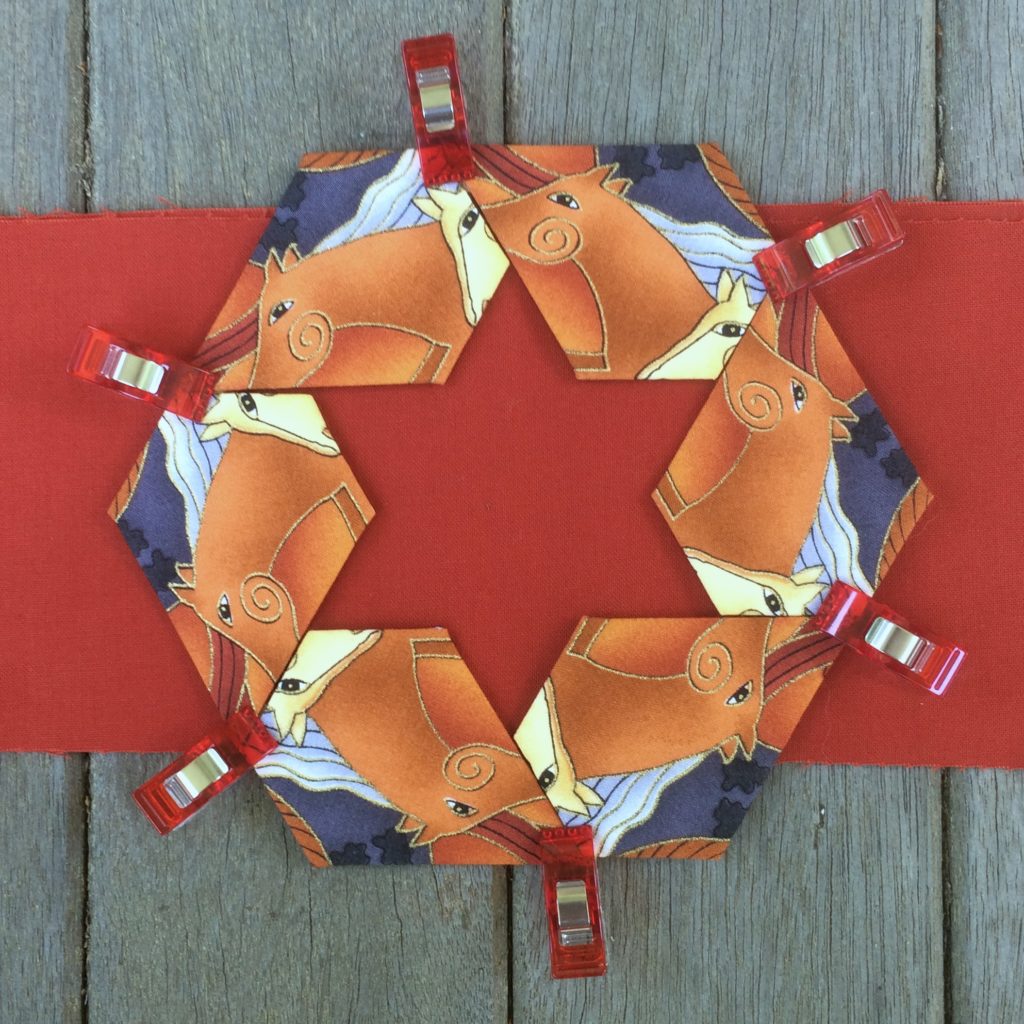
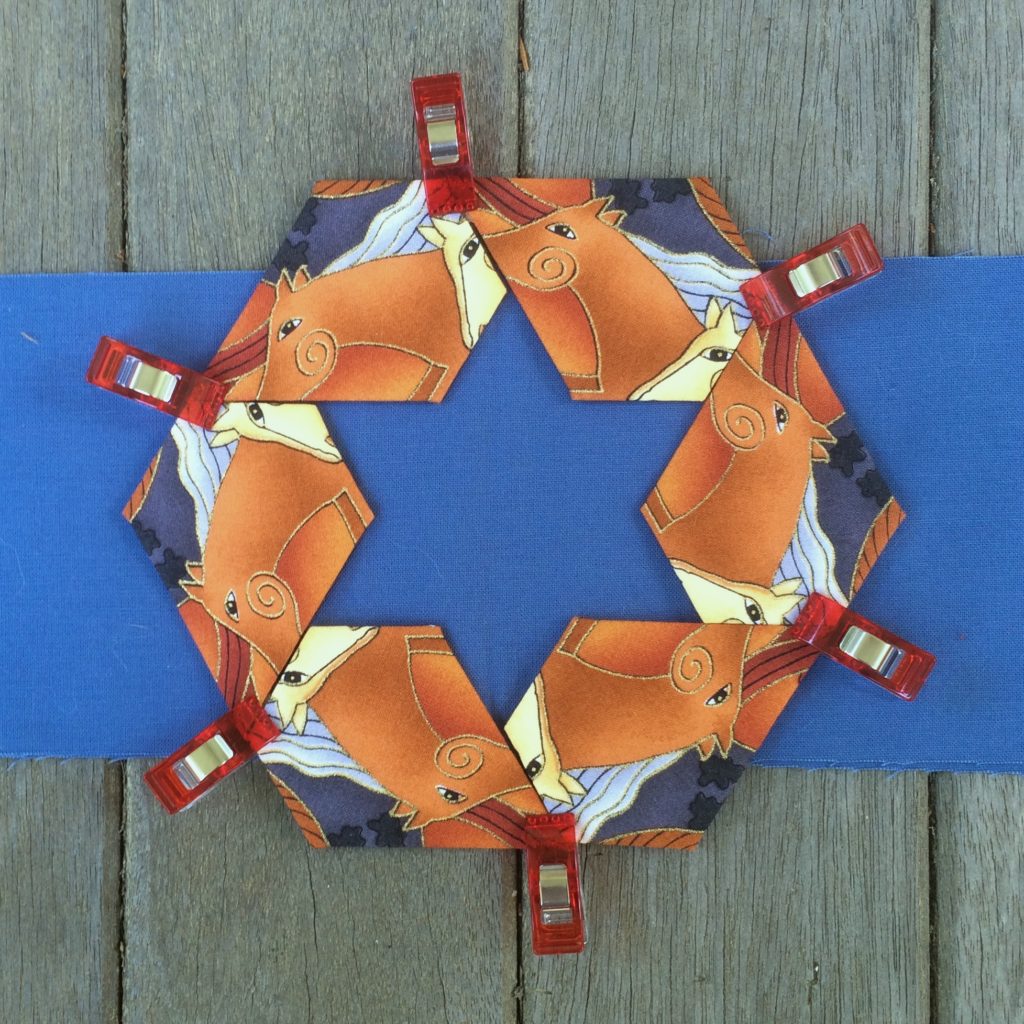
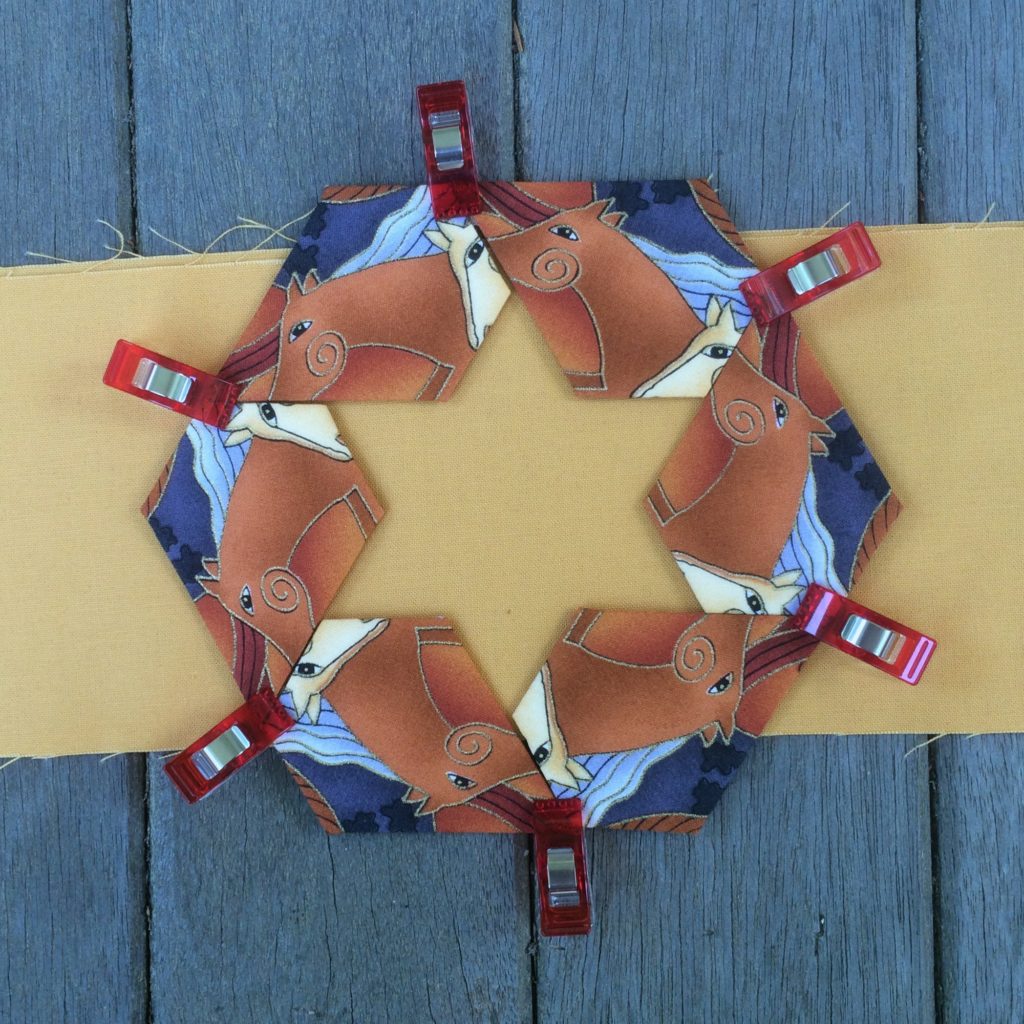
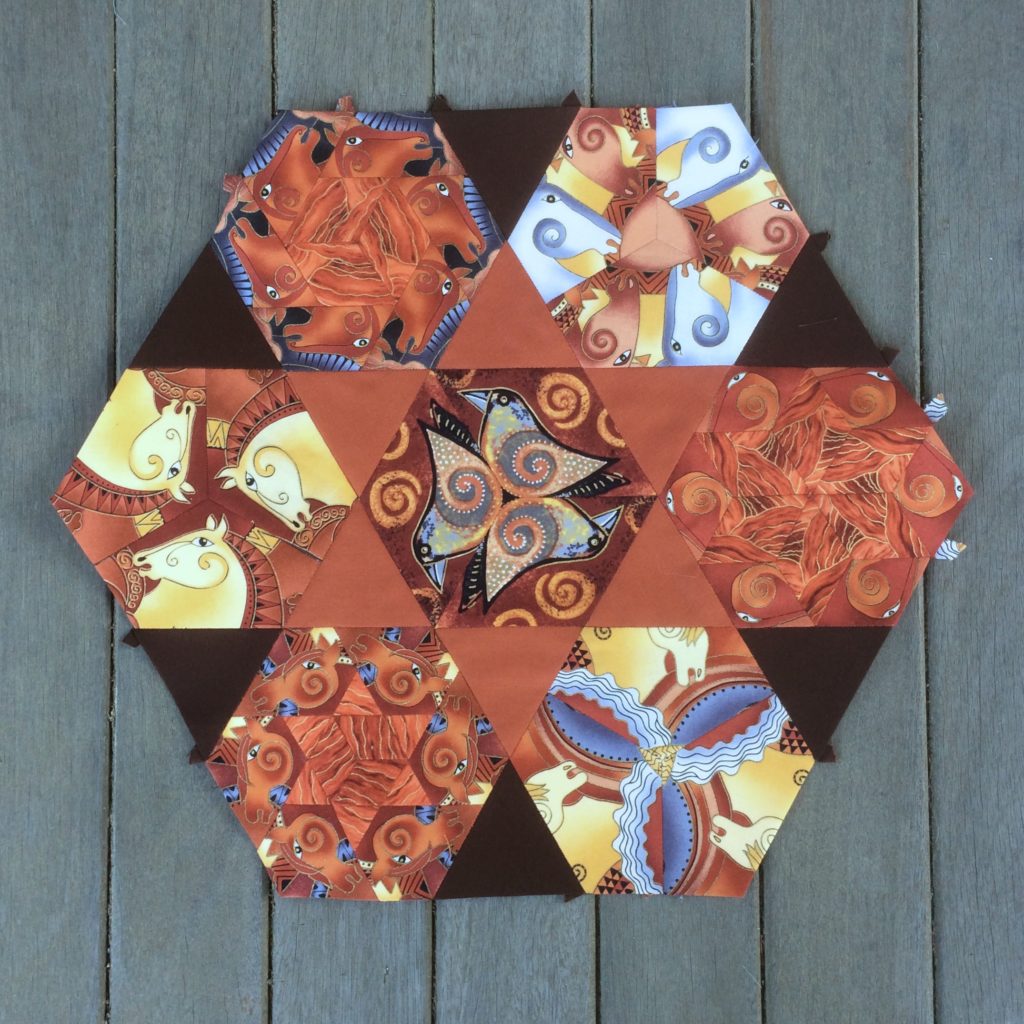
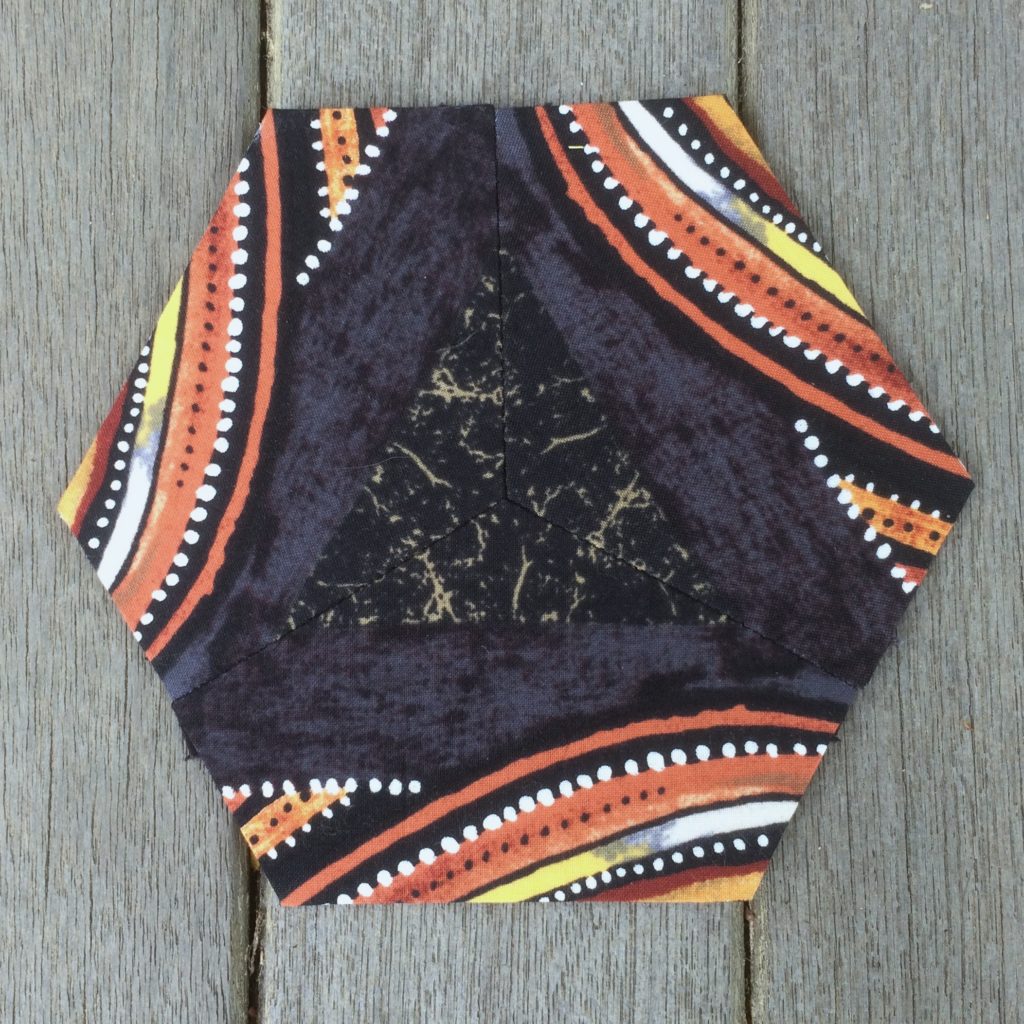
Battling horse snouts make for an interesting visual effect.

#40 Niki

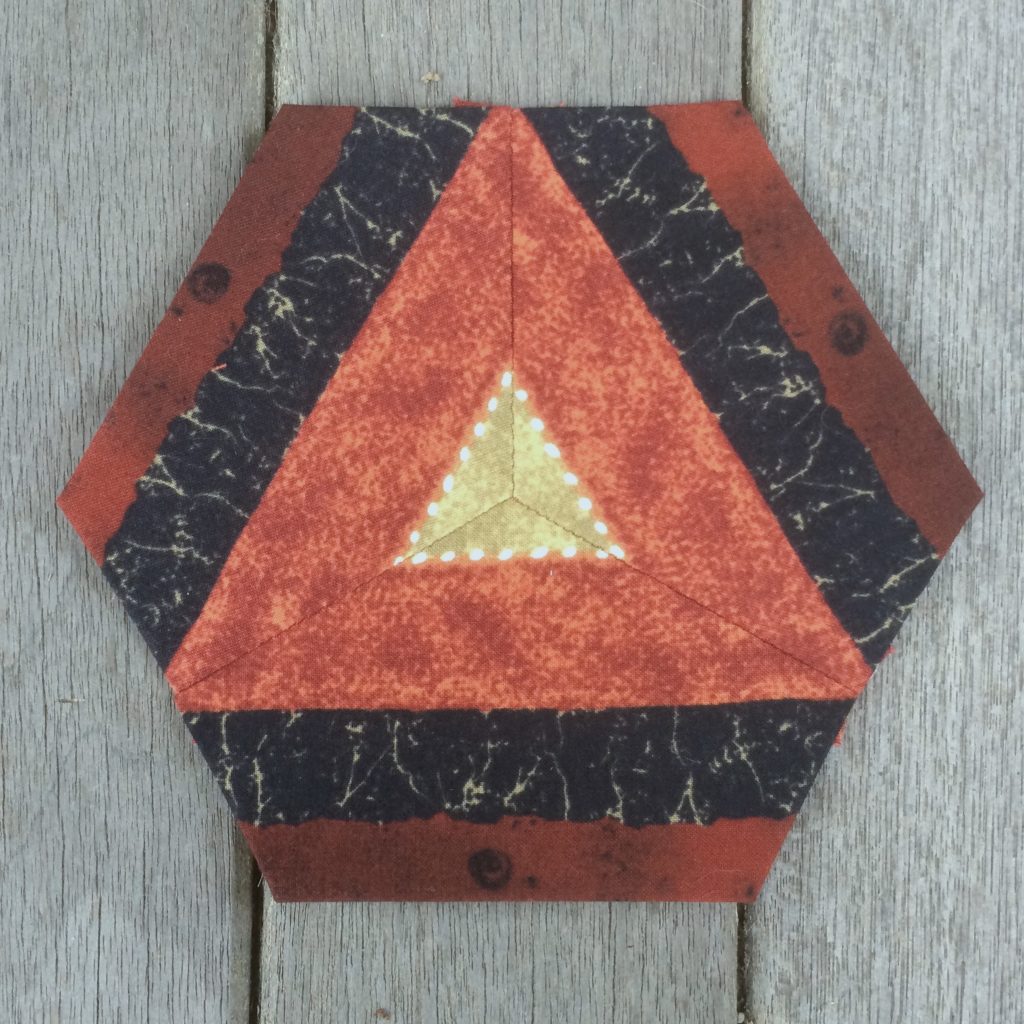
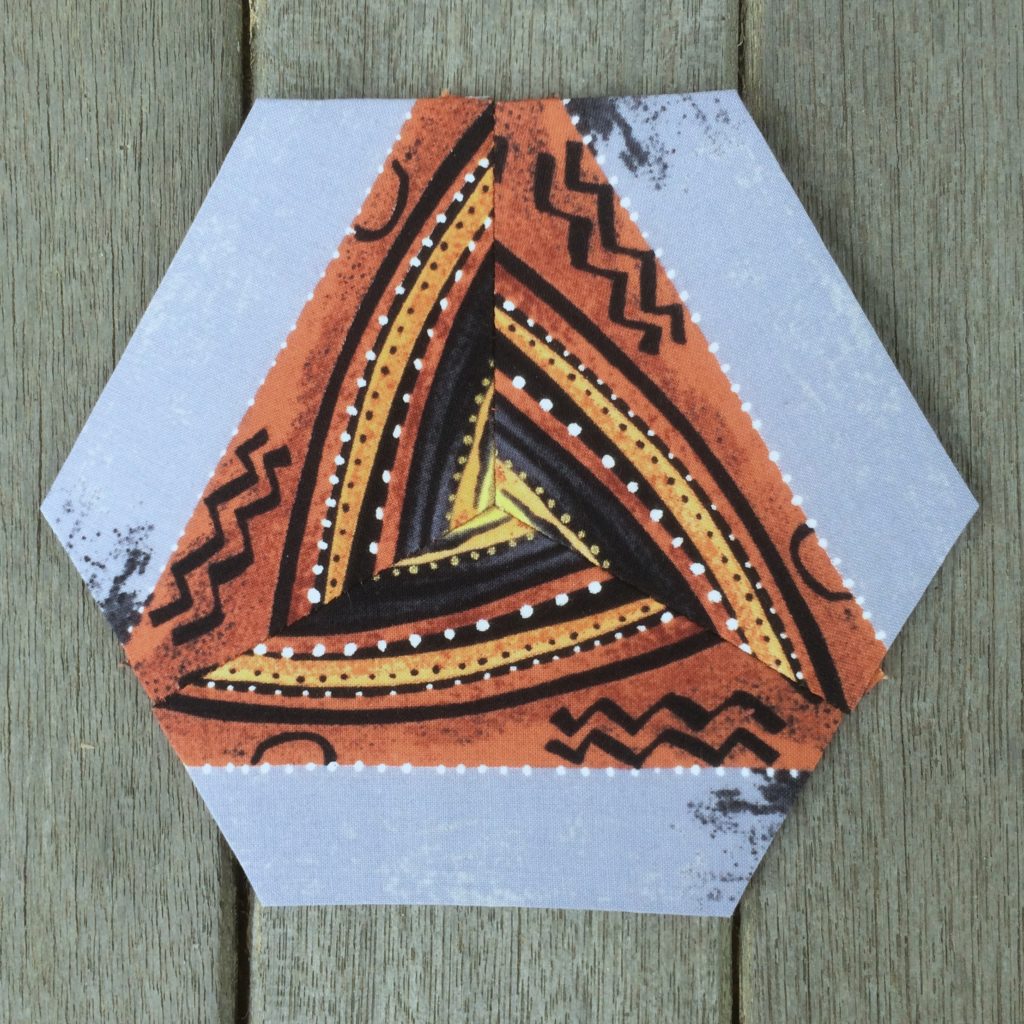
I love the surprise appearance of the interesting white star in the center of this block.

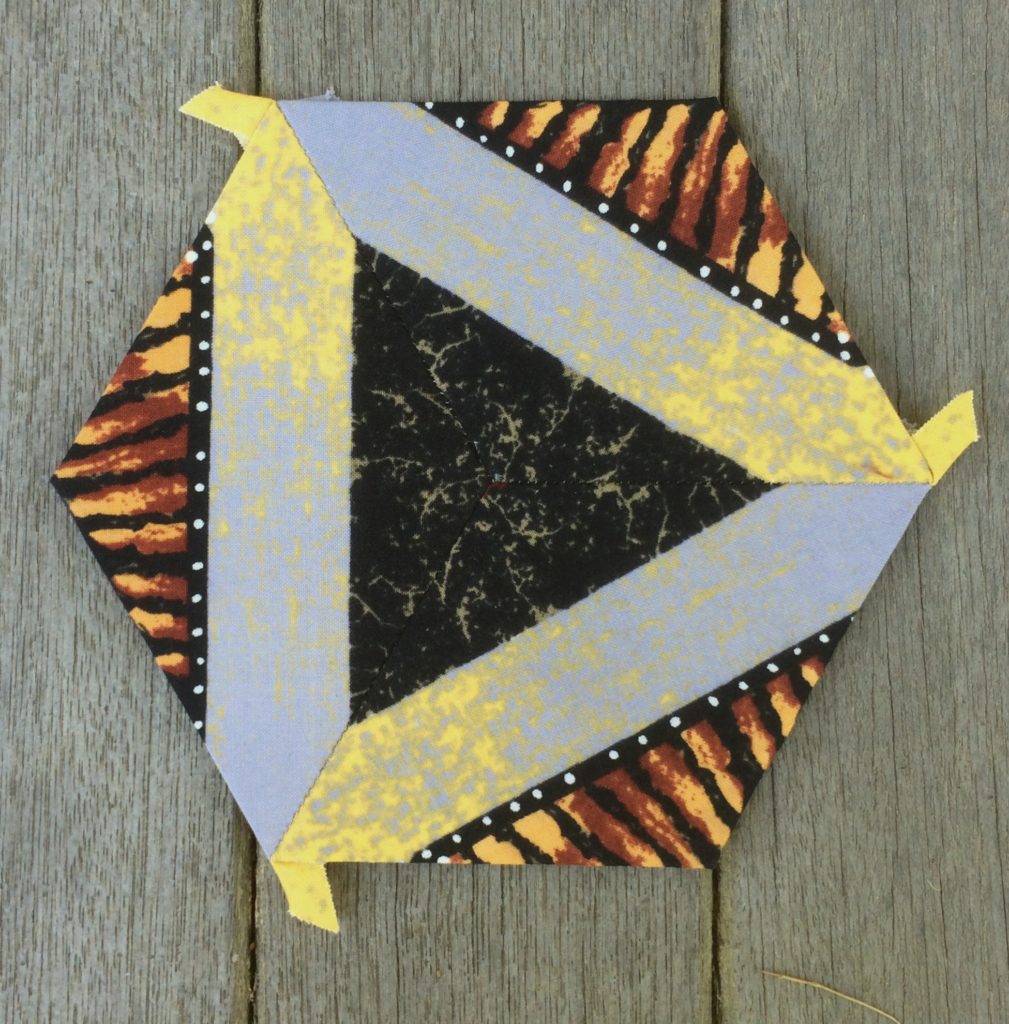
#40 Niki

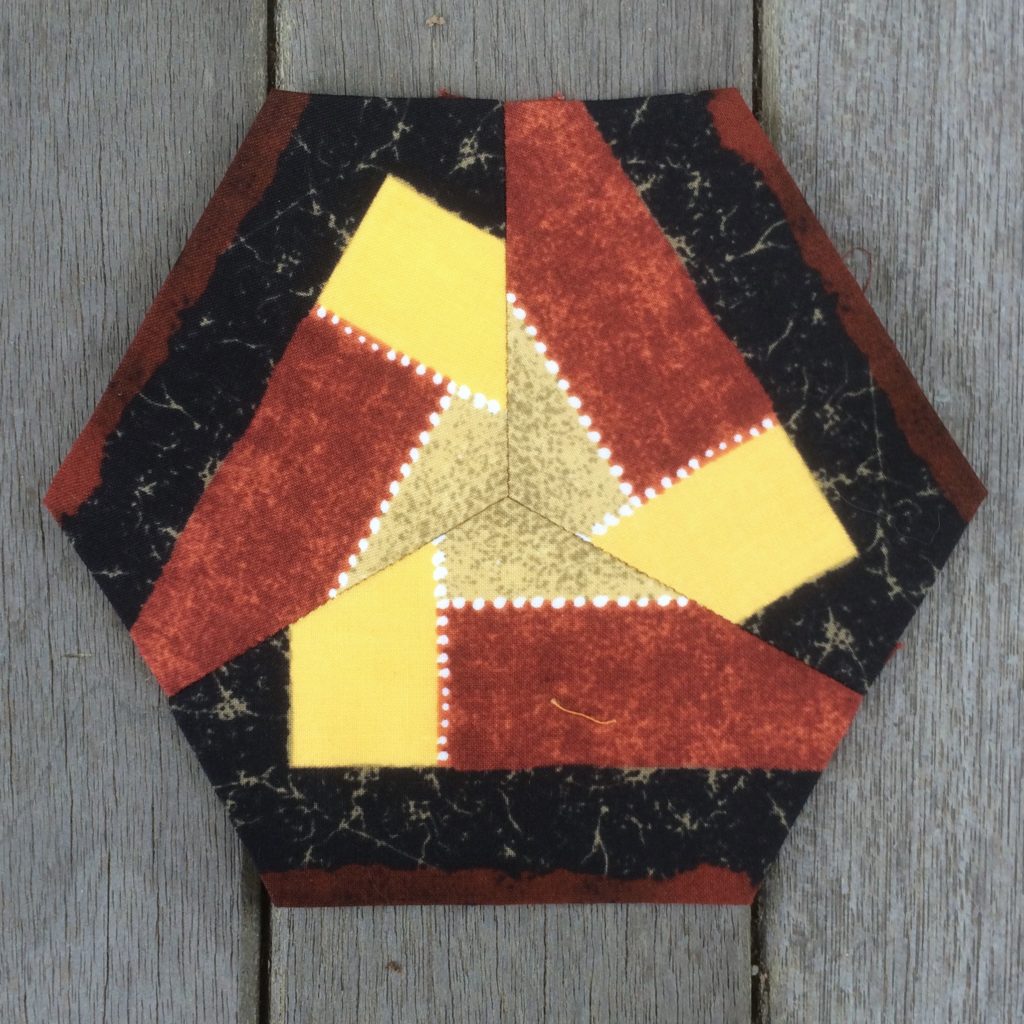
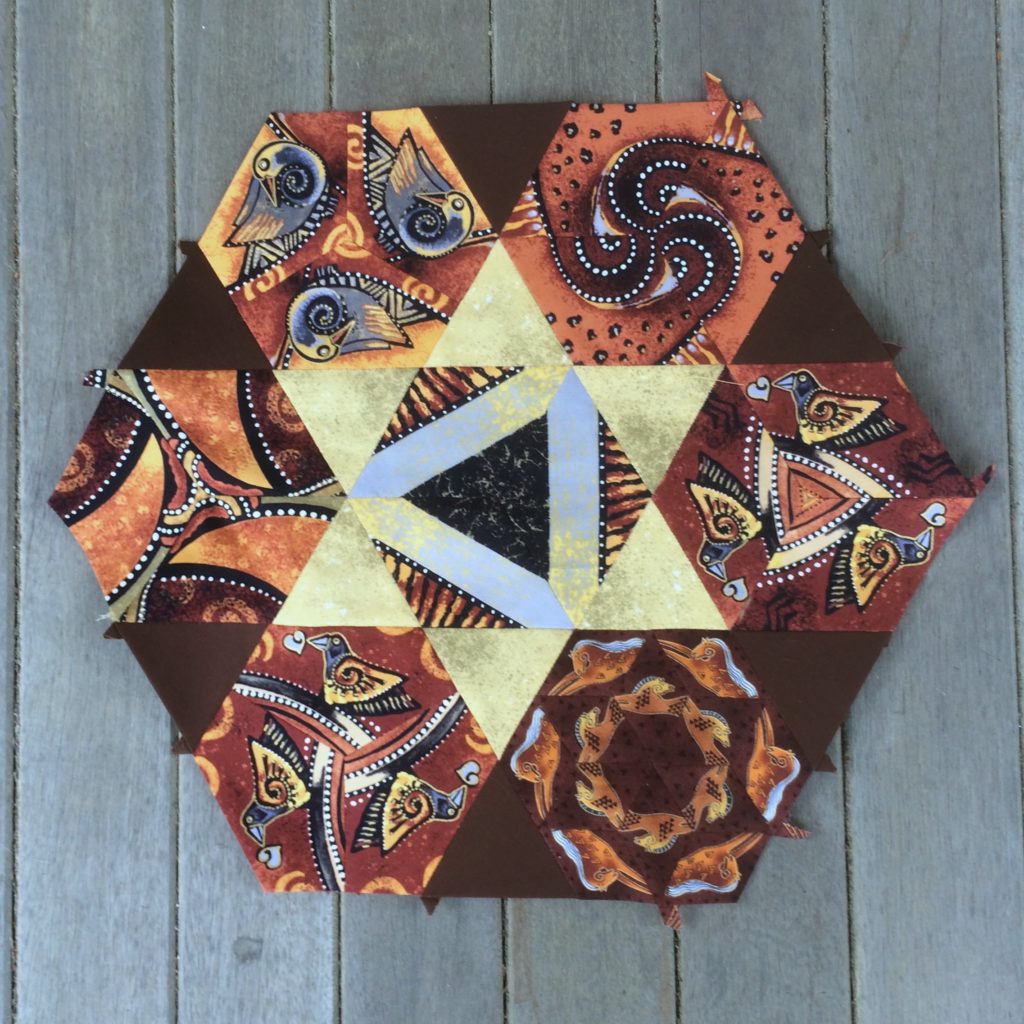
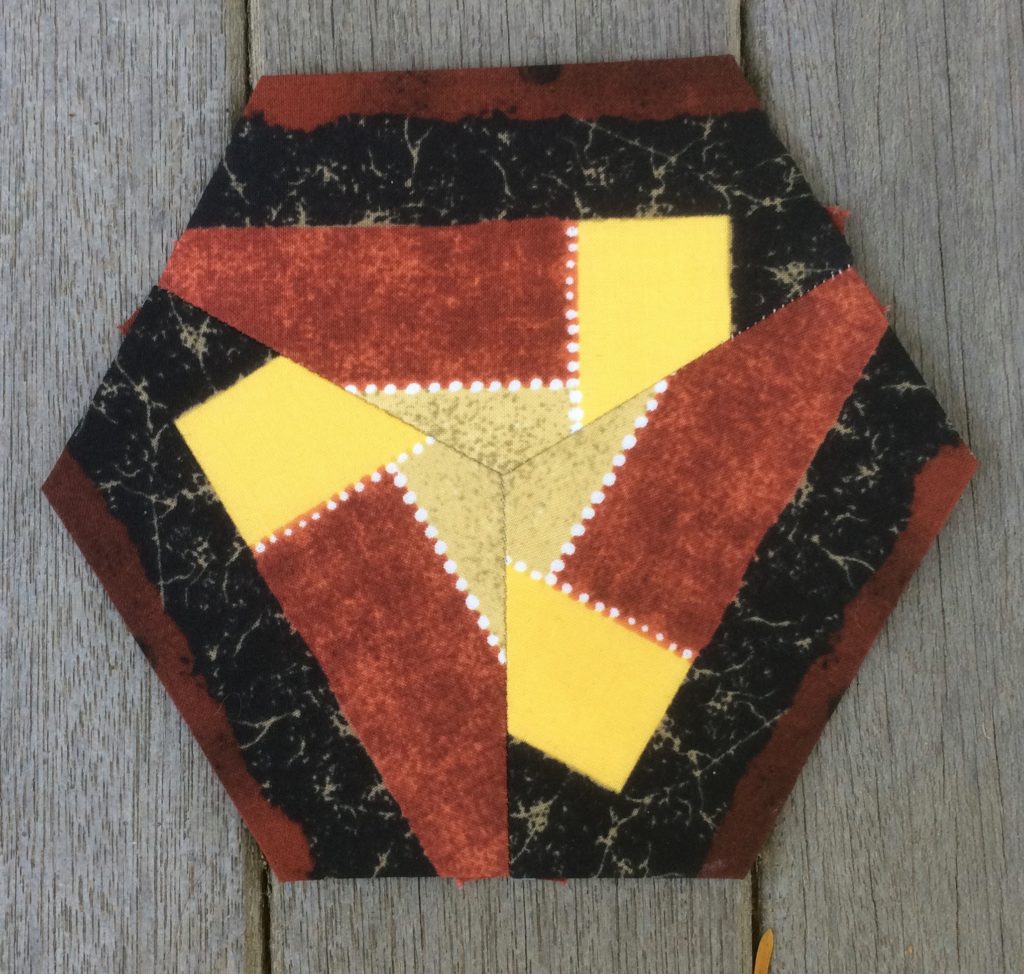
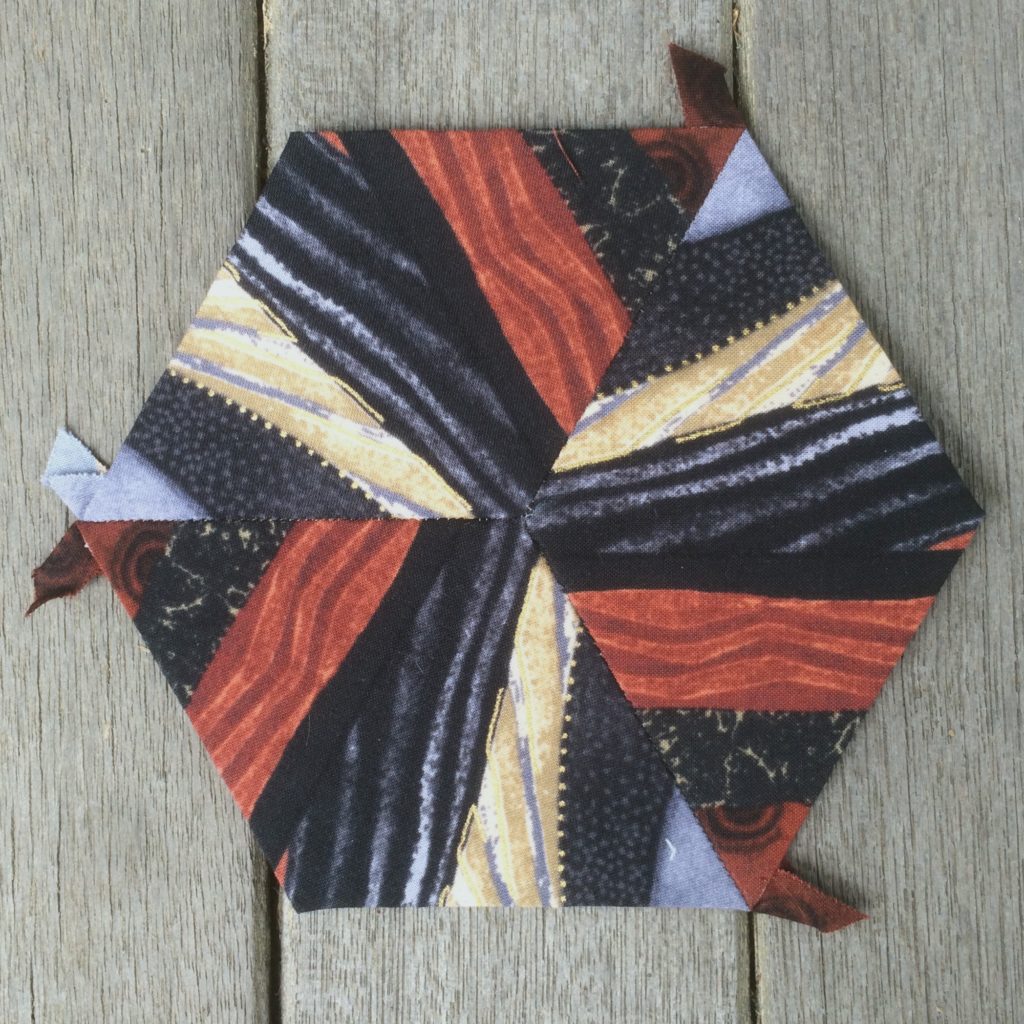
A slim cut of fabric that is not particularly interesting in and of itself manages to blend nicely with the yellow triangles. The long shape divides itself into two design elements and a buzzsaw emerges in the center of the block.

#40 Niki

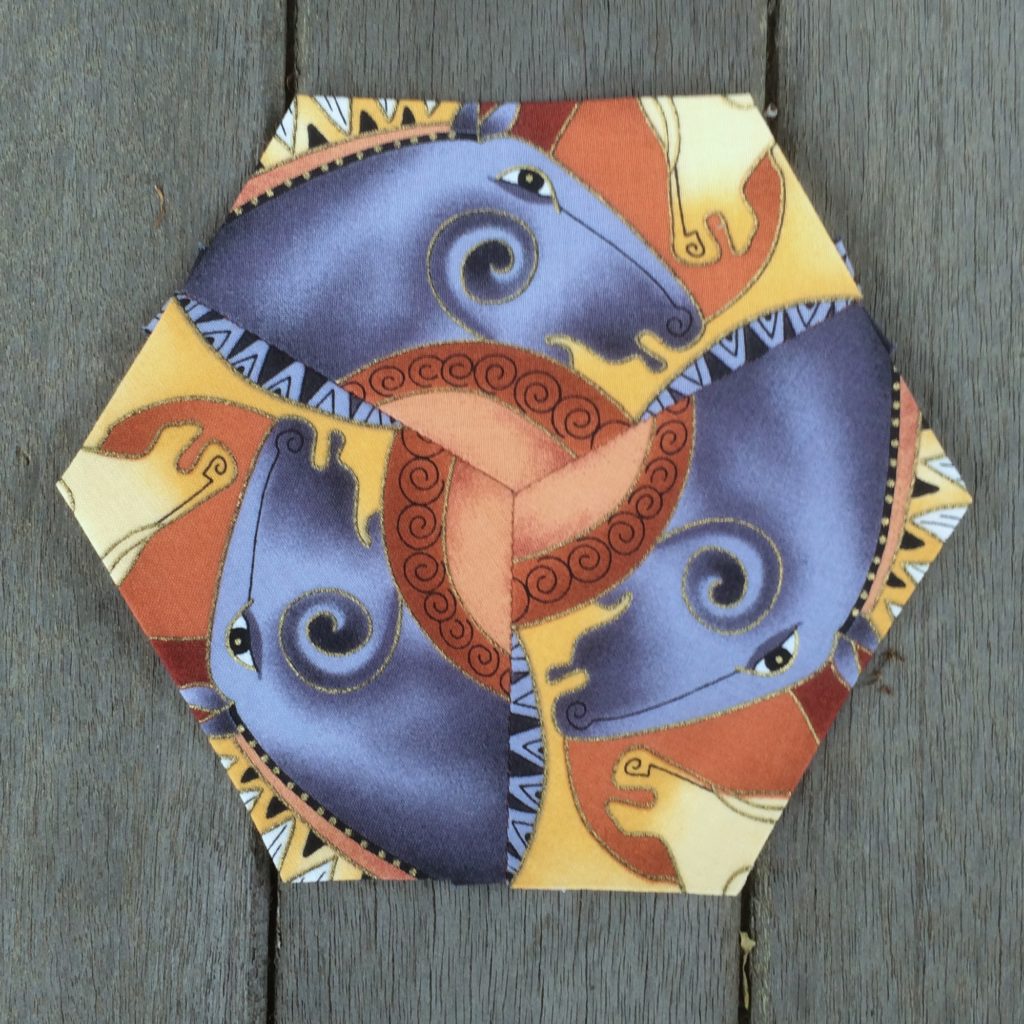
Horse cheeks make this block interesting. .

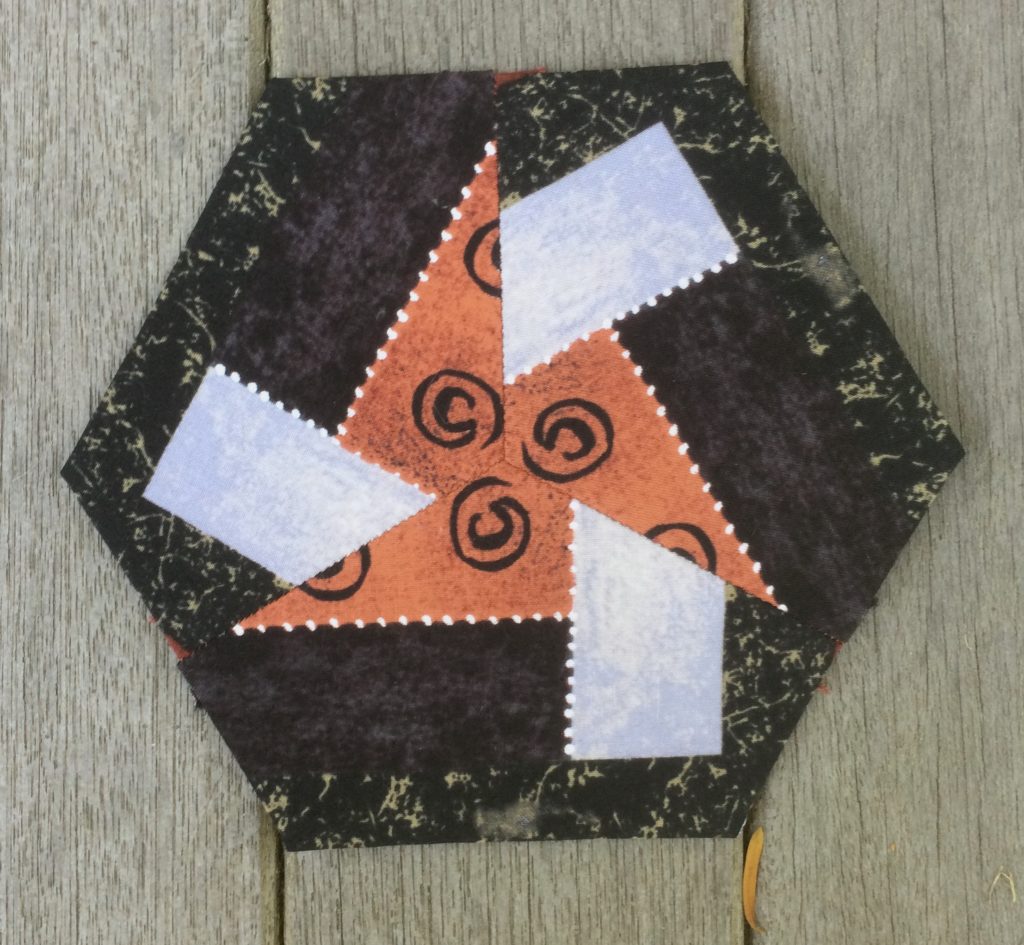
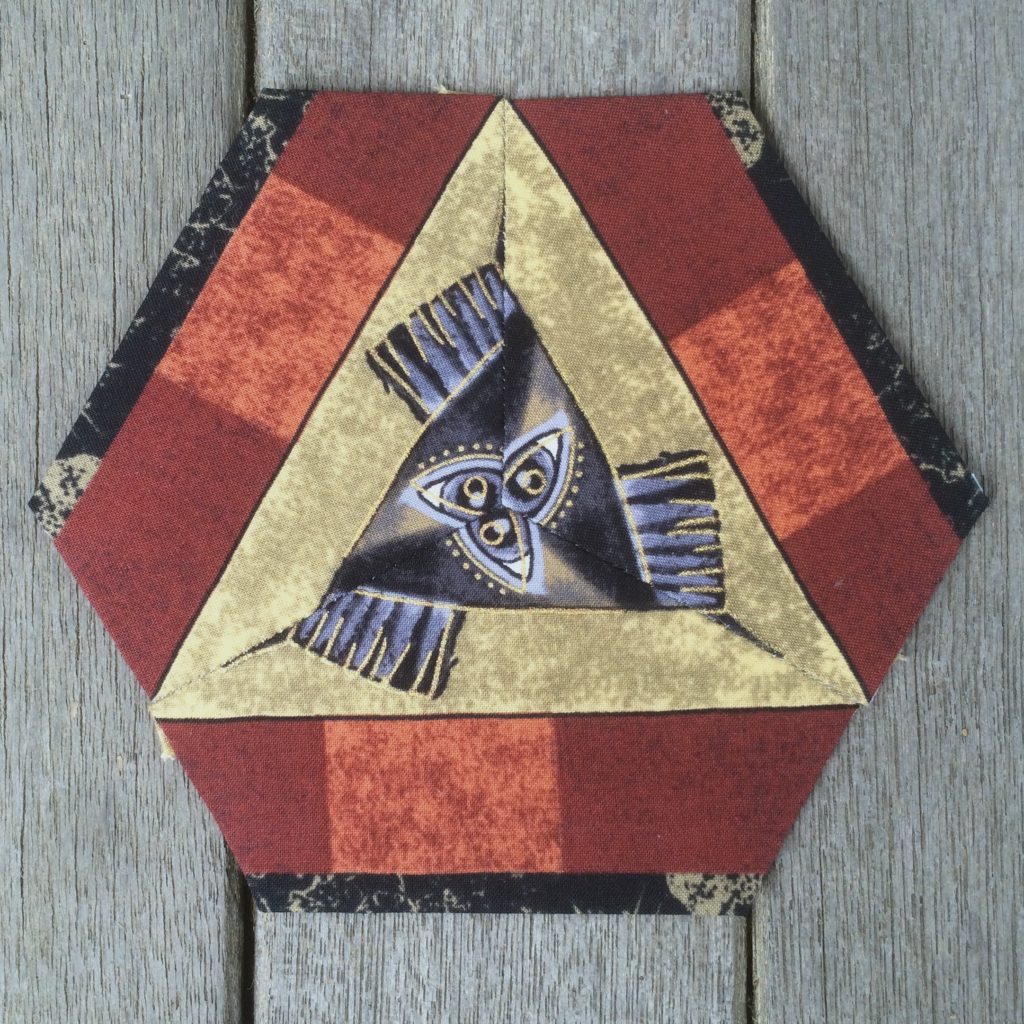
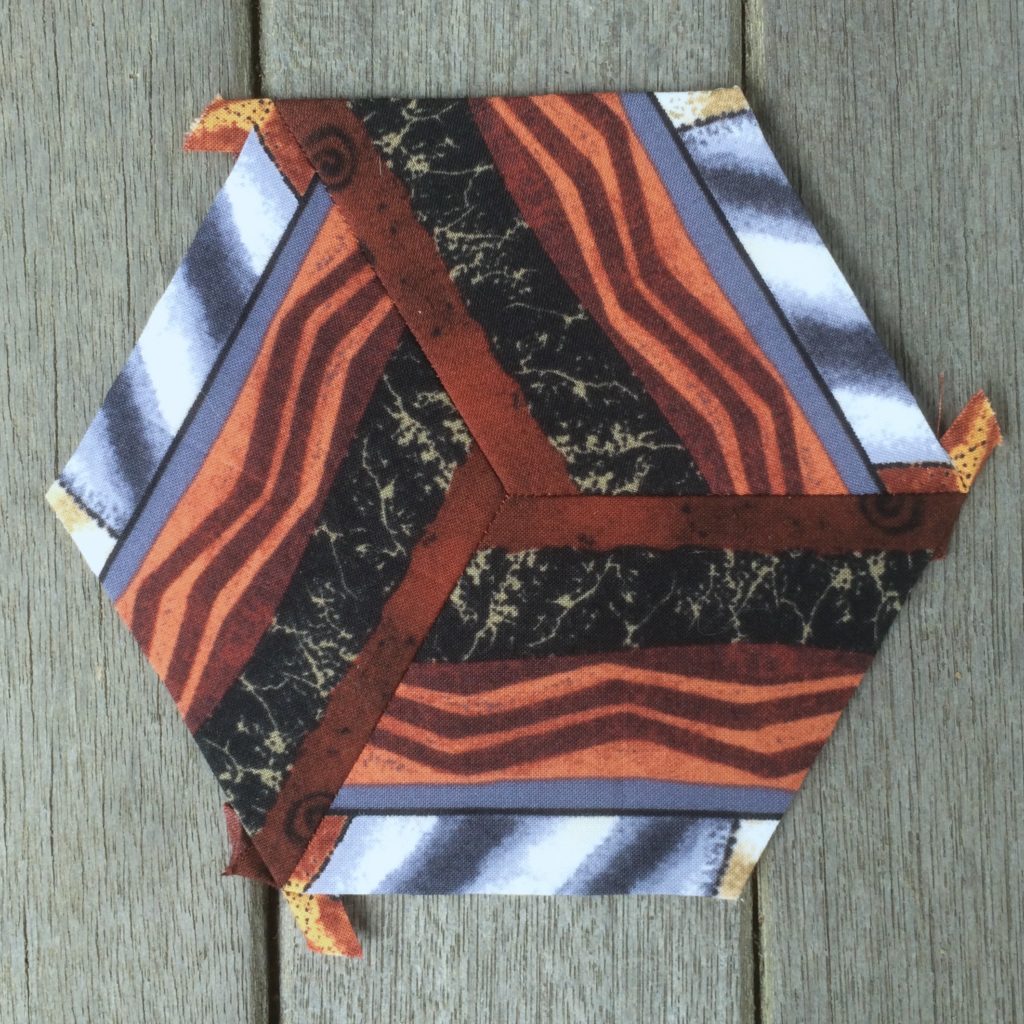
#9 Doris

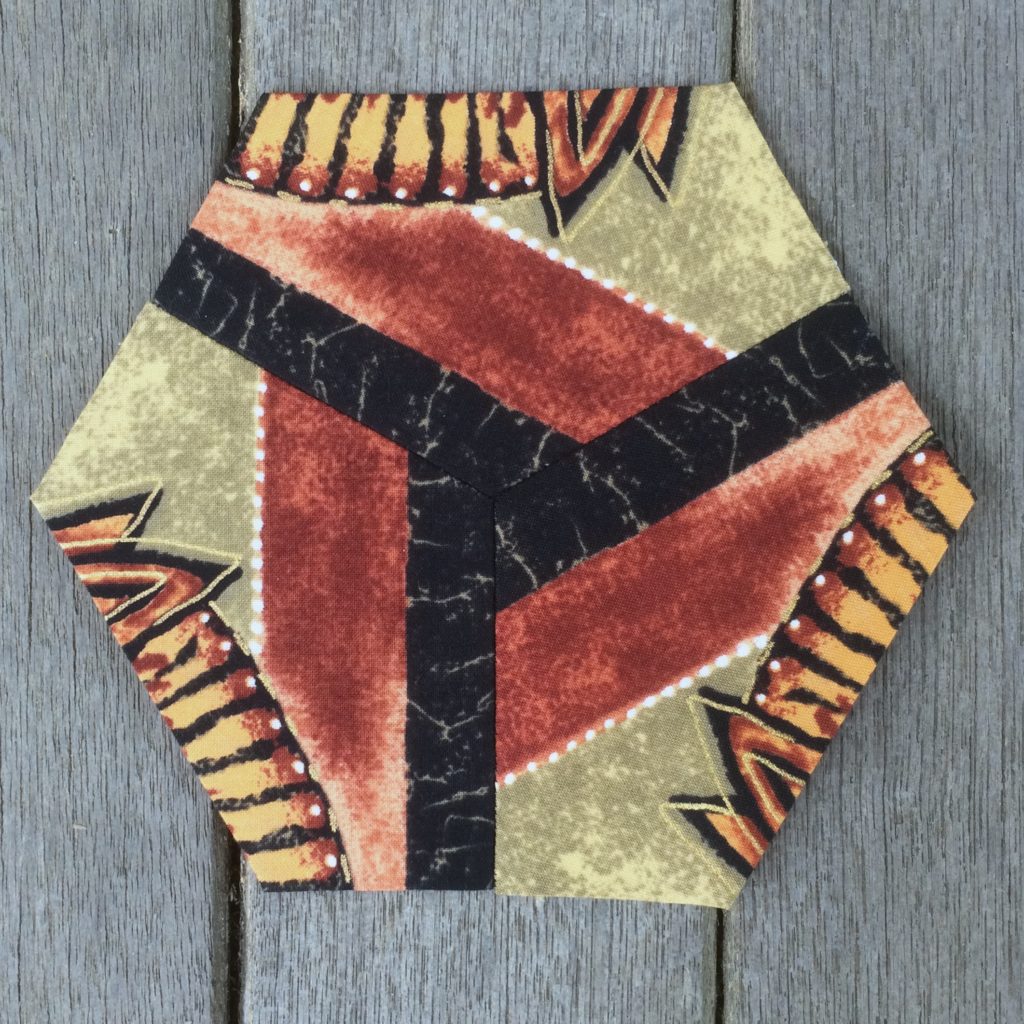
I love it when the panel fabric does the heavy lifting on a Doris block.

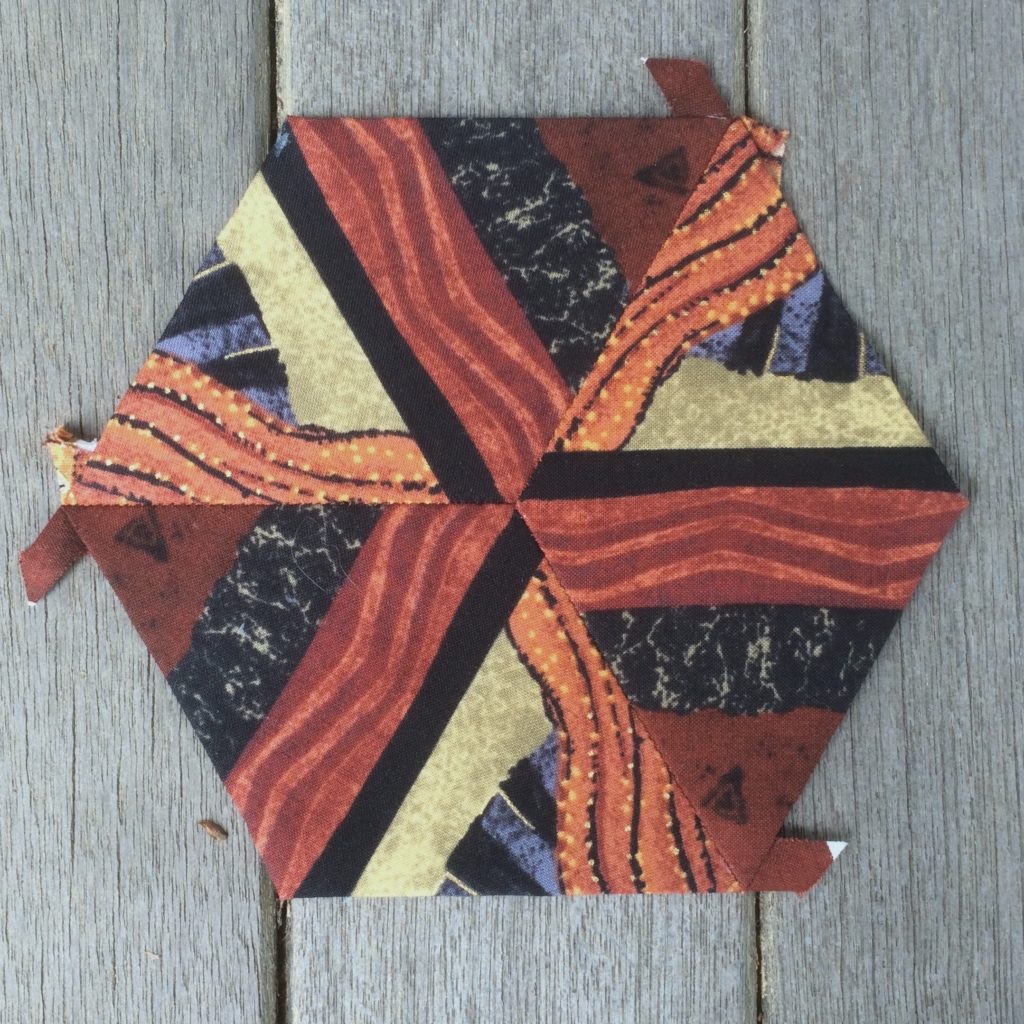
#9 Doris

Once again the panel fabric is doing the heavy listing in the above Doris.

Glorious Hexagons: The 17th Decade

First let me start by saying that I once again find myself woefully behind in posing my progress on this project. I have five large hexagons units that have not been posted yet. I also have over 50 regular size hexagons to post, thirty of which were completed while I was away at the U.S. Go Congress two weeks ago.

To avoid visual overload for my viewers I will present these items in a few posts over the course of the next couple of weeks.

Following are hexagons 161 through 170.

#54 Kim

You’ve seen this Kim before. I was showing the 16th decade of blocks and included this Kim and the following Kim. I did this because they were the last two blocks made from the panel fabric that I had made into a three layer stack that I deliberately cut exclusively into Kim and Doloris blocks.

#54 Kim

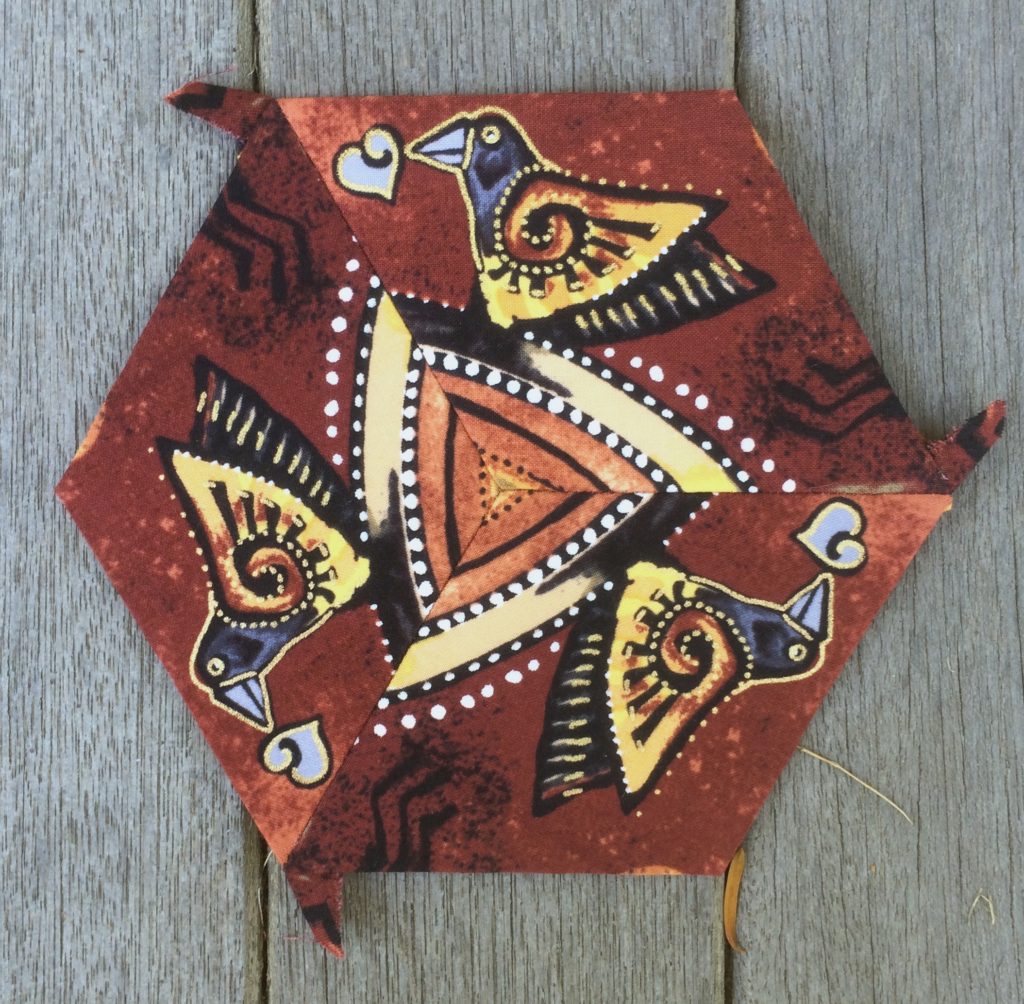
I love the birds in the panel fabric.

#53 Liza

The outer horses come from the running horses fabric. The inner diamonds are cut from the panel fabric. This is not strictly a Liza because the central hexagon has been composed of diamonds.

#54 Kim

Sometimes the eye just needs to rest.

#54 Kim

There are actually two other blocks exactly like this cut from a six layer stack. So I have three of these to scatter across the surface of the finished quilt if I so desire. I might even put them into a single large hexagon and see how that plays.

#54 Kim

I love the blue horses in this Kim.

#48 Jeannie

I had mentioned wanting to try using Kona solid fabrics for the insides of Jeannie blocks. I did that here for the first time and you will see more of these blocks. They will make their appearance when I post the blocks that I made during the time that I was at the Go Congress recently. I think that this block might have been more effective if I had not matched the central solid so well with the horses in the outside shapes. The yellow becomes dominant in this block when you see it from a distance and the star becomes lost. I should have matched the darker rust color in the print instead.

#8 Marina

I like the subtle look of this block with the contrast between the large dense swirls in the outside shape and the small circles on the inside hexagon. These shapes were all cut from the same fabric. This block might be best used as the inside of a star on a large hexagon unit.

#8 Marena

Here is the same block made with the exact same fabric except in a different color. This time I swapped the inside and outside patterns. The center of the blue block pops out and the center of the yellow block moves back in space.

#1 Marie

This block was made with some left over sections of the panel fabric.

My First Time Traveling With EPP Handwork

Last week I attended the U.S. Go Congress in Boston. I traveled via train to and from Boston. I knew that this was going to be an ideal opportunity to travel with my EPP handwork. I am currently working on a quilt based on the Glorious Hexagons group on Facebook, and I took that work with me to the Go Congress.

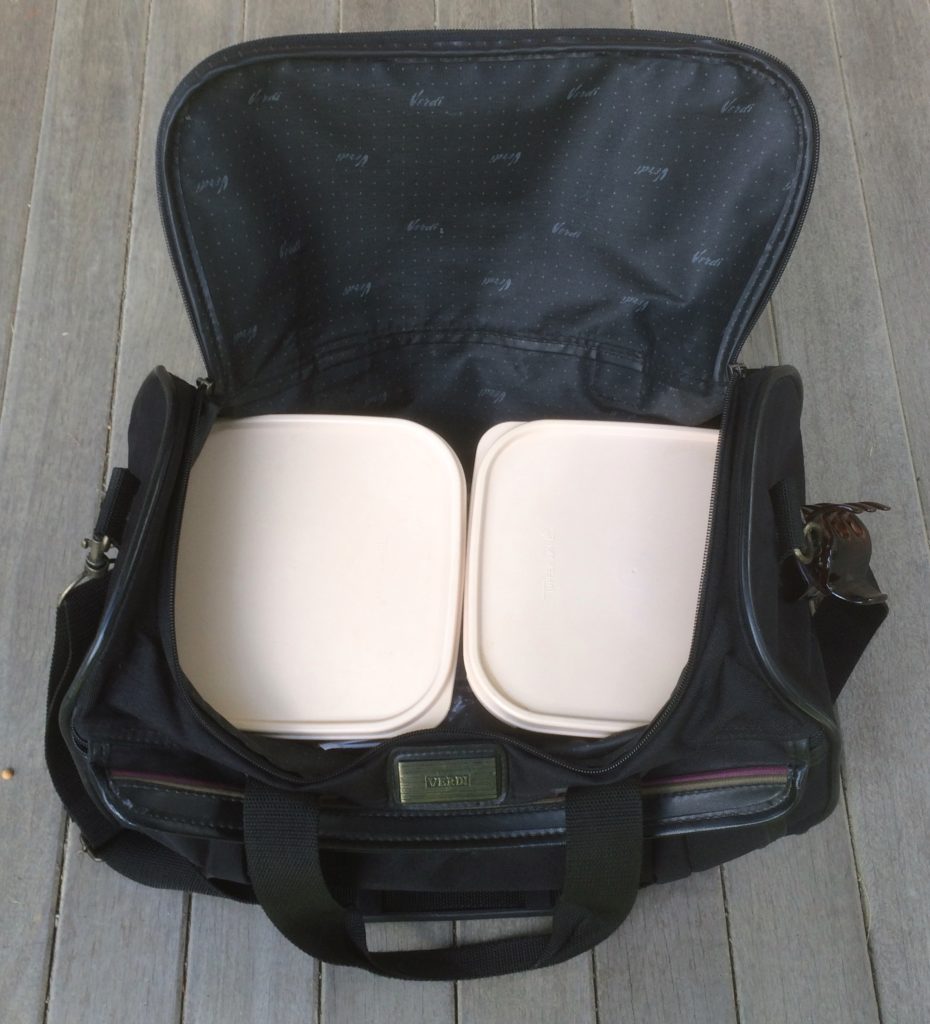
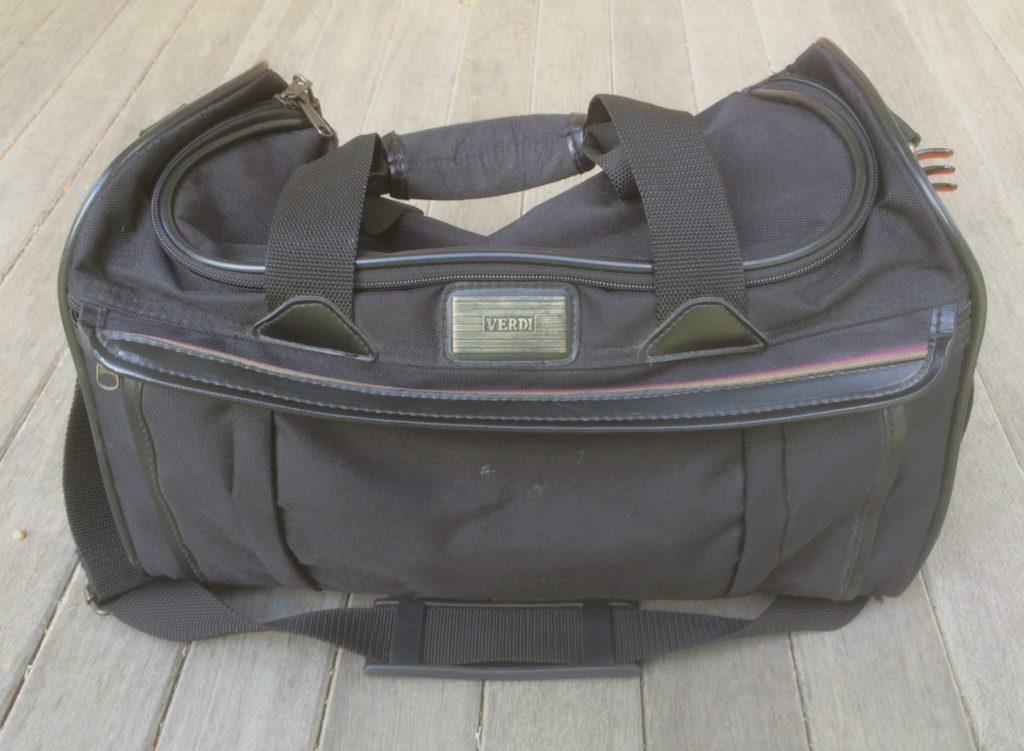
I planned ahead of time to have sandwich bags filled with pieces pre cut and pre basted to paper pieces. I prepared over thirty such bags, and my blocks were ready to sew. For travel I packed my sewing supplies into a small carry on bag that would fit easily at my feet on the train.
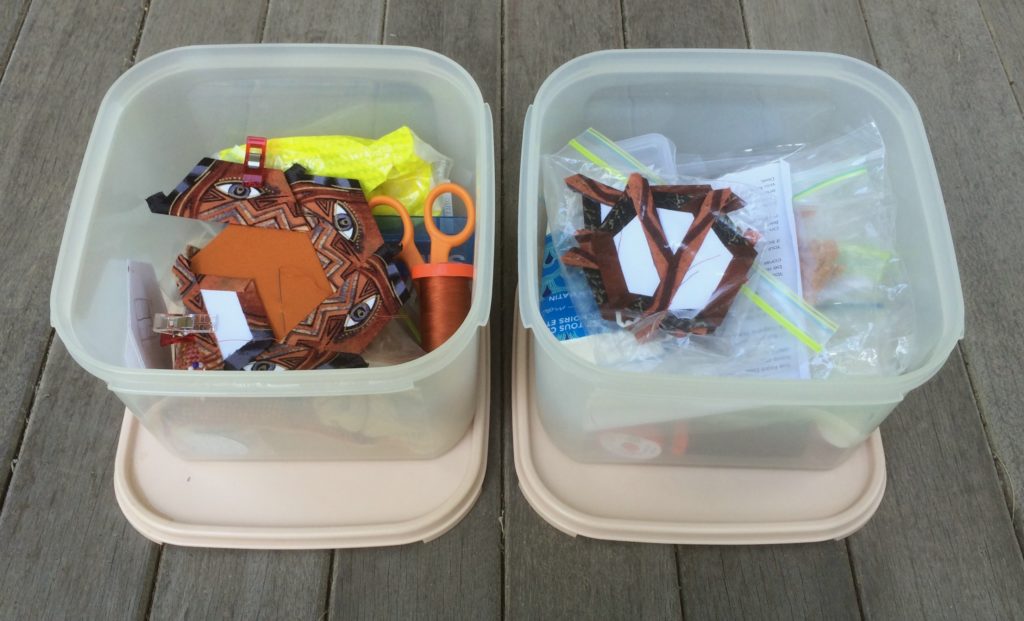
I packed my sewing supplies in one #2 Tupperware Modular Mate box, and I packed my sandwich bags with precut pieces in another #2 Tupperware Modular Mate box.
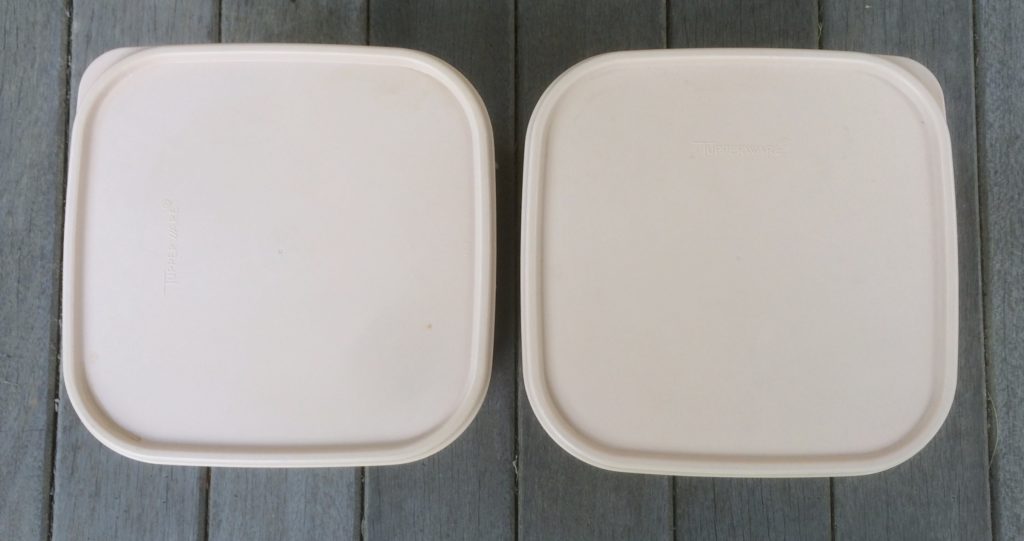
These boxes fit nicely into my carry on bag leaving enough room for a couple of books, my iPad, a charging cable, and some snacks.

I completed a few blocks on my way up to Boston on Amtrak.

The real stitching started in ernest once I got to the Go Congress. I played a game in the U.S. Open each morning, but my games were fairly quick, about an hour each. After finishing my morning game I would move from the playing area into the adjoining lounge area where I would sit and stitch, often talking with friends, and sometimes watching a game review.
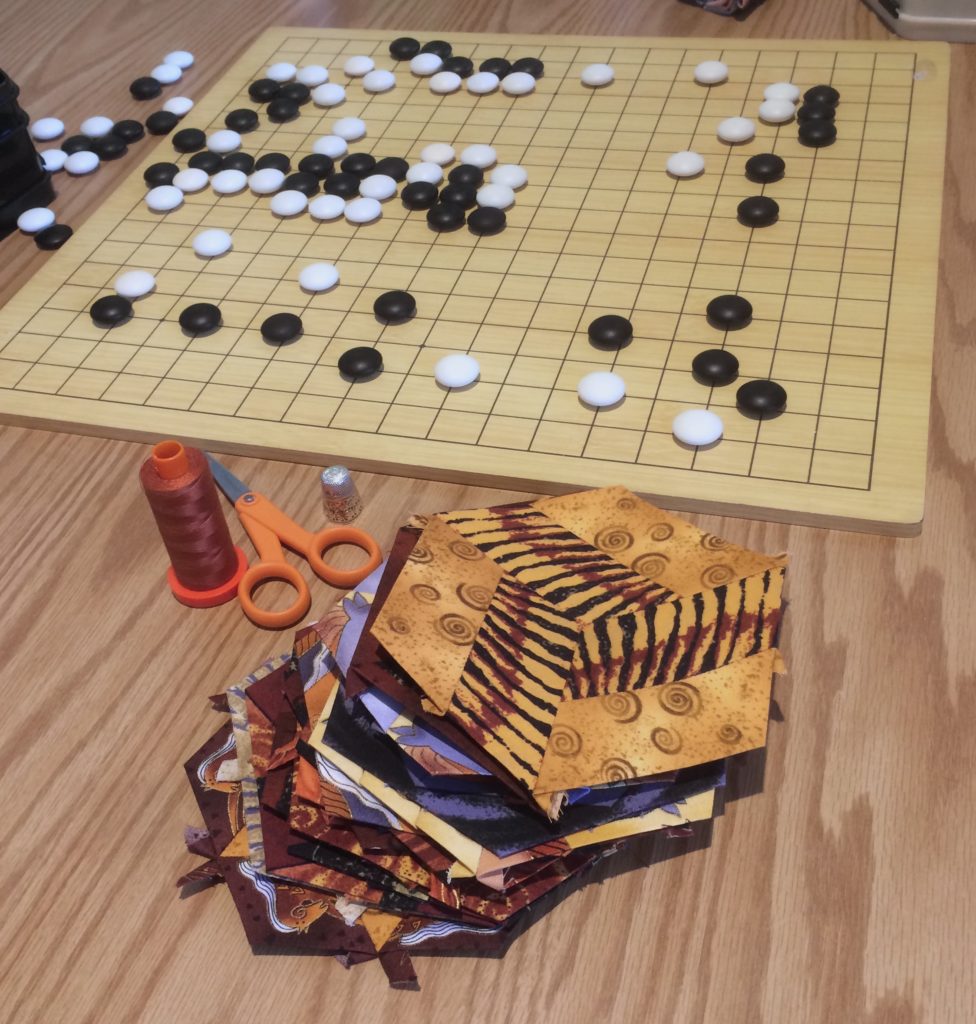
A few days into the Go Congress I had finished piecing ten or more hexagons. The one on the top of the pile above happens to be my favorite one that I pieced during the congress. I am planning to make a few more of this block taking advantage of the linear elements in the Embracing Horses Panel Fabric.

It wasn’t all go playing and stitching last week. There was plenty of eating as well. I deviated from my usual Vegan eating philosophy to take in a bit of dairy as well as some sea food.
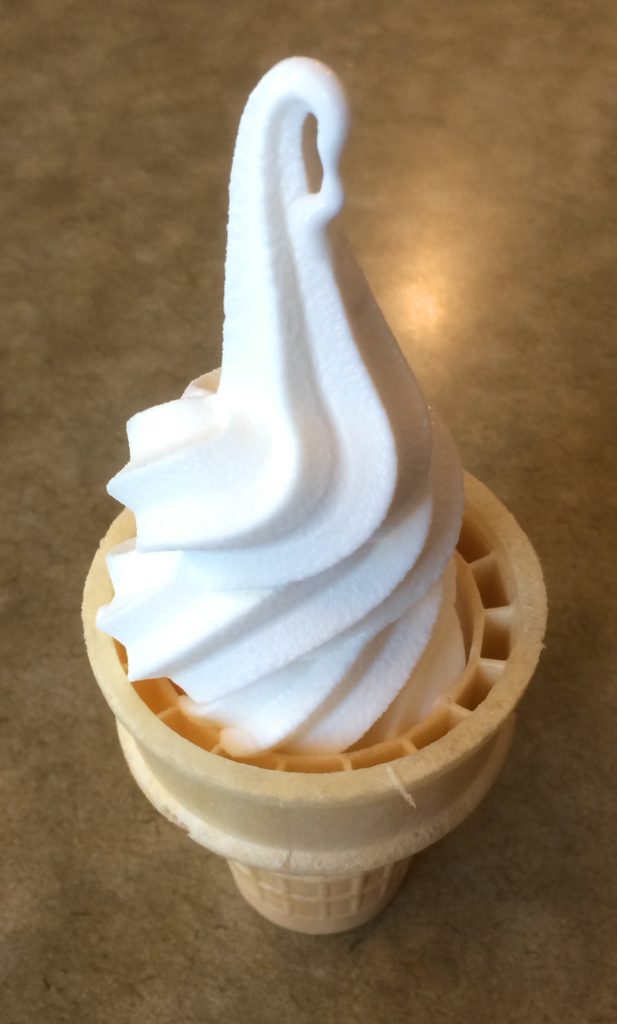
The Boston University cafeteria had soft serve in the evening. I usually had a cone after the evening meal, and sometimes a second after sitting and consuming the first cone while talking with go friends.
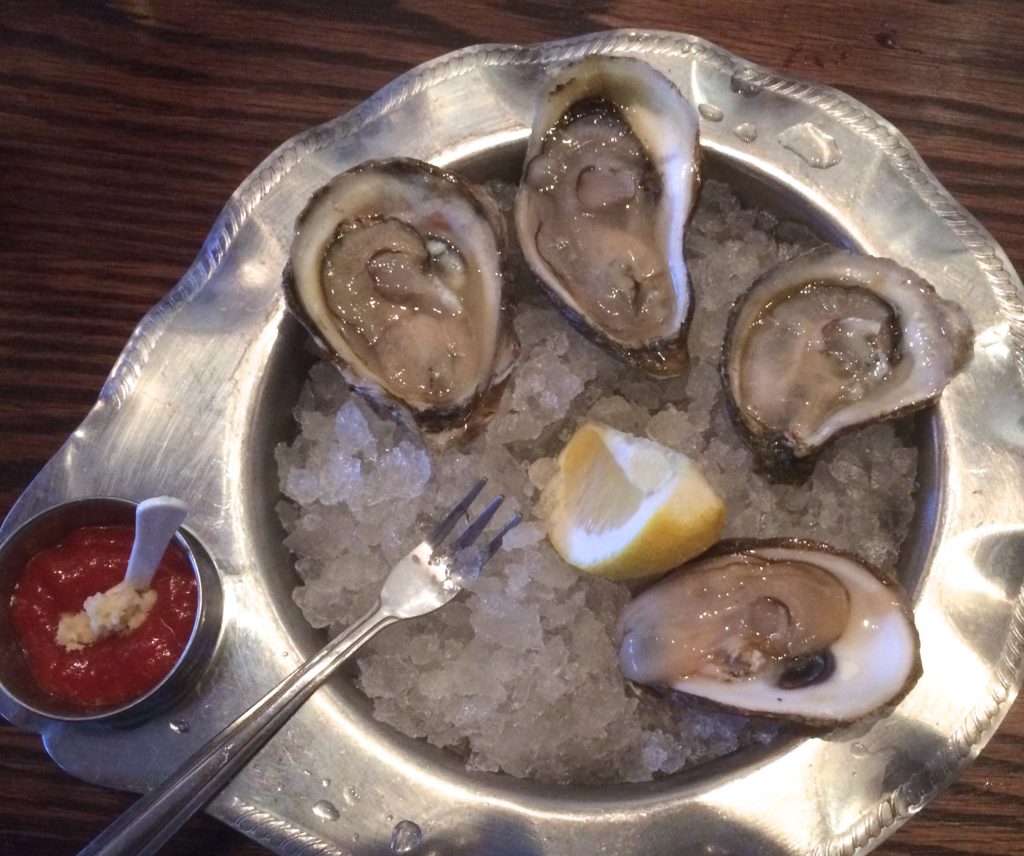
My go friend Larry and I enjoyed a lobster roll for lunch. We tried to get into Neptune Oyster for dinner, but there was an hour and a half wait for a table for two. So we sauntered down the street and got pulled into another seafood restaurant, the name of which escapes me. There I had four blue point oysters. I would have had more, but they were quite pricey.
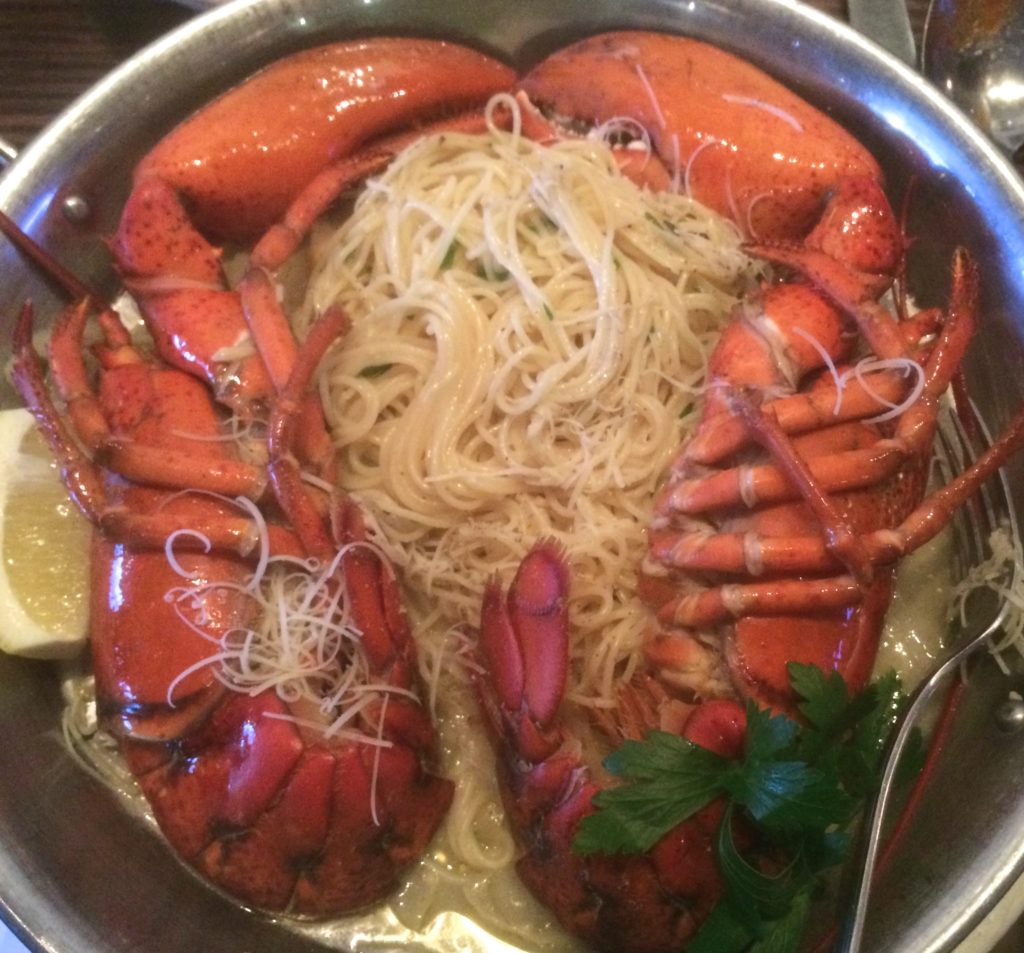
I also had a pound and a half lobster over linguine. The tail meat was easy to get to since the lobster had been cut in half. I had to struggle with the claws though, but it was worth it. They had what they called a “lazy man’s lobster: which had been shelled and served with linguini. Perhaps I should have gone that route. I was very glad I did not have to meet the lobster before it arrived at my plate. Even though I was never an ethical Vegan, I could not help but learn a few things that give me pause when I consume animal products.
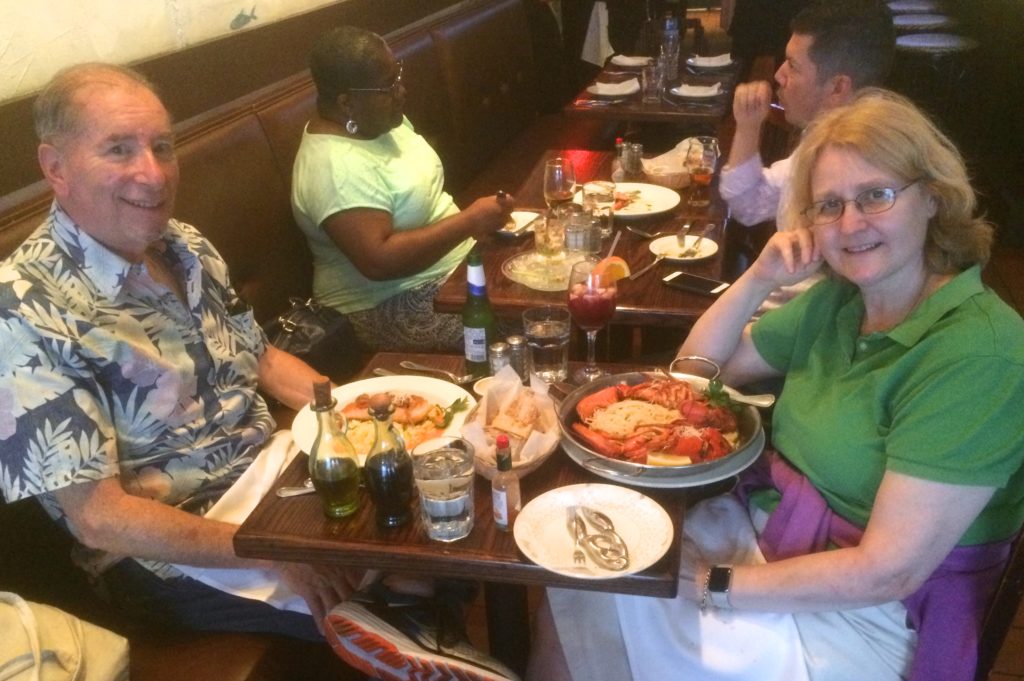
When I took the photograph of my food the waiter offered to take a photograph of my dining companion and myself. Larry and I had a great time on the Wednesday day off in the middle of the week taking in four museums, lunch, and dinner off campus.

Back to the stitching…

I completed thirty of the basted blocks that I took with me. On the way home I traveled with two go friends on Amtrak. One was headed for Philadelphia and the other down to Virginia, perhaps getting off at DC. We started off in the regular coach area, but decided to try our luck getting a club car table. We managed to snag one. That made the remainder of the trip so much more enjoyable. Allan, a strong Dan level player, reviewed the one game I had recorded at the congress. He also reviewed a game for Neil. The three of us were able to talk easily at the table and had a great time chatting the hours away.

After the game reviews were over I pulled out my stitching and worked while we talked. The conversation centered on my hexagon work for awhile. I had come prepared with some photographs marked as favorites on my iPad. I knew this would make it easier to explain to people what I was doing, and where the work was heading.
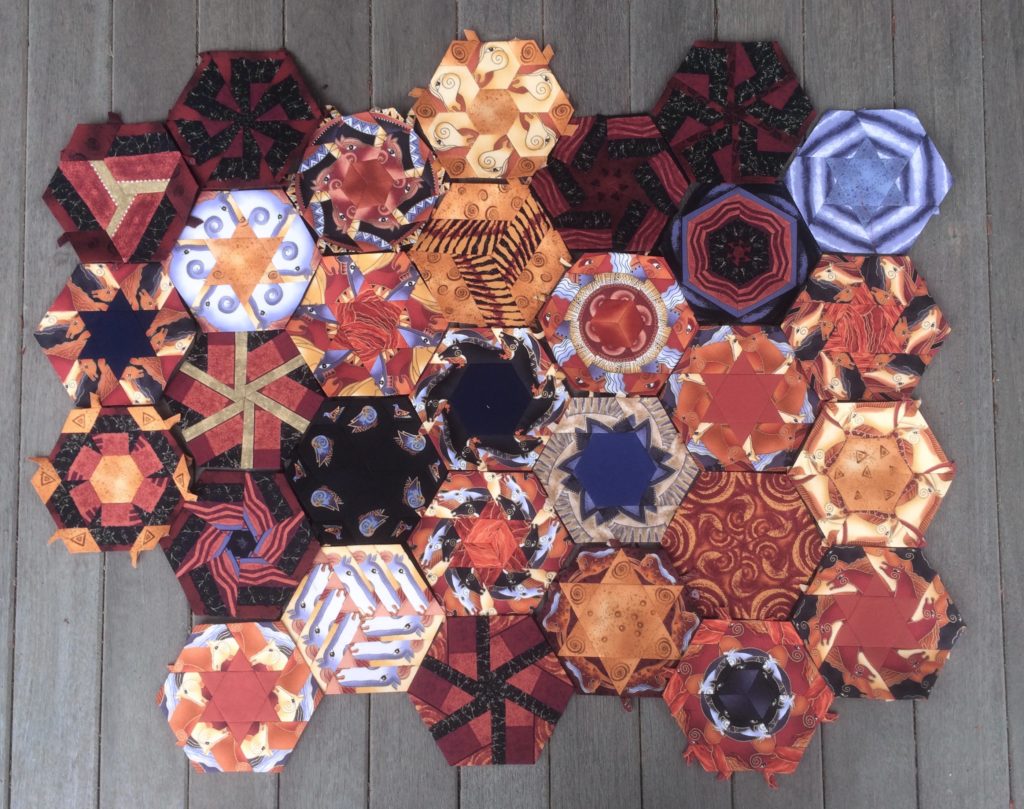
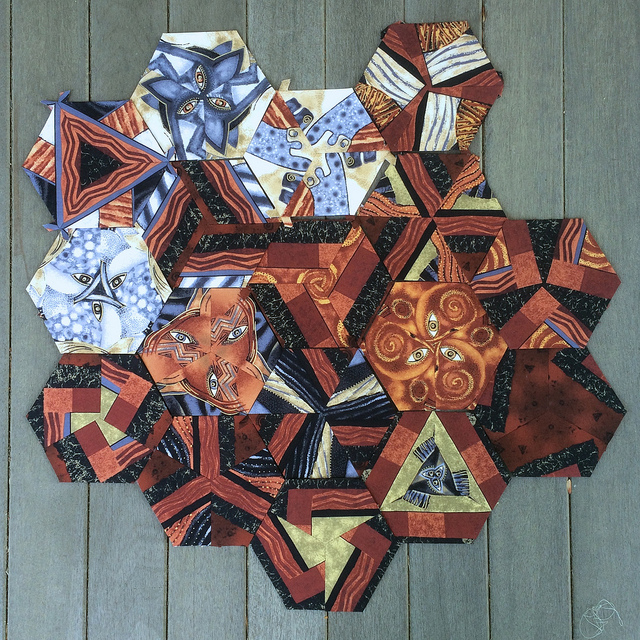
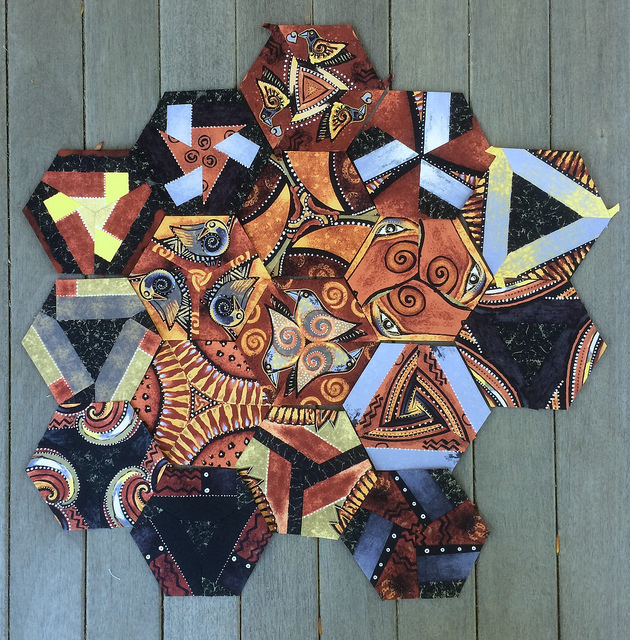
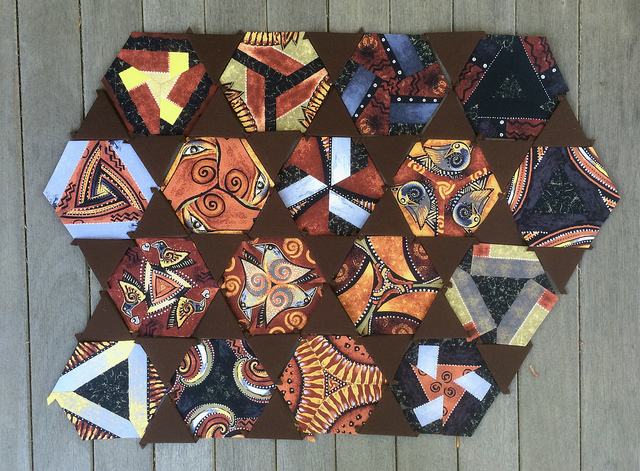
Here are the thirty blocks that I completed during my trip.

I still have 25 blocks that I had previously finished that that have yet to be shown. I will show them over the next week in groups of ten. So the blocks above will have to wait for their individual presentation until after I have presented the hexagons from the seventeenth and eighteenth decades plus five more blocks. The blocks above represent hexagons 186 through 215.

Though I will not show individual blocks up close I will say how many of each type of block I completed and show the corresponding pile of blocks.
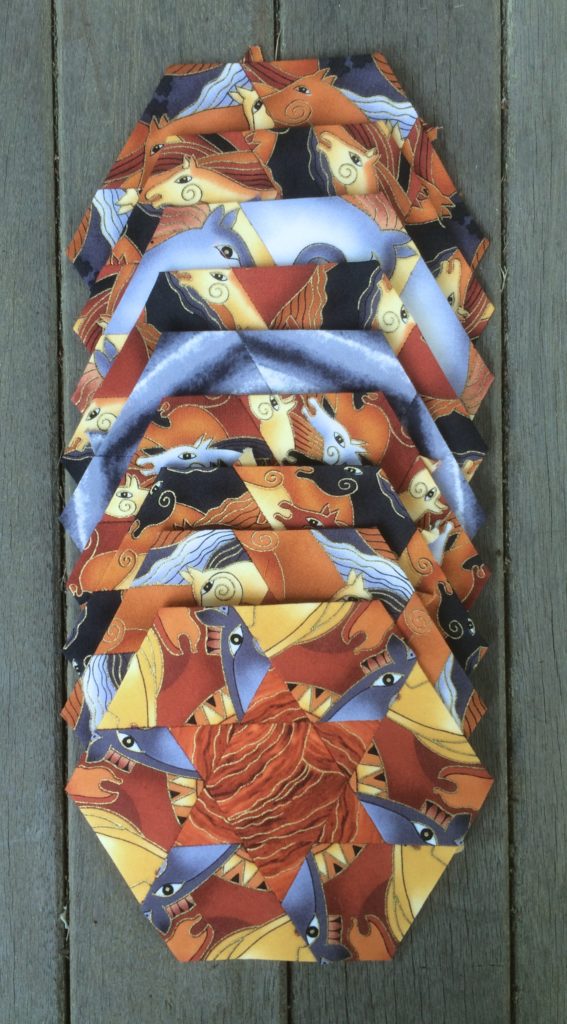
I made nine blocks of #48 Jeannie.
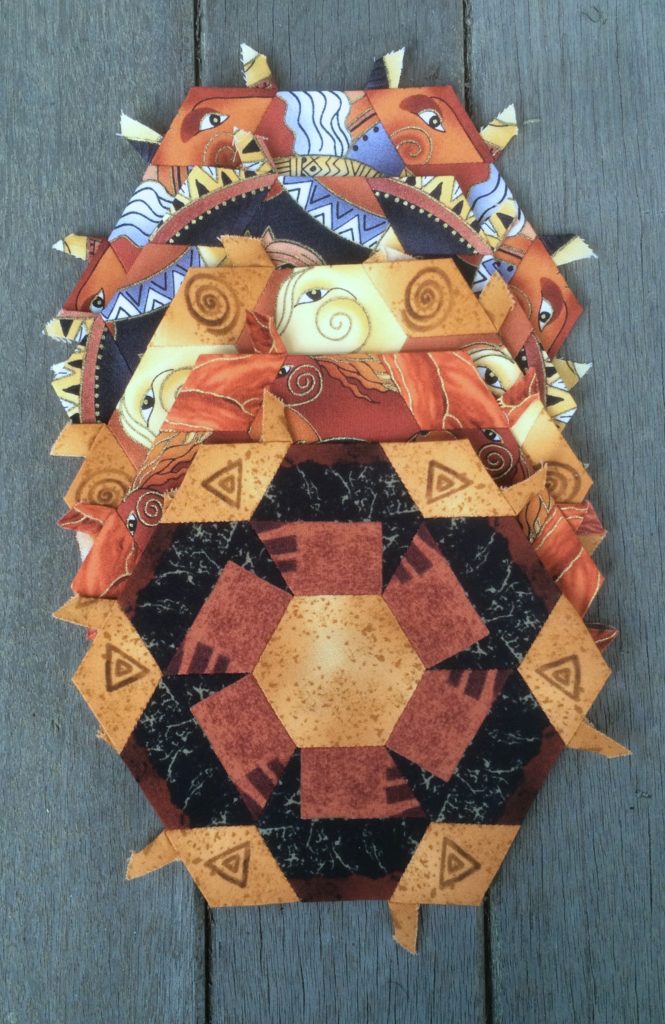
I made five blocks of #13 Judy
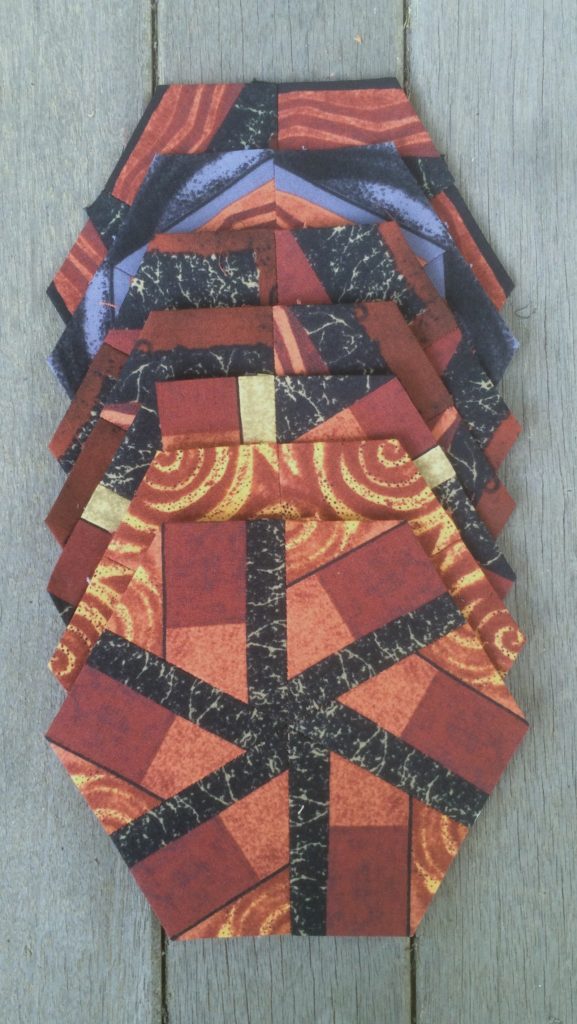
I made seven blocks of #9 Doris
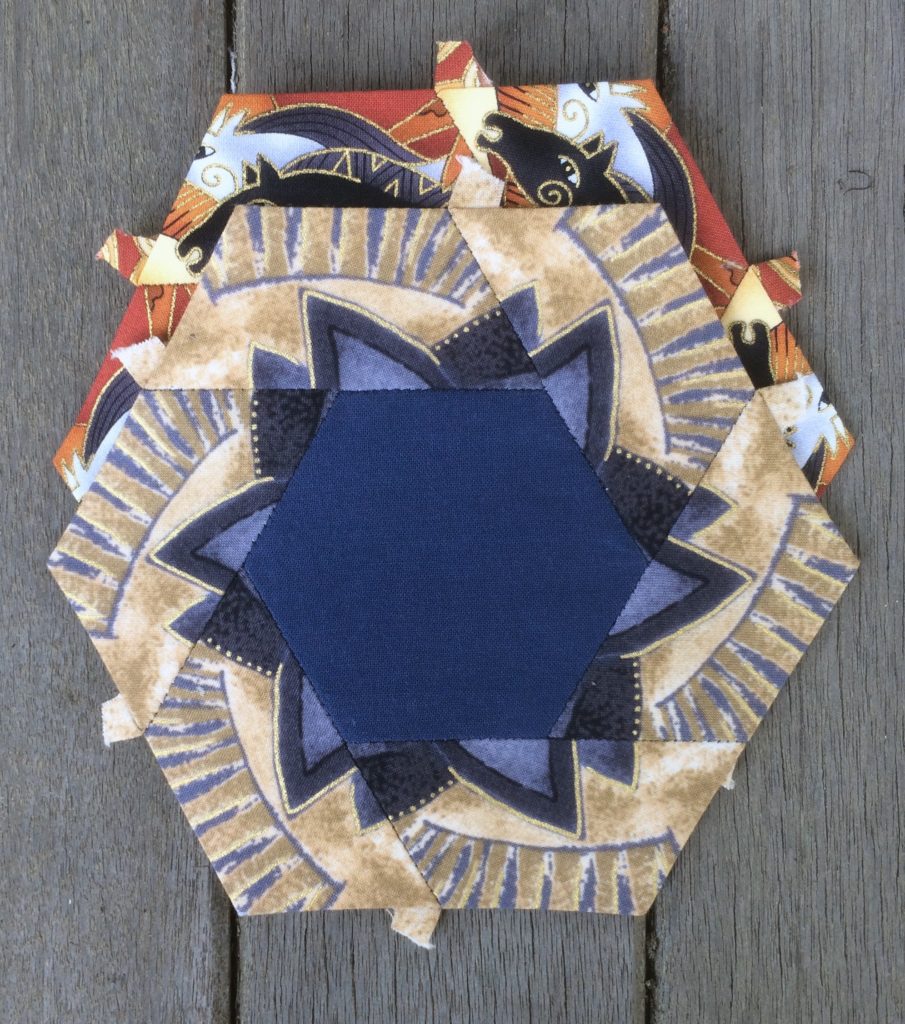
I made two blocks of #33 Kerry
The remaining blocks were singletons consisting of one of each of the following:

#29 Bev

#11 Susan

#8 Marina

#2 Carol

#1 Marie

#34 Christie

#10 Kelly

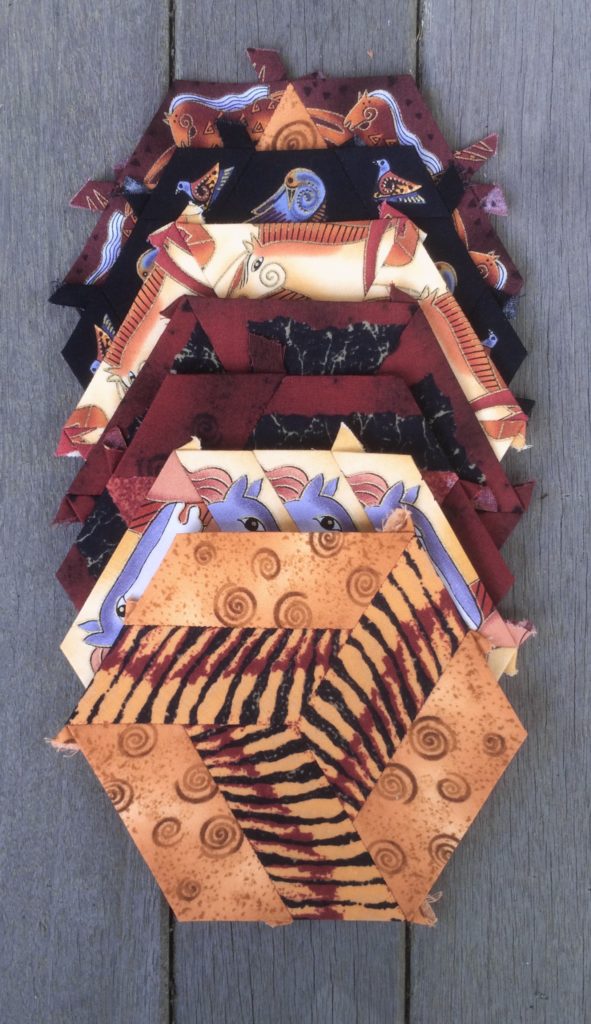
Kelly is the one shown in its entirety on the above pile. I really like her with these fabrics. I liked using a fabric with a linear feel for the central pieces of Kelly. I will be making a few more of these with other patterns.

I really had fun at the Go Congress this year, and one of the reasons I had such a good time was that I was able to keep stitching through the event.

Next year the congress will be in San Diego. I’ll be getting some guide books ahead of time and will perhaps go out three days early to make it into a real vacation.
Glorious Hexagons: Stacks, Stacks, and More Stacks

I’ll be away from home soon for a week, and I want to take enough basted hexagon pieces to last me for handwork through ten hours of train travel as well as any idle hours during my week away from home. When I started to think about this I was faced with some remnants of previous layer stacks which I exhausted of useful cuts. I made those cuts with no particular use in mind. After that I looked at my piles of yardage and decided that it was time to take inventory and make up layer stacks for every fabric in the Embracing Horses collection.

Since January, when I started making Glorious Hexagons, I have scoured the internet and purchased a great deal of fabric from the Embracing Horses collection. Every once in awhile someone from the Glorious Hexagons Facebook group will ask me how much fabric I bought for this quilt. It is a reasonable question to ask, but not an easy one to answer. I can’t imagine that one could possibly plan out a Glorious Hexagons Quilt well enough to buy the fabric in advance.

The Glorious Hexagons project is by its very nature an evolving work. I may still seek out and purchase more fabric as I continue. There was a time when I was loath to add any solids to the mix, but I changed my mind about that when I started to assemble large hexagons using triangle shapes. I found Kona Solids that worked well with my fabric, so anything is possible.

This post will be an attempt to express how much fabric I have remaining to date of the various fabrics that make up the Embracing Horses collection. When people ask me how much fabric I have bought I will be able to refer them here.

Let’s start out with the big reveal of the huge pile of layer stacks that I was able to create over the course of the past week. This pile is composed of layer stacks (using six layers) of every one of the ten fabrics in the Embracing Horses collection including the Panel Fabric, which I have divided into Section One and Section Two segments.

Above I show 20 yards of fabric cut from ten different patterns and pinned into stacks with widths of 8 inches, 12 inches, and 24 inches.

I will show the various stacks below so you can see the individual patterns clearly.

I made two stacks of Section One of the Panel Fabric.

I made two stacks of Section Two of the Panel Fabric.

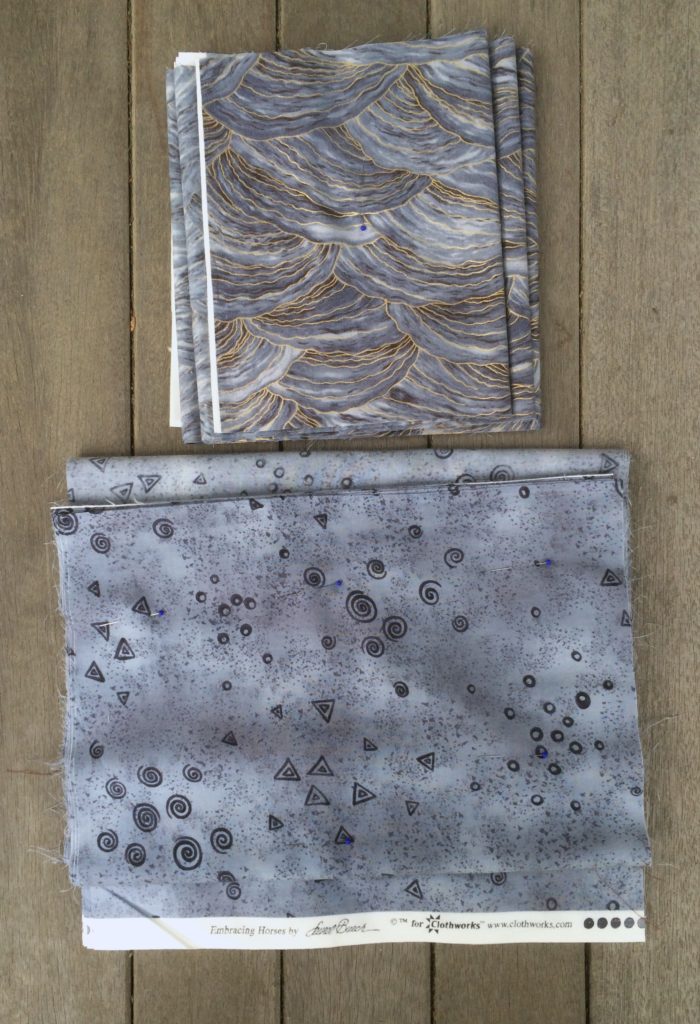
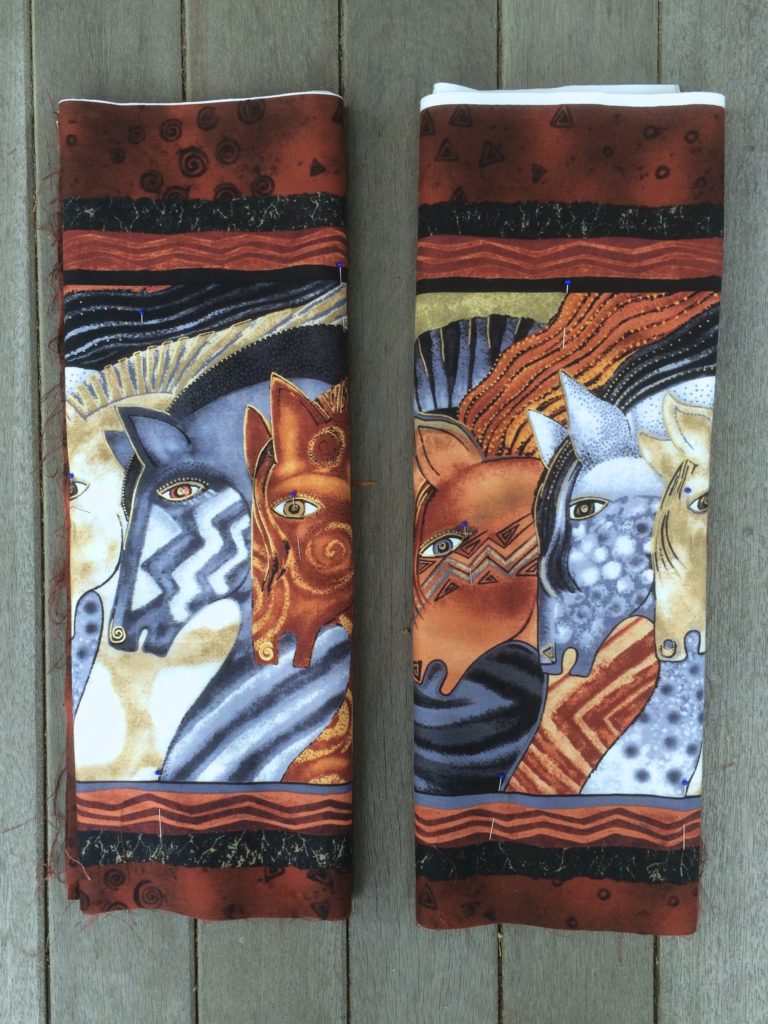
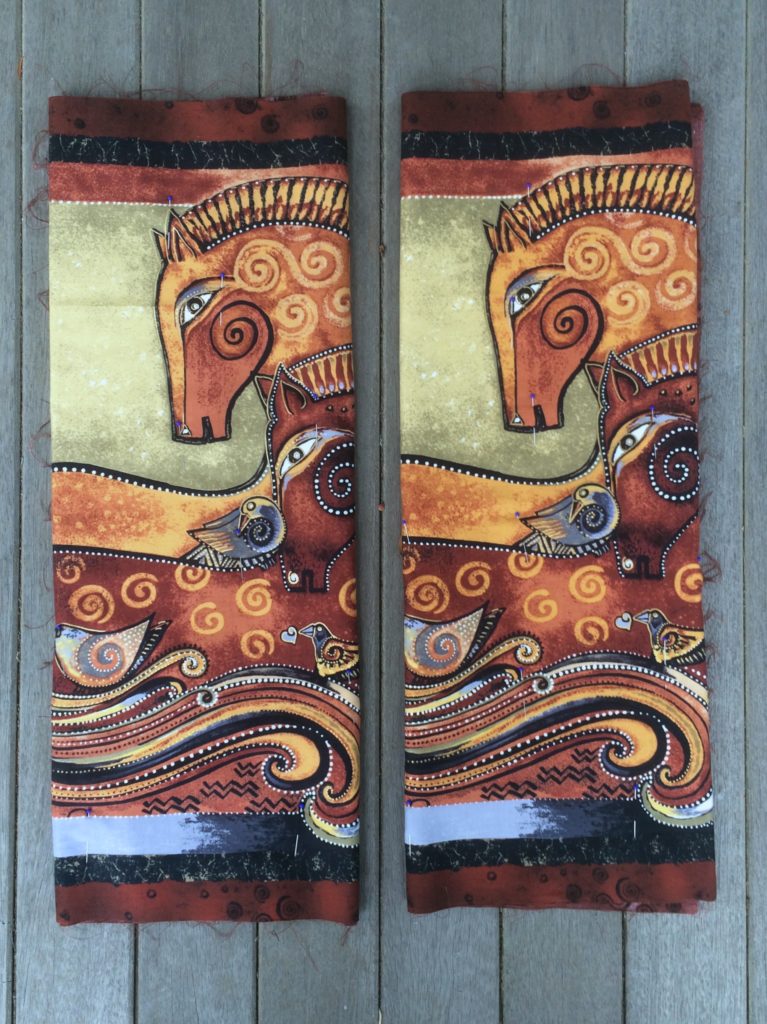
The four stacks from the Panel Fabric, being approximately 24 inches wide, represent eight yards of fabric. They are pictured folded for storage so they do not show off the full pattern of the fabric. I will show them unfolded below.

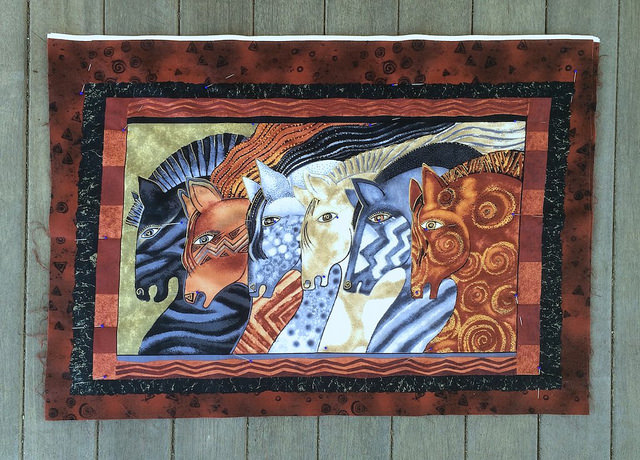
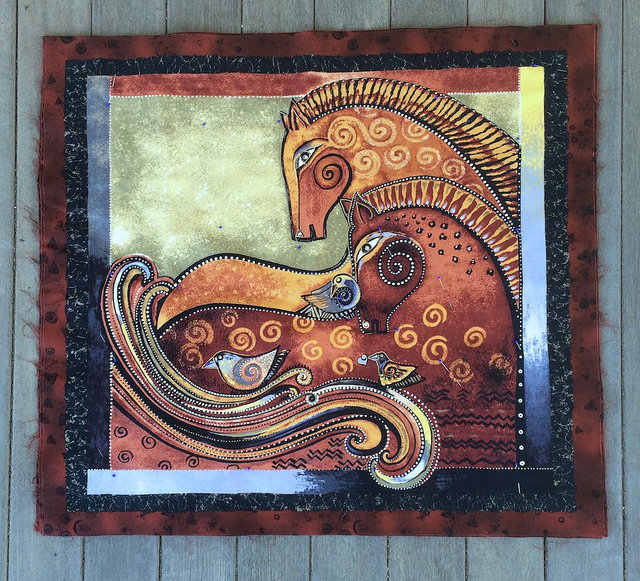
I wasn’t sure at first if I would enjoy working with these panels. But after I started to cut into them to make Kim blocks I really fell in love with this fabric. It is my favorite fabric in the collection. I still have twelve more yards of this fabric in the form of 18 panels. In addition to the panels shown above there is a small strip at the bottom of each panel with gold lettering. I have not yet decided how I will make use of those. I have used some of that fabric so far to cut brown tone on tone pieces from the background.

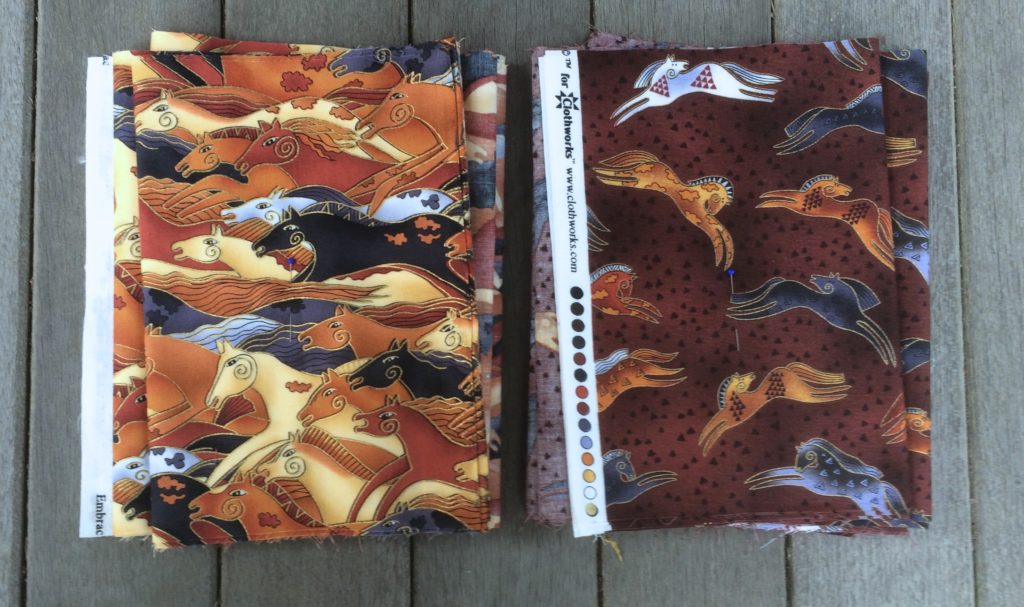
Here we have stacks that are eight inches wide of what I call the Running Horses fabric and the Jumping Horses fabric. These stacks amount to 48 inches of yardage each. I have six yards remaining of the Running Horses fabric, which is enough to make three more layer stacks. I also have an additional yard of the Running Horses fabric.

I have three more yards of the Jumping Horses fabric, which is enough to make two more layer stacks with 12 inches left over.

I have found both of these fabrics to be quite useful in the creation of my Glorious Hexagons.

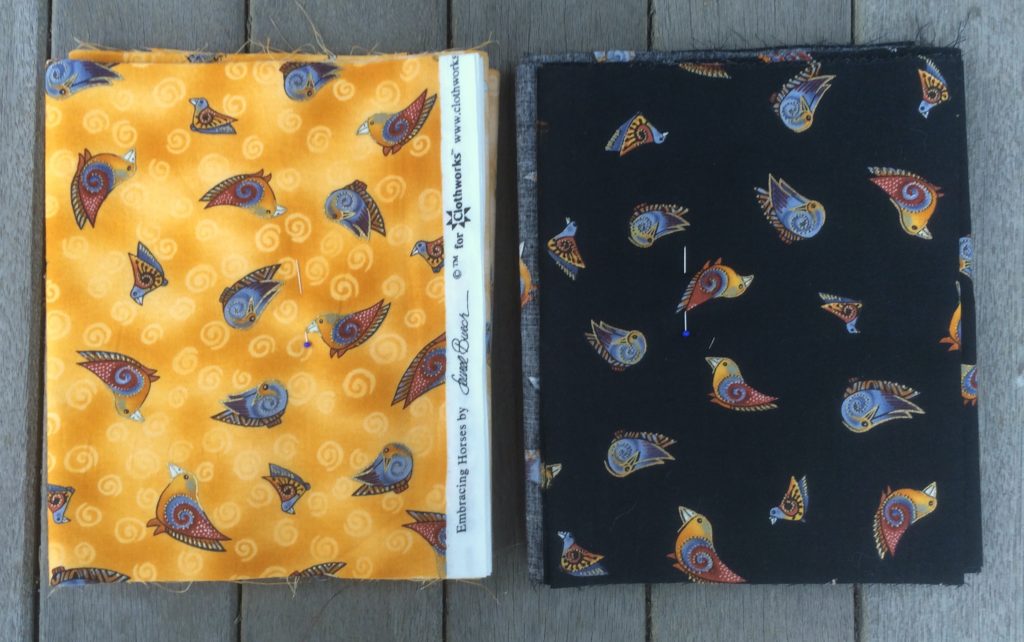
Here we have stacks that are eight inches wide of the Birds on Yellow fabric and the Birds on Black fabric. These stacks amount to 48 inches of yardage each. I don’t have enough of either of these fabrics to make another layer stack. I do have eight inches of the Birds on Yellow fabric and 24 inches of the Birds on Black fabric. These are the fabrics that I like the least in the collection. They each have their charm, but I have not enjoyed using them in the hexagons very much. I doubt I will order more of either of these.

Above we have an eight inch wide stack of the Blue Mane fabric. We also have a twelve inch wide stack of the Blue Mottled fabric. The top stack amounts to 48 inches of yardage and the bottom stack amounts to two yards of fabric.

I have about two yards of the of the Blue Mane fabric remaining, unfortunately it is in three separate pieces, so I am not sure that I could piece together a stack from what I have. I have only a couple inches left of the Blue Mottled fabric.

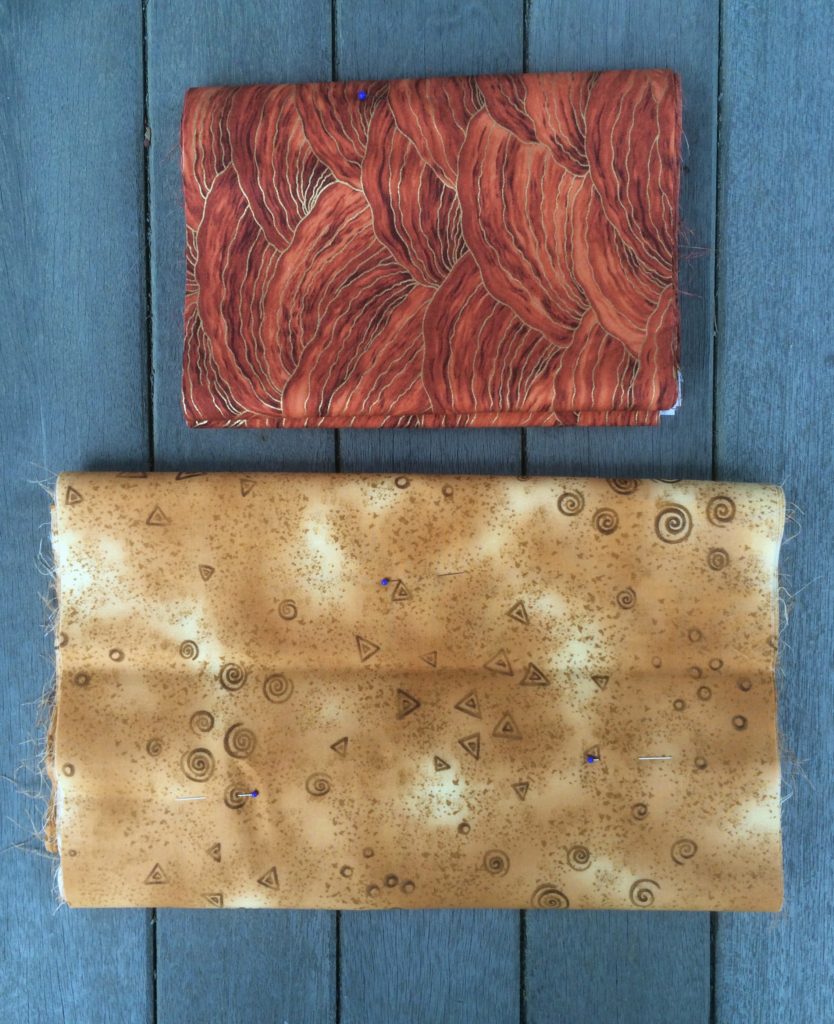
Above we have an eight inch wide stack of the Rust Mane fabric. We also have a twelve inch wide stack of the Yellow Mottled fabric. The top stack amounts to 48 inches of yardage and the bottom stack amounts to two yards of fabric.

I have a yard piece and also a 24 inch piece of the Rust Mane fabric left. I have a yard left of the Yellow Mottled fabric.

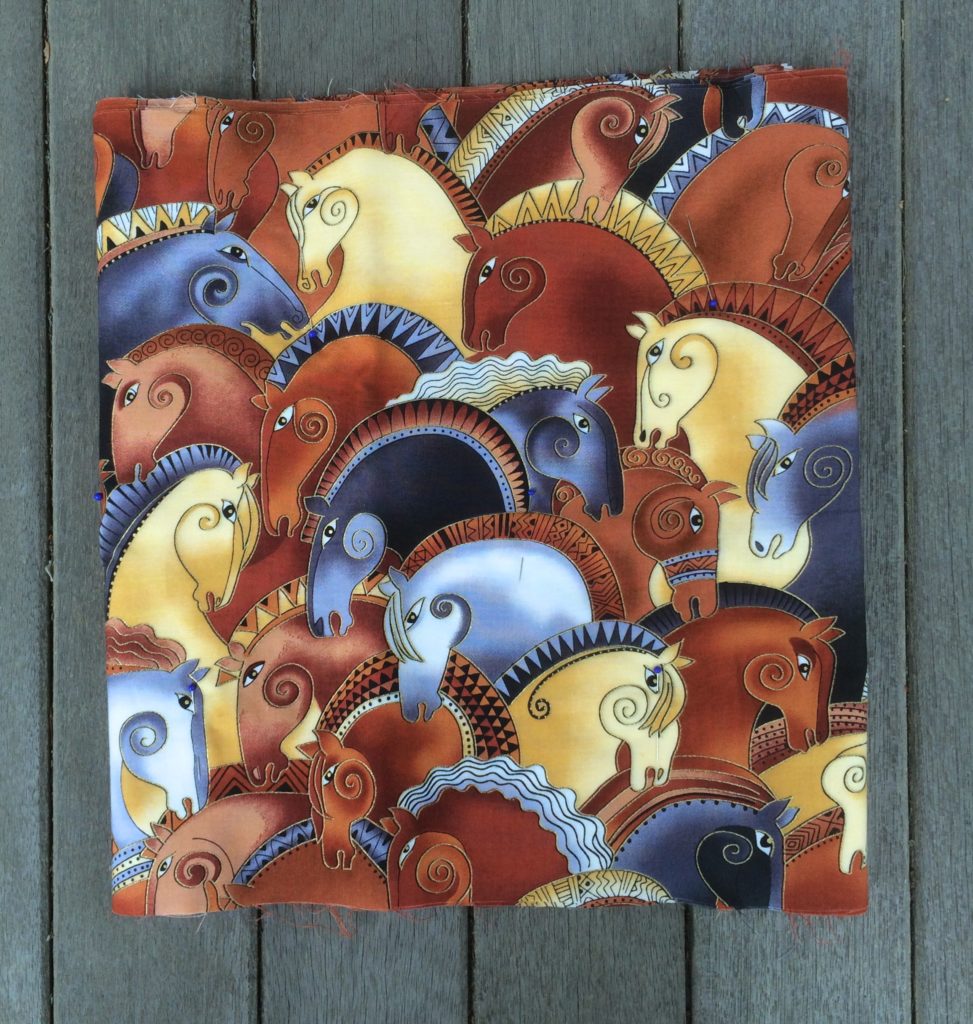
Finally we have the fabric that started it all, the Horse Head Fabric. Above we have a twelve inch wide stack which represents two yards of fabric. I have at least eight yards left of this fabric, which is enough to make four more stacks.

So this is what I’ve got. I have twenty yards of fabric already make into stacks, and 40 more yards, most of which can be made into stacks in the future. I think there could be a few quilts here. I certainly have enough fabric to explore many possibilities, especially with the introduction of solids.

This post is about the fabric I have remaining. What I had used up to this point is anyone’s guess. I’d guess at least ten yards, probably more. So we have in excess of seventy yards of fabric purchased to feed my obsession with this project and whatever projects emerge from the remains.

A word of advice to anyone who wants to stick with a collection of fabric for a Glorious Hexagons quilt… Pick a collection still in print and save yourself the need to scour the internet.

Glorious Hexagons: Assembly Ideas

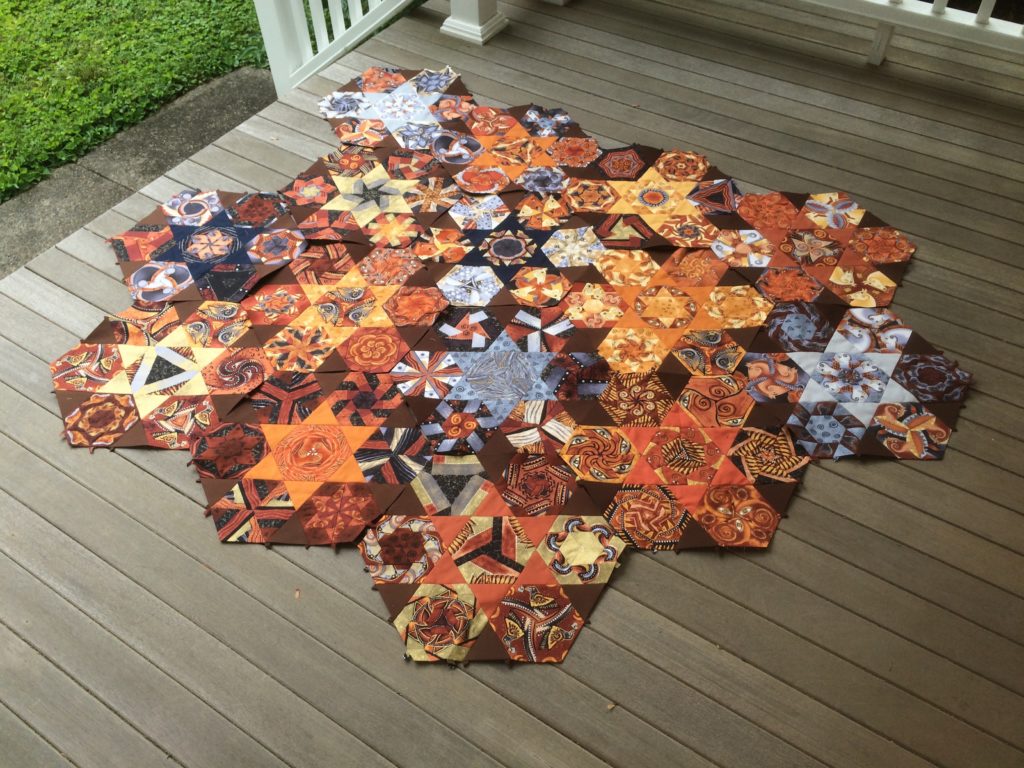
I’ve already committed myself to assembling my three inch Glorious Hexagons into larger nine inch Glorious Hexagons. I’ve shown ten of the large hexagons so far. I can continue to put these units together knowing that they will make a fine quilt some day, but I must eventually decide how to put these larger units together, and how to finish off the edges.

I see three possibilities for assembly.

First, I can lay out the large hexagons side by side without any extra shapes. The disadvantage of this is that the individuality of the large hexagon units becomes lost. If I come to regard the large hexagon units as a convenient means of breaking down the work of assembly rather than individual design elements I can accept that result. The real advantage of the layout is that the design takes on a random jewel like quality. This makes it much more in keeping with the spirit of the Glorious Hexagons quilt idea than the other two layouts I will present.

A closeup of the first layout idea shows that new elements emerge where the edges of the large hexagons come together. Chocolate diamonds come forth. In addition to that medium sized (six inch) hexagons are formed. Those medium sized hexagons are composed of three small hexagons and three Chocolate diamonds. The design is essentially composed of three inch, six inch, and nine inch hexagons. The nine inch hexagons, however, become virtually lost in this layout.

The second assembly method involves the use of large triangles as setting pieces used to assemble the large hexagons into rows. Each triangle is nine inches on each side and is composed of one three inch hexagon and three solid Chocolate triangles. The large hexagons do not become completely lost in this method of assembly, but they do fade away a bit, and perhaps the only reason I can see them is because I worked so hard to put them together.

If I were to pursue this second method of assembly I might want to create hexagons specifically designed for the setting triangles. Those hexagons would have centers that would echo the star shapes of the larger hexagons. The images below show this concept in action.

Some of these central star colors are better suited to these jewel pieces shown above. They are offered simply to give the idea of what can be achieved with the use of solid colored stars in the smaller hexagons. Using these stars in the setting triangles might allow the large hexagons to stand out more.

The third method of assembly also involves the use of large setting triangles to assemble the large hexagons into rows. In this case each nine inch triangle is composed of one solid Chocolate three inch hexagon as well as three solid Chocolate triangles. This results in a solid Chocolate nine inch triangle. This method preserves the integrity of the large hexagon units very well if that is to be desired. It also creates a new element in the form of a chocolate star the same size as the various colored stars that make up the centers of the large hexagons.

The three choices range from chaotic, to less chaotic, to ordered. It is no surprise that my husband has a preference for the final method. I do not have a preference myself at this time. I am likely, however, to put the quilt together using the third method to please my husband. I am also likely to continue to create more large hexagons with my wealth of fabrics in the Embracing Horses collection. I will then put together a quilt or at least a wall hanging using the first method.

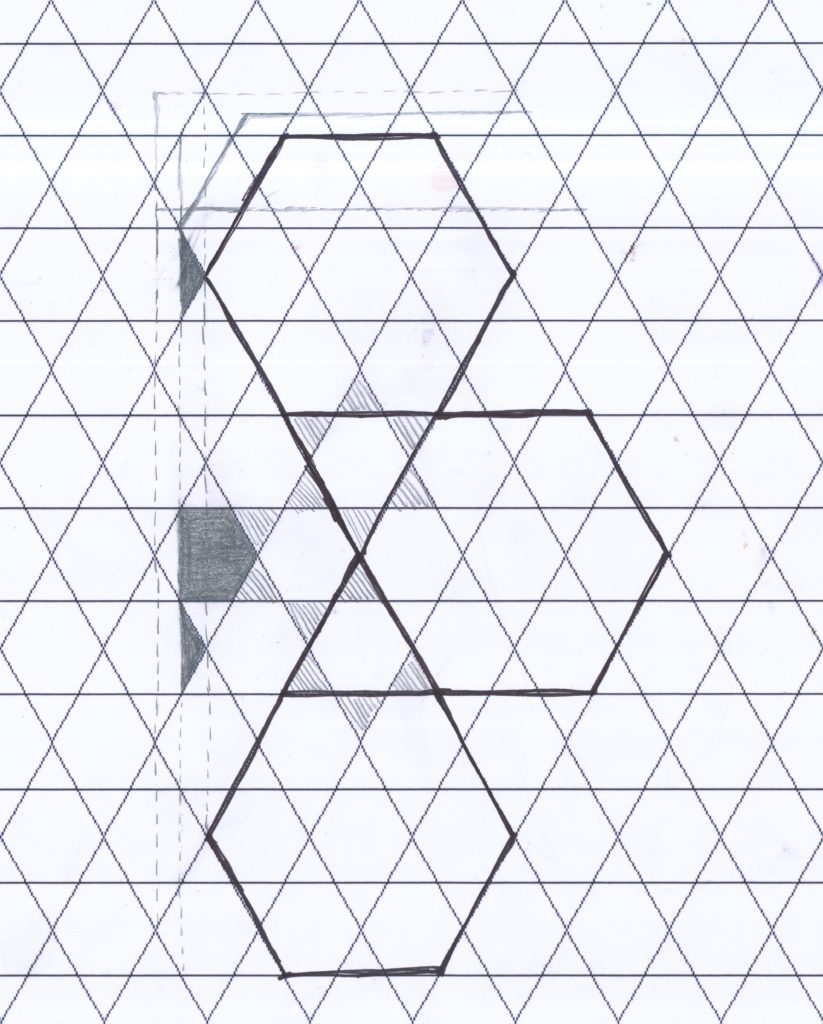
Once an assembly method is chosen the last thing that needs to be considered in the assembly of the quilt top is how to finish off the edges. The drawing above represents the upper left corner of the quilt top. Along the side of the quilt there will be triangular areas that must be filled. I need to decide how far to extend the edges and plan for the assembly of units to occupy the spaces along the sides. I also need to consider how I am going to finish off the top and the bottom. If I am going to do a standard bias binding I must add some fabric to the top and the bottom so the binding will not extend onto the hexagon shapes. The markings along the top show a solution that will extend the edge by an inch and a half.


Glorious Hexagons: Big Hexagons 6 Through 10

Here are the next five big hexagons along with my thoughts about their creation.

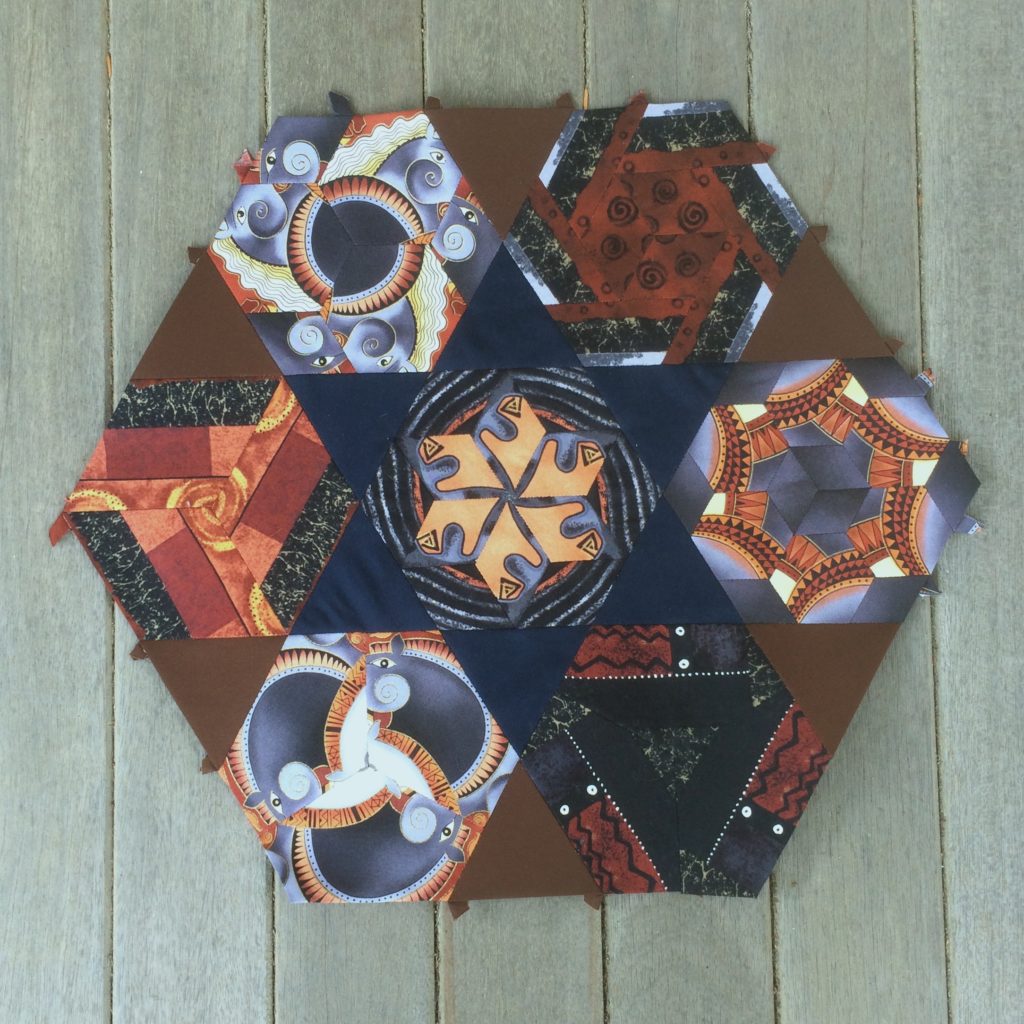
The central triangles for this block were cut from a blue fabric exactly like the yellow fabric that was used for the triangles on the first large hexagon that I put together. I alternated triangular and circular patterns for the cuts for these triangles.

I had a hard time deciding on the central hexagon for this block. I considered cutting a piece of the fabric that I used for the triangles and inserting a solid three inch hexagon made from it into the center. I had a Doloris block, however, made with the same color but in a mane patterned fabric. After making that block I thought I was not going to find a good way to use it in the quilt. It called too much attention to itself and it was too different from anything else I had made. Therefore, I thought it was going to stick out like a sore thumb next to the other blocks. However, it blends nicely with the blue patterned diamonds and circles of similar hue and value.

I’m glad I chose to use this unusual block for the center hexagon. The outer hexagons are all composed of pieces cut exclusively from the panel fabric. In retrospect I wish that I had worked harder to find a block with a darker gray element in it for the lower left block. It looks too much like the block immediately above it and to the right. In the final quilt I doubt that I will give it a second thought though.

I had put in an order for some Kona solids to audition for possible use in creating the central stars of the large hexagons. I used one of these solids in the block above and more of them will appear in future large hexagons.

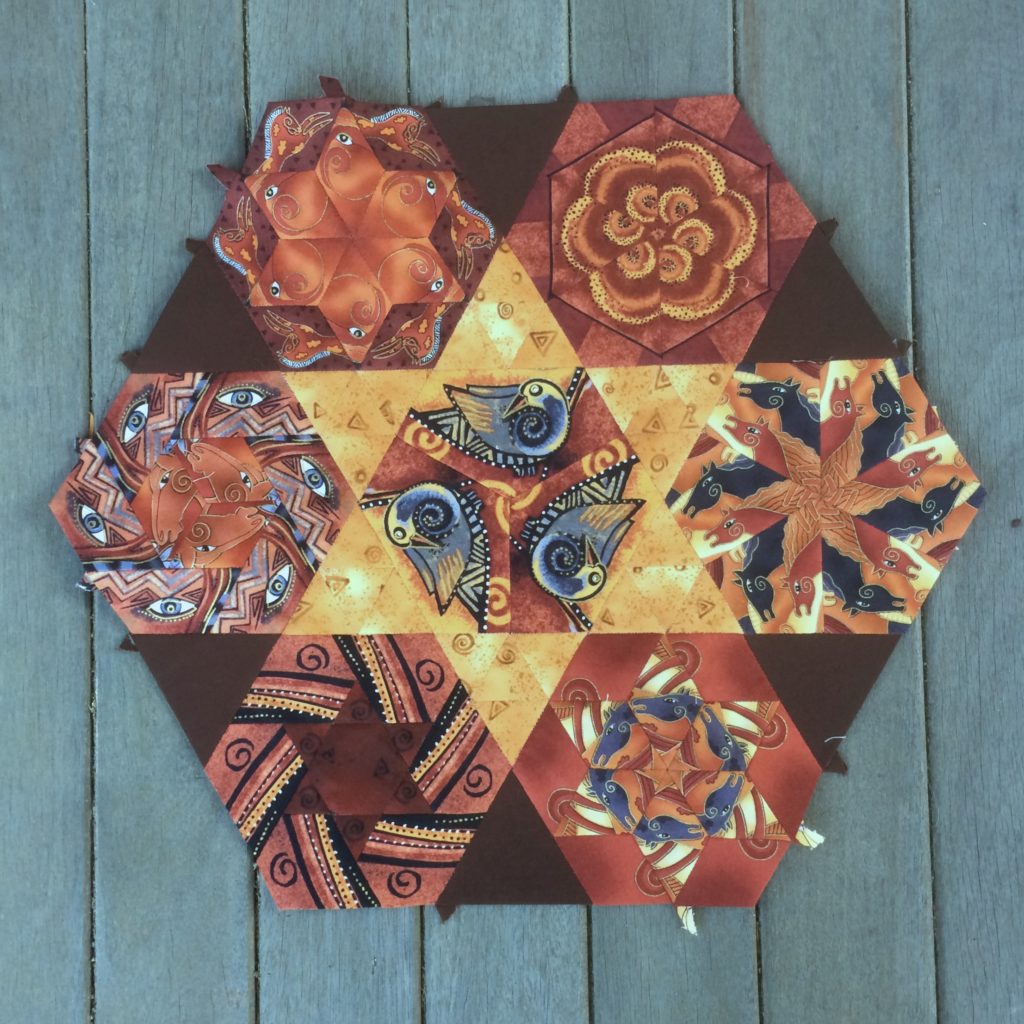
The inner triangles of this block are made from Kona Spice Fabric. This is the fabric that most nearly matches the color in the rust horse mane fabric. It is nearly a perfect match. I used one of my favorite bird blocks for the center. I love the way the bird bodies merely kiss each other leaving a tiny triangle of rust colored fabric at the center of the block. None of the colors of the central hexagon exactly match the Spice fabric so the star seems to be recede to connect to the three outer hexagons that feature the rust mane fabric. I alternated those three blocks with blocks using recognizable large horse heads.

Notice the propeller effect of the manes on the lower right block. This is one of my favorite effects to use in fussy cutting the Large Horse Head Fabric.

One thing that I am not keen about is the way that the light gray in the upper right block draws attention.  If you squint at the block you can see that easily. Three of those horses are just too light and too blue. I think that is the problem. Once again, though, in the big picture it probably won’t matter.

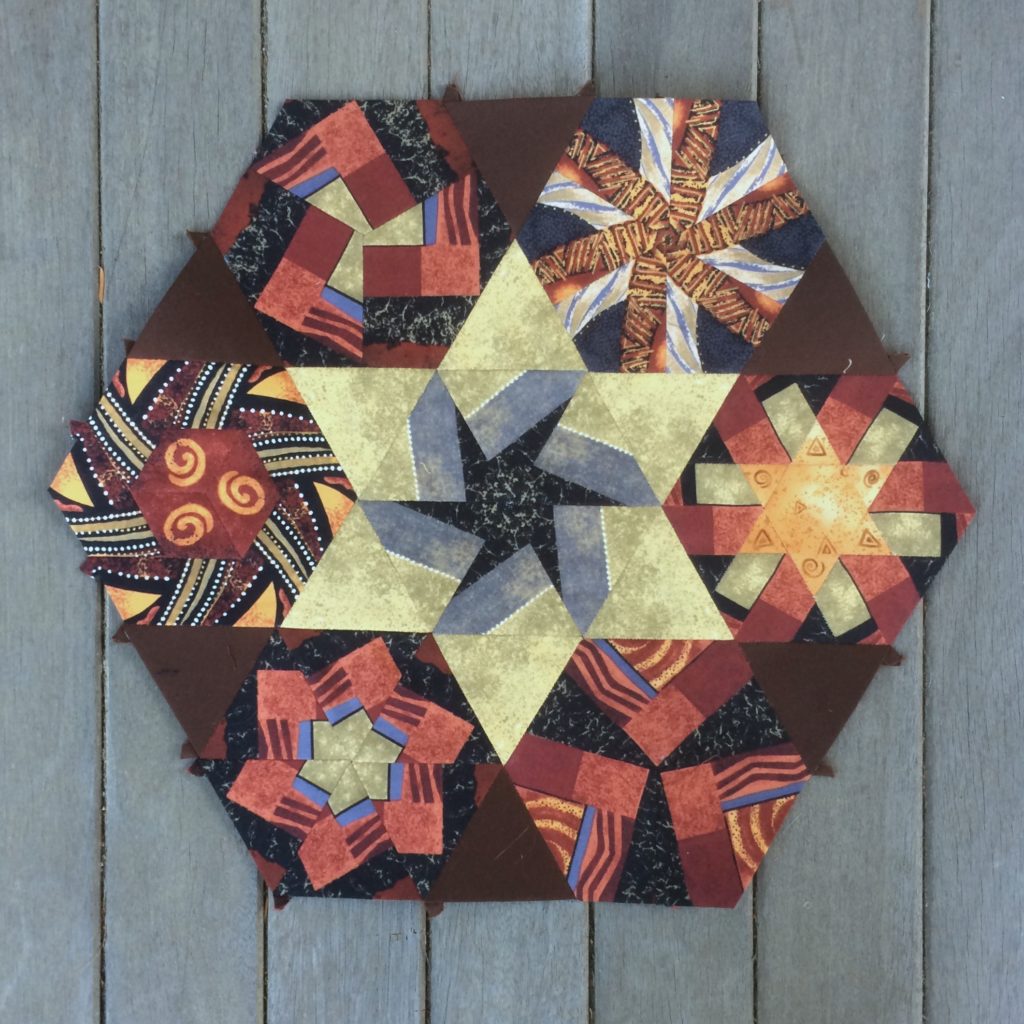
This is my favorite big block so far. I used the green mottled section of the Panel Fabric for the green central triangles of this block. I chose a block for the center hexagon that had a bit of that green which would touch the triangles in three locations. I love the way it turned out. I didn’t alternate the outer hexagons in any special way. I simply chose a variety of blocks with a rust emphasis. The pieces for the blocks were cut primarily from the Panel Fabric with the exception of the lower right block which was cut from the Jumping Horses Fabric.

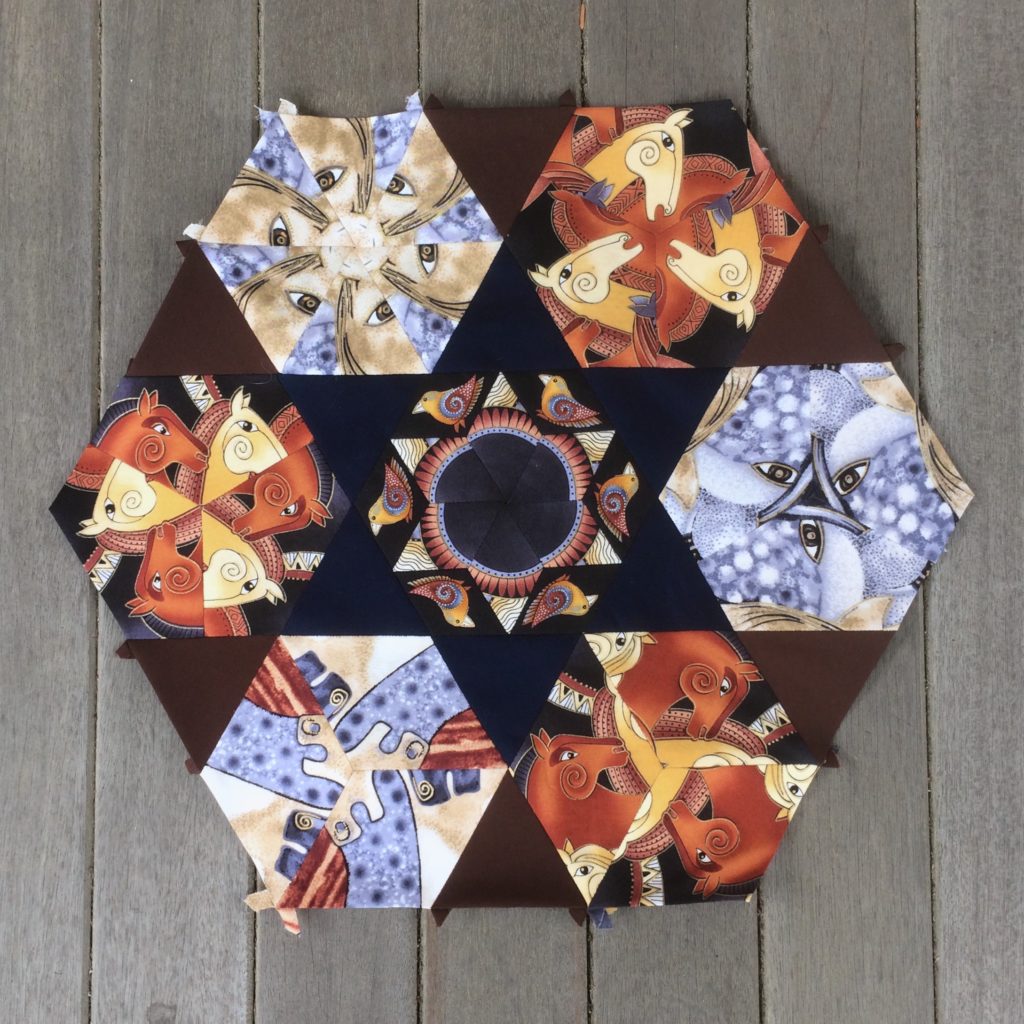
The central triangles of this large hexagon were cut from Kona Indigo fabric. I was very conflicted about using the Indigo because I knew it would recede into the background whereas the other stars, being lighter, would all pop to the top of the quilt. The central hexagon, one of my favorites, simply screamed for the Indigo triangles, however. Who am I to deny such a noisy block? So Indigo it was, and I am so happy about it. So happy, in fact, that I am thinking about a quilt made of large hexagons with nothing but Indigo centers, but that is an idea for another day. Three of the outer hexagons in this block have a definite blue emphasis to harmonize with the central block. They are alternated with blocks with more of a brown emphasis.

On the heels of my success with the previous Indigo star I could not stop. I had to do another. The triangles of this large hexagon were also cut from Kona Indigo fabric. The central hexagon chosen for this block melds nicely with the triangles surrounding it. This keeps it at the same visual level as the triangles. Three of the outer hexagons were cut from the Panel Fabric and have a very light blue emphasis and contrast sharply with the edge of the central triangle. The other three alternating hexagons were cut from the Large Horse Head fabric and have a rust color emphasis. Notice, however, that all three have elements of dark blue in the background to harmonize with the Indigo of the central star.

I’m still assembling large hexagons and starting to lay them out on my queen sized bed to try to decide how I am going to finish off the edges. When I have five more completed I will post them.

Glorious Hexagons: Big Hexagons 1 Through 5

Recently I had to clean up the dining room, which also happens to be my work area for my Glorious Hexagons work. We had company for a week and we needed a place to eat meals.

That left me with no place to cut fabric and no place to glue baste my pieces. I had everything pushed to the side and I thought I was going to get by for a week without stitching, but I failed to realize how strong the urge would be to take up needle and thread.

It seemed that the least messy way to satisfy my urge would be to assemble some of my three inch assembled Glorious Hexagon blocks into a larger hexagon unit. I was only going to make one of these blocks, but after making one I realized that I would assemble the entire quilt using these large blocks. They would provide me with an intermediate step between small block assembly and final quilt construction. They would provide me with a means to insert the colored star units with minimal fuss. They would also save me from having to fiddle with nearly 300 small blocks when it came time to sew the quilt top together. It seemed like a no brainer for me. So I just kept on sewing those large hexagons until I had quite a few. Currently there are eleven finished, one in the works, and four more big block units portioned out into plastic bags ready to assemble.

I will be showing the first five blocks in this post..

I came up with the idea of putting together hexagons and triangles in the same configuration as the block named Willa from The New Hexagon book. All of the blocks will use Kona Chocolate for the outer triangles. The inner triangles will change color from block to block. For this block I pieced the inner triangles from very small scraps of a yellow patterned fabric that is a part of the Embracing Horses collection. Each triangle is made up of four smaller triangles which are joined randomly. The outer hexagons are all primarily rust colored and composed of pieces cut from multiple fabrics in the Embracing Horses collection. Looking at the top edge of the central hexagon you can see that the yellow of the triangles melds nicely with the yellow of the hexagon above the bird.
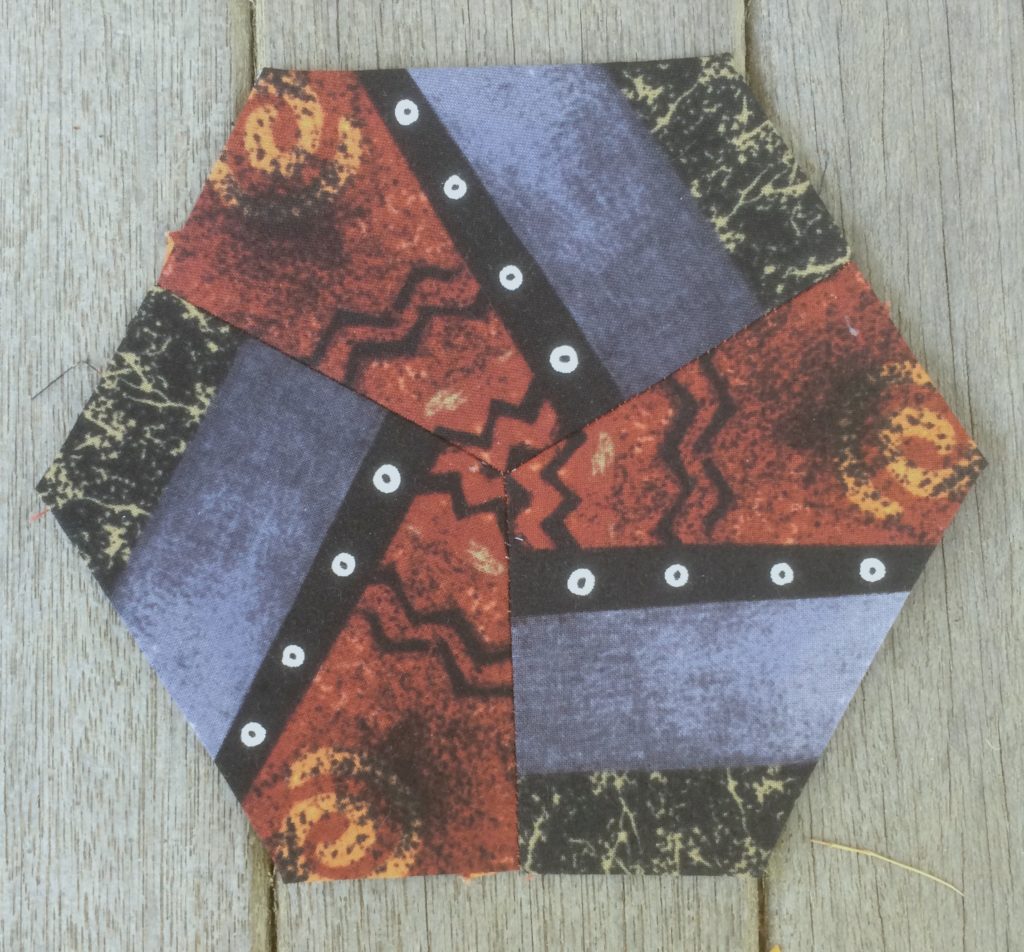
This block uses the mottled green section of the Panel Fabric for the central triangles. All of the hexagons are composed of pieces cut exclusively from the Panel Fabric. These hexagons are very mechanical in feel. There are no horsey parts to be found.

The inner triangles of this block are cut from Kona Tera Cotta fabric. It is a bit on the bright side but I thought that it worked well with the surrounding hexagons. All of the hexagons are composed of pieces cut exclusively from the Panel Fabric with the one exception of the horse heads along the outer edge of the central hexagon. This piece has an emphasis on horse eyes. They appear in the central hexagon as well as three of the outer hexagons. The outer hexagons with horse eyes are alternated with hexagons that make use of the mane fabric. The upper left hexagon is a block named Katja. I like the way that Katja looks, but she is a bitch to assemble. She also presents difficulties when piecing her to other units because of the three points that come together at the end of each edge of the block. The outer blocks were alternated with horsey eye blocks followed by mechanical mane blocks. Even though they are basically the same color and value they do have a different feel to them.

The central triangles of this block are cut from Kona Ash fabric. For the first time I tried a bit of a different configuration for the outer hexagons in terms of color placement. I alternated hexagons that were primarily blue in color with hexagons that were primarily rust in color. I have since repeated this alternation concept a number of times with other large hexagons. This placement of blocks gives a bit of a dimensional look to the larger block that resembles plane propellors.

The central triangles of this block are cut from Kona Butterscotch fabric. I continued with the concept of alternating the outer hexagons. In this case I chose three highly detailed blocks that had some lighter elements in them. I chose to alternate those blocks with three blocks that were primarily heavier and darker in value. The darker blocks appear to fall back in space and the lighter blocks appear to come forward a bit.

My next post will feature the next five large hexagons.

Glorious Hexagons: Three Layer Panel Stacks

The last 34 Glorious hexagons that I showed here were made all cut from the Panel Fabric. I decided to put together three layer stacks of both sections of the Panel Fabric and cut nothing but Kim and Dolores blocks from those stacks.

Here is the entire Panel Fabric from which the sections were cut.

The stack above is the first section.
The stack above is the second section.
Here we have the first section with four pieces cut to make four Kim blocks.

Here we have the first section totally exhausted of possible Kim and Doloris cuts.

Here we have the second section totally exhausted of possible Kim and Dolores cuts.

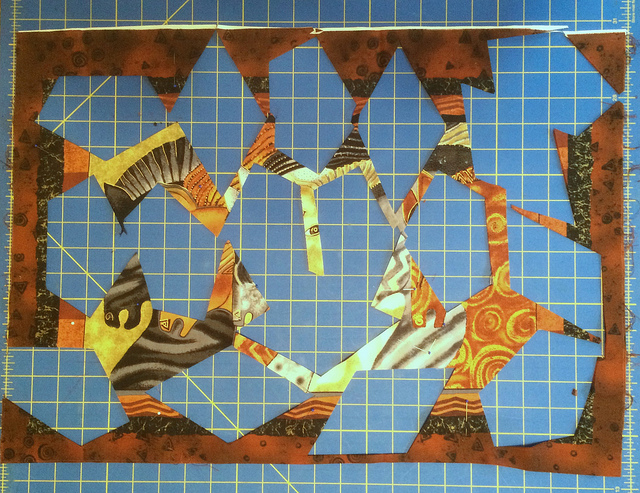
Committing myself to cutting both sections completely with Kim and Dolores blocks did result in some blocks that I might not otherwise have cut. I imposed these restrictions upon myself simply as a means of stretching my limits, and I believe it was a worthwhile exercise. That being said, I did not feel it was beneficial to cut every possible area in the second section of the Panel Fabric. Looking at the piece above you can see areas that could have been cut into Kim and Dolores blocks, but I felt that to do so would not result in very good blocks. Therefore, I left those areas behind so I could cut smaller shapes later.


Here are the 17 blocks made from the first section of the Panel Fabric arranged next to each other without setting triangles.

Here are the 17 blocks made from the second section of the Panel Fabric arranged next to each other without setting triangles.

Here are the 17 blocks made from the first section of the Panel Fabric arranged next to each other with setting triangles.

Here are the 17 blocks made from the second section of the Panel Fabric arranged next to each other with setting triangles.

Here are all 34 blocks made from both sections of the Panel Fabric without setting triangles.

I would have taken a photograph of all of the blocks with setting triangles, but I had run out of Kona Chocolate at the time. Since taking these shots I have combined many of these blocks into larger hexagon units, so I’ve missed the opportunity to photograph them together with setting triangles.

As a result of my three layer panel experiment I have come to a few conclusions. First of all I really love blocks such as Kim and Doloris with very few pieces. I intend to make more of these three piece blocks along with a few other blocks that use only six pieces, such as Carol and Doris. Blocks like these are especially well suited to fabrics that have large elements of subject matter. This is the case with the Panel Fabric. It is also the case with the Large Horse Head Fabric. My second conclusion is that I find it limiting to work with only a three layer stack. I felt that it made me make too many arbitrary compositional choices. I think moving forward that I will be making only six layer stacks and accepting the fact that this will yield duplicates when cutting Kim blocks. It will also leave me with extra pieces when I require only three repeats of certain shapes in some blocks.

My next post is going to feature the nine inch large hexagons that I have been putting together using these blocks.

Glorious Hexagons: The Sixteenth Decade

Here are Glorious Hexagons 151 through 160.

#6 Doloris

#54 Kim

#54 Kim

#54 Kim

#54 Kim

#54 Kim

#54 Kim

#54 Kim

#54 Kim

#6 Doloris

With this decade we are almost caught up with all of the blocks I have created so far. There are only two more blocks left to display from the three layer stack panel fabric experiment, so I will display them here even though they are a part of the seventeenth decade of blocks. So here are blocks 161 and 162.

#6 Doloris

#54 Kim