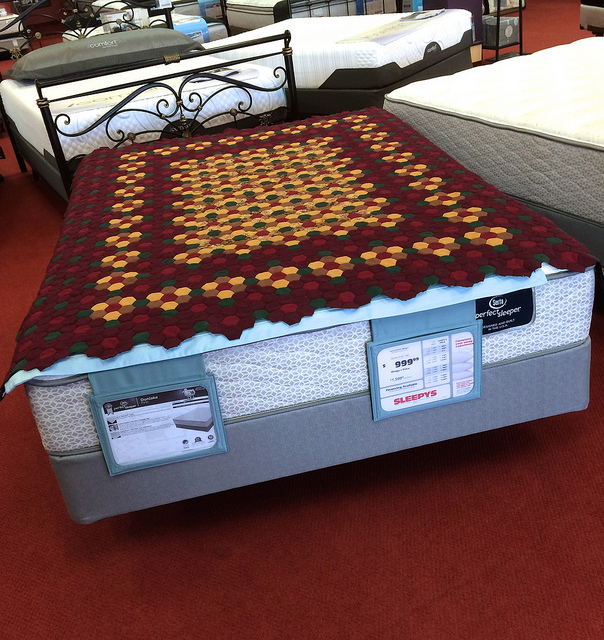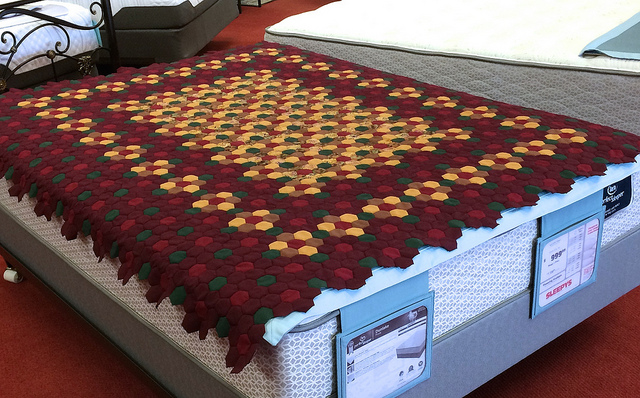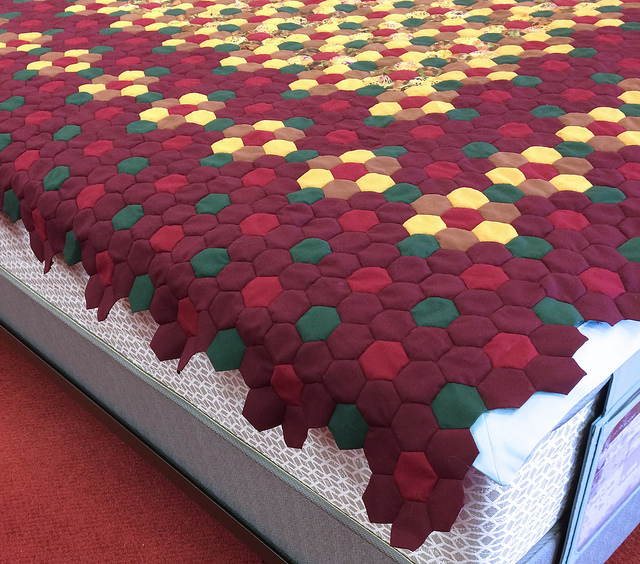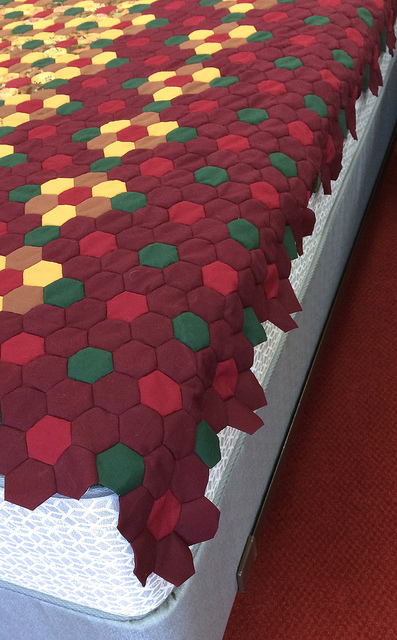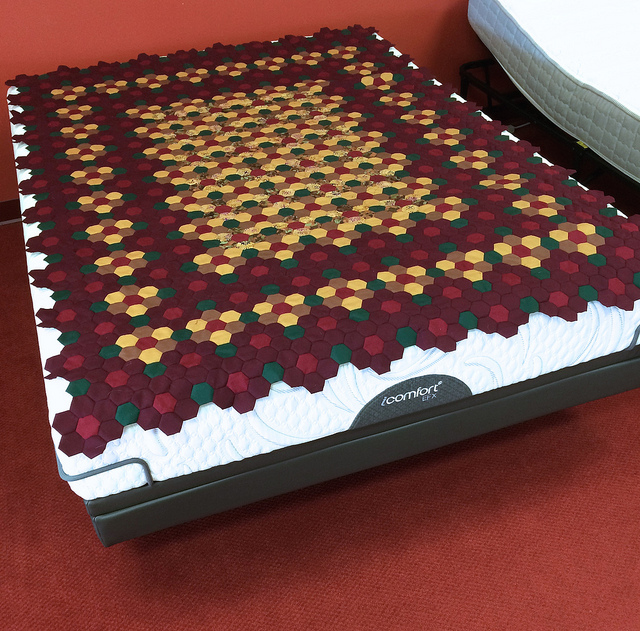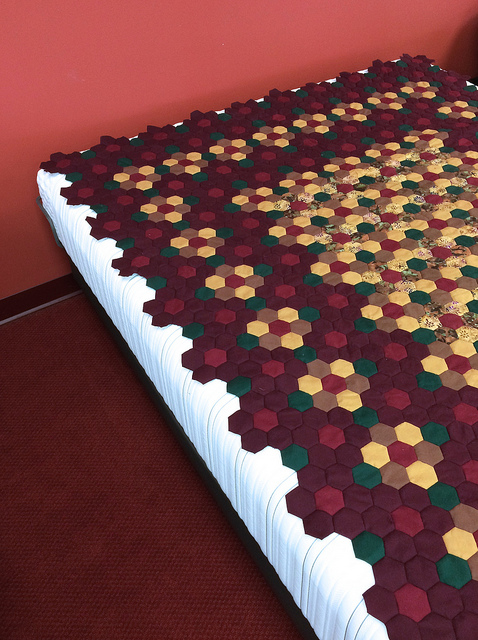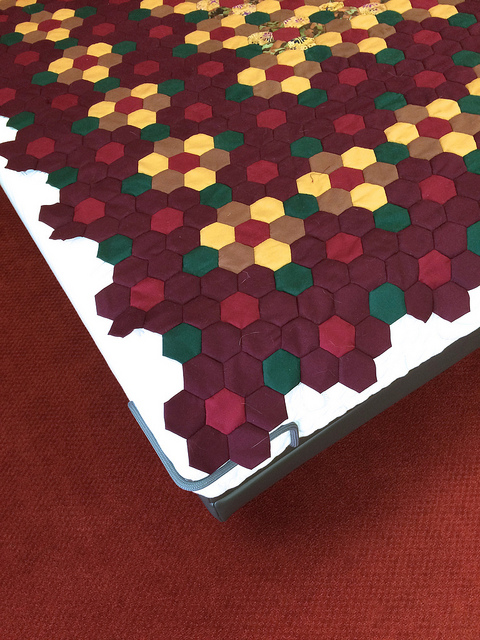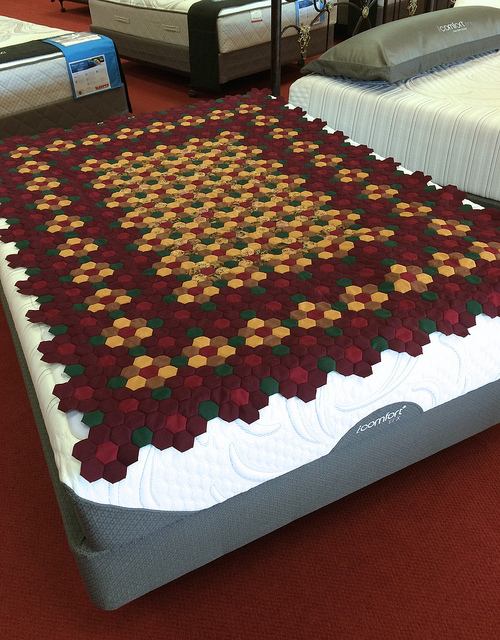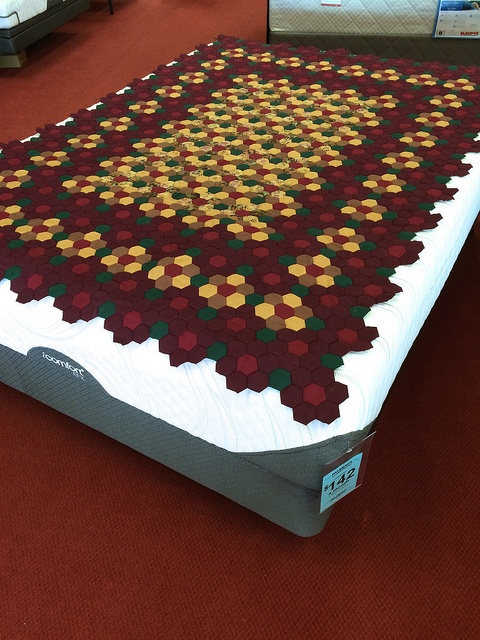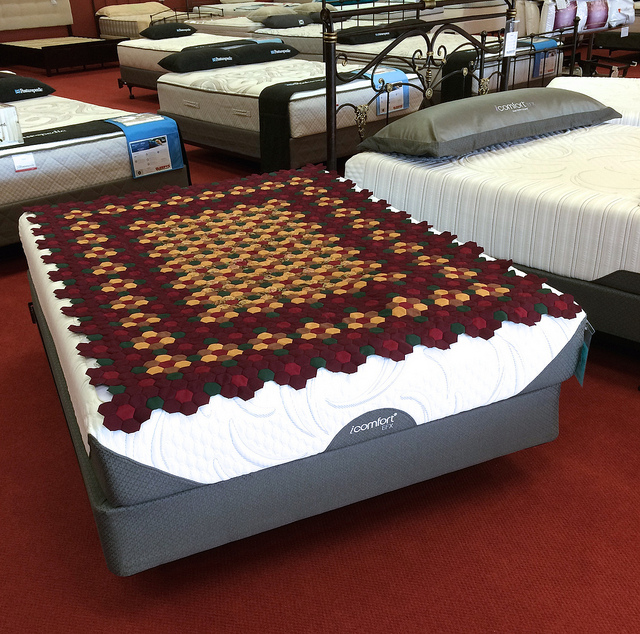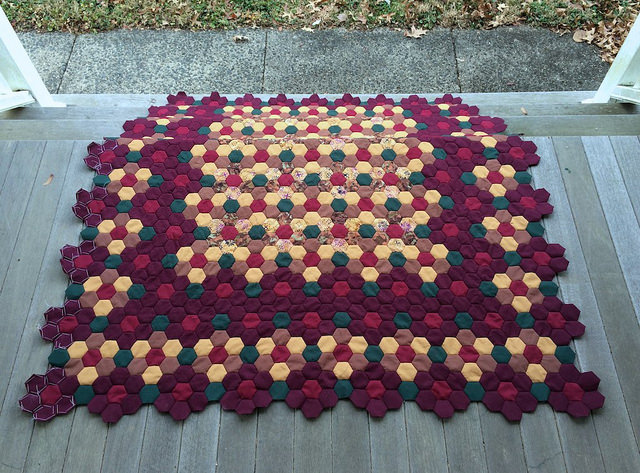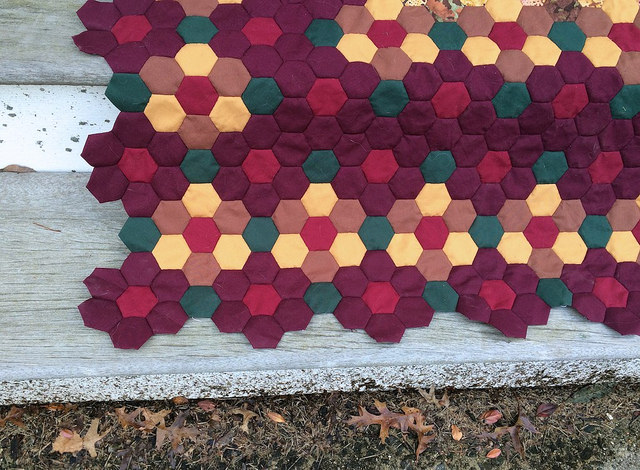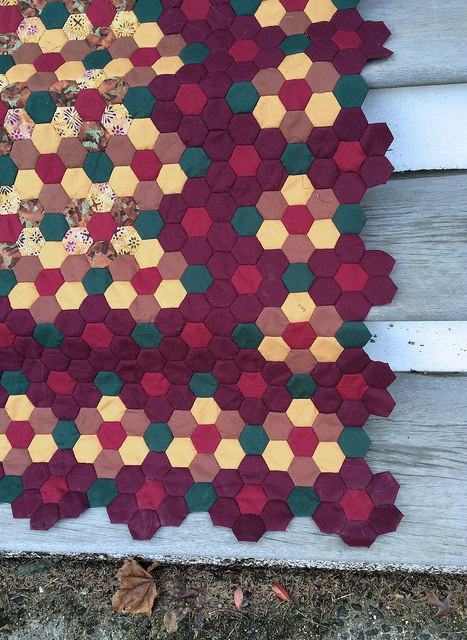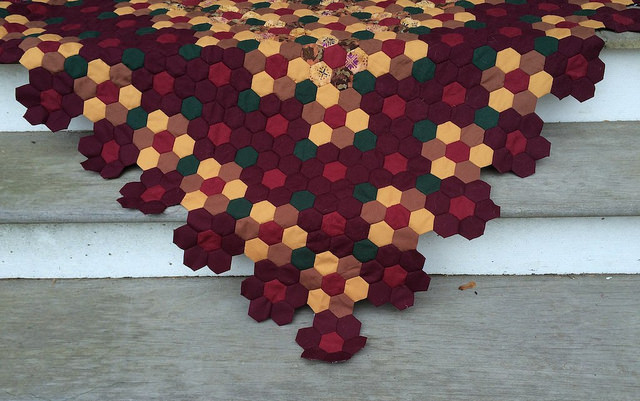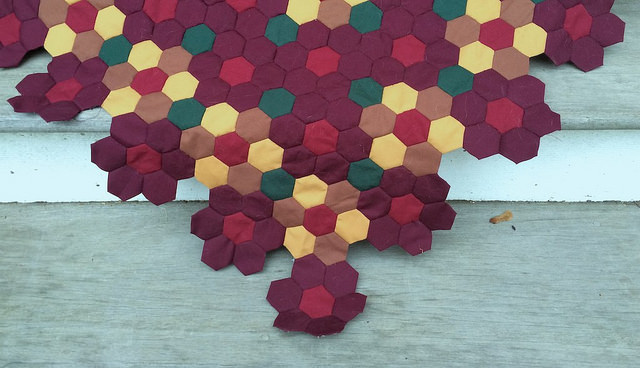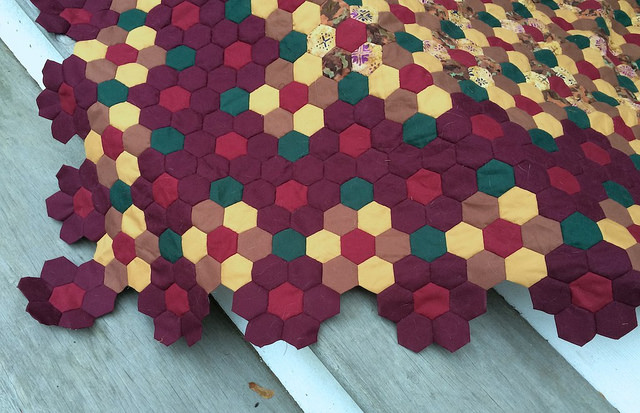
Batik Flower Garden Quilt Reaching Down the Sides of the Mattress

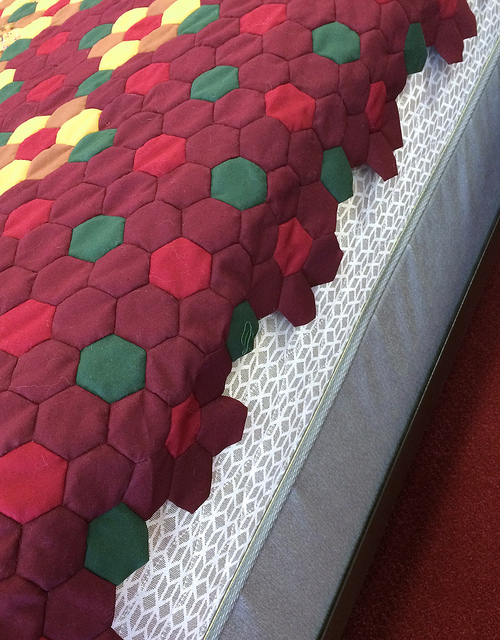
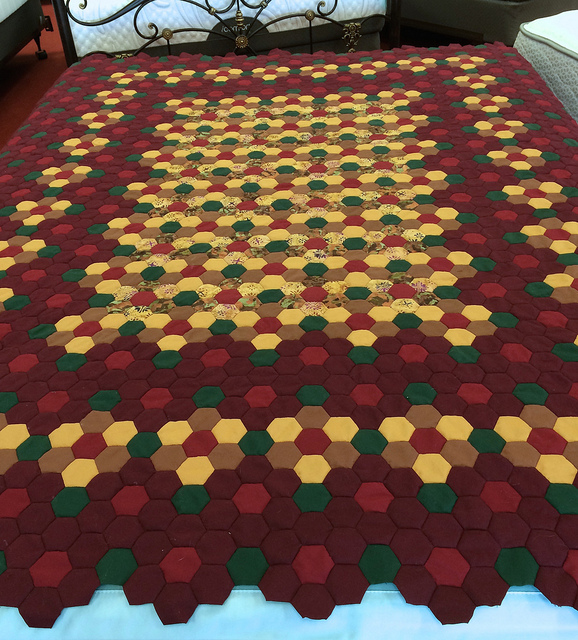
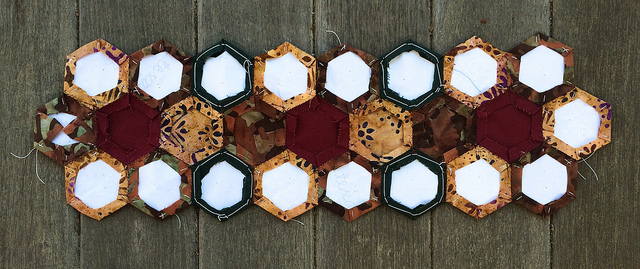
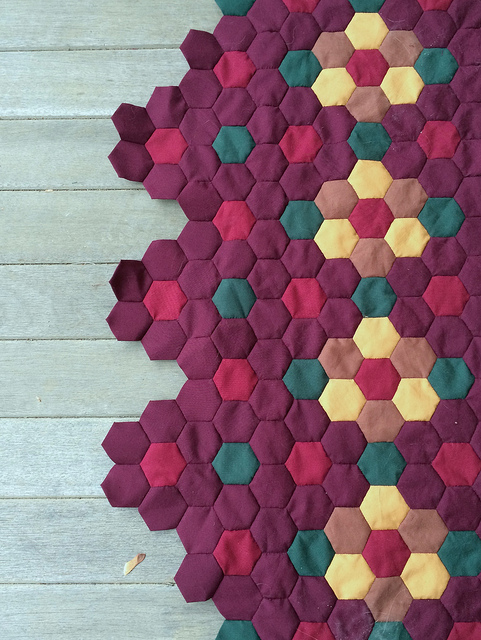
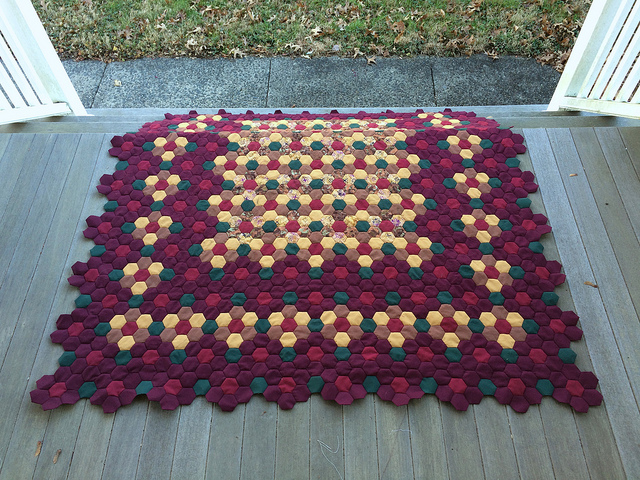
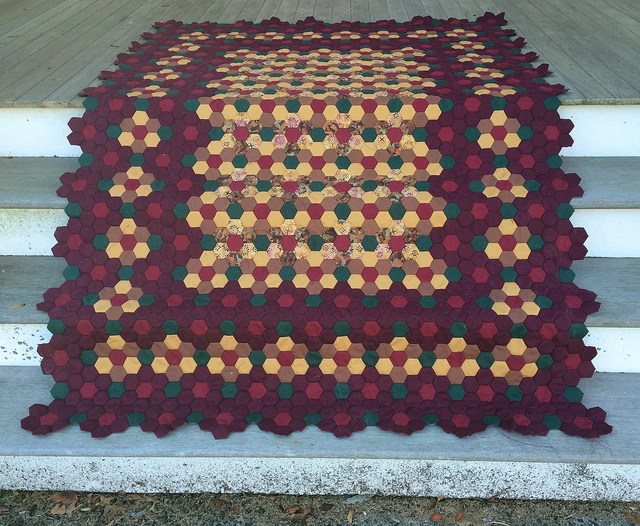
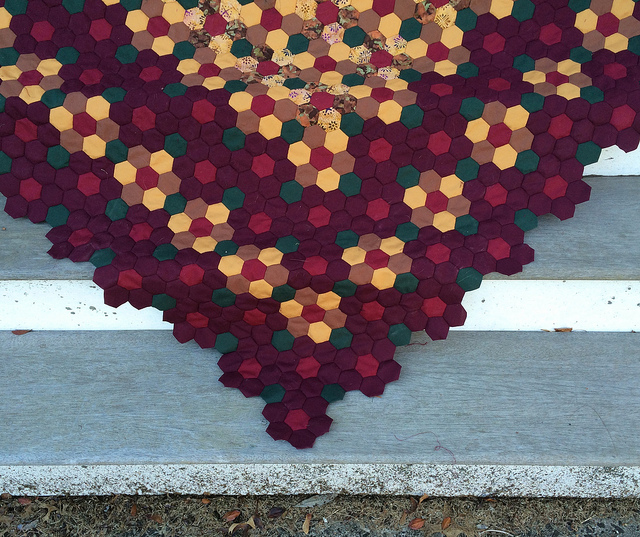
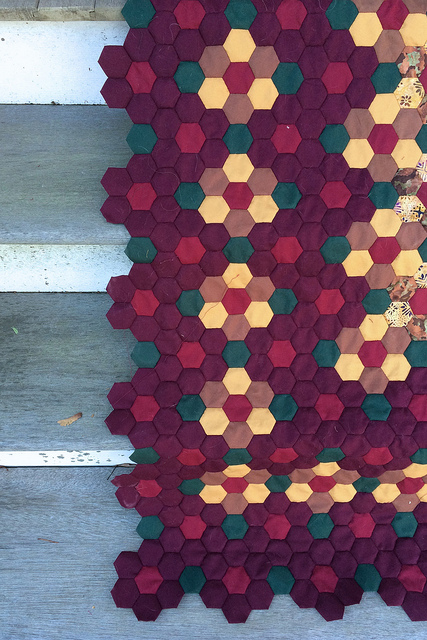
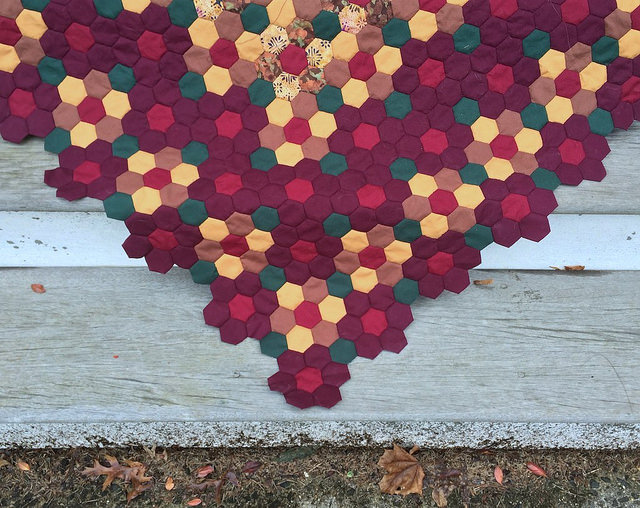
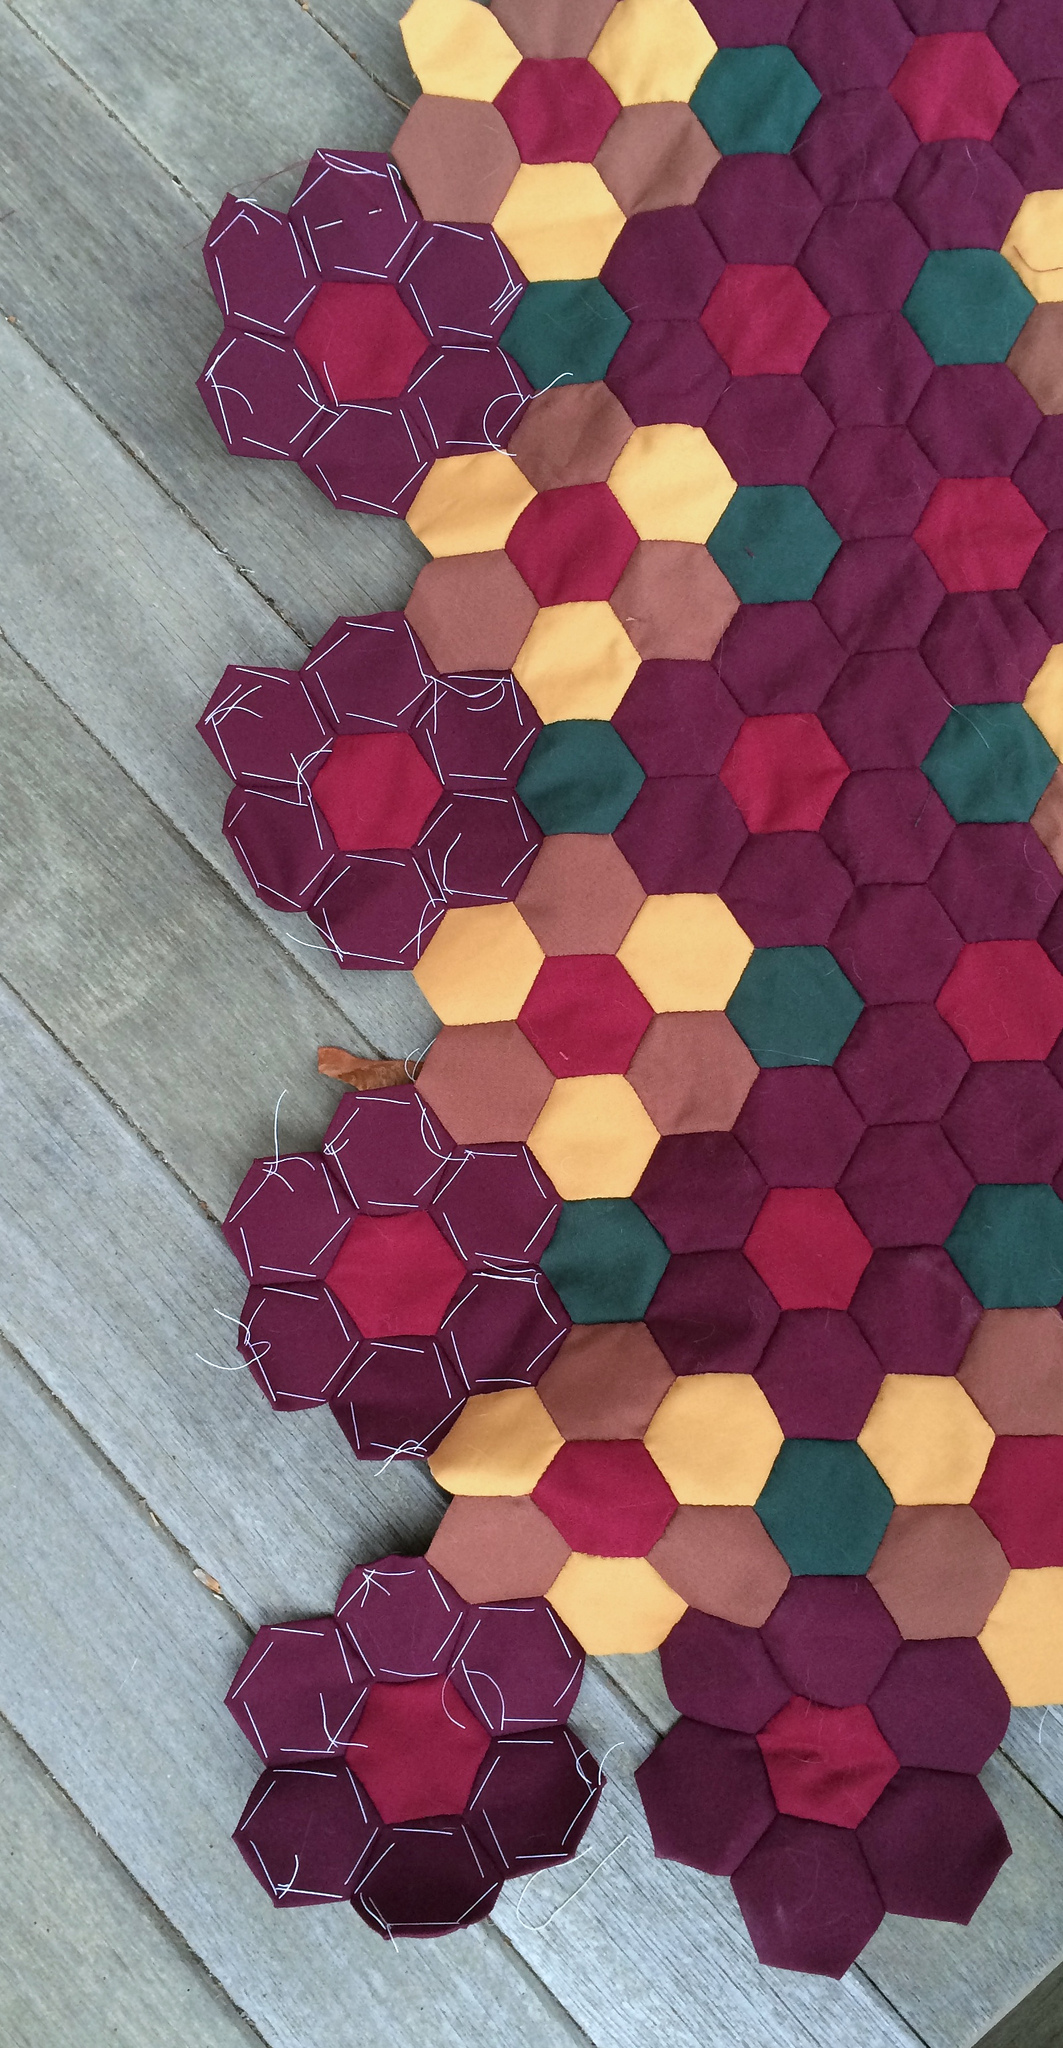
As predicted last week I managed to finish adding the fourth row of burgundy flowers to each side of the Batik Flower Garden Quilt. So it was back to the mattress Store for a good look at how the top is fitting the mattress.


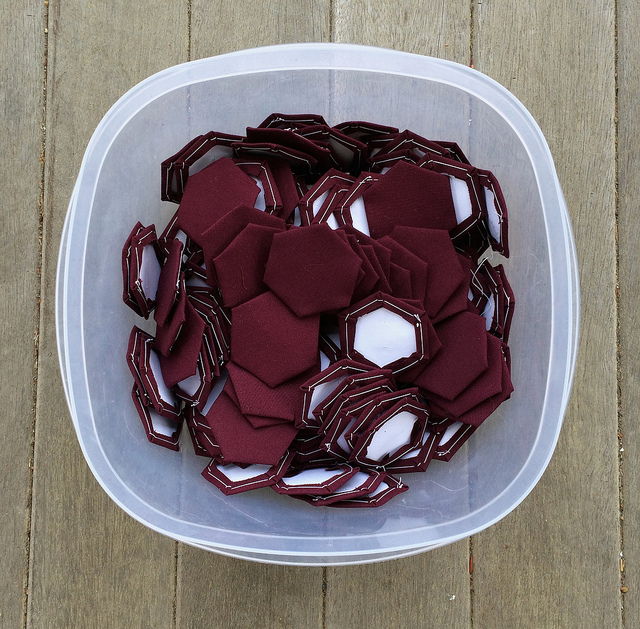
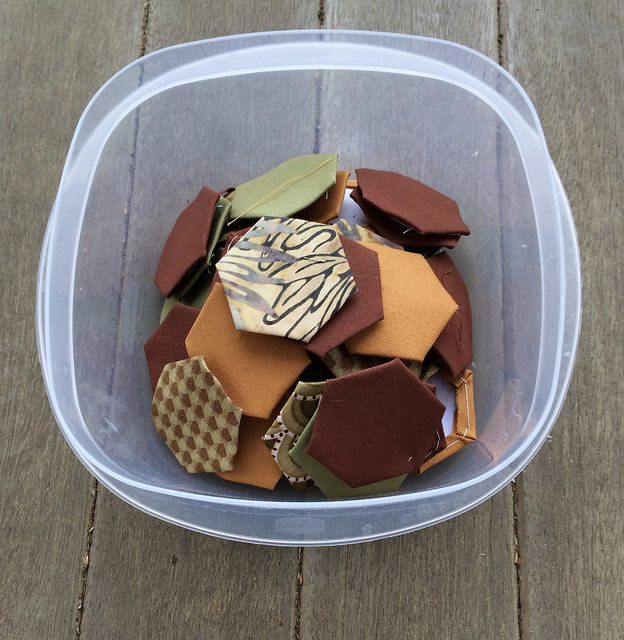
I managed to baste 144 burgundy hexagons which is enough to put together 24 burgundy flowers for the bottom edge of the quilt.

By this time next week I hope to have a decision about which end will be facing up. I also plan to have all 24 burgundy flowers completed.


Virtual Sewcial

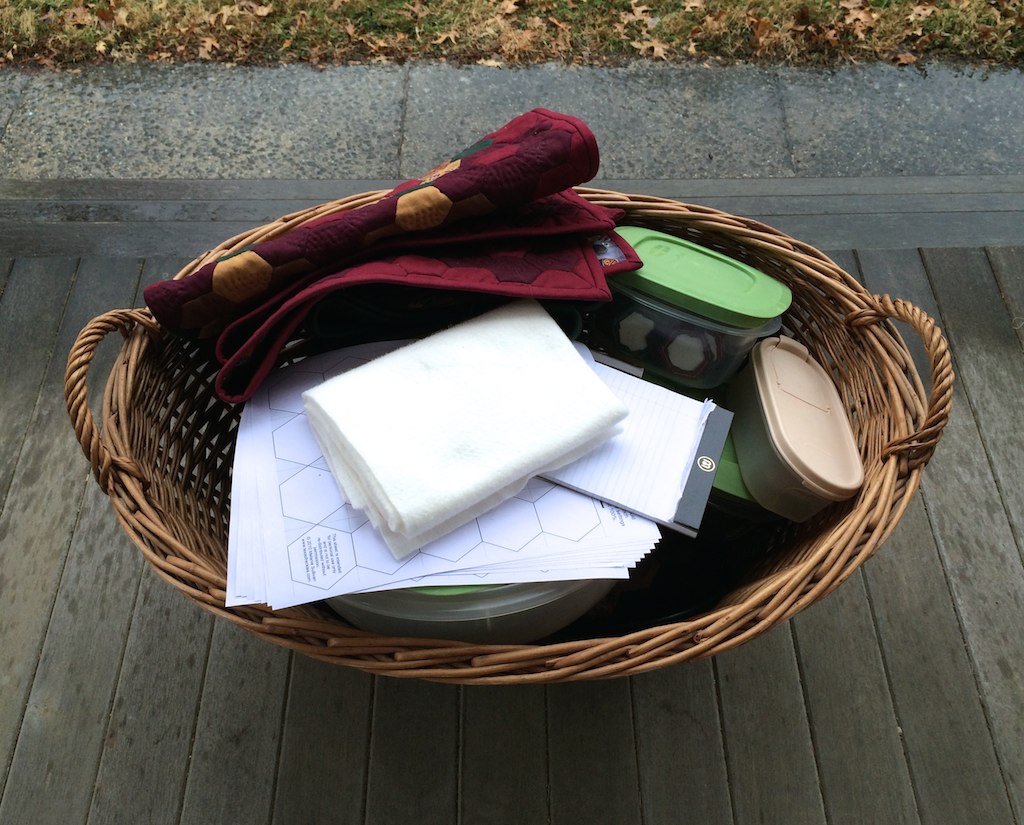
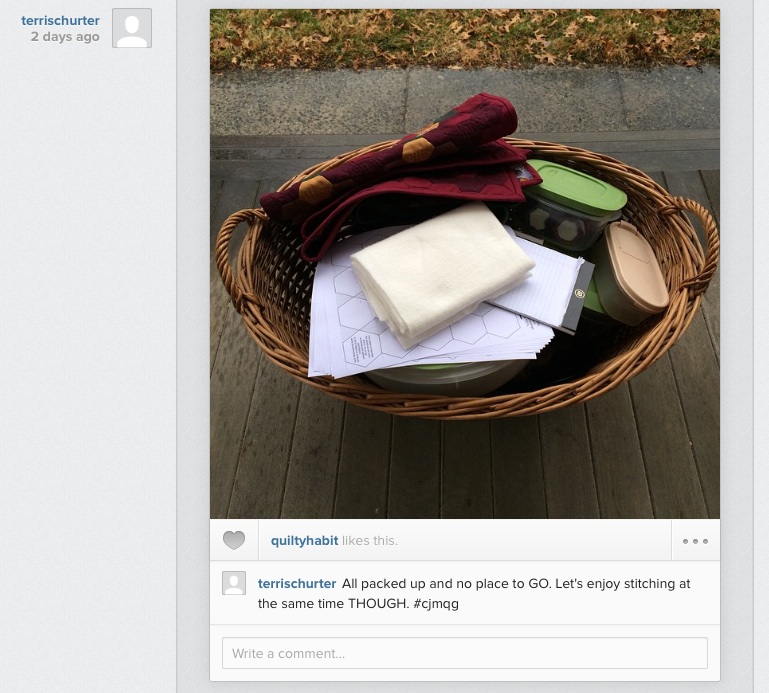
Here is my basket all packed and ready to go.

I was all psyched for the Central Jersey Modern Quilt Guild Sewcial at the Hopewell Train Station today. Unfortunately, the event was first postponed by two hours because of bad weather, and then cancelled for the day because the weather continued to be terrible with salting of roads and major sheets of ice causing dangerous traffic conditions.

That won’t stop us from having a virtual sewcial though.

All day today the Central Jersey Modern Quilt Guild members will stitch their little hearts out and post to instagram with the hashtag #cjmqg. You can follow along on Instagram to enjoy the fun.

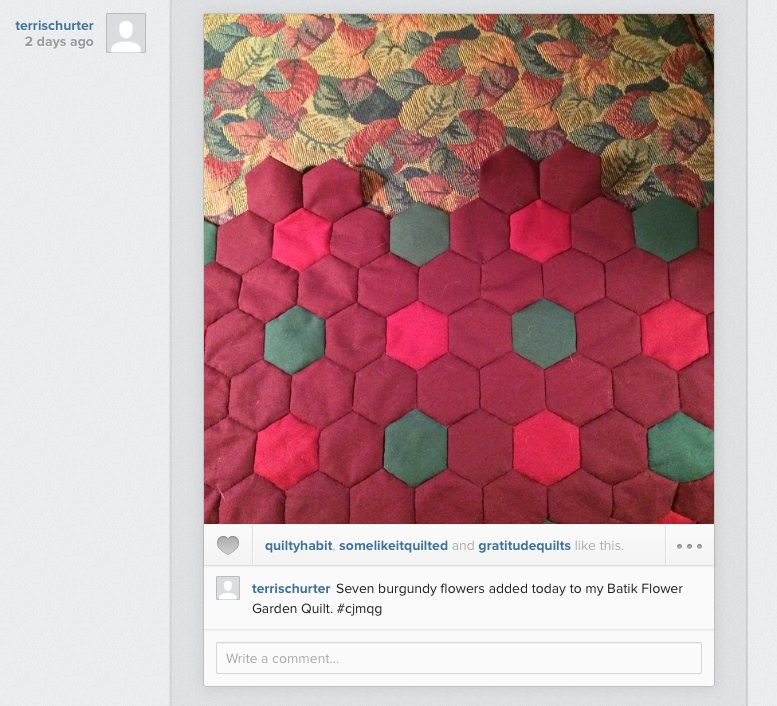
Here are my contributions to the day’s discussion:

copy

Our real life Sewcial will be scheduled for another day soon. I am anxious for it to take place because I am interested in asking people how they like their machines since I am thinking of buying a new one. I’m currently using the machine I learned to sew with in the 1960s.

My English Paper Piecing progress for this week was the construction of 24 burgundy flowers. That is just enough to add another border to both sides of the Batik Flower Garden Quilt. It also means I can postpone the decision for another week about which end of this quilt will face up.

Update: It is Tuesday. It’s time for me to link up to Jessica’s Monday Morning Star Count.

By now I have finished adding twelve flowers to one side of the quilt top. I’ve also added the green hexagons along that edge. I am working on the second side with eight flowers added. With only four more flowers to go, plus the addition of green hexagons, I could conceivably finish the second side today.

More Thoughts on the Corners

Before I move on to the topic at hand for this week’s post I want to report on my progress on the latest Batik Flower Garden Quilt burgundy border. I have finished the third round on the left side and the right side. This involved adding 22 burgundy flowers, three of which were already in place last week.

I still have to decide what direction to face the central medallion before I decide which edge is going to be the top and which edge is going to be the bottom. It is actually an important decision because of the way the batik flowers and solid flowers interact. Given how many burgundy flowers I must make to flesh out the borders on this quilt, that decision can wait for a few more weeks. I’ll just build up a big pile of burgundy flowers in the mean time.

Now on to the corners…

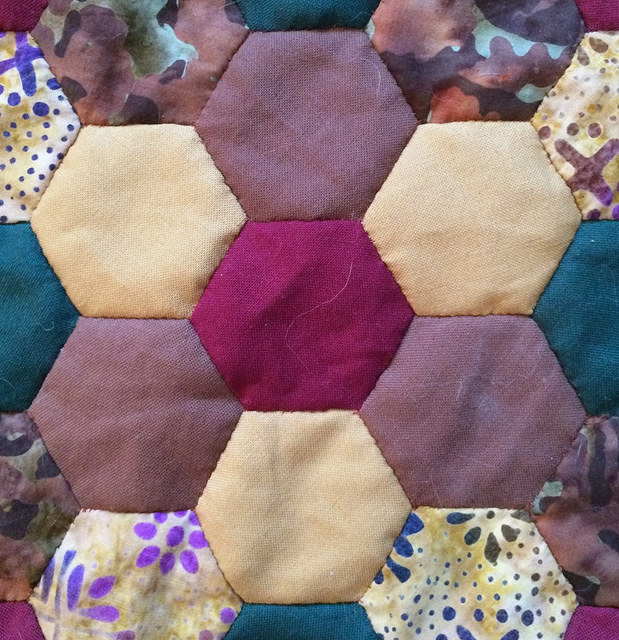
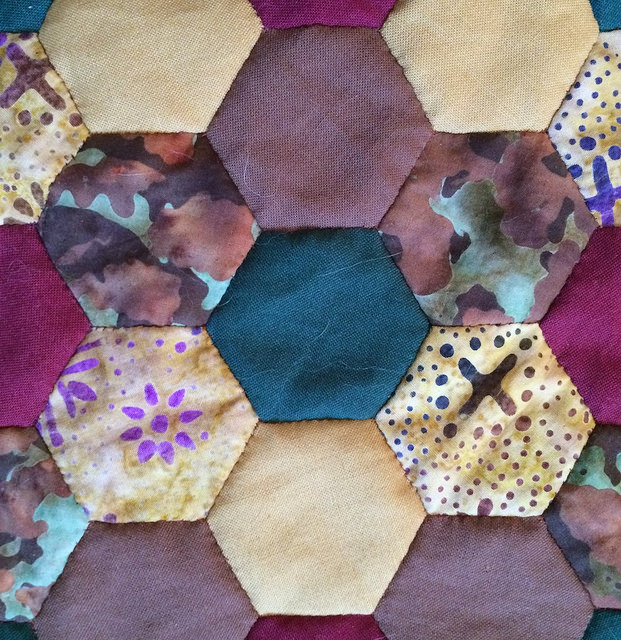
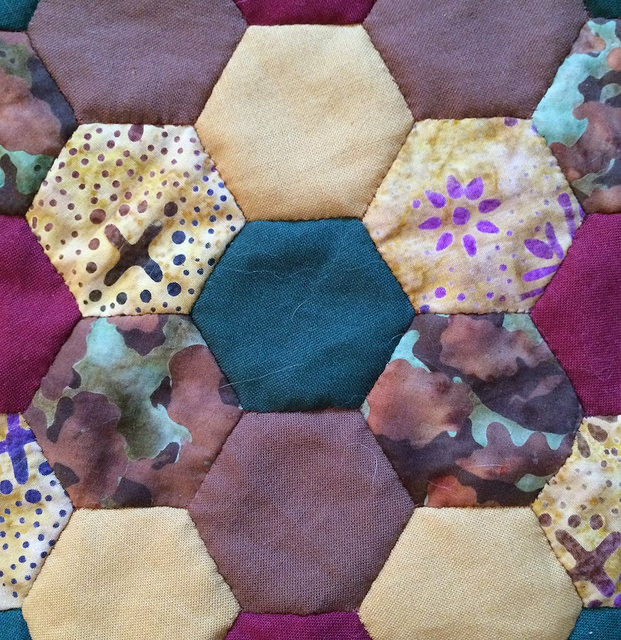
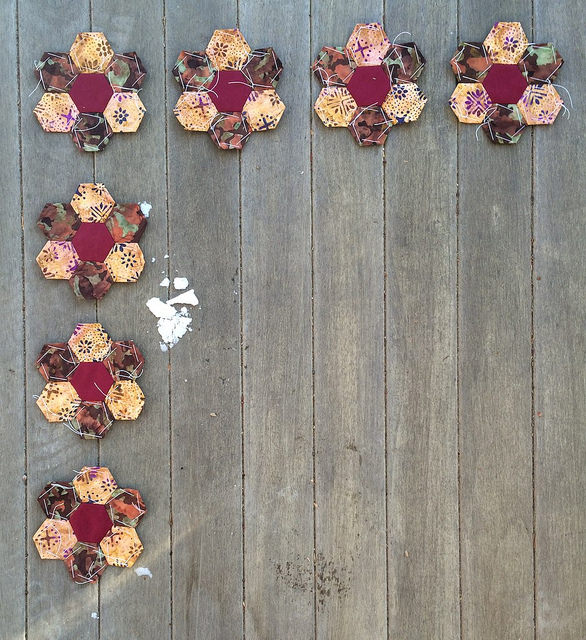
I’ve been giving more thought to how I am going to approach the two corners on the bottom of the quilt. Last week I was considering using the flowers pictured below for the corners.

I am now thinking that I will save those flowers for something else, perhaps adding them to my collection of random scrappy flowers.

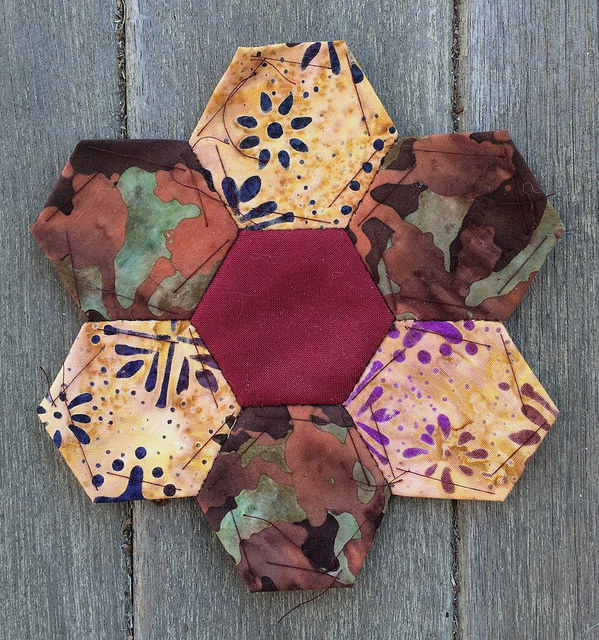
Instead of using the hybrid solid/batik flowers for the corners, I am planning on using the few totally batik flowers that I have left. I think it is important to pull those batik fabrics back into the quilt design near the edge.

I have a total of 14 of these flowers. That would give me seven for each corner.

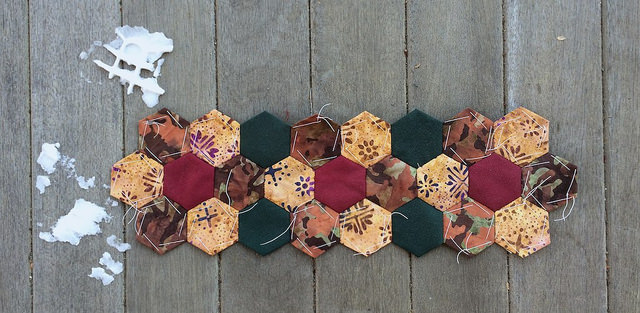
When I first started combining flowers for the body of this quilt I had a bit of a false start when I put together three of these batik flowers with some green hexagons. It became clear to me that this was not going to yield the results I wanted, so I put this false beginning aside, and chose another path.

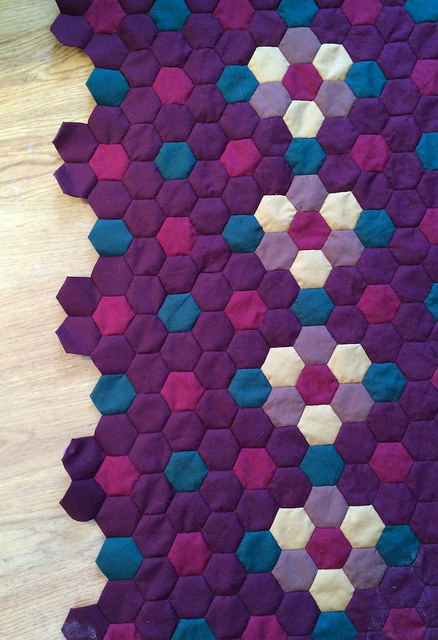
I always thought that I might later rescue these three flowers, but a look at the photo below shows that in my haste I removed papers from the hexagons along the middle making it very difficult to recover these three flowers later. Oh, and say “Hello” to an untrimmed batik hexie on the left side. How did I miss him?

Ripping out those seams would mean sewing a number of seams without reinforcement from paper pieces. That means I will be saving this piece and building something around it, perhaps with the hybrid flowers. I definitely won’t be recovering these three batik flowers. It would just involve too much work. It also means I am stuck with just seven batik flowers per corner to finish off my quilt.

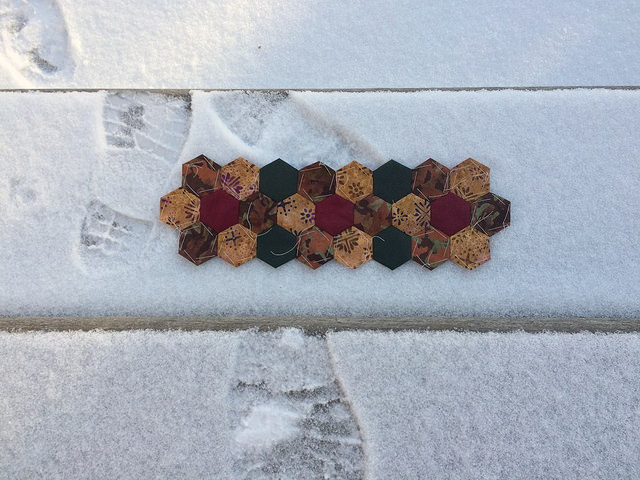
Using the 14 flowers available to me gives me the following layout for my corners, which I think will work rather well.

You’ll undoubtedly notice the snow in the above photograph, and in the one below.

I was having a bit of fun with my staging area when I took these photos.

It had snowed the night before. This caused me to think about coming up with an alternative staging area for work in process. I already have the solution, but that’s another post.

Photo Shoot at the Mattress Store

Last week I completed a border of burgundy flowers and took photos on my front porch photo staging area. I decided that it was time to show how the batik flower garden quilt is fitting on the surface of a queen sized bed. I took a few photos on my bed in my cramped bedroom and realized that I not only didn’t have enough light to take good photos there, I also didn’t have enough room to take the pictures. It’s a really small room. The bed dominates it.

So I took my quilt top to the local mattress store, which happens to be a Sleepys where my husband and I have done business in recent years. I bought my queen sized mattress there, and the two twin sized mattresses that reside in what we still call Lucky’s room. Lucky is the dear cat we lost last week.

I placed my quilt top on a couple of queen sized mattresses and went to town doing a photo shoot, and here are the results:

Aside from my photo shoot I managed to accomplish some stitching this week, although not nearly as much as last week.

I basted up 53 hexagons for my scrap hexagon collection. Every now and then I will stitch up another flower from that collection. One of these days I will be putting together a scrappy utility quilt from those flowers.

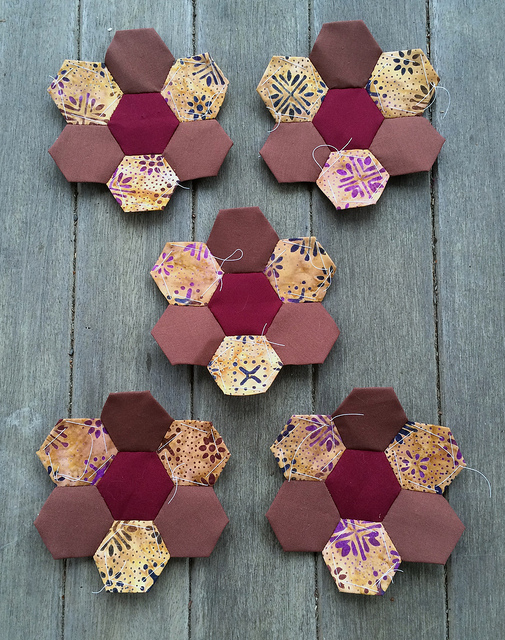
I also put together some flowers that I hope to use along the foot of the Batik Flower Garden Quilt design. These flowers are a combination of solid and batik. I ran out of the brown batik, so I had to substitute the solid brown.

I also put together three burgundy flowers and added them to one of the sides of the quilt. I am anticipating continuing that border along both sides and the bottom.

The salesman at the Sleepys store was very polite and invited me back to take photos any time I wanted. So I will probably return after completing this next round of burgundy flowers.

Those of you coming to this post from the Monday Morning Star Count link back, please take a look at my progress post from last week.

Forty Burgundy Flowers

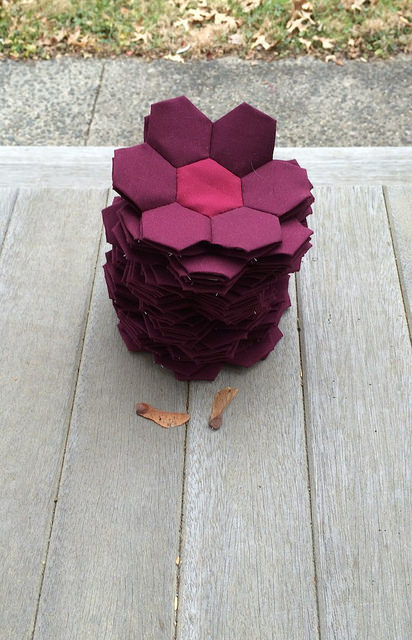
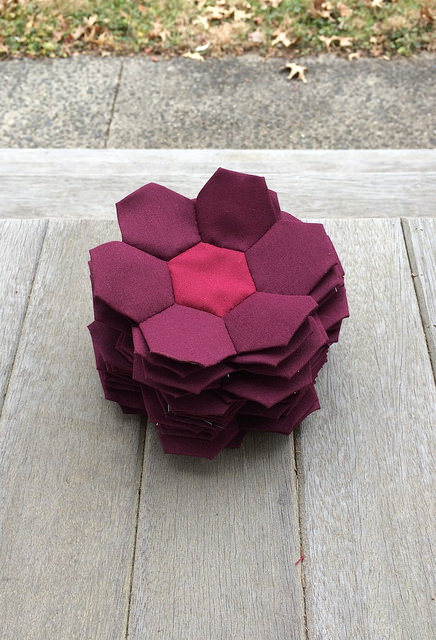
Last week I displayed a photo showing a pile of twenty burgundy flowers. My goal for this week was to add twenty more flowers to that pile. I reached that goal and above is my pile of forty burgundy flowers.

In addition to creating those forty burgundy flowers I managed to sew then into place around the edge of my quilt top along with the corresponding green hexagons used to join them. This was an amazing feat as it required an incredible amount of stitching. Below are some photographs that show off the new border, some of which show pieces of thread and other junk clinging to the quilt top, so please disregard those flaws in the photographs.

Hair, thread, and dirt is especially noticeable in the photo above. Sorry.

Accomplishing so much is good news, but there is some very bad news that I am saddened to report this week.

The fact that I was able to accomplish so much work in one week would ordinarily be great cause for celebration. Unfortunately, the reason I was able to complete so much work in one week is that I was suffering a level of grief so debilitating that the only way to deal with it was to stitch, and stitch, and stitch some more.

On Tuesday my husband, Ted, and I had to say goodbye our best buddy in the world, our dear boy cat named Lucky. We had the privilege of having Lucky in our lives for the past five years. He came to us at the age of 14 years because he needed a new home. We were asked to take him, and we knew going into it that we were going to have limited time with him, but we welcomed him into our home to give him the best golden years we could. We had no idea how much we were going to love Lucky, but it soon became obvious that we were the lucky ones, not he. Never was there a more loving animal than Lucky, and he won both of our hearts in short order.

About a year ago Lucky was diagnosed with hyperthyroidism and was put on twice daily medication that took his weight up from a dangerously low eight pounds to a healthy twelve pounds. He was doing quite well recently, and we thought we had more quality time left with him, maybe as much as a year or more. Lucky was getting up and walking around. Lucky loved to spend time with us in his room downstairs which was outfitted with wooden steps that Ted had constructed to allow Lucky to get up and down from the bed which had been taken off its frame so it would be lower to the ground for him. He would come out to visit with me when I was stitching on the conch and beg to be picked up so he could sit next to me on the couch. He just liked to be with people whenever possible, so we spent our nights with Lucky in his room stretched out on his king sized bed with our iPads petting our dearest friend. I won’t go into details about Lucky’s last day except to say that the end was unexpected. After a visit to the vet we were informed that there was nothing to do to make things better for Lucky. I was with him to the very end.

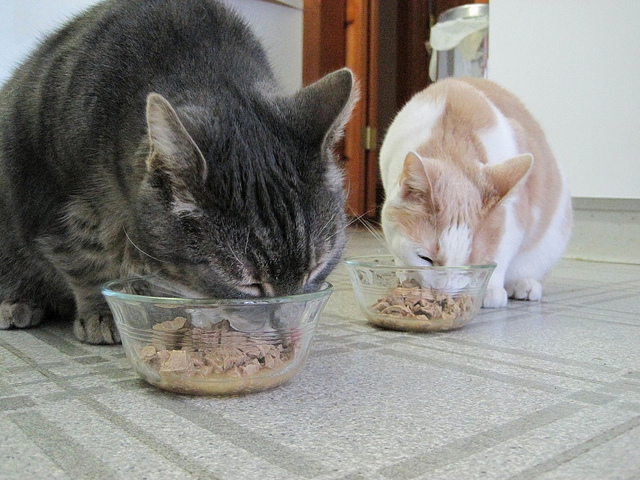
Ted and I been very sad since saying goodbye to Lucky on December the 23rd, and we will continue to be very sad for quite awhile. It’s been a very sad Christmas. This won’t be an easy healing process, so I guess I’ll be doing a lot of stitching moving forward. We’ve still got our girl cat Lori, but she’s very independent and hasn’t stepped up to offer much comfort. But we love her just the same. Below is a picture of Lucky and Lori. Lucky is on the left and Lori is on the right.

Actually, Lori is starting to step up to the plate a bit. She is spending a little more time with us than usual. Maybe she misses Lucky as much as we do.

Twenty Burgundy Flowers

That looks like a lot of burgundy flowers. However, it is half of the flowers I need to create the next round of flowers on my burgundy border.

No one but someone who has actually attempted English Paper Piecing has any idea of how much work is represented by this pile. There is a great deal of basting and stitching here. I have reached a point in the creation of this quilt where it feels as if it will take forever to complete. The good feelings from reporting progress take longer to achieve because going around the edge takes more and more time. Thank goodness I enjoy the process.

However, at this point the work becomes boring and repetitive. The process seems slow even while putting in a number of hours in a day. It is times like these that I wonder what I will write about in my blog while I finish this quilt. I guess that means it is probably a good time to be working on something else while I do the grunt work on the final borders of this quilt top. At least I can think about what I would like to do for future projects and put some ideas out there.

My immediate goal is to add another twenty flowers to my pile for next week. I want to post a nice tall pile of forty flowers for next week. My goal for the following week is to attempt to attach all forty flowers as well as the connecting single hunter green hexagons that go between them.

Batik Flower Garden Quilt Progress


I started adding a border of burgundy flowers to the Batik Flower Garden Quilt while I was at the Central Jersey Modern Quilt Guild three weeks ago. Since then I have basted and added quite a few burgundy flowers. This week I added 19 flowers and have only three more to go before I start filling in with the joining hunter green hexagons.

This border will be followed  by at least one more burgundy border to echo the two burgundy borders that came before the caramel and brown flower border.

Once you get near the edge of the edge of the bed on a queen sized quilt these individual borders of flowers take a very long time to complete. It makes it feel as though progress has slowed, but it hasn’t really. The borders are just so much larger.

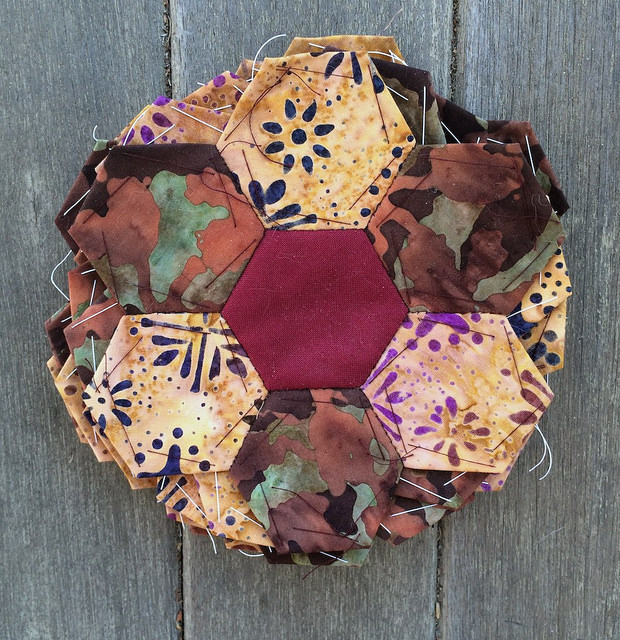
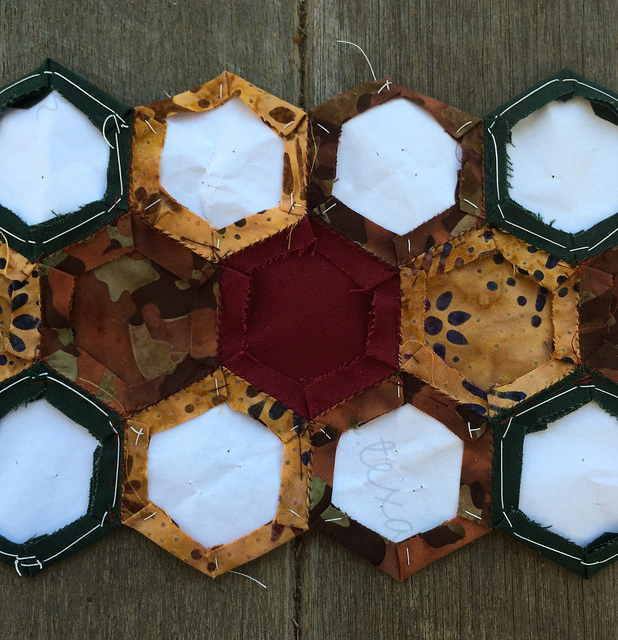
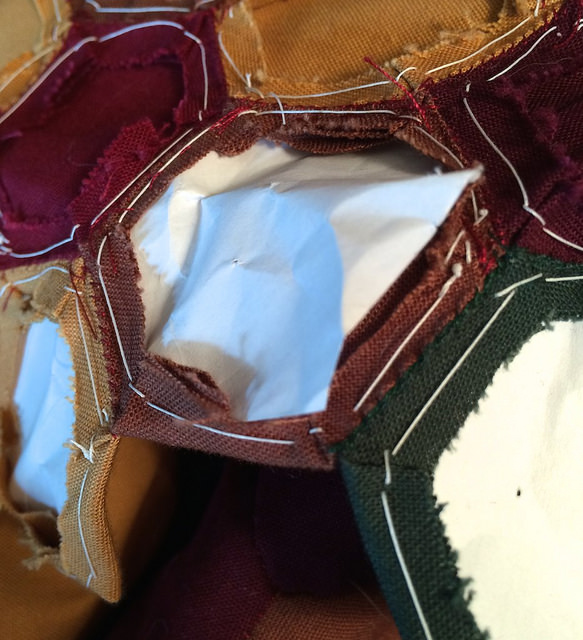
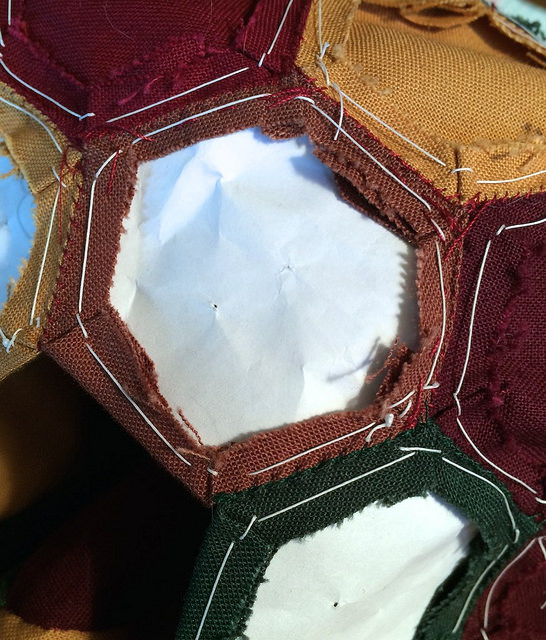
I’ve mentioned before that there are two different methods of basting hexagons. The method I have used recently keeps the basing threads to the back of the work and makes for great photographs of work in process, which is the main reason I have been using it. I’ve been basting for the benefit of my blog. This method, however has a major downside, which is that it is very easy for papers to get pulled out prematurely, making it necessary to sew edges of hexagons without any paper stabilization. That makes for extra work.

Sometimes you can catch these renegade papers in time and pop them back into place as illustrated below, however more often than not they get pulled so far out of place that they just have to be pulled out altogether.

In an effort to avoid the need to sew together hexagon seems minus papers I have decided to revert to my older method of basting where I pierce the paper and run the basting stitches along the front of the hexagons. This isn’t as pretty in blog photos, but the assembly is easier to handle.

If I ever decide to do machine quilting I might not have the problem of the papers popping out because I could leave my fabric squares untrimmed, which would help to hold the papers into place. For now, however, I prefer to hand quilt and trim away the fabric bulk along the seams.

I am linking back to Jessica’s Monday Morning Star Count on her blog Life Under Quilts. Those of you coming here from Jessica’s blog might enjoy the two posts I wrote recently concerning the first quilt I made forty years ago, and how I repaired that vintage quilt. It doesn’t involve EPP, but you may enjoy seeing it nonetheless, and I would certainly love sharing it with all of you.

First Act Friday: A New Binding and Repairs for My First Quilt

After posting last week about the first quilt I ever made I decided that it was time to give this forty year old quilt a much needed proper binding. I headed off to the Pennington Quilt Works thinking that I would look for a tiny floral print with brown, gold, and off white as the main colors in the design.

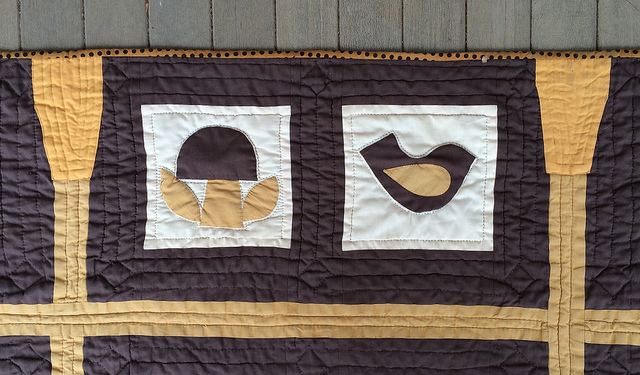
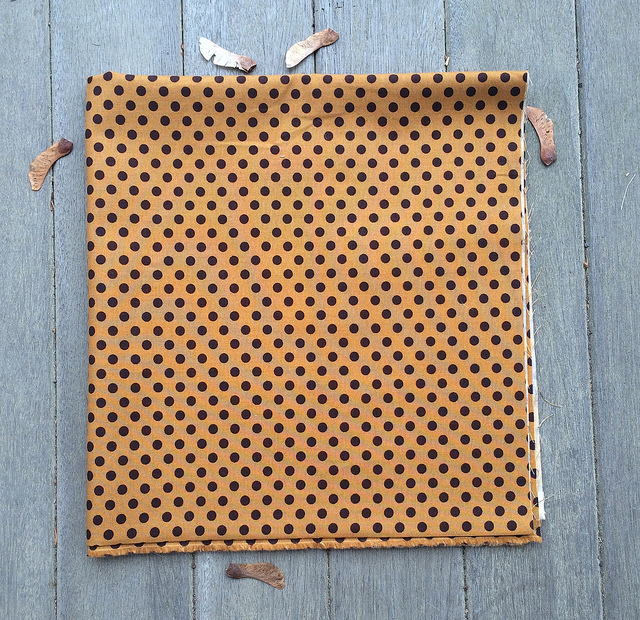
I packed my quilt into a bag and walked around the store with it looking for the right fabric. I wasn’t finding a tiny floral, but my eye did settle on a polka dot print of brown dots on a gold background. The brown was just about perfect. The gold was slightly darker than i would have liked, but I felt that it was going to make a nice binding, and that it would unify the quilt.
In addition to creating a real binding (not just whip stitched seams), I needed to do some repairs. I decided on the Kona Butterscotch I had purchased to audition for the Batik Flower Garden Quilt.
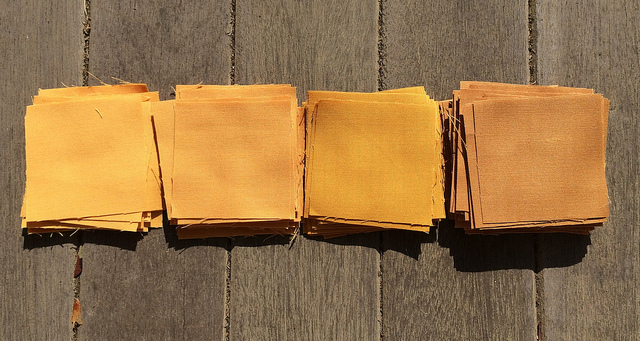
Kona Butterscotch is second from the left. The color on the far right is Kona Caramel, which is the color I selected for the Batik Flower Garden Quilt after seeing all four of these fabrics close up and personal.
While I usually do not pre wash my fabrics, I made an exception in this case. The quilt had been washed many times since its creation, and I had pre washed the fabrics before I made the original quilt because I was coming from a dress making background to quilting. I wanted to avoid shrinkage issues on my repairs and my new binding by pre washing my two new fabrics.

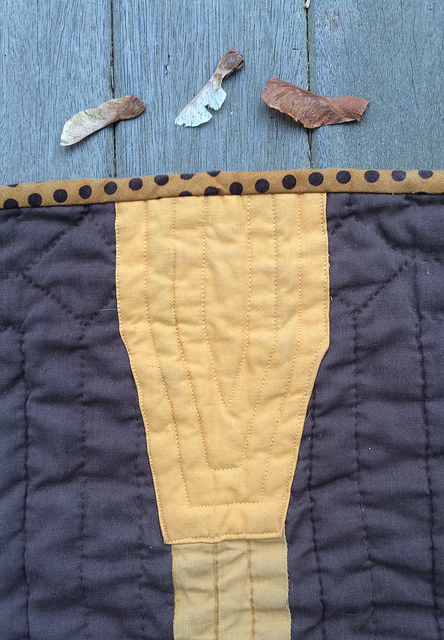
Before adding the binding I performed repairs on the topmost side of the quilt. This is where the quilt had suffered significant damage due to grabbing and tugging in the middle of the night. Something I learned from this is that repeated vertical rows of hand quilting are much more fragile than repeated horizontal rows of hand quilting. No damage occurred in the dark brown areas where the rows of stitching were horizontal. There was significant damage in the gold areas where the rows of stitching were vertical. I never would have guessed that this would be the case. This new information will help me to think about how to handle quilting in the future. My guess is that increasing quilting density all around the edges of a quilt makes good sense. You never know how it might be thrown out on a bed and which side might get tugged. Quilting density should at least be increased along the top edge of a quilt when there is an obvious top edge. I see no need to make quilting rows any closer than two inches apart in the main body of the quilt because quilting that is located at least a foot into the body of a quilt is not likely to undergo stress from grabbing. Therefore, it and can be quilted less densely without concern.  Near the edge it might make sense to quilt as densely as every inch, or even every half inch if possible.

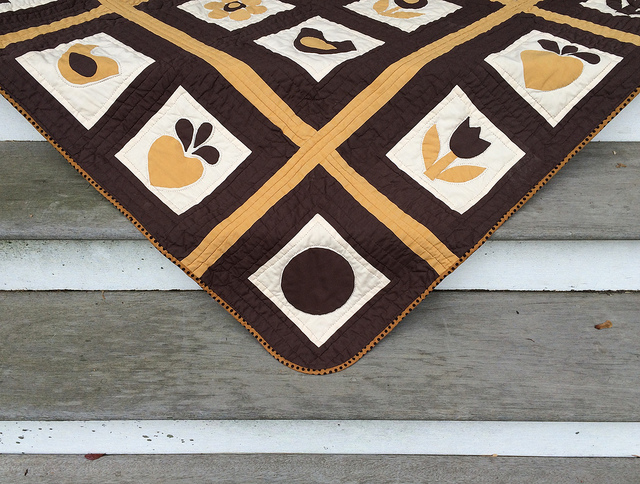
I added wedge shaped pieces of Butterscotch Kona fabric that wrapped around the edge of the quilt toward the back. The fabric was machine sewn to the front of the quilt because there was way too much thickness to hand quilt it. It was hand stitched to the back. You can see that the fabric is brighter than the original gold fabric, but it isn’t a bad match.

Below you can see how I added three wedges to make it look as if I meant for them to be there. Not all of the wedges were necessary to implement repairs.

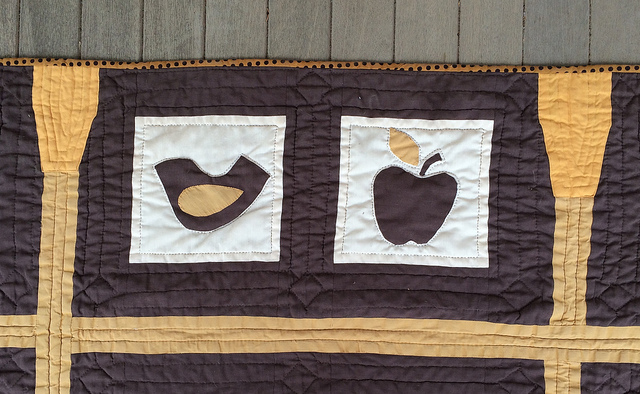
I am very happy with the result.
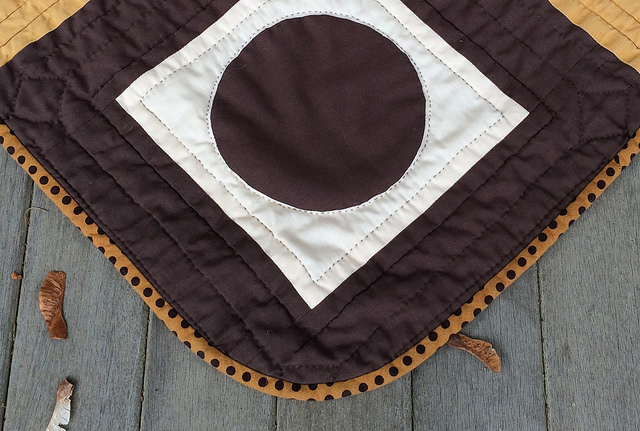
One thing I especially like about this quilt is that I decided to do curved corners on my binding, and I LOVE the way they turned out. Since I had no way to mark the fabric, I ended up tracing curves from a plate onto a piece of paper. I then pinned the paper to the quilt and stitched through the pencil lines on the paper to mark the curves, and ripped the paper away. I was very proud of myself for coming up this idea for marking curved corners.

I used a bias binding, which I always do, because it wears better than a straight binding. Another reason to use a bias binding is because it makes it easier to do curved edges. Last week I noticed a baby quilt online with curved corners. When I saw it I thought, “Wow, this looks like a great way to totally avoid the issue of the imperfect 90 degree angle corners.” That’s why I did it. This quilt was particularly well suited to using curves for the corners because each corner is composed of a circular motif. When I proudly showed my finished corners to my husband he said, “I see you are cutting corners.” I said, “Yes, I am.”
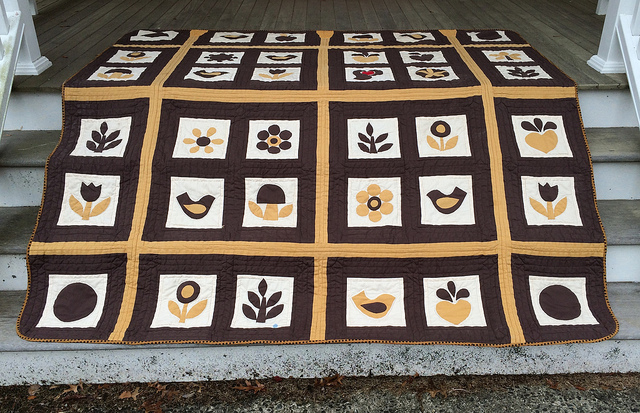
After finishing the binding I washed the quilt on a gentle cycle in cold water, and dried it on a gentle cycle. It turned out fantastic. I am considering adding a few more things to the surface of the quilt using the polka dot fabric and the butterscotch fabric, but I am going to wait for awhile before I do.
Diamond Quilt Final Border of Hexagons is Finished

It is amazing how long it takes to do a final border of hexagons on a queen sized quilt. I’ve been working on that border for quite awhile. At last count I had 16 hours in on the border. This week I put in another 8.5 hours and finished the border. It took a full 24.5 hours to apply that final border of hexagons. I’m going to take a break from this quilt for a few weeks before I back it, bat it, baste it, and quilt it.
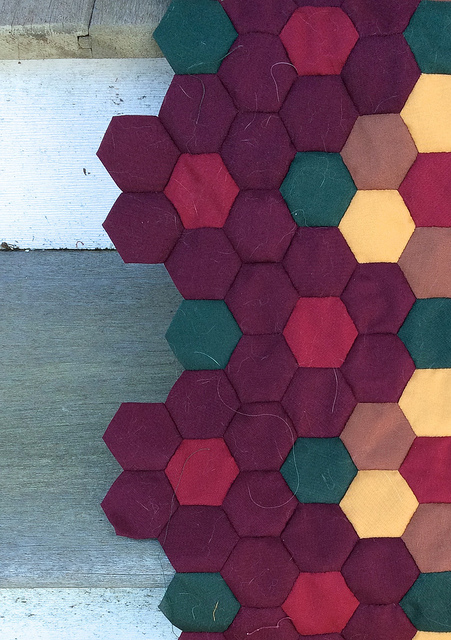
 

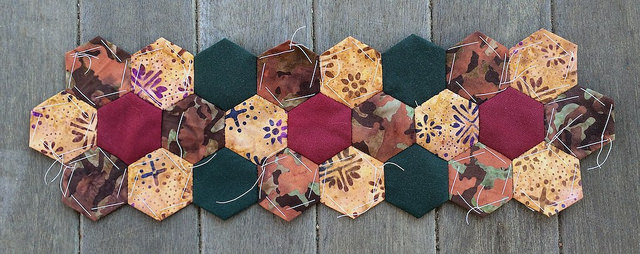
This week aside from working on the final border of green hexagons for the quilt above, I’ve also been producing more burgundy flowers for the queen sized Batik Flower Garden Quilt.