Progress on Low Volume Quilt

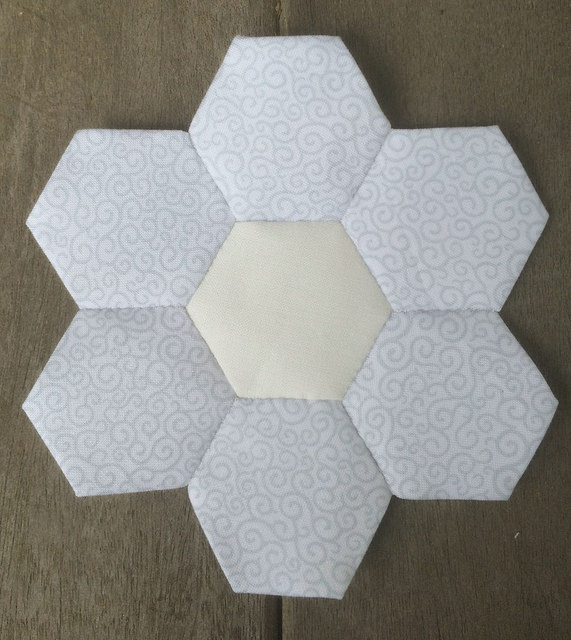
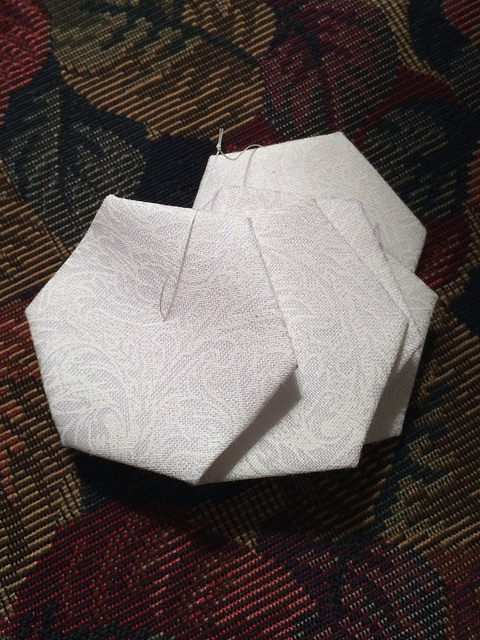
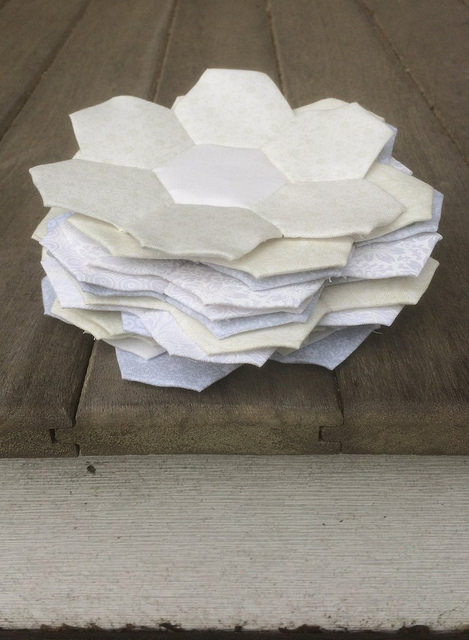
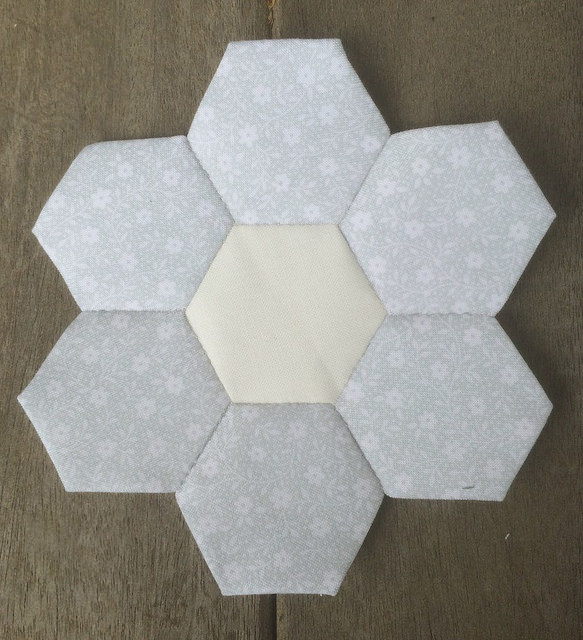
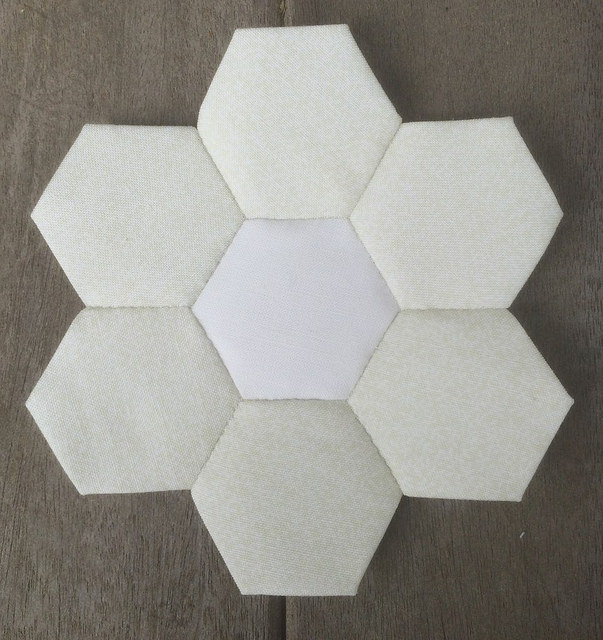
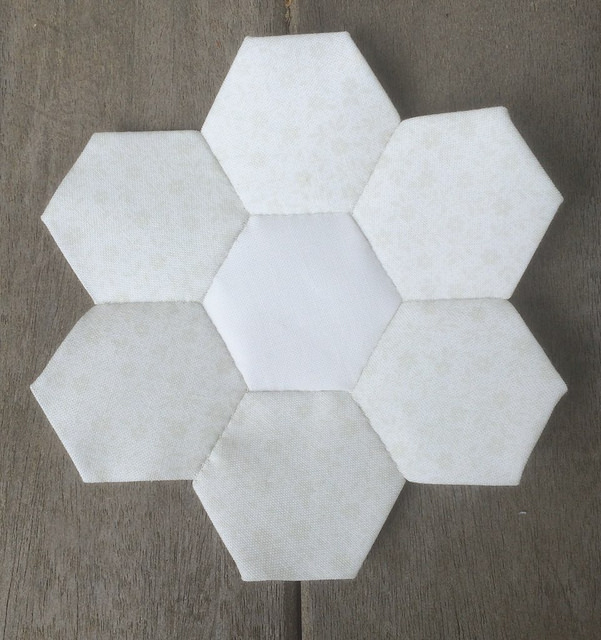
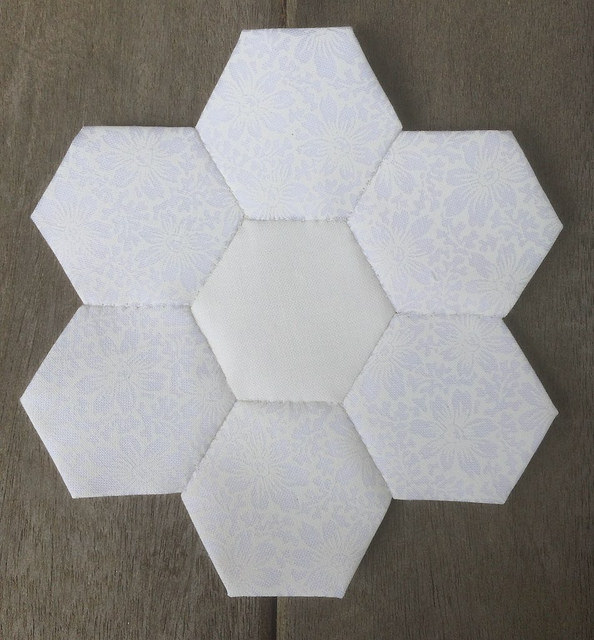
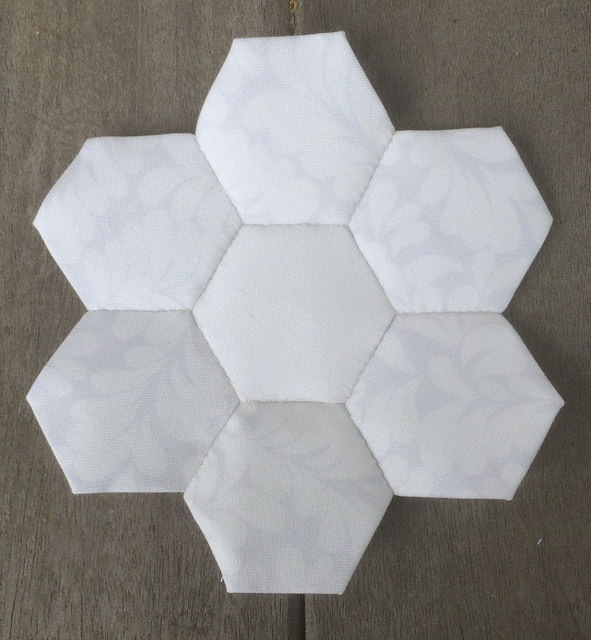
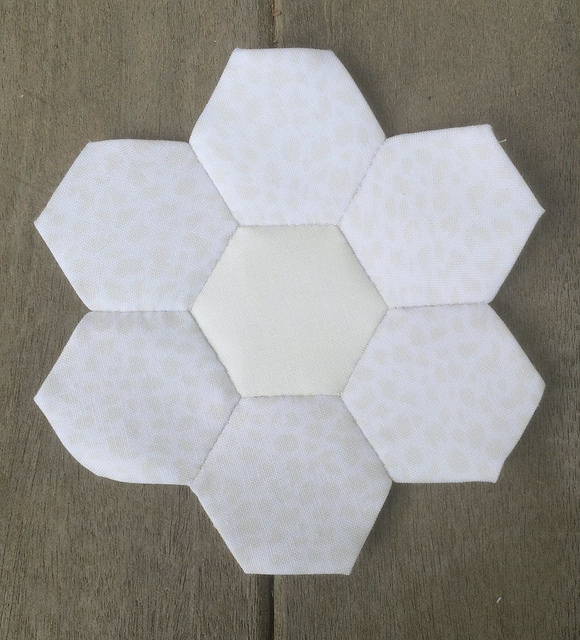
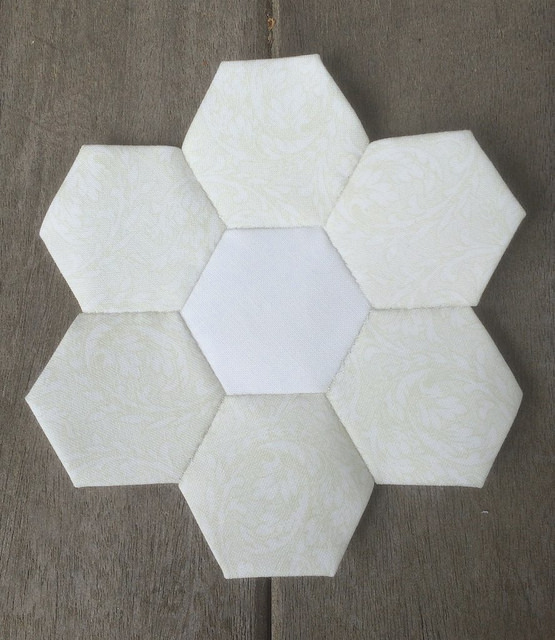
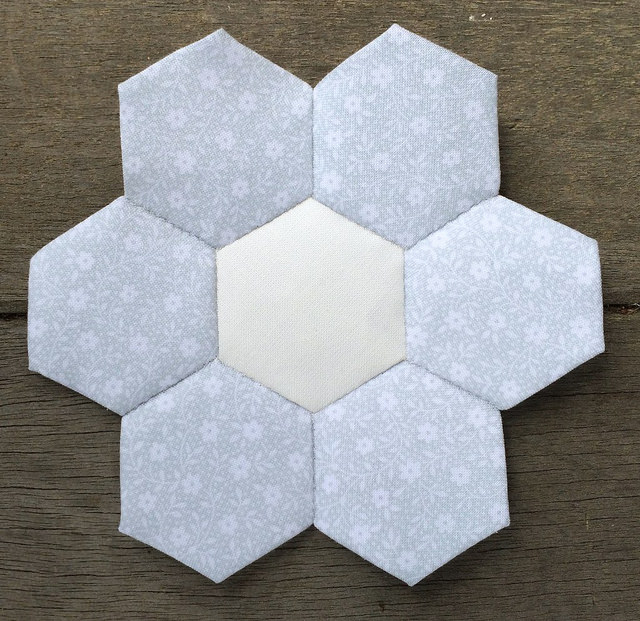
Last week I had finished putting together 15 flowers for my new Low Volume Quilt. Since then I have put together 9 more flowers for a total of 24 flowers such as the one below. They are created with a variety of values and patterns.

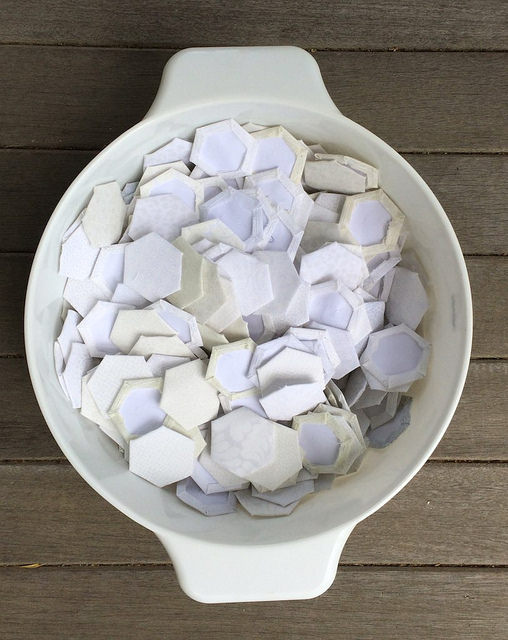
It has taken me a great deal more time than I expected to sort my basted hexagons to find six identical hexagons for a flower. There are 19 different fabrics swimming around in that big bowl of basted hexagons.

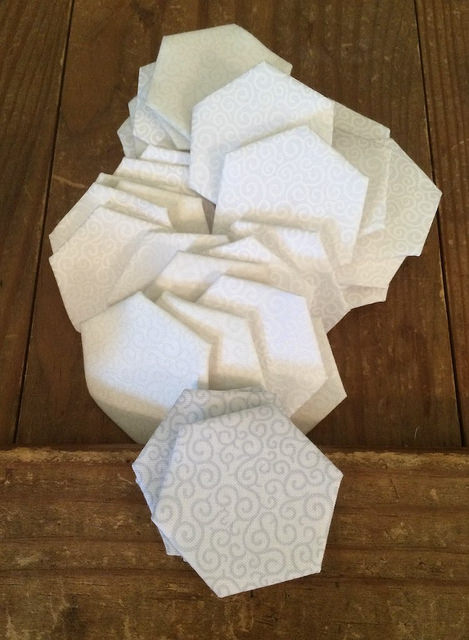
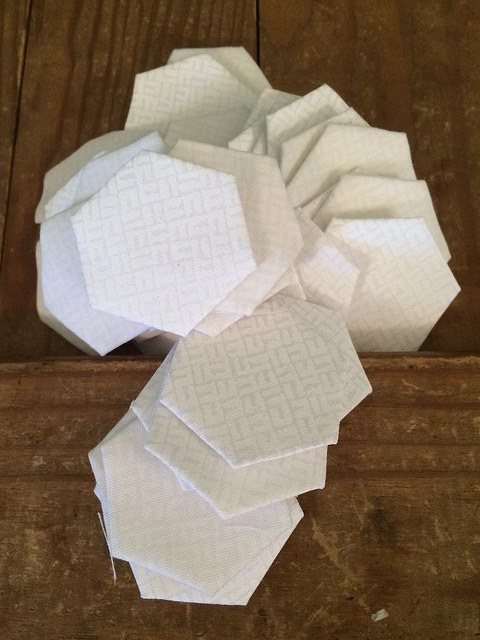
I stumbled upon a way to make the task of matching up my hexagons a bit easier. At first I was reaching into the bowl searching for 6 hexagons of exactly the same value and pattern. Then I realized that some of the patterns are repeated in two or more values. It turns out that the patterns are easier for me to identify than the values, so I have taken to sorting by pattern.  Below you will see three piles of hexagons where it is easy to see that the patterns are the same, but the values differ. Once I have a pile with the same pattern, it is easier to go back and resort by value, so that is what I am doing now.

Learn from my mistake people. If you ever have a nice jellyroll of low volume fabrics that you think you are going to want to make into flowers, by all means keep the fabrics separated when you baste them and resist the urge to throw them into a big bowl.

I am wishing now that I had put these piles into sandwich bags. I cut those squares nearly a year ago. The coolness of the big bowl of hexagons is far outweighed by the hassle of trying to match them up later.

Once I get my hexagons sorted into sets of six I have been sewing them together in preparation for joining.

I am linking up with Jessica’s Monday Morning Star Count. I am so happy it is back on a weekly basis. I love to see what others are doing and to share with them. Please stop by Jessica’s page to follow the links and see how people are progressing on their EPP.

The Weekly Star Count Is Back

For quite awhile I participated in the Monday Morning Star Count over at Jessica’s Life Under Quilts blog. A few months ago she went to a monthly format, which was fine, but we didn’t share in May. That means that the last time we had a star count was back at the beginning of April.

I’m really happy that Jessica has decided to renew her commitment to the weekly format because I have missed sharing with everyone. This week I am going to link to my main web site URL. I encourage all of the Star Count folks to scroll back to April if you have not been to my web site since the last star count.

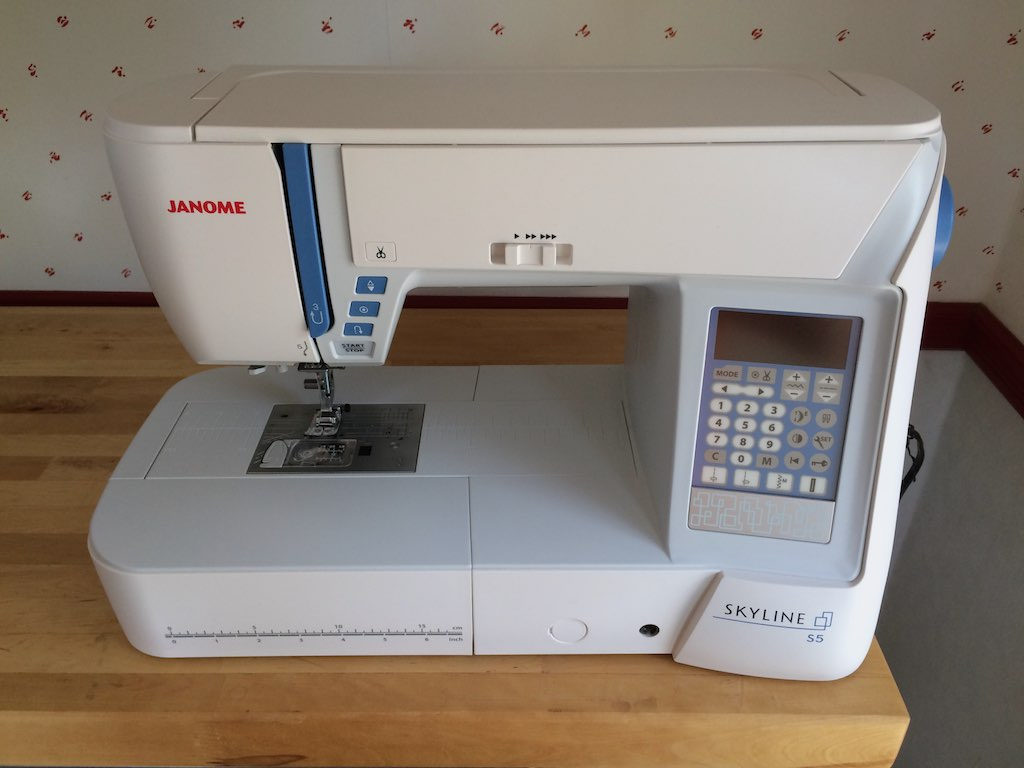
To summarize my activity since the last star count, I have attended the first Slow Stitching Movement Getaway, nearly finished the piecing of the Batik Flower Garden quilt, reviewed the Apple Watch, and purchased the Janome Skyline S5. The machine was a demo unit offered at the sewing getaway. I’m getting to know her with some simple log cabin piecing, and I have a class set up at Pocono Sew and Vac for July 18th. There I hope to learn about the feet that came with the machine. I am anxious to try some free motion quilting and some quilting with the walking foot too.

My latest endeavor in EPP is a low volume Flower Garden quilt, which I am working on rather spontaneously. So far I have 15 flowers completed as seen in the photo above. I have not photographed all of these flowers individually, but I will show a few of them below. They are all basically white from a distance, but each pattern has it’s own color tone. Some read as green, some as blue, some as white, and others as cream. I am really enjoying this project, though matching up the basted hexagons from my big bowl of hexies is proving to be a real challenge because some of the fabric patterns repeat in subtle color variations. The patterned fabrics are from the Ivory Basics collection, and I am using Kona Snow as my unifying element for the center of the flowers.


I am not yet sure how I am going to assemble these flowers, but I am leaning towards making columns of flowers with a similar color tone. I’m going to remain flexible about the arrangement for as long as possible and simply enjoy the fun of stitching the flowers.

I am linking back to Jessica’s Star Count today at Life Under Quilts.


Low Volume Skirt

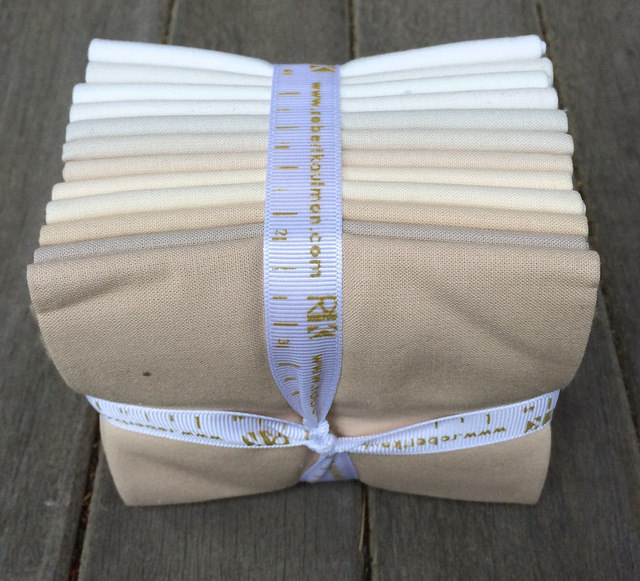
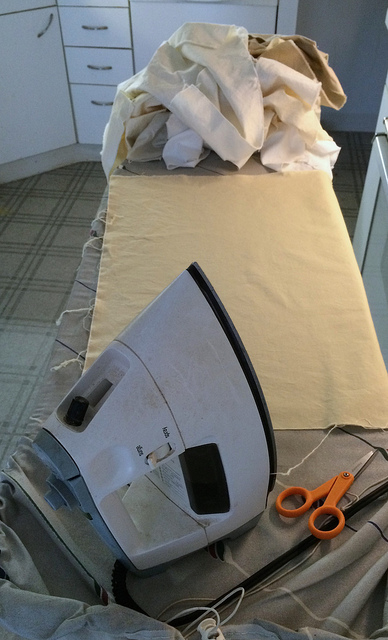
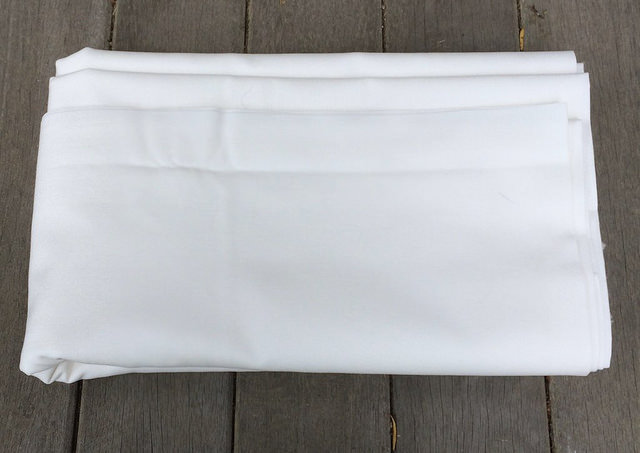
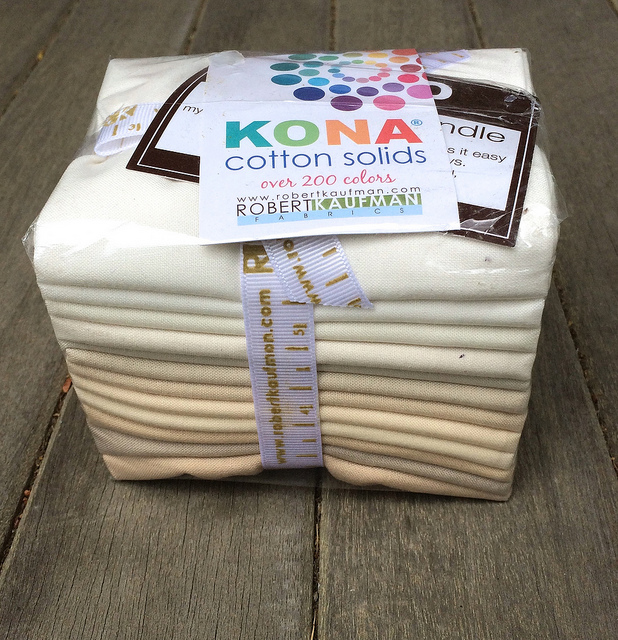
I took one of my Kona Solid “Not That White” bundles and washed the fat quarters. I usually don’t wash fabrics before using them. However, my plan for these fabrics is to use them to lengthen a few kaki skirts that I own. Because the skirts have been laundered multiple times it is essential to shrink the fabric.

I prefer long skirts, but LL Bean has stopped making long kaki skirts.

A while back I felt the need to patch the two remaining long kaki skirts that I own using hexagons. One of the skirts had been stained with nail polish. The other had developed a rip in the back in the seat area. Because they could not be replaced they had to be repaired.

I have a few shorter kaki skirts which I intend to extend using the fabrics in the bundle pictured above. This post is about what I have accomplished so far.

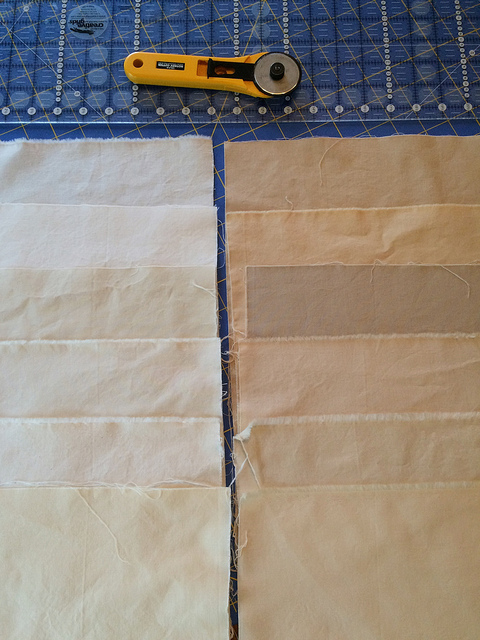
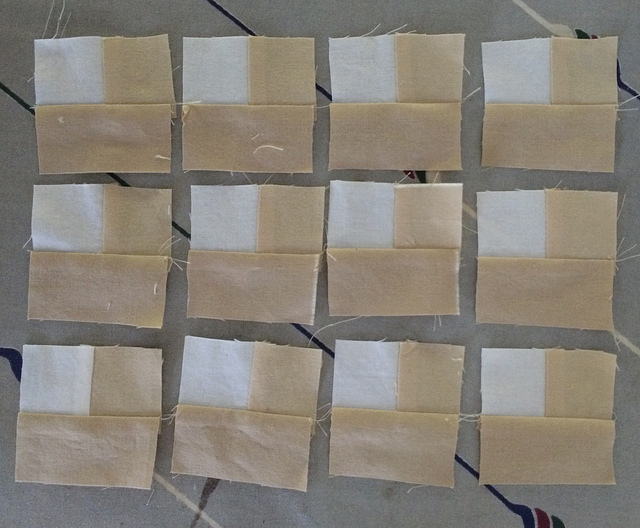
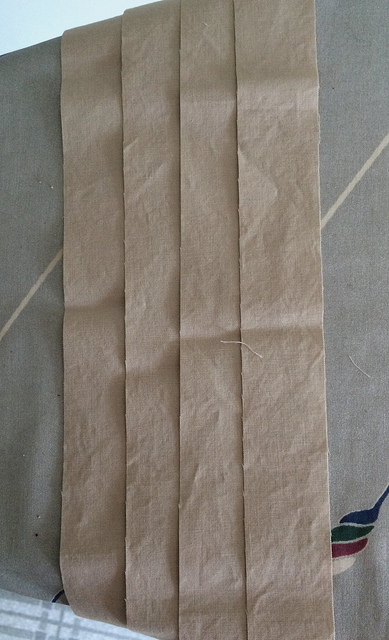
I pressed my fat quarters and then cut 1.5 inch strips from all twelve pieces after sorting the colors into light and dark sets of six.

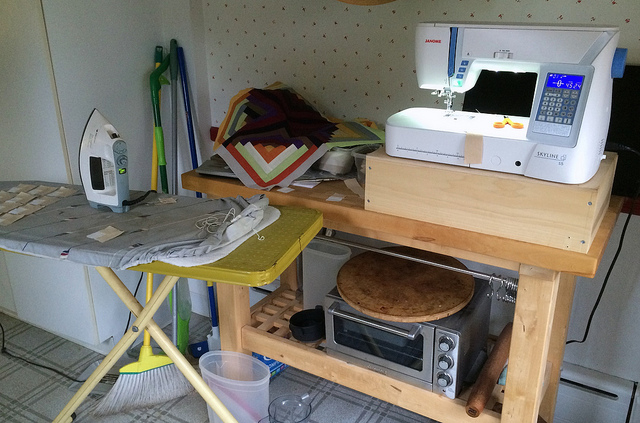
I had my new Janome Skyline S5 set up on a counter so I could stand to sew, and I had my ironing board set up right next to it for easy access.

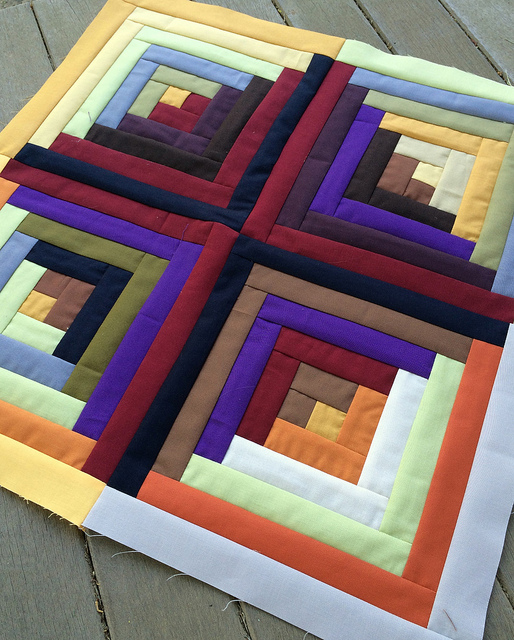
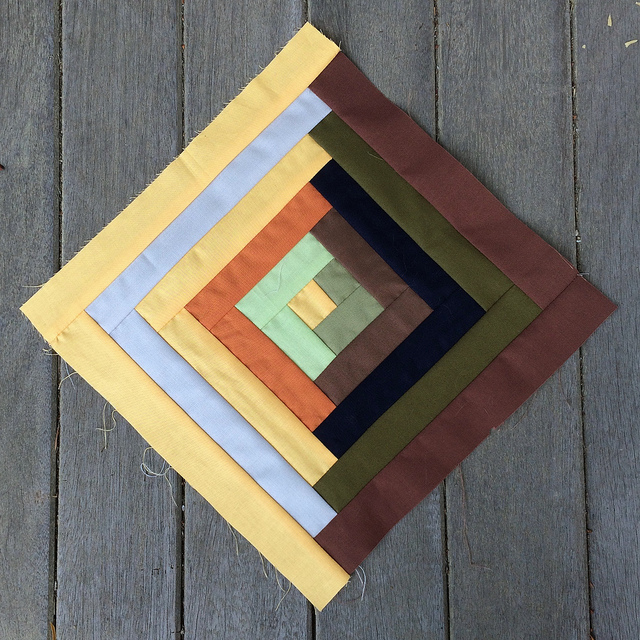
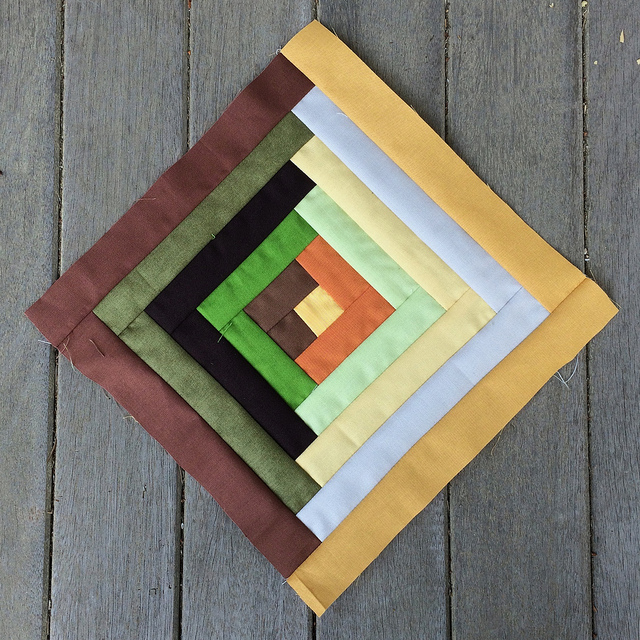
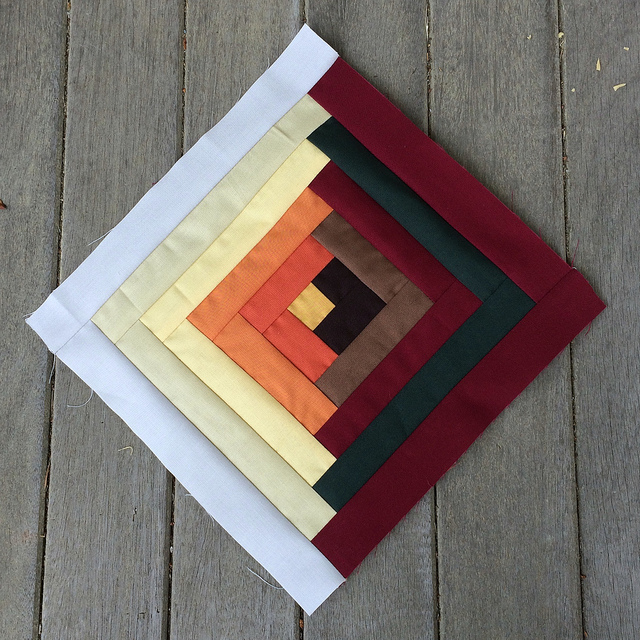
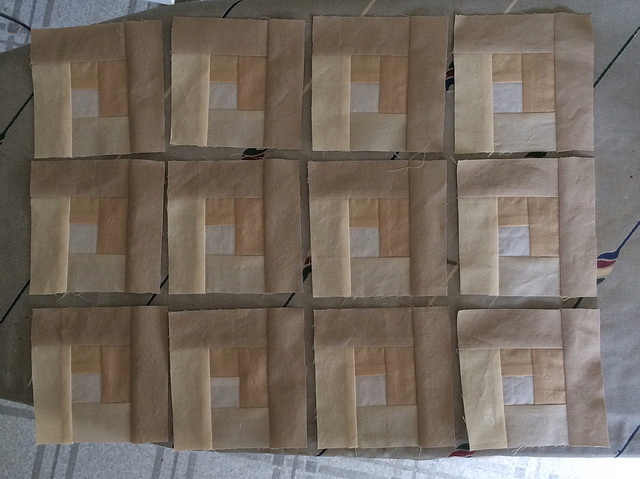
I decided to create twelve log cabin units to use to extend one of my skirts. This is all very improvisational. I have no idea how large the units are going to be, or how many I am really going to use.

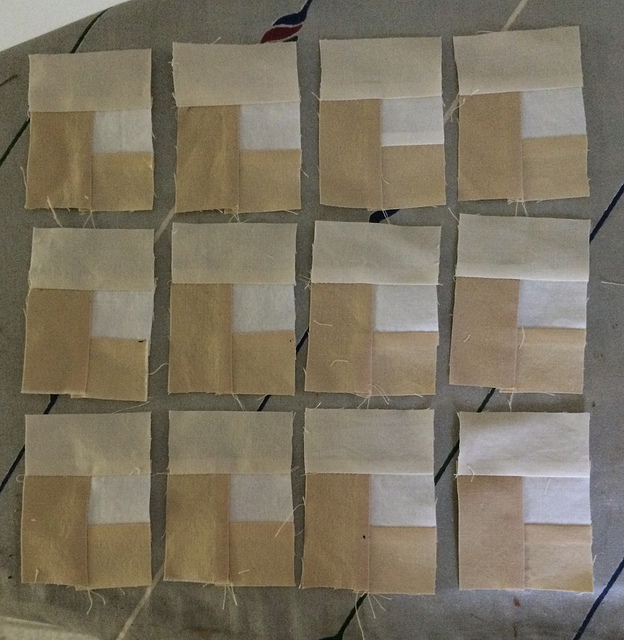
In the above photograph I used the darkest fabric I had for the upper most strip. Rather than choose another color for the second portion of this darker “turn” on the log cabin, I decided to cut four more strips of the darker color, which would be enough to allow me to finish this turn with one color.

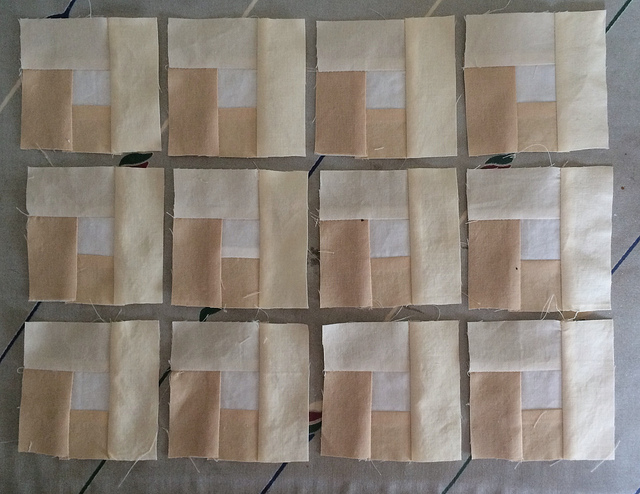
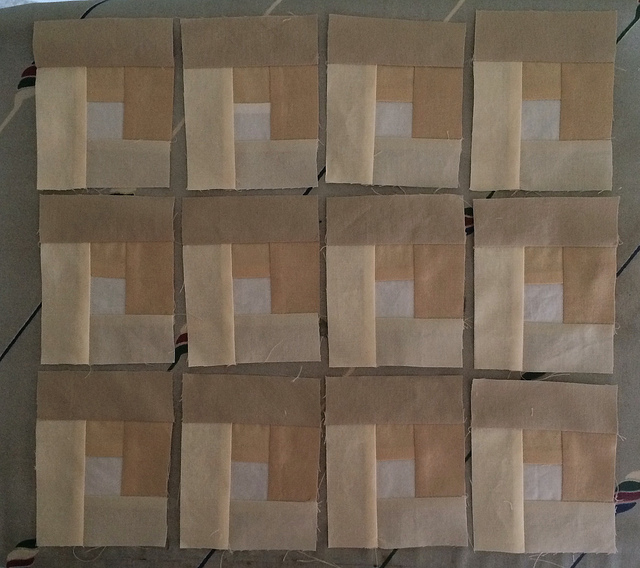
This is where things stand right now. Although I completed the twelve units identically up to this point, I think that I will finish them off by using random selections from the light and dark collections respectively to achieve a sense of variety in the outer portions of the units.

I’m still not sure how I will set these units. I’ll add two more turns to each unit and then reevaluate the situation.

Low Volume Quilt

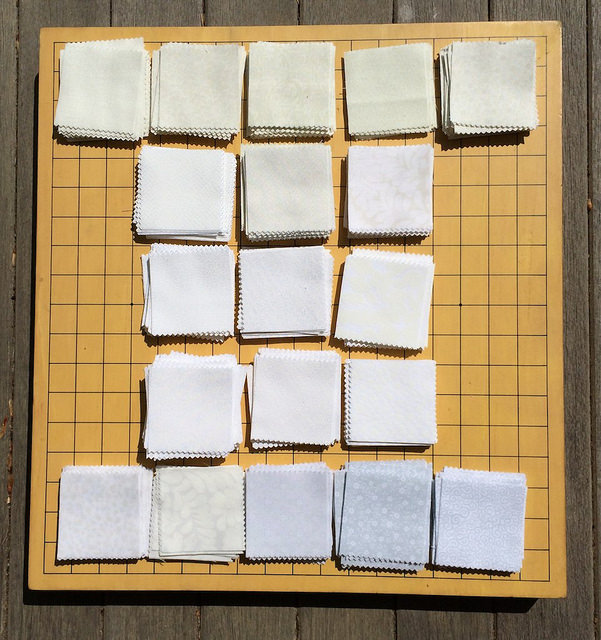
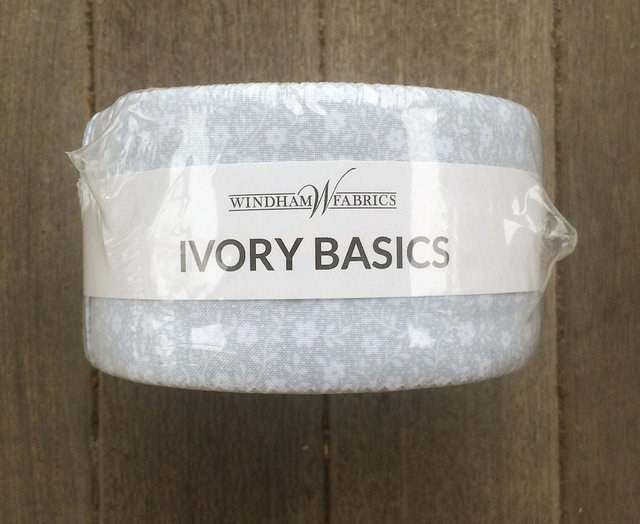
Awhile back I had purchased two jelly rolls of Ivory Basics fabrics. These are all low volume fabrics. I still have one of the jelly rolls intact, but I had cut one of the rolls into 2.5″ squares and I have basted nearly all of those squares at this point.

As a starting point for designing a low volume quilt, I decided that I wanted to create flowers using one print for the outside petals and a solid fabric for the center of each flower. I chose Kona Snow for my solid color.

Here we see the Kona Snow center along with the darkest print in the Ivory Basics collection. This will be the greatest level of contrast in the finished project. But at this point I am merely making flowers.

While shopping for the Kona Snow I came across a Kona Fat Quarter bundle of twelve fabrics that I simply could not pass by. It is called “Not That White”, and it has twelve different whites in the bundle.  I liked it so much, and I could see so much potential in it, that I actually ordered two of the bundles.

I’ve got plans for one of these bundles, but that is going to be another post.

Second Act Saturday: Air Conditioning Panels

Second Act Saturday is a feature whereby I do a little show and tell about something I created during my Second Act in Fiber Arts, but about which I had not yet blogged.

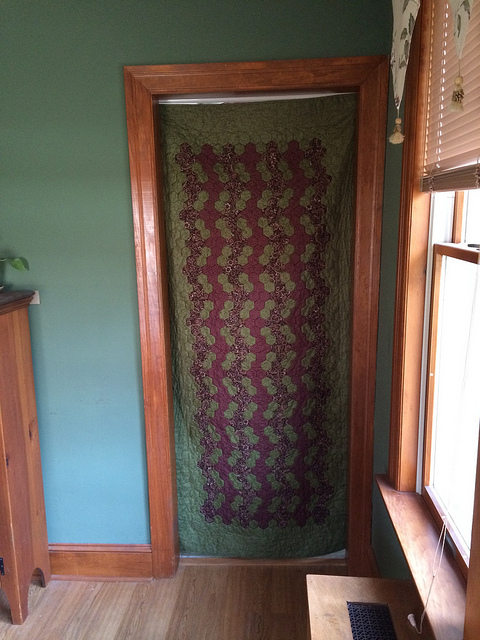
Today I am going to show off my air conditioning panels. We have a window unit in our dining room powerful enough to cool the dining room and the living room. In order to not overwork the air conditioner and to keep costs down we had hung old quilts between the living room and the hallway, and also between the dining room and the kitchen. We folded the quilts in half lengthwise. They didn’t look bad, but they certainly were not color coordinated with the walls.

When I took up quilting again two years ago one of the first things I planned to do was to create quilted hexagon panels to replace those old quilts that we dragged out every year. I started at the end of the summer two years ago and barely expected to finish one panel by the next summer. Amazingly, I finished both panels and the hung them for the first time last year and enjoyed them all summer. I got a few photographs of them hanging, but I never got photos of them in my usual staging area, which is the front porch.

So I laid them out and took some photographs to share.

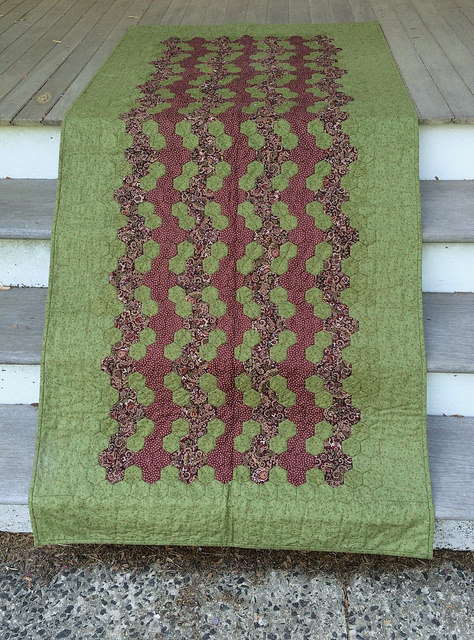
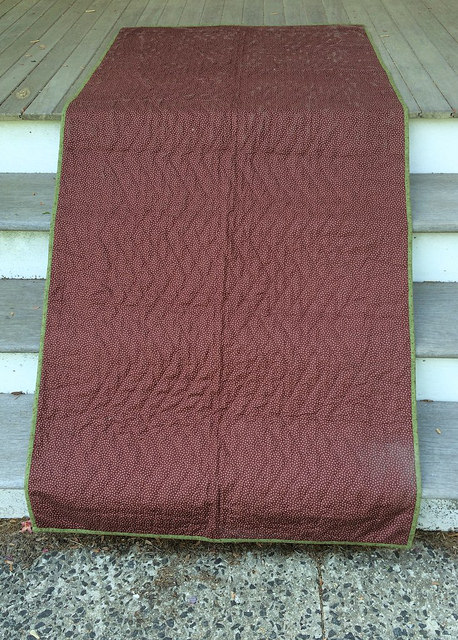
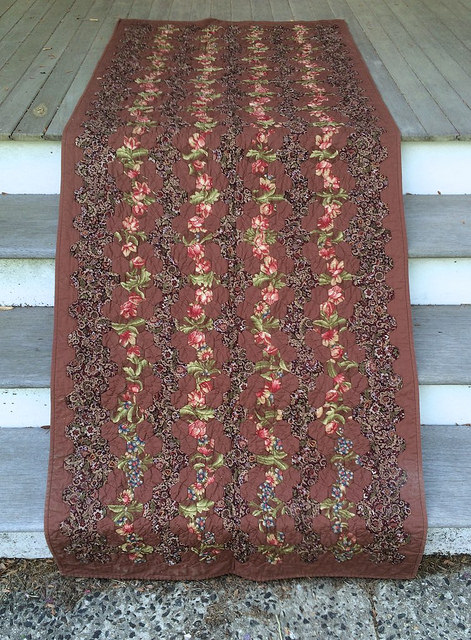
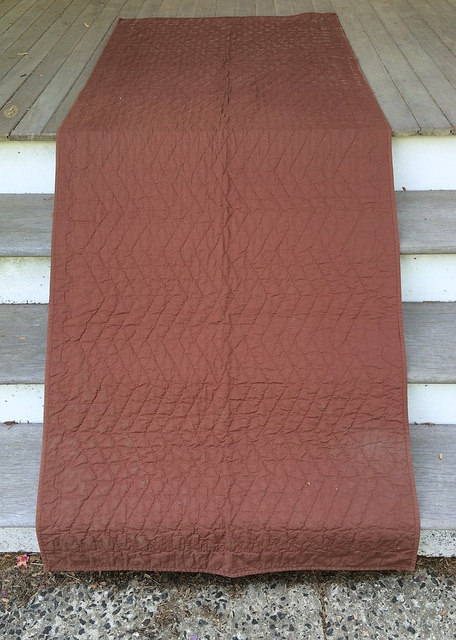
Here is the panel that hangs between the dining room and the kitchen. The dining room is painted a fairly dark green color. The reverse of this panel is the brownish red polka dot fabric that appears in the front. The kitchen has a red theme, so that works nicely.

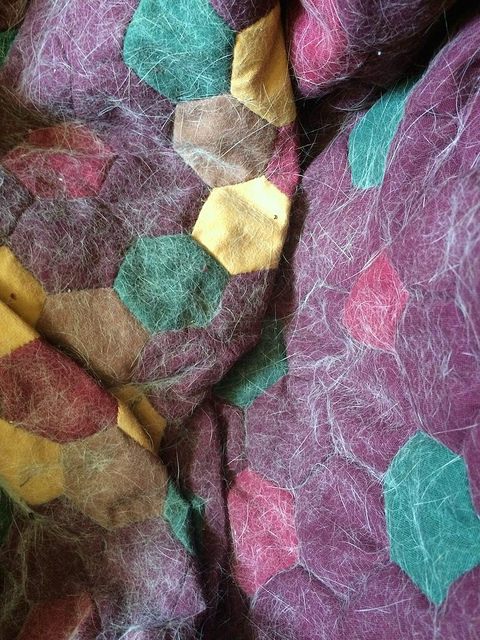
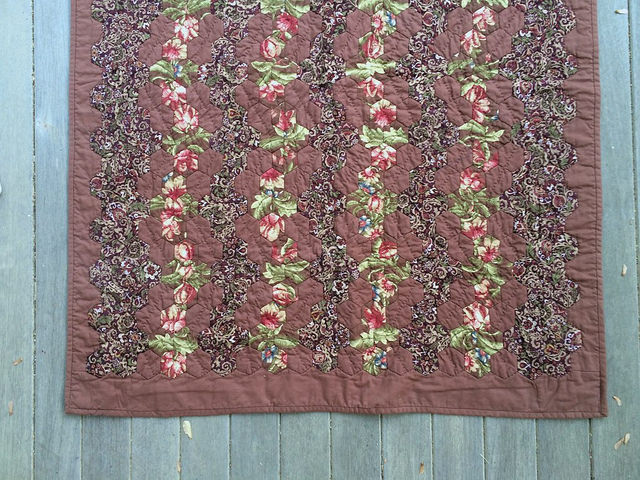
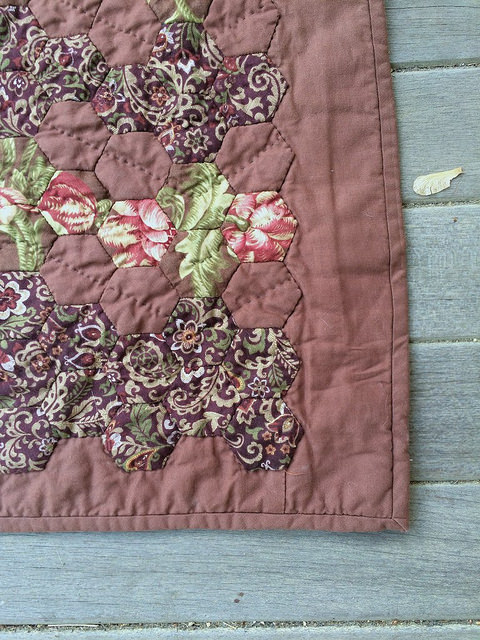
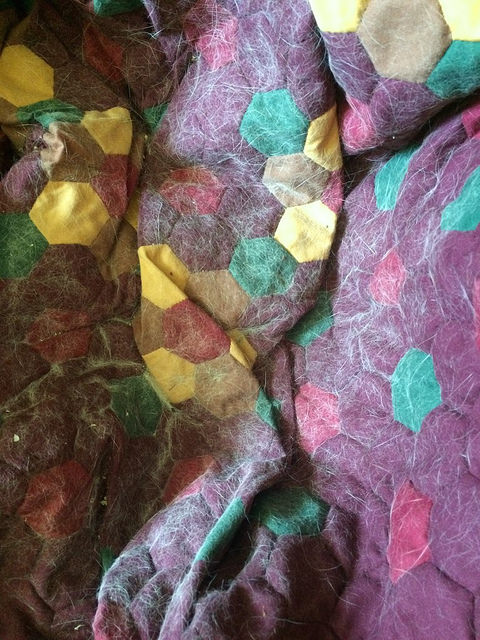
Here is the panel that hangs between the living room and the hallway. The living room is a dark maroon color. This piece looks as if it involves fussy cutting. The truth is that I did not even know what fussy cutting was when I made it. After cutting hexagons from the flowered material I noticed that some hexagons had more of the flowers and some hexagons had more of the leaves. When putting together my units for this piece I took that into account. I think you could call the method I used “fussy choosing” because the decisions were made after the cutting took place.

People really like this piece. It always gets a lot of attention. There is a masculine element to the piece with the brown patterned fabric that looks like it would be at home in a men’s silk tie. Then there is a feminine element with the flowered fabric that would make a nice sun dress. It all gets tied together with the brown Kona solid. The back of this piece is the Kona Solid.

This is the piece that I get my shrinkage estimates from.

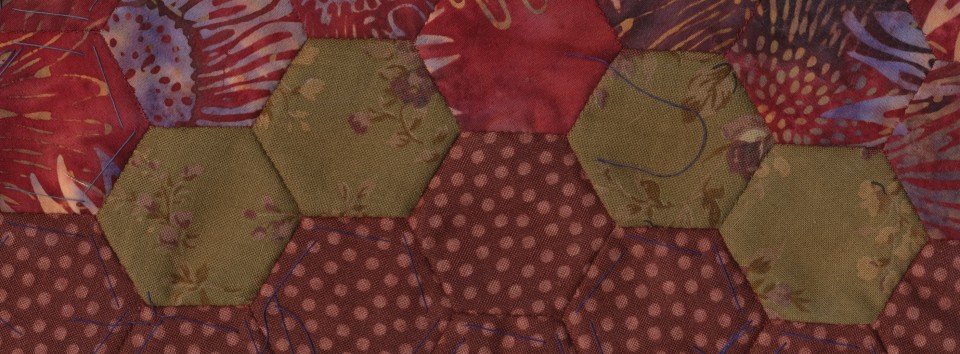
Here are some close ups of the above piece.


My husband will be installing the window unit soon and hanging the panels.

More Math About My Quilt Top

I recently expressed the need to make the Batik Flower Garden Quilt top larger. If you are math averse you should turn away now… quickly.

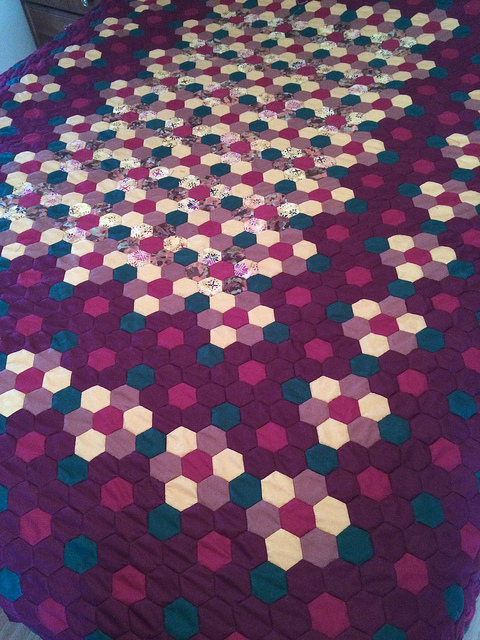
I laid the top out on the queen sized bed downstairs and measured it at 87 inches in width and 97 inches in length.

How much overlap does this provide beyond where the mattress meets the boxspring? There is a 2″ overlap on the left and right. There is no overlap on the top and the bottom. (in fairness I allowed the top to extend over the edge a bit because I know that even if I have too much length I can always allow some to hang down over the top.)

I’ve converted my previous shrinkage experiment results into rough percentages.

In the width wise direction 22 inches of quilt top should yield 1 inch of shrinkage. That comes to roughly 4% shrinkage.

In the length wise direction 18 inches of quilt top should yield 1 inch of shrinkage. That comes to roughly 5% shrinkage.

I have a three yard length of 108″ wide fabric for backing, so neither of my final quilt top dimensions should exceed 104 inches, and even that it cutting things too close for comfort. I don’t want to get to the end of basting and find myself one inch short on my backing fabric.
I need to decide how many more rows to add to obtain a large enough to give me a quilt top that will provide the coverage I need, will work with my backing fabric, and account for shrinkage.

FOR THE WIDTH: If I add a row of hexagons to the side it will add 1.5 inches of width to the quilt top. So two rows adds 3 inches to a side, which is 6 inches in total yielding a final width of 93 inches. Estimating 4% shrinkage, the washed quilt will be 3.72 inches smaller (nearly four inches) for an estimated final width of approximately 89 inches. Subtract the 60 inch width of the mattress and you get 29 inches. Half that and you get 15.5 inches per side. Subtract the 11″ thickness of the mattress and you get an overhang of 4.5 inches per side. That might be more than I need. So I can consider adding just one additional row of hexagons on the side. If I go with that the overhang will be approximately 3 inches. That seems just about right. So it’s going to be one more row of hexagons per side with a final width of 90 inches.

FOR THE LENGTH: If I add add a row of hexagons to the length it adds 1.75 inches. If I add three rows that will add 5.25 inches to the length for a final length of 102.25 inches. I really want to add four rows, but the resulting 104 inch length would have been cutting things too close with the backing fabric which measures 108 inches at three yards. I ought to go measure that fabric because they might have cut it generously. Score! I got an extra four inches! My backing fabric is 112 inches long. Four rows will be no problem. 97 plus 7 = 104 inches. With a 5% estimated shrinkage of 5.11 inches the washed quilt should be about 99 inches long. Now to determine the overhang… Take 99 inches and subtract 80 inches for the length of the mattress  and you get 19 inches. We only really need overhang on the bottom, so subtract 11 inches for the thickness of the mattress and you get 8 inches for overhang. This may seem like a lot compared to the 3 inches we want on the sides, but some of the remaining five inches will be taken up by the height of pillows, and the rest can be adjusted by allowing some of the quilt to hang over the top edge.

After all of these calculations I am planning to add one row of hexagons to each side, and four rows to the height. Perhaps I will add one of them to the top and three of them to the bottom.

I will be interested to see if my shrinkage estimates prove to be on target. I realize that my backing fabric is not a Kona solid, so that may throw things off. The backing of the piece I worked with for my shrinkage estimates had a Kona solid backing. I’ll be using a similar cotton batting, so that shouldn’t effect anything.

My Kona Burgundy yardage has arrived, and my next step will be to cut binding strips on the bias to bind this quilt. That will leave me with extra pieces I can cut for more hexagons. I will be needing them for those six rows.

This piece has approximately 3,300 hexagons in it so far.
Thoughts About Social Networks and My Blog Name

Attending the technology workshop lead by Jessica Skultety of Quilty Habit made me think about how my use of social media does not relate to my blog name. It also made me think about how my blog name and social media user names may be working at cross purposes, and thwarting my desire to be noticed. Right up front I will admit that I blog to be noticed, and hopefully to form connections in the quilting community. I don’t have a business to promote. I am not selling my work. I don’t do long arm quilting. I just want people to find value in what I post, and to notice me as a result.

When talking about getting noticed I should declare that I am a big fan of Michael Hyatt. I found him when Evernote retweeted something he had posted on Twitter years ago. I have been following him ever since. I read his book “Platform: How to Get Noticed in a Noisy World” when it first came out. I later went on to join Platform University, and have been a member there for nearly two years.

It was based on the suggestions in Michael Hyatt’s book that I started my blog. He recommends obtaining one’s own real name as a domain name if at all possible, preferably with a .com extension. He also recommends using WordPress and self hosting. I had owned terrischurter.com for years, yet I was reluctant to use it for a quilting blog because I did not already have name recognition in the quilting community. I am planning on pointing terrischurter.com to my hexylady.com domain eventually. I just have not gotten around to it yet.

Having looked around the quilting blogosphere it seemed to me that short and catchy names that related to the world of quilting were the preferred urls. Having discovered the love of hexagons, and feeling quite committed to them, I decided to grab “hexylady.com” when I found it available. I had noticed that the twitter name “hexylady” was taken, though never actually used. I had no real interest in Pinterest or Instagram at the time, so I didn’t even think to check them. I already had a Twitter account of “terrischurter” and decided to continue to use it.

I made a conscious decision to use my full real name for all social media accounts moving forward. I chose to do this because my real name is always available to me thanks to the fact that it is so unusual. I also decided to make sure that that my full name appeared whenever I responded to a comment on my blog. At first I only used “Terri” when I responded to a comment. Now I use “Terri Schurter”. I figured that over time my real name would become associated with my blog url. I am now considering a way to make my full name more prominent on my site, such as changing “ABOUT” to “ABOUT TERRI SCHURTER”

During the quilting technology workshop one of the attendees said she could not find me on Instagram, and I said, “I’m terrischurter.” And she said, “Nobody will find you that way.” That’s when I started to worry.

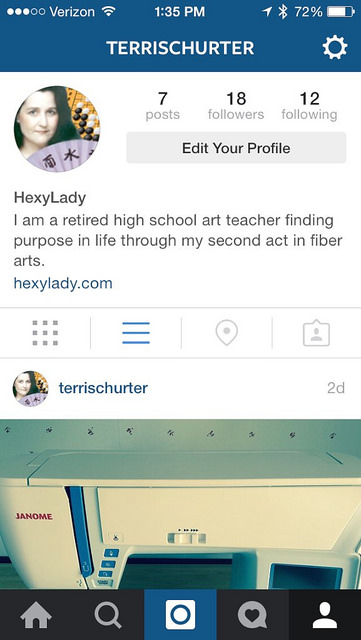
After the workshop I decided to check and see if “hexylady” would be available on Pinterest, and much more importantly, on Instagram. I could not obtain the name on either site. So I tried a little experiment. I changed my real name on Instagram to “Hexy Lady” to see if someone could find my “terrischurter” account by searching for “Hexy Lady”. That worked fine as long as they put in the space between the two words, which they might not be likely to do.  If they simply typed “hexylady” I could not be found. Then I tried changing my name to “HexyLady” and it worked just fine. So I am going to leave my name as HexyLady for the time being.

On Pinterest I tried changing my real name to “HexyLady” using the place provided for a first name. This did not have the desired results, so I changed it back to Terri Schurter. I don’t think it will make that much of a difference because I feel as if Pinterest is much more of a way to gather inspiration than a way to share my work.
I am not 100% sure about using HexyLady as my real name on Instagram, but I can always change it back.

What are your thoughts on using Social Media in the quilting community?


Signed Up On Networked Blogs

I attended a technology workshop today at the Pennington Quilt Works. Jessica Skultety, the President of the Central Jersey Modern Quilt Guild did an excellent presentation of what are arguably the four most common social media sites for quilters. She covered Flickr, Facebook, Pinterest, and Instagram.

I’ve used Flickr and Facebook pretty extensively. I do have Pinterest and Instagram accounts, but I have really done nothing with either of those services. I have a total of seven pictures up on Instagram, and one of them was posted today during the workshop. That happened to be a photo of my newly acquired Janome Skyline S5

One thing Jessica talked about was a service that would automatically post to Facebook when one publishes a blog post. That service is called Networked Blogs. I signed up before leaving the workshop. When I got home I explored the site a bit more on my desktop, and a search for “quiltyhabit” brought me to Jessica’s blog on Networked Blogs, and I was able to follow it.

I noticed under “settings” there is an option to have Facebook Integration. That is what Jessica must have been talking about when she said it would post to Facebook for me. So this post is a test of the Facebook Integration functionality. I am hoping to see this pop up on my Facebook Timeline after I post it here.


Not All Queen Sized Mattresses Are Created Equal

My husband and I bought a new queen sized bed for the downstairs bedroom a week ago. I spread my Batik Flower Garden Quilt out on it and discovered something that I had already suspected. We’re gonna need a bigger quilt top!

Yikes.

The photo above shows what the quilt top looked like at the mattress store just before I headed off to the First Slow Stitching Movement Getaway. Since that shot was taken I have added two more borders of burgundy hexagons. The top was looking as if it had enough overhang when I placed it on my queen sized bed in the upstairs bedroom, Therefore, I was getting ready to move forward with basting. However, on the downstairs bed the quilt top just barely made it to the division between the mattress and the boxspring. Here’s why…

UPSTAIRS

DOWNSTAIRS

The mattress upstairs is 8 inches thick, and the mattress downstairs is 11 inches thick. Each mattress has a correspondingly thicker or thinner boxspring. So both beds achieve the same height. I have to say that I actually prefer the upstairs configuration better for quilt display. The downstairs configuration is going to require that I add at least three more inches to the the left, right, and bottom sides of the quilt top.

We are talking about quite a bit of extra work, but I intend to do it because I have invested a great deal of time into this quilt already. Plus I will be investing a great deal more before I am done. I am planning to do some rather dense hand quilting to make this quilt into a real showpiece. I want this to be the one that the heirs fight over.

While I am planning to learn how to machine quilt soon on my Janome Skyline S5, I am committed to doing this quilt entirely by hand, all but the application of the binding to the front.

Here I am adding some burgundy hexagons in bed…

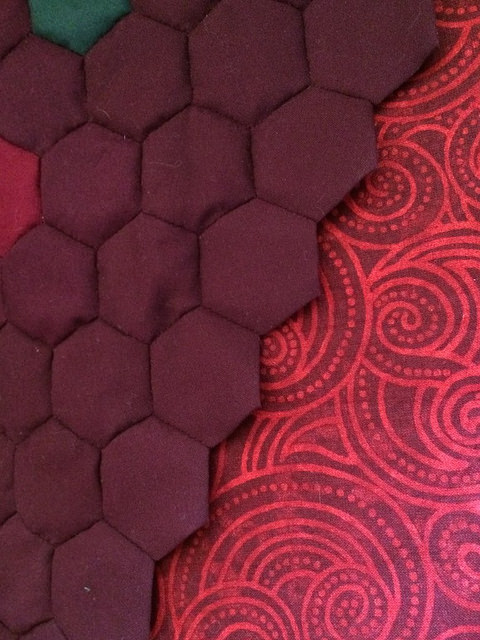
Below is a photo showing one of the sides of the quilt top. You can see that the area closest to the edge is nothing but solid burgundy hexagons. That could just as easily have been achieved by cutting widths of solid fabric and sewing them to the top. I think that going to the trouble of adding this width with hexagons adds integrity to the process.

It also makes the final hundred or more hours of stitching into quite a meditative act… nothing to think about here… Just stitching, folks.

This mattress revelation does raise the question of how large one should make a quilt. If you are making a quilt without knowing who it is for you can’t know how thick the mattress will be where it will eventually reside. If you do know who you are making it for you should certainly ask them to measure their mattress and find out whether they require it to cover the gap between the mattress and the boxspring.