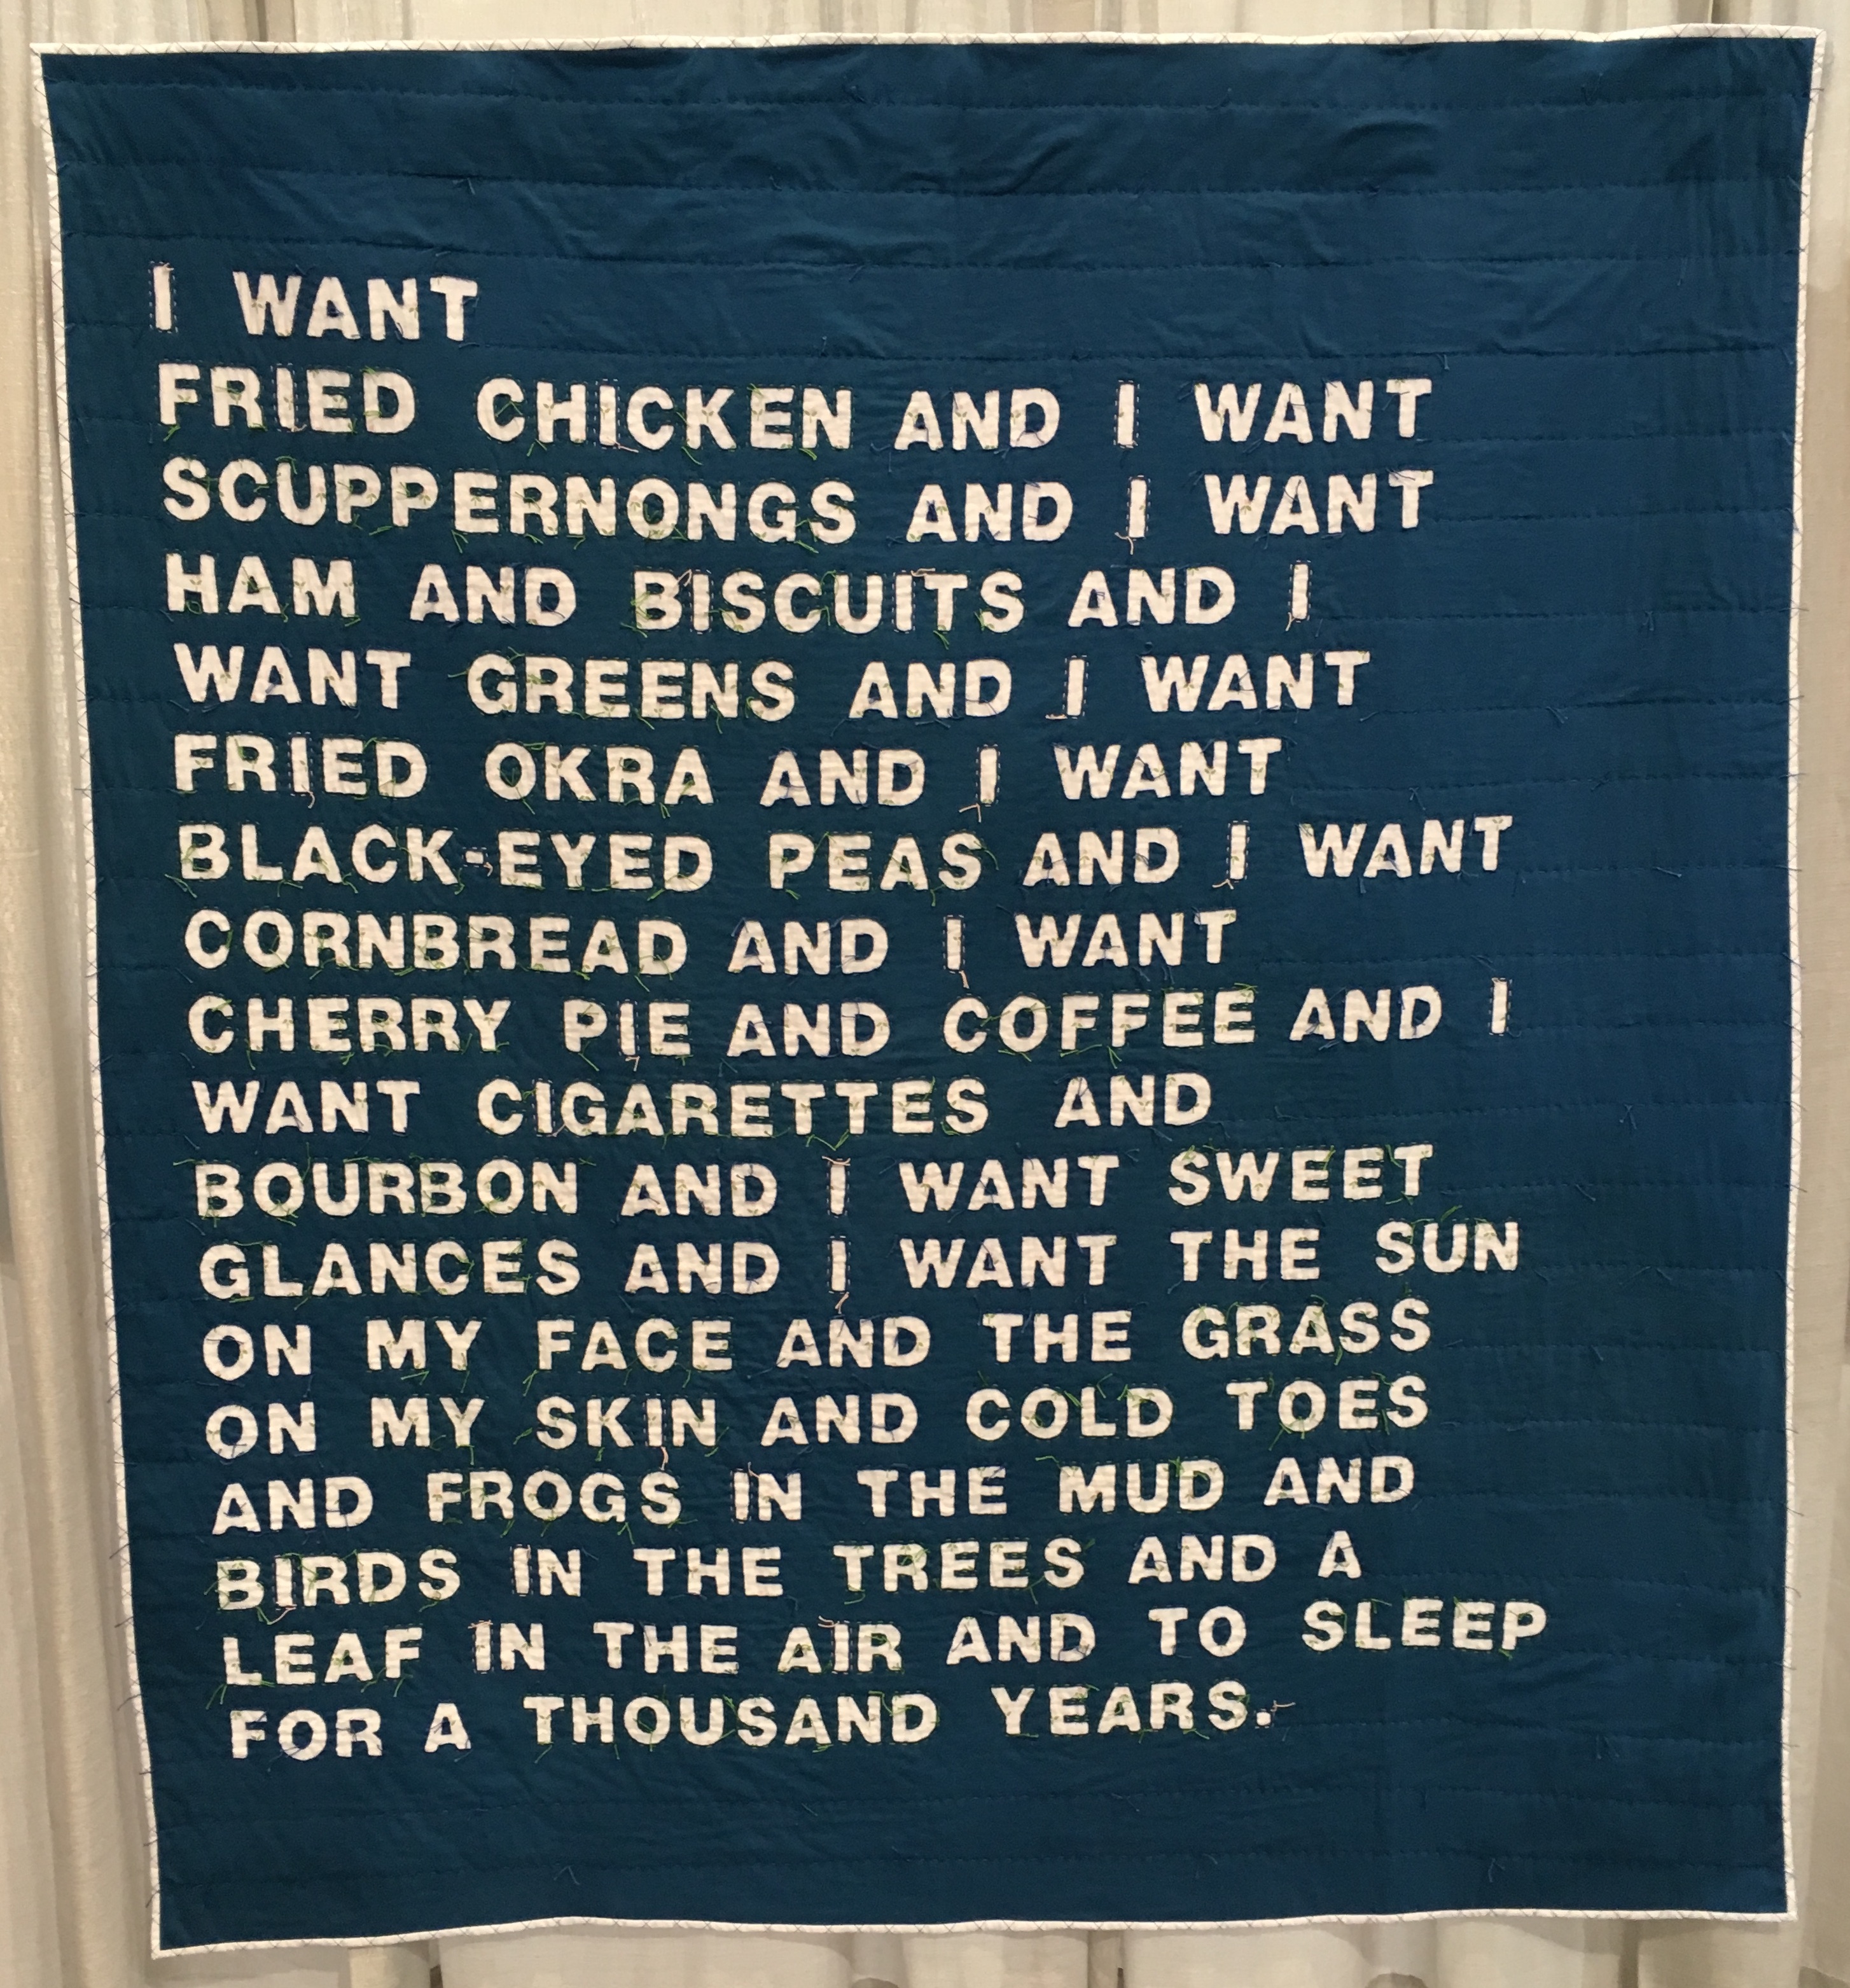
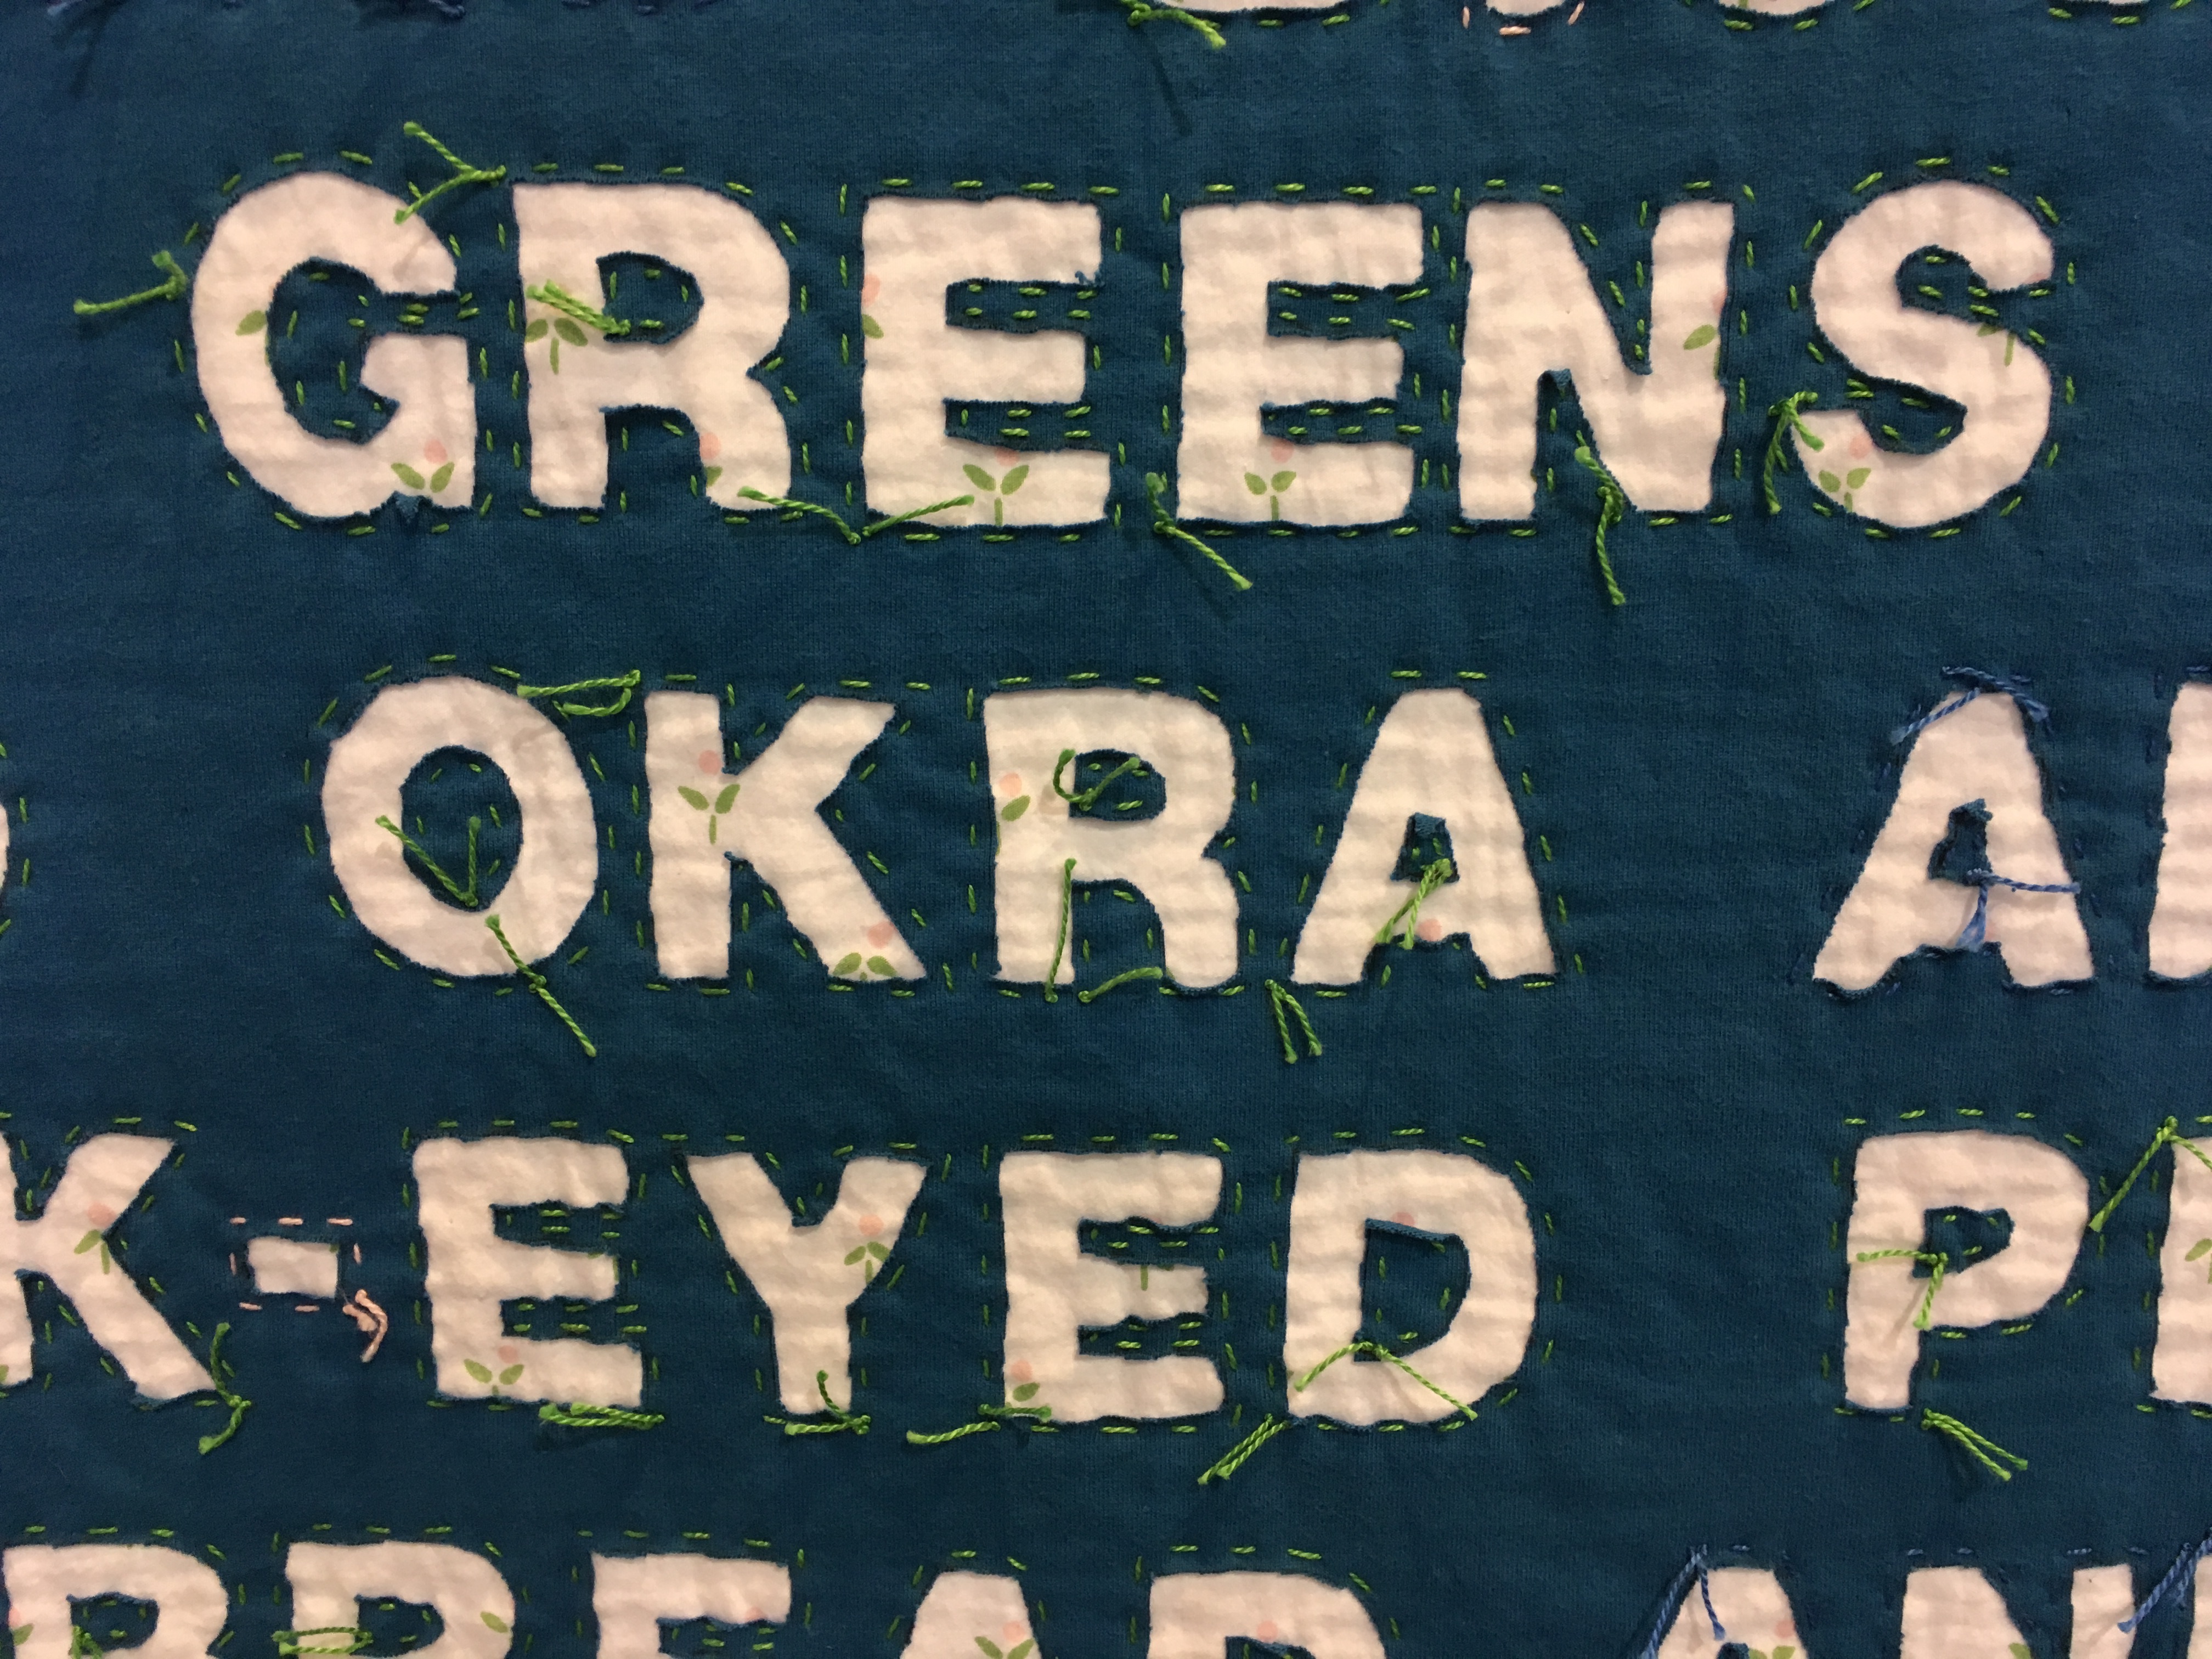
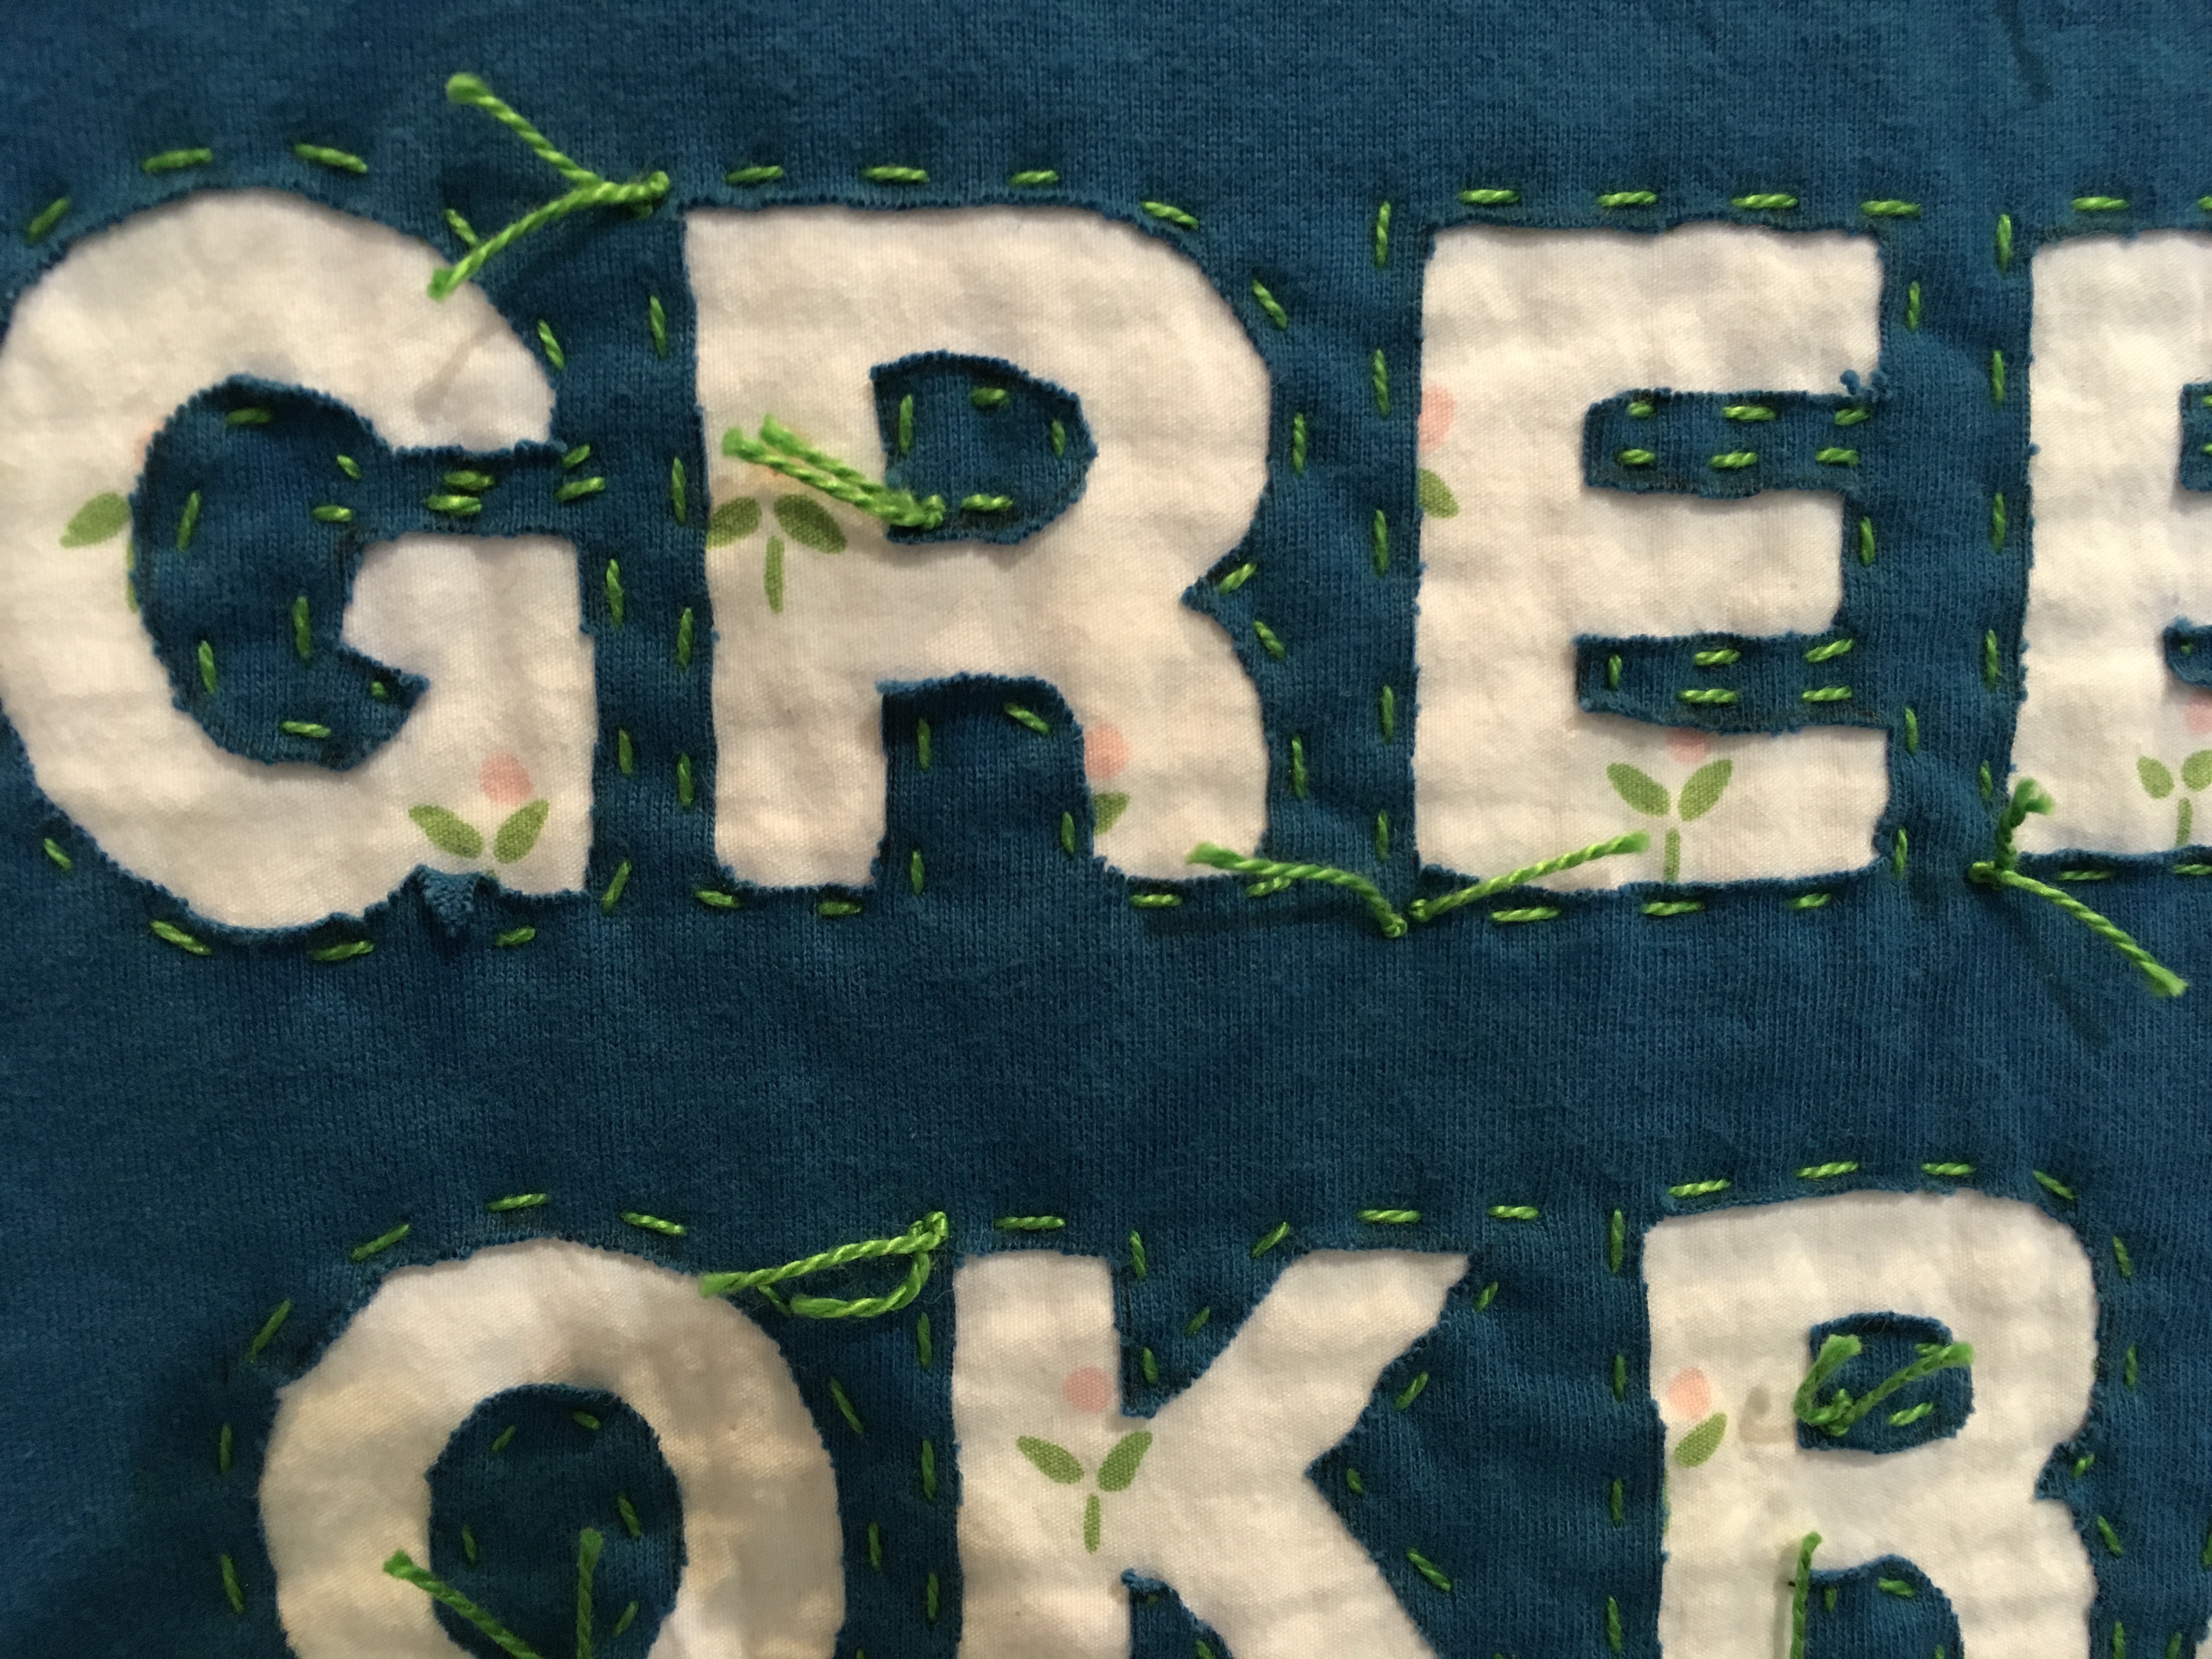
I’ve wanted to attend QuiltCon ever since I watched some of the lectures from the first QuiltCon that took place in 2013. Craftsy offers some of the lectures for free on their site. This year I finally decided to make the investment in my quilting future by going to QuiltCon. I’m glad I did. One of the things that kept me from attending QuiltCon earlier was that I felt as if I wasn’t going to have anyone to hang out with. I felt as if I needed to build up a sense of community first. Since my first dreams of QuiltCon Attendance I have participated in three quilt retreats with my guild, plus taken two forays to “Quilters Take Manhattan”. As a result, I felt as if I knew a few people in the guild well enough to feel that I would have company with me at this event.
Eighteen members of the Central Jersey Modern Quilt Guild were in attendance this year at QuiltCon in Savannah Georgia. I did manage to spend a bit of time with some of those wonderful folks, especially over dinner, and I ran into others briefly during the course of the day.
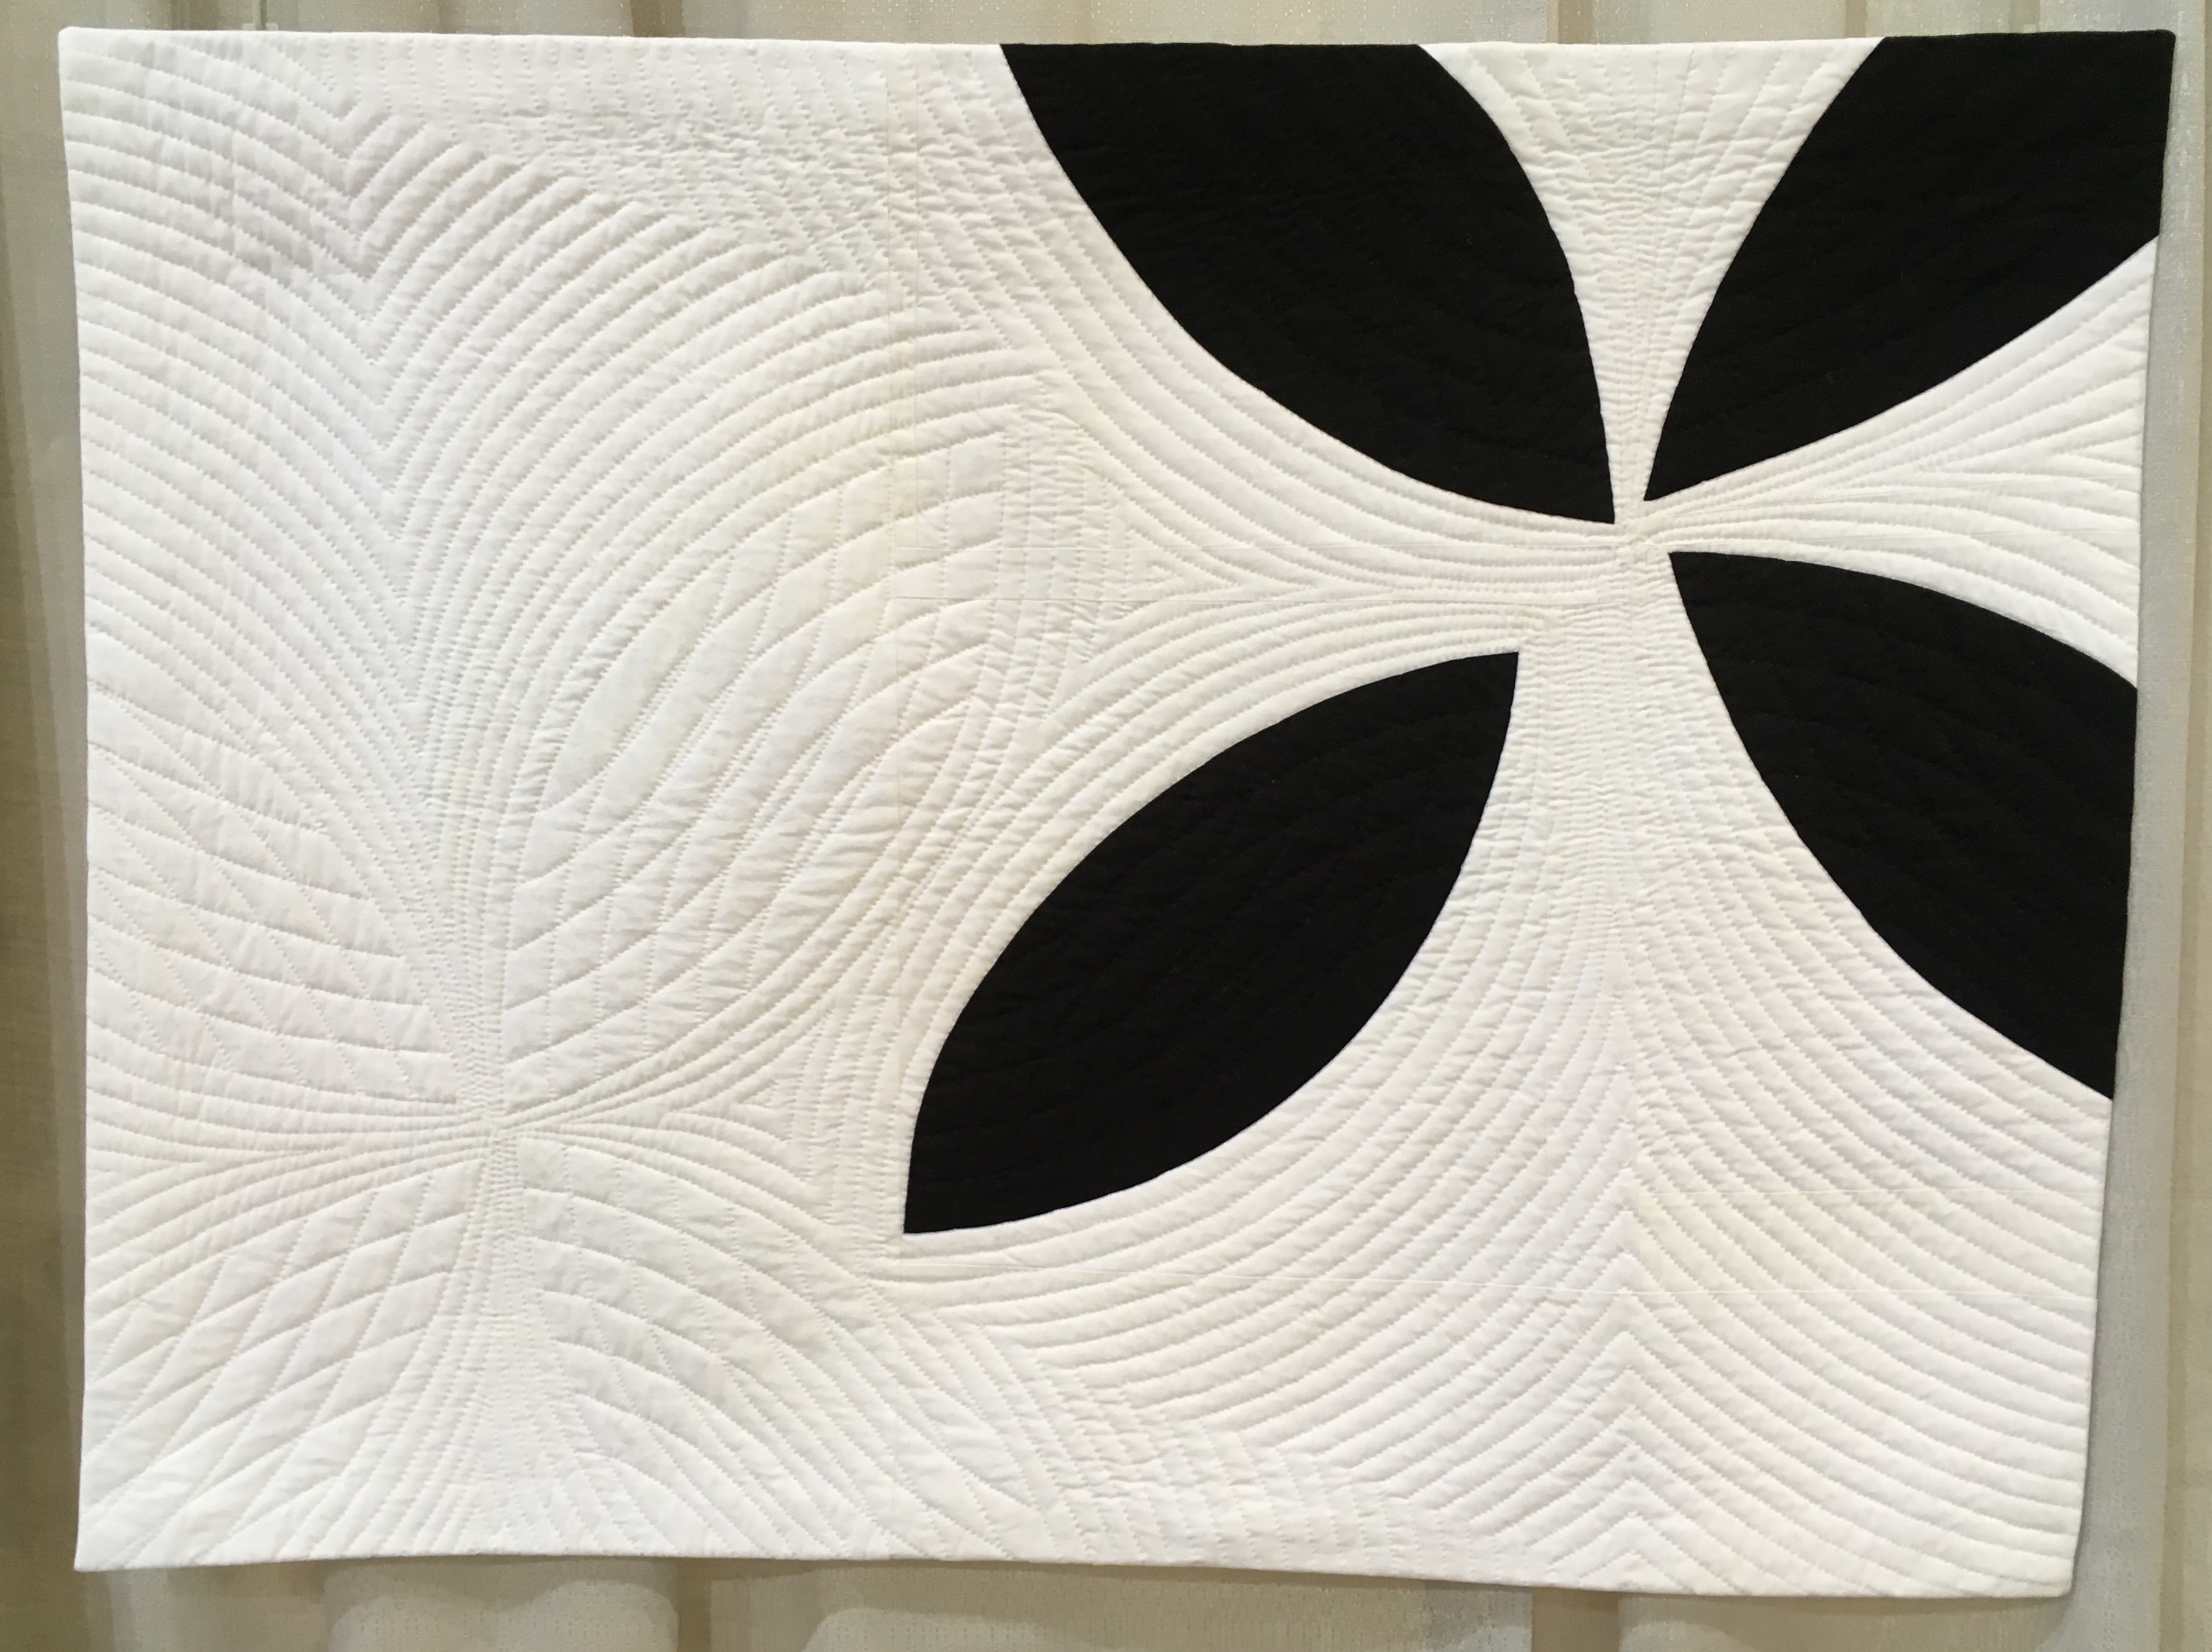
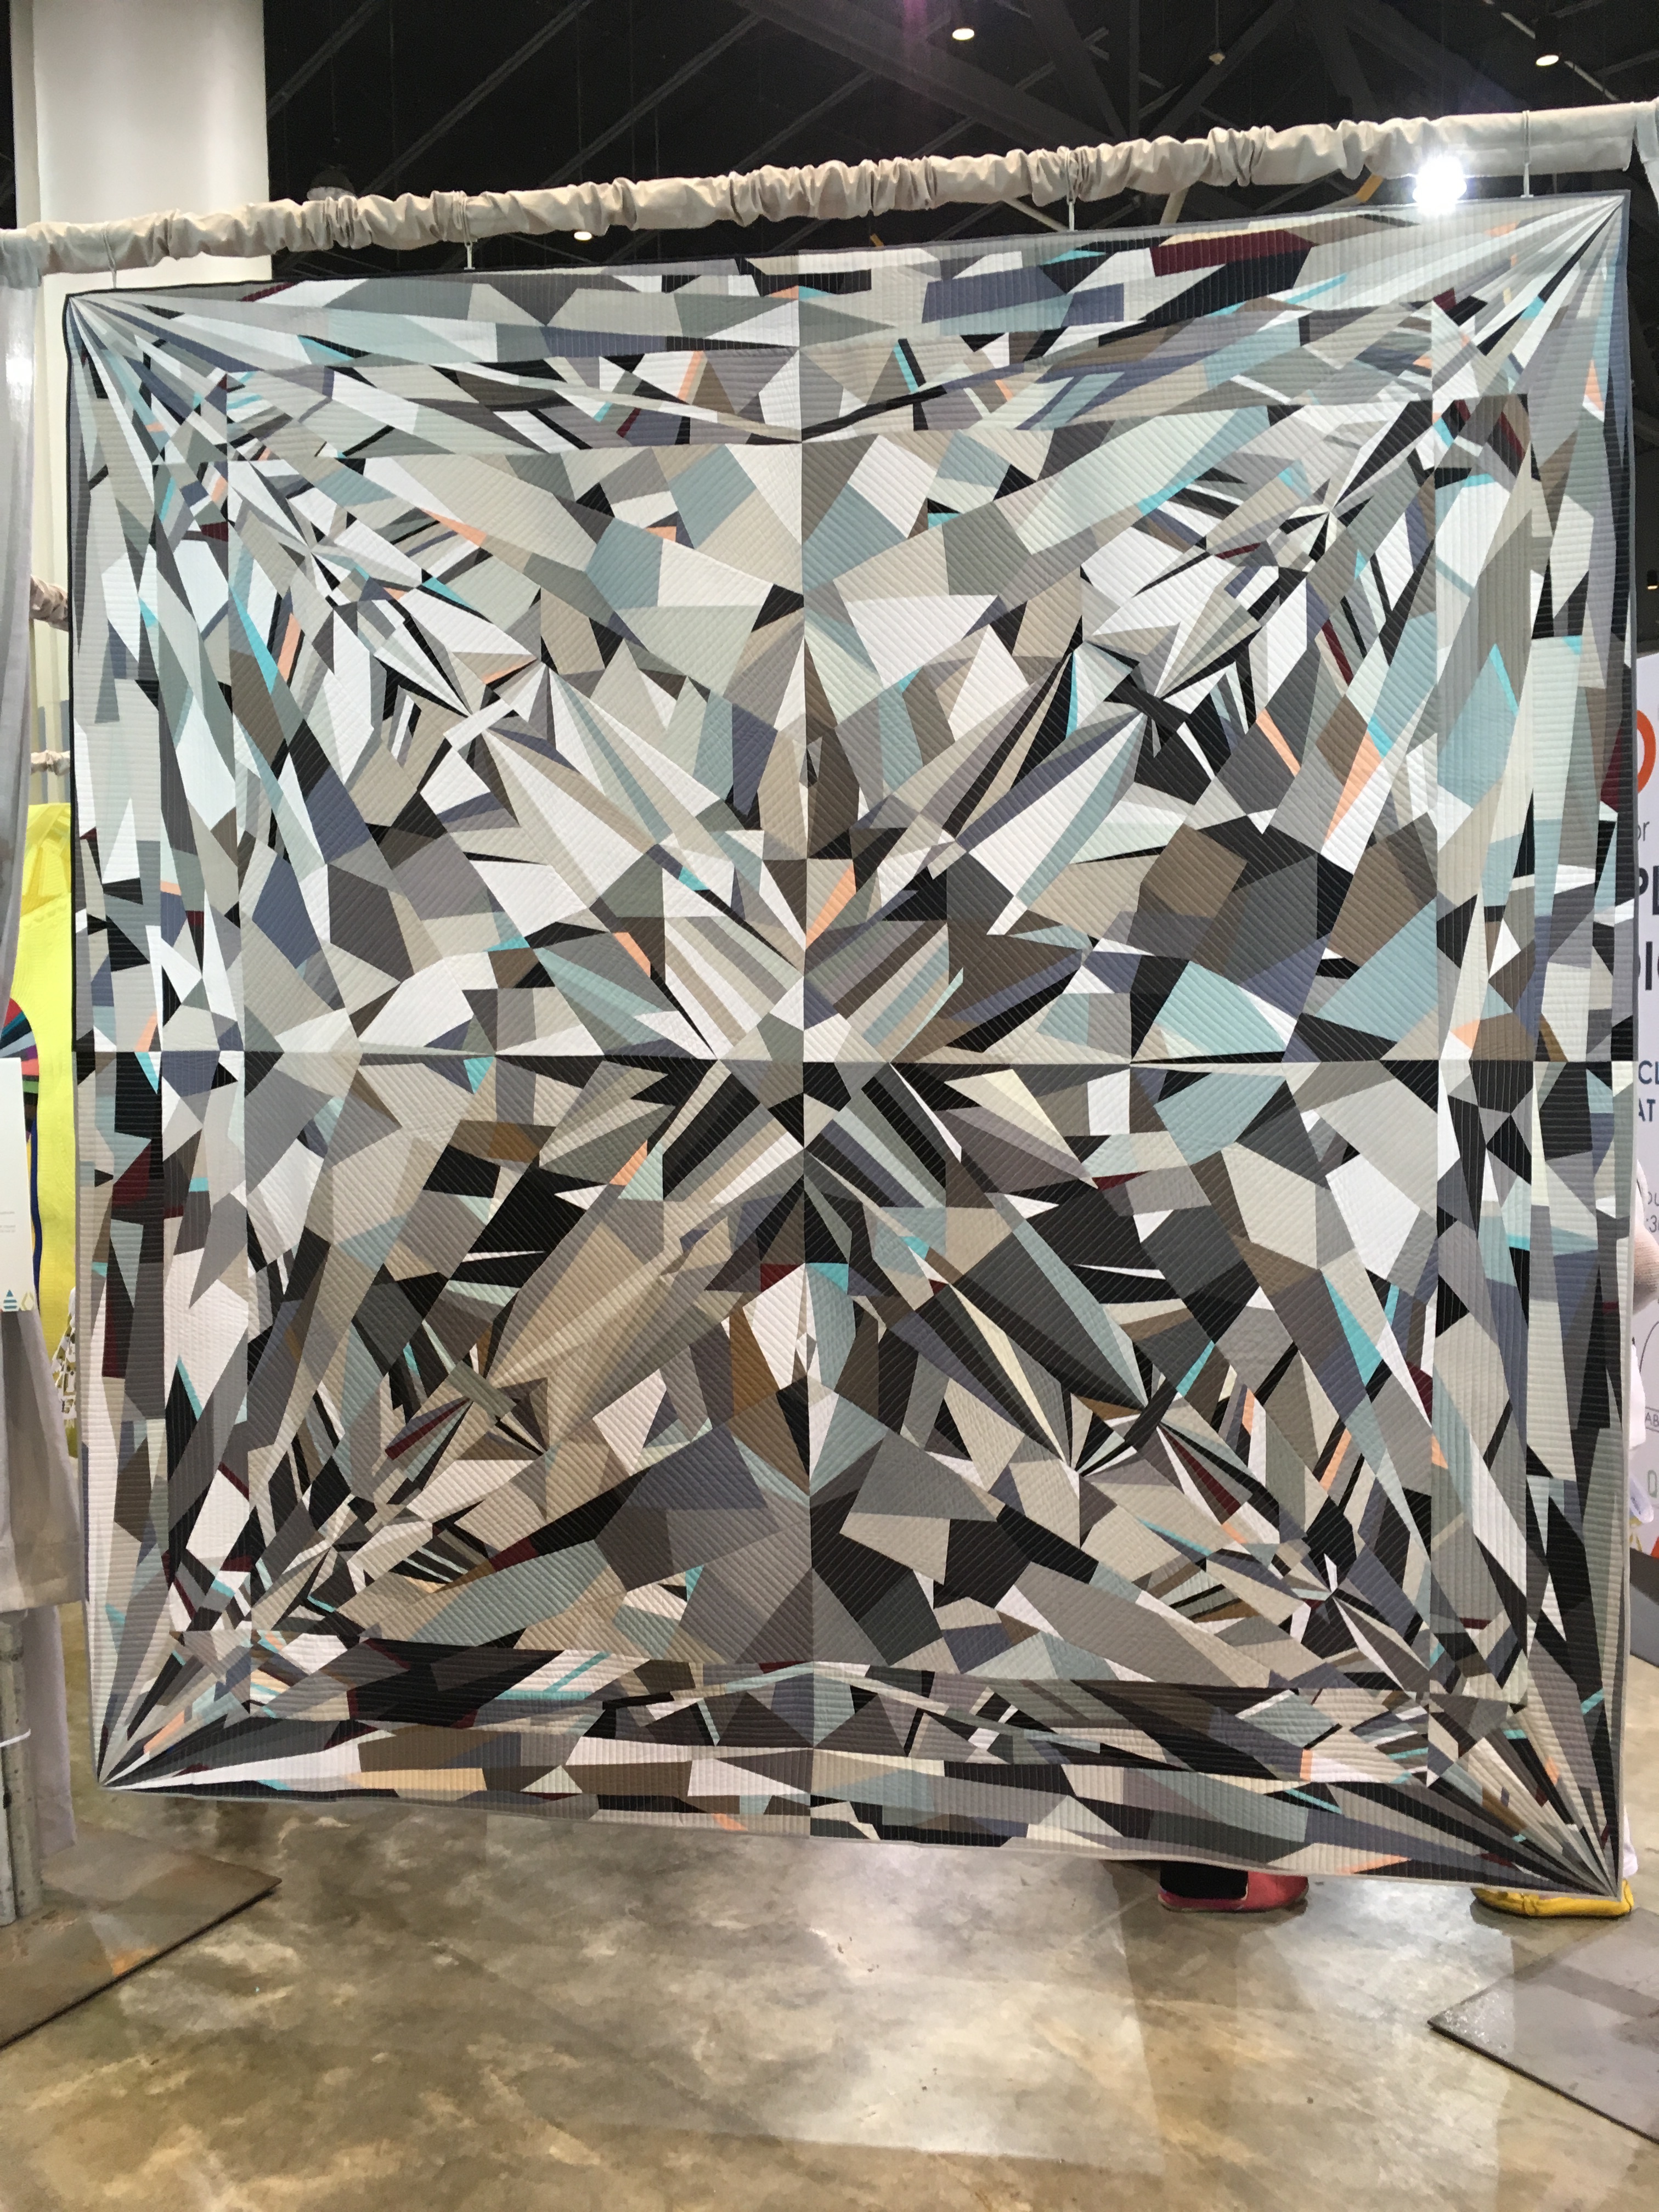
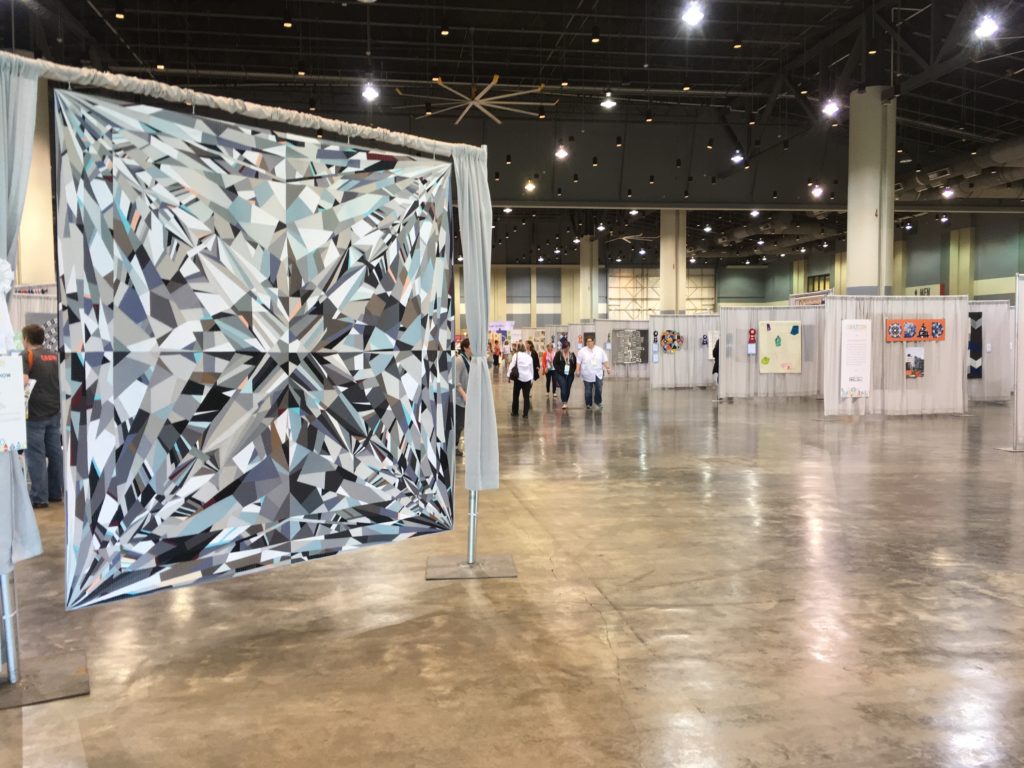
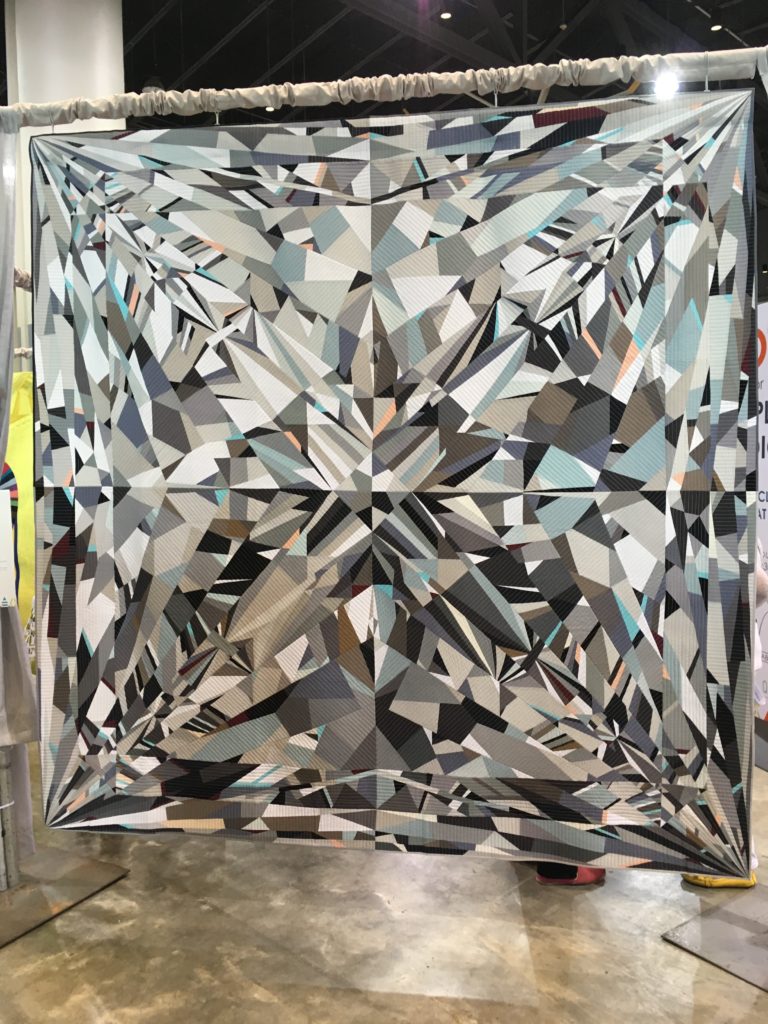
The photograph of the quilt below, which won Best of Show, gives a bit of an idea of the size of this show, but the show is much larger than any one photograph could possibly depict.
bling
KATHERINE JONES
Chigwell, Tasmania, Australia
Tasmanian Modern Quilt Guild
@twocatsquilts
The following information is from the paperwork accompanying the piece:
It is made with a foundation paper piecing method entirely of solid fabrics. The inspiration for this quilt was a princess cut diamond. Techniques: Machine pieced, machine quilted without a frame – the quilt moved under the stationary needle (such as a domestic machine or mid-arm that is not on a frame), paper pieced.
The piece was offered for $2,000 and sold. I think she should have asked for more, and I think she could have gotten it too. However, at the time she priced this piece she had no way of knowing it would be such a winner, and that makes a difference.
Notice that this woman lives in Tasmania. She was not planning to attend QuiltCon, but she did manage to book a flight and get to the event in time for the awards ceremony.
Here is a closer look at the front,
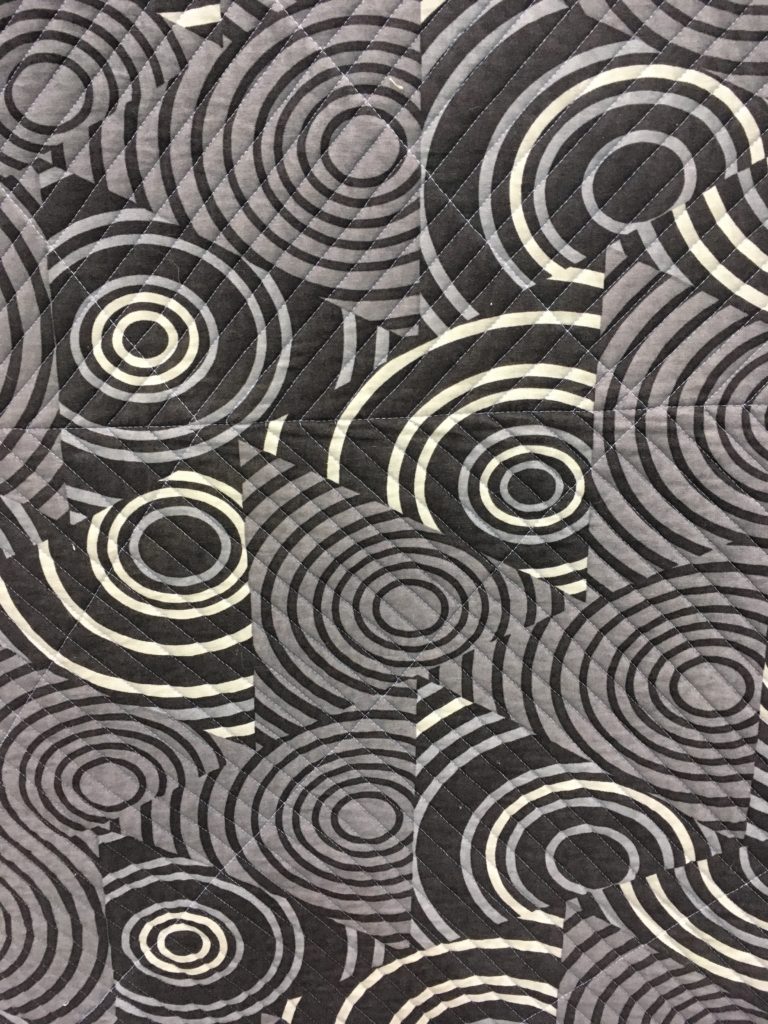
and a close up of the backing fabric. Nicely chosen.
The really big winners in the show are displayed so it is easy to see both sides of the quilt. You can walk clear around them.
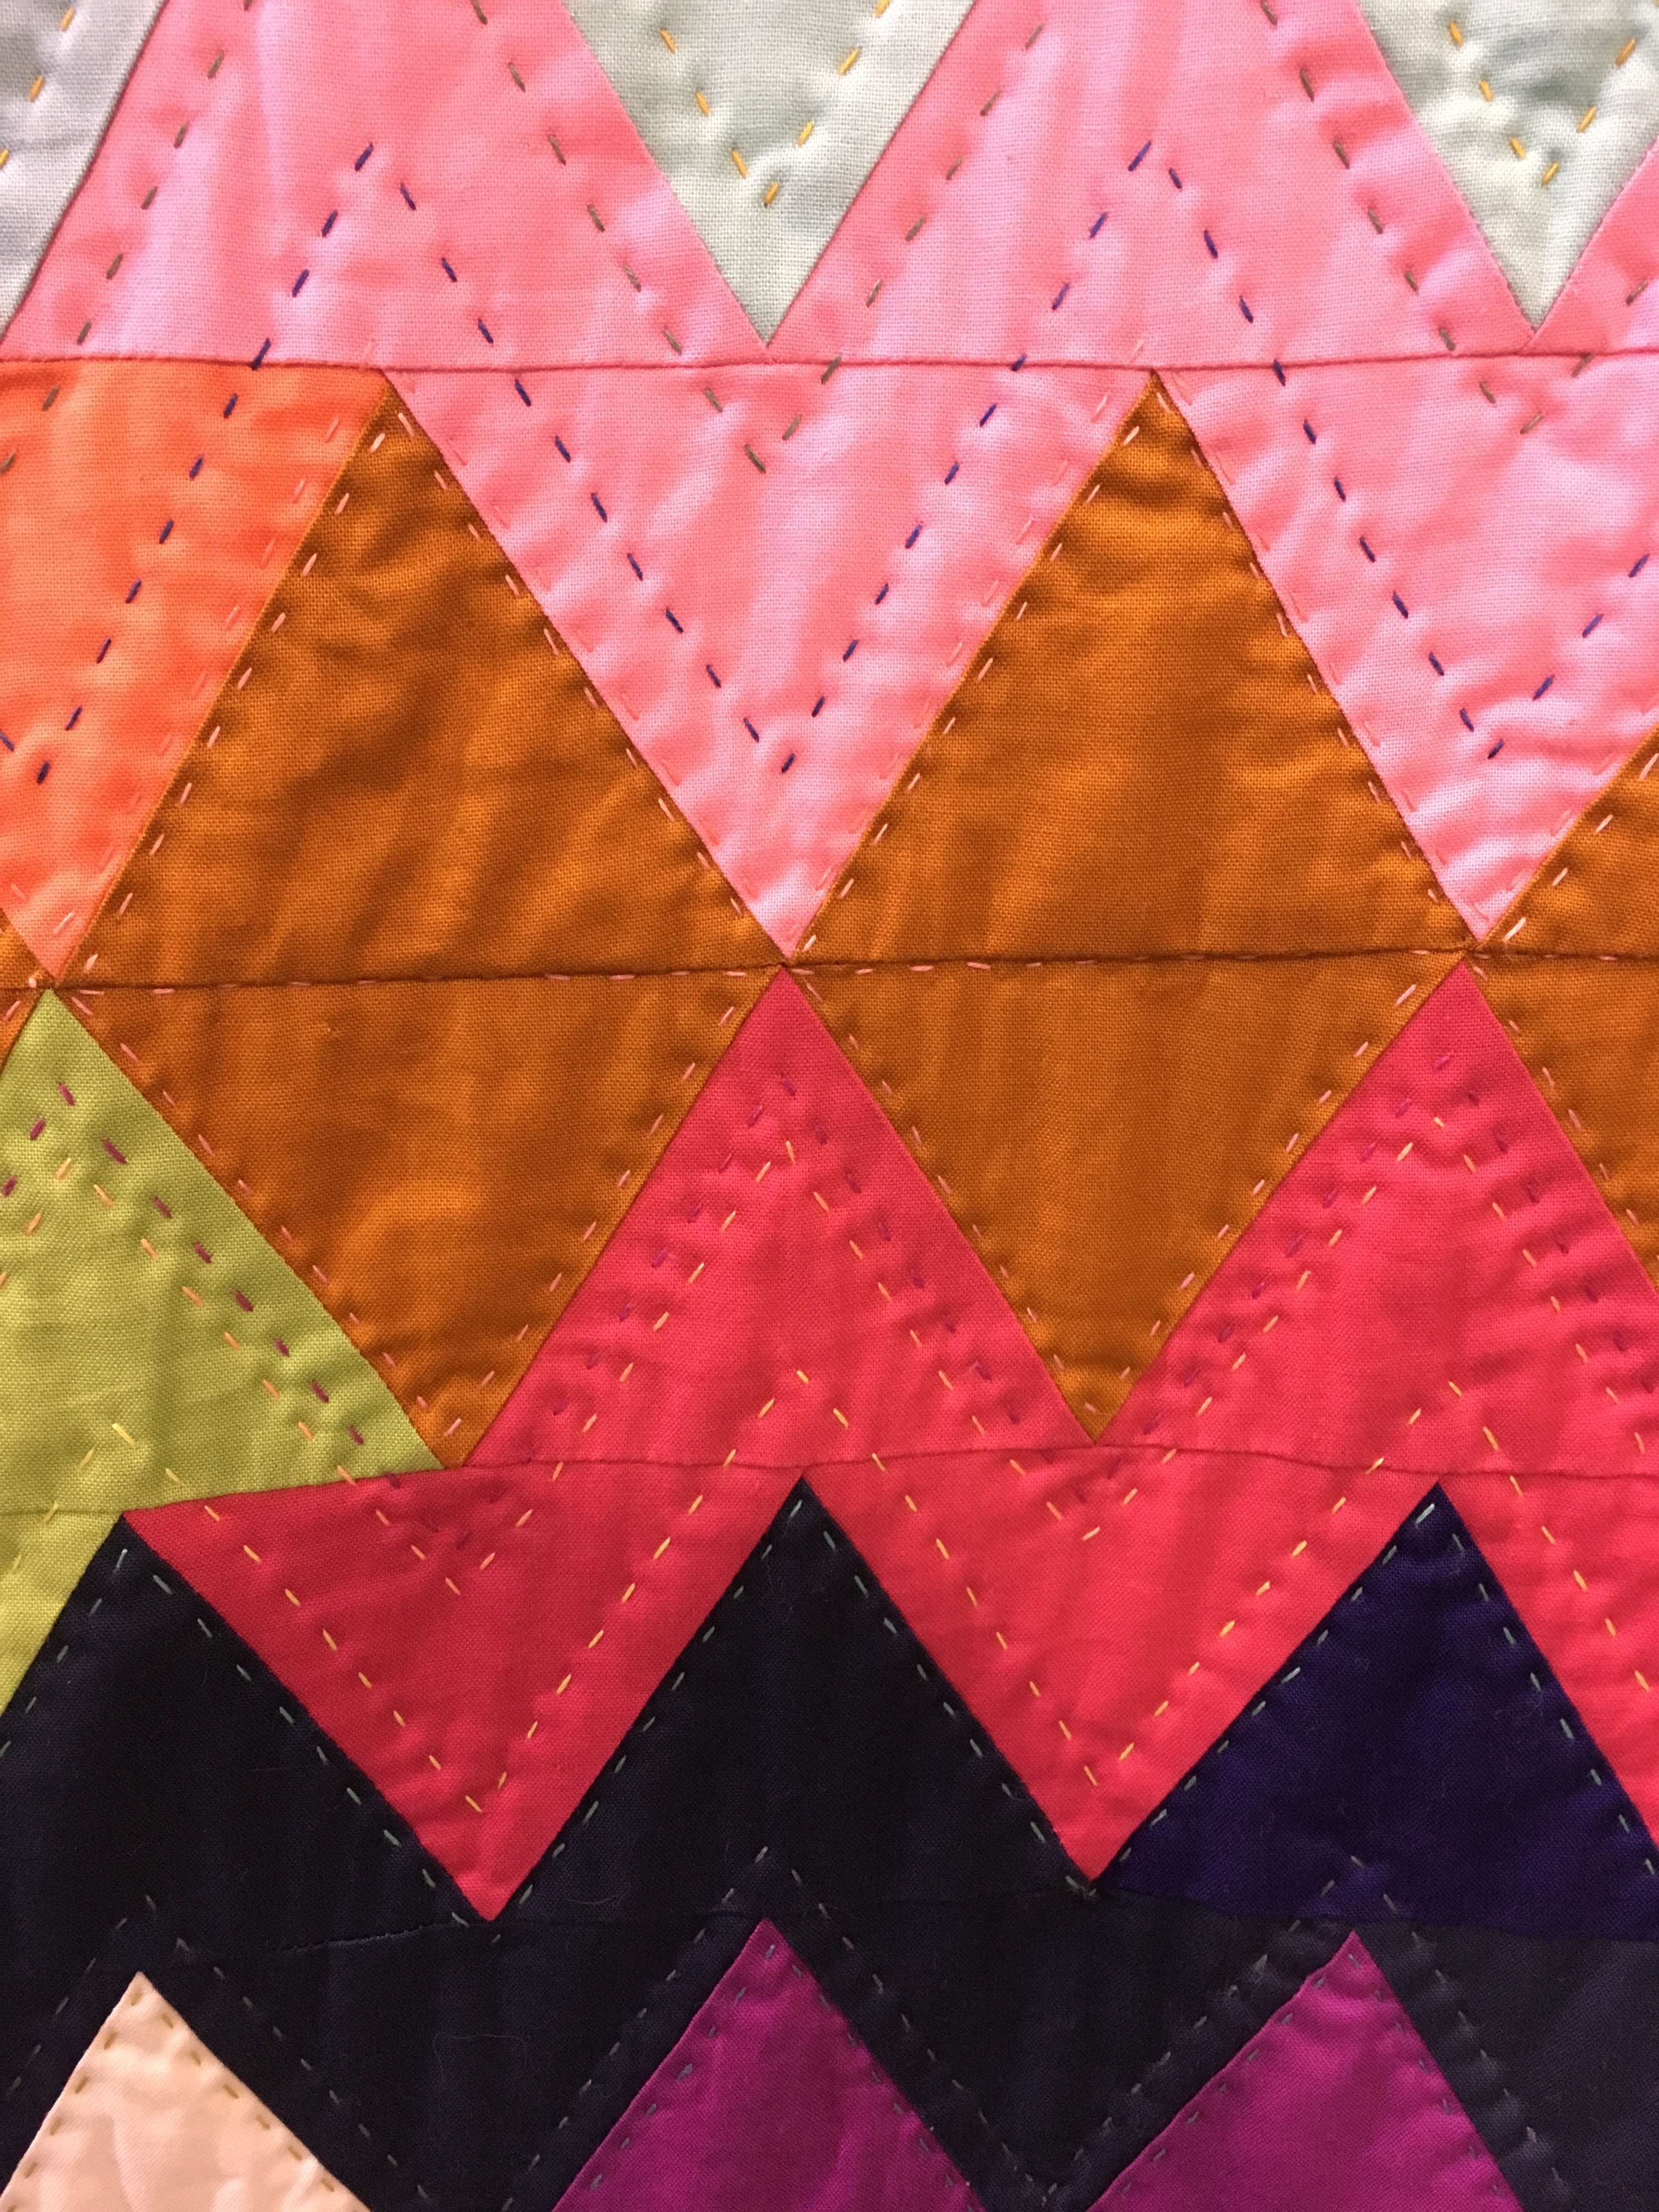
I really enjoyed walking through the quilt show. There was plenty to see. Not having been terribly organized in my approach to viewing the show, however, I am not completely certain that I saw every quilt, even after four days of viewing.
I had bought an all access pass to the lectures. Lectures were held in an auditorium perhaps 100 feet away from the exhibit hall. Lectures occurred throughout the day starting at 9:00 AM and going until about 6:00 PM with breaks between lectures lasting from 45 minutes to as many as 75 minutes. This was good because it encouraged me to alternate between viewing the quilts and listening to lectures. Straight lecture viewing would have been very tiring regardless of how riveting the individual lectures might have been. The lectures were good by and large, but I did find myself nodding off occasionally.
Next time I don’t think I will get the all access lecture pass because I ending up missing the opportunity to have breakfast with guild members at 9:30 AM on the other side of the river because of that lecture pass. Since I’d paid for the 9:00 AM lectures I felt as if I should attend them. I could have skipped them, of course, and I did end up skipping some lectures throughout the later days, but I think I still got my money’s worth on the cost of the pass because the pass was less than cost of all the lectures added together.
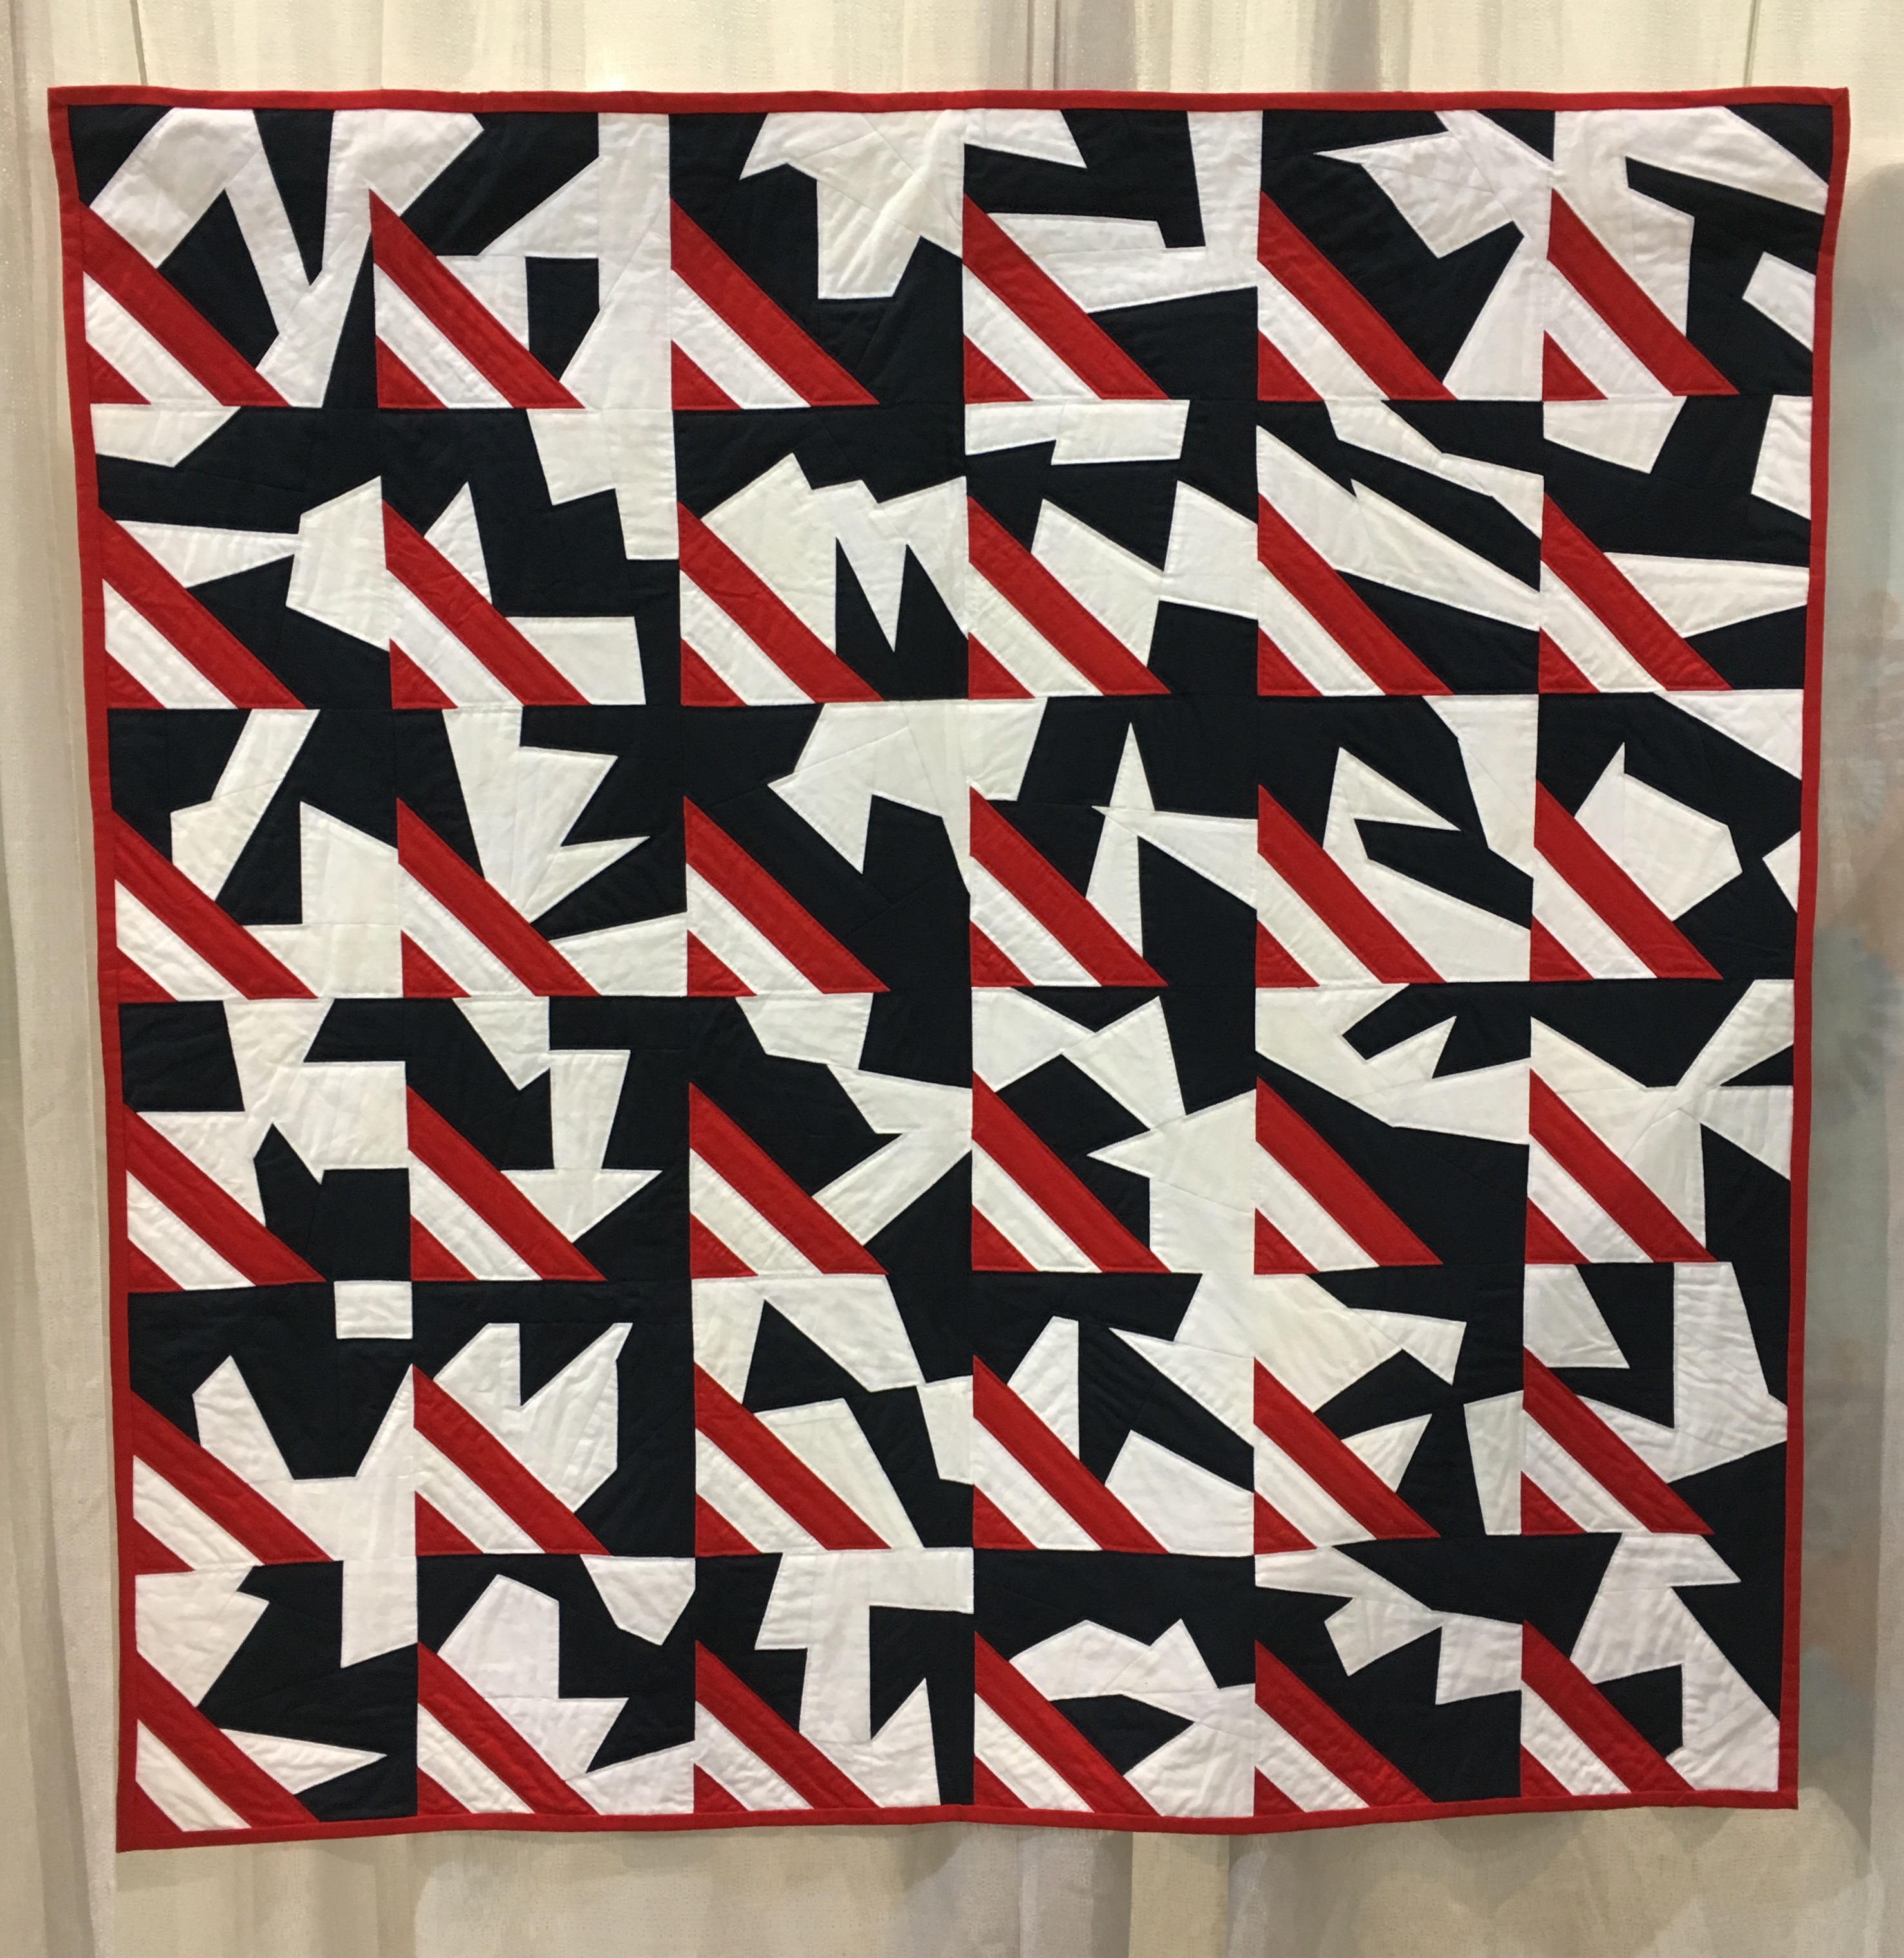
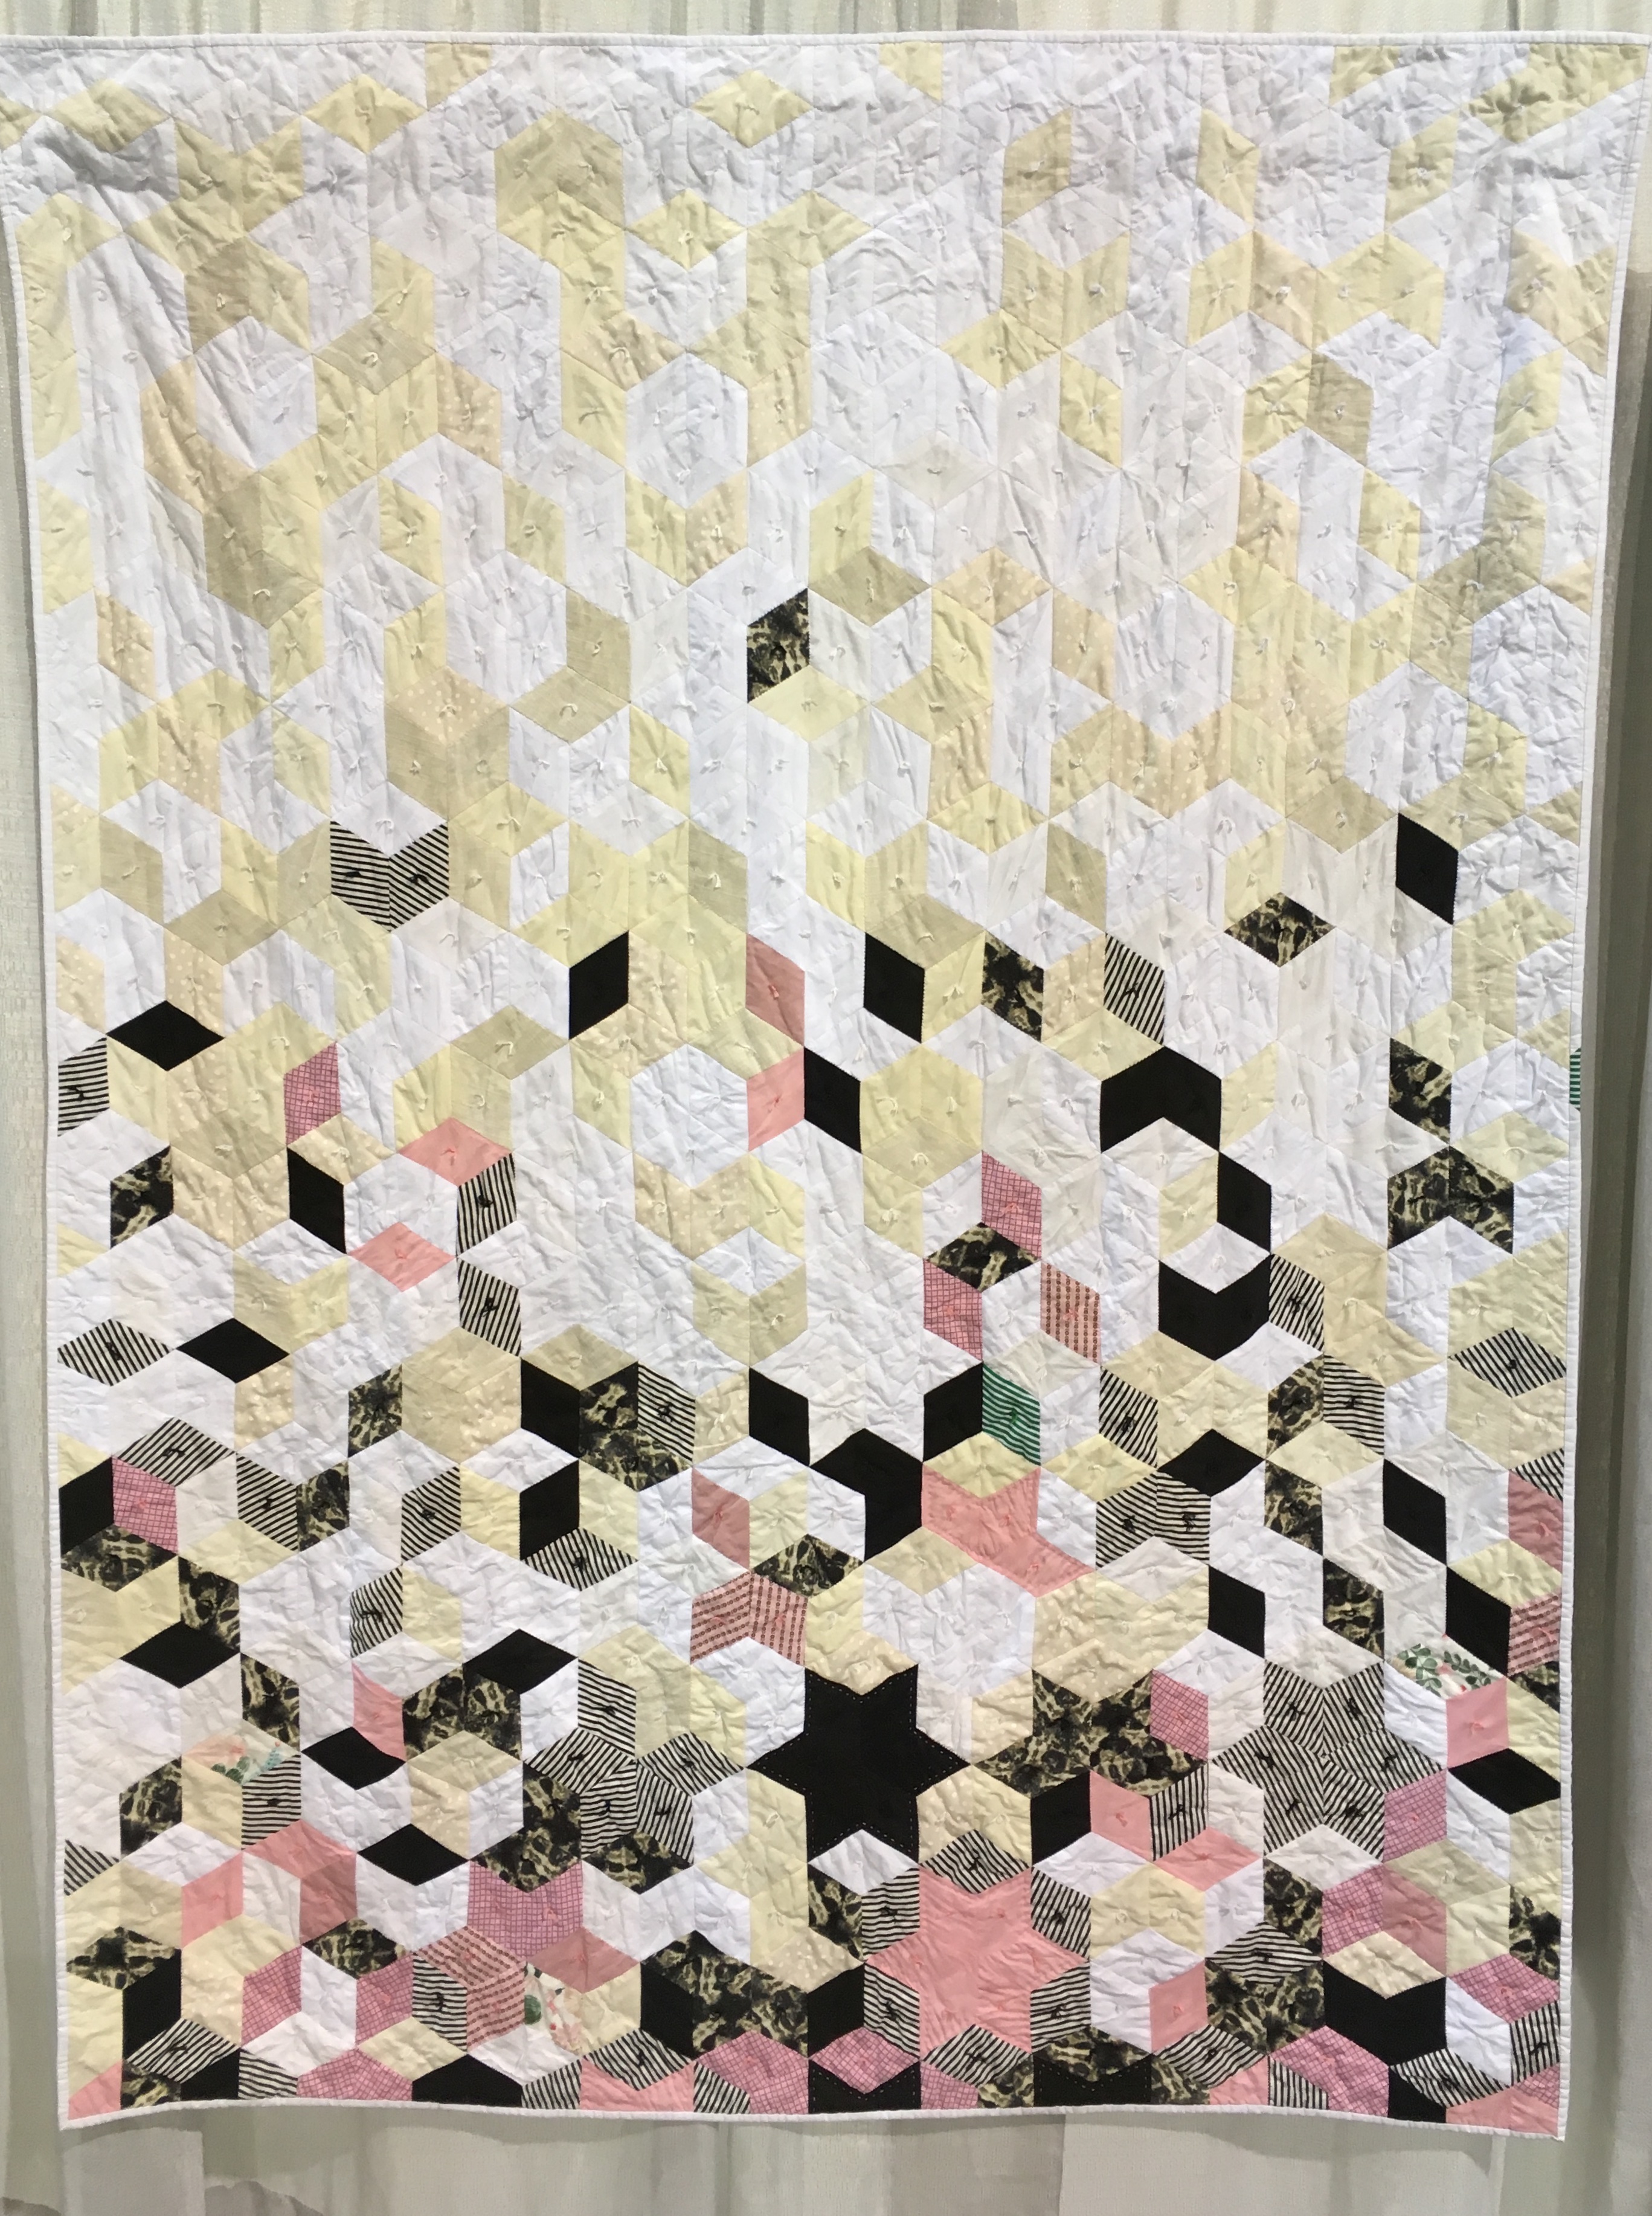
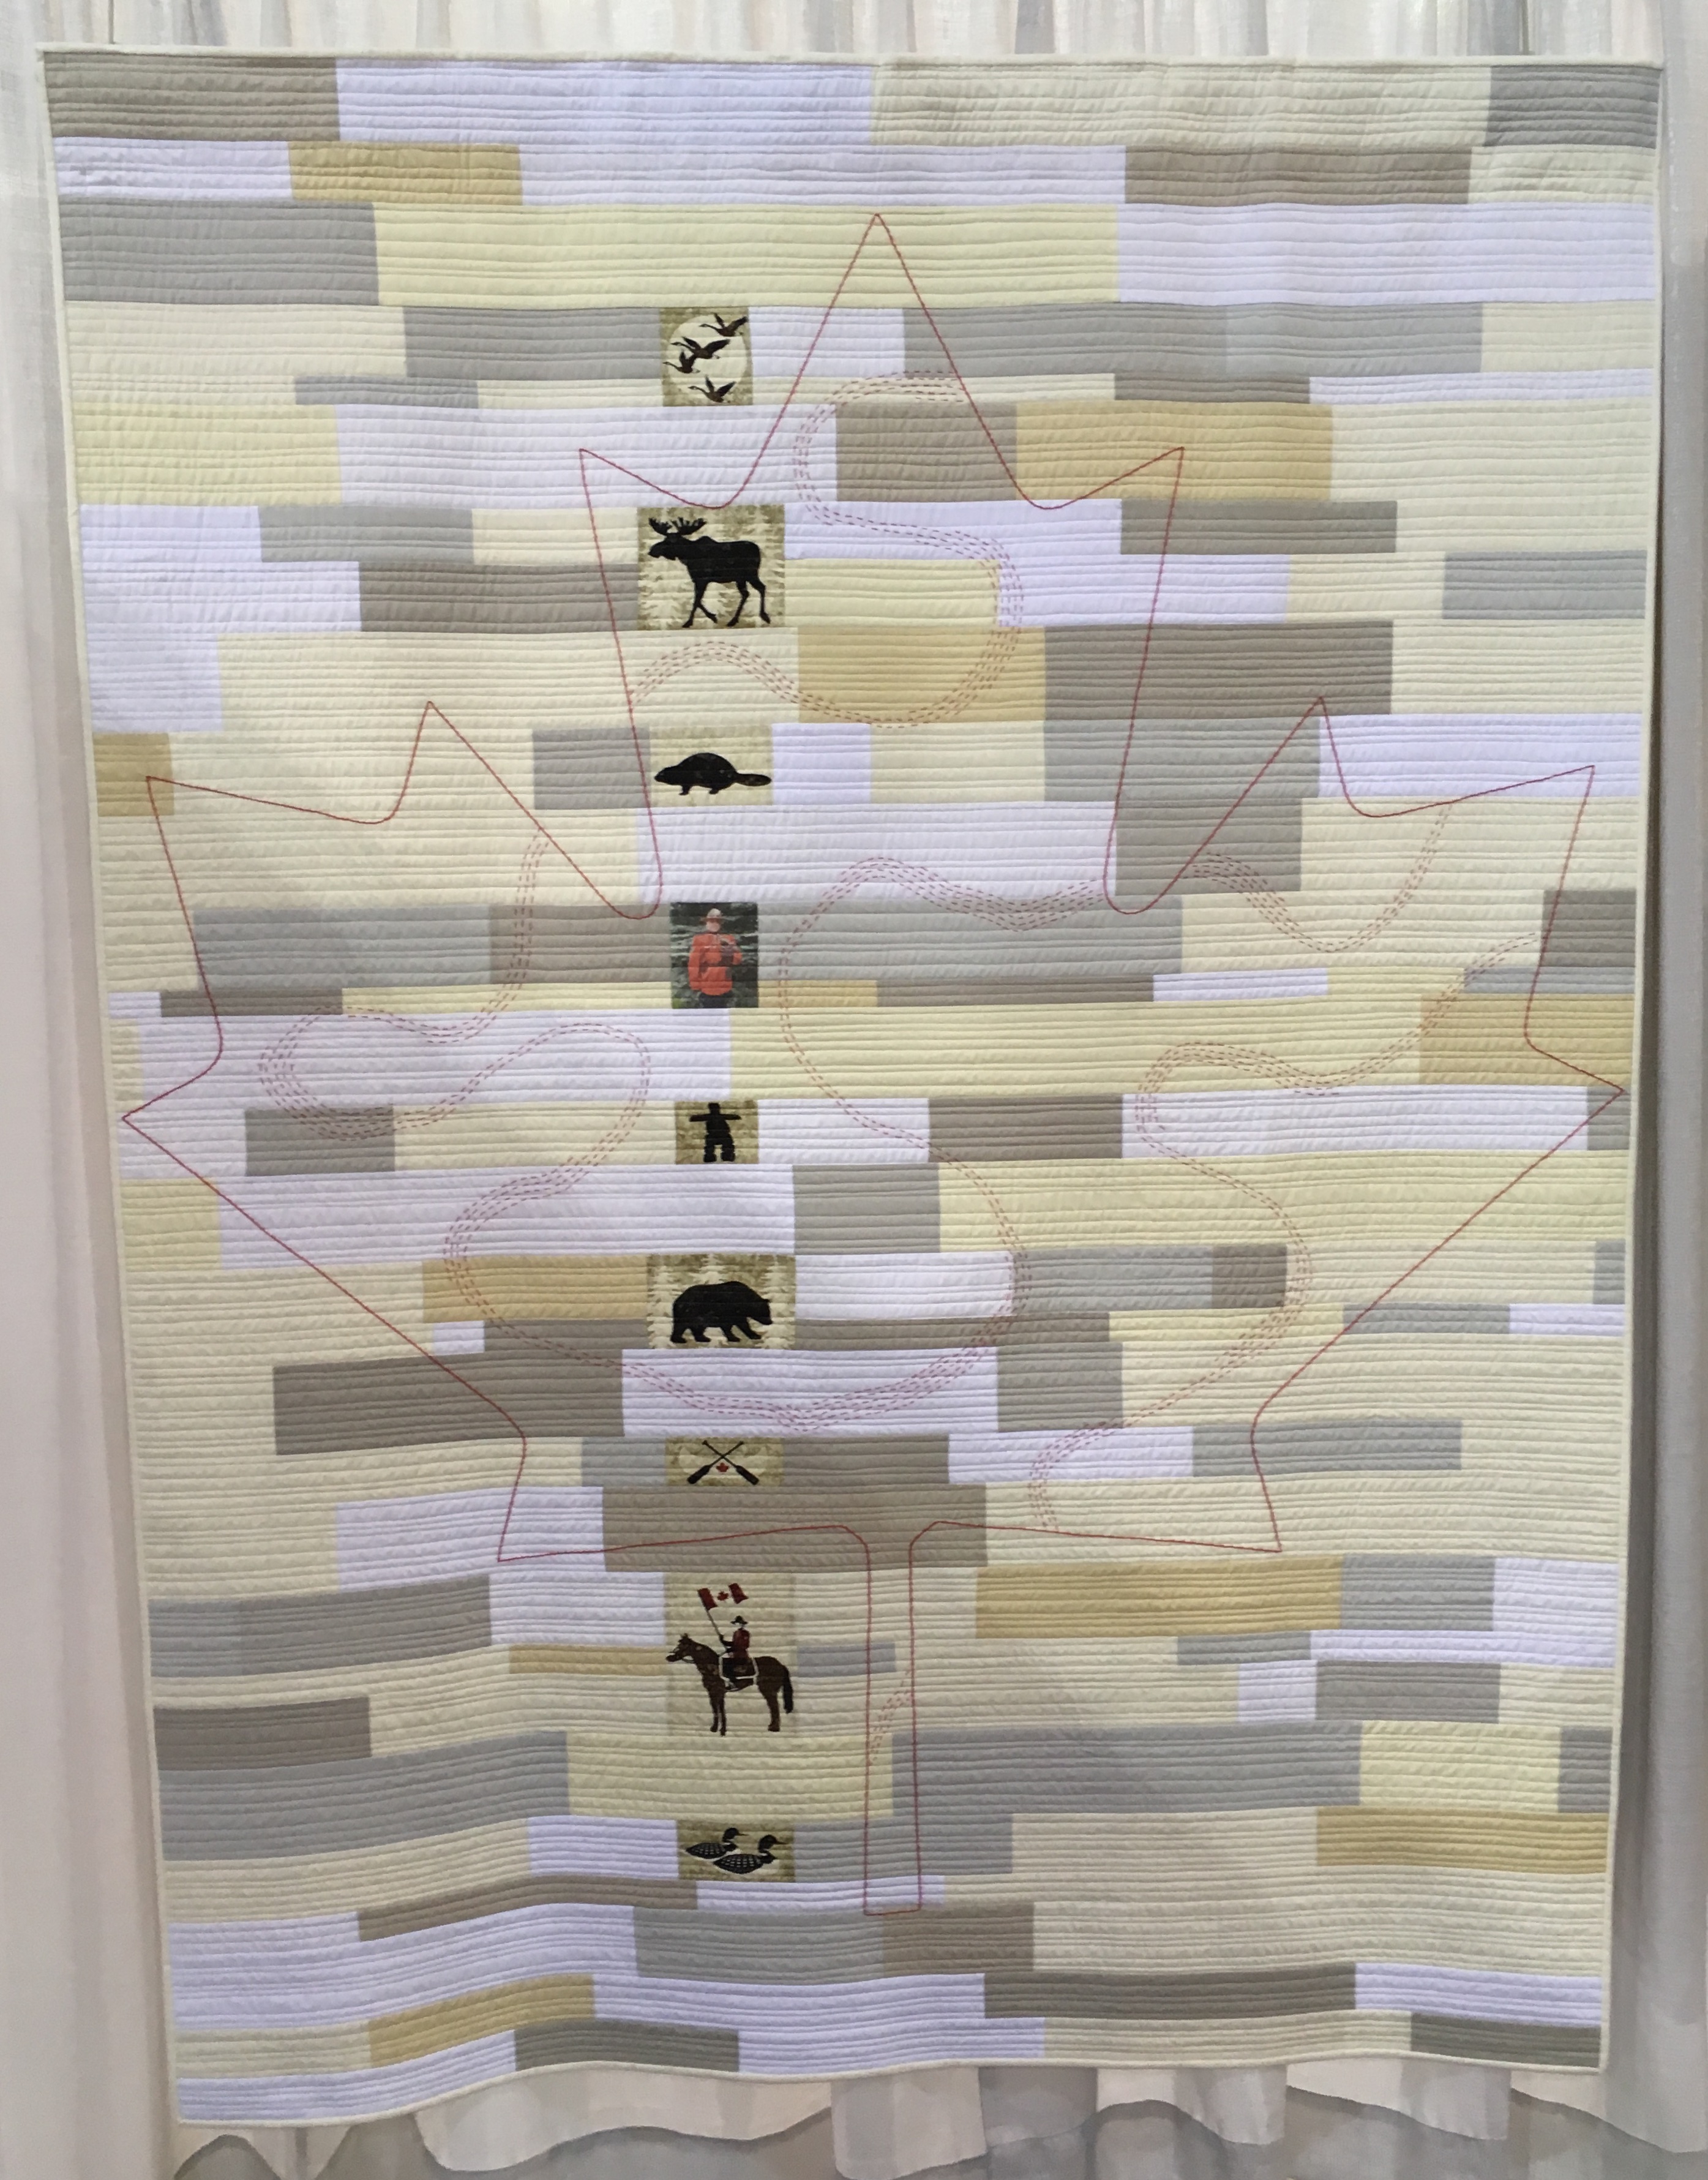
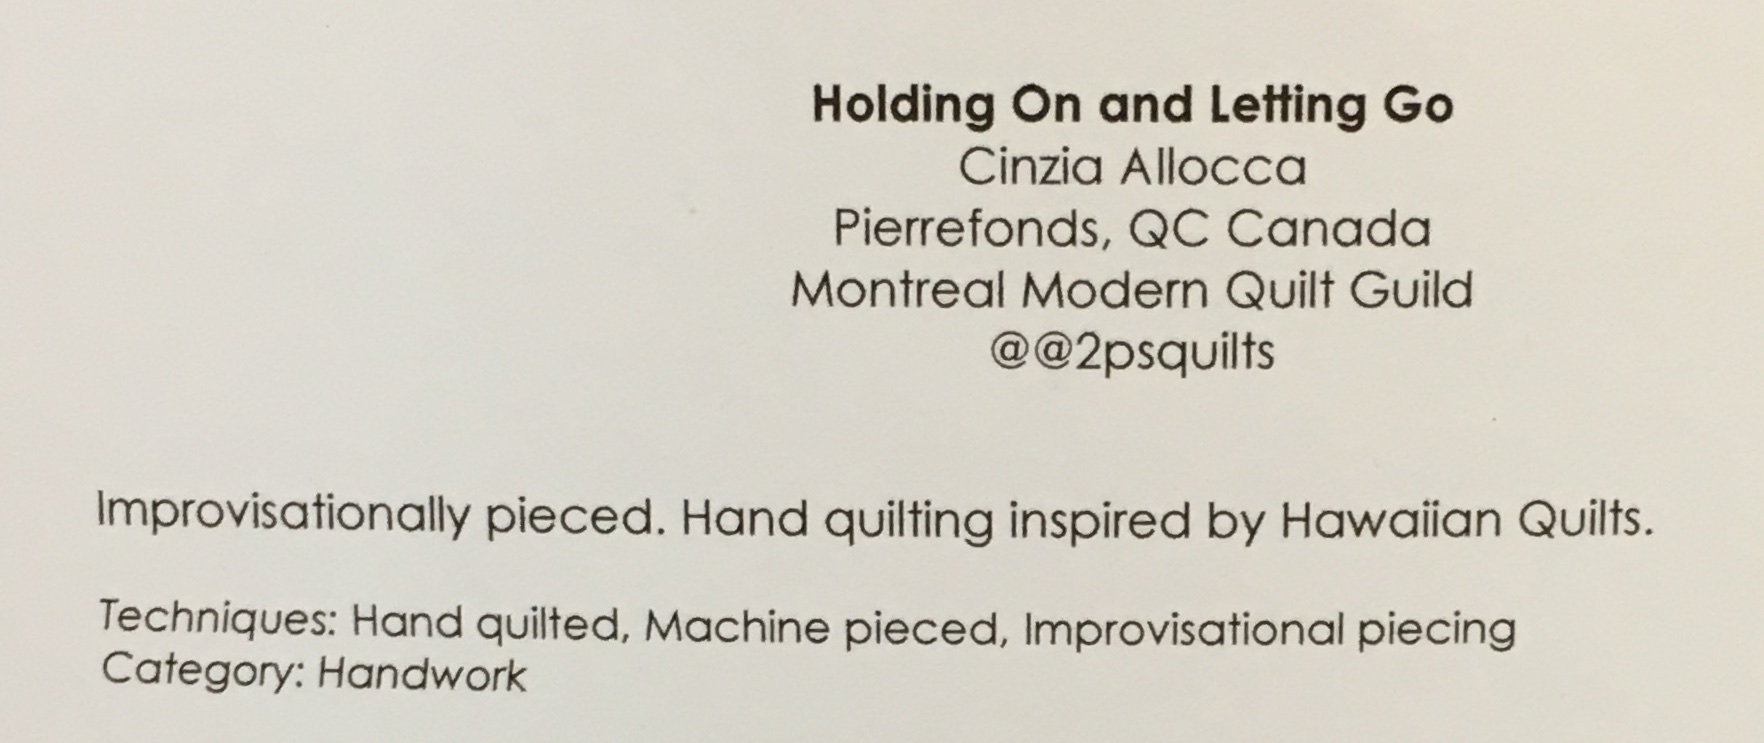
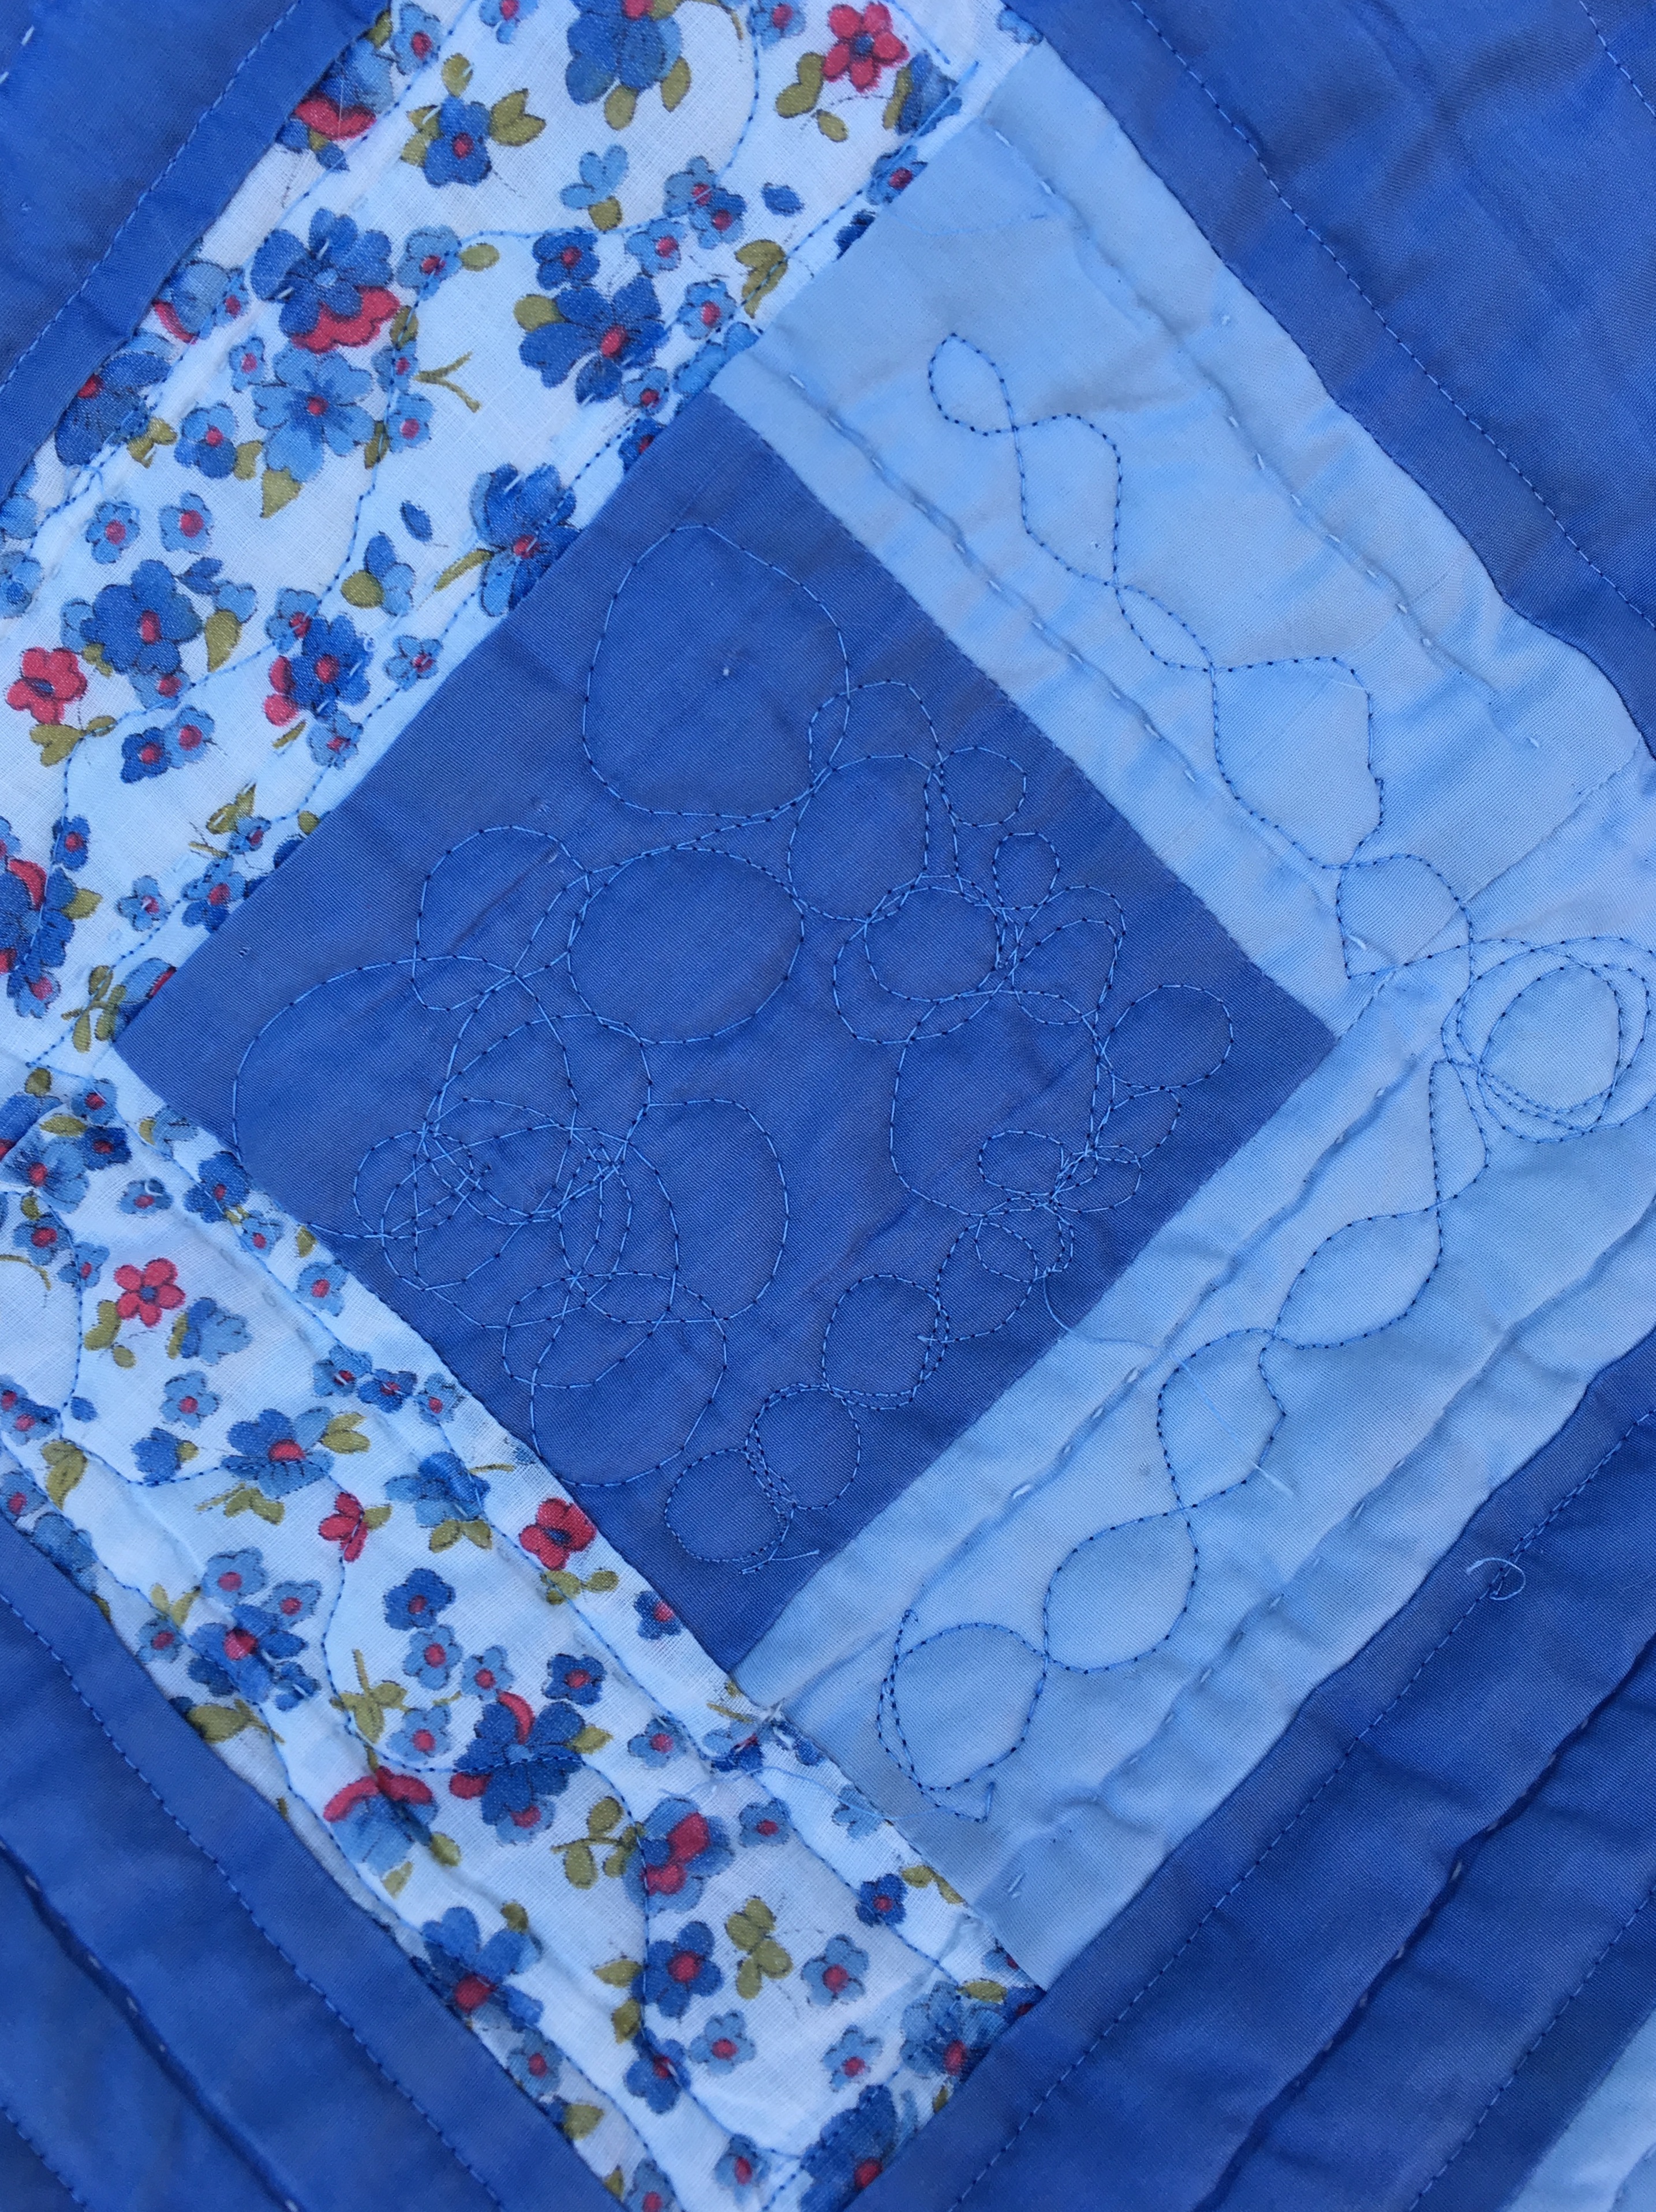
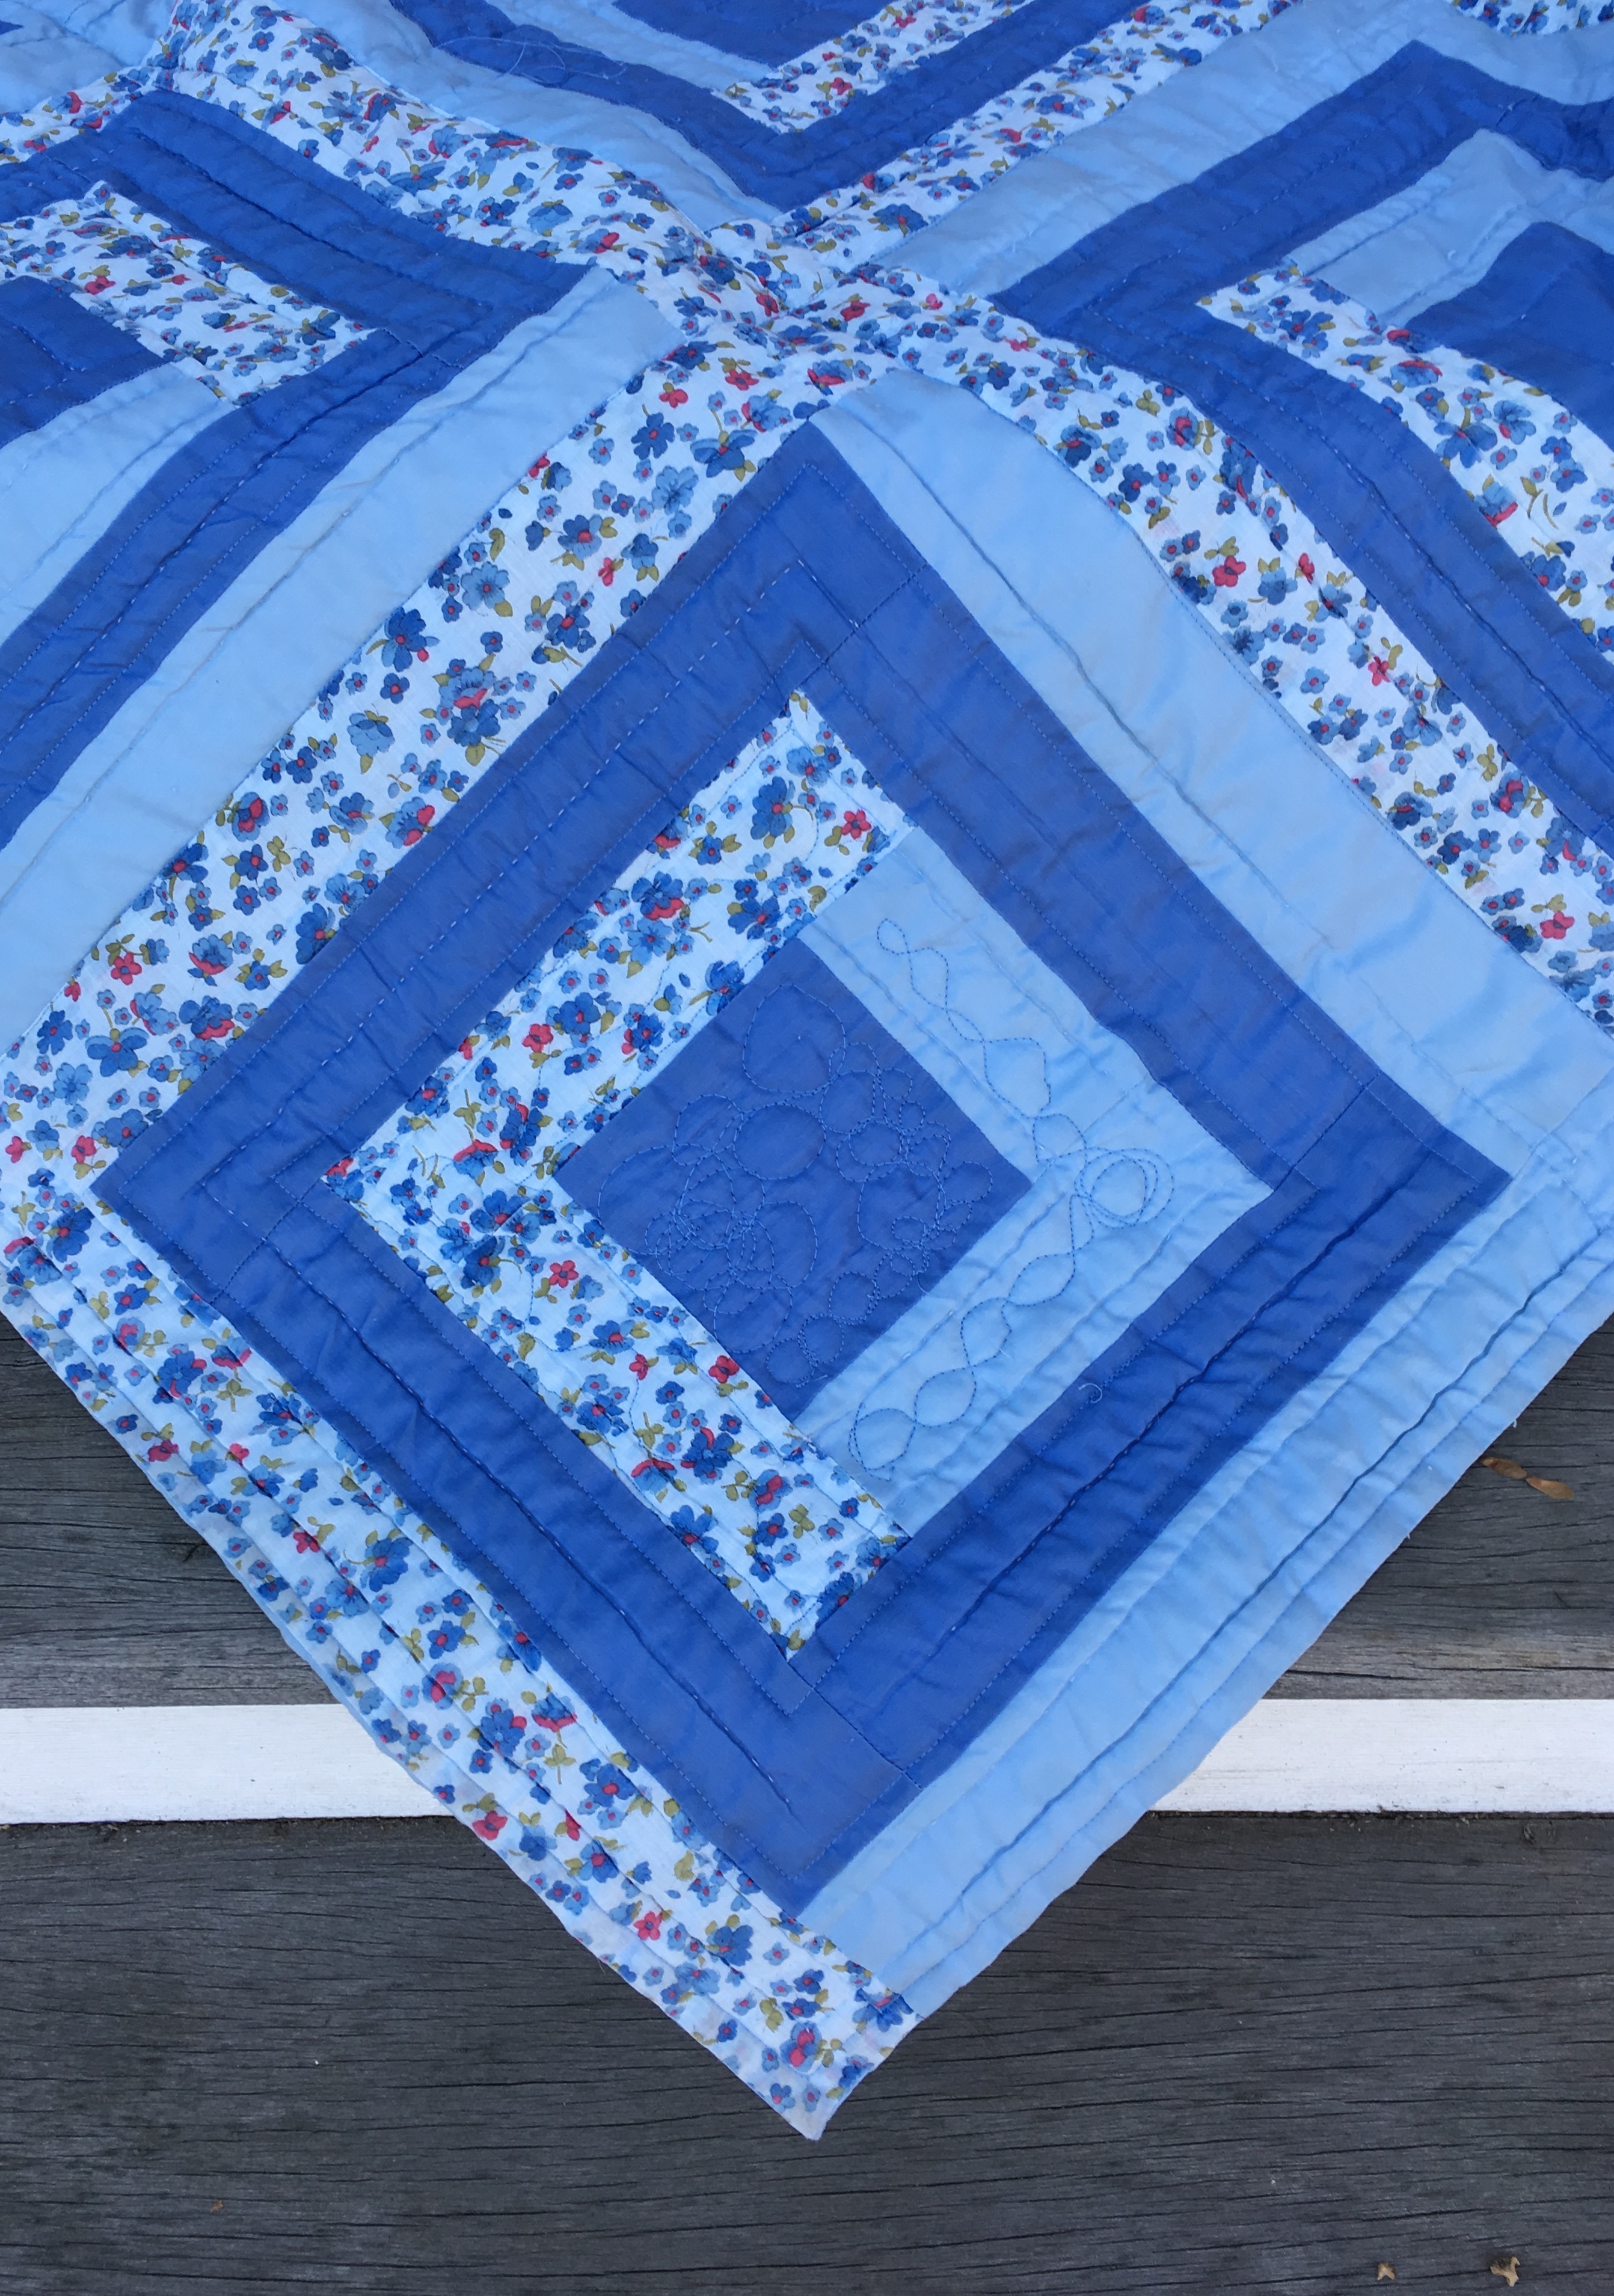
The show floor (quilts and vendors) opened each day at 10:00 AM after the first lecture. After a quick trot though the exhibit the first day, I decided to do some deliberate viewing, and documentation, of two specific categories in the show. These are the two categories I would be most likely to enter with my English Paper Piecing Glorious Hexagons work.
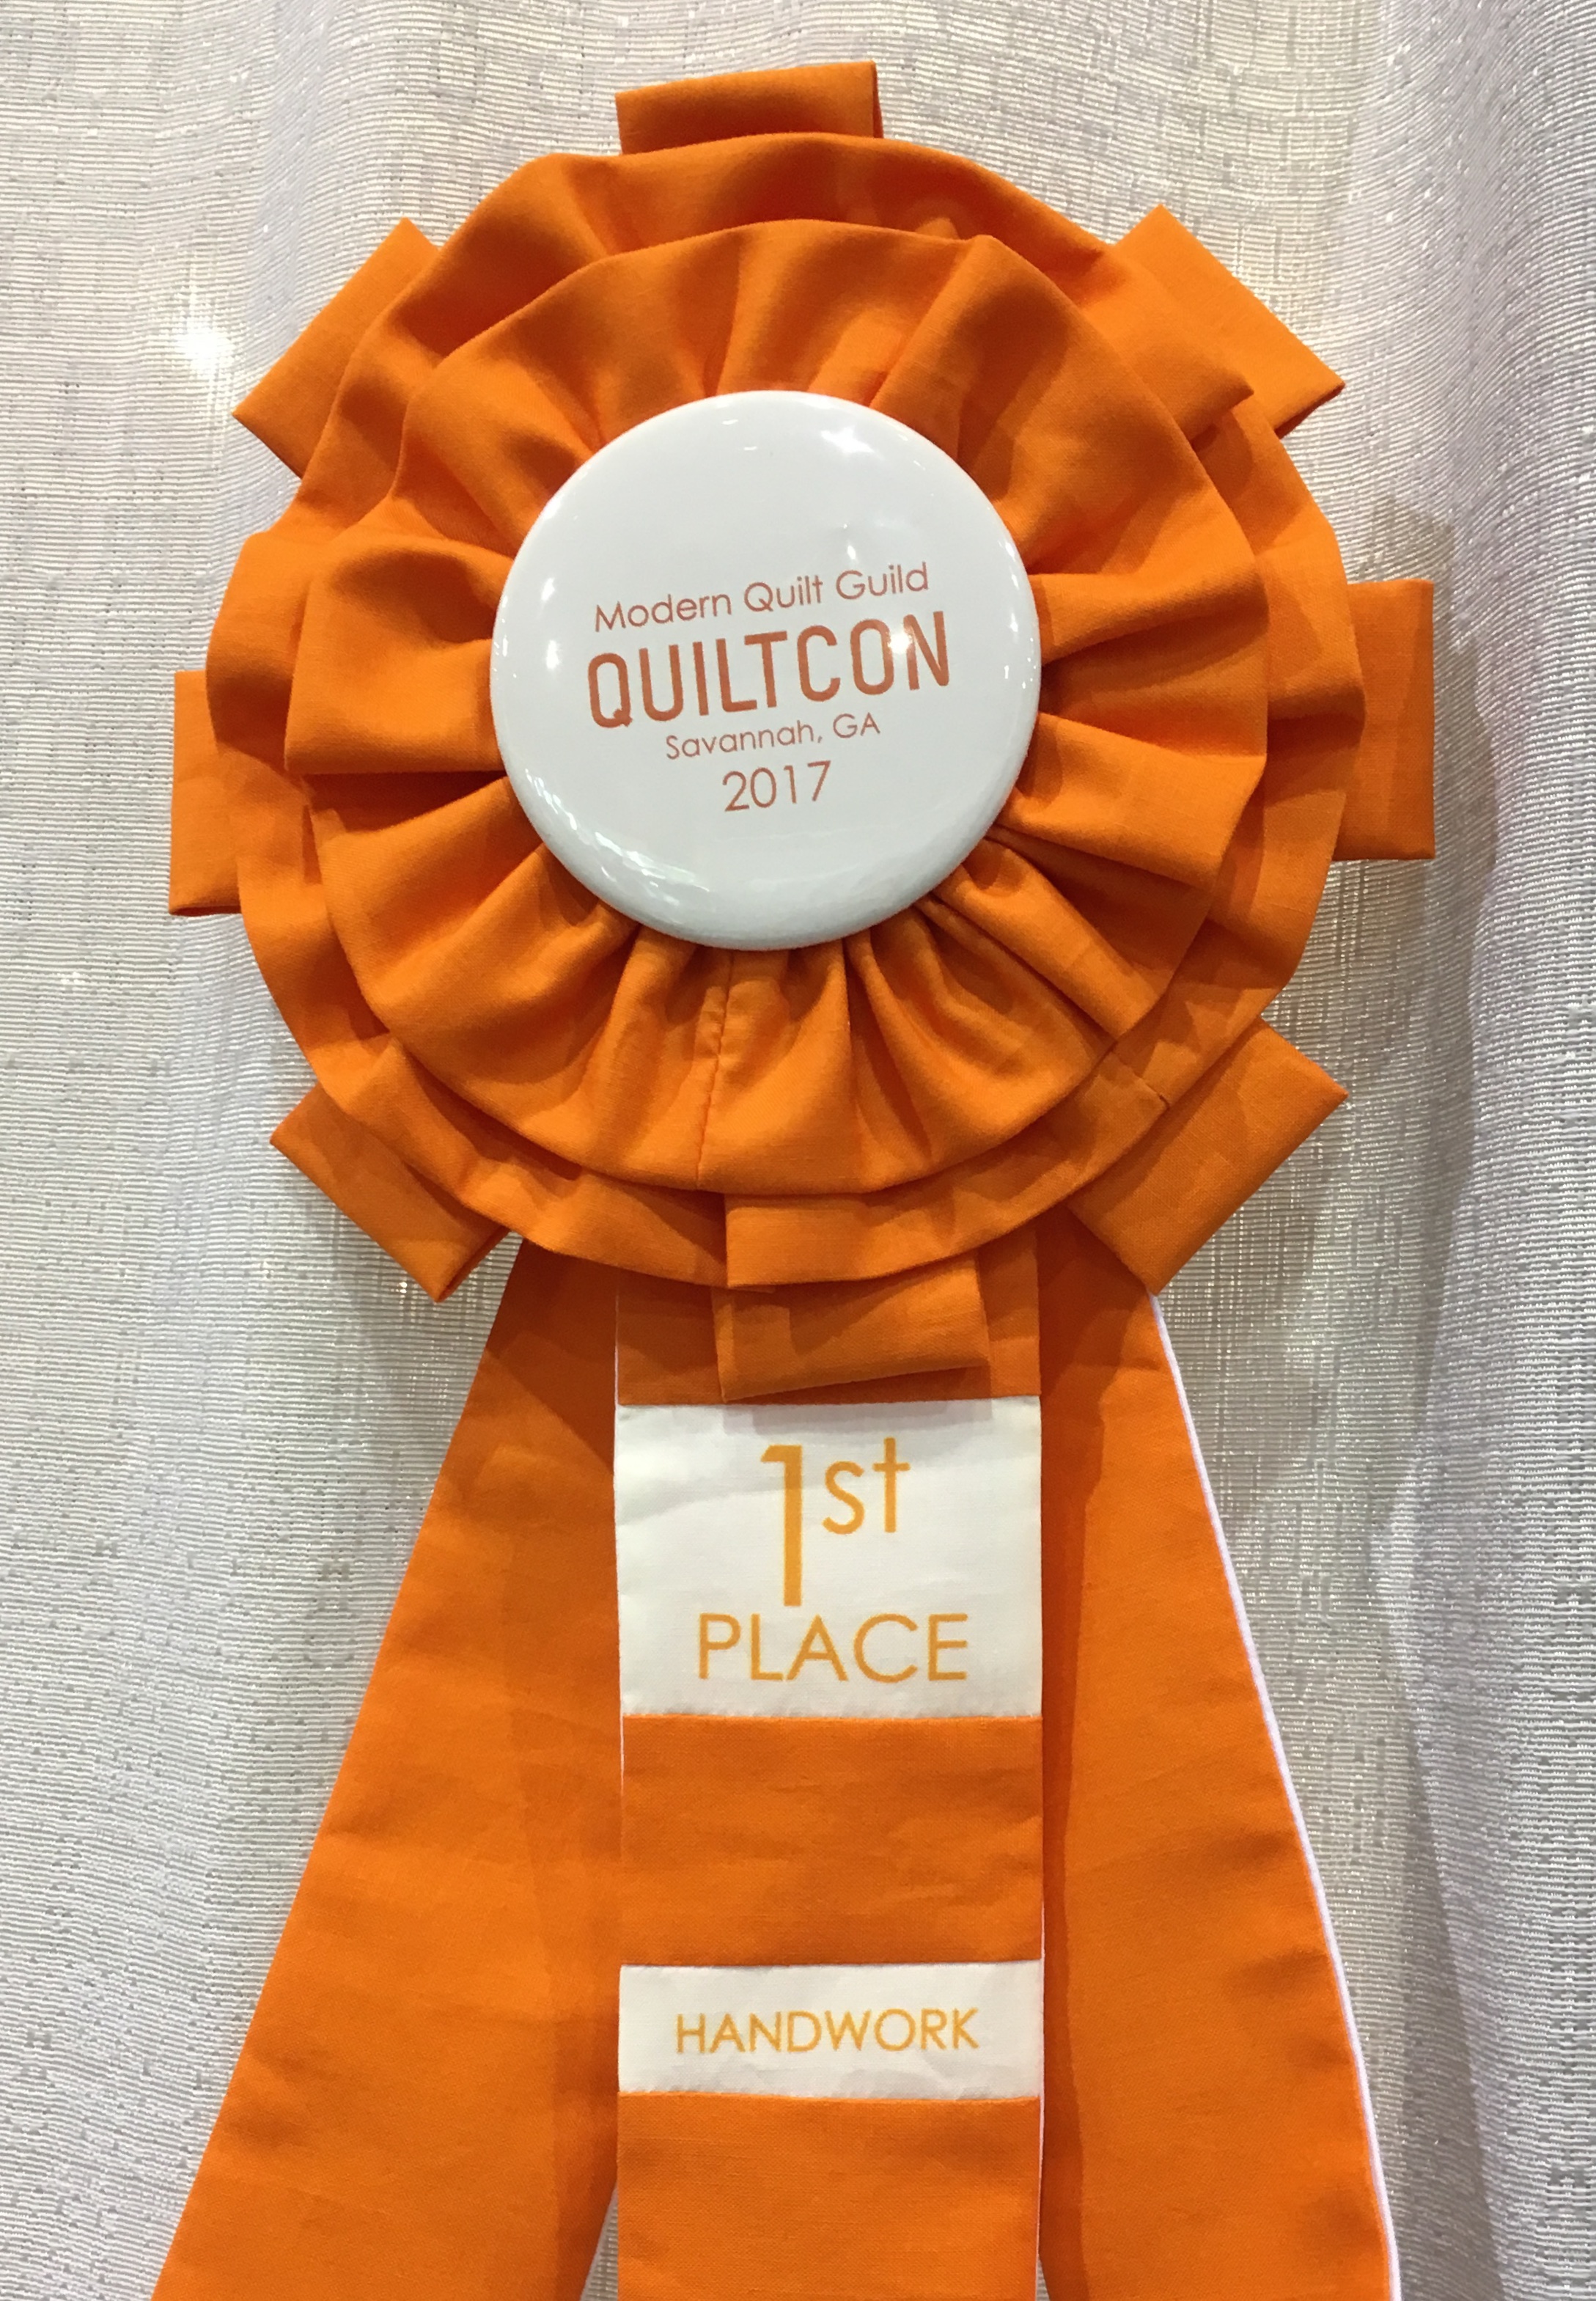
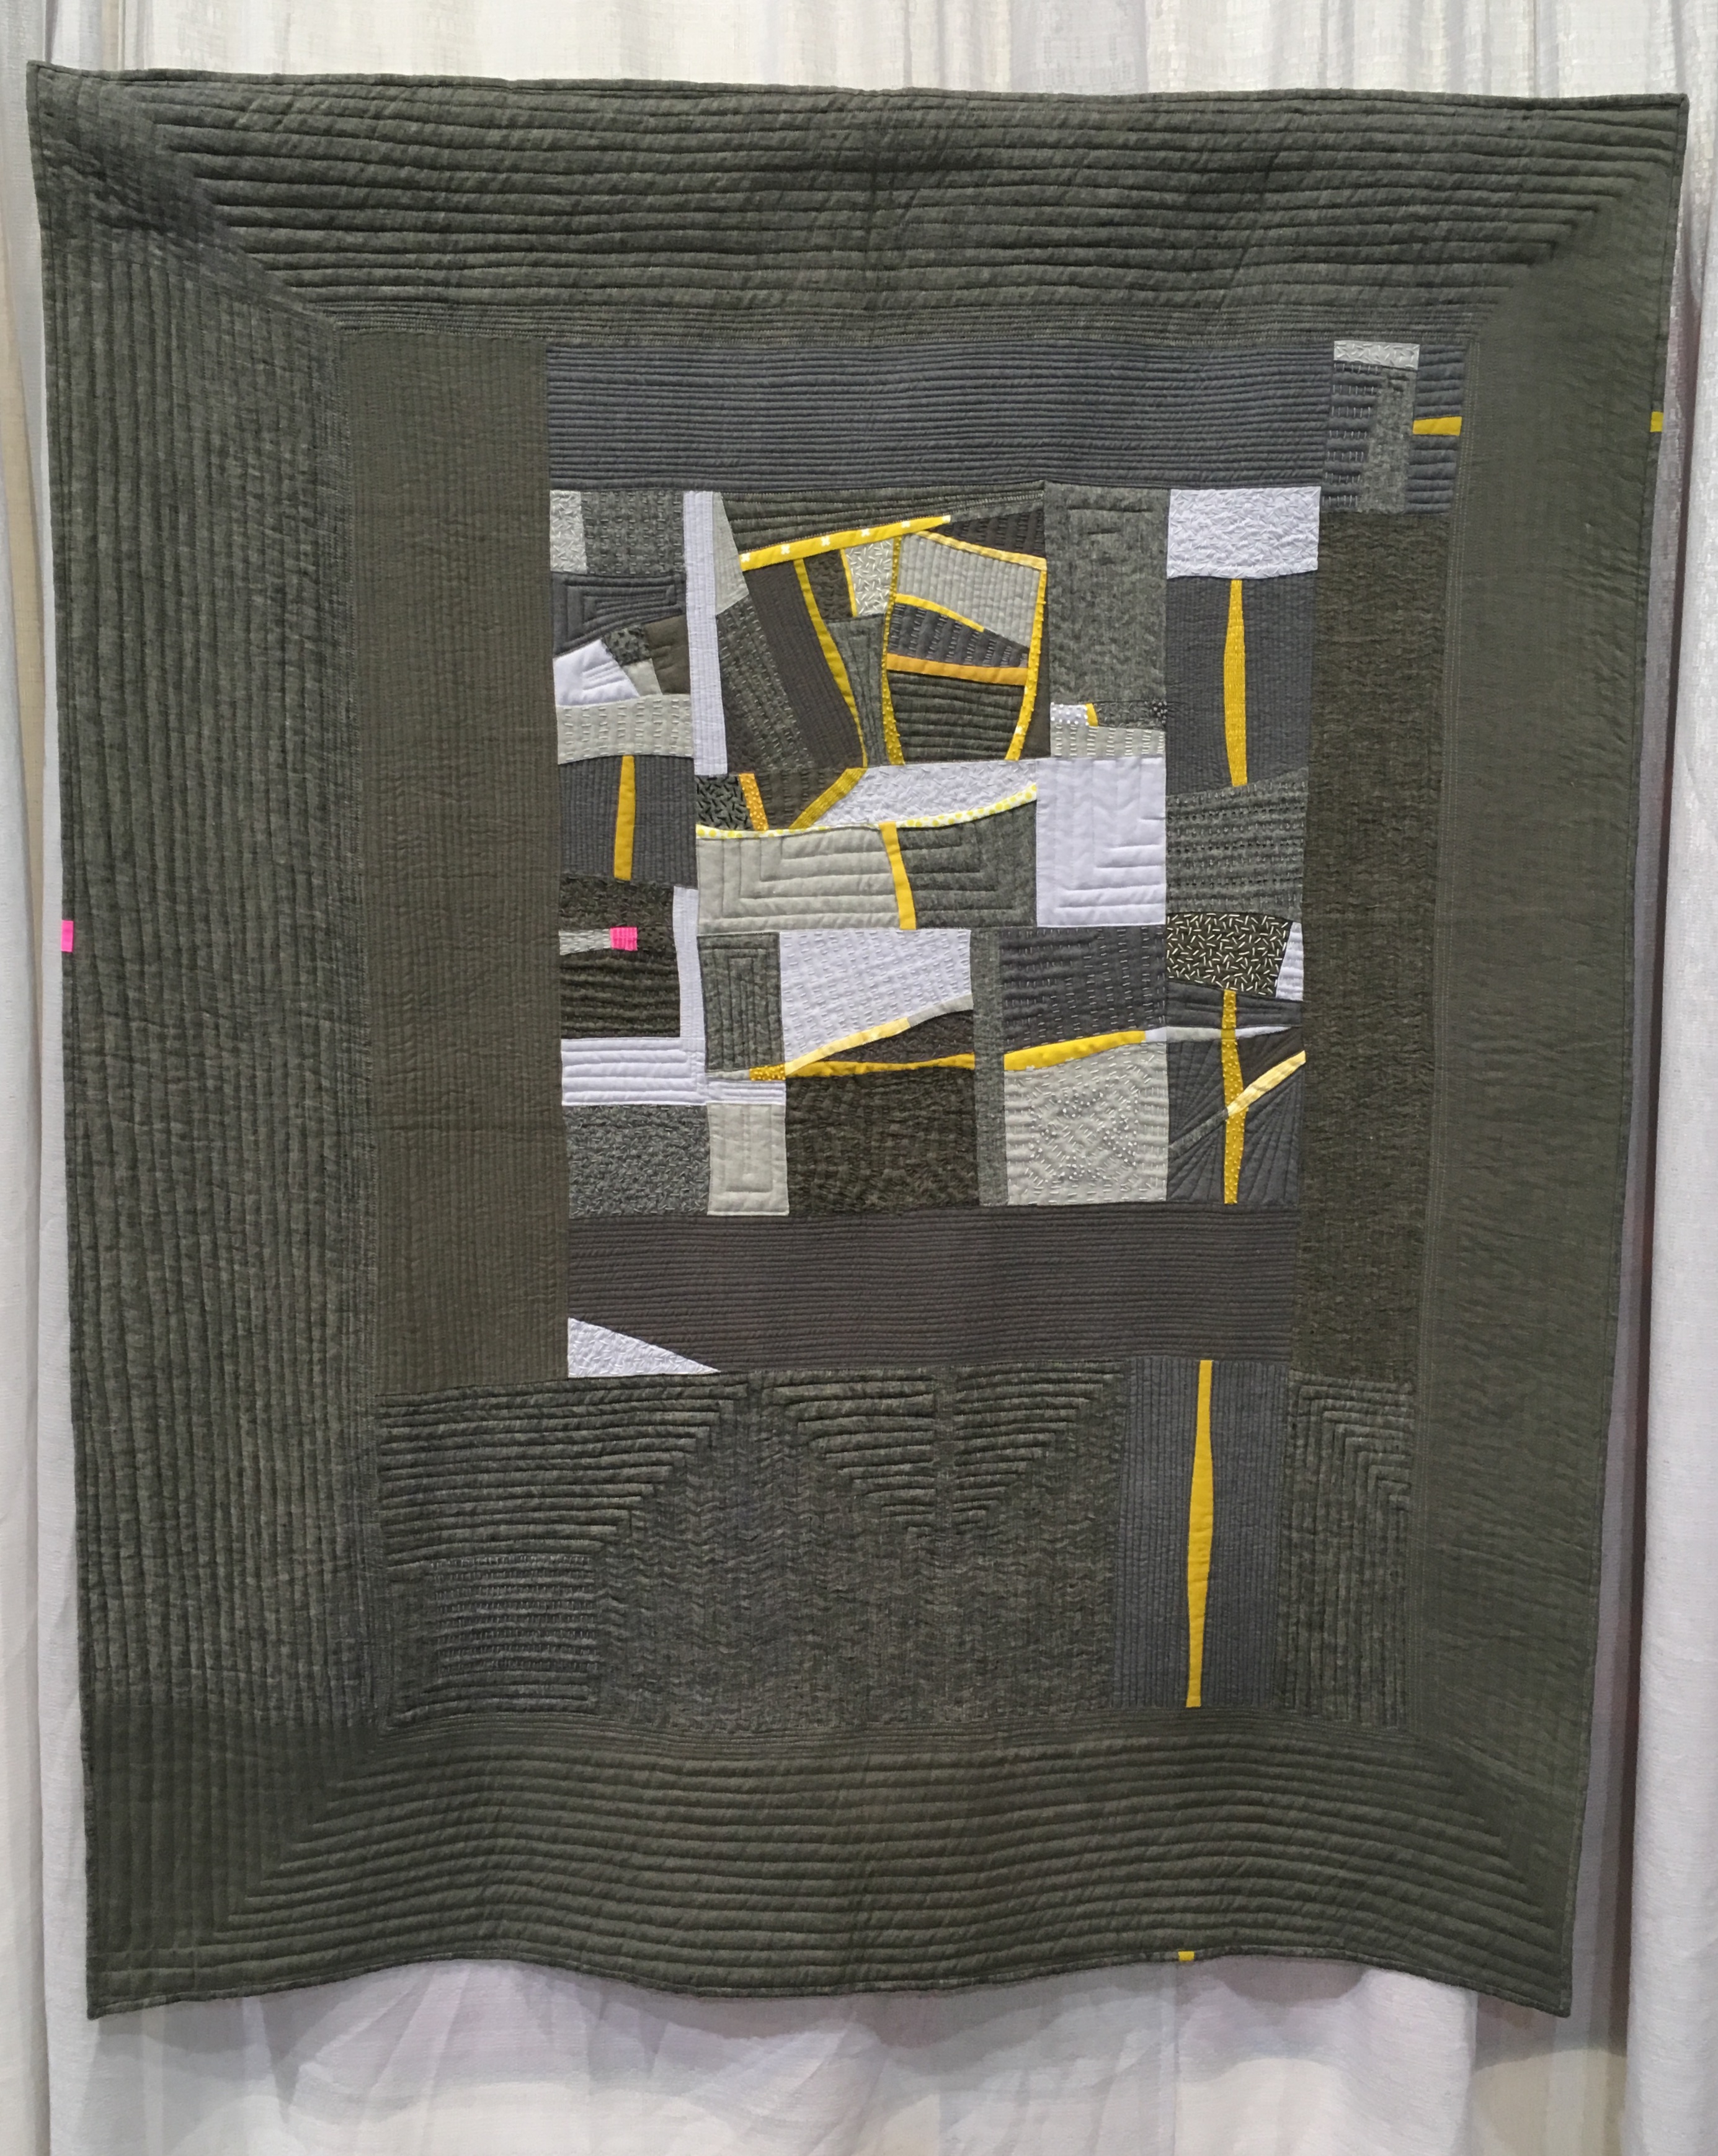
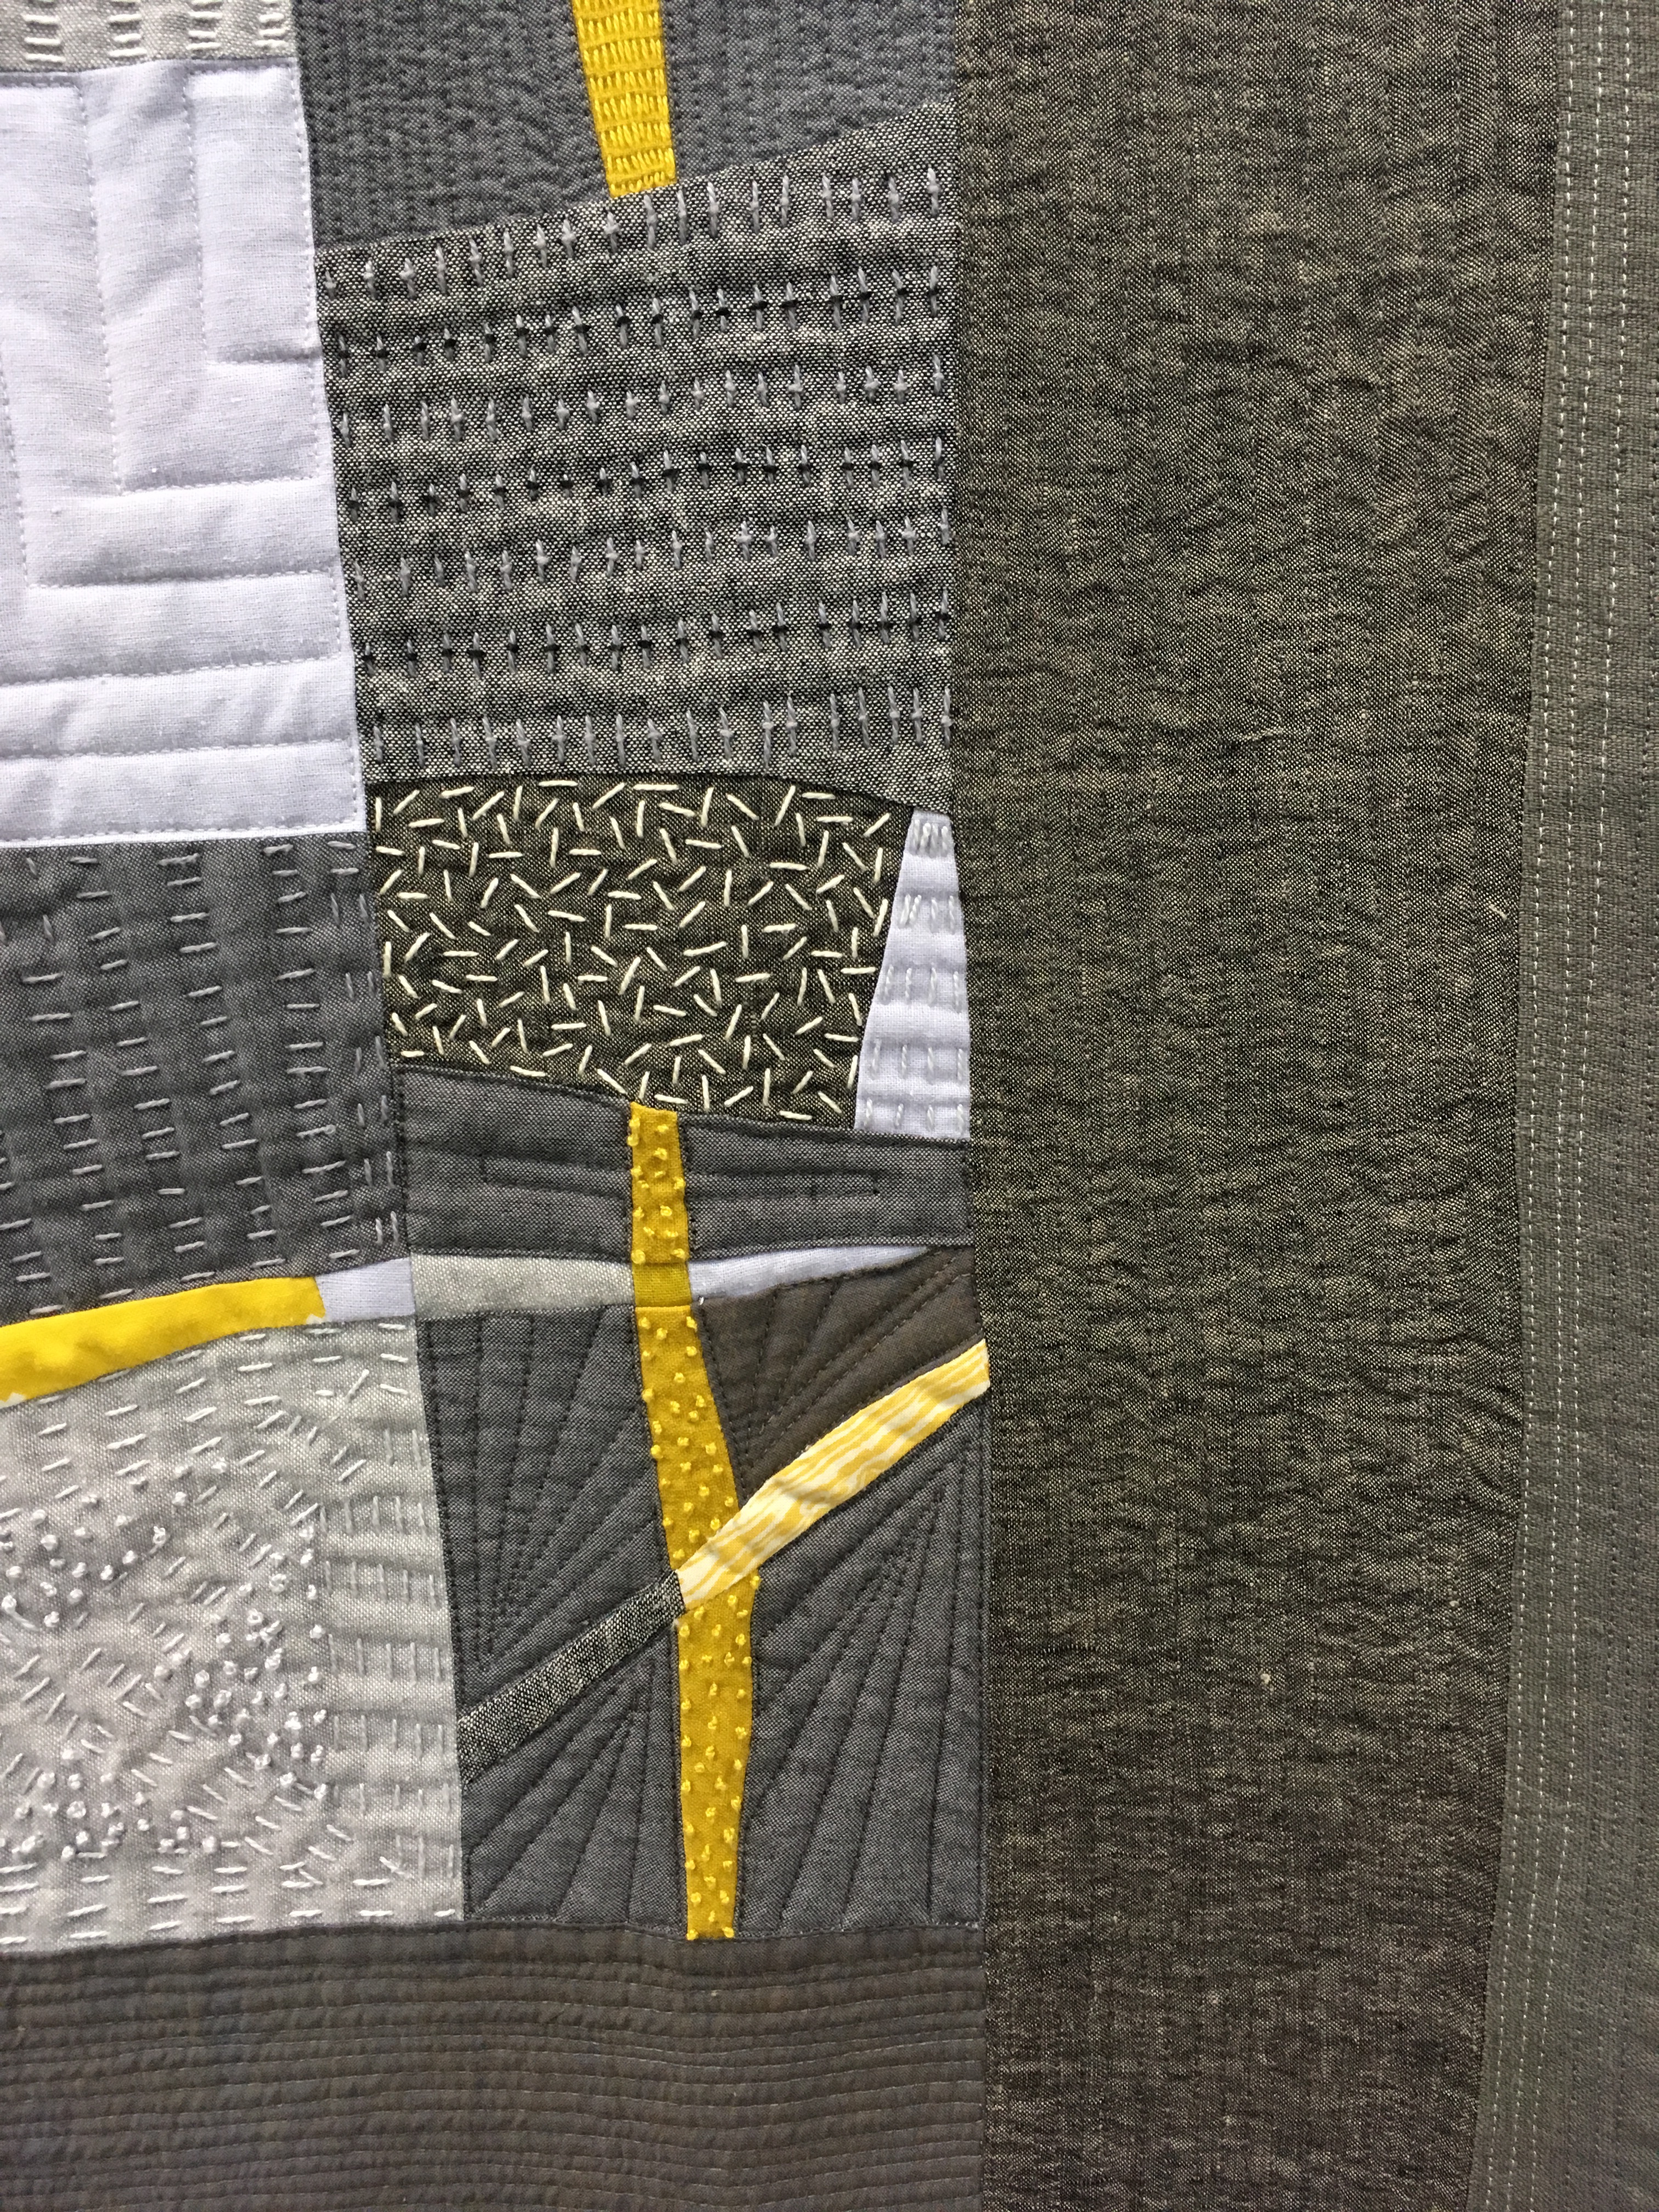
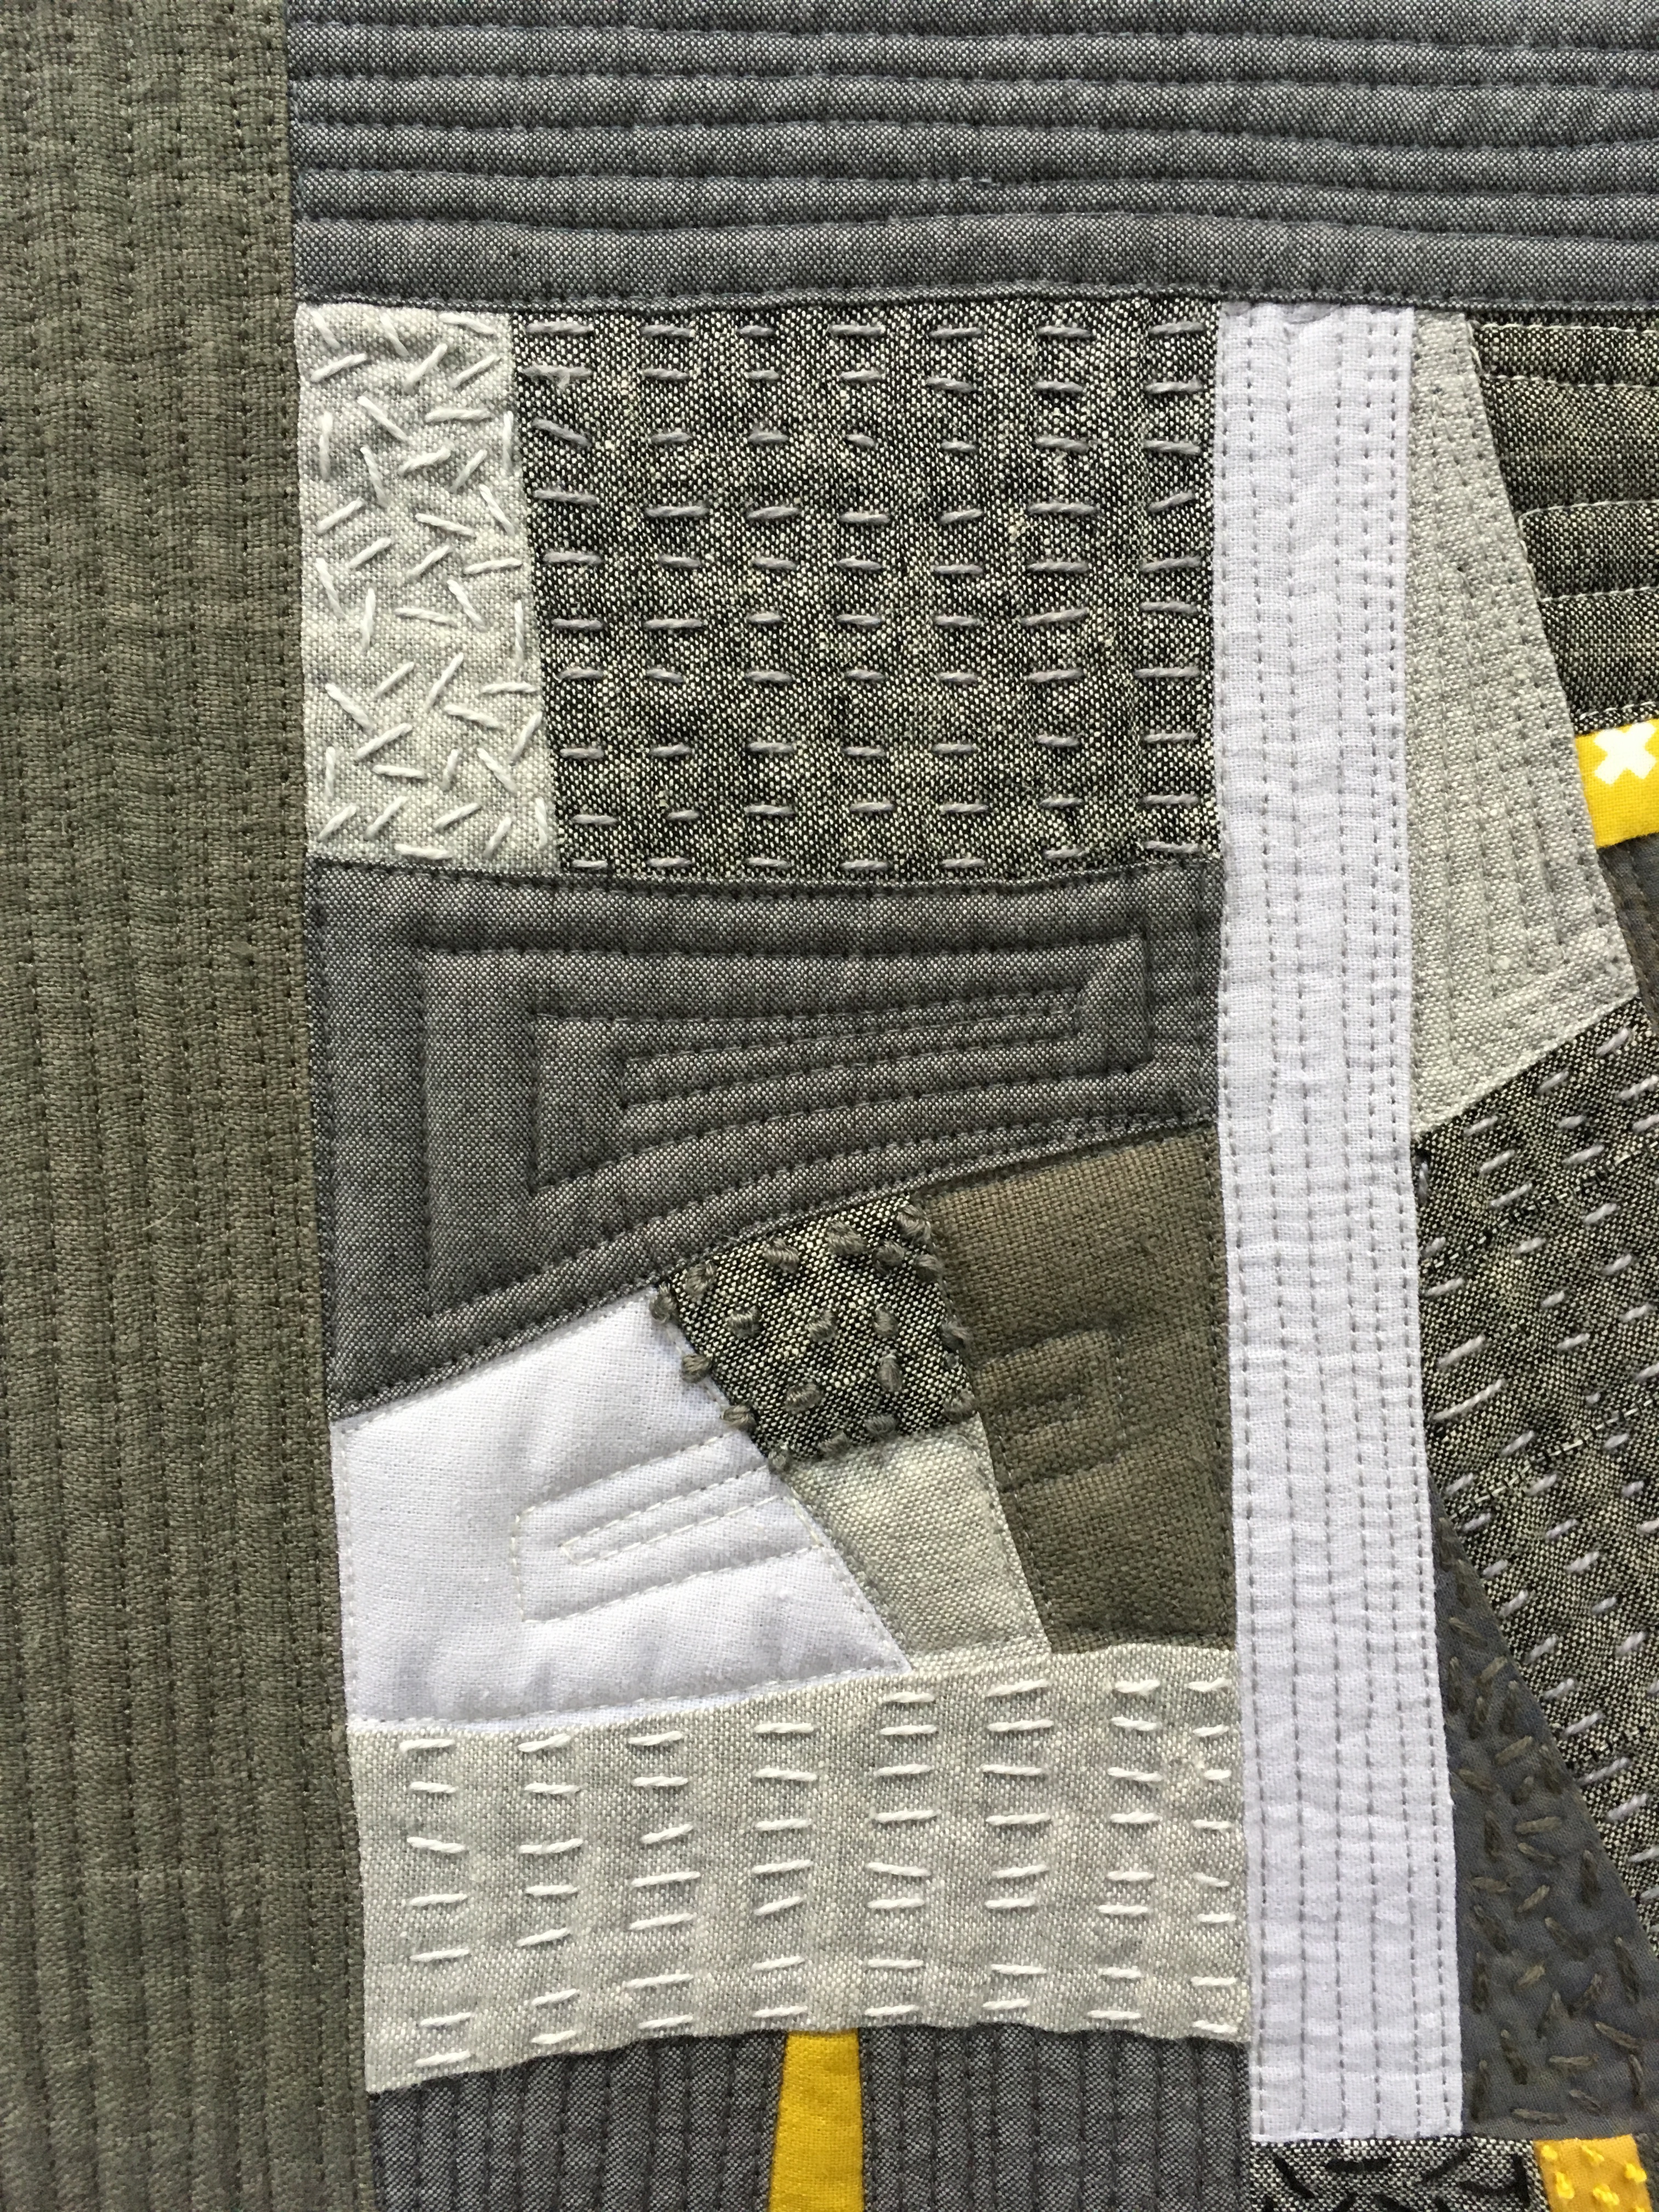
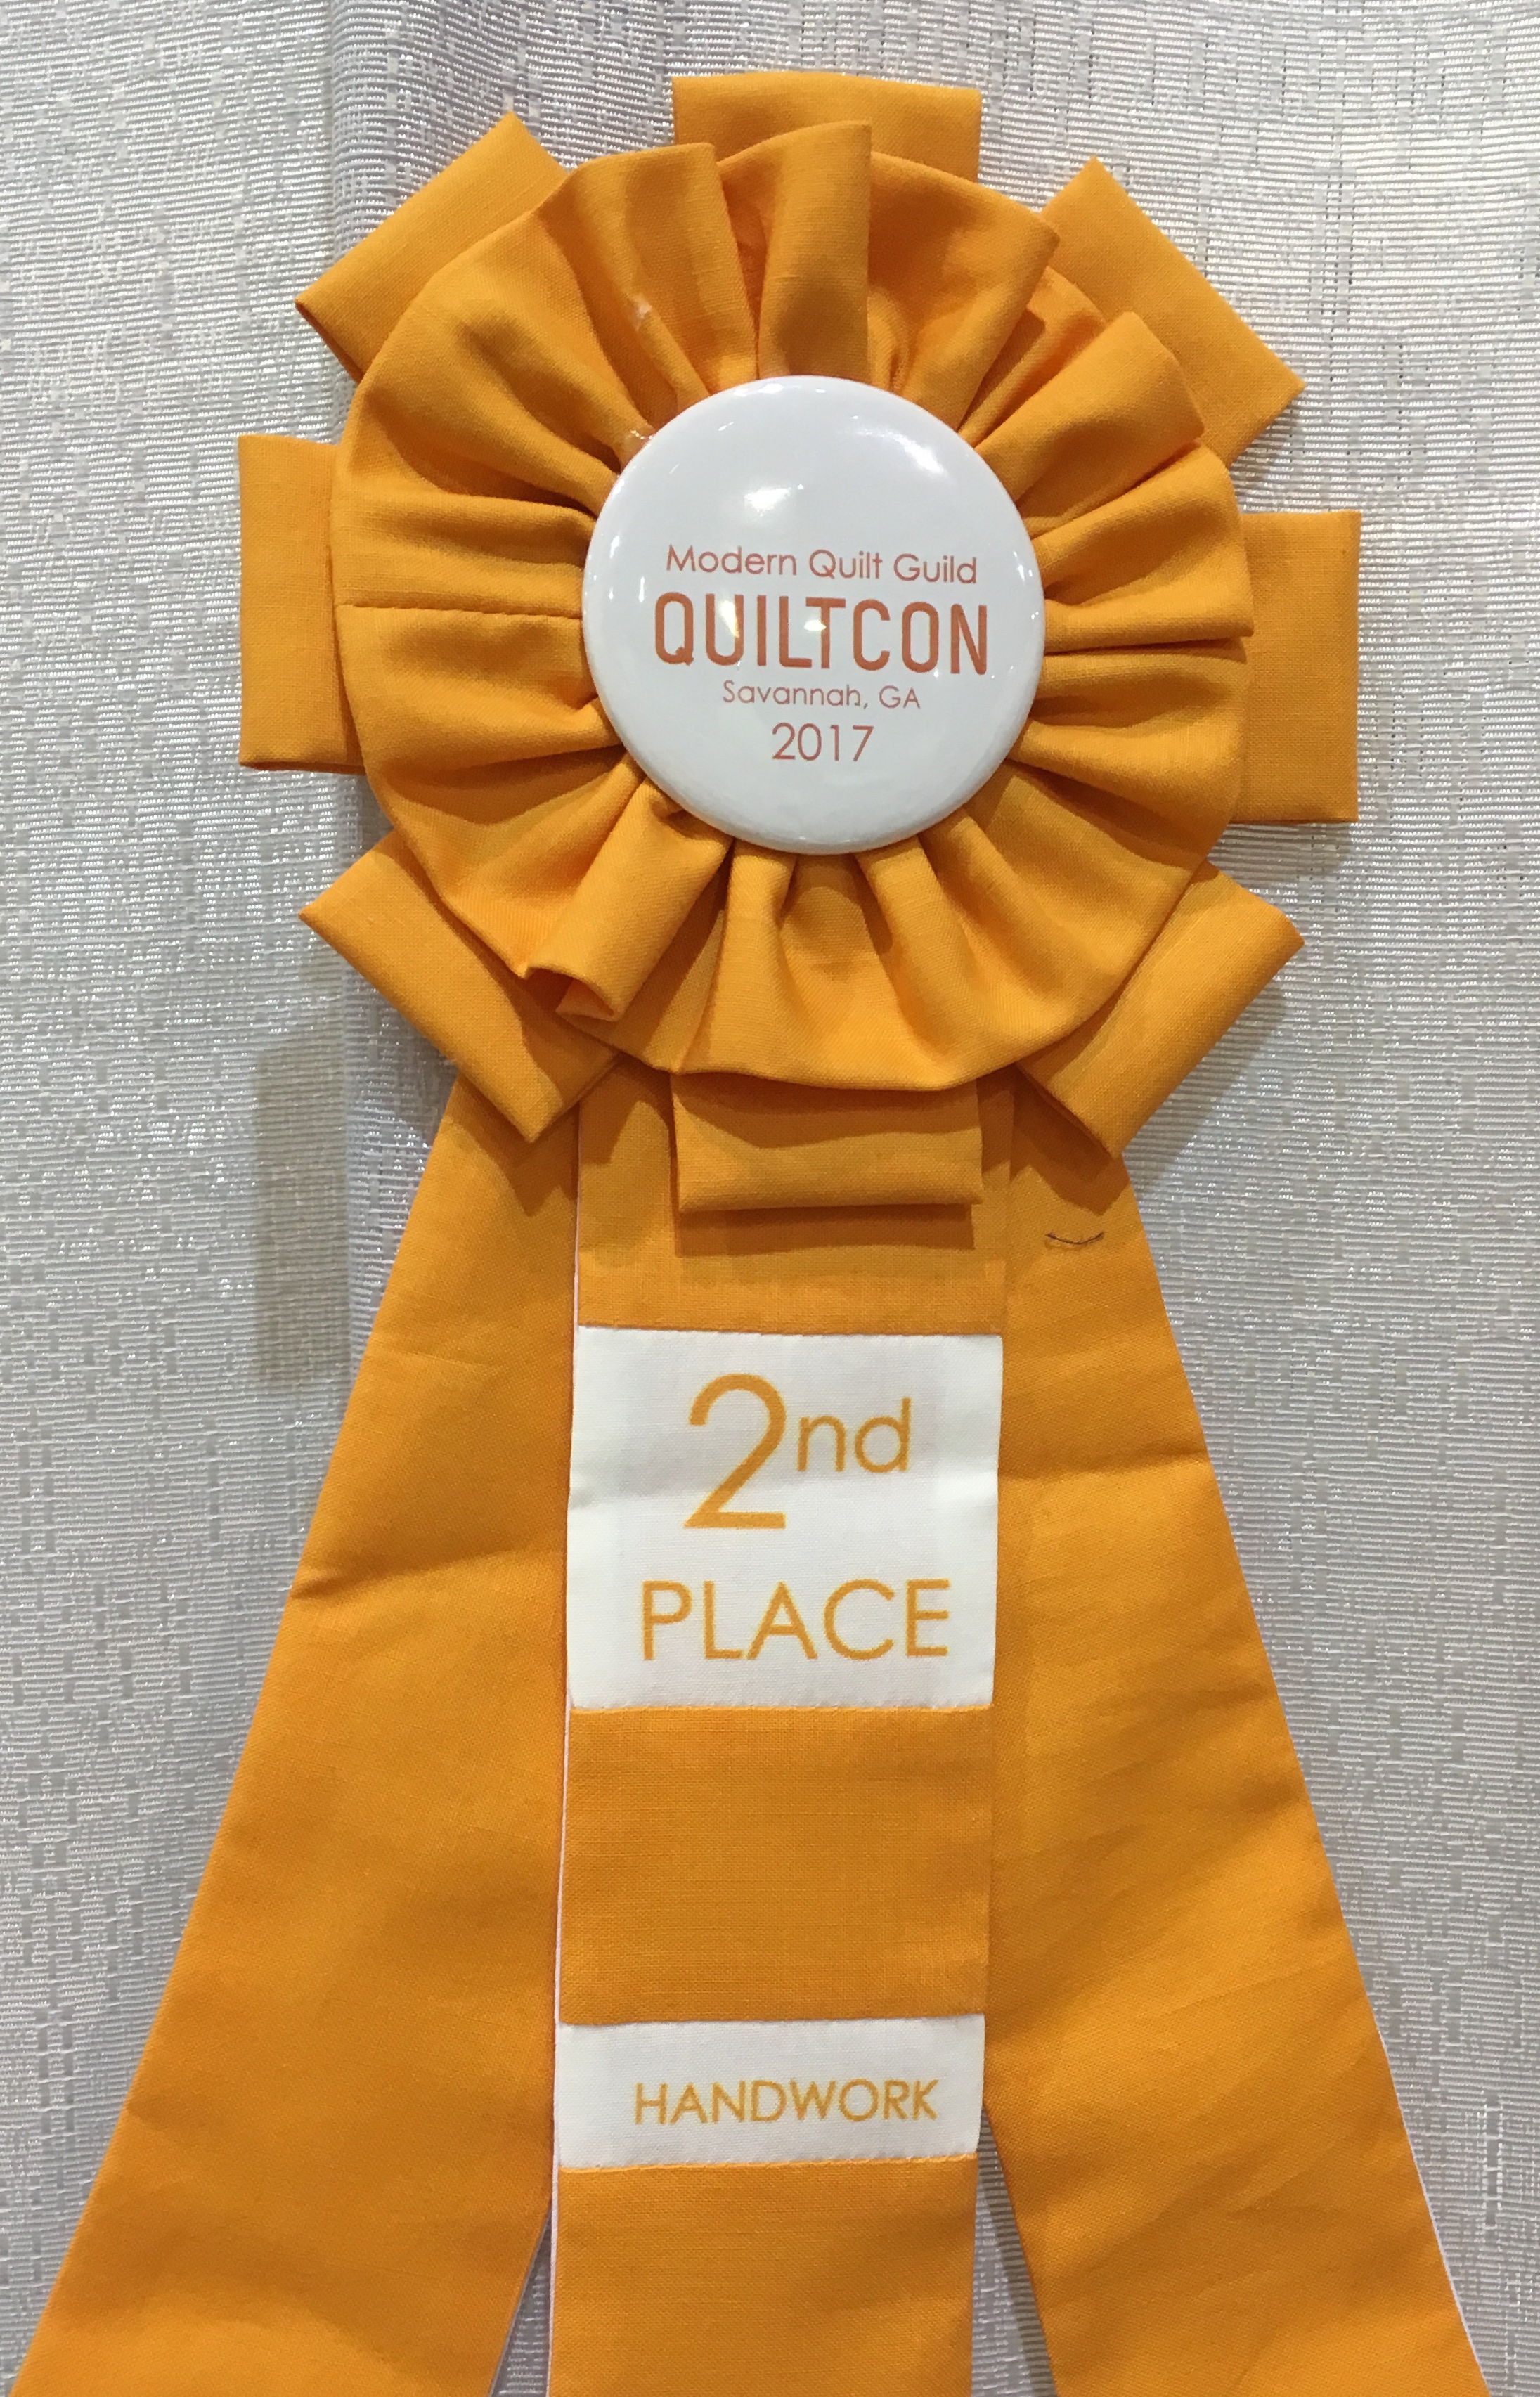
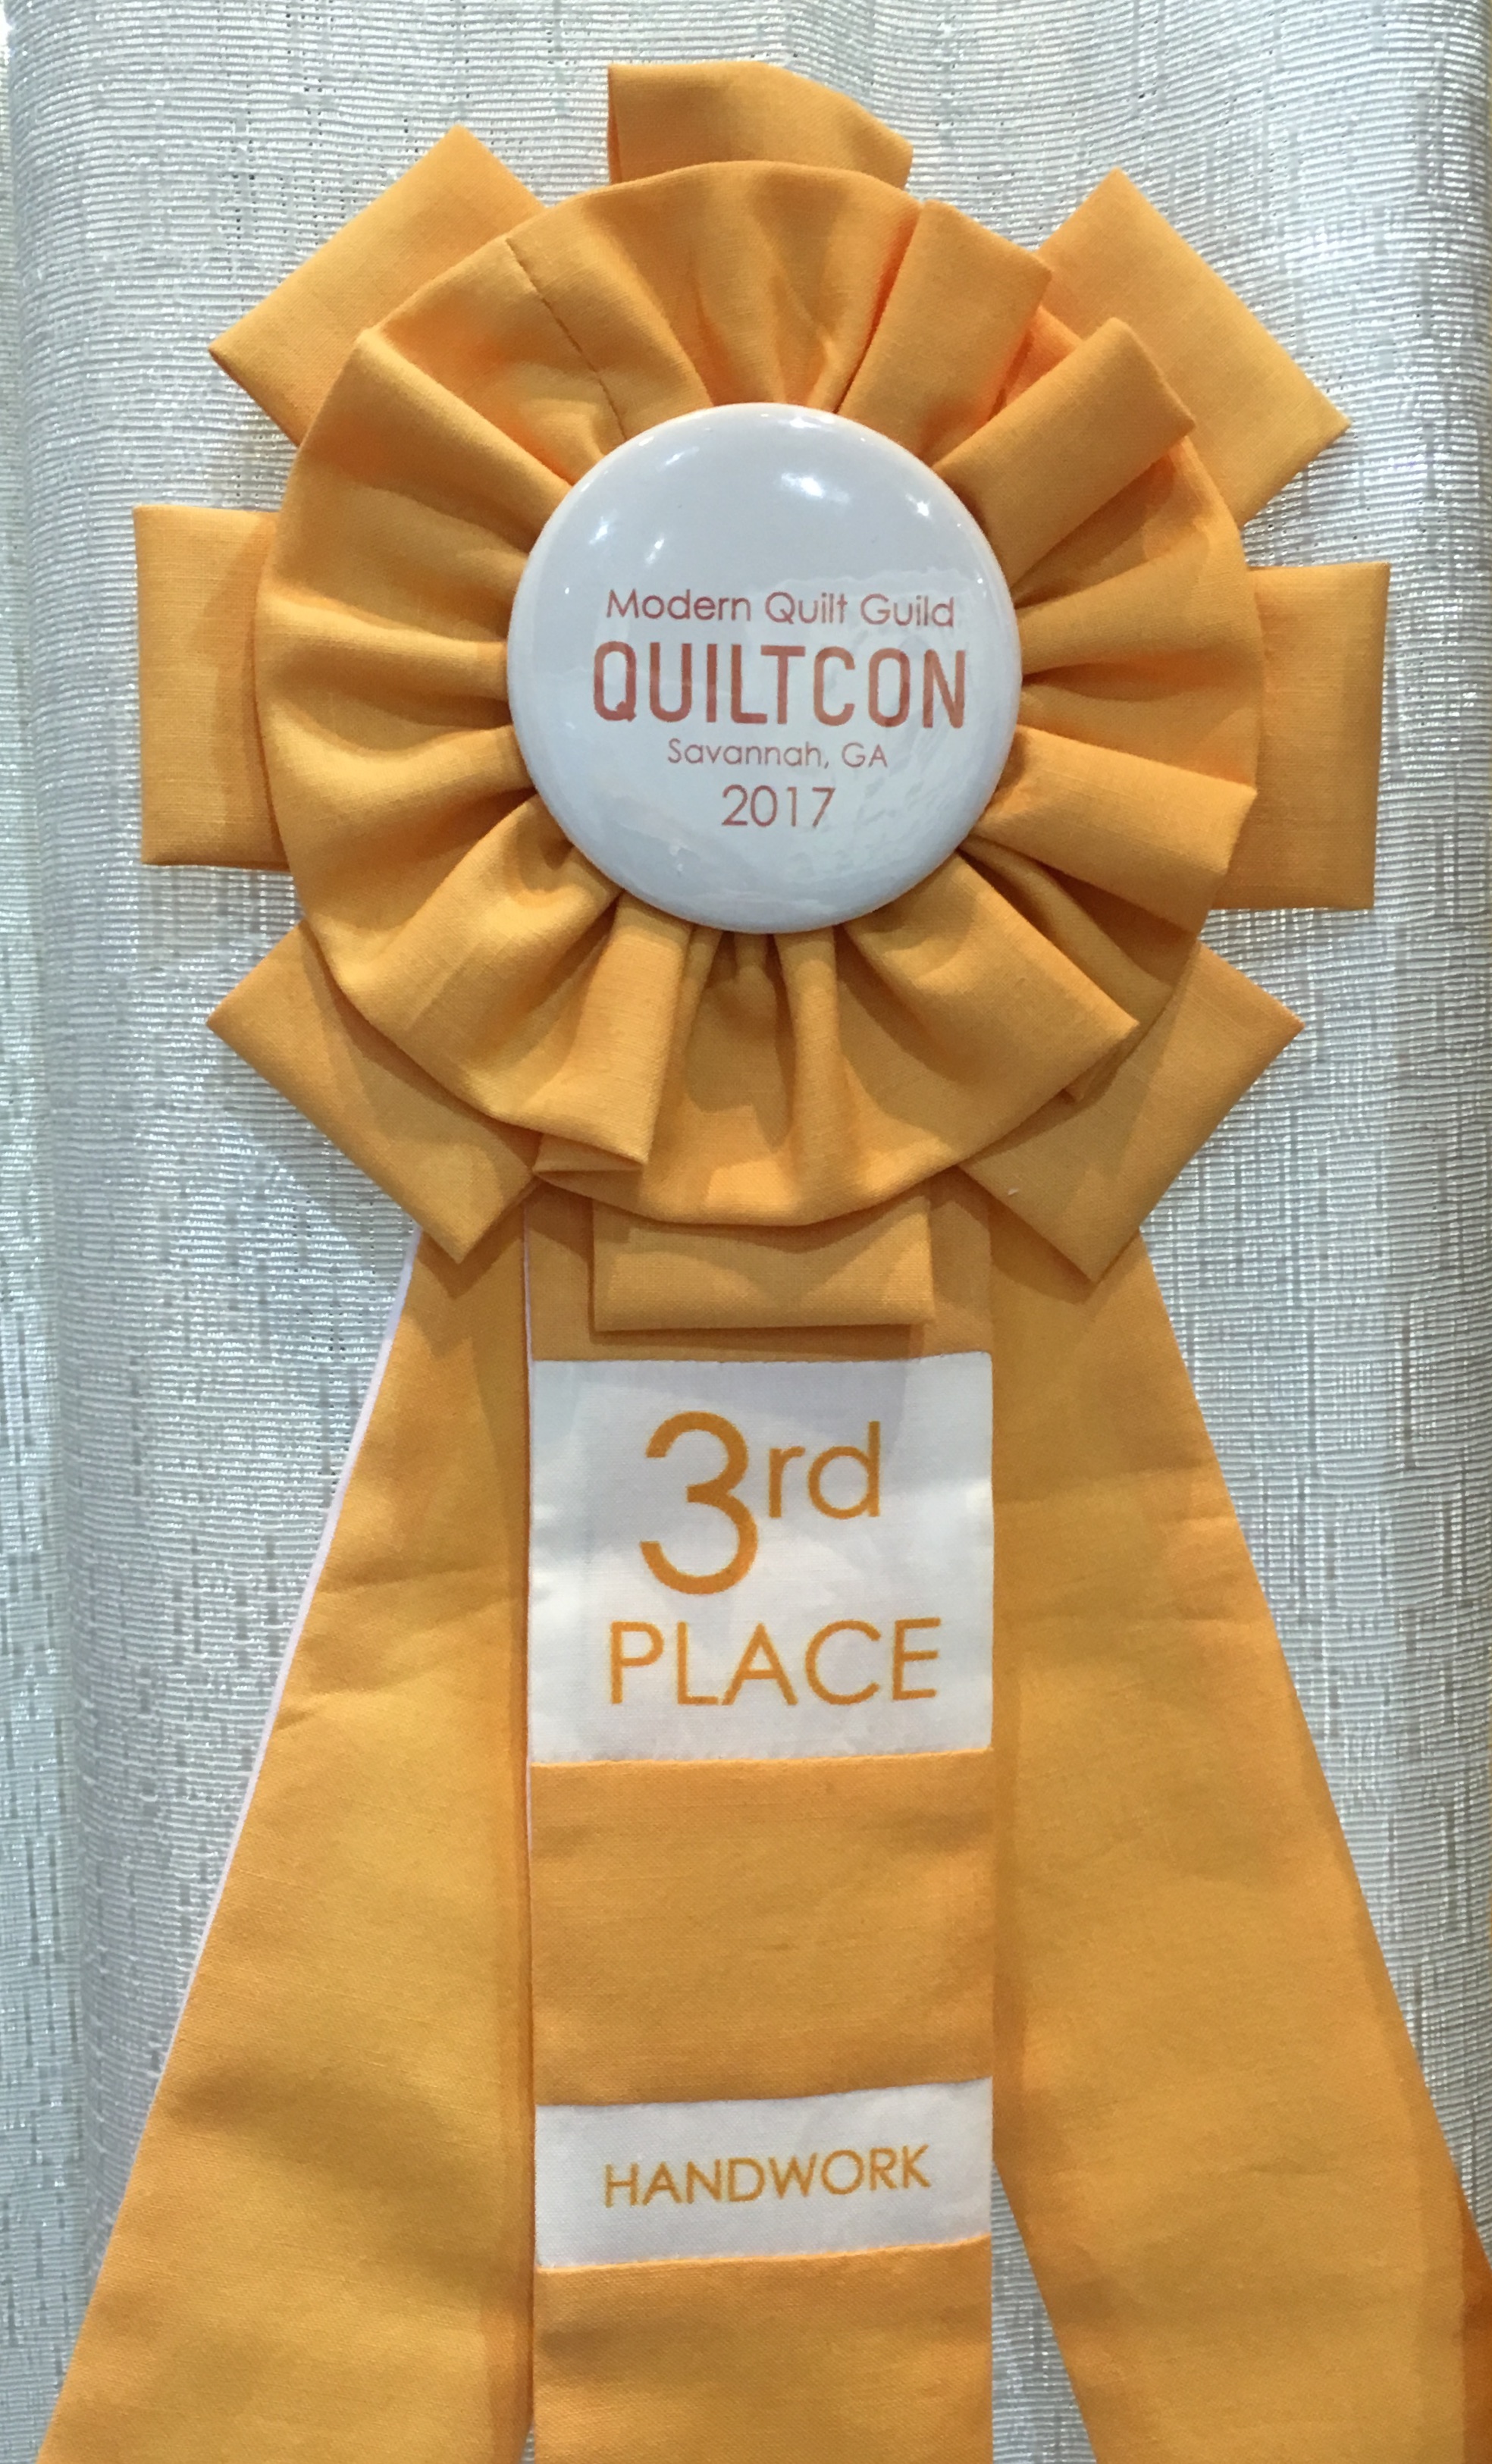
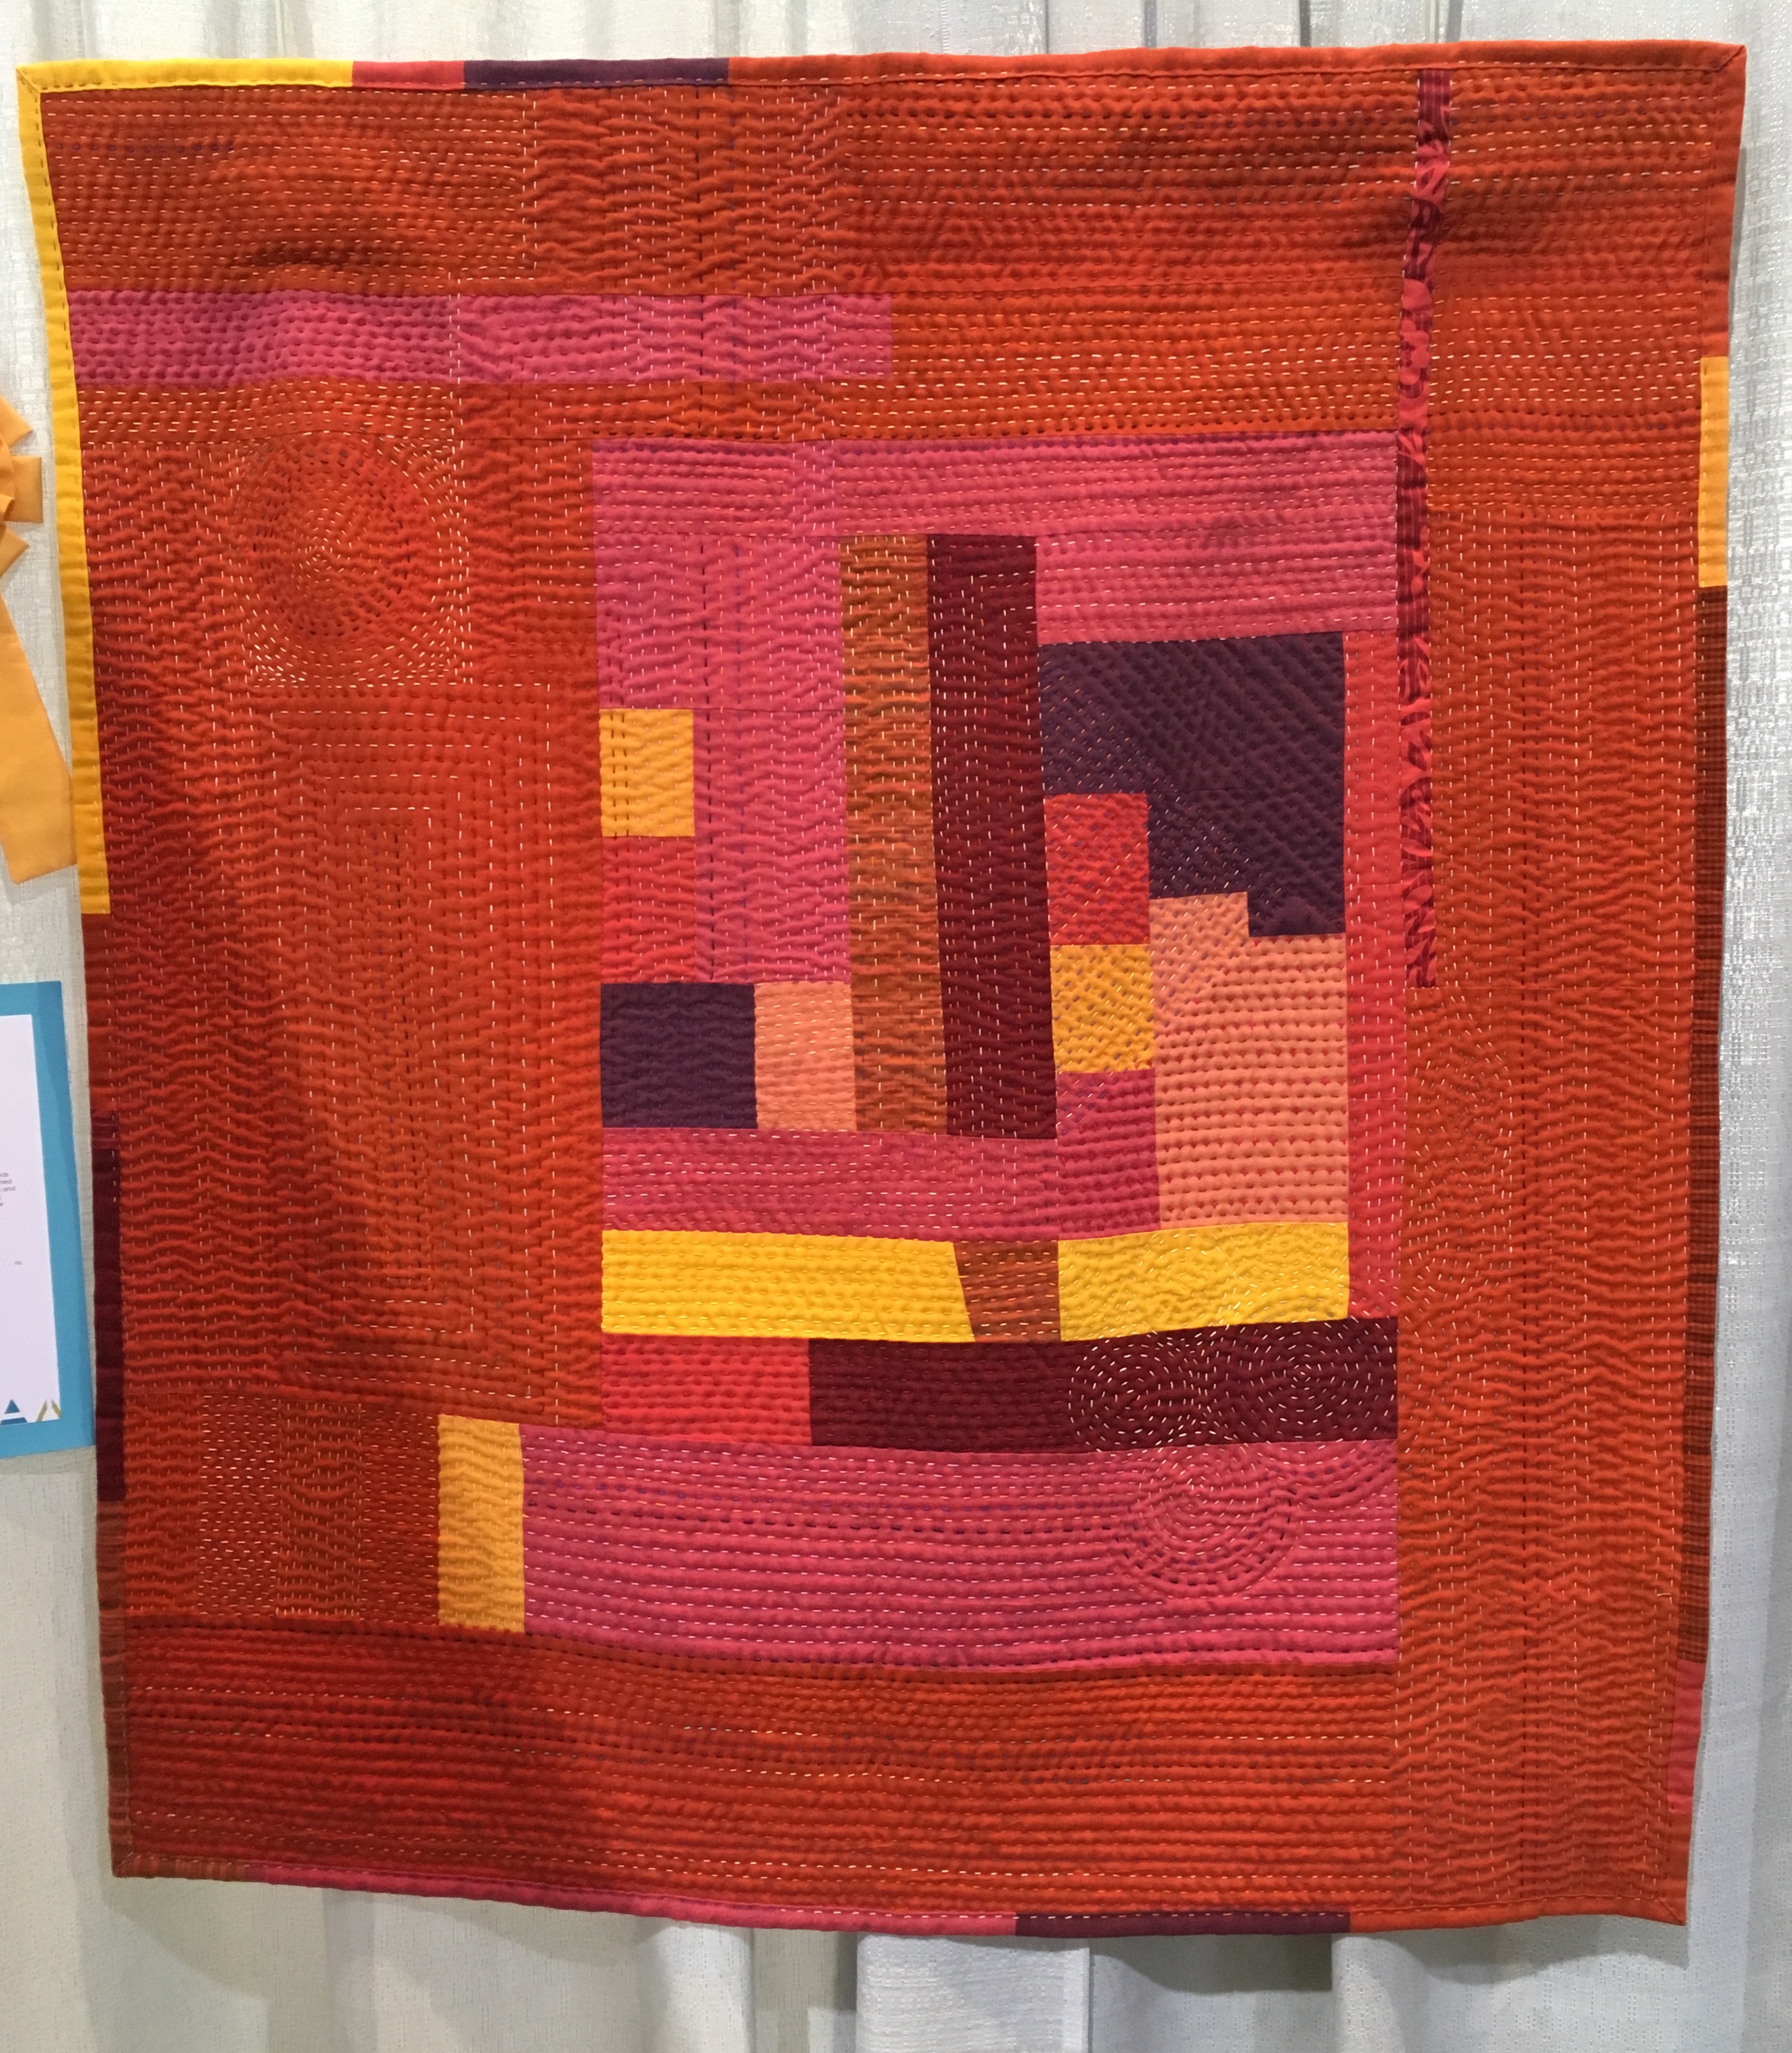
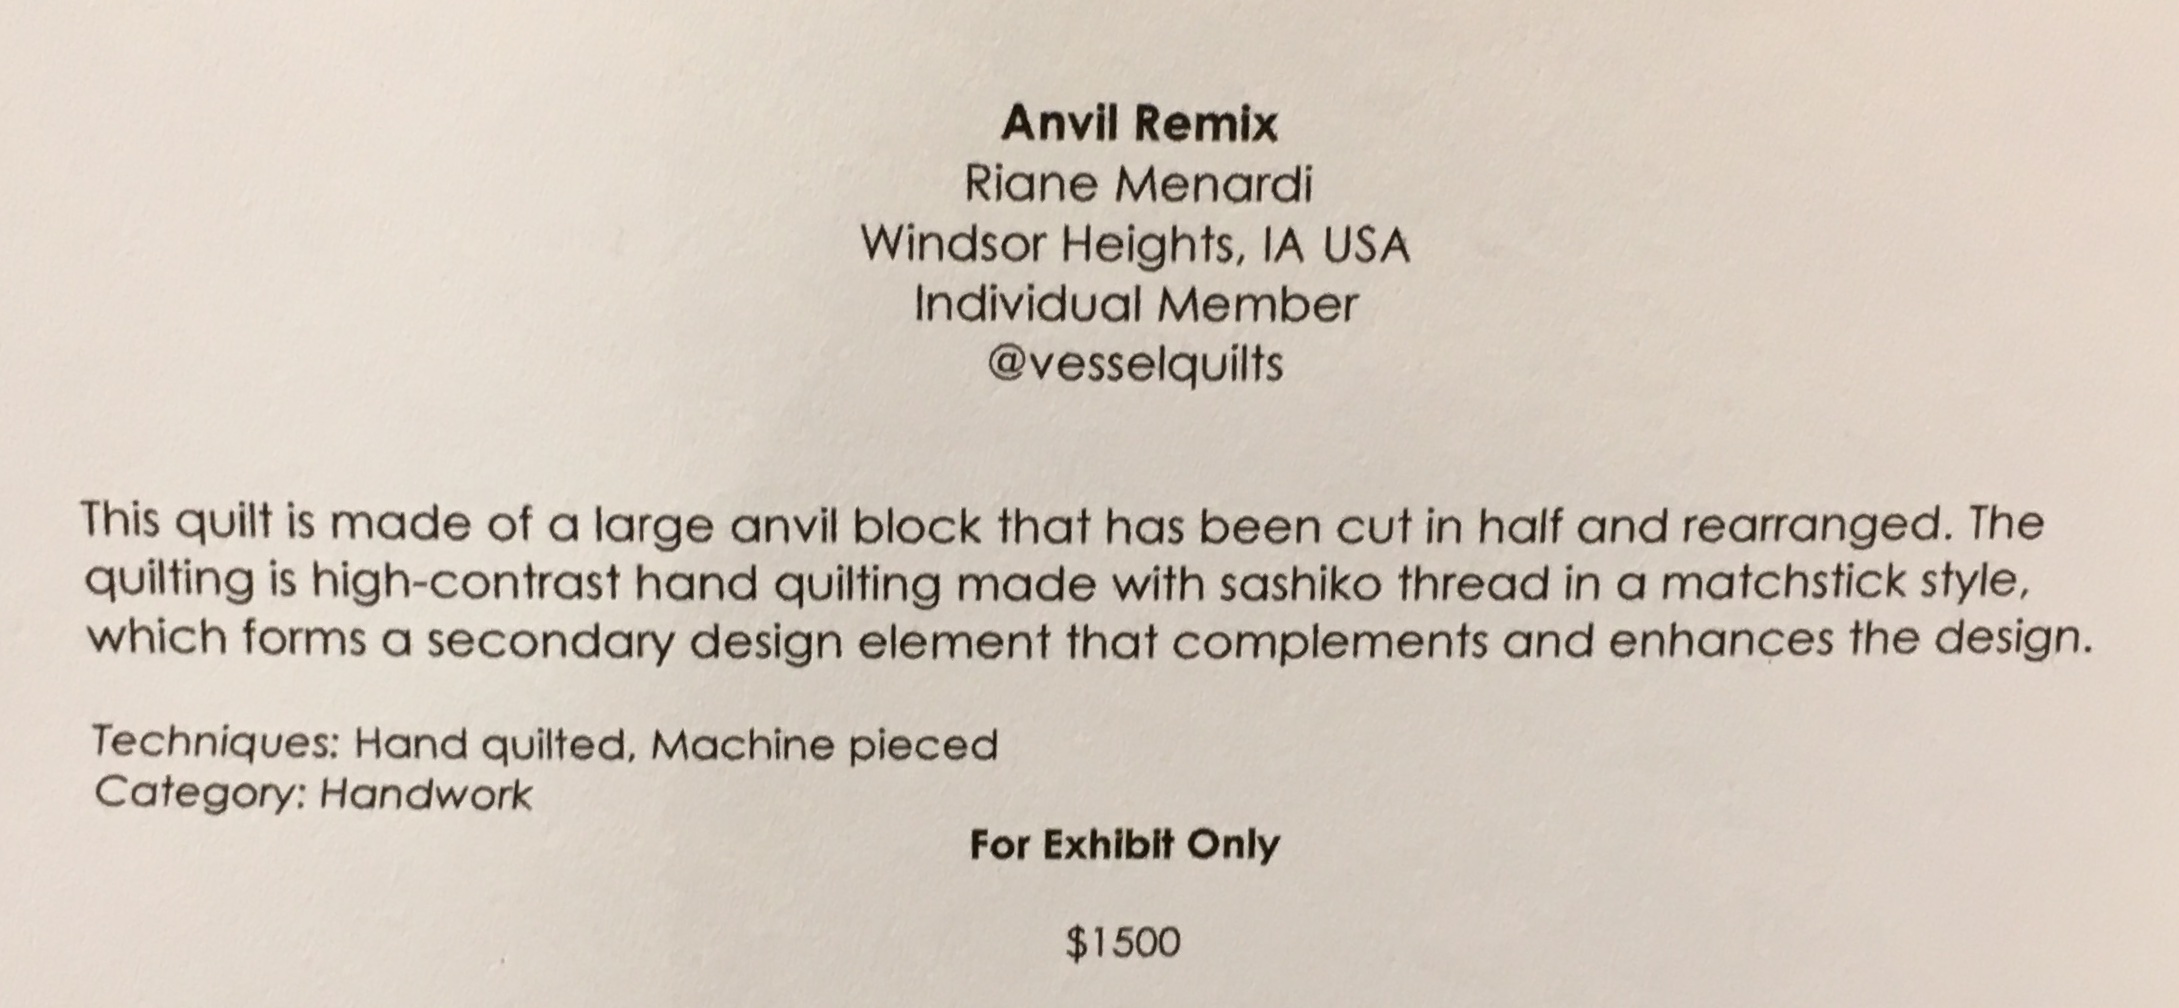
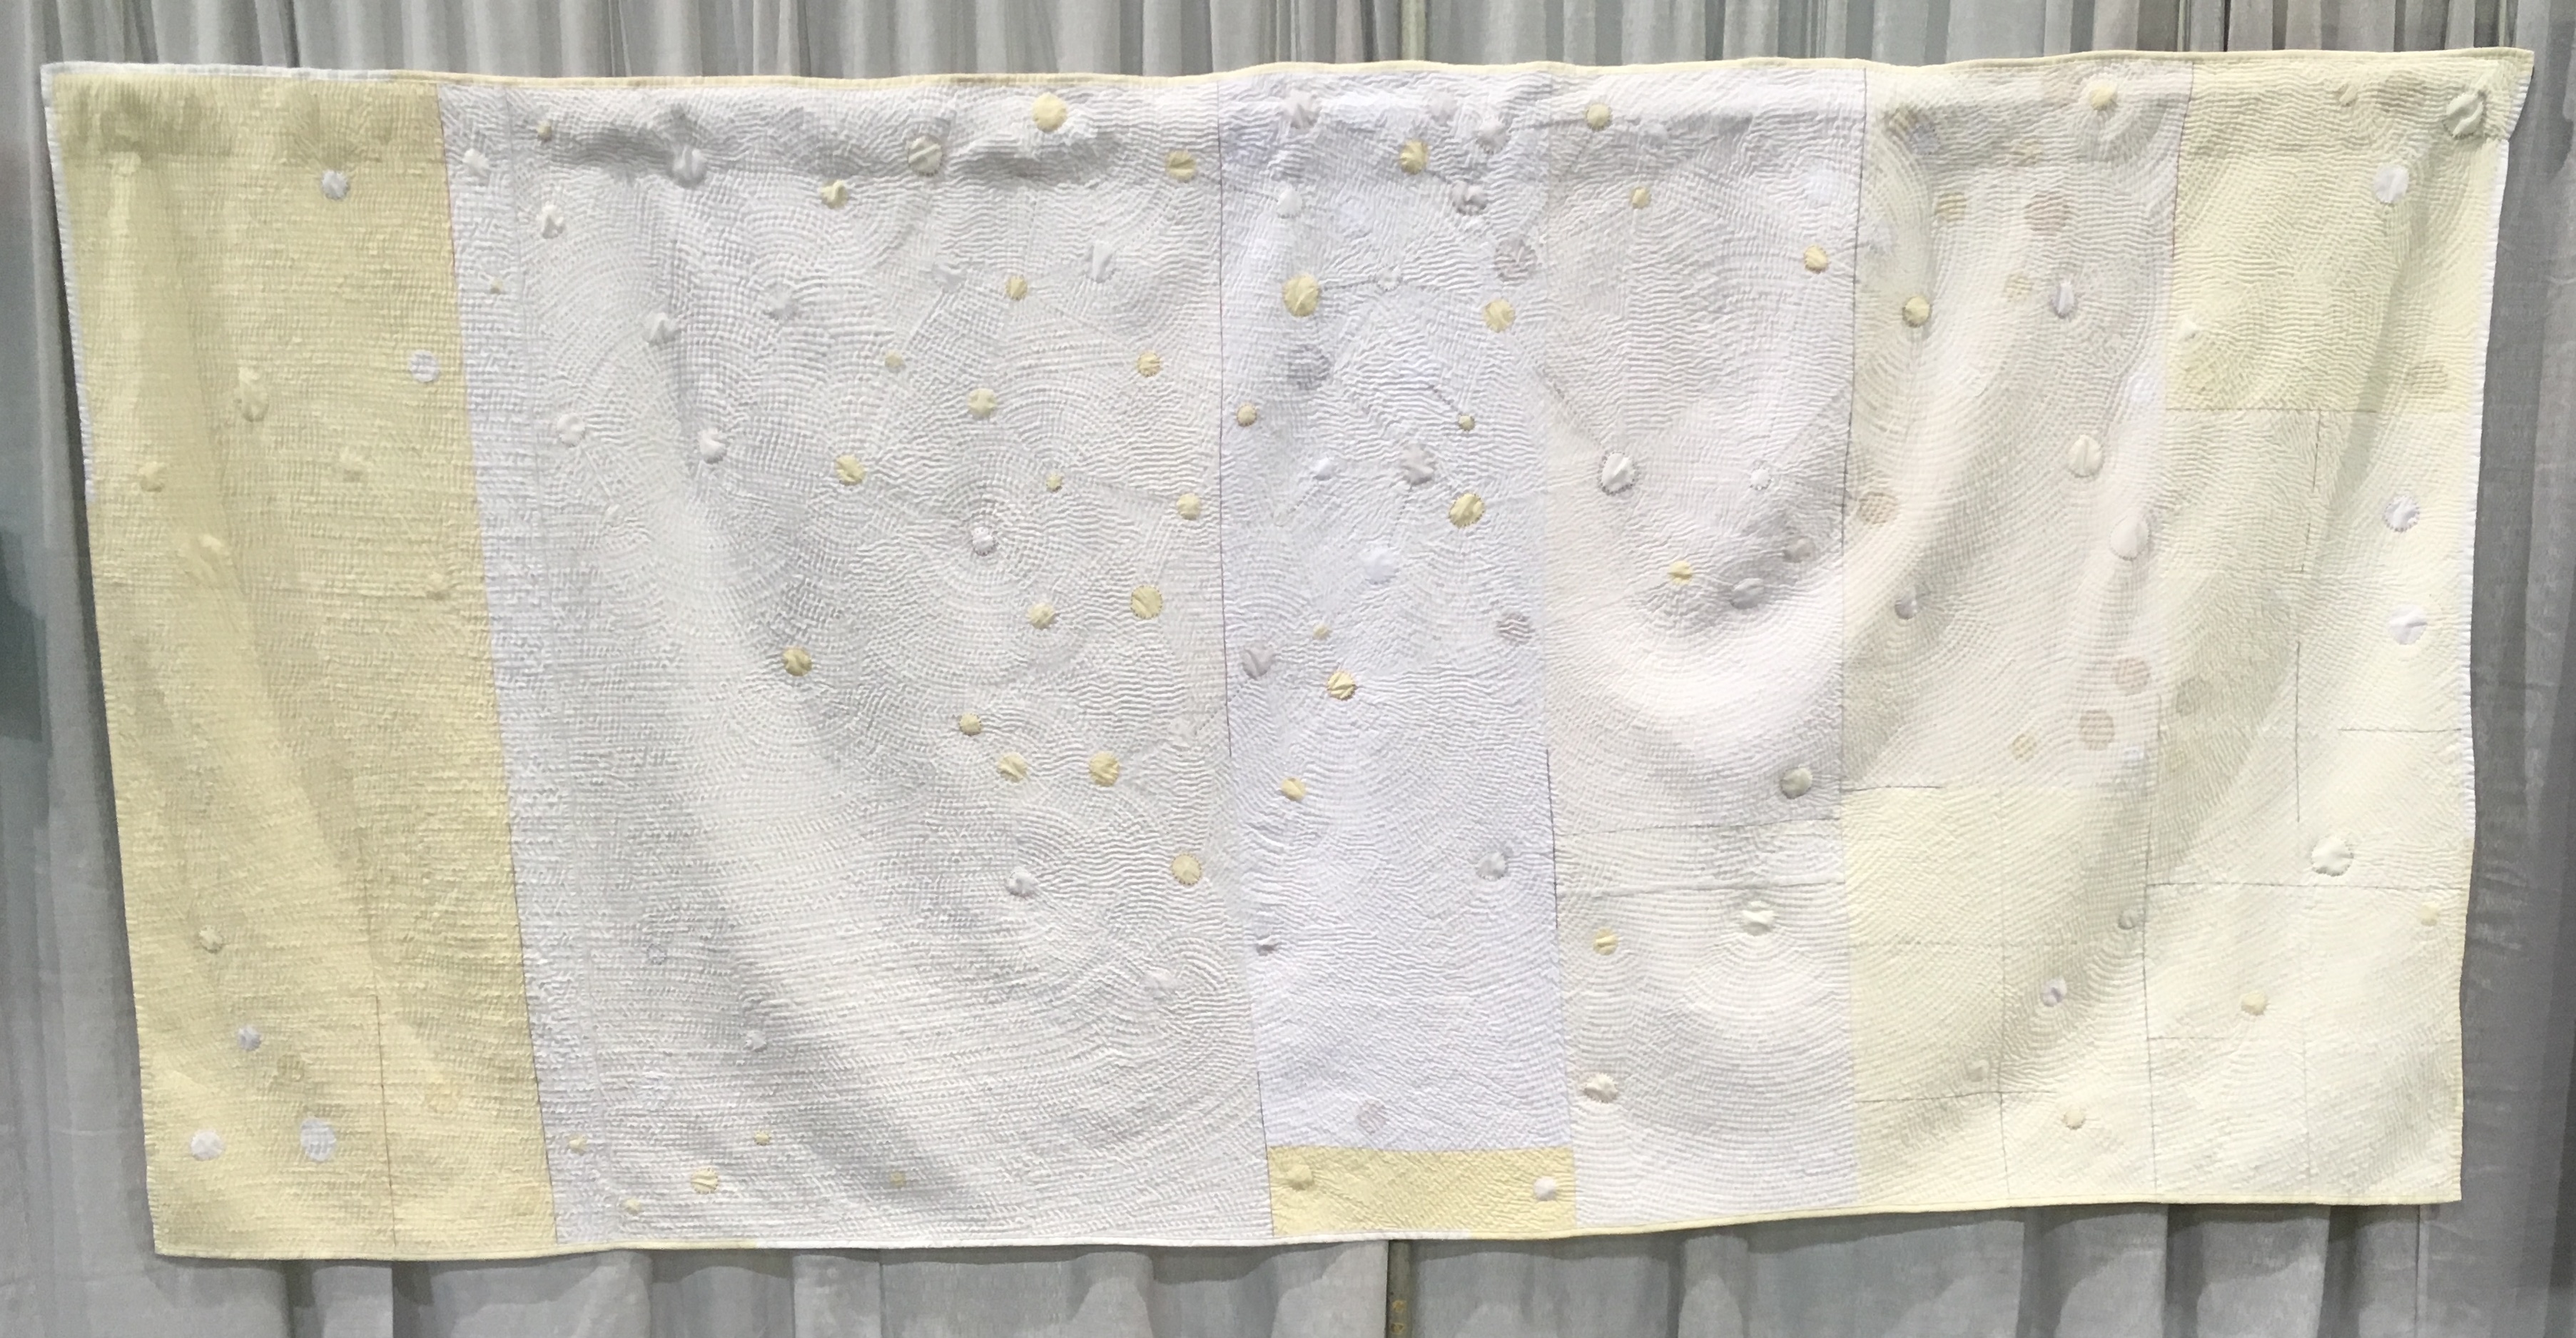
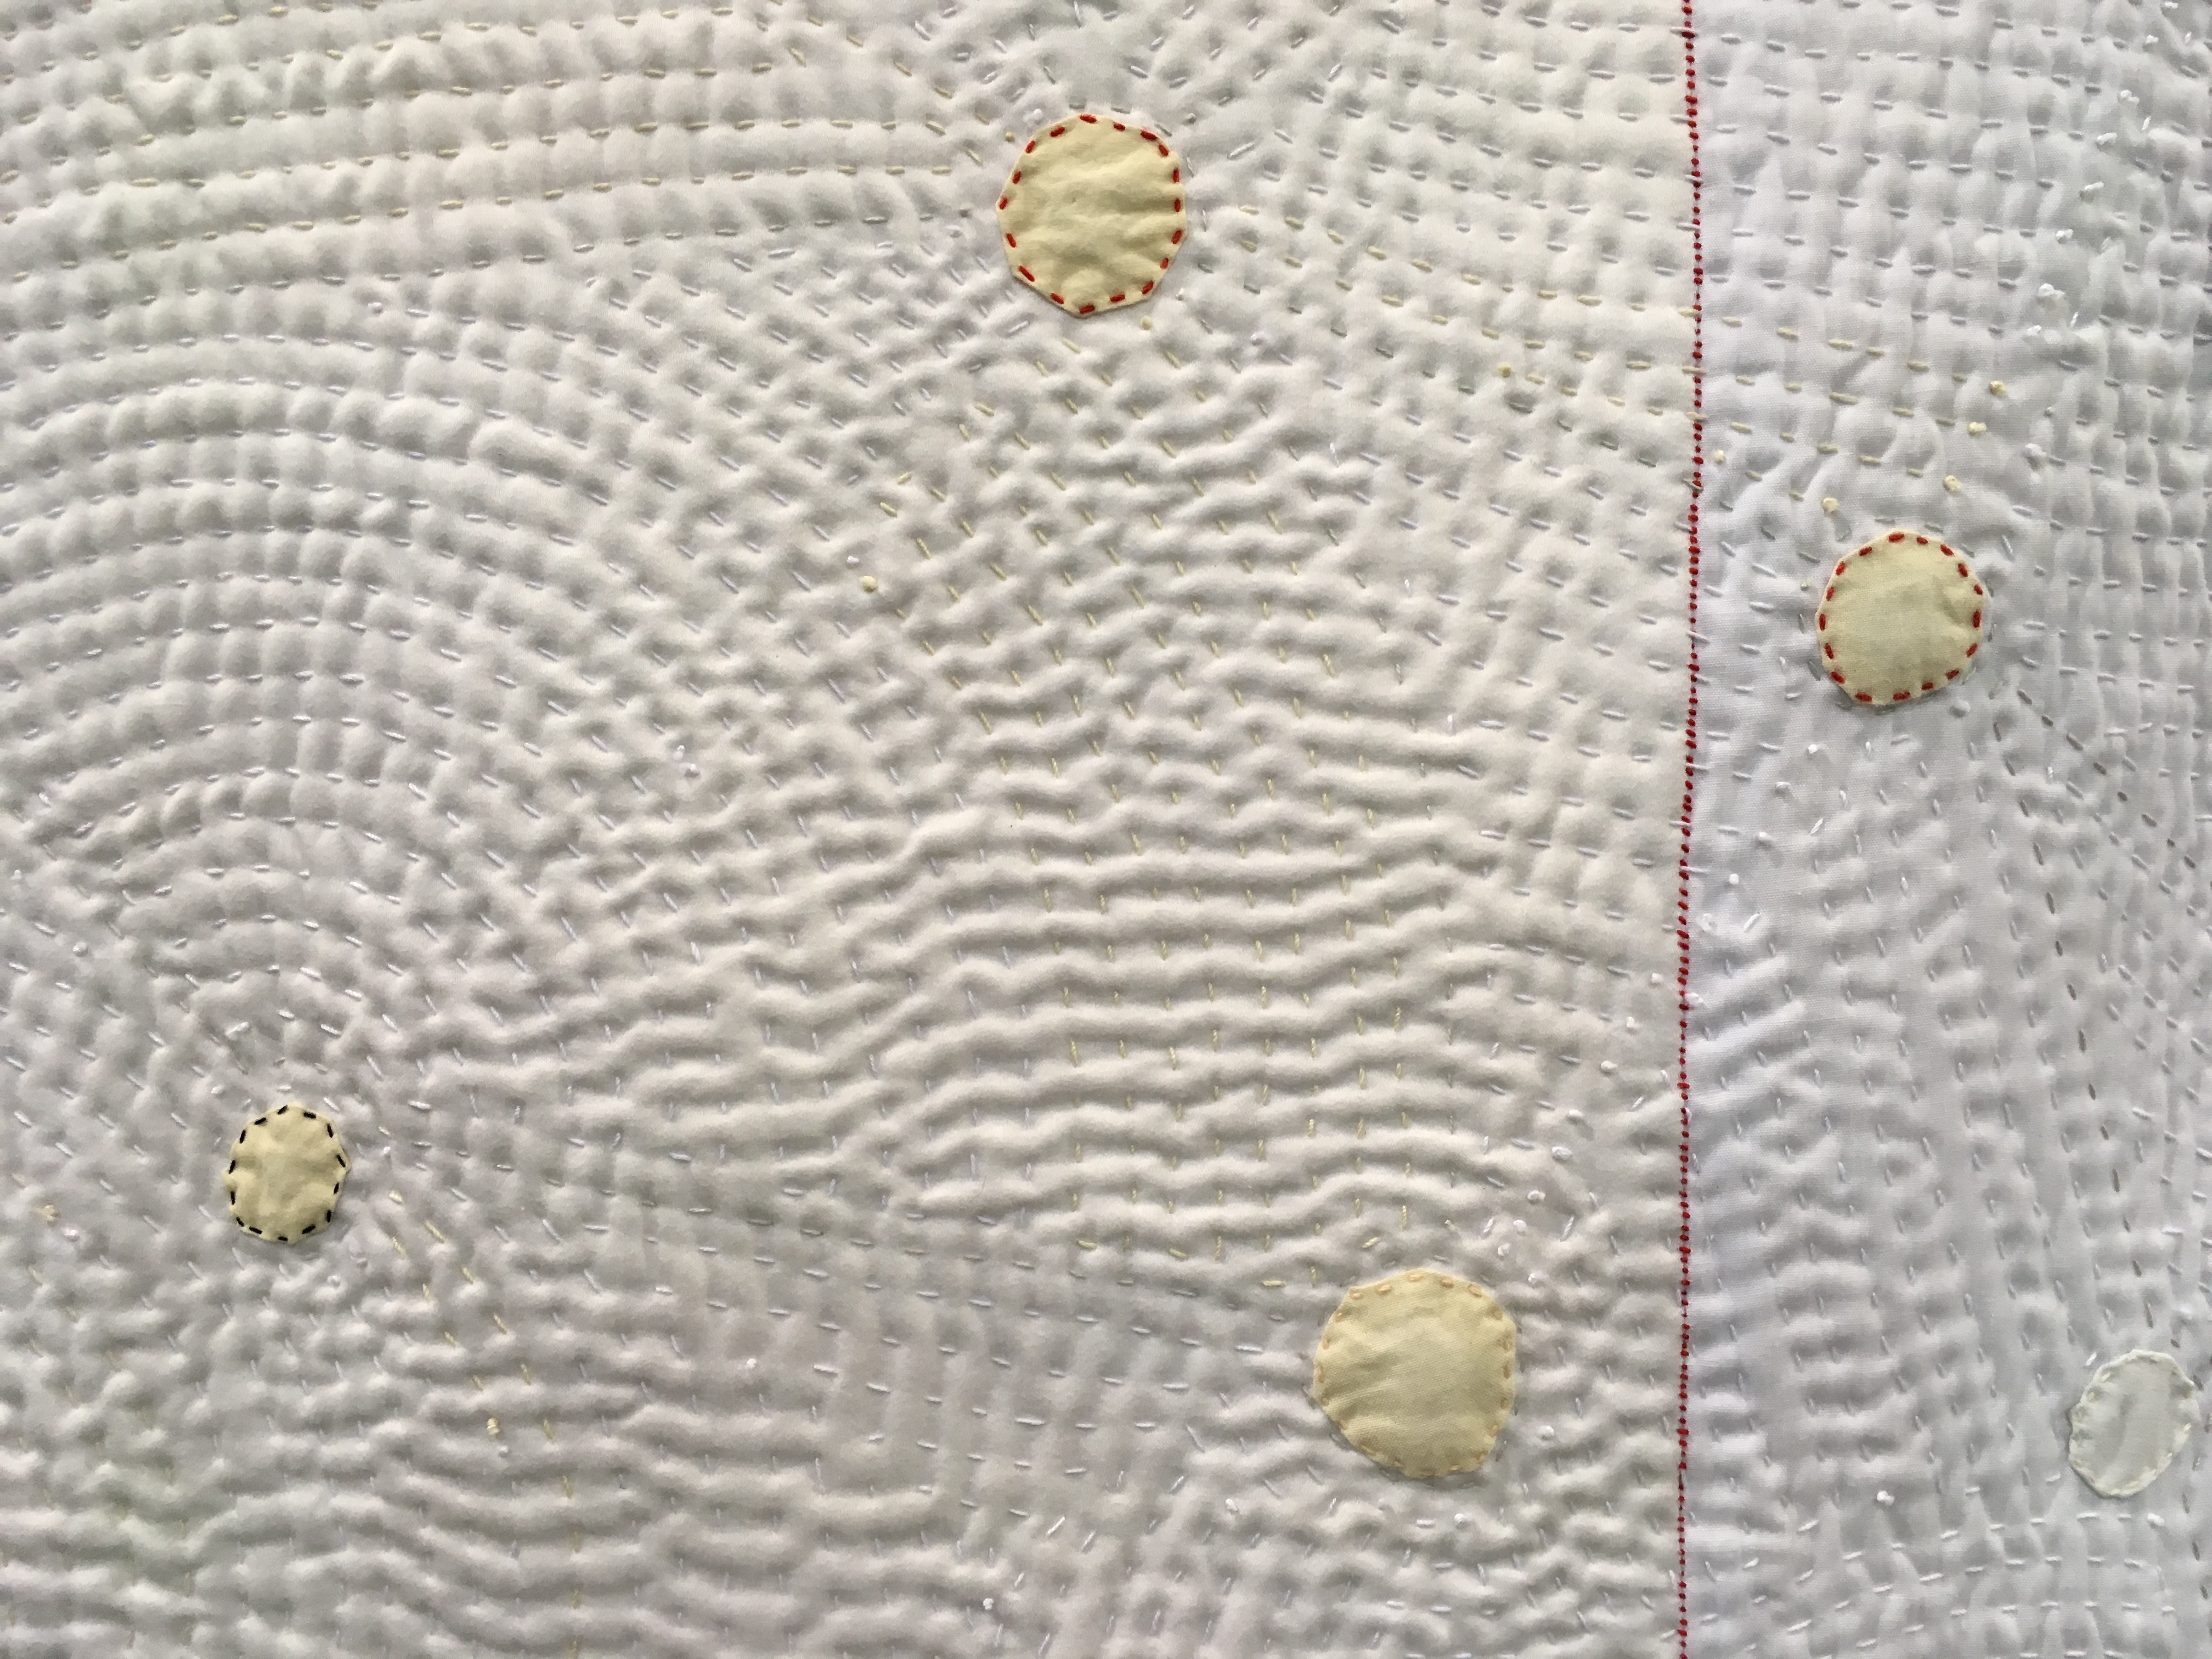
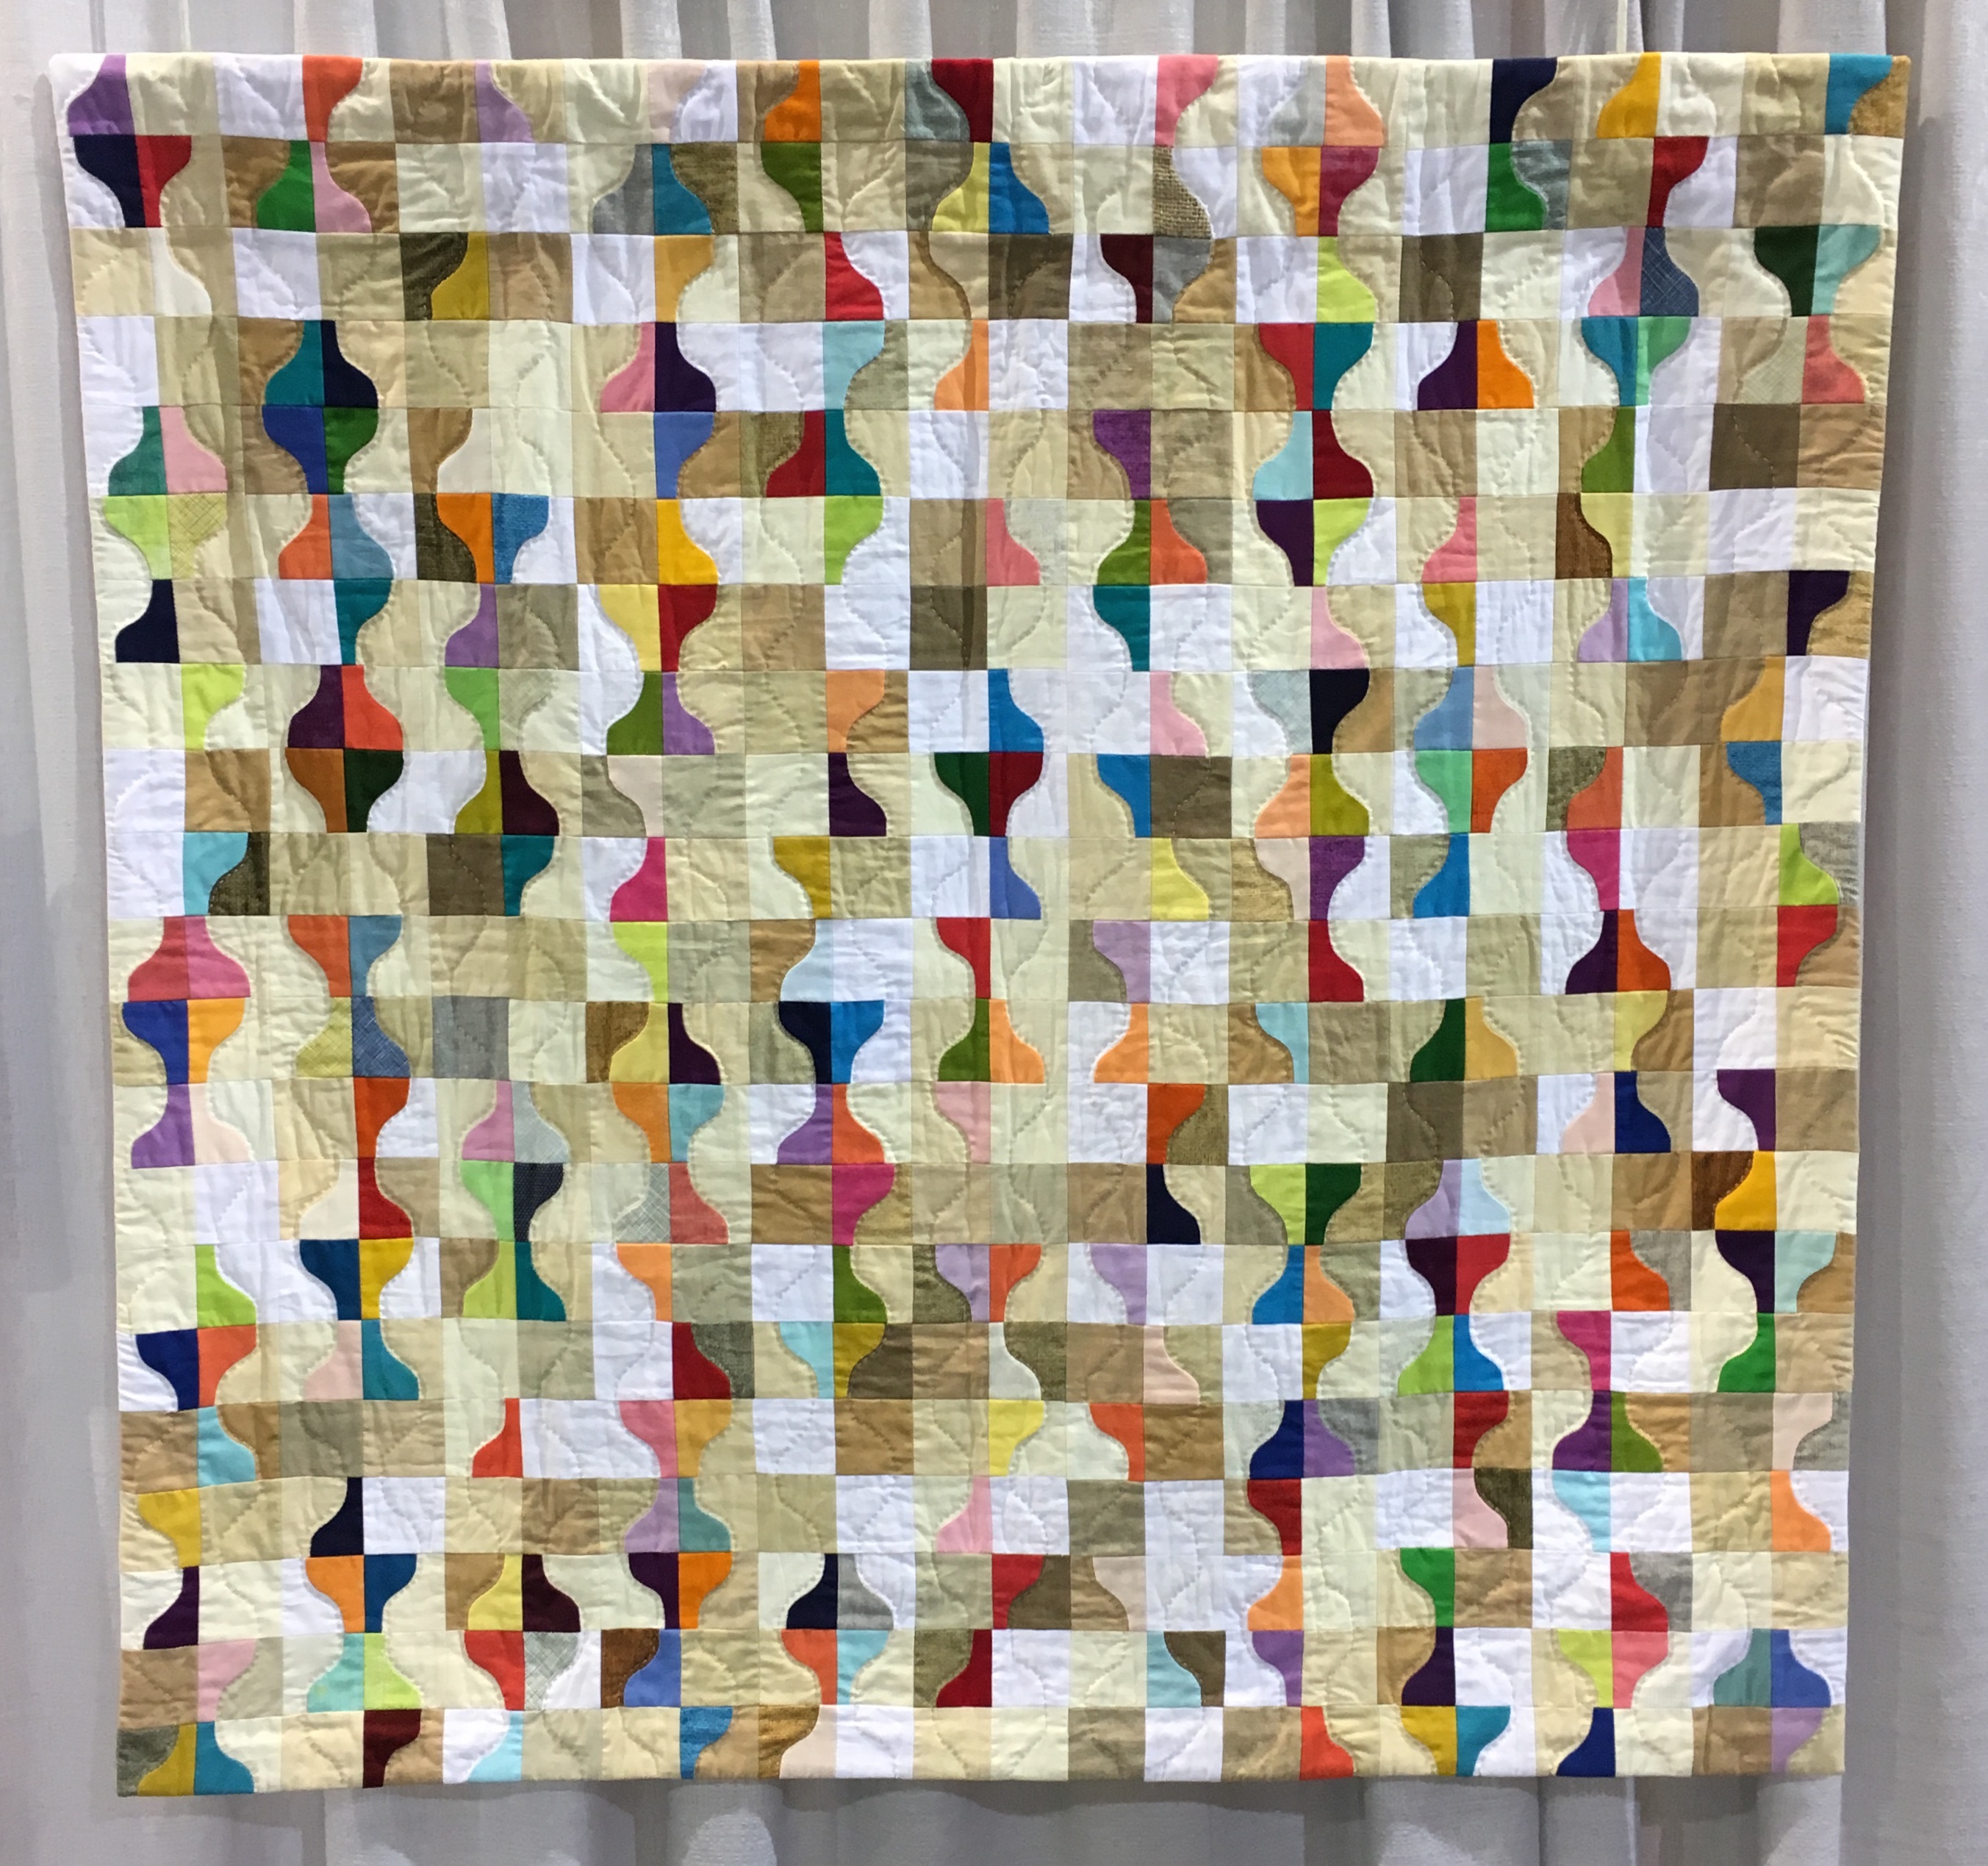
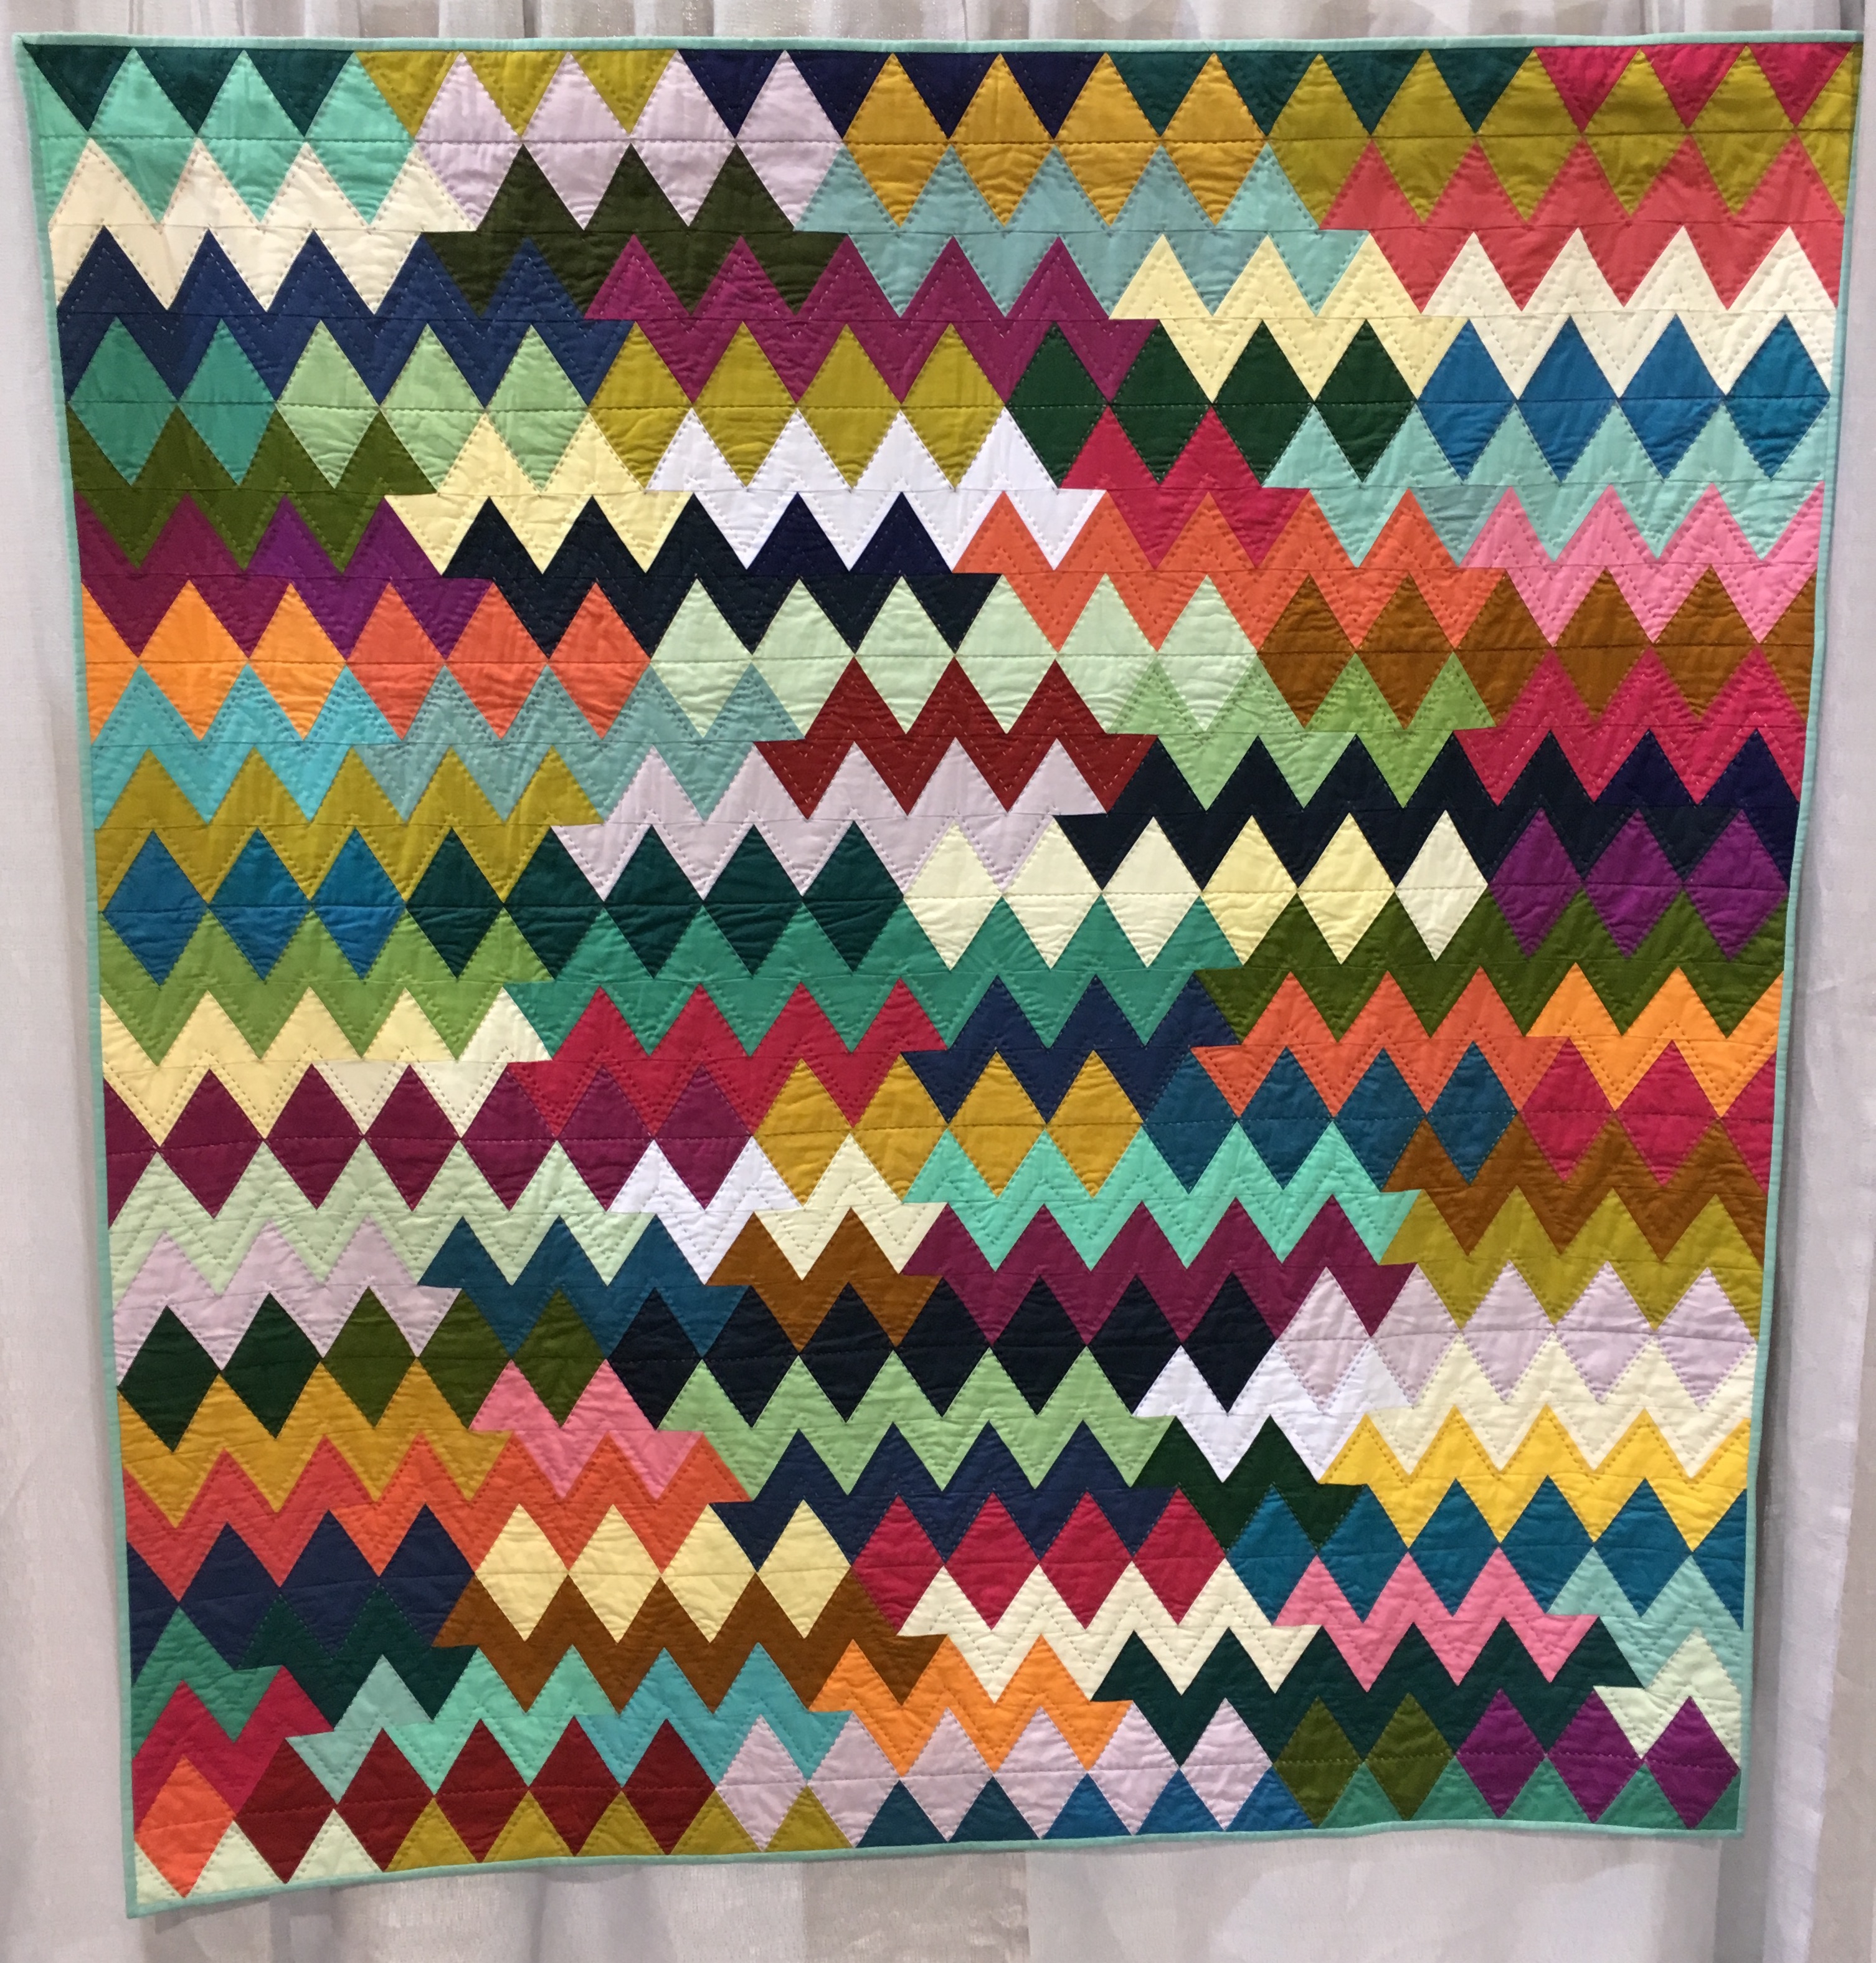
The first category is Handwork. I found this to be a small category which was composed of a variety of approaches to handwork. It seemed that any form of hand embellishment would qualify a quilt for inclusion in this category. Many of the quilts were machine pieced and machine quilted with some hand work added on, often just some big stitching. I’m not sure that even one of the pieces in this category was entirely done by hand.
The second category is Modern Traditionalism. This was quite a large category. Due to the size of the category I think it would be in my best interest to submit under Handwork if I do something modern enough to submit next year.
I am planning to show these two categories from the show in future blog posts very soon. I want to document them for myself so it is easy for me to skim through them rather than referring to the photographs in my camera roll.
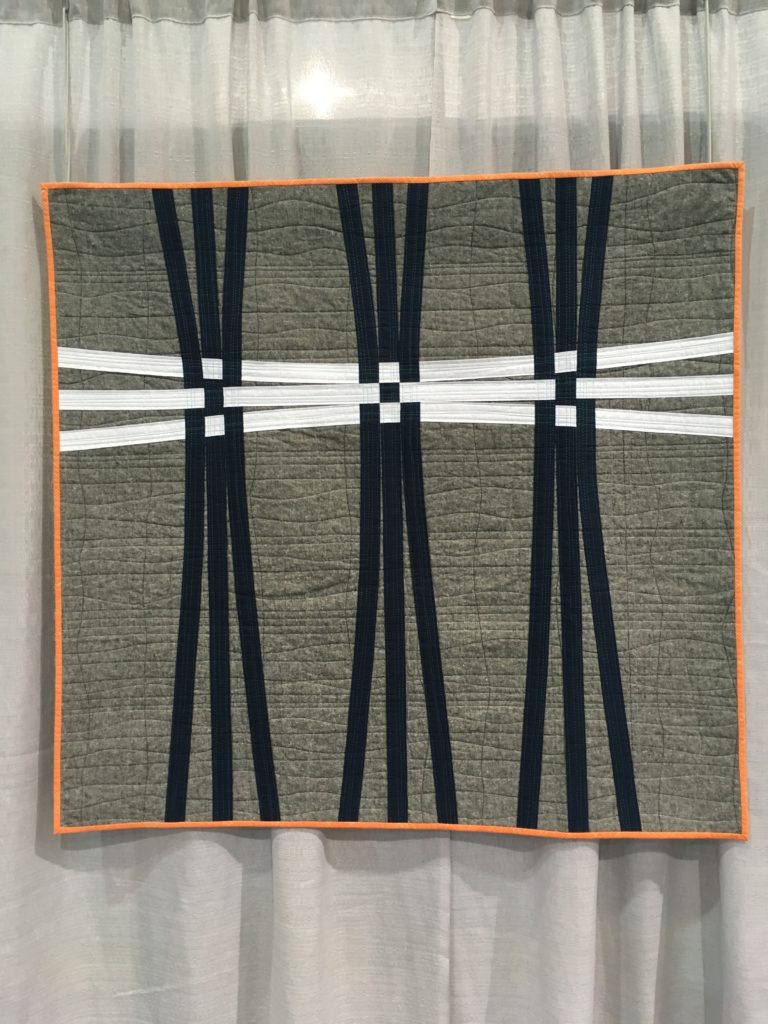
A quilt that particularly caught my eye was in the “Nine Patch Challenge” category. I had actually seen this in advance in a blog post. I was particularly drawn to this quilt because my area of expertise during my fine arts degree was weaving. From the accompanying paperwork:
Warp and Weft
Cheryl Brickley
Greer, SC USA
Greenville Modern Quilt Guild
@MeadowMistDesigns
Inspired by some shot cotton fabric where the different colors are used in the warp (machine direction) and weft (cross-machine direction) “Warp and Weft” creates a 9-patch block using woven strips of fabric having different colors in the warp and weft direction. The woven strips are on a background of Yarn Dyed Essex Linen which also uses different colors in the warp and weft of the fabric.
Techniques: Machine quilted without a frame – the quilt moved under the stationary needle (such as a domestic machine or mid-arm that is not on a frame). Category: American Patchwork & Quilting Challenge Quilt Challenge.
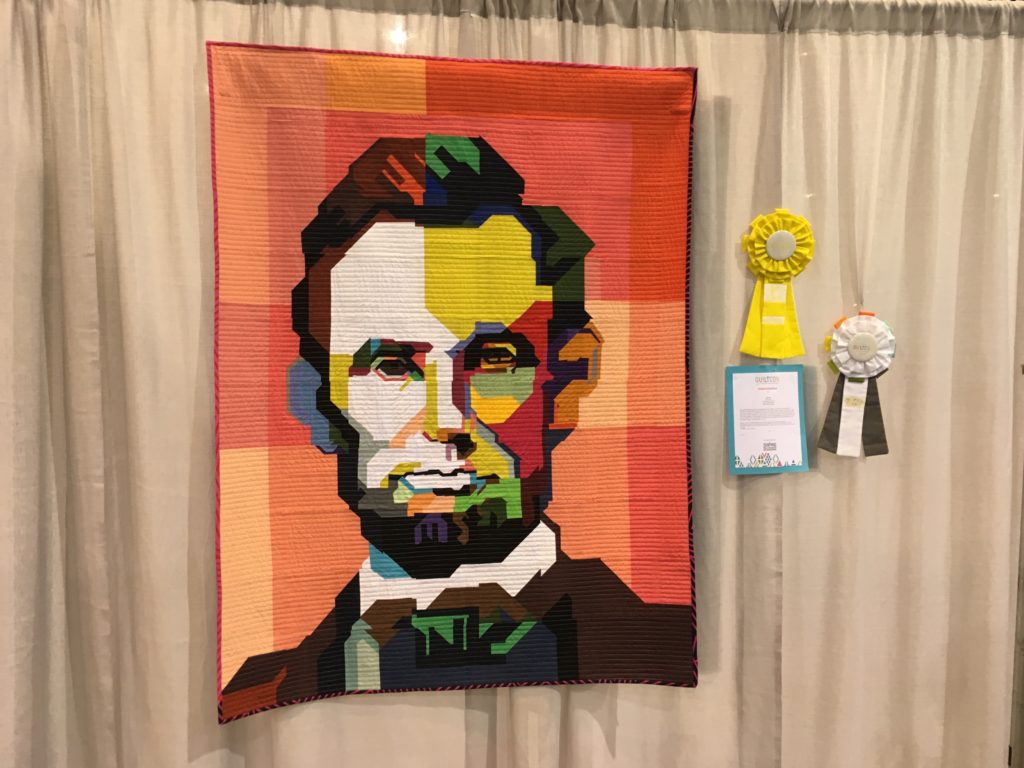
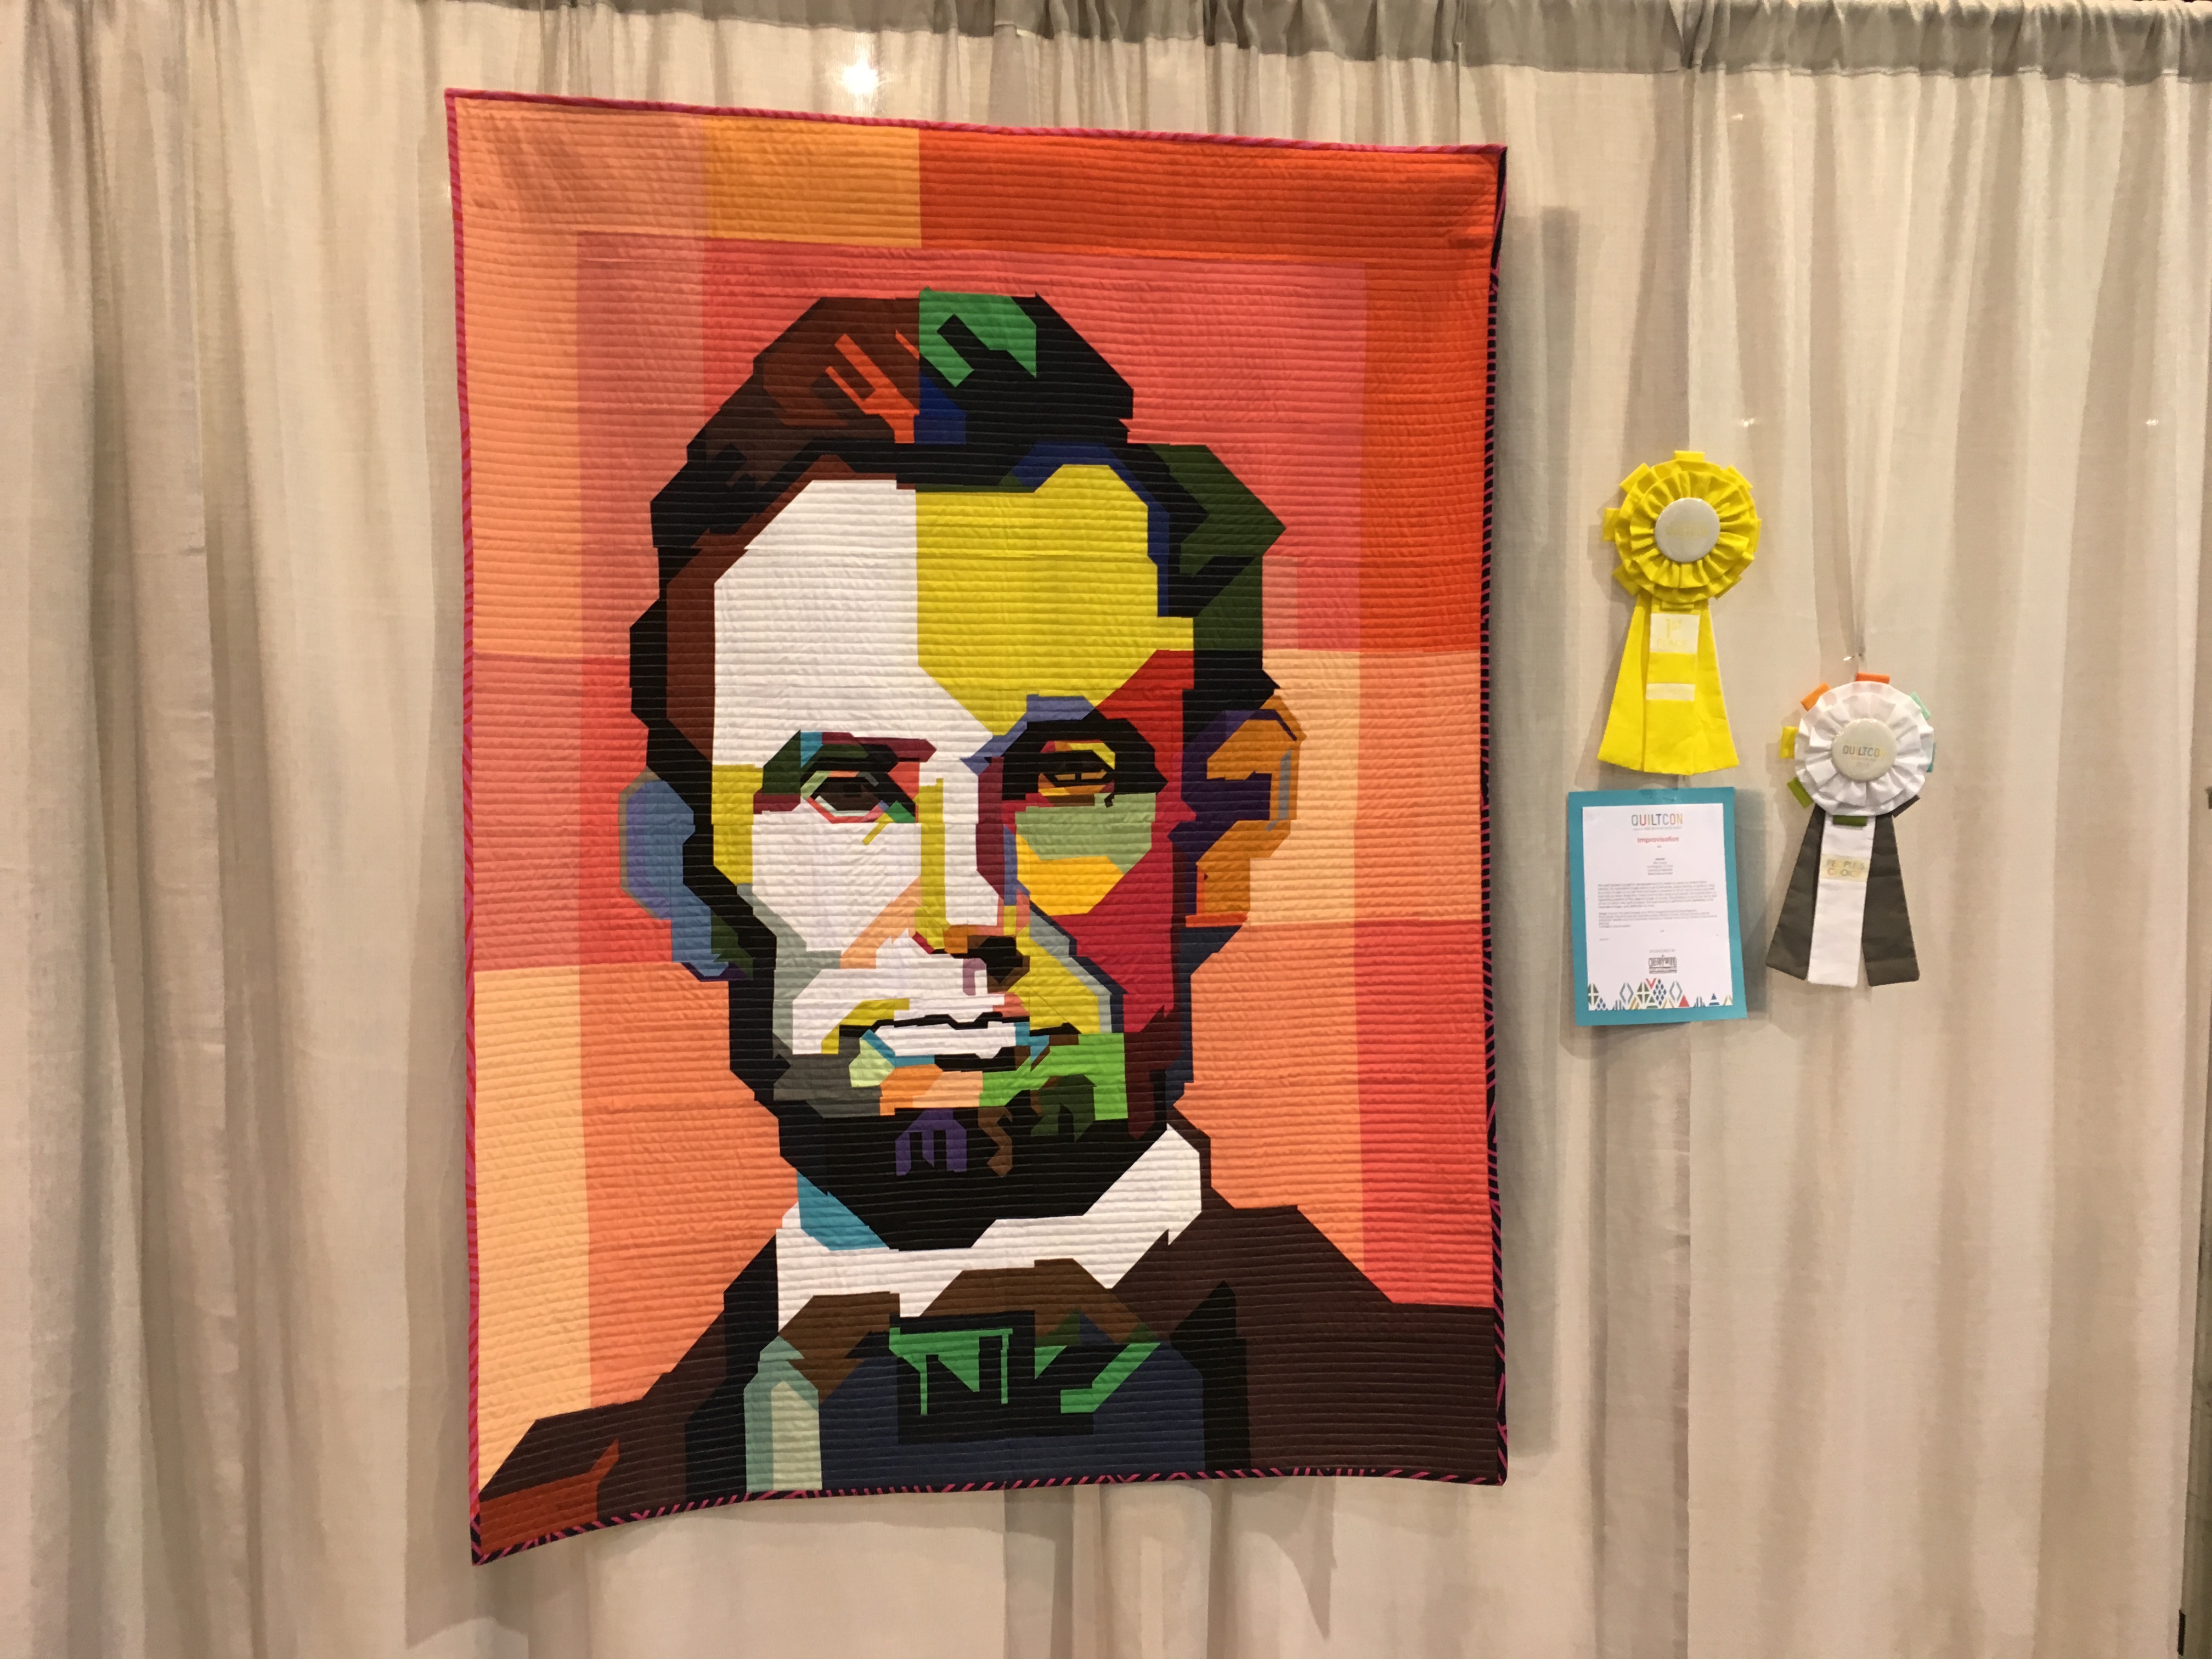
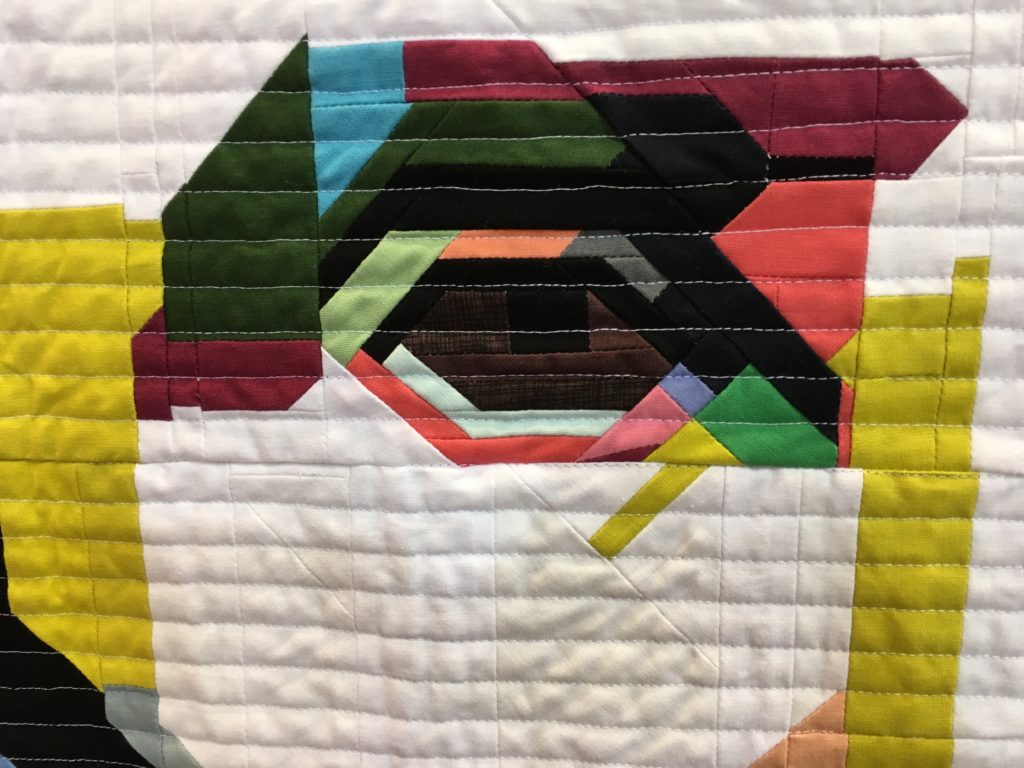
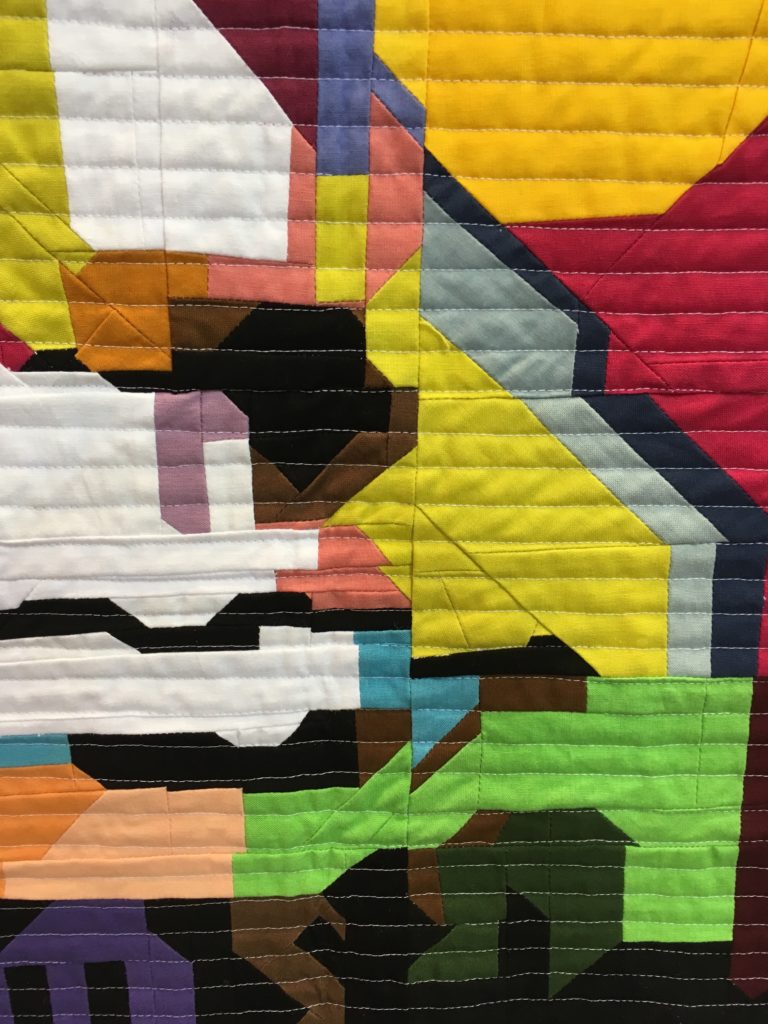
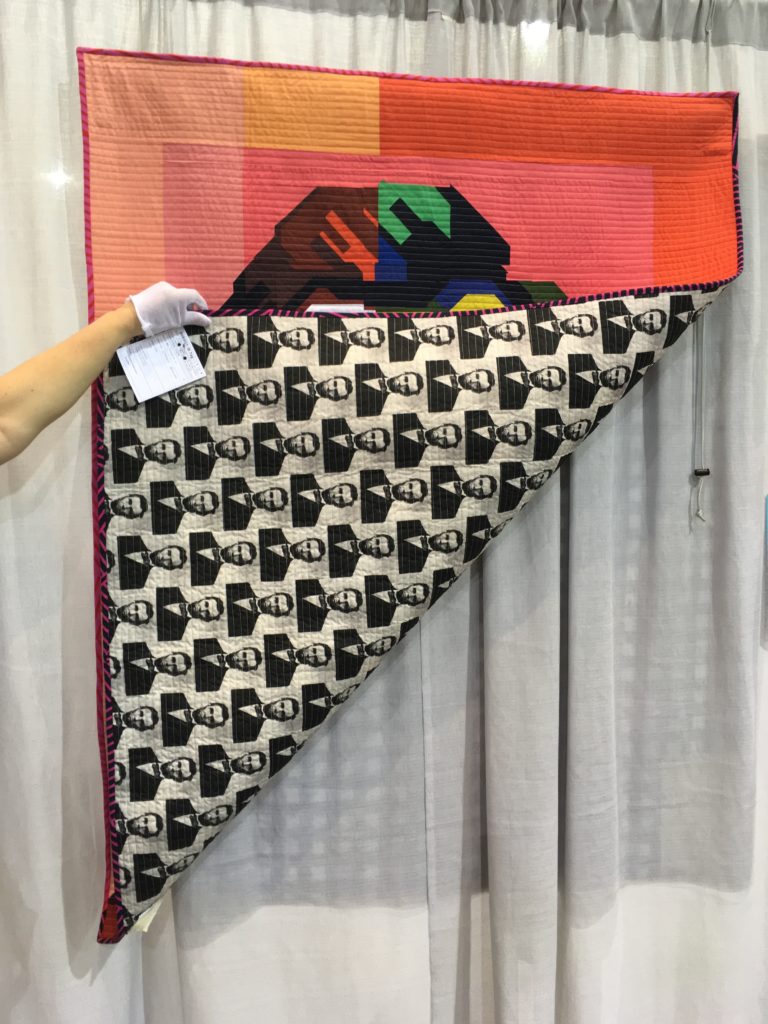
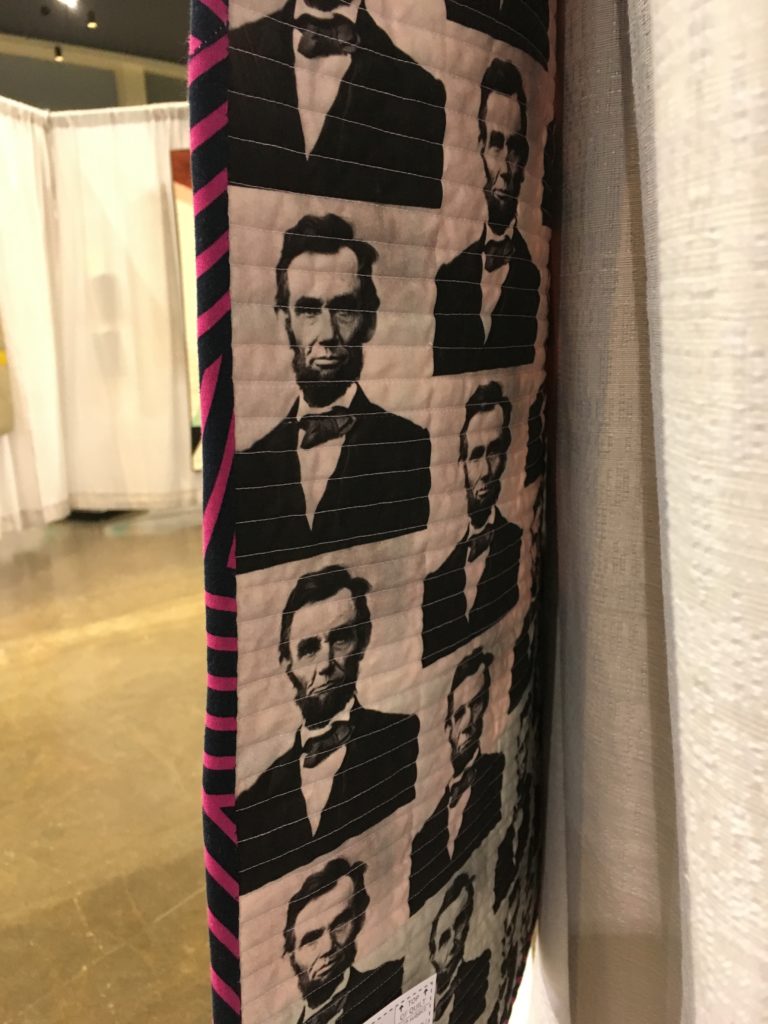
Another quilt that caught my eye was the first place winner in the category of Improvisational Piecing. I was subjectively drawn to this piece because of my dismay over what is happening in the current political landscape. From the MQG website for the show winners:
Lincoln
Pieced and quilted by Kim Soper
Huntington, NY, United States
Individual MQG Member
@lelandavestudios
48 x 60 inches
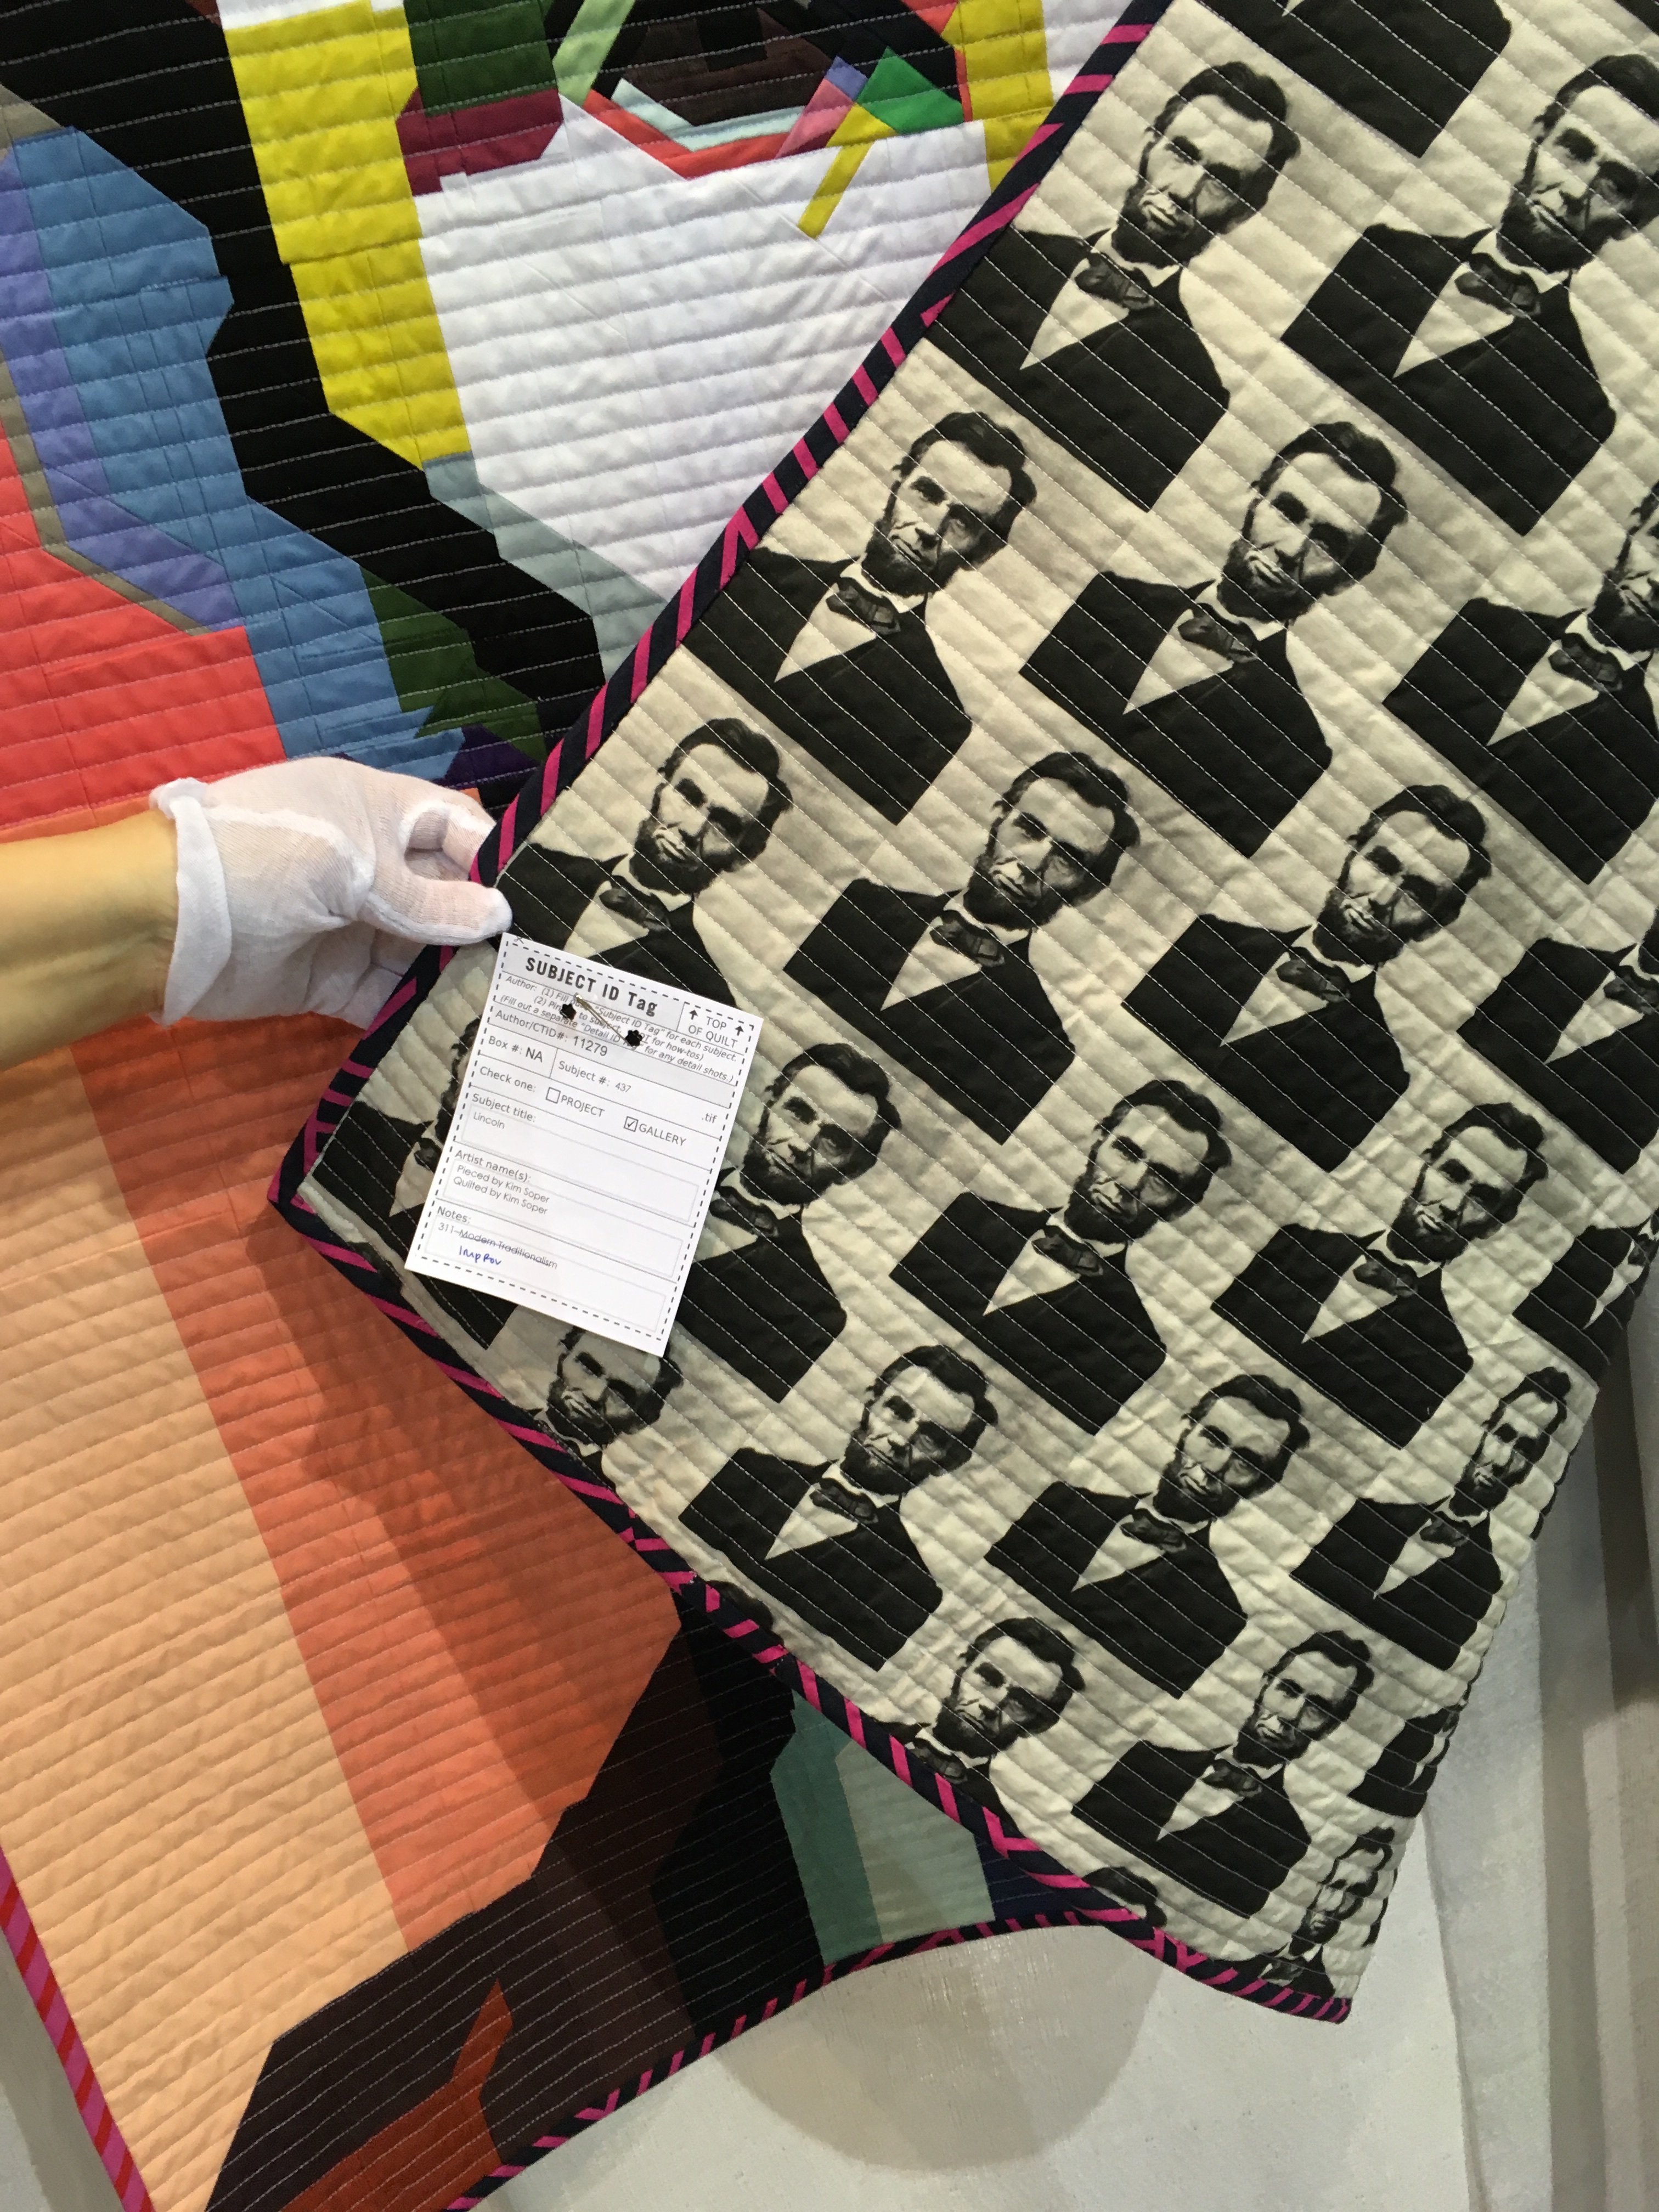
“This quilt (passion project) developed out of a desire to create an entirely improv-pieced recognizable image without use of template, paper-piecing or appliqué. Using an iconic image of Lincoln that had been converted to WPAP (vecor-based geometric pop art) by Ihsan Ekaputra, it was constructed using 6-inch blocks. The backing fabric is a repeating pattern of the original image of Lincoln. The binding is a nod to the vector-style of art on which the quilt is based. The end result is a quilt that is both identifiable as the intended image, and distinctly my own.”
Following are a few close ups of the details of Lincoln:

There was another quilt that particularly touched my heart on a very subjective level. It was a quilt in honor of Hillary Clinton. It earned one of the Judges Choice awards. I also happened to vote for it for the People’s Choice award, though I was not displeased with the fact that Lincoln took that honor. I knew it was a subjective vote, and that the piece was unlikely to win. Going through my pictures from the event I can’t find one of the Hillary quilt, so I stole this image from the MQG website along with the accompanying information:

Still With Her
Pieced and quilted by Liz Harvatine
Burbank, CA, United States
Los Angeles Modern Quilt Guild
@ladyharvatine
60 x 55 inches
Improvisation
“I made the basis for this quilt, a giant Hillary logo, the day before the presidential election. I felt so much hope and excitement and I channeled it into my sewing. The day after the election, all of that energy and feeling of promise was gone, yet it seemed so sad to leave this quilt unfinished. I decided to cut it apart and add to it; put it back together. I want to keep that feeling of hope. I want to build off of what could have been and create something even better in the future.”
You can see “Still With Her” and all of the other award winning quilts here.
I really had a wonderful time at QuiltCon. Going into this I was afraid that I would be pretty much on my own even though many of our guild members were also in attendance. I had scheduled a workshop for the same night as our guild chose to get together for dinner. I took Victoria Findlay Wolf’s 15 Minutes of Play on Thursday night so our guild dinner was not an option for me. I know that many of our guild members are quite active in the virtual realm, and I assumed that many of them would have dinners scheduled with virtual acquaintances for other nights, so I was planning to be independent throughout QuiltCon if necessary. Independence during the day is easy, but once the day is over you kind of want to have dinner with someone, and a bit of conversation. Luckily I was able to have dinner with someone from the guild every night except the night I had the class. I also found out that many of the guild members were meeting on the other side of the river for breakfast at 9:30 AM before coming over to the convention center on the ferry. Some were even going over by ferry to join in for breakfast even though they were located at the Westin right next to the convention center requiring them to take the ferry back and forth before beginning their day at QuiltCon. Two years from now in Tennessee I will hope that people will want to meet for breakfast, and I will not schedule 9:00 AM lectures.

The photo above shows the view from the ferry. It was very easy to use the ferry and it was free. I selected a room at the Westin to avoid the need to use the ferry though I ended up using it in the evening to meet people for dinner. There were many times during the day when I was pleased that I could retire to my room between lectures rather than walk the show floor. However, having a room on the other side of the river would not have been the headache that I imagined it would be.
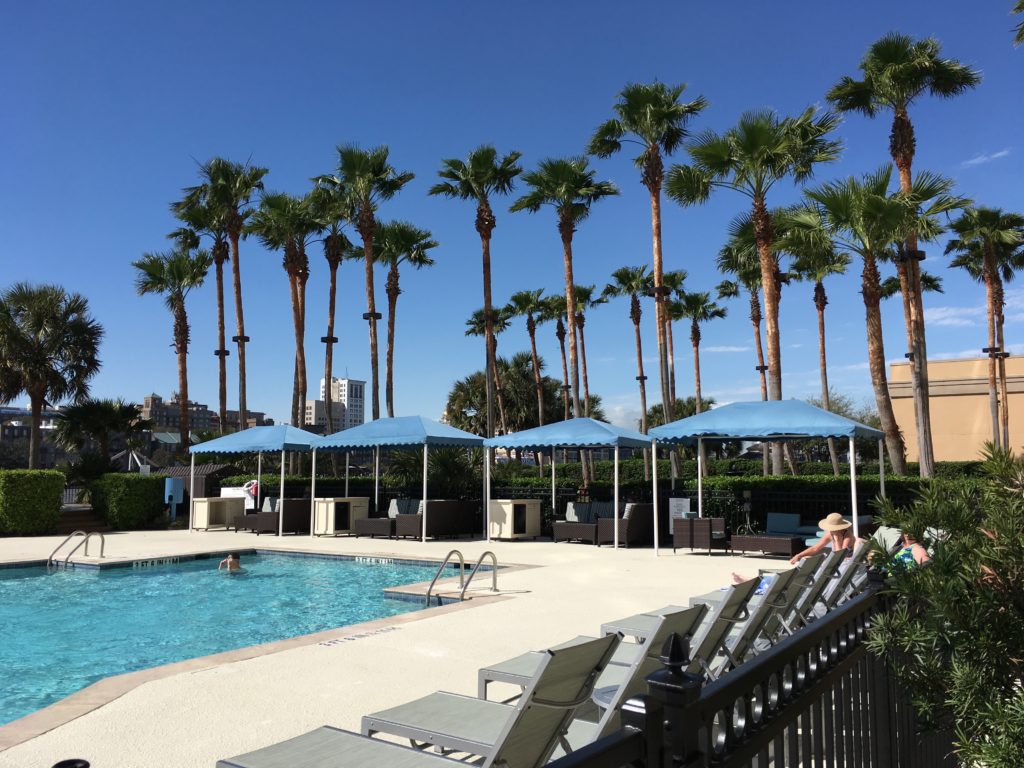
The weather was mostly pleasantly warm, and you could swim in the outdoor heated pool if you wanted to. One of our guild members messaged at 8:00 PM one night that she was swimming in the pool incase anyone wanted to join her. A few of us walked over to see if she was still there later, but she had already left. I had planned to use the pool on Sunday afternoon after the lectures were over, but the temperature had dipped, and I decided against it. If the temperature had remained steady I would be a richer woman today because I took one final expensive walk around the show floor where I made a major purchase.
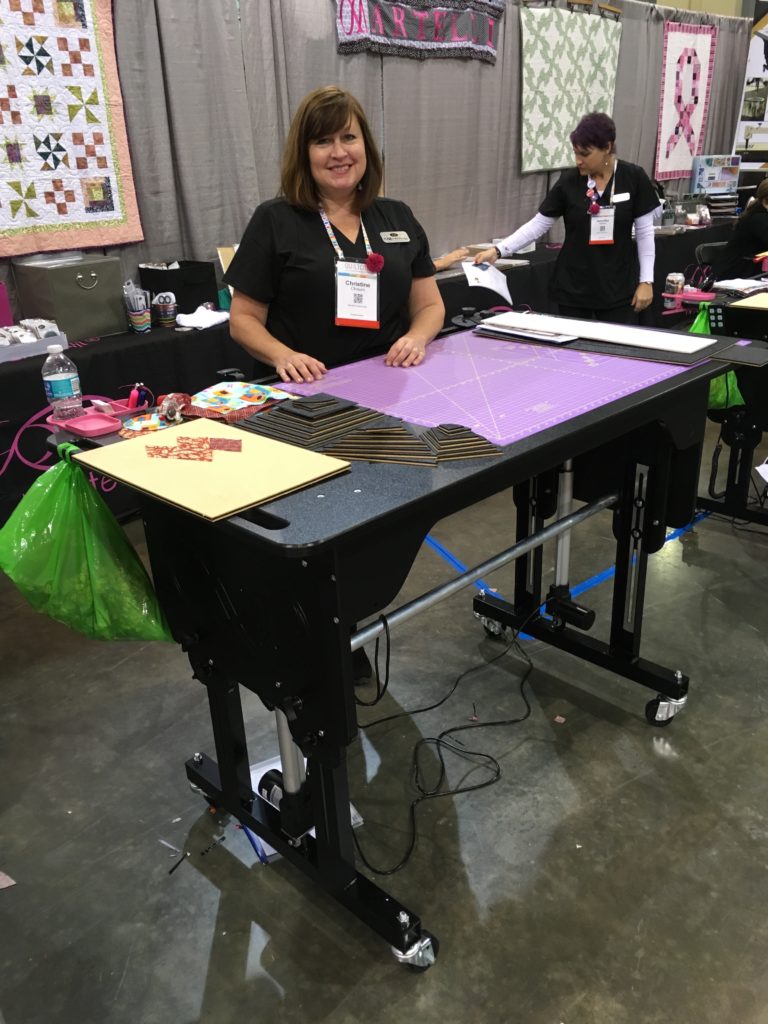
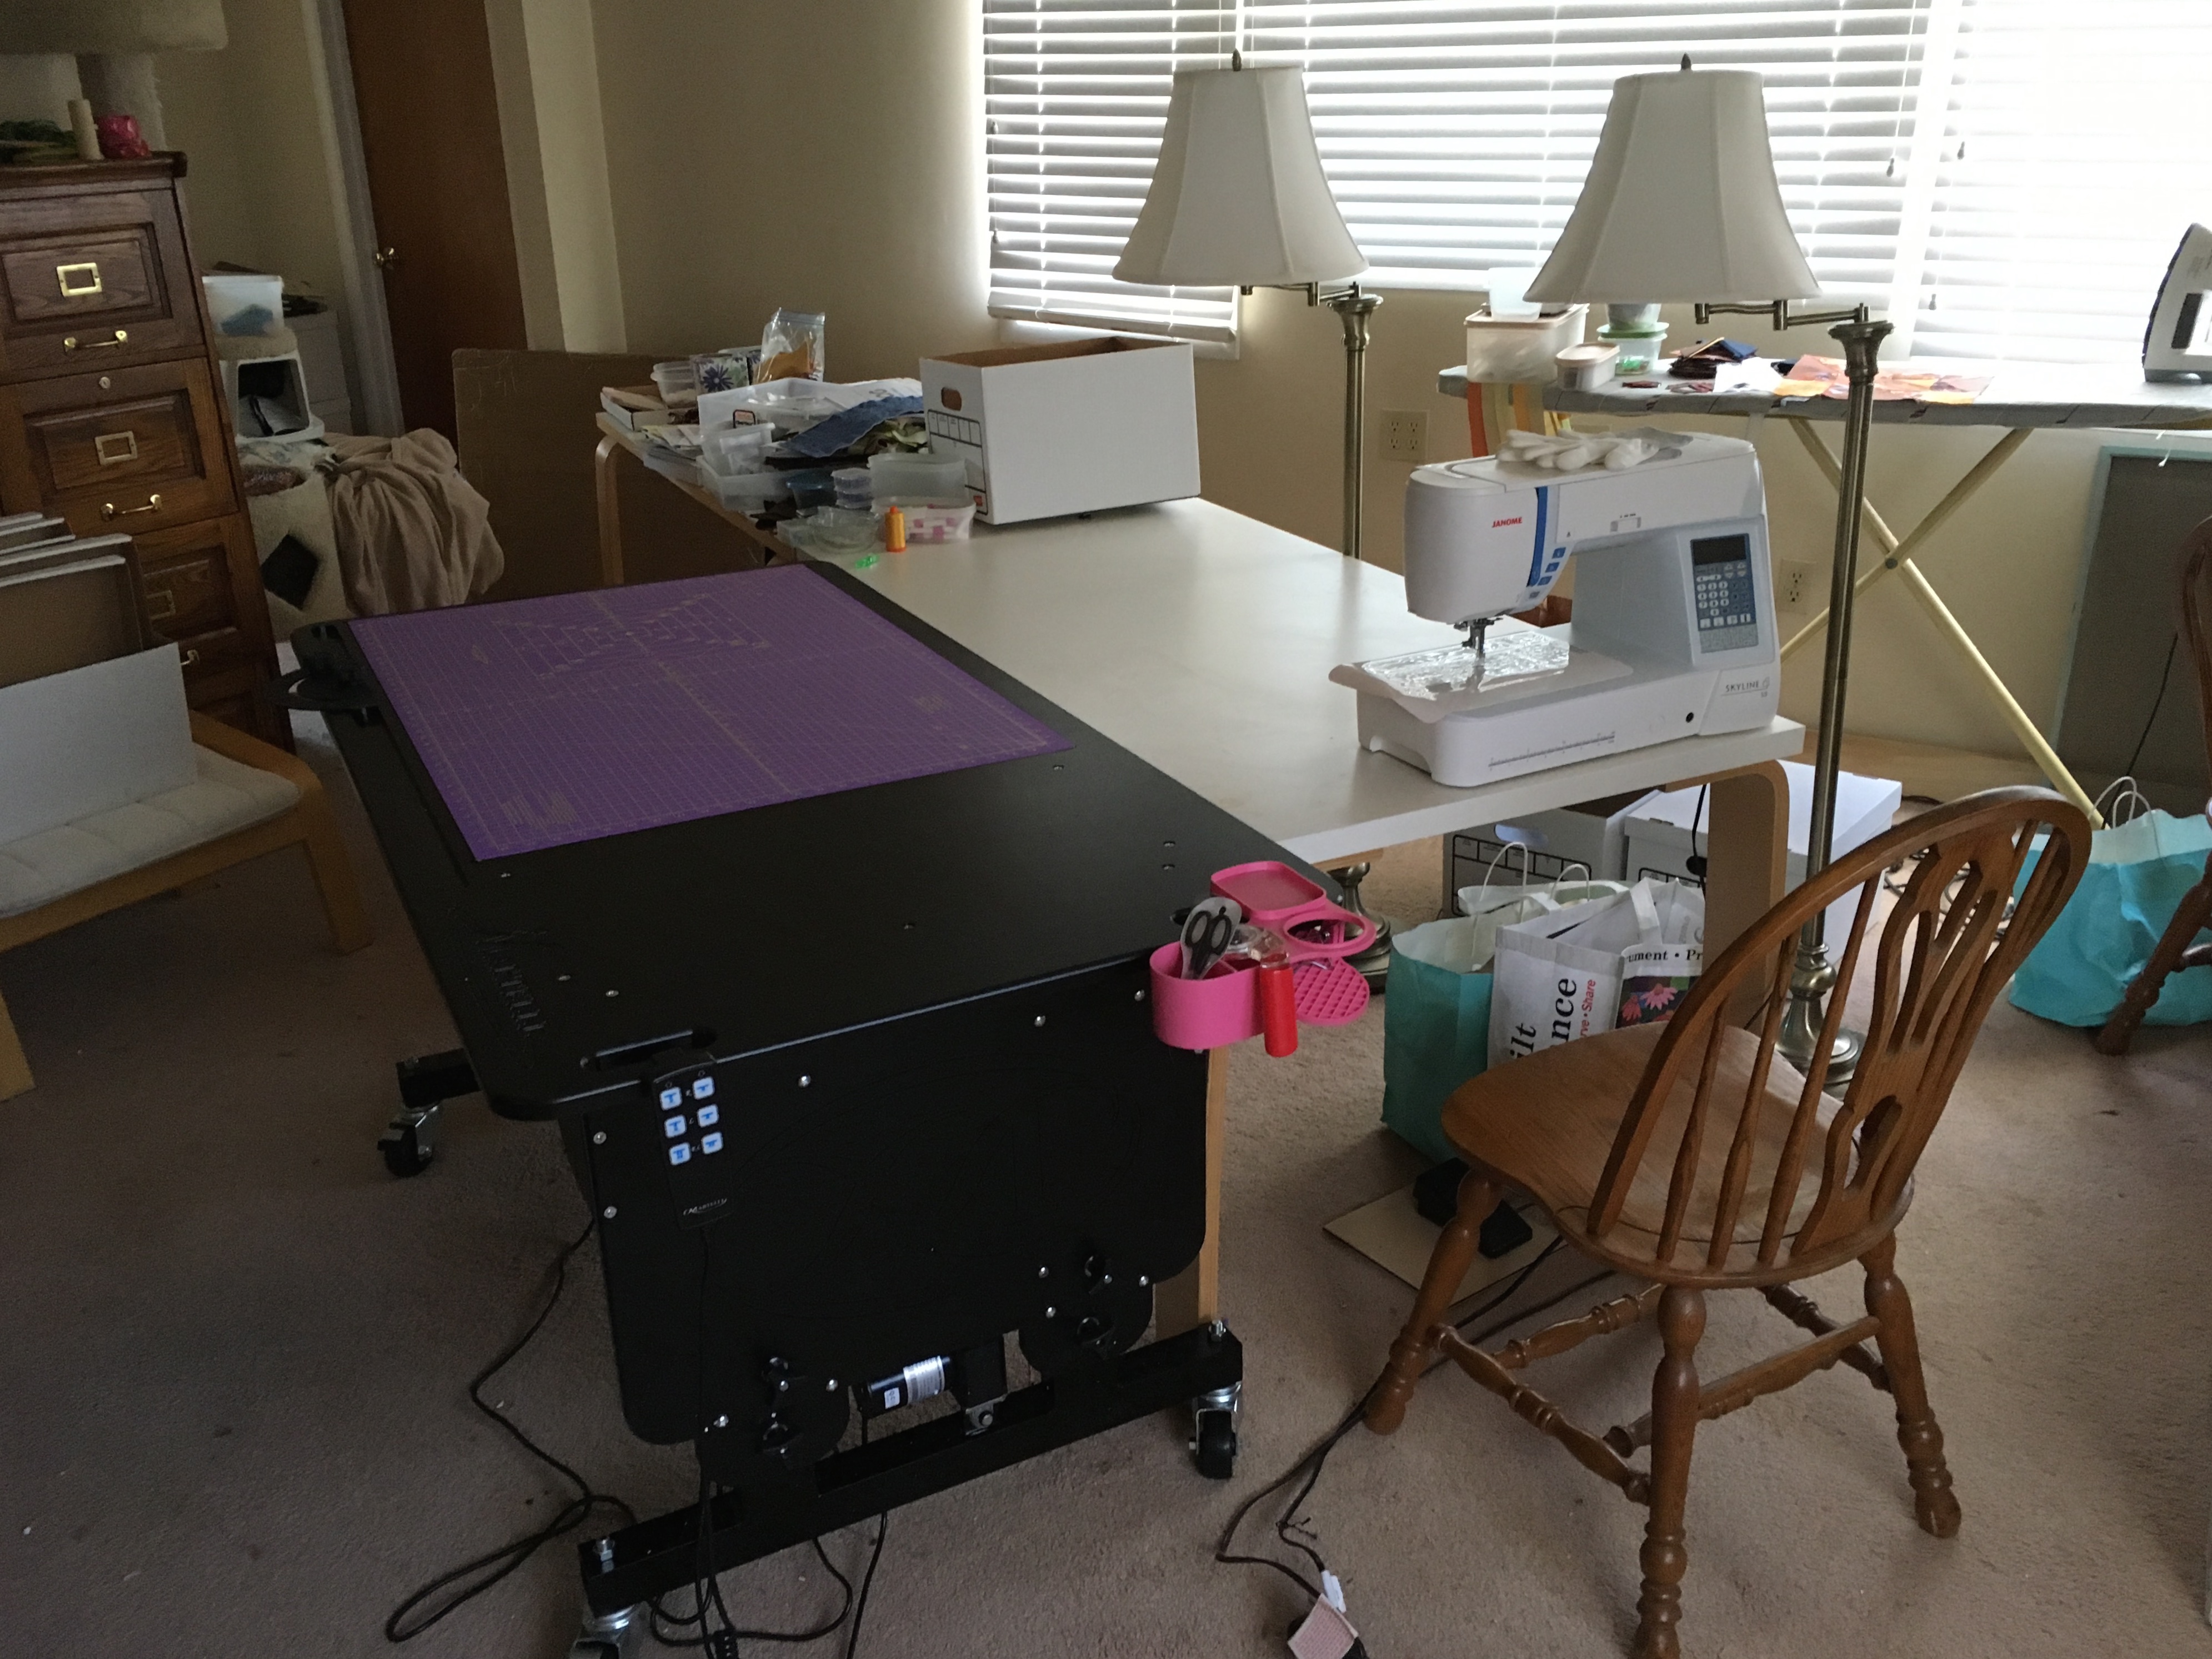
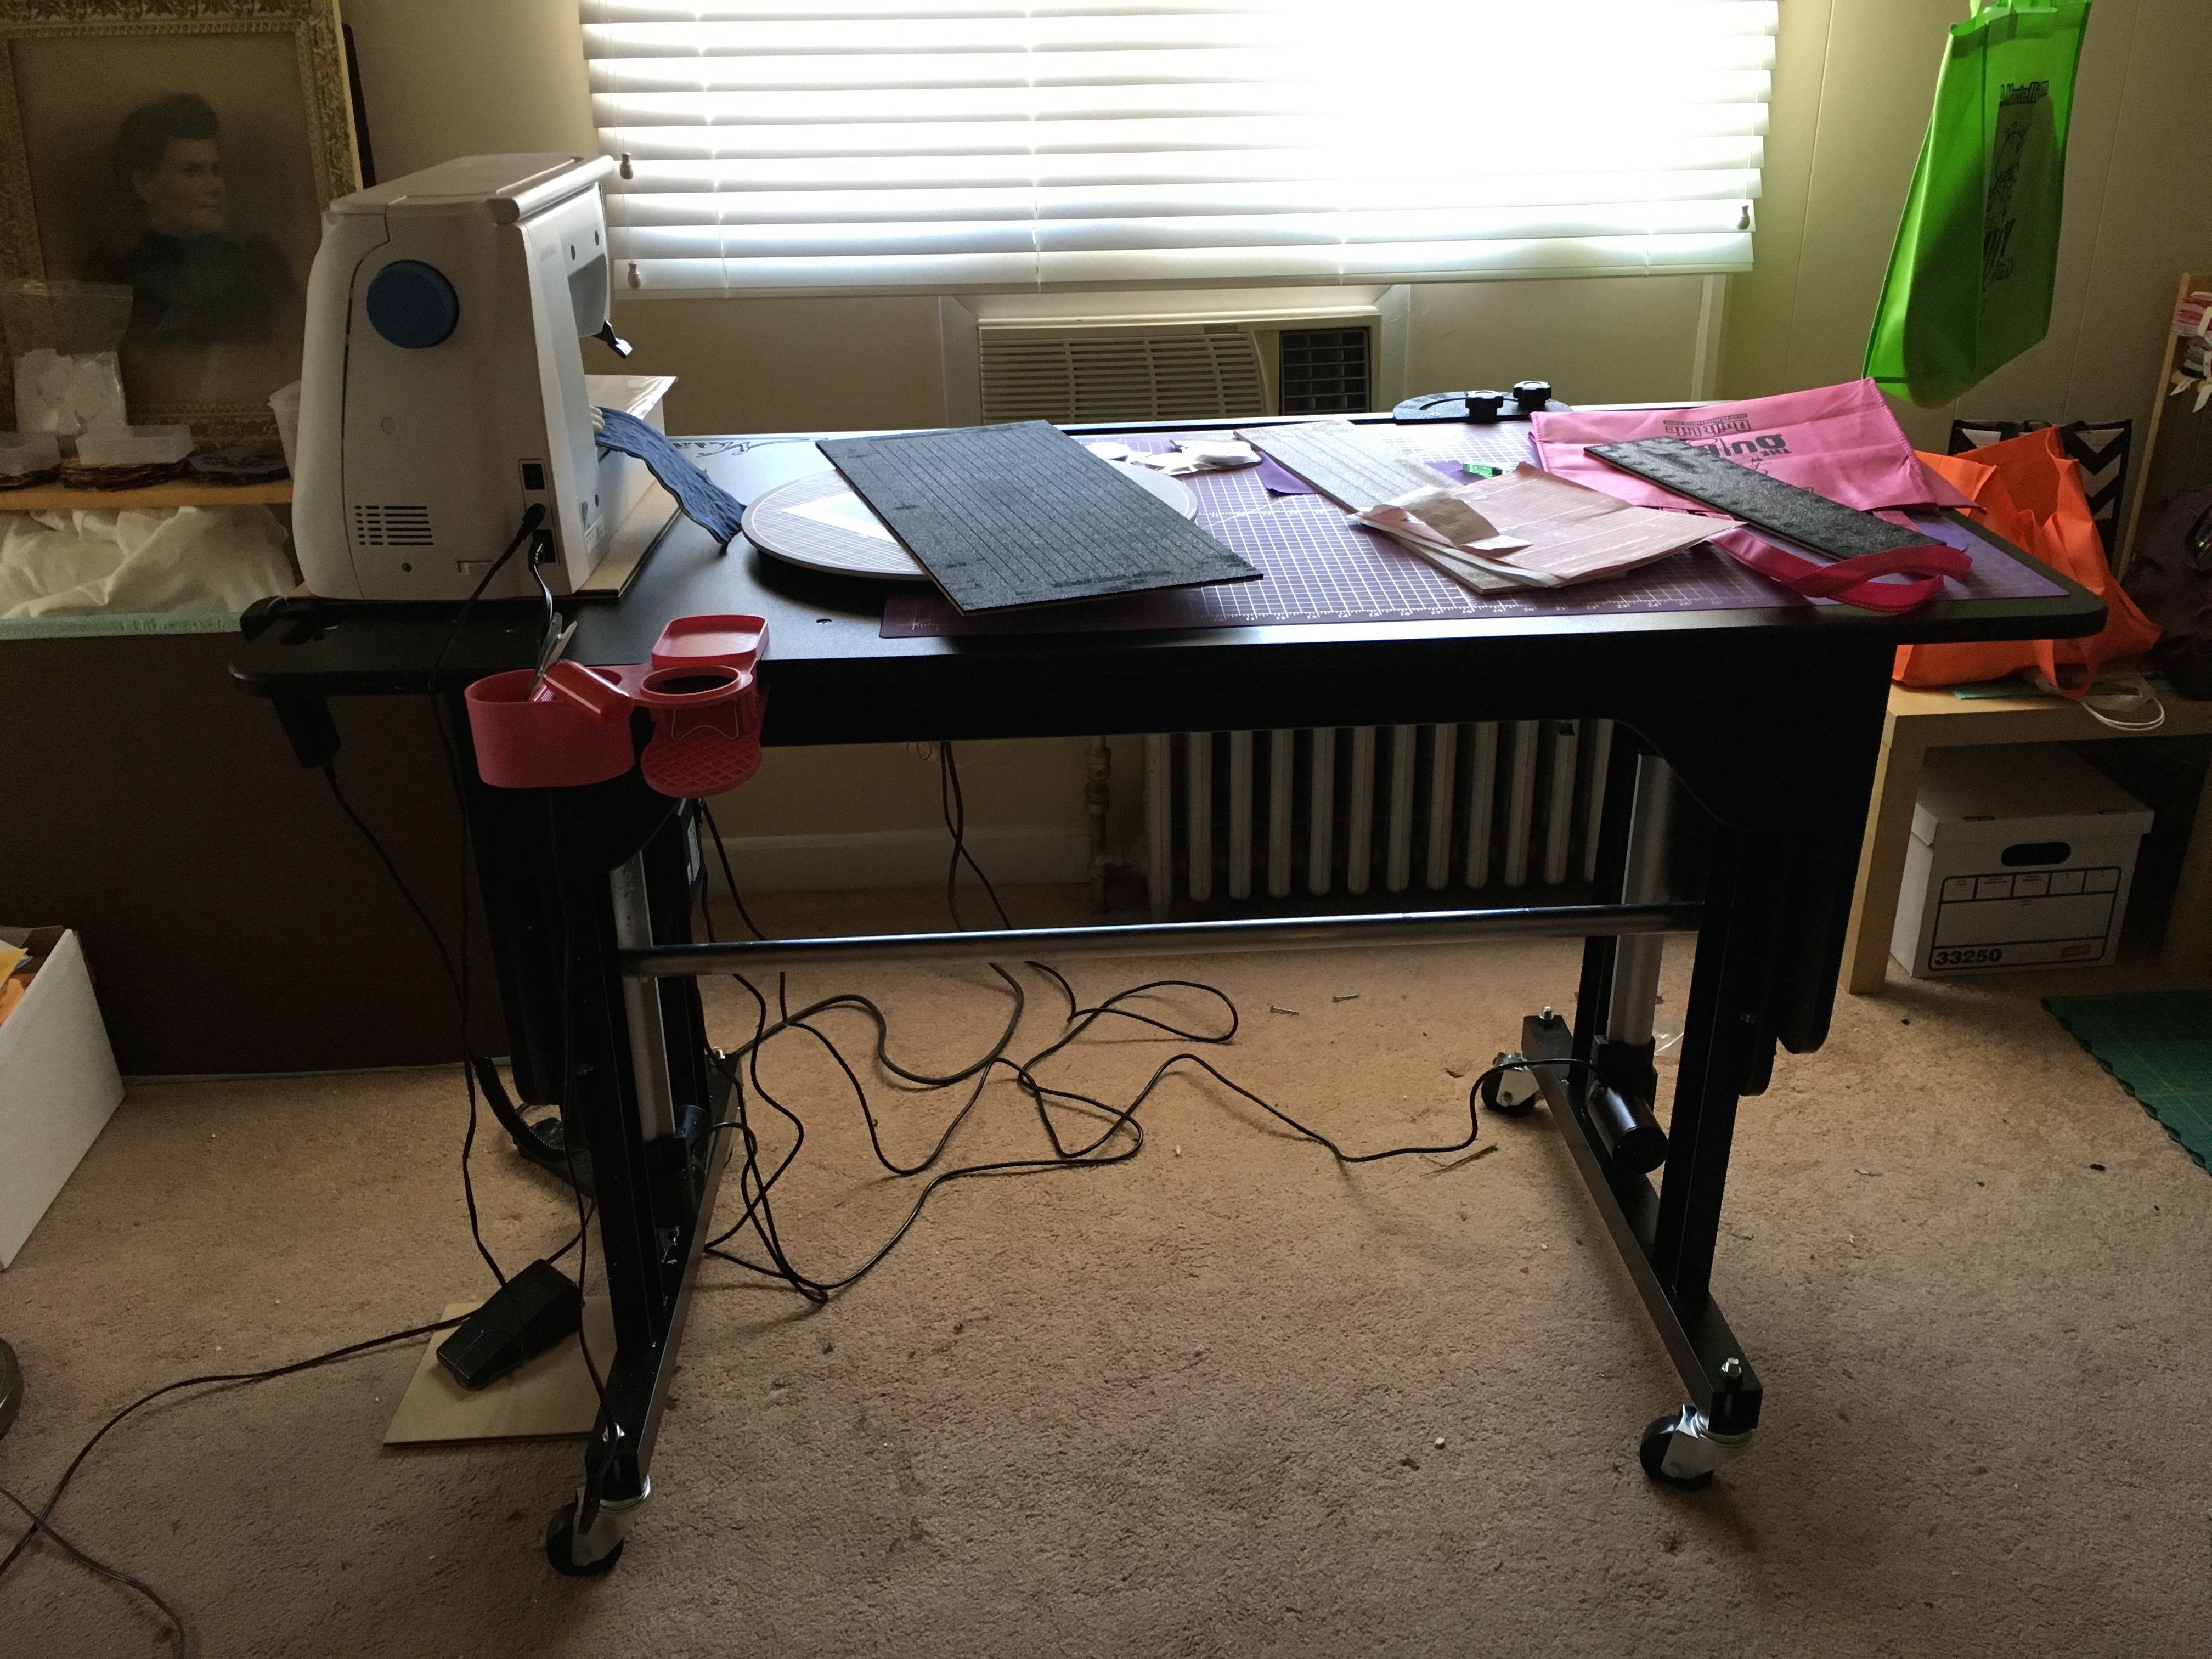
Christine from Martelli stopped me as I passed her booth. She is pictured above. She asked, “Can I show you something that will change your life?” I thought, “Yeah sure”. At the time I didn’t realize that she was going to sell me a table. Although the cutting system was nifty, it was really the table that drew me in. She had me at, “It goes up and down.” I had been planning to purchase an Ikea table to serve as a cutting table in my sewing room. But I am very short waisted and tall, about 75% legs, so normal height counters don’t really serve me well. I can use an extra two or three inches of height on any counter, but you just can’t get that unless you get something custom built. So “up and down” was a very big deal to me. Christine also showed me how the table could be angled so your arm did not have to extend in an uncomfortable fashion to make a long cut across the fabric. Then she showed me how you could put your machine at the end of the table and angle it so the view of your work is more comfortable as you sew on your machine. I had to have the Martelli Advantage Work Station, and I had to have quite a few optional accessories which were available to me at 50% off at the same time as I purchased the table.
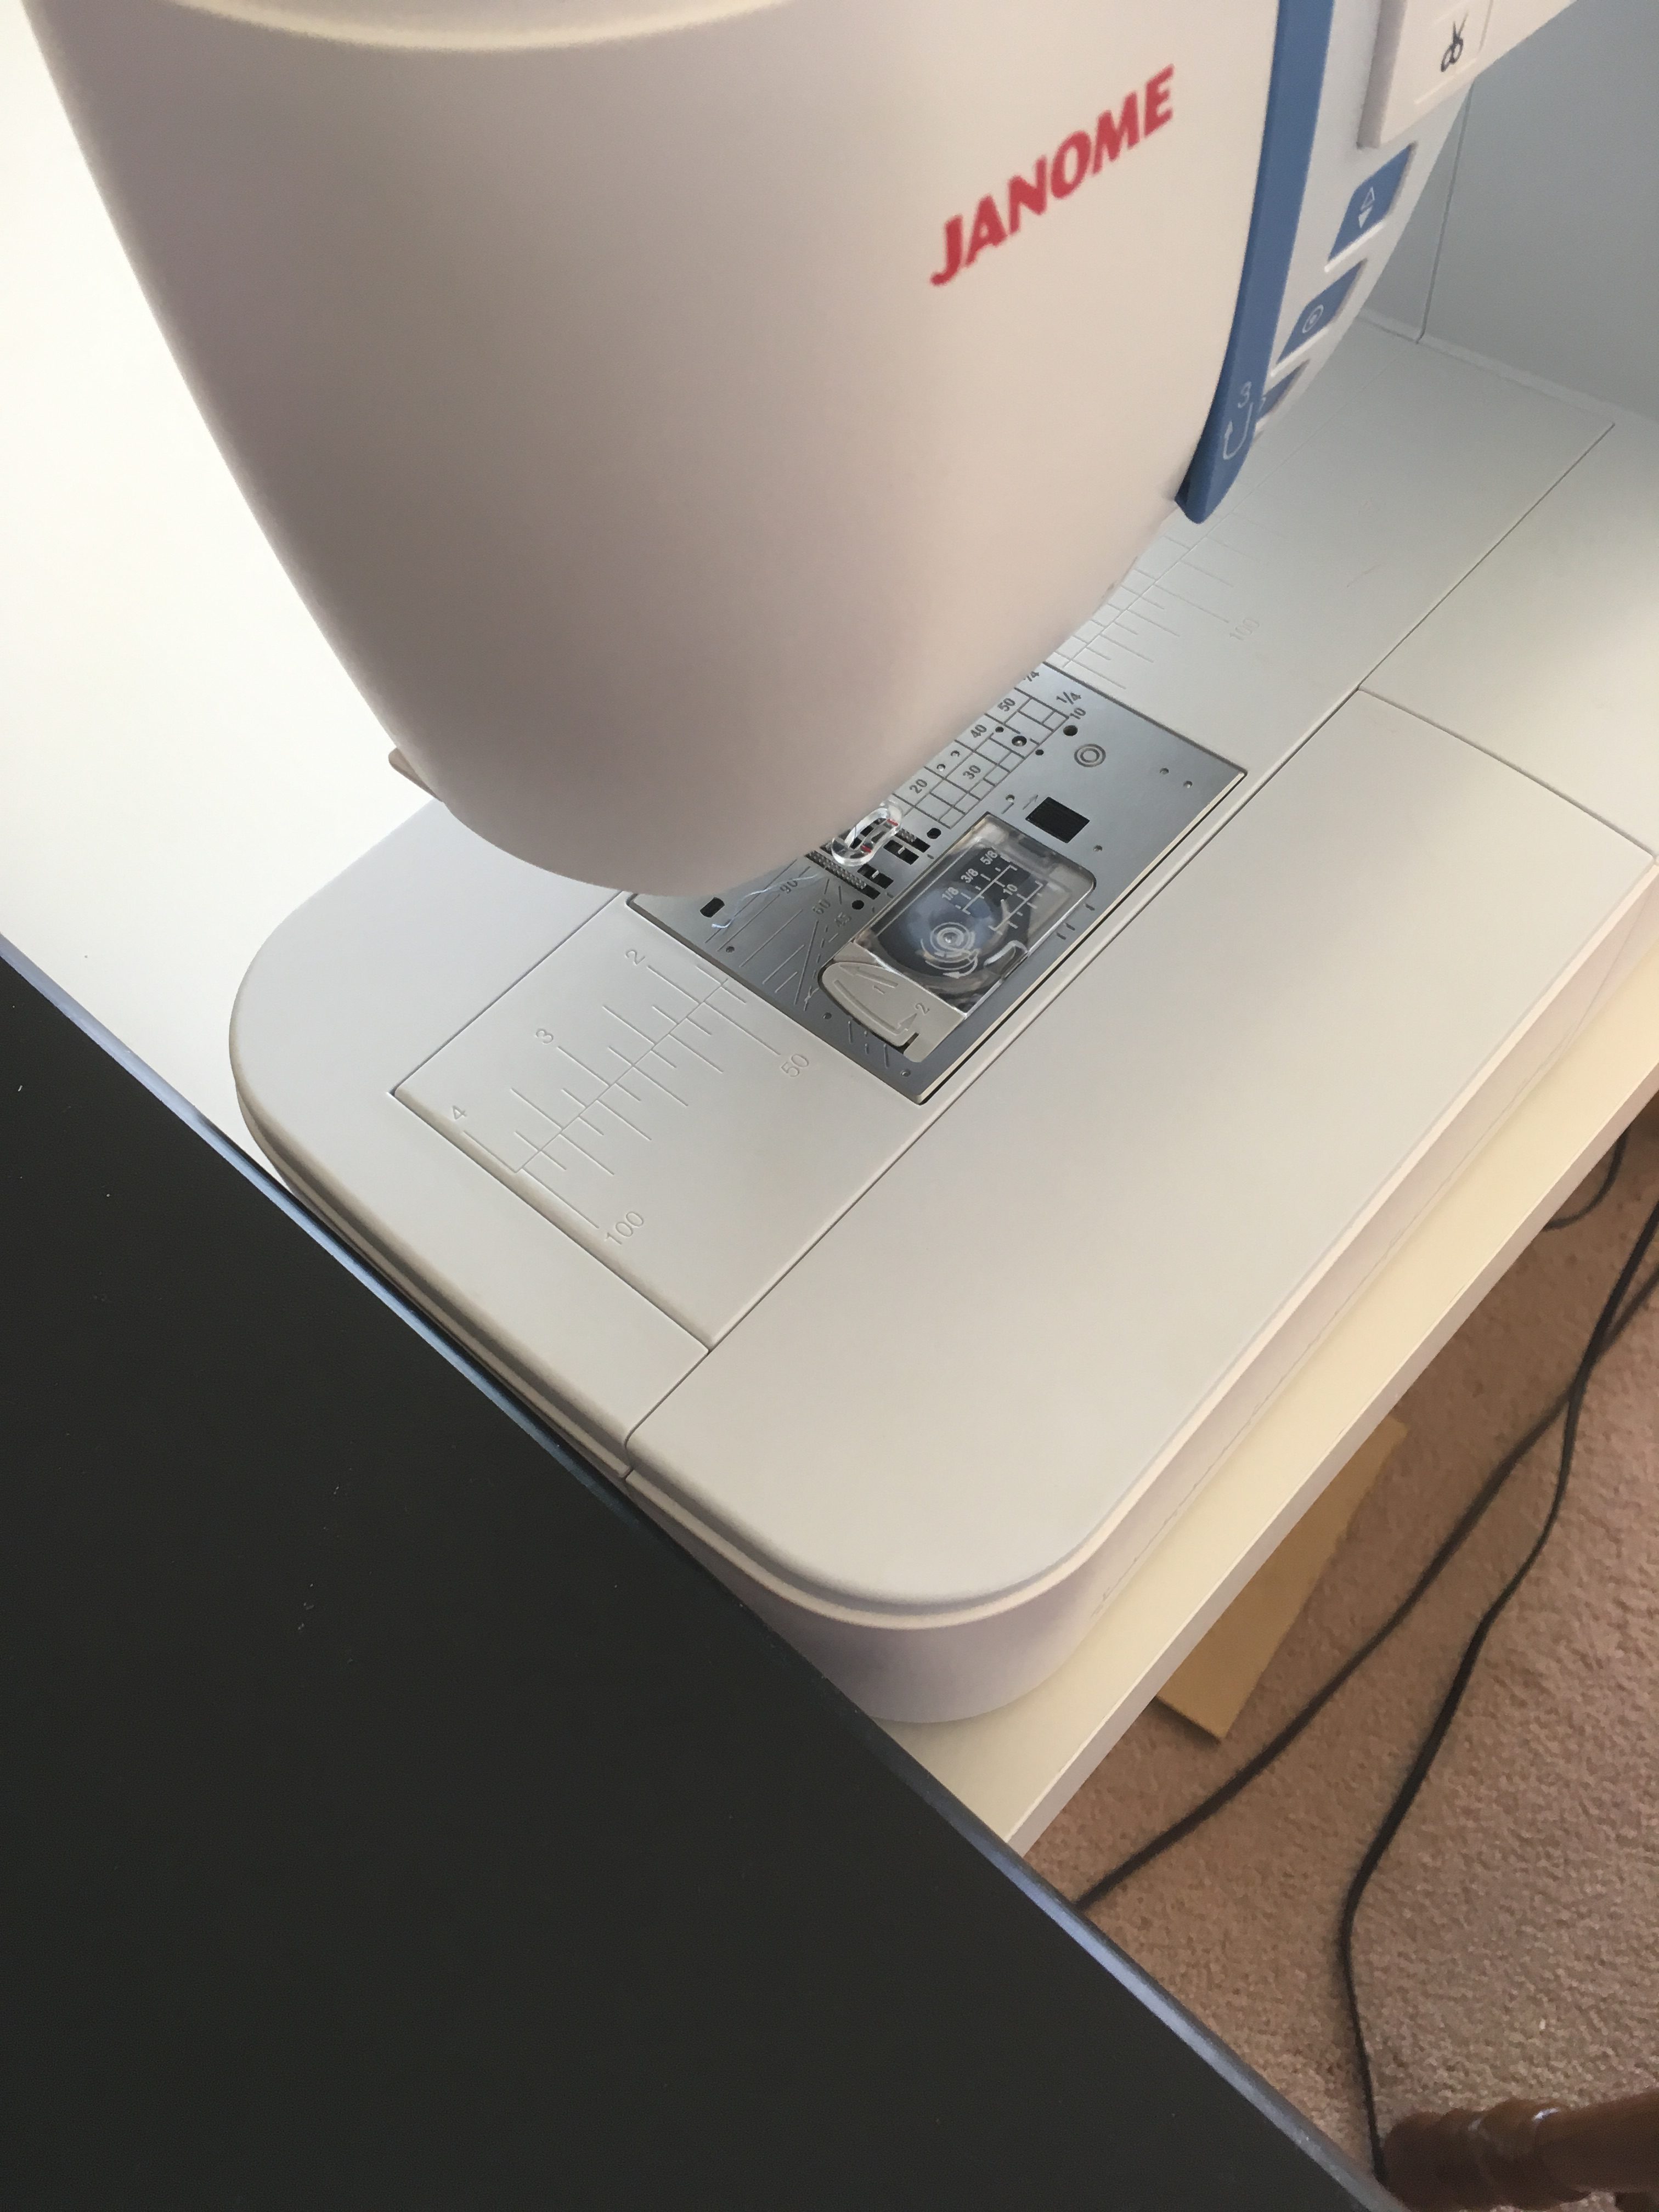
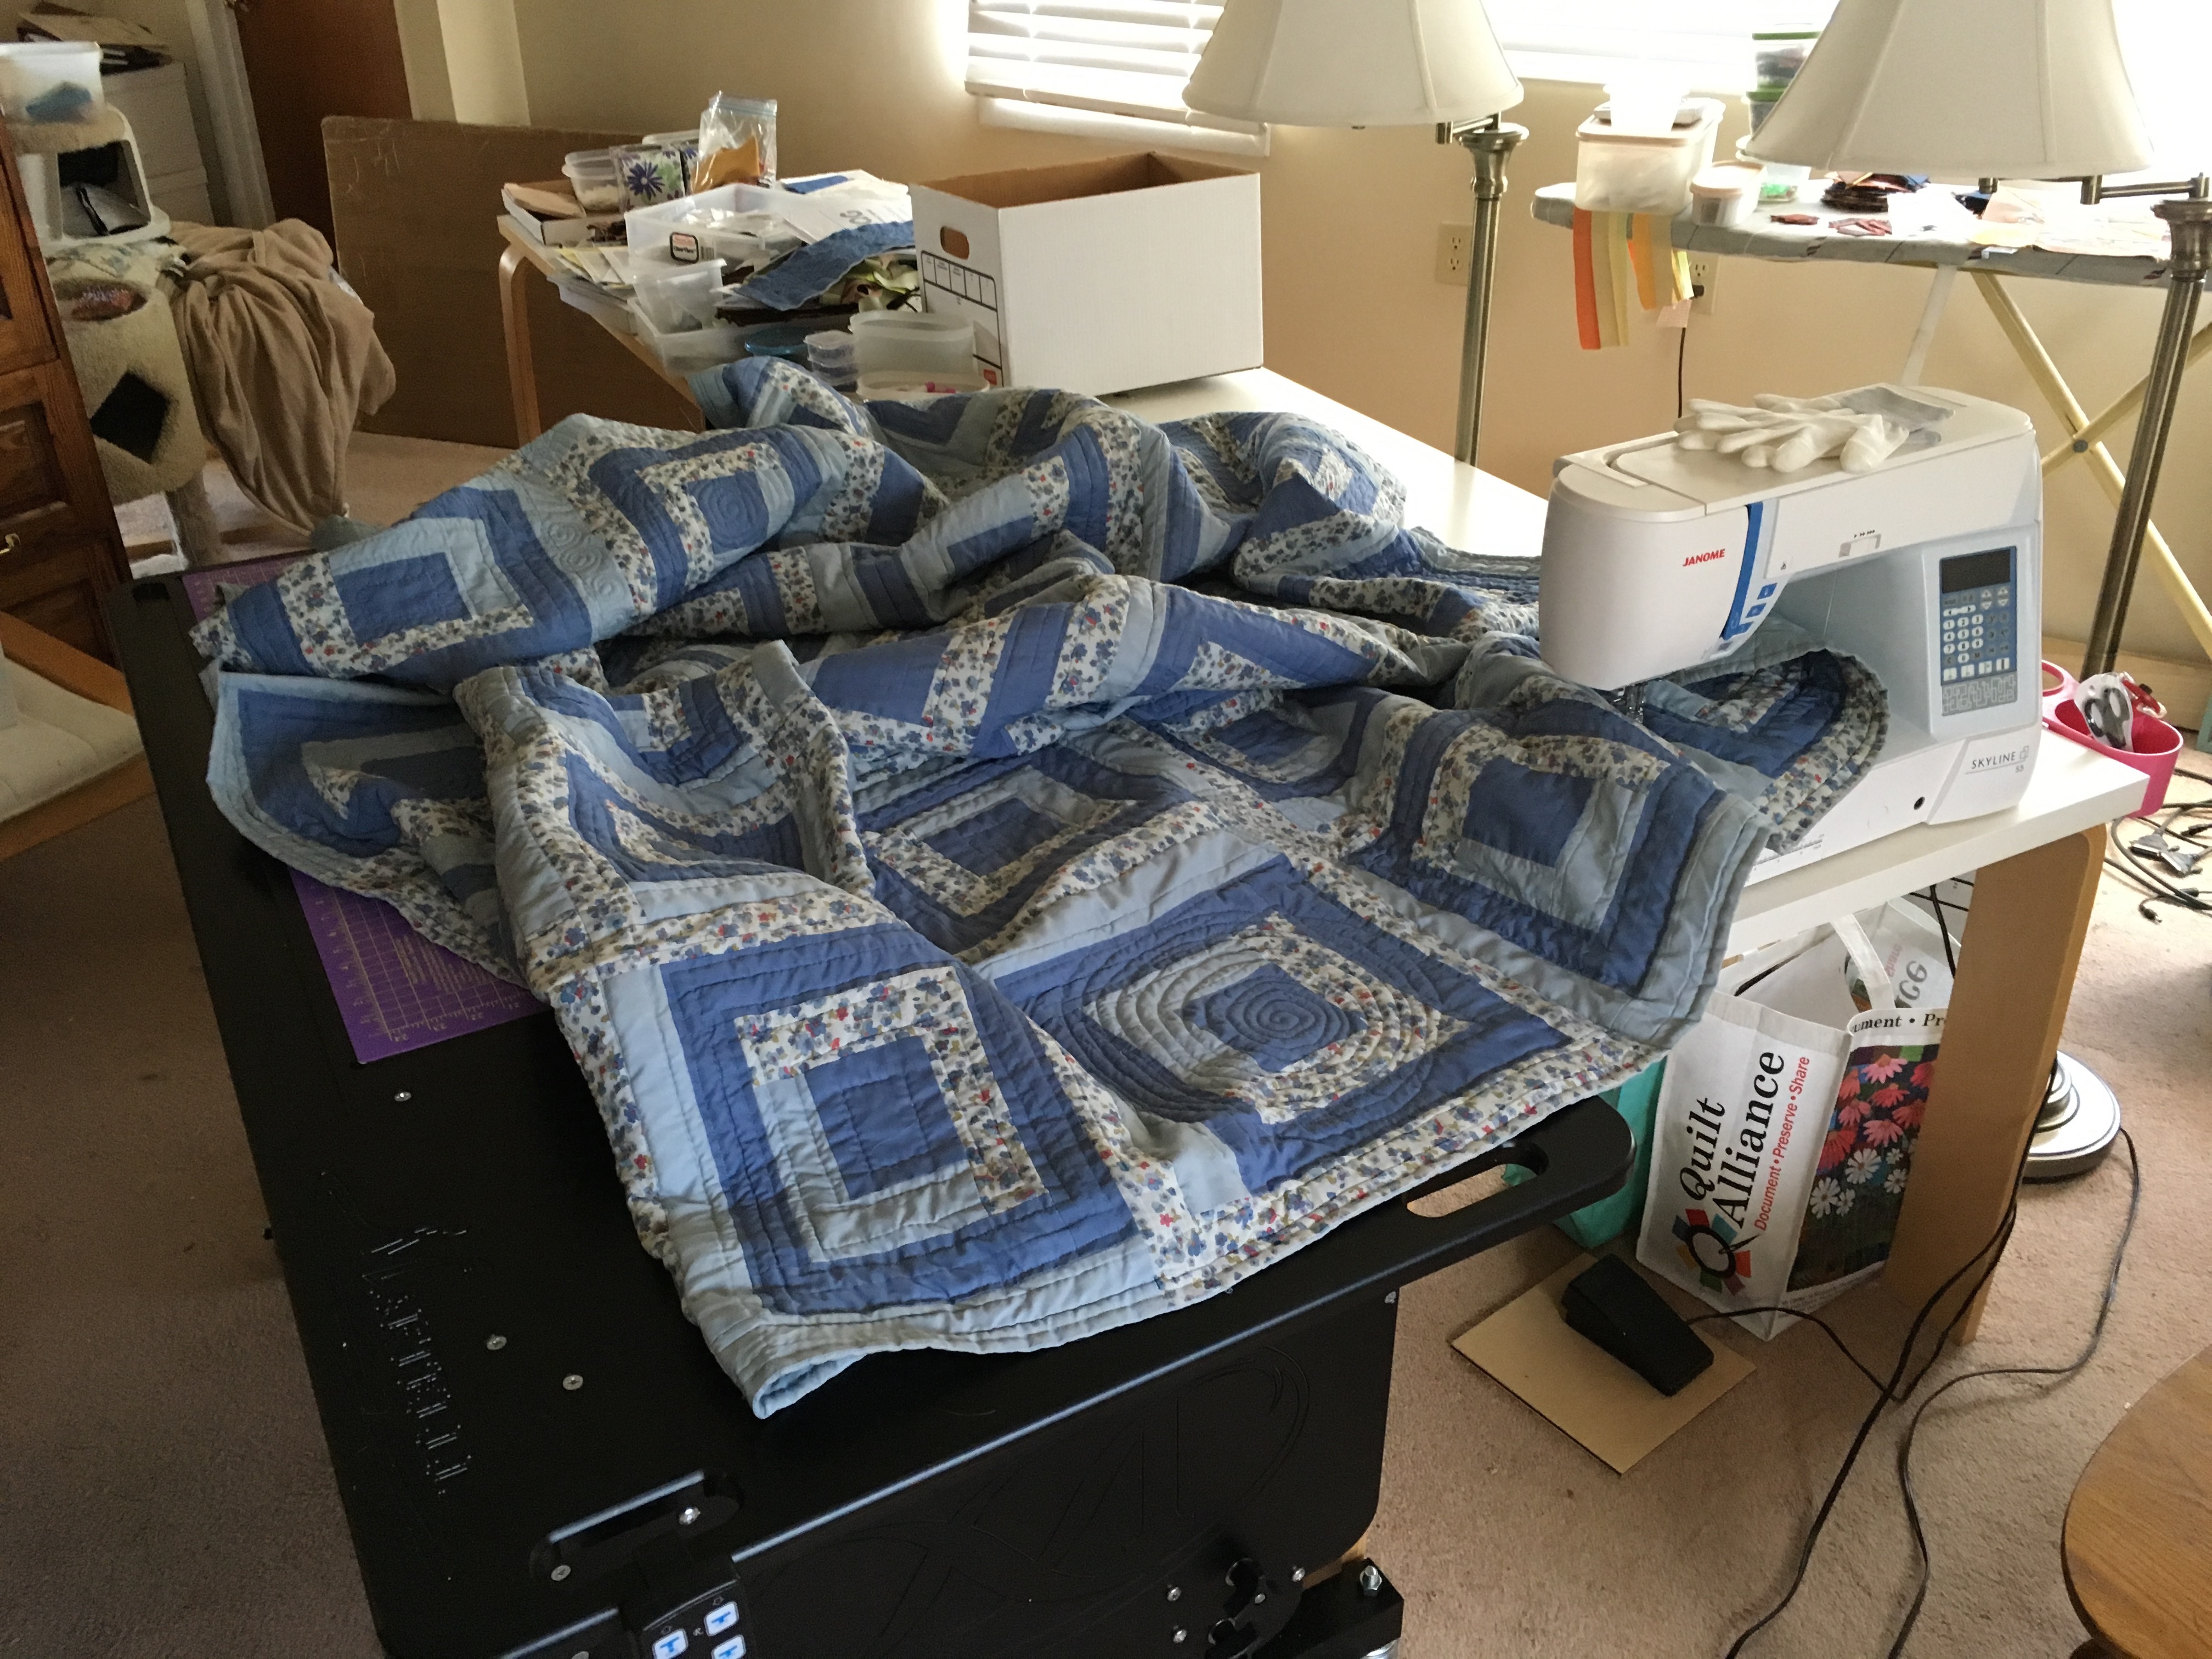
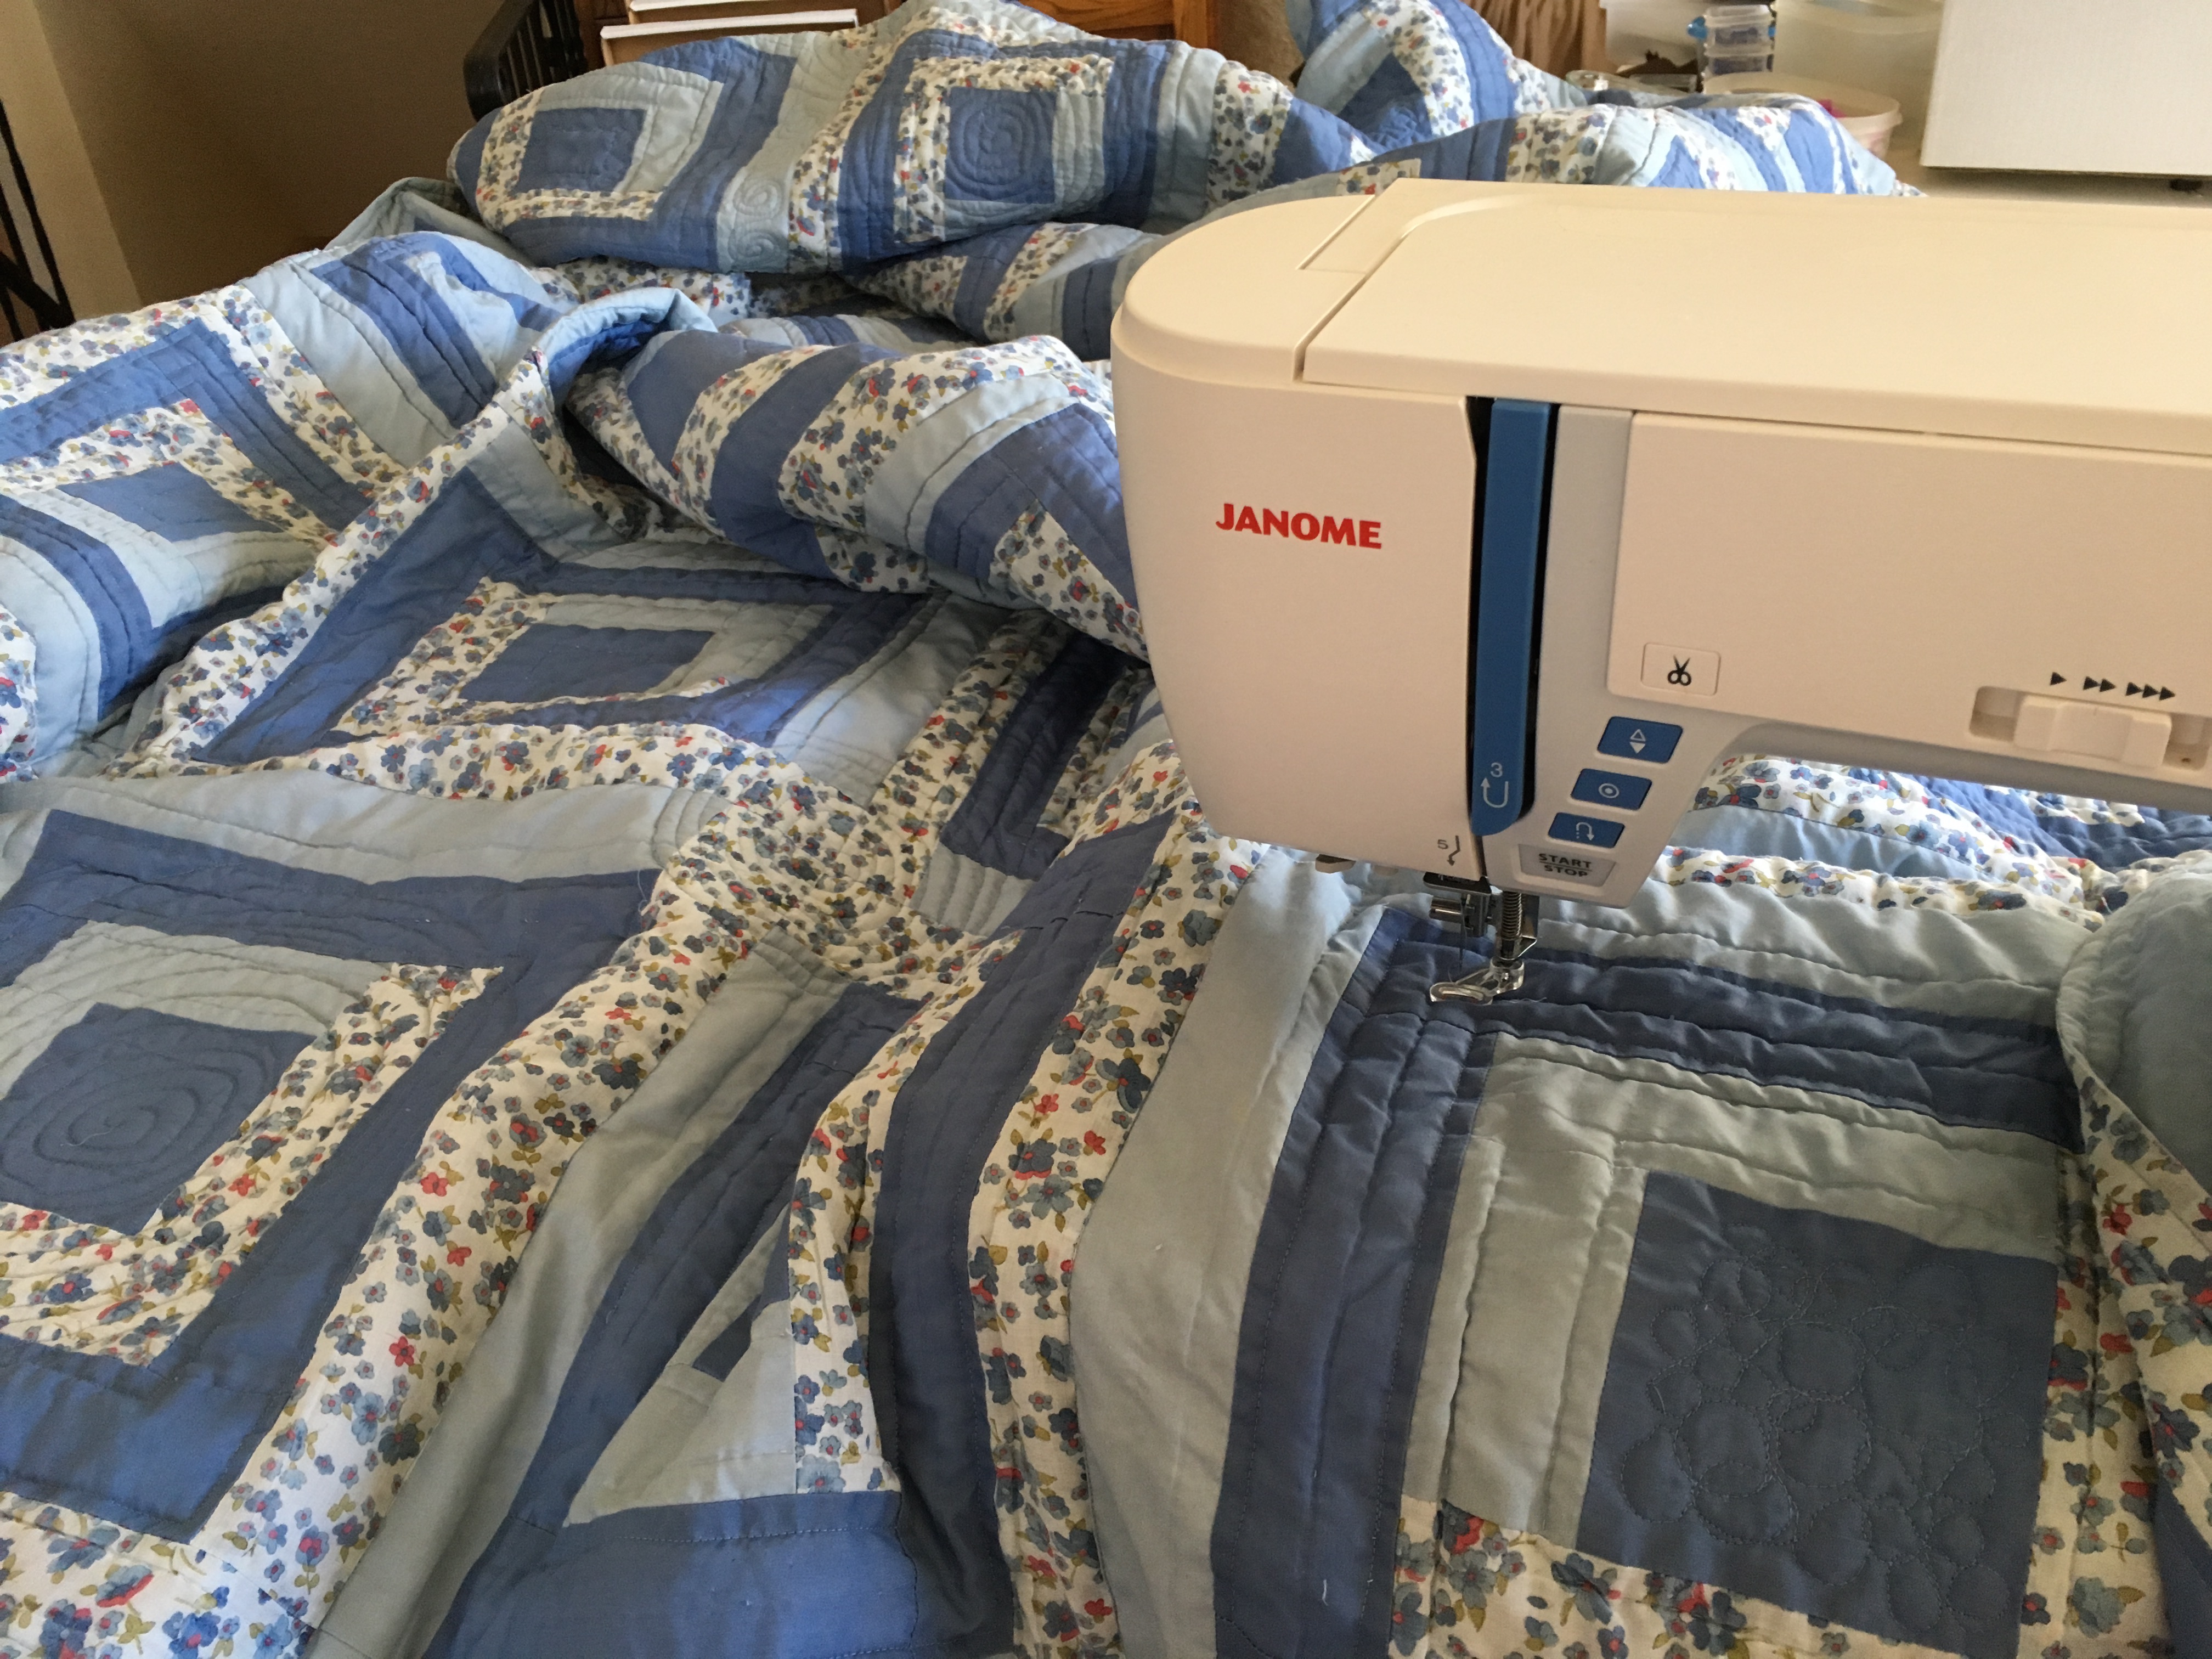
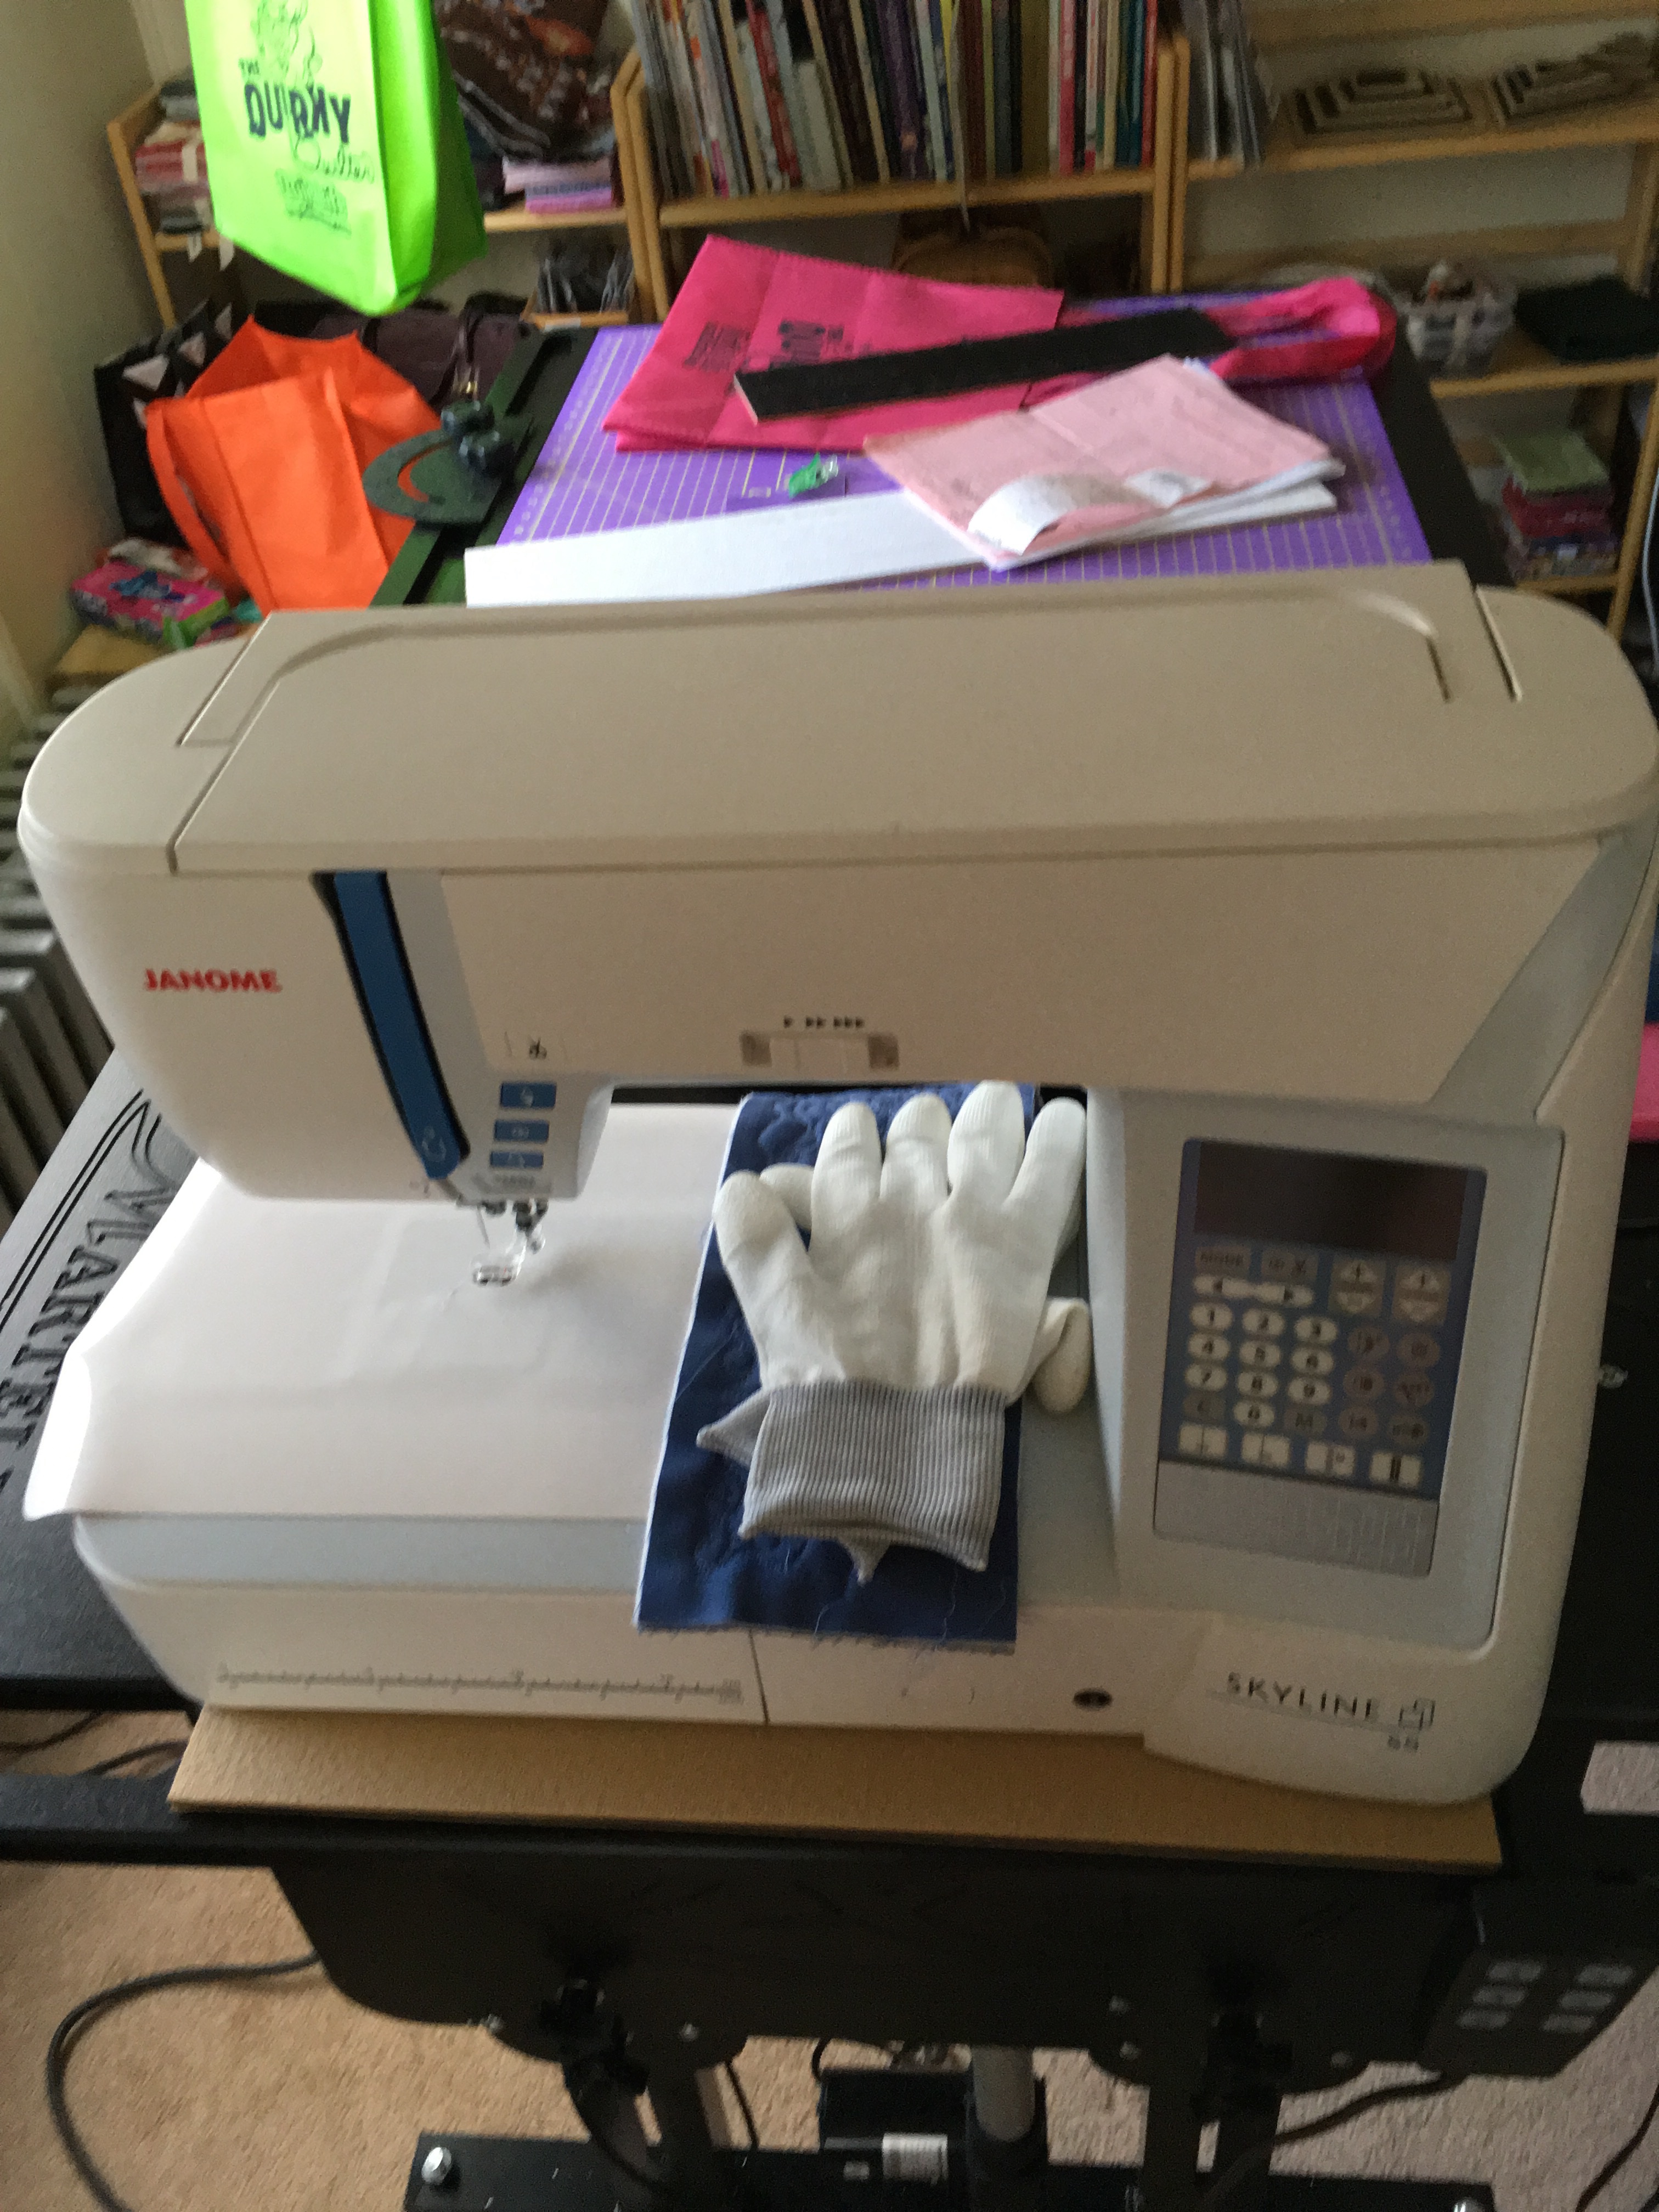
Martelli also has a mid arm machine with a table that raises and lowers for free motion quilting. I didn’t try it, but the idea appeals to me. I like the thought of being able to alternate between sitting and standing to quilt. I did check out quite a few seated mid arms with and without stitch regulators. I spent a great deal of time trying these machines for someone who does not machine quilt even on her domestic machine. Upon returning from QuiltCon I decided to do some machine quilting on my Janome 5S. I took a quilt that I had hand quilted 40 years ago whose stitches were rotting away from loving use. I am currently quilting it again using both my walking foot and my free motion foot on my domestic machine. More about that in a future post.
Next year QuiltCon will be in California, and very few of my fellow guild members are likely to attend, which would make attendance far less fun for me. I do have a plan, however. I’m thinking that I should do just three nights and two days. That will be short enough that I won’t feel lonely even if I don’t have anyone to hang with. I won’t schedule any workshops or lectures. I’ll just enjoy the show floor, document my favorites, and be on my way.
If you are thinking of attending a QuiltCon, stop thinking. Just do it.