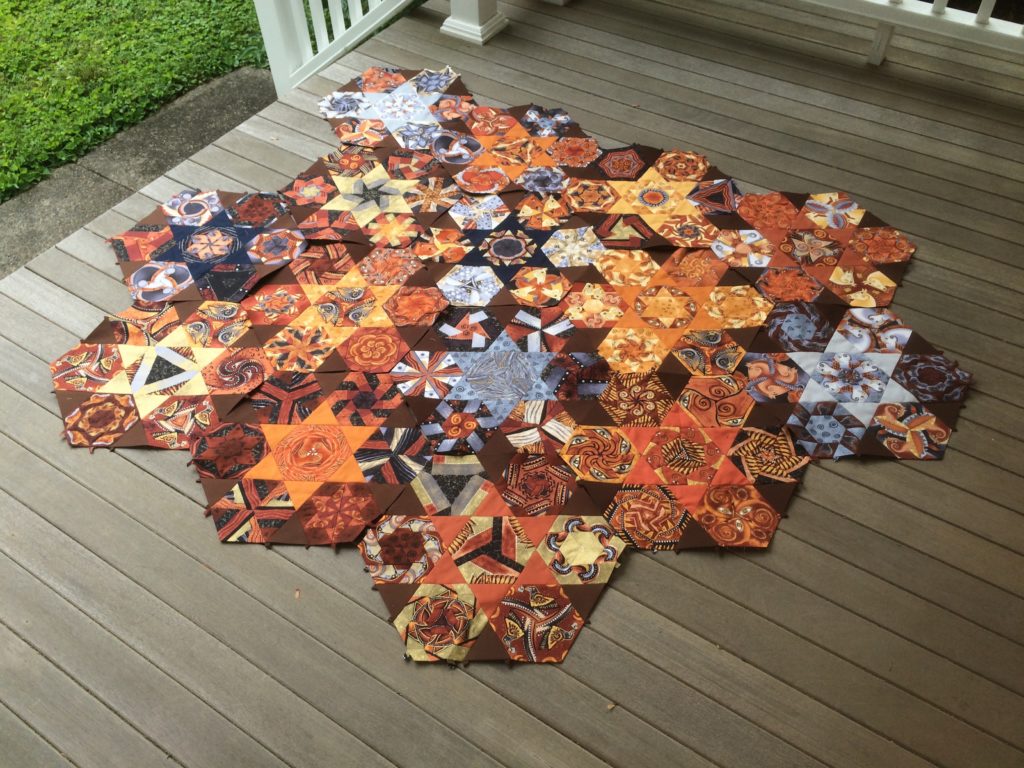
I’ve already committed myself to assembling my three inch Glorious Hexagons into larger nine inch Glorious Hexagons. I’ve shown ten of the large hexagons so far. I can continue to put these units together knowing that they will make a fine quilt some day, but I must eventually decide how to put these larger units together, and how to finish off the edges.
I see three possibilities for assembly.
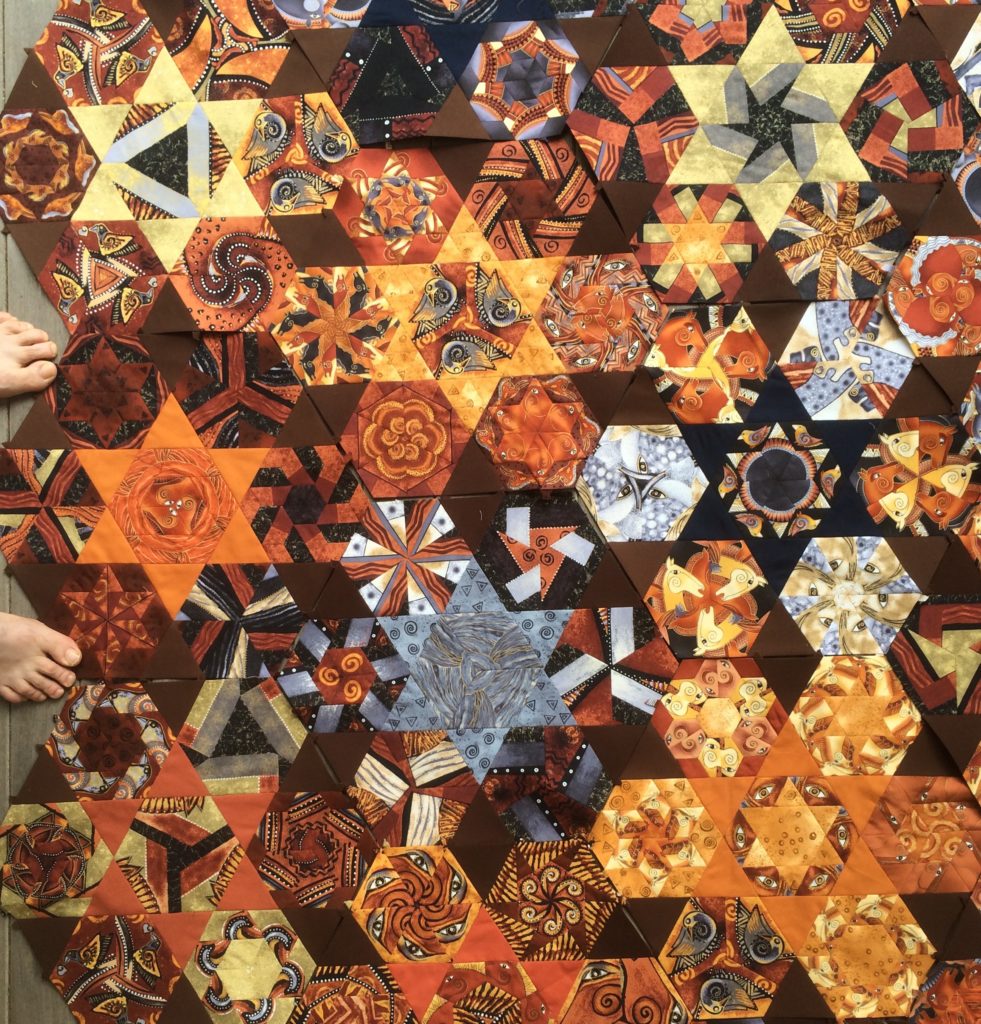
First, I can lay out the large hexagons side by side without any extra shapes. The disadvantage of this is that the individuality of the large hexagon units becomes lost. If I come to regard the large hexagon units as a convenient means of breaking down the work of assembly rather than individual design elements I can accept that result. The real advantage of the layout is that the design takes on a random jewel like quality. This makes it much more in keeping with the spirit of the Glorious Hexagons quilt idea than the other two layouts I will present.
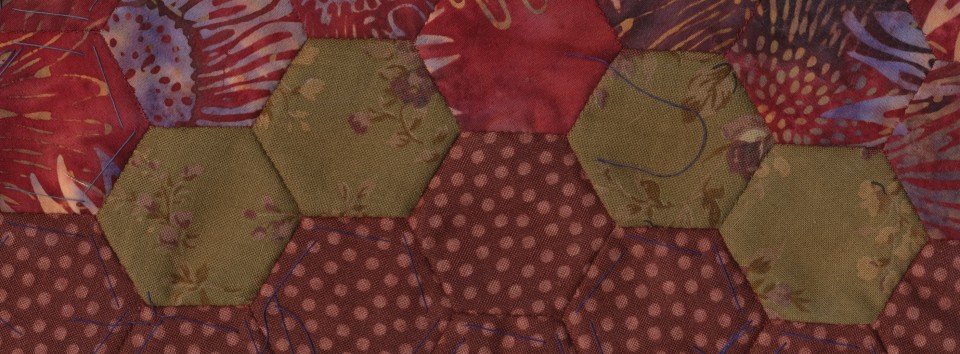
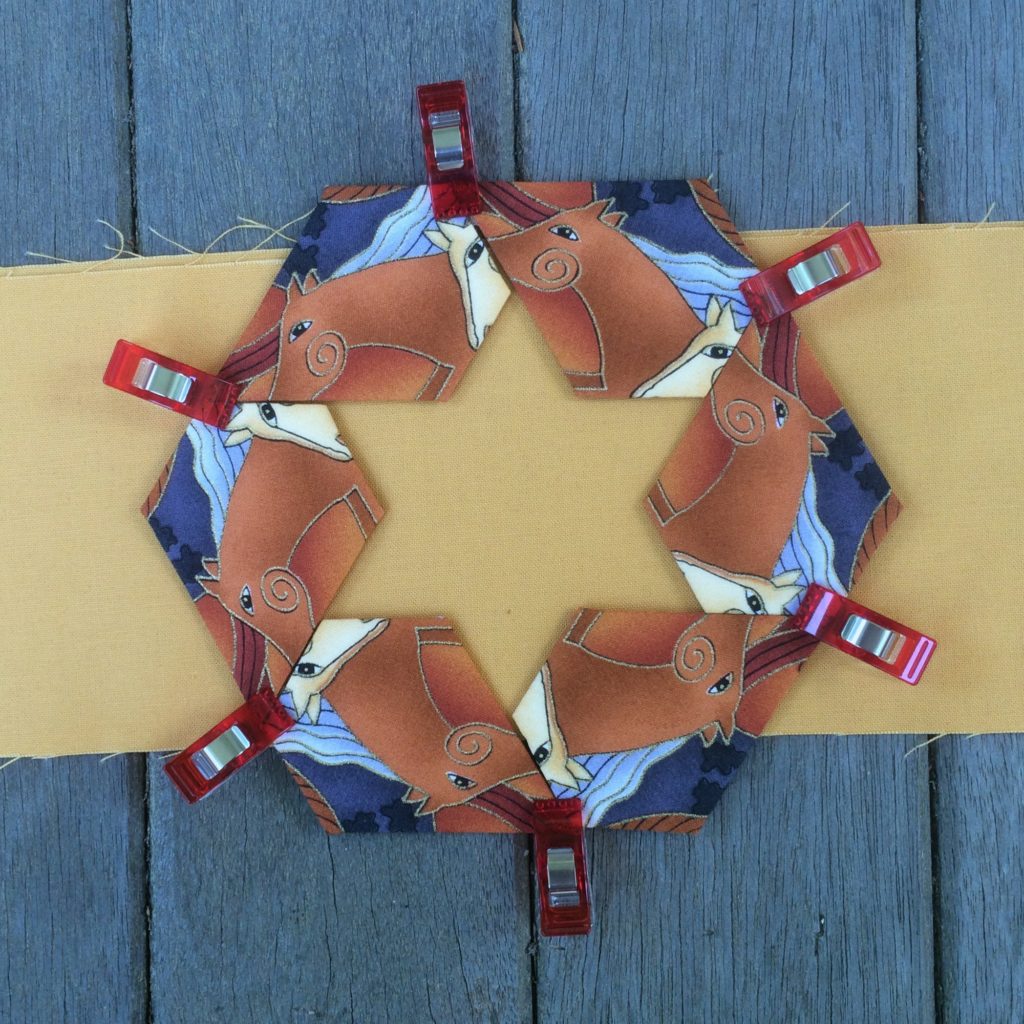
A closeup of the first layout idea shows that new elements emerge where the edges of the large hexagons come together. Chocolate diamonds come forth. In addition to that medium sized (six inch) hexagons are formed. Those medium sized hexagons are composed of three small hexagons and three Chocolate diamonds. The design is essentially composed of three inch, six inch, and nine inch hexagons. The nine inch hexagons, however, become virtually lost in this layout.
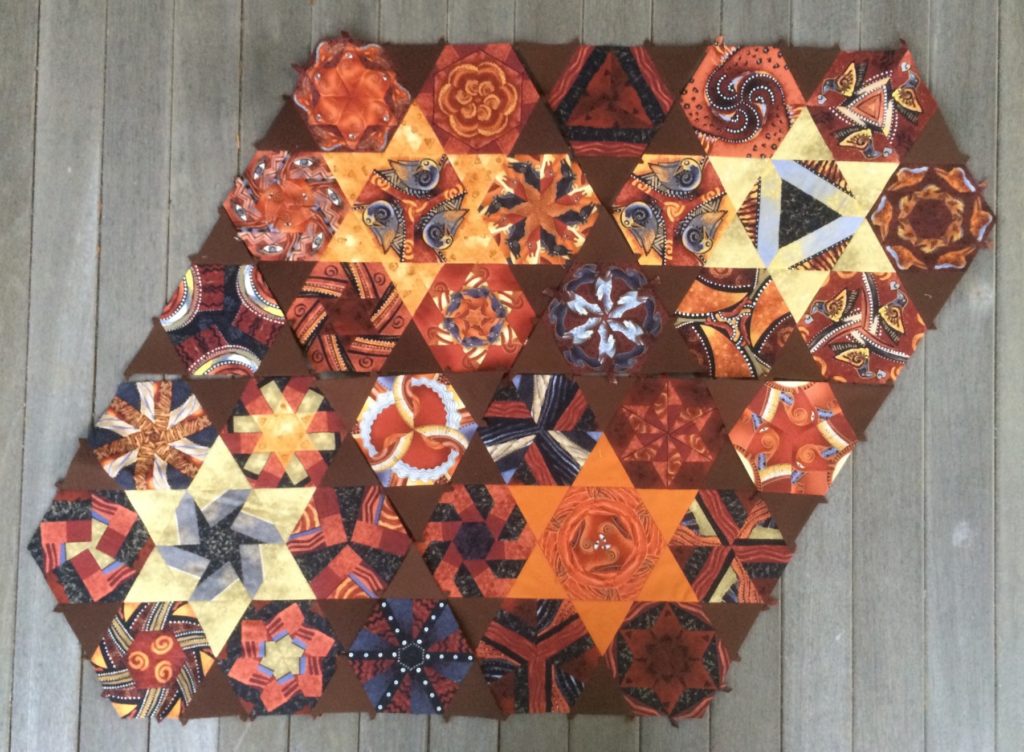
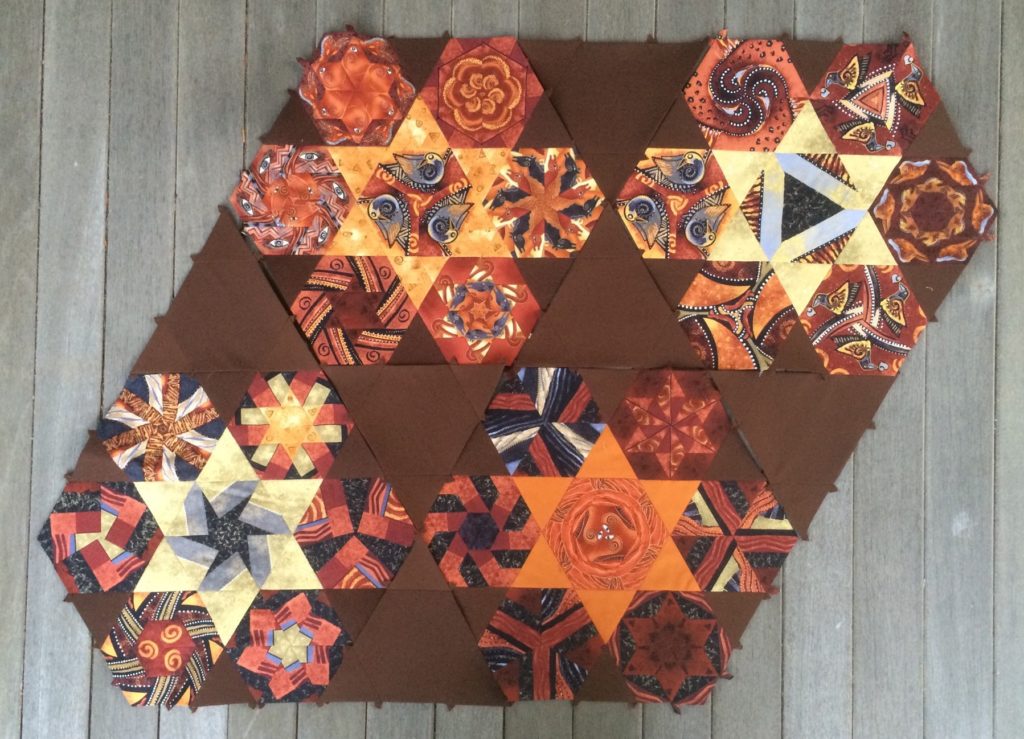
The second assembly method involves the use of large triangles as setting pieces used to assemble the large hexagons into rows. Each triangle is nine inches on each side and is composed of one three inch hexagon and three solid Chocolate triangles. The large hexagons do not become completely lost in this method of assembly, but they do fade away a bit, and perhaps the only reason I can see them is because I worked so hard to put them together.
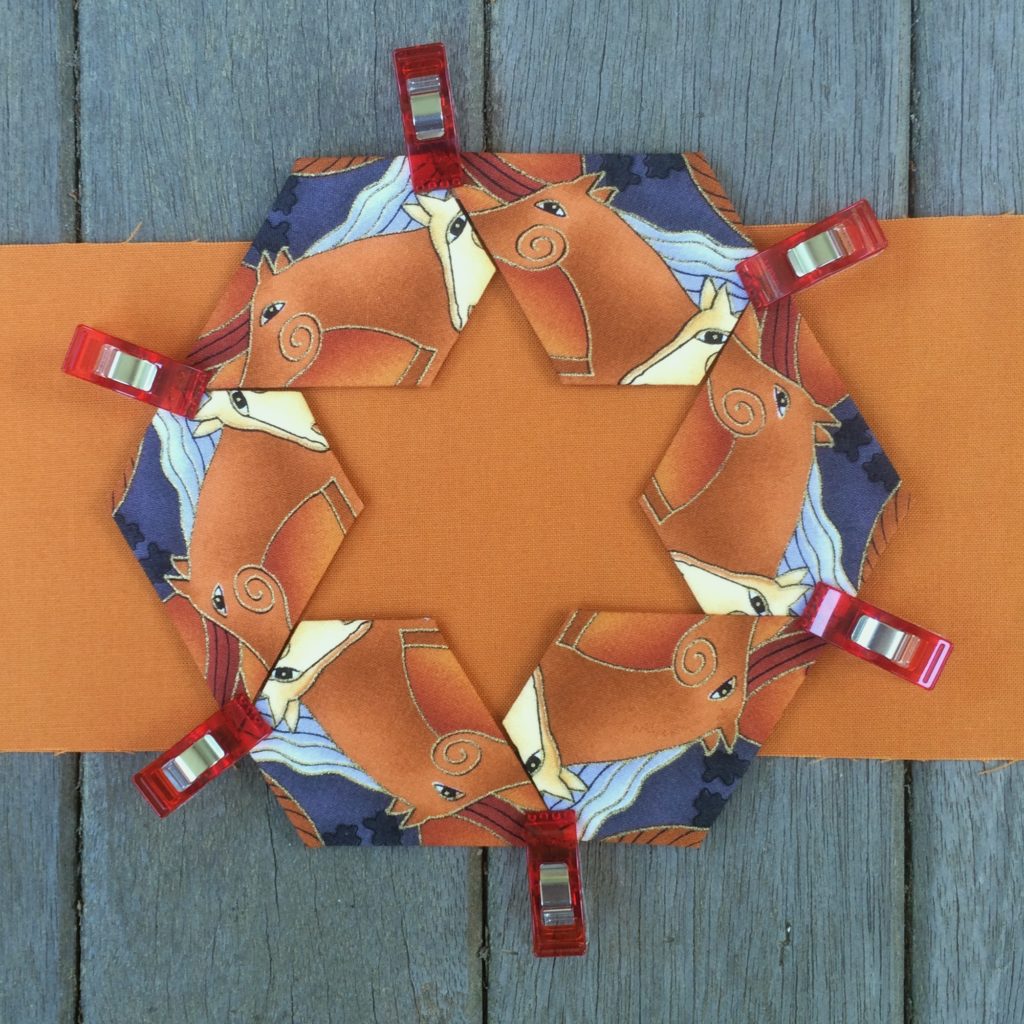
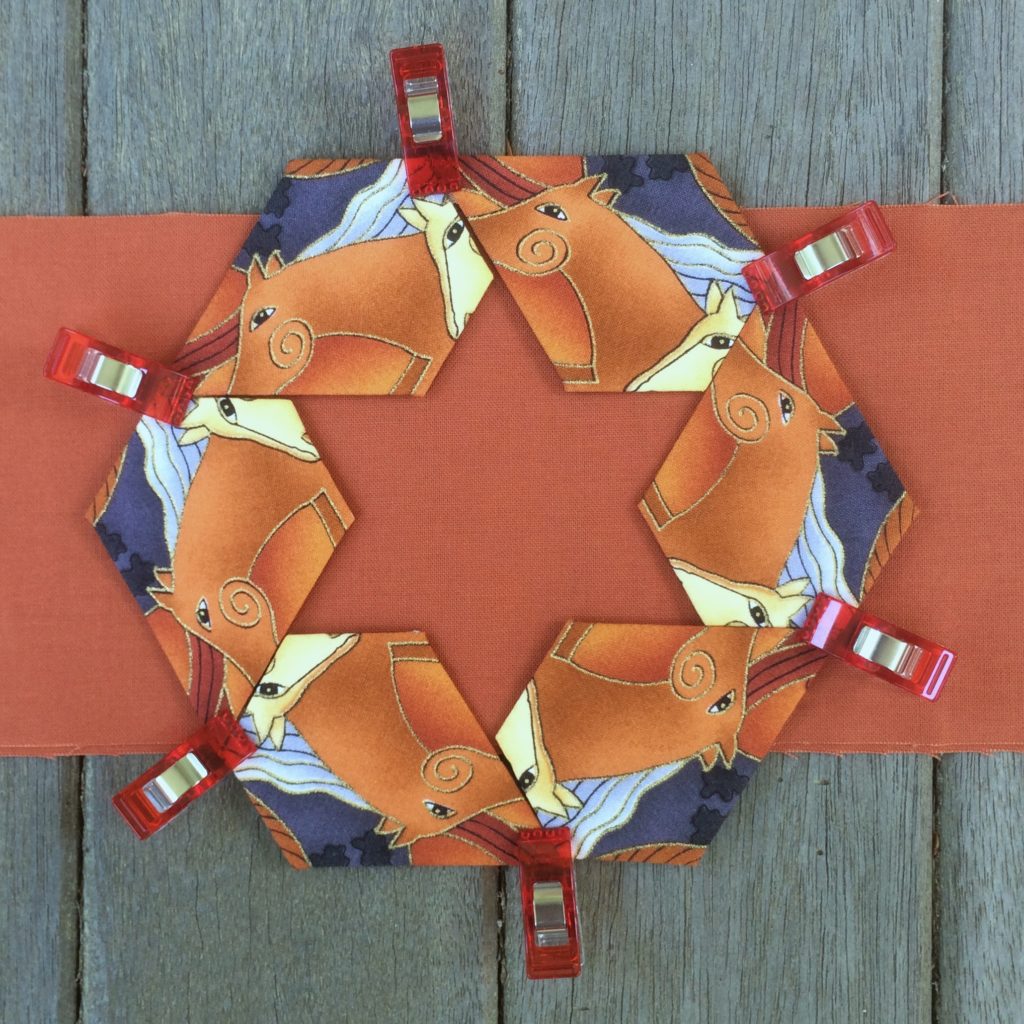
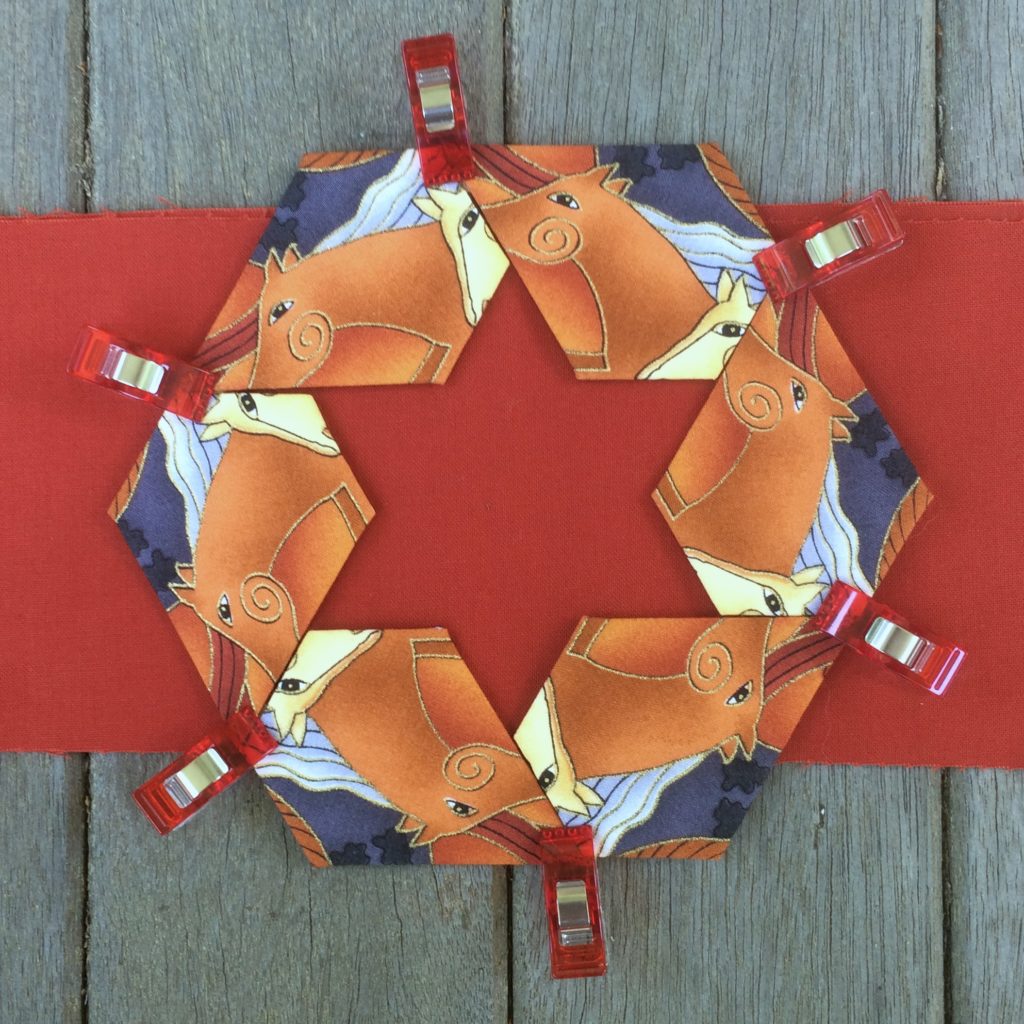
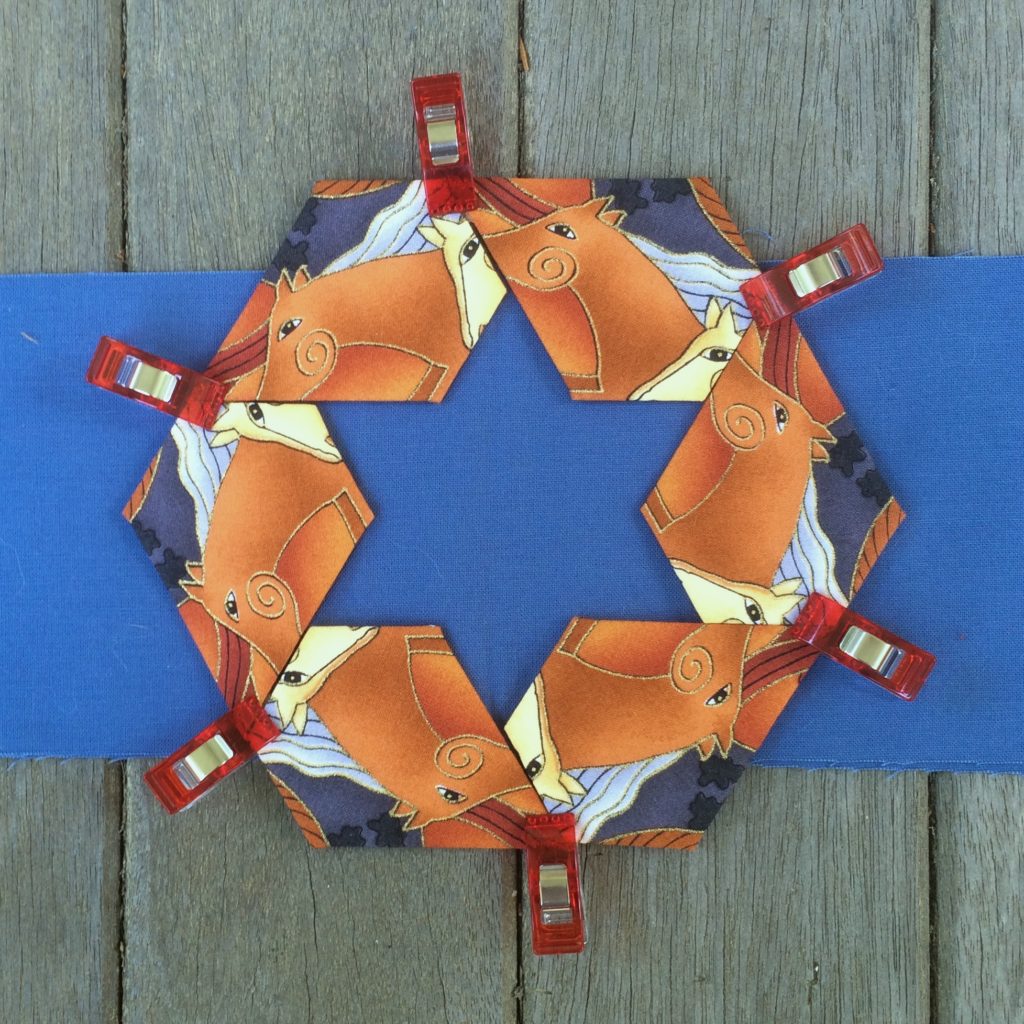
If I were to pursue this second method of assembly I might want to create hexagons specifically designed for the setting triangles. Those hexagons would have centers that would echo the star shapes of the larger hexagons. The images below show this concept in action.
Some of these central star colors are better suited to these jewel pieces shown above. They are offered simply to give the idea of what can be achieved with the use of solid colored stars in the smaller hexagons. Using these stars in the setting triangles might allow the large hexagons to stand out more.
The third method of assembly also involves the use of large setting triangles to assemble the large hexagons into rows. In this case each nine inch triangle is composed of one solid Chocolate three inch hexagon as well as three solid Chocolate triangles. This results in a solid Chocolate nine inch triangle. This method preserves the integrity of the large hexagon units very well if that is to be desired. It also creates a new element in the form of a chocolate star the same size as the various colored stars that make up the centers of the large hexagons.
The three choices range from chaotic, to less chaotic, to ordered. It is no surprise that my husband has a preference for the final method. I do not have a preference myself at this time. I am likely, however, to put the quilt together using the third method to please my husband. I am also likely to continue to create more large hexagons with my wealth of fabrics in the Embracing Horses collection. I will then put together a quilt or at least a wall hanging using the first method.
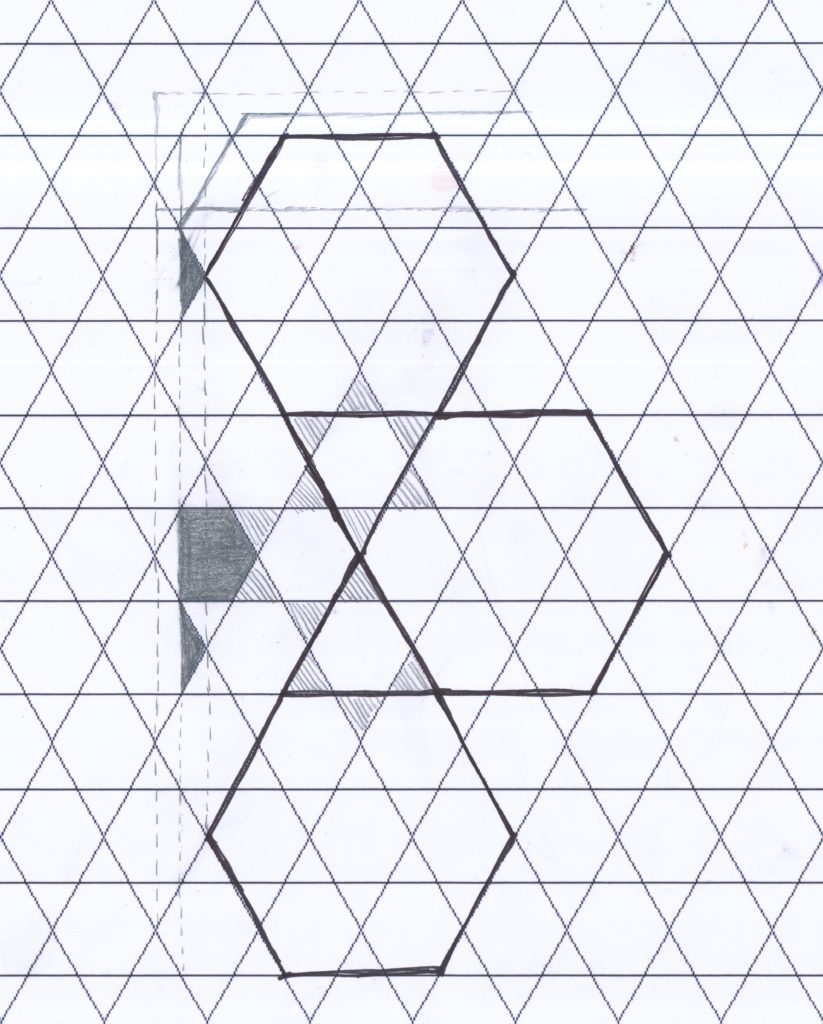
Once an assembly method is chosen the last thing that needs to be considered in the assembly of the quilt top is how to finish off the edges. The drawing above represents the upper left corner of the quilt top. Along the side of the quilt there will be triangular areas that must be filled. I need to decide how far to extend the edges and plan for the assembly of units to occupy the spaces along the sides. I also need to consider how I am going to finish off the top and the bottom. If I am going to do a standard bias binding I must add some fabric to the top and the bottom so the binding will not extend onto the hexagon shapes. The markings along the top show a solution that will extend the edge by an inch and a half.
http://home-babos.ru