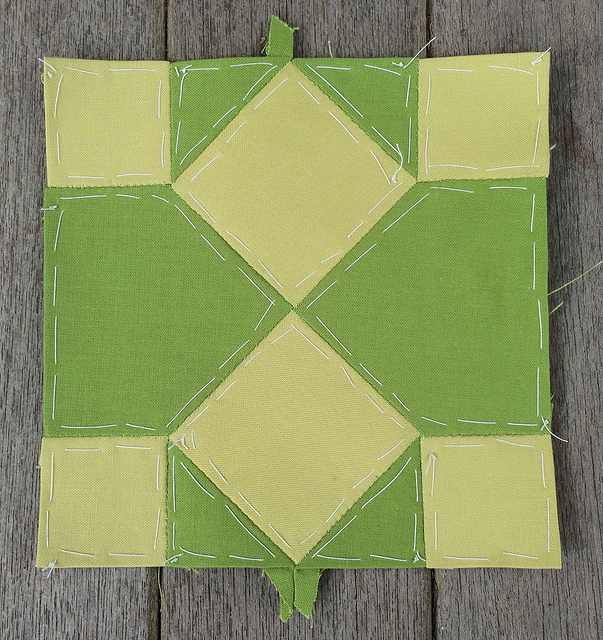
Belle was considered to be a challenging block by many because she had “Y” seams. However, one look at Belle, and I knew she was going to be a breeze to complete because she was MADE for EPP with those “Y” seams. Not only that, but she had only had 12 pieces, some of them being quite large.
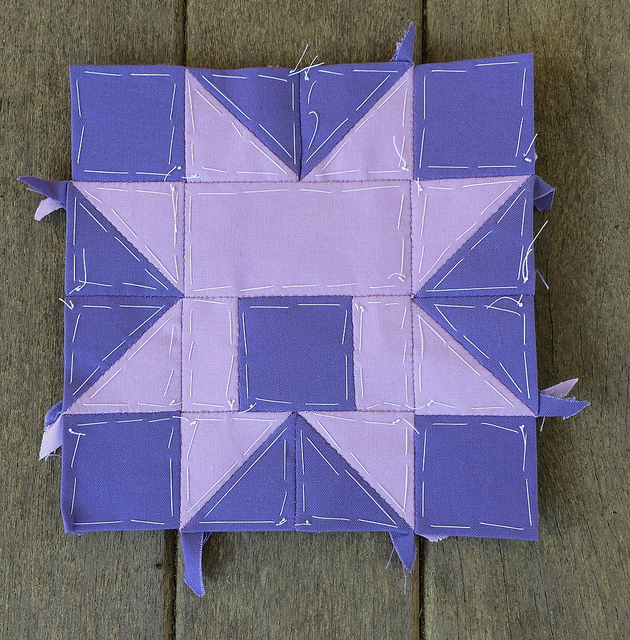
Coral, on the other hand, was a throw back to the trials of Caroline. She had 24 pieces, like Caroline, with many of them being triangles. Yet, there were at least a few squares and rectangles to ease the way to the completion of Coral.
#13 Belle
Belle is made with the follow Kona Solids: Artichoke and Peridot
#24 Coral
Coral is made with the follow Kona Solids: Amethyst and Thistle
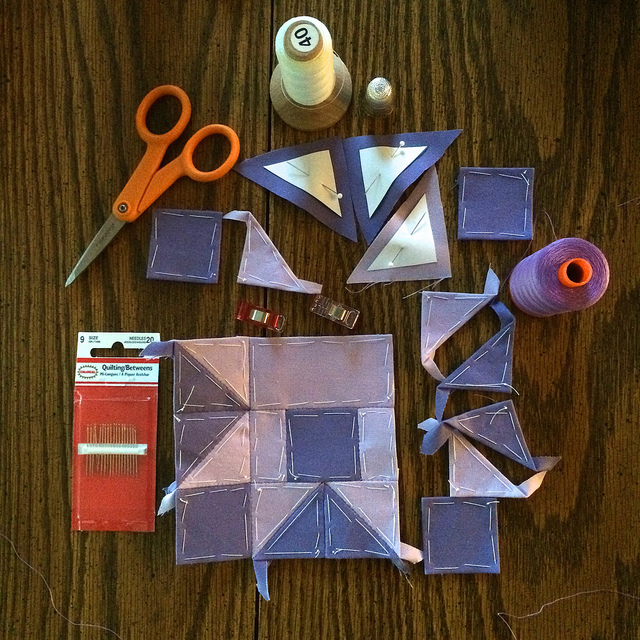
The first thing I did when piecing Coral was to sew together the three pieces that make up the rectangle that gets paired with the other long rectangle. Those four pieces make up the center of Coral. I had long suspected that it might not be enough to simply cut on the lines of the diagrams when making these blocks because of the added width provided by the overlap of the fabric to the back of the paper pieces. A reader suggested the same thing when commenting on my post last week. She suggested cutting away the lines rather than merely cutting through them. I know that this is probably the best thing to do, yet it adds an entirely new level of tedious precision to the process. I did not do it for this block because I wanted to measure the difference when I went to add that pieced long rectangle to the single long rectangle in the center. The difference came to 1/16 of an inch. I’m still on the fence about trimming vs. cutting. As the blocks become even more detailed I may not be able to avoid trimming.
Process photo of work on Coral.
There has to be at least one process photo.
Another reader last week answered my question about which direction to turn the seam allowance on my triangles. She said to be consistent in turning in either a clockwise or a counter clockwise direction. Upon digesting that information, I realized that I had been doing that instinctively all along. I knew this because I found it nearly impossible to turn the corners in the opposite direction when I attempted to do so. So I knew I could only have been turning them in one direction. I guess that was what allowed me to finally tame my tails last week.
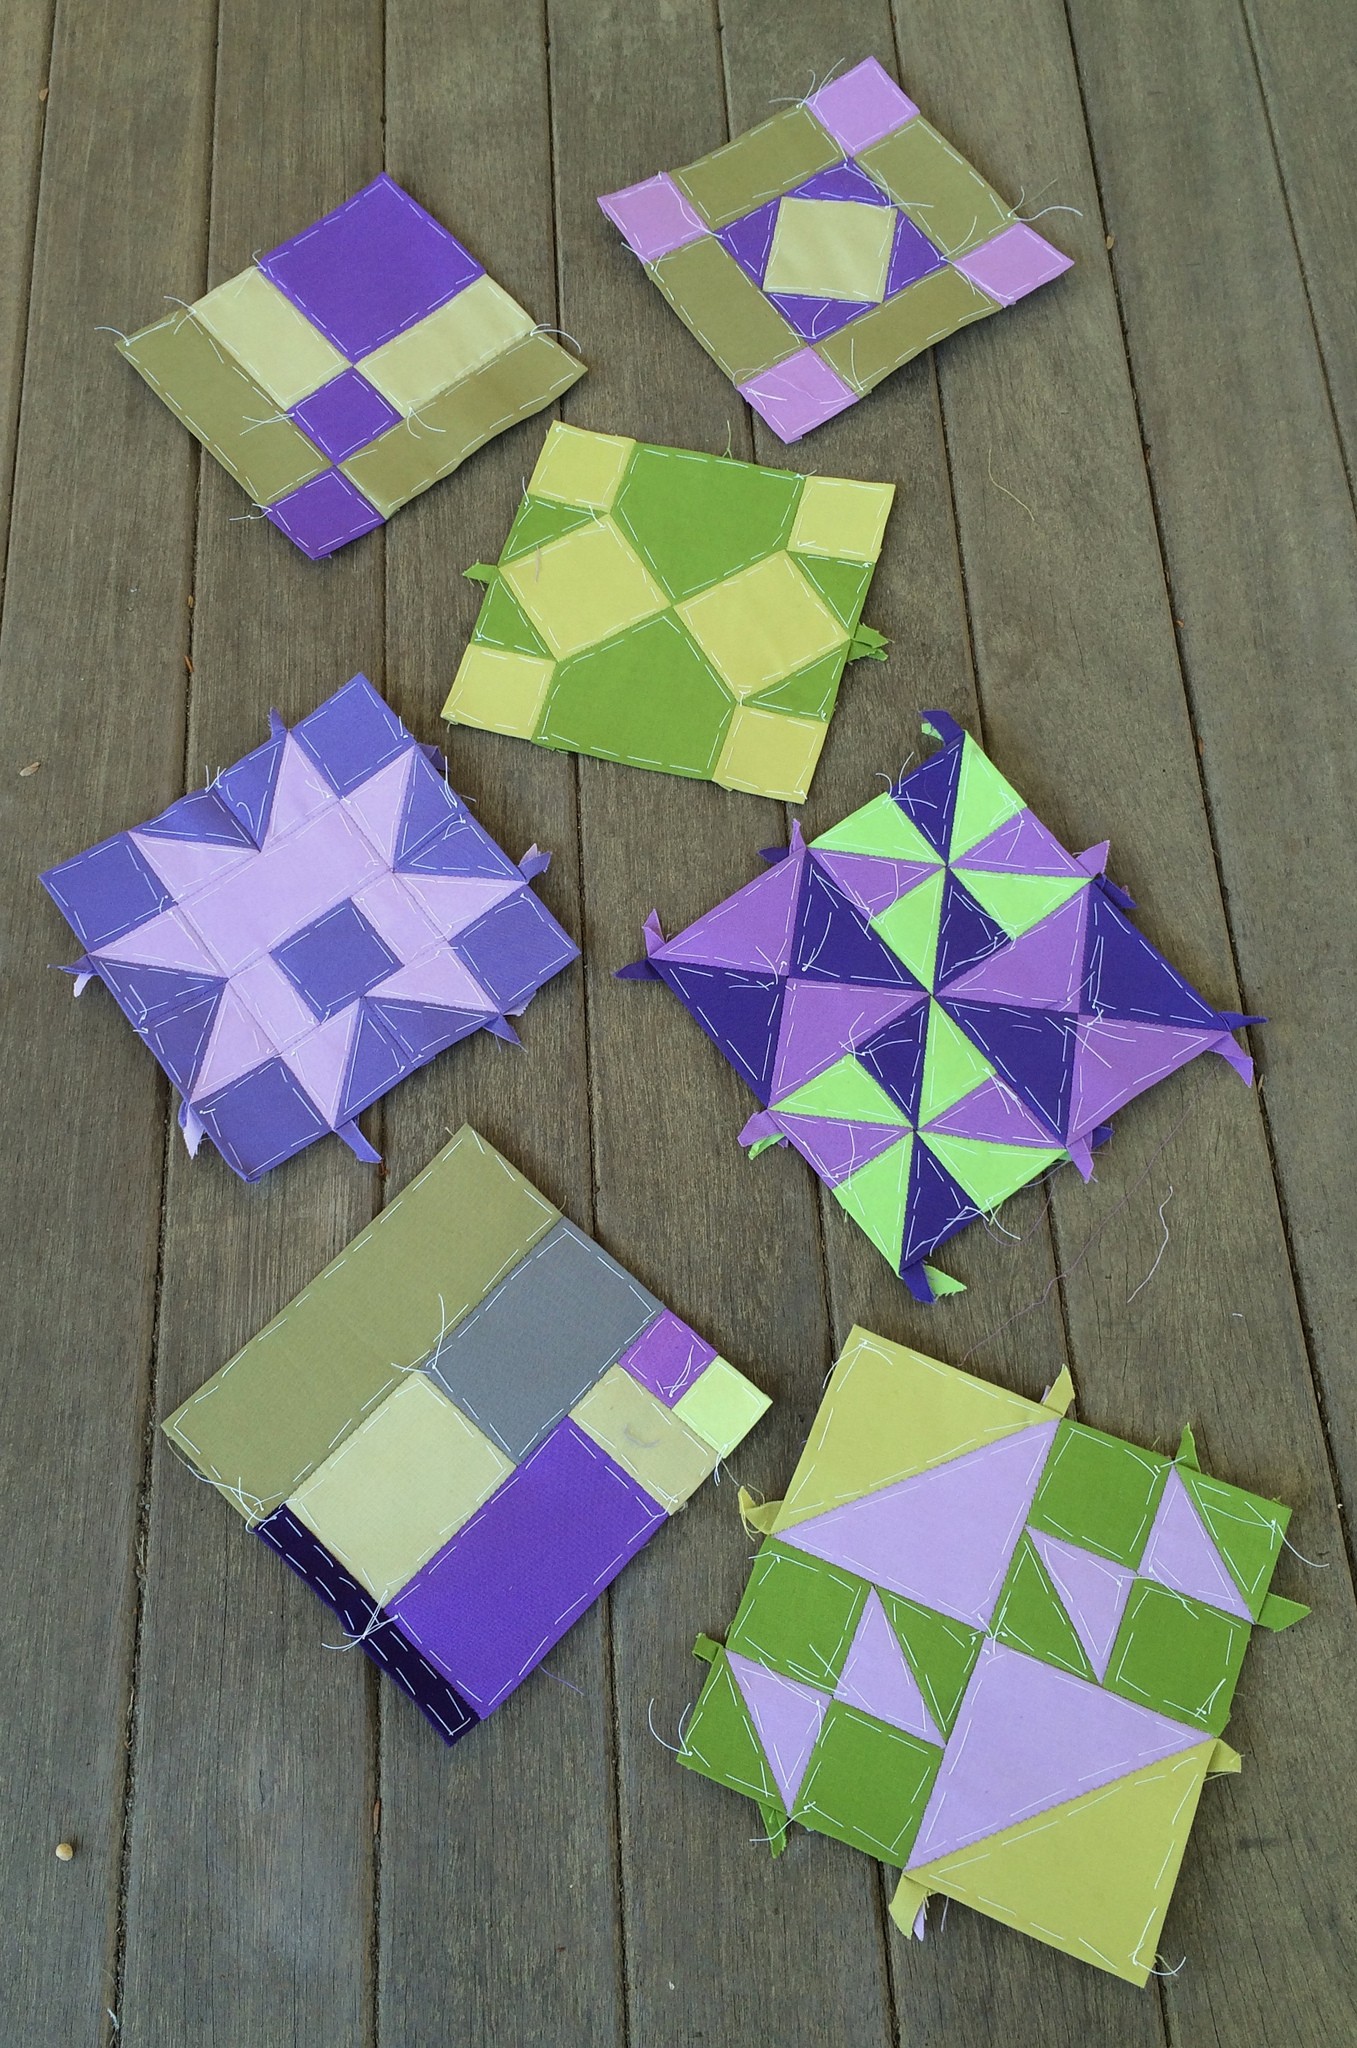
All of my blocks.
The two blocks I made this week were a slight departure in terms of color use. I had originally planned to use both violet and green in every block. However, so many blocks involve only two values, so I decided that I would make some of them with only violets, and some with only greens. The sprinkling of blocks above proves to me that this color strategy will likely be successful in the final layout.
I think it is tremendously inspiring that some of the participants on the Facebook group for this QAL are moving ahead and producing blocks before they have been assigned. Because they have shared their industry with us, I have been inspired to try to do the same. I have printed out a couple of blocks that I think are particularly well suited to being done with EPP, and hope to attempt them soon. These blocks are: #46 Jewel and #44 Iris.
I picked up some heavier weight paper to use for my paper pieces. I got some 32 pound laser paper from Staples this week, but have not used it yet. I will use it for the next two blocks and report back on how I like it.
The Facebook group continues to be an amazingly helpful and positive place thanks to the diligent efforts of the admins to keep it that way.
I am linking back to Gnome Angel’s Link Back Party. Come and see the beautiful work being produced by everyone, and take a look at what others have to say on their blogs.
I am also linking up with Jessica’s Monday Morning Star Count over at Life Under Quilts.
Beautiful blocks, as always. Yay for EPP to make those Y seams super easy!