
I decided that it was time to start putting together some of my Glorious Hexagons to create the first finished piece in my series from the fabric of The Embracing Horses collection.
As I was assembling large hexagons I noticed that there were some blocks that got passed over time and time again. I thought it might be a good idea to try putting these together to make a table runner which I will use on the chest of drawers in the master bedroom.
I worked on this project throughout the day of the January 21st Women’s March on Washington D.C. I felt unable to attend the march myself so I had made a donation to allow a college student to obtain a ride to the march for free. To that extent I felt as if I was represented, yet I wanted to feel even more connected to the event. So I worked on my needlework while the women marched and watched the event on YouTube. Every time I look at this finished piece I will be reminded of how it had its inception during the Women’s March.
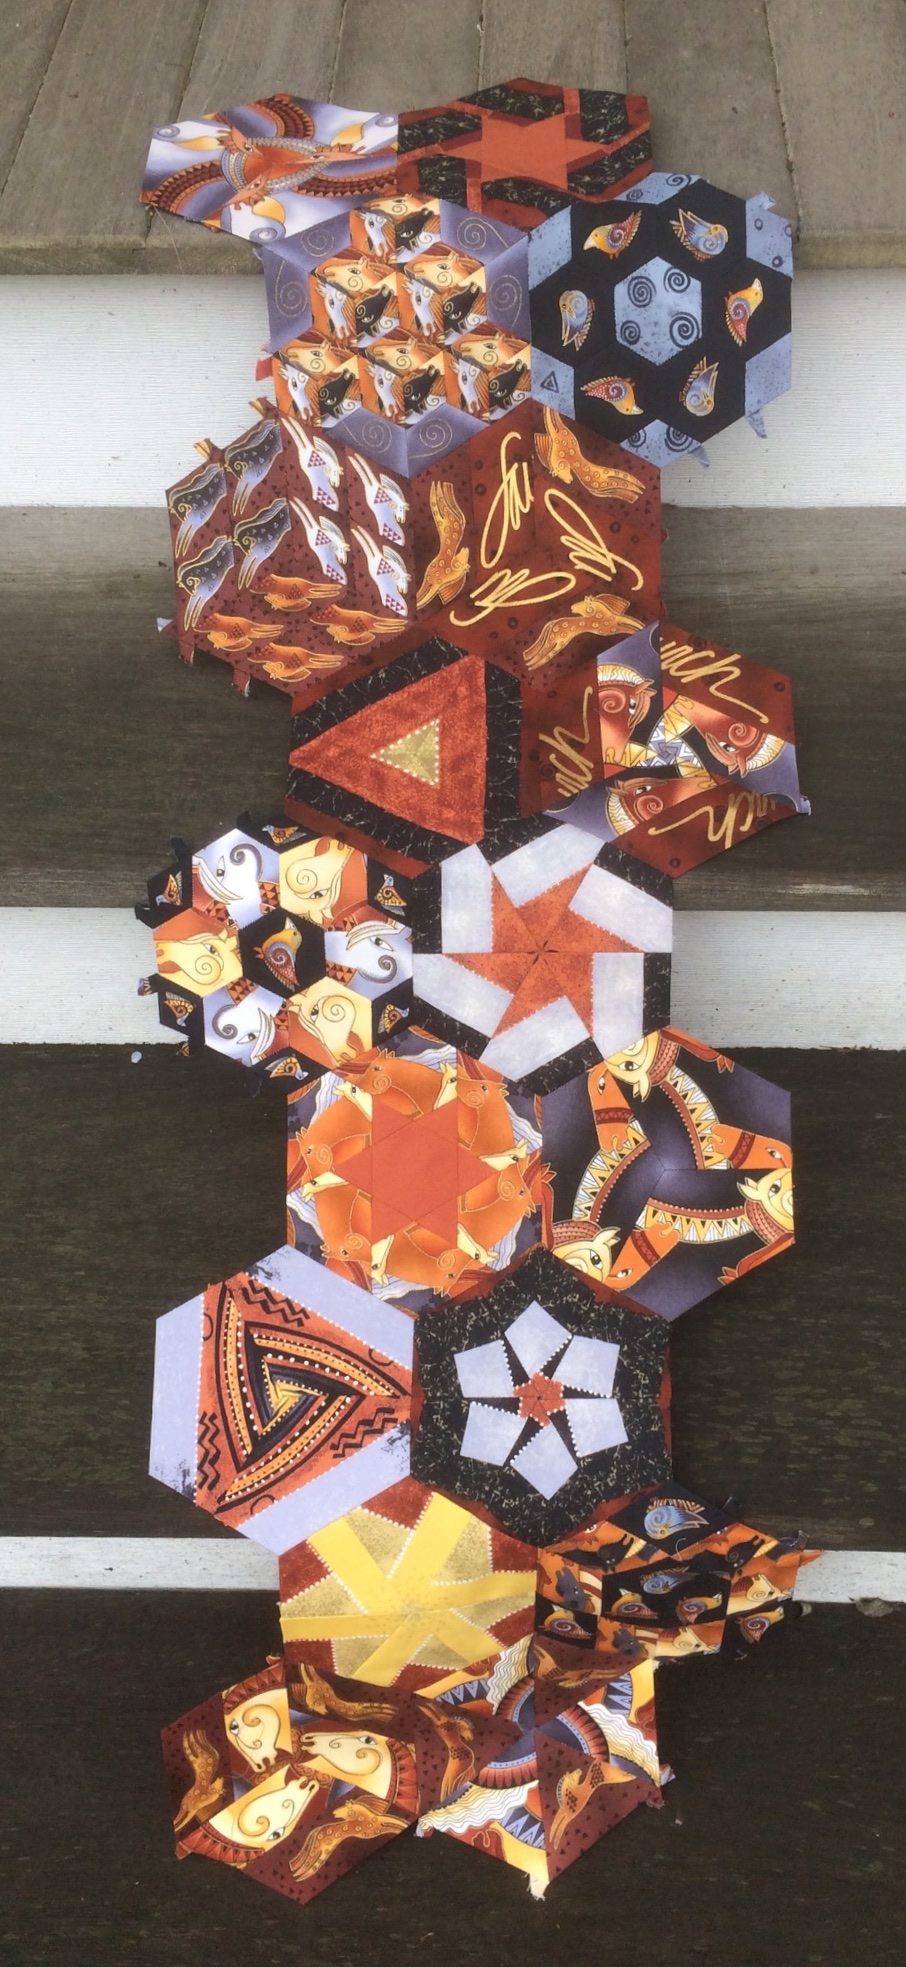
I started by laying out some of my “reject” blocks. Actually there was nothing wrong with any of the blocks. They just had not been chosen to play with others up until now.
I sewed the blocks together and then considered how I was going to flesh out the edges. My first thought was to appliqué the entire piece to a solid background of brown. There was no point in making border pieces because the width of the runner was so narrow that very little fabric would be saved by cutting border pieces, and much work would be created. Unfortunately, I felt that appliqué would have been difficult because I had used glue to baste my pieces and wasn’t sure how I was going to handle maintaining the crisp edges for appliqué as I removed the paper pieces. I got the idea of finishing off the edges with more piece work, but using thread basting for those paper pieces.
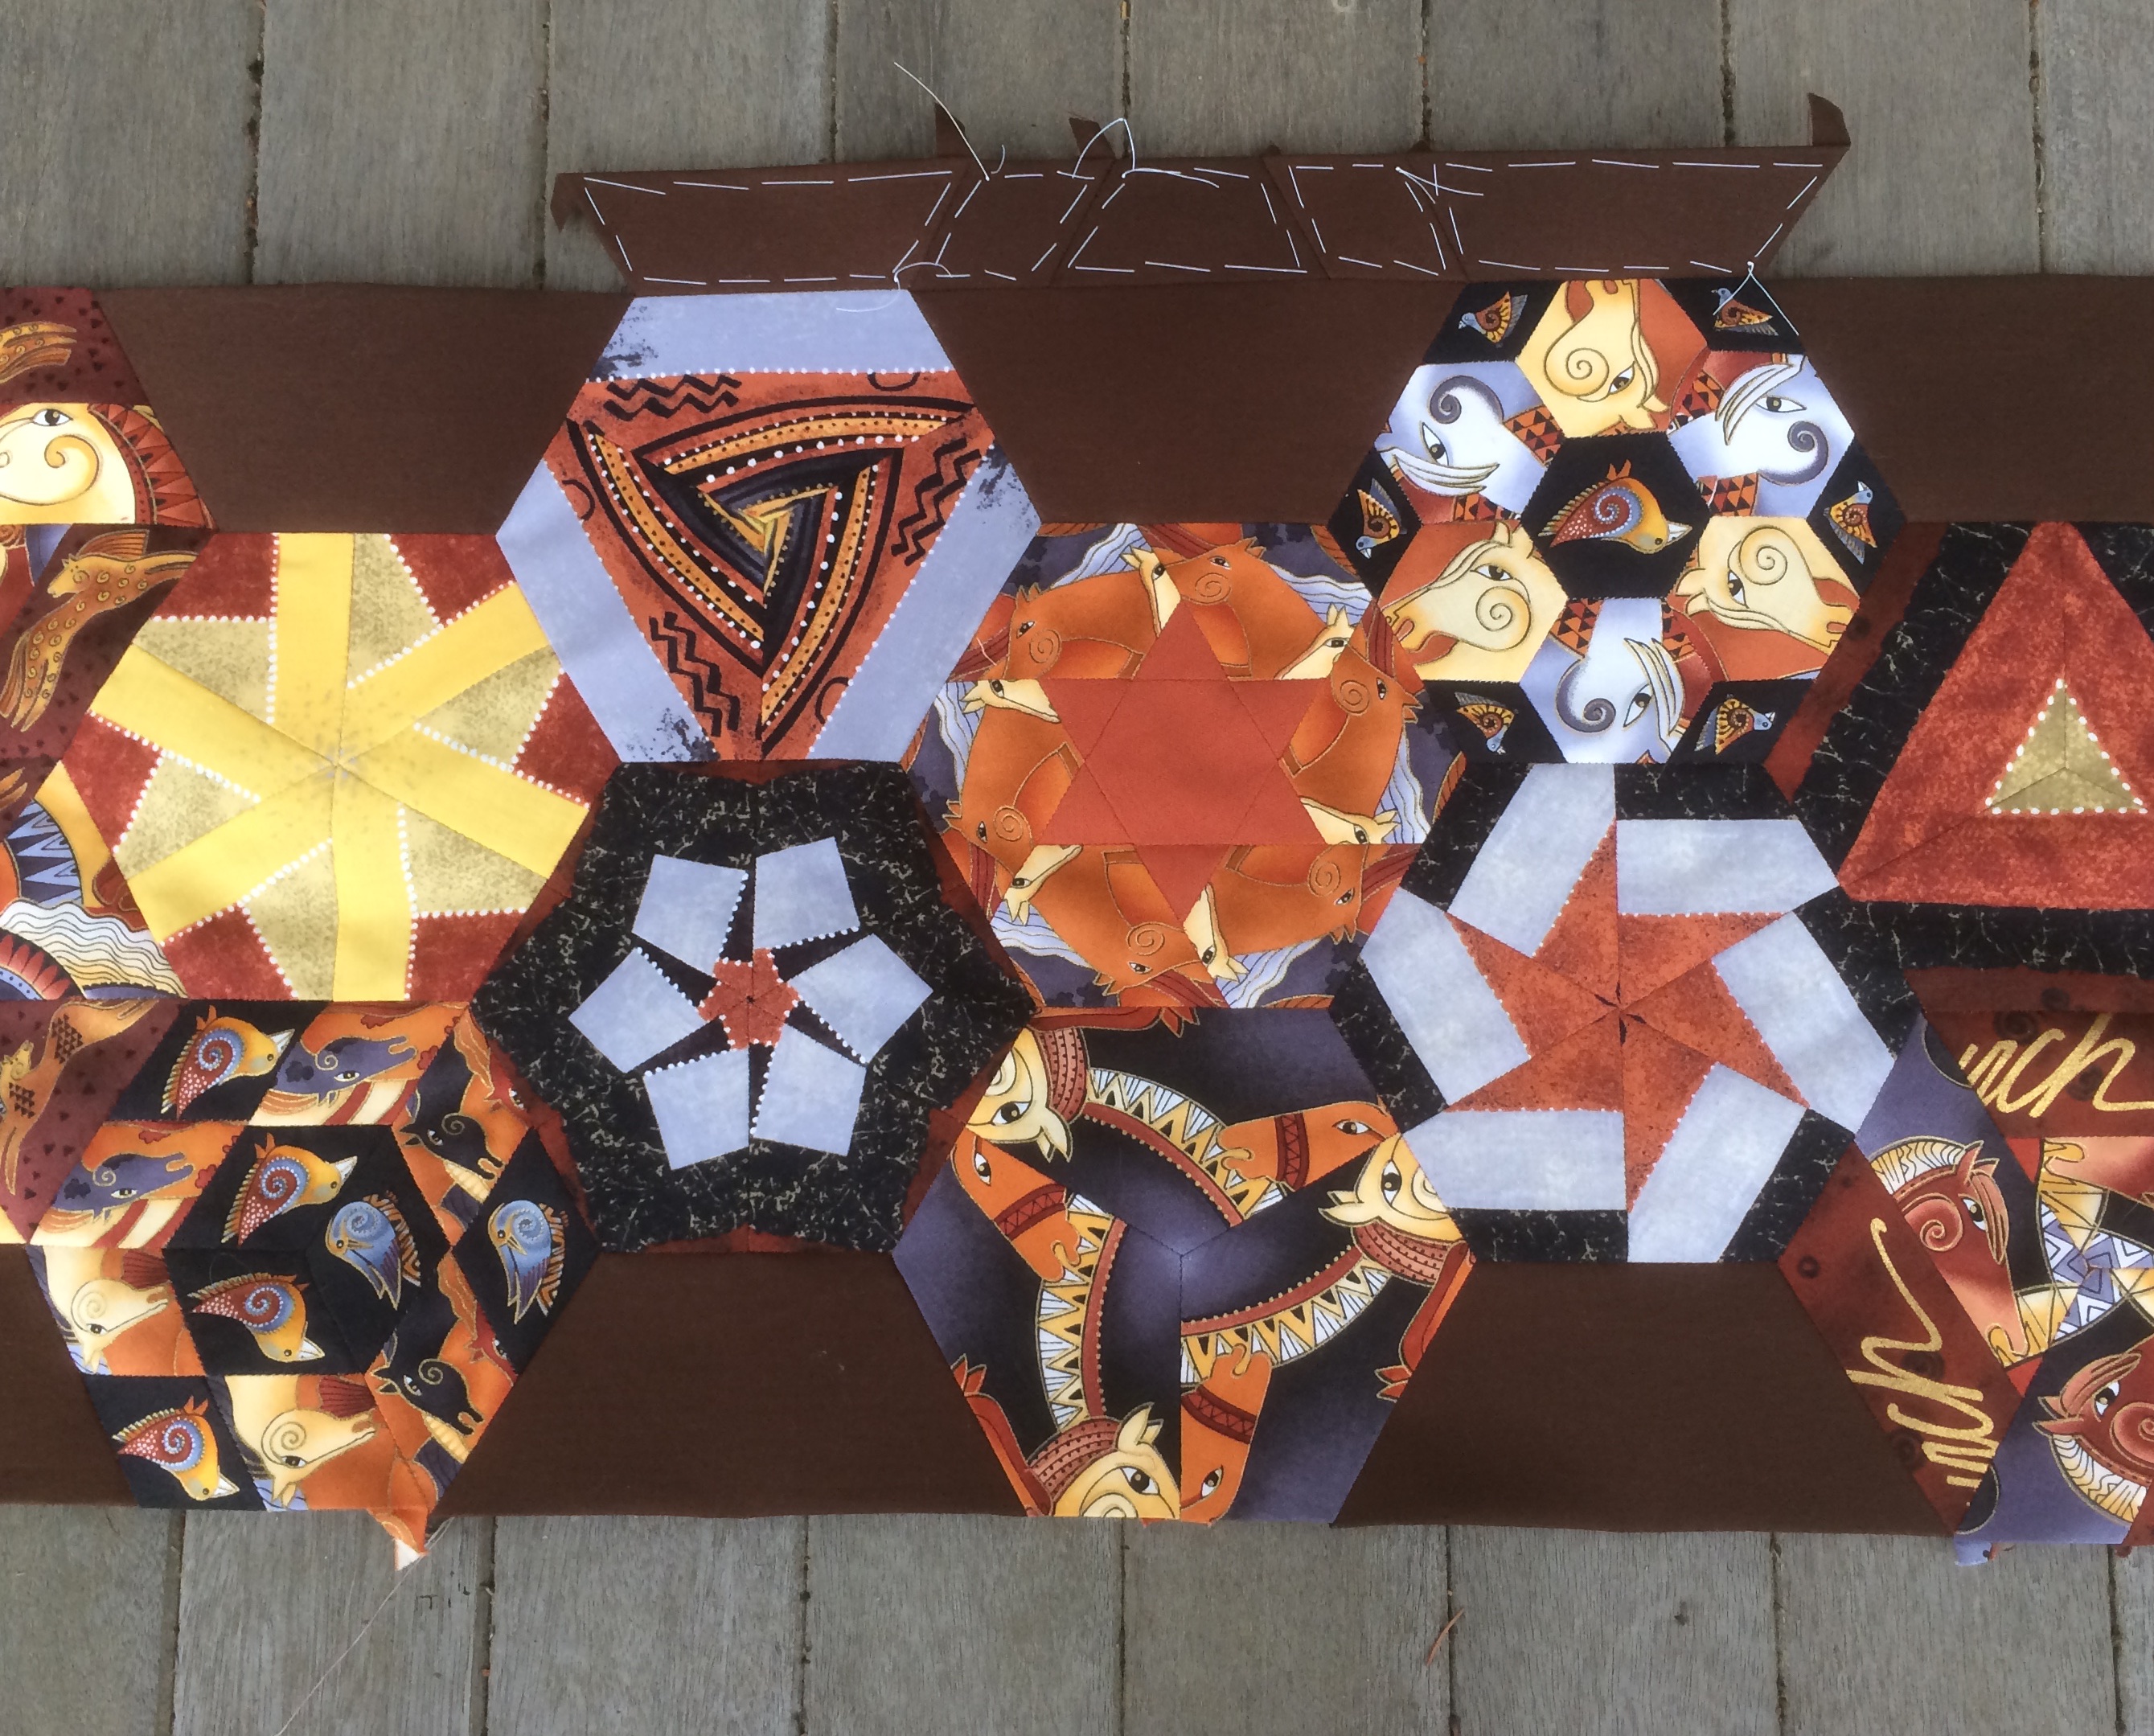
Having made that decision I was able to add brown half hexagons to begin fleshing out the edges. These pieces were glue basted because I only needed to have one piece of thread basting between the glued work and the finished edge in order to achieve my goal of removing papers with crisp edges intact.
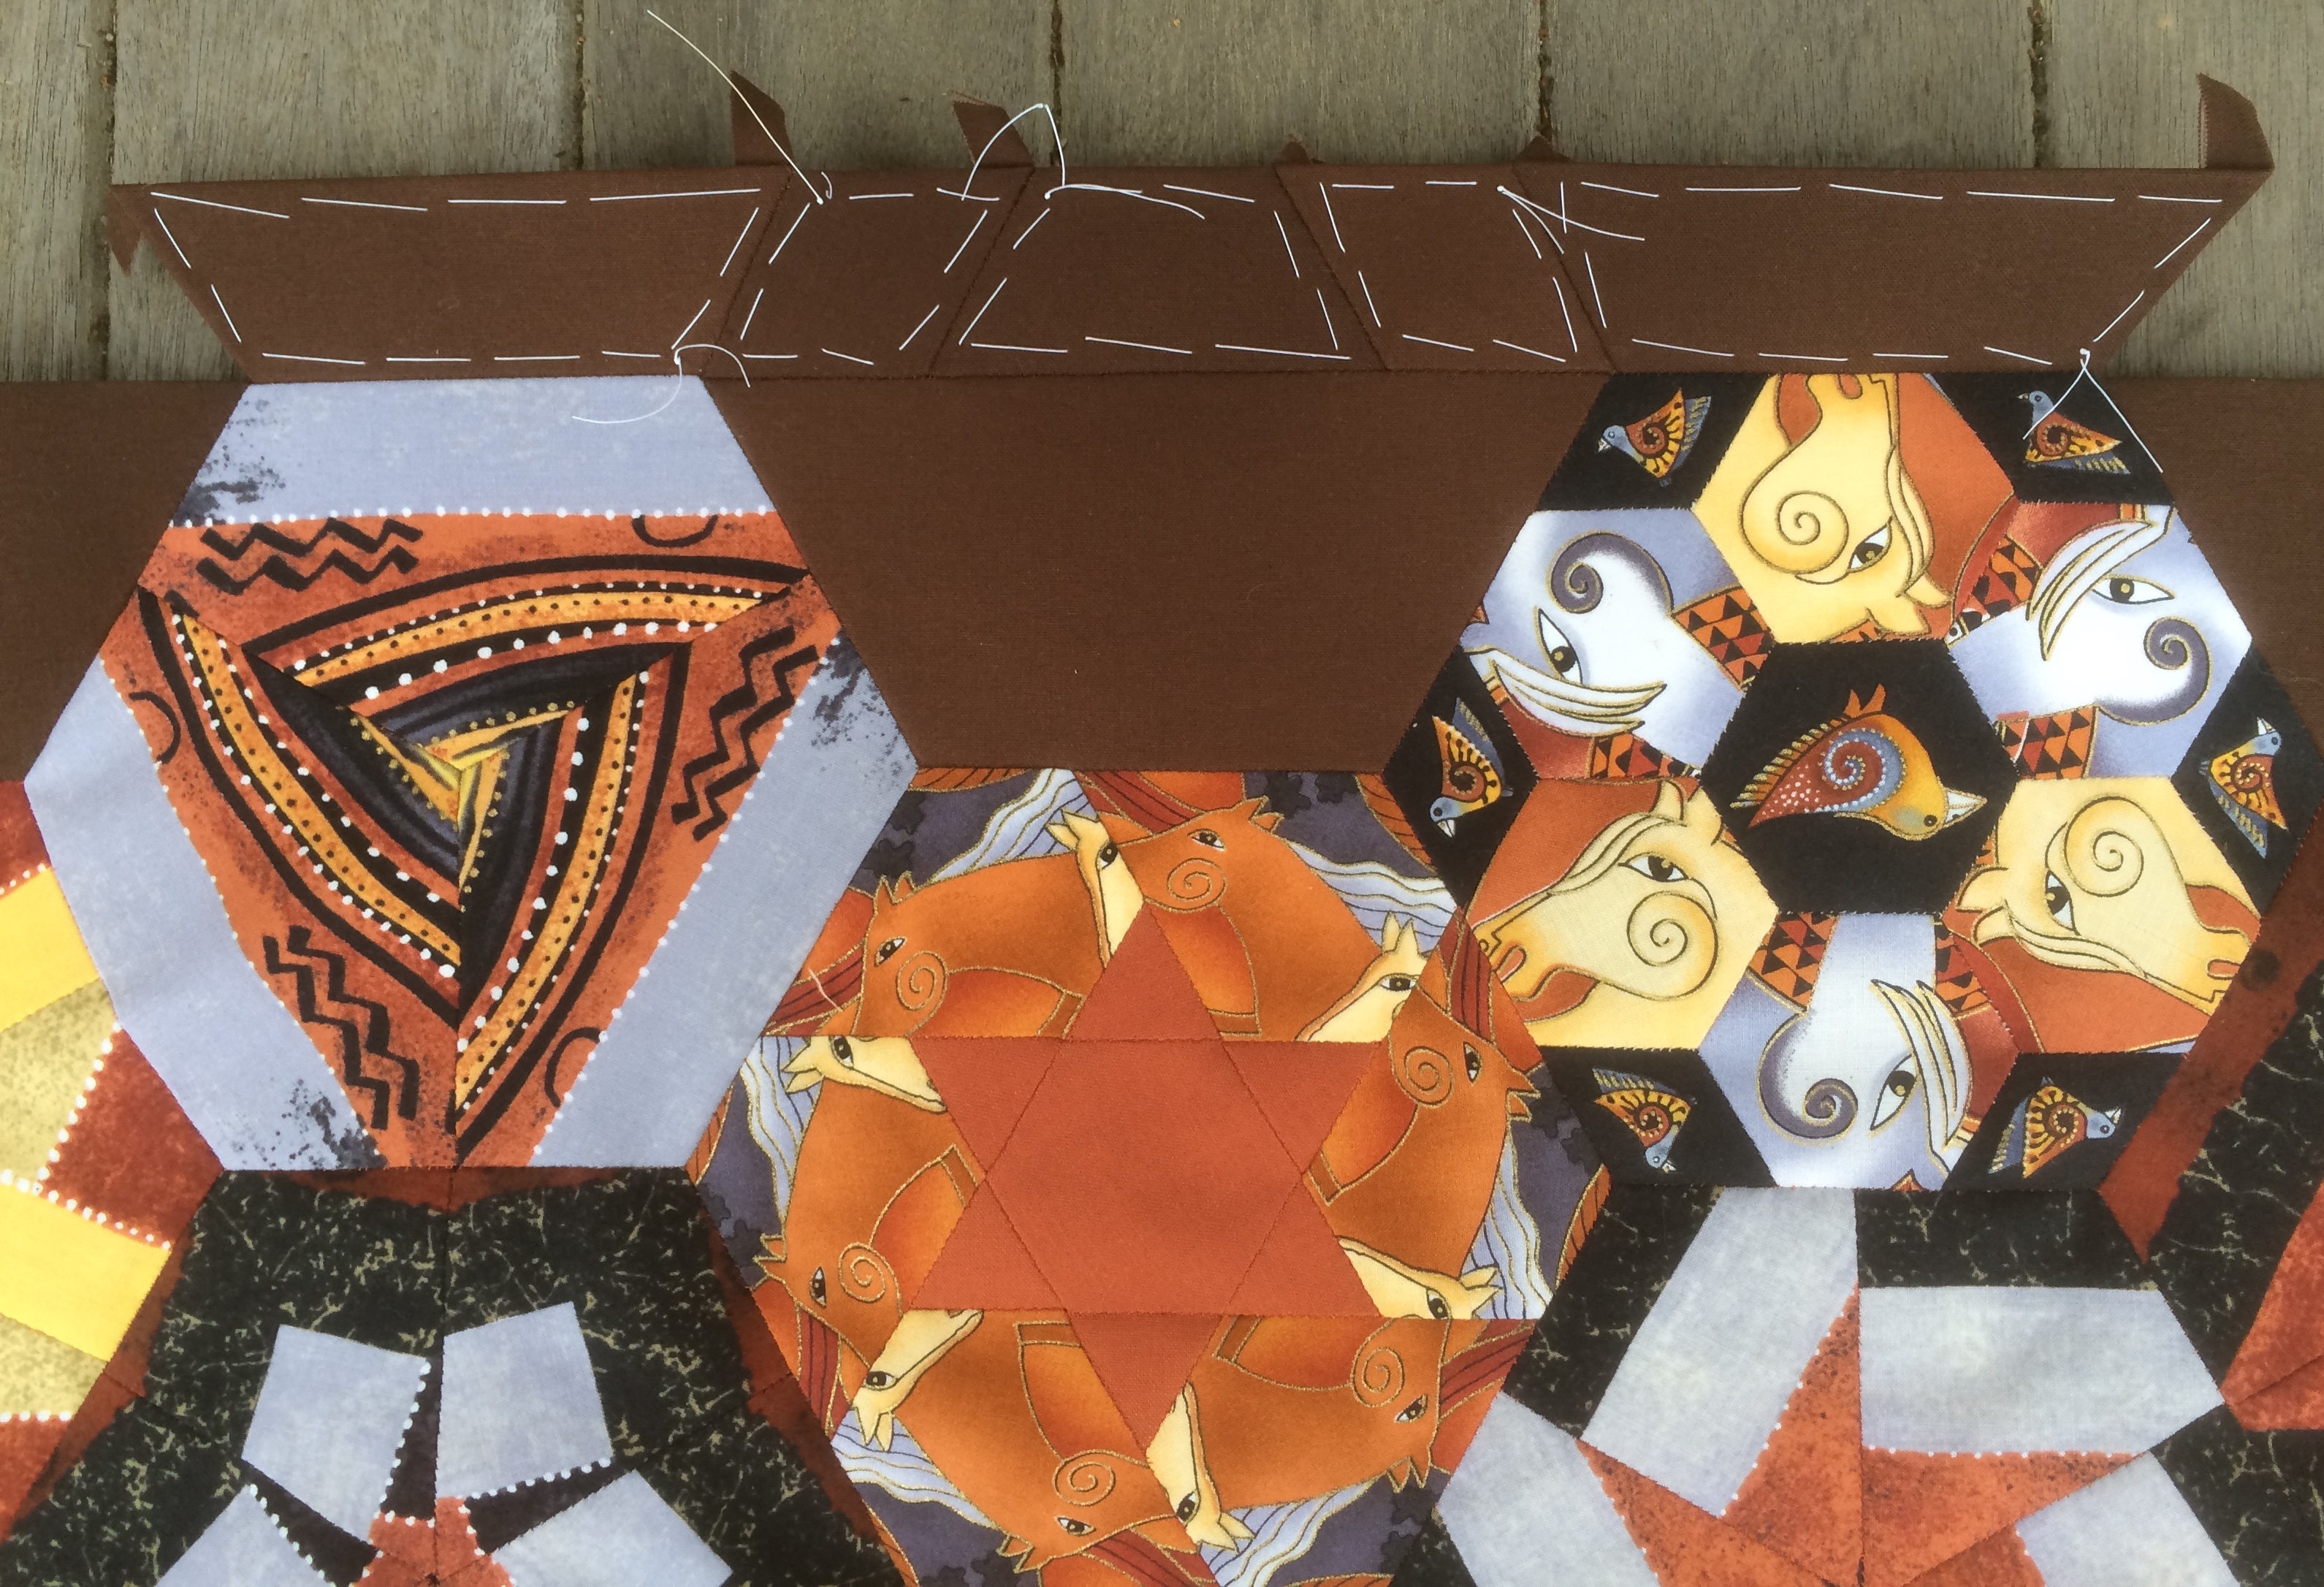
Next came the thread basted pieces which would make up the finished edge. I needed an edge wide enough width to accommodate binding without the risk of it touching the edges of blocks. The path I chose turned out to be rather labor intensive as you can well imagine from viewing the photo above. Part of what I needed to do was to baste diamonds in both clockwise and counter clockwise directions in order to tame the tails. I also needed to be aware of how tails were positioned on the other pieces. In the photo above you can see that I had not yet learned those lessons, but I figured it out quickly after having to hide tails in the section above.
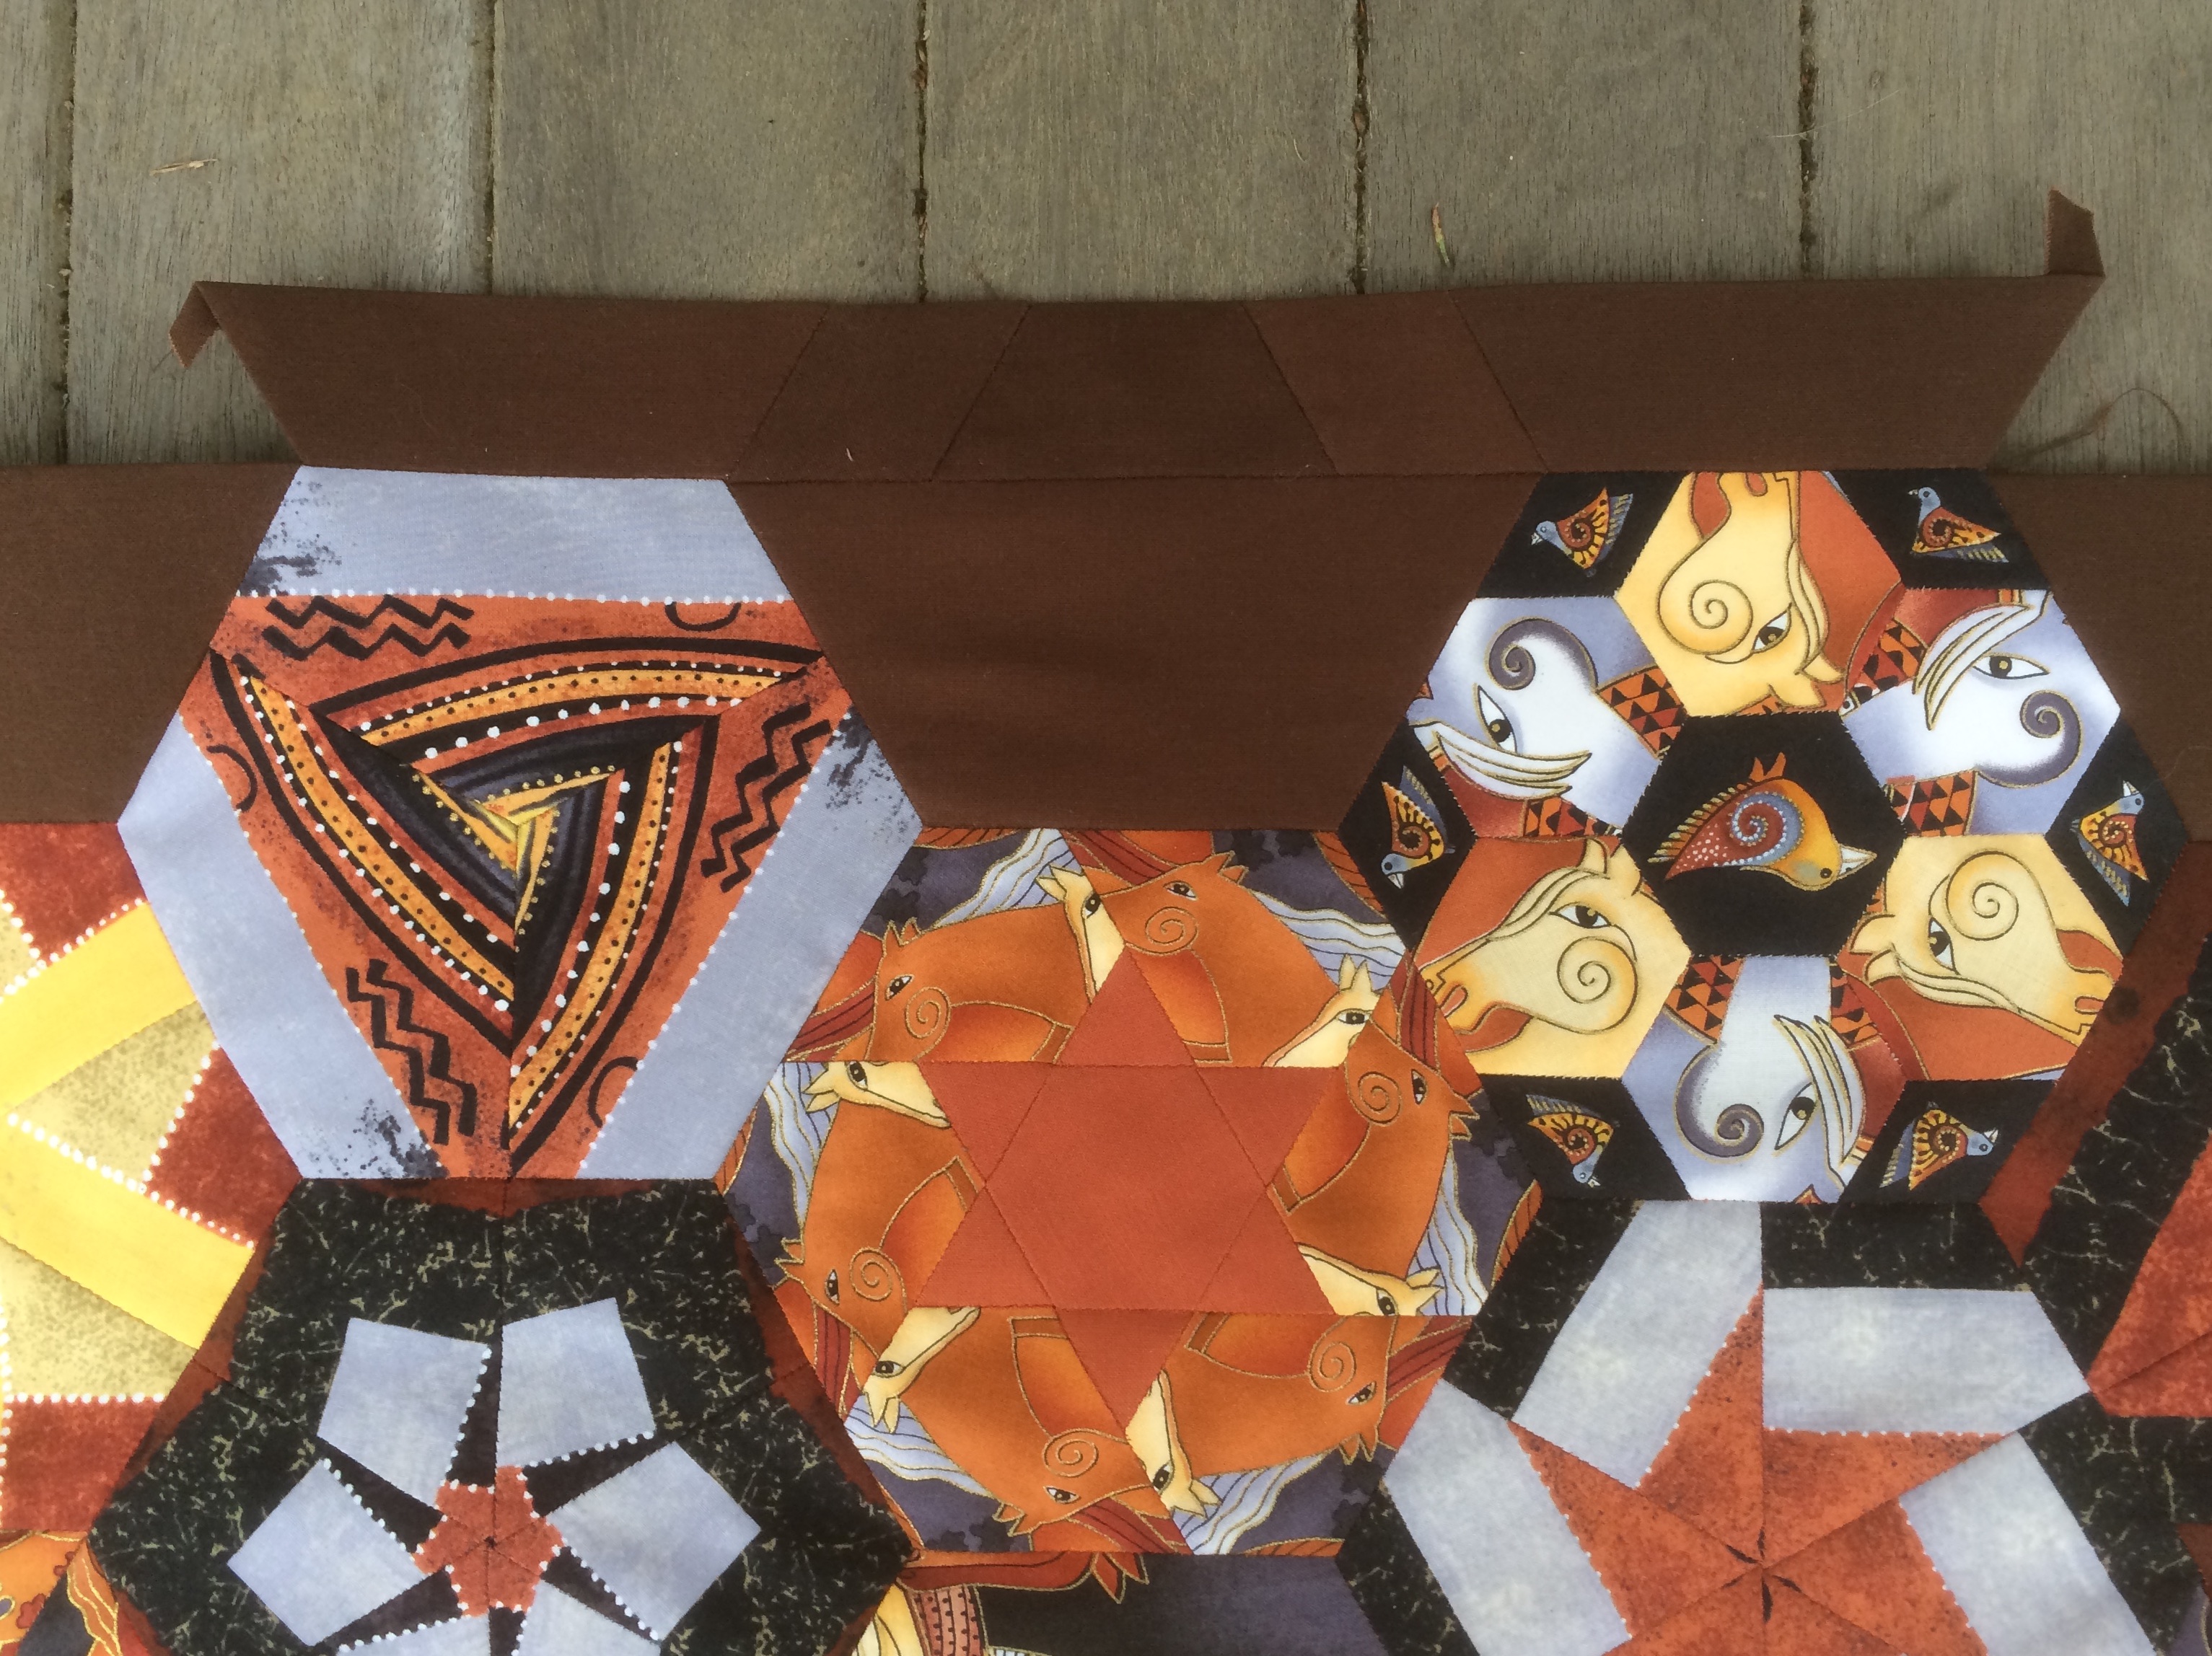
This is how the border looks after the basting threads have been removed, and tails have been hidden.
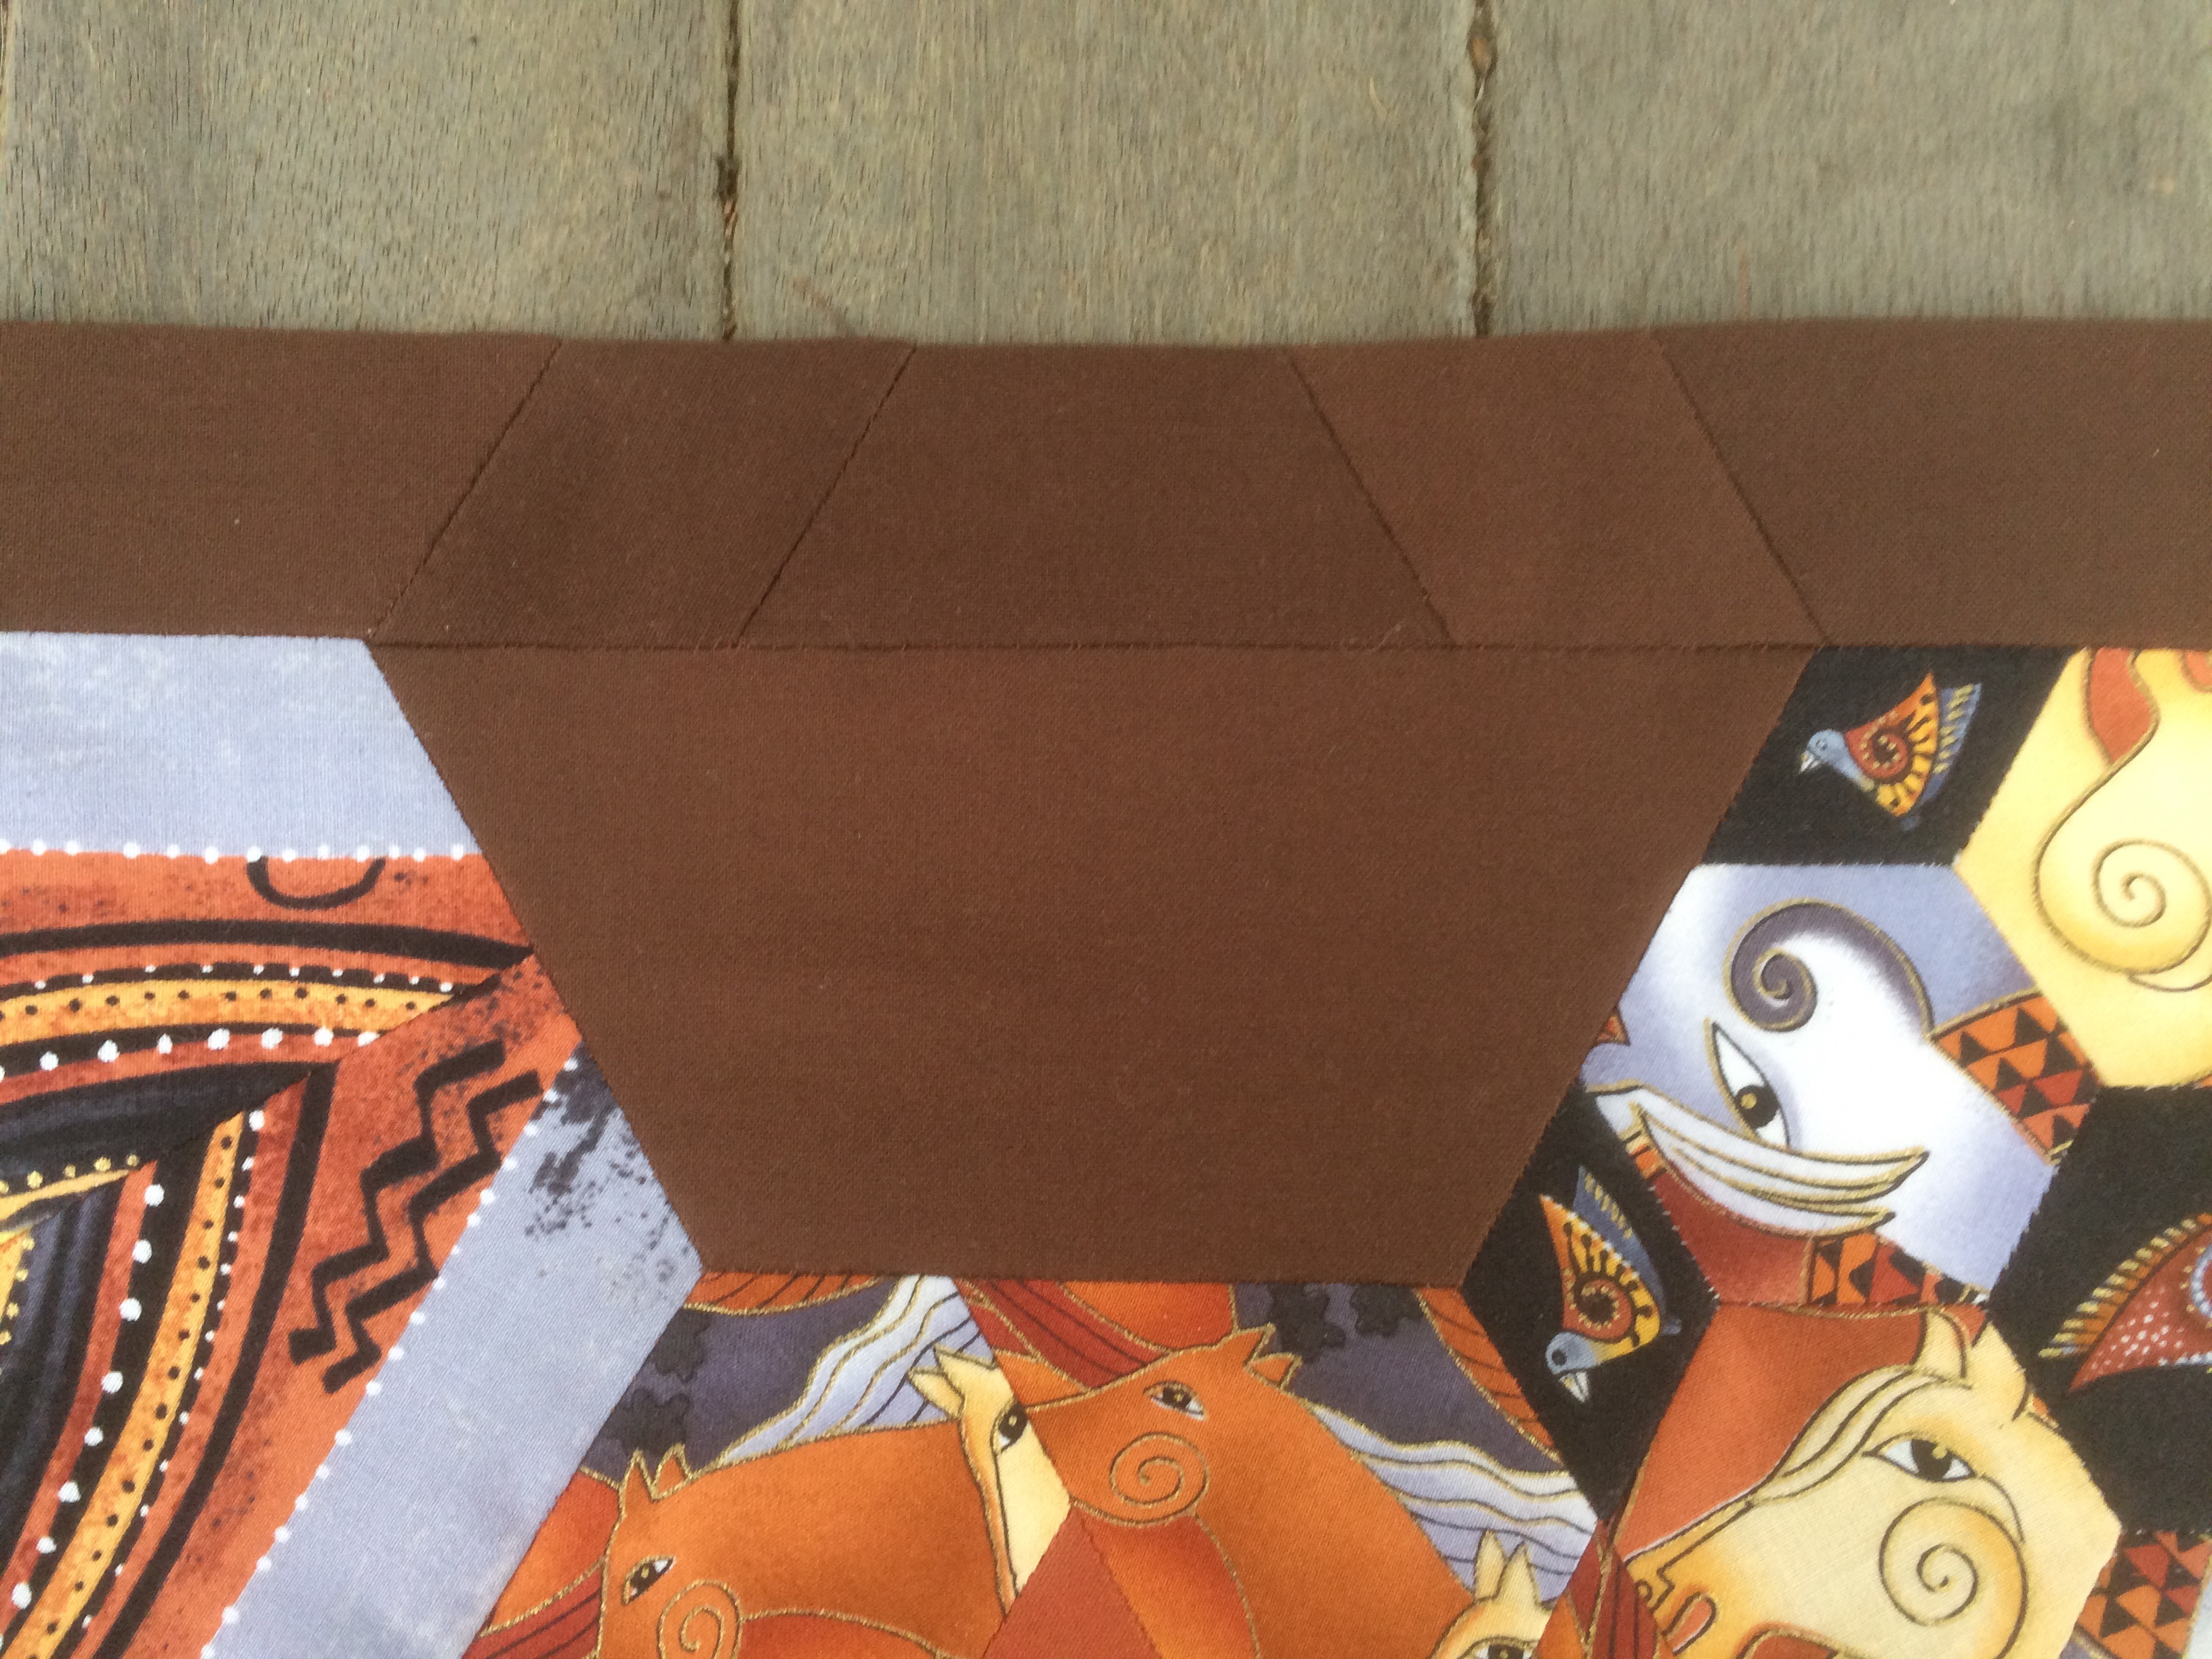
The piecing actually provides a bit of interest on the border.
One thing I noticed while doing this first piece with Glorious Hexagons is that you simply CAN NOT screw it up. When the pieces are placed next to each other they look good almost miraculously even if they are pieces that had been previously passed over time and time again. Then when they are sewn together they look even better. I had noticed that with my large hexagons, but it was even more obvious with these random blocks.
I’m nearly done with the borders. I’ll report back soon with the finished top.
I feel as if I have learned a lot help me decide how I will handle borders moving forward with future Glorious Hexagons projects.