I’ve mentioned standing to sew a few times recently, and one of my readers has asked me to elaborate on my standing sewing station. For a few years I have been aware that I should be sitting less. The Huffington Post had an article from September of last year in which they said that, “Sitting is the new smoking.” The article points out that our sedentary lifestyle is killing us. To help cut down on the time we spend sitting Michael Hyatt, and others, have promoted the use of stand up desks. I thought why not sew standing up? I think that quilters are especially likely to spend a great deal of time sitting, especially those of us who do English Paper Piecing. Shortly after I started to stand to sew with my machine, Michael Hyatt put out a podcast on The Dangers of Sitting. He summarizes things very well, so I urge you to have a listen to that podcast.
So how did I decide to try sewing standing up? When I purchased my new Janome Skyline S5 I became aware that it was possible to disconnect the foot pedal and control the machine instead using a combination of the start/stop button and the speed setting. It was odd at first, but in the end I have found it to be more comfortable than controlling the speed with my foot. I might mention that one of the things you sacrifice when you stitch standing up is the ability to use the knee lift, but it is a small sacrifice. I am much more addicted to the automatic thread cutting feature than I am to the knee lift, which always felt a big odd to me.
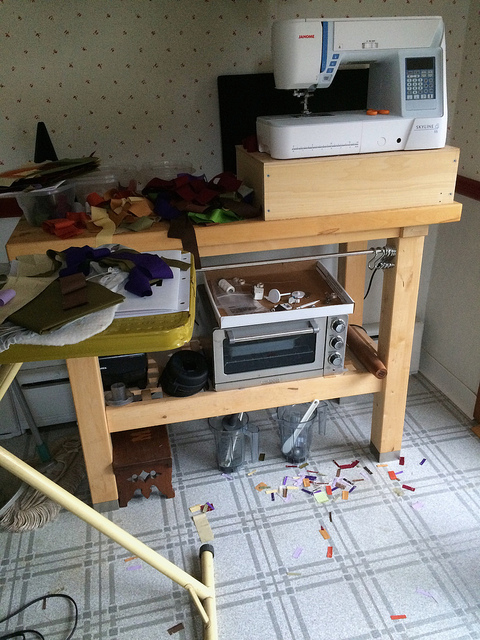
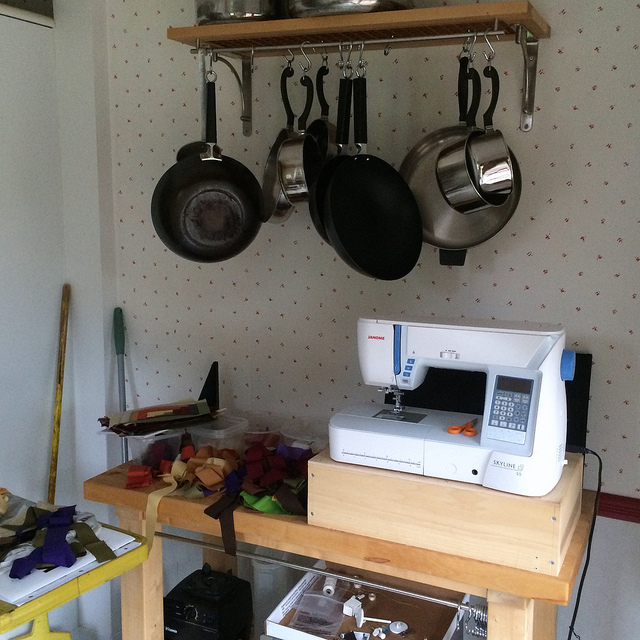
The photograph above shows my machine positioned on top of a wooden box placed on top of a counter height kitchen table purchased from Ikea. The height of the top of the box is 41 inches, which creates just about the perfect viewing angle for sewing. At first I tried the machine on the table top without the box, but I found that the angle was wrong for me.
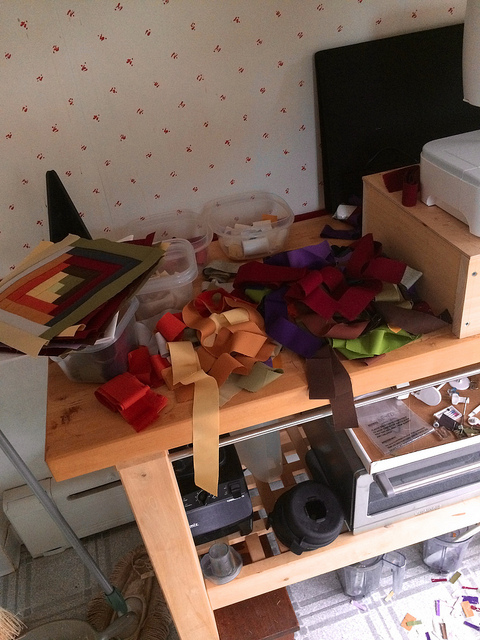
When I bought the table I had intended to use it to roll out freshly made pasta. I did use it in that way a few times. The table surface is a food grade cutting board. While it did enjoy a brief heyday as a food prep surface, the table had recently become a place to store my pizza stone and Vitamix containers. You will see two of the containers peeking out under the table.
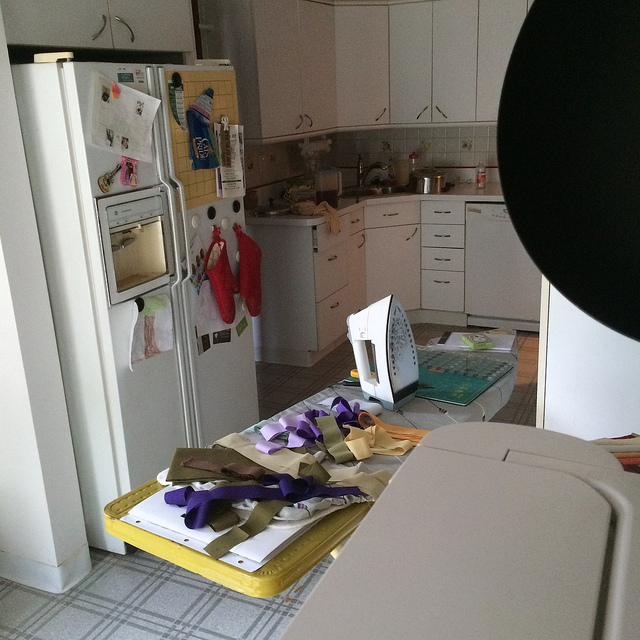
Let me give you an idea of how this sewing station fits in with the kitchen as a whole. Here is a view of the kitchen from the vantage point of the top of the sewing machine. Notice the magnetic 9×9 go board and go stones on the refrigerator. The object in the upper right corner is a wok hanging from a rack above the table. The sink area is in the far corner of the kitchen. The tip of the iron is pointing toward it.
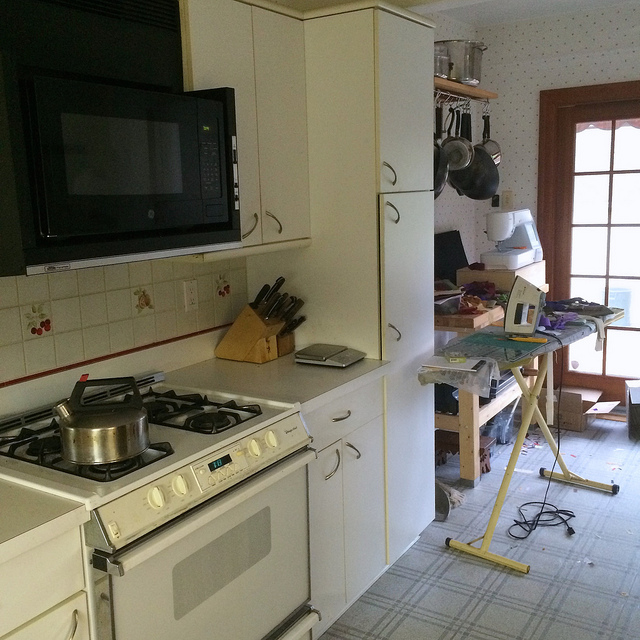
Here is a view of the sewing station from the sink area.
The sewing station occupies an area of the kitchen that was designed to house a kitchen table just in front of the sliding double doors that lead to the deck. We never put a kitchen table there because I prefer eating in the dining room away from the mess of food production. I can never keep on top of cleaning up as I go, so the kitchen is always a disaster area when we sit down to eat. Up until I put in the Ikea table that area was totally wasted space.
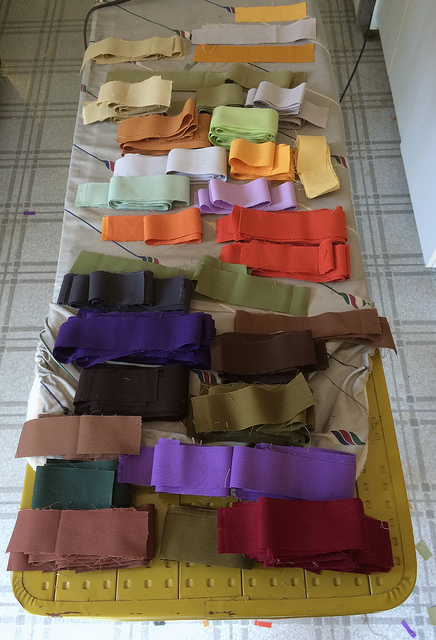
Setting up the ironing board near the sewing station makes it possible to have lots of strips available to me as I work on my current Log Cabin Quilt project. It is also quite convenient to not have to stand up when it comes time to press something. All I need to do is walk a few steps to the ironing board.
Keeping the sewing machine as far to the right on the Ikea table as possible allows me room for more strips.
I keep my machine accessories handy in a cardboard file box cover on top of the toaster oven. I don’t know what most of these are for yet, but I will learn. I even have a few bobbins pre wound in that box.
Even with the sewing machine in place I am able to reach the hanging kitchen utensils I need when it is time to prepare dinner.
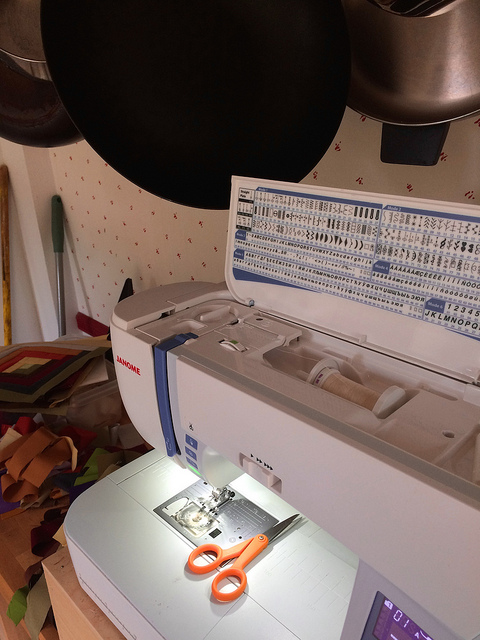
Here you can see that the pots and pans hang low enough that I need to keep my wok pushed to the side in order to be able to open the top of the machine. I have not started to select special stitches yet, but I am sure I will learn about that at my class this coming weekend at Pocono Sew and Vac.
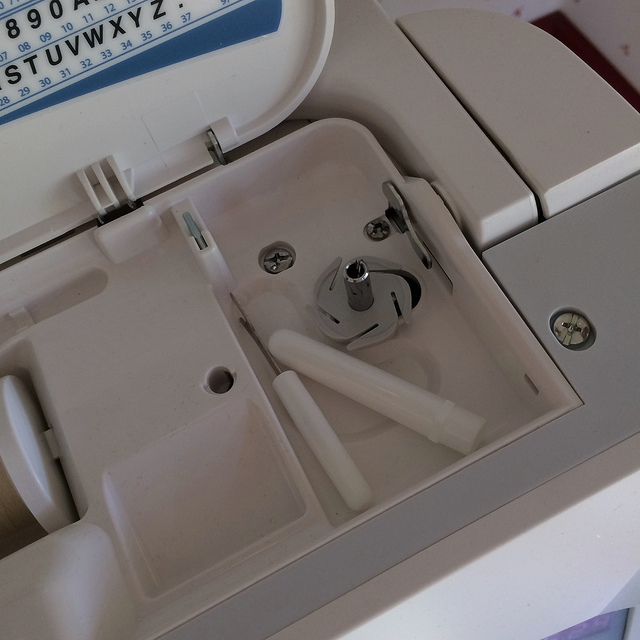
While it is not meant as an accessory storage area, I find that it is convenient to keep my seam ripper within handy reach by storing it in the bobbin winding area under the lid of the machine.
Sewing standing up may not be for everyone, and it is certainly not for every type of sewing. I think it is best suited to chain piecing, and block construction. If I were to start joining blocks above a certain width I would want to move the machine to a table to do that kind of piecing. However, I would probably still not use the foot pedal since I have gotten quite used to doing without it.
I would most likely not want to quilt standing up, unless I was doing small units with the Quilt As You Go method, and joining them with strips. When it came time to join the units the machine would be off to a table again so I would have a greater area for the work to occupy.
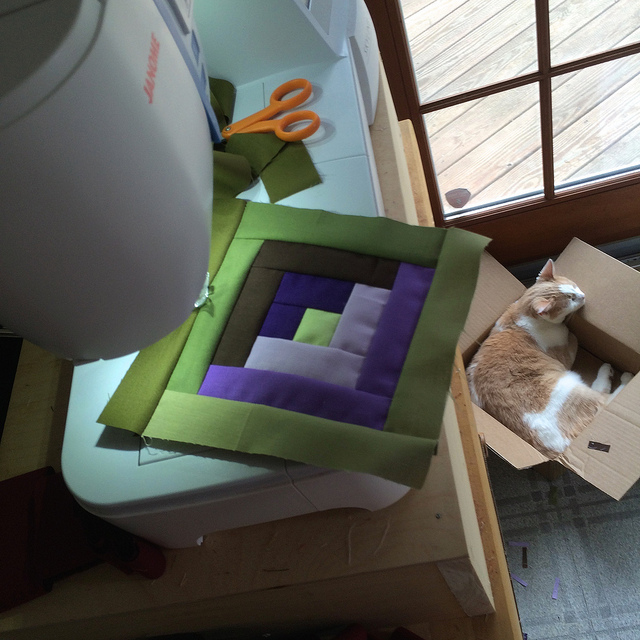
Perhaps one of the best things about sewing standing up in my kitchen is that my cat Lori is usually close by, and sometimes actually under foot.


Pingback: Low Volume Quilt Progress: Post Seven | Hexy Lady
Well, that’s innovative of you! I am intrigued by the idea of hand-controlling speed etc., although I think I would have a hard time giving up my foot pedal… Thanks for sharing!
When you choose not to use the foot pedal you are not really controlling speed by hand. You are simply starting and stopping the machine by hand. The speed is controlled by the sliding speed button that you preset. If you hold the start button in upon starting, you will start at a reduced speed, but as soon as you let go of the button the machine will achieve the speed you set. It will then stay at that speed until you press the stop button. If you hold in the stop button at the end of a row of stitching you can finish up your last few stitches at a reduced speed. You can, of course, change the speed on the fly by pushing the speed button to the left or right, but I think it makes sense to find a speed you are comfortable staying with. That would be one which is slow enough to control, yet fast enough to feel as if you are not dawdling as you sew.
One other thing I should mention is that at the sewing class Saturday at Pocono Sew and Vac the instructor strongly recommended not using the foot pedal for free motion quilting. She said that it was one less thing to think about if you don’t use the foot pedal. That makes sense. One of the attendees likened free motion quilting using the foot pedal for speed control to trying to pat your head and rub your stomach at the same time. That makes sense too. And since I am just learning to free motion quilt I will take her advice on not using the foot pedal.