
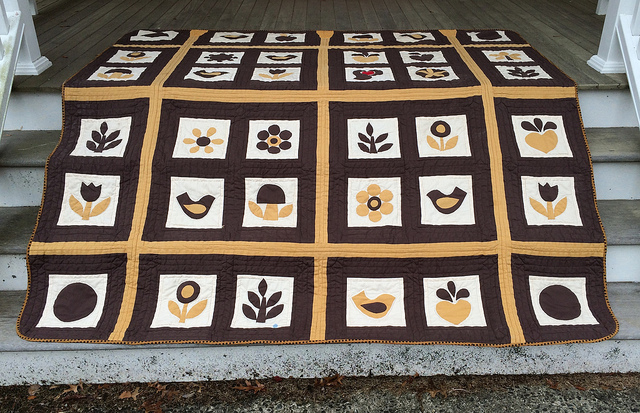
After posting last week about the first quilt I ever made I decided that it was time to give this forty year old quilt a much needed proper binding. I headed off to the Pennington Quilt Works thinking that I would look for a tiny floral print with brown, gold, and off white as the main colors in the design.
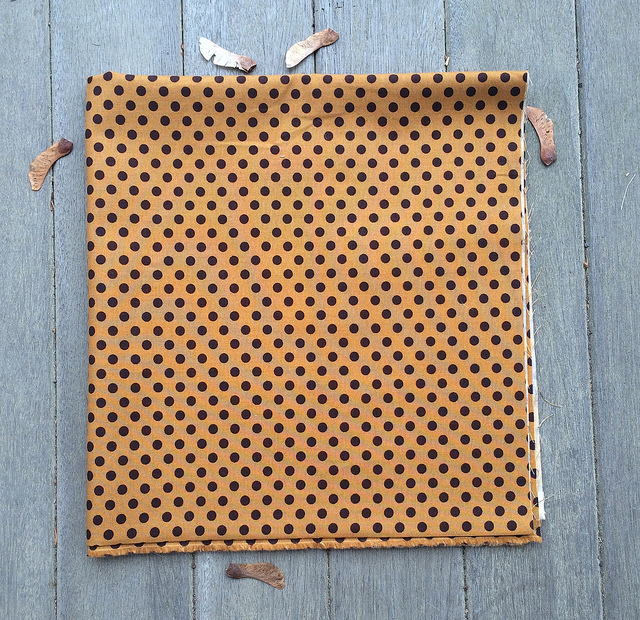
I packed my quilt into a bag and walked around the store with it looking for the right fabric. I wasn’t finding a tiny floral, but my eye did settle on a polka dot print of brown dots on a gold background. The brown was just about perfect. The gold was slightly darker than i would have liked, but I felt that it was going to make a nice binding, and that it would unify the quilt.
In addition to creating a real binding (not just whip stitched seams), I needed to do some repairs. I decided on the Kona Butterscotch I had purchased to audition for the Batik Flower Garden Quilt.
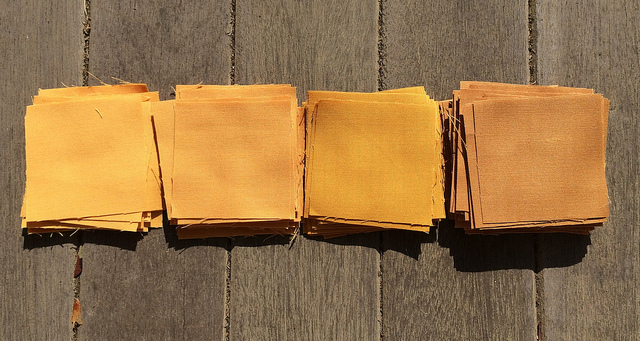
Kona Butterscotch is second from the left. The color on the far right is Kona Caramel, which is the color I selected for the Batik Flower Garden Quilt after seeing all four of these fabrics close up and personal.

While I usually do not pre wash my fabrics, I made an exception in this case. The quilt had been washed many times since its creation, and I had pre washed the fabrics before I made the original quilt because I was coming from a dress making background to quilting. I wanted to avoid shrinkage issues on my repairs and my new binding by pre washing my two new fabrics.
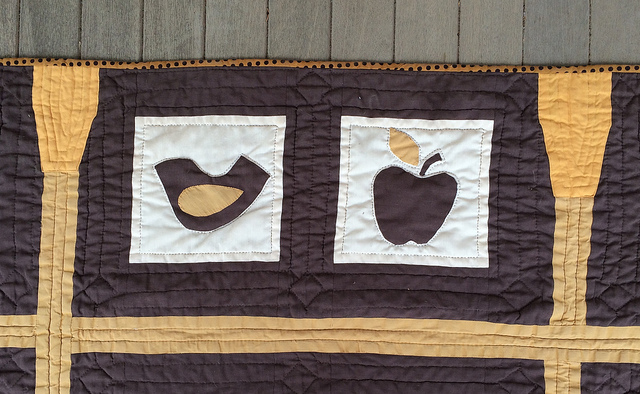
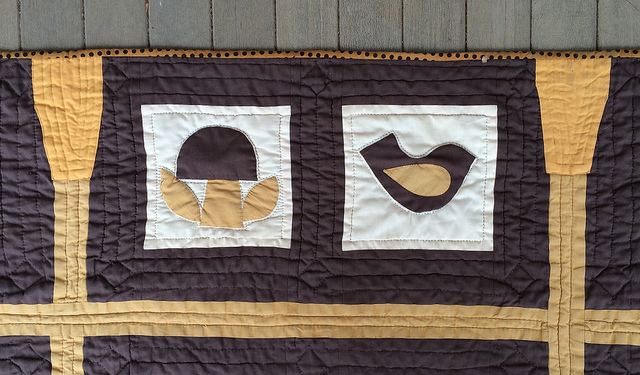
Before adding the binding I performed repairs on the topmost side of the quilt. This is where the quilt had suffered significant damage due to grabbing and tugging in the middle of the night. Something I learned from this is that repeated vertical rows of hand quilting are much more fragile than repeated horizontal rows of hand quilting. No damage occurred in the dark brown areas where the rows of stitching were horizontal. There was significant damage in the gold areas where the rows of stitching were vertical. I never would have guessed that this would be the case. This new information will help me to think about how to handle quilting in the future. My guess is that increasing quilting density all around the edges of a quilt makes good sense. You never know how it might be thrown out on a bed and which side might get tugged. Quilting density should at least be increased along the top edge of a quilt when there is an obvious top edge. I see no need to make quilting rows any closer than two inches apart in the main body of the quilt because quilting that is located at least a foot into the body of a quilt is not likely to undergo stress from grabbing. Therefore, it and can be quilted less densely without concern. Near the edge it might make sense to quilt as densely as every inch, or even every half inch if possible.
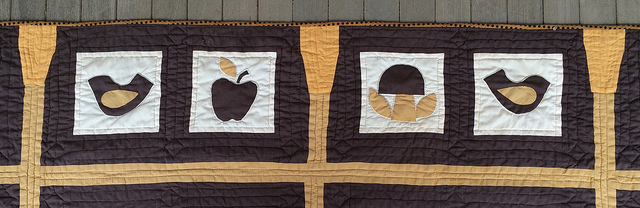
I added wedge shaped pieces of Butterscotch Kona fabric that wrapped around the edge of the quilt toward the back. The fabric was machine sewn to the front of the quilt because there was way too much thickness to hand quilt it. It was hand stitched to the back. You can see that the fabric is brighter than the original gold fabric, but it isn’t a bad match.
Below you can see how I added three wedges to make it look as if I meant for them to be there. Not all of the wedges were necessary to implement repairs.
I am very happy with the result.
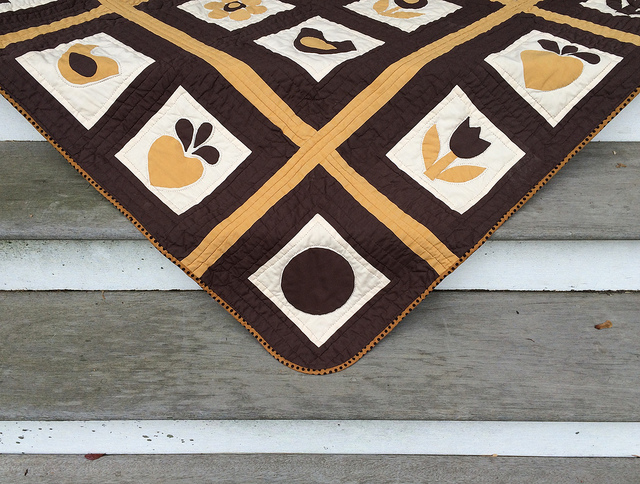
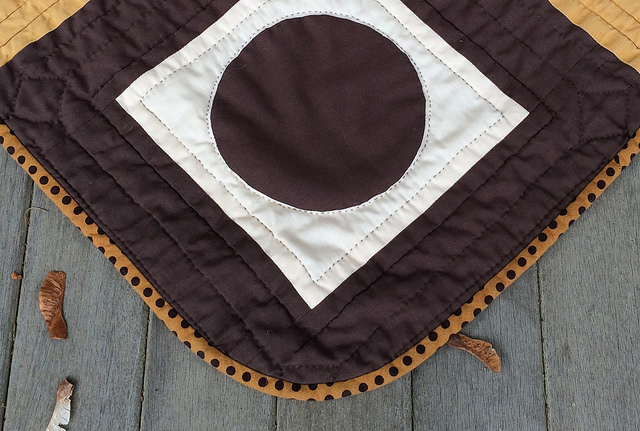
One thing I especially like about this quilt is that I decided to do curved corners on my binding, and I LOVE the way they turned out. Since I had no way to mark the fabric, I ended up tracing curves from a plate onto a piece of paper. I then pinned the paper to the quilt and stitched through the pencil lines on the paper to mark the curves, and ripped the paper away. I was very proud of myself for coming up this idea for marking curved corners.
I used a bias binding, which I always do, because it wears better than a straight binding. Another reason to use a bias binding is because it makes it easier to do curved edges. Last week I noticed a baby quilt online with curved corners. When I saw it I thought, “Wow, this looks like a great way to totally avoid the issue of the imperfect 90 degree angle corners.” That’s why I did it. This quilt was particularly well suited to using curves for the corners because each corner is composed of a circular motif. When I proudly showed my finished corners to my husband he said, “I see you are cutting corners.” I said, “Yes, I am.”
After finishing the binding I washed the quilt on a gentle cycle in cold water, and dried it on a gentle cycle. It turned out fantastic. I am considering adding a few more things to the surface of the quilt using the polka dot fabric and the butterscotch fabric, but I am going to wait for awhile before I do.
What a wonderful way of repairing it! And I love your method of creating the curved “corners”. 🙂
Pingback: First Act Friday: My First Quilt | Hexy Lady