
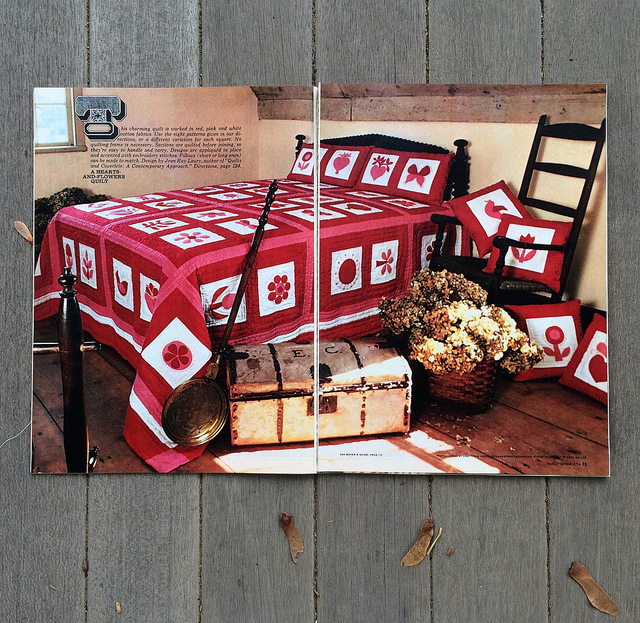
First Act Friday is a feature whereby I will show the quilts that I produced starting forty years ago in 1974 when I made my very first quilt based on the instructions I found in the February issue of Family Circle magazine pictured below:
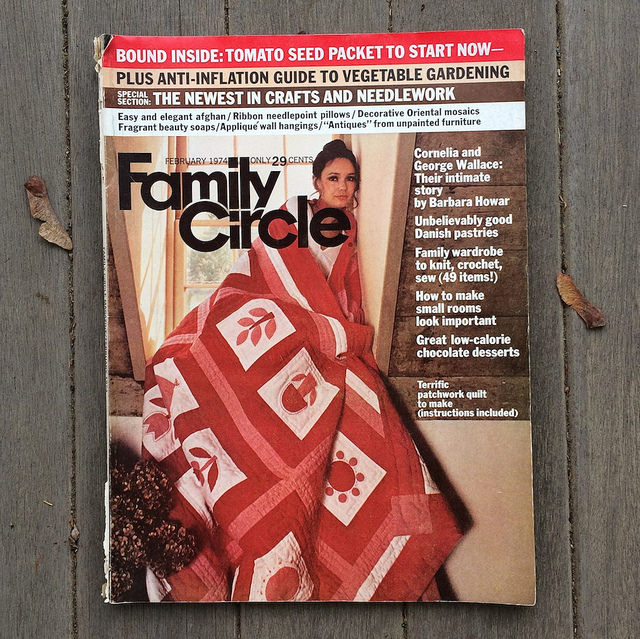
The quilt is featured on the cover of the magazine wrapped around a model. She has a bit of an Angelina Jolie look.
In 1974 I was taking a year off between my sophomore and junior years of college. I was wrapping meat for a living, and I was looking for a creative outlet. I’d never quilted, though I had seen my paternal grandmother do so. She used a quilting frame, but I didn’t have access to one. I liked the fact that this project did not require a frame. It seemed like an easy way to get started. I liked what I saw on the magazine cover and decided to give this project a try. At the end of this post I will show you, by way of scans of the magazine pages, what the instructions looked like for this project. I think that today if I had to work from those instructions I might be intimidated, but I was too inexperienced at the time to be fearful, so I forged ahead.
I decided to use a warm color palette for my quilt. I used only solids, which now I realize was actually quite modern, and this was before the term Modern Quilting had even been coined. I was creating this quilt for the king sized bed of my then boyfriend. When we broke up about a year later I put the unfinished quilt on hold. I’d completed everything but the extra wide brown borders I was going to add to make it large enough for a king sized bed. About 25 years after shoving this unfinished piece in a closet I dragged it out and finished off the edges with pre made bias binding. I now use the quilt on a queen sized bed, but it’s really is too small for that bed. I think I may end up patching it up and perhaps adding on another border to make it bigger in all four directions.
Here it is:
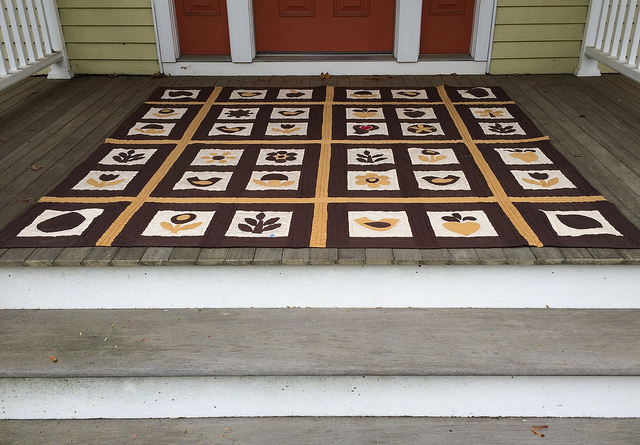
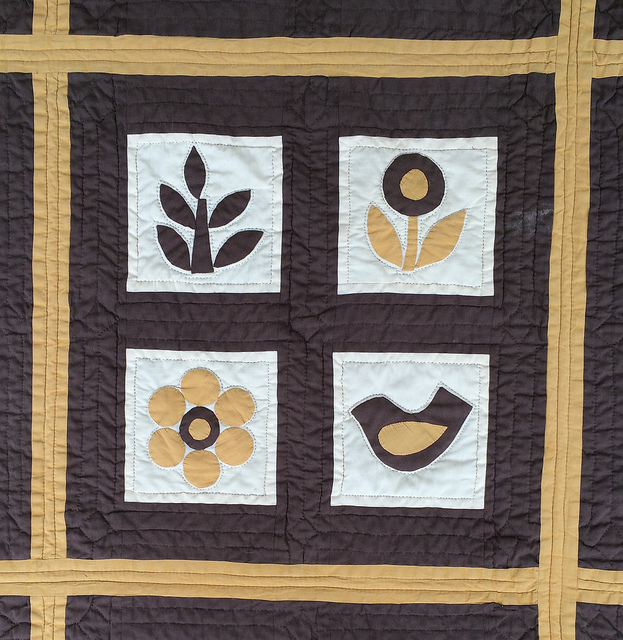
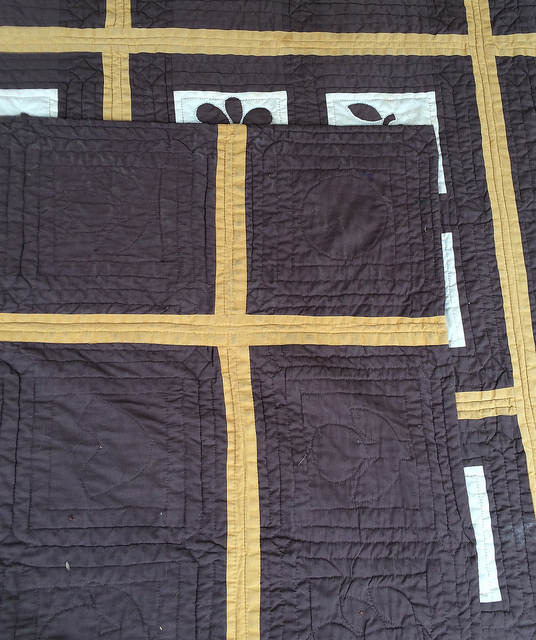
This quilt was done using a quilt-as-you-go method involving hand quilting. There were units of four, two, and one squares, each with brown sashing. Those units were individually lap quilted by hand before being joined with more sashing in a contrasting color. That sashing was was wide enough to have batting and the sashing was also quilted by hand.
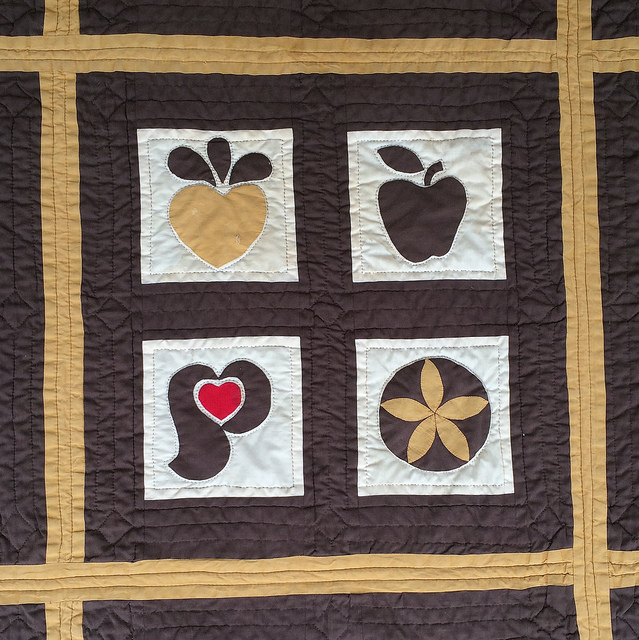
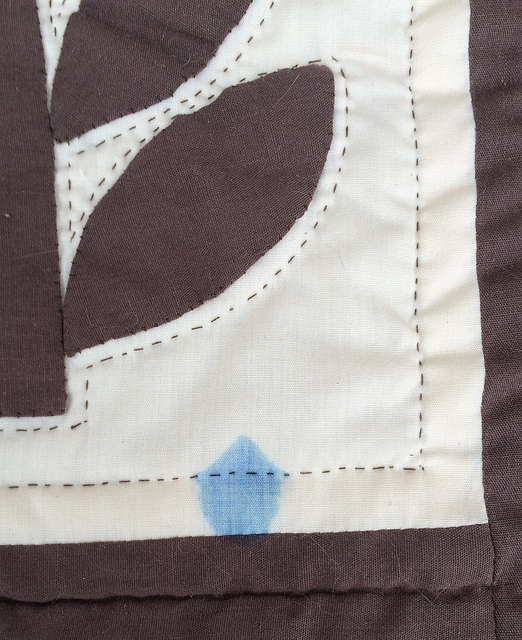
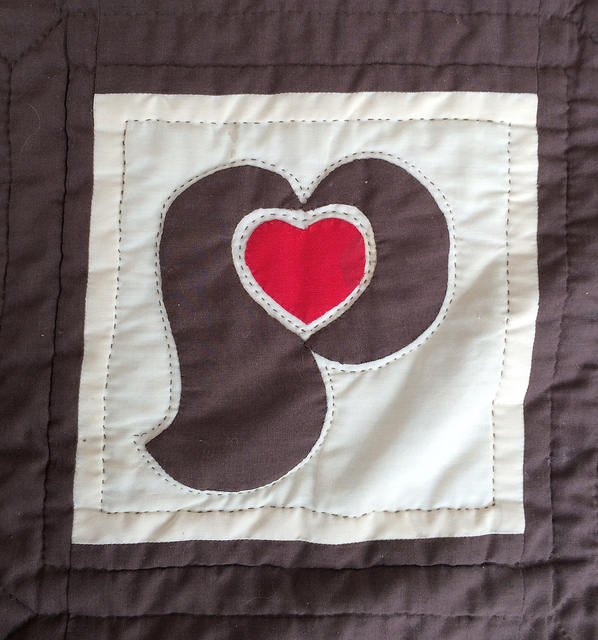
My one touch of vibrant color in this quilt was the red heart on one of the squares. I am Pennsylvania Dutch so this block speaks to me with its subtle reference to egg noodle packaging. The square appears to have been lifted directly from the Pennsylvania Dutch brand logo. Whoops. I may have actually been the logo thief, since I’m having a hard time finding the distelfink block anywhere in the quilt directions. My goodness, I stole from a noodle company. Well, actually, I took inspiration from a noodle company logo.
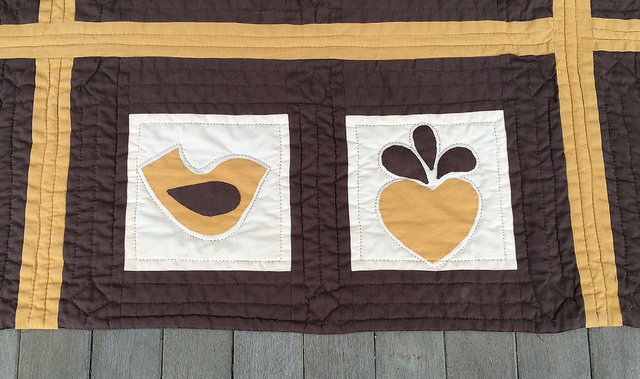
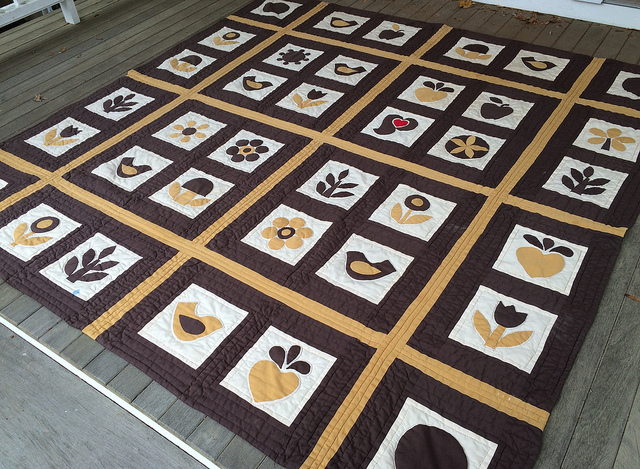
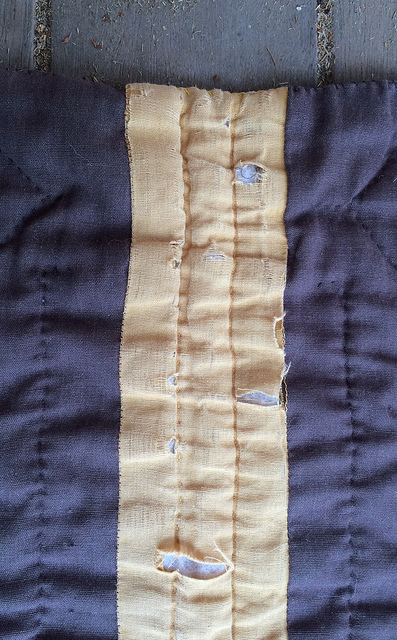
You can see below how the large brown blocks were joined with the gold sashing. Here we see this from the back of the quilt as well.
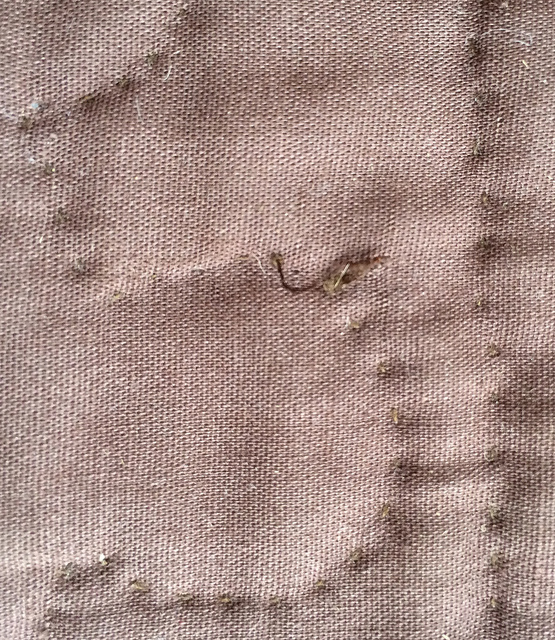
This piece has been well used, and is definitely worse for wear. I made my husband give up using those blue pens that he liked so much after this happened. They ruined a few things before they were banished from the house.
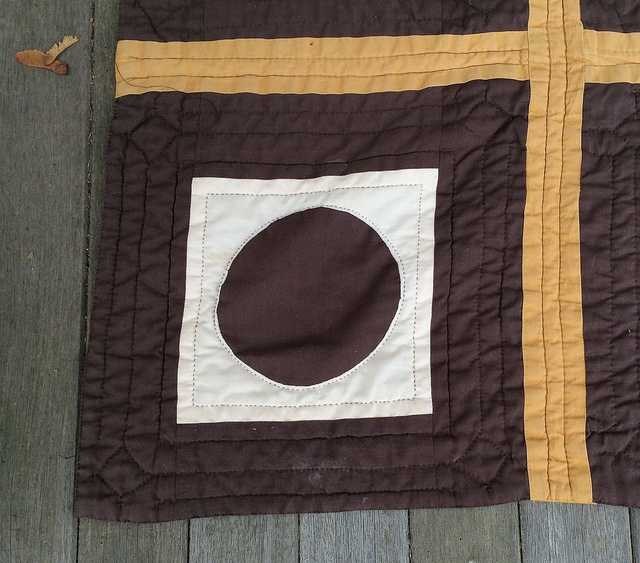
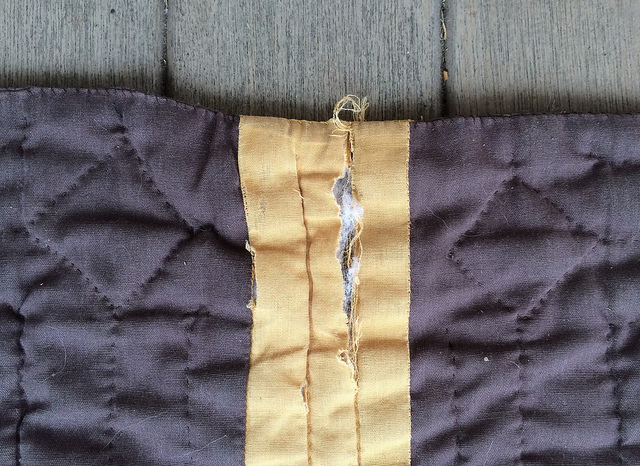
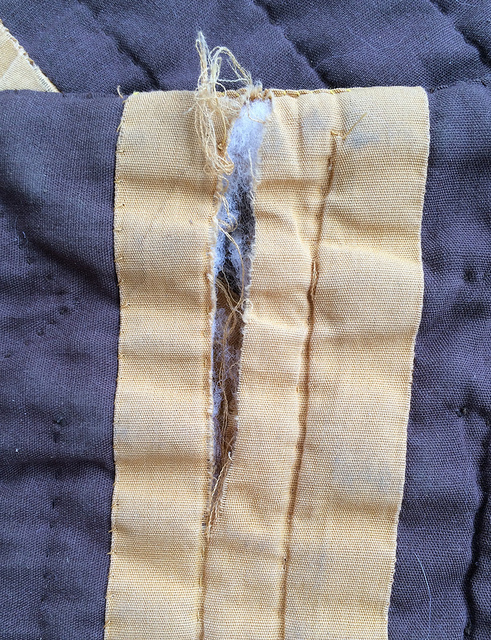
Grabbing the edge of the quilt to pull it up in a cold Winter’s night has taken its toll as well. Here we see the worst damage from the front of the quilt, and then from the back. I guess I’ll have to be looking for some Kona solids for repair work, or perhaps a print that would coordinate well.
I have no idea of the content of these fabrics. I imagine that they were not 100% cotton. I know that the thread was regular polyester sewing thread, not quilting thread. I just didn’t know any better. Plus I wanted to match the thread to the fabric as was done in the magazine directions.
The quilting on this piece has actually held up fairly well. In spite of the few examples of wear to the fabric I am showing here, most of the quilt is in very good condition for having been used a great deal in the past fifteen years, and having been laundered many time.
Can you believe I had no idea that you were supposed to hide your quilting knots? They are all over the back of the quilt. I had not yet read “The Perfect Patchwork Primer“.
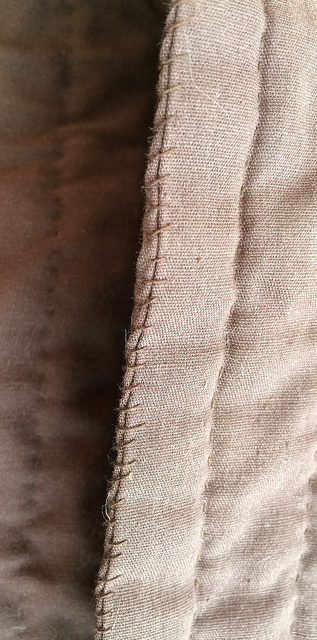
After what little border I had added to the edge got torn because it wasn’t quilted densely enough, I ended up picking out the machine stitches that joined it to the rest of the quilt. I turned in the seams, and whipping them shut. I think I should probably give this quilt a proper binding some day which I could add right to the edge that currently exists.
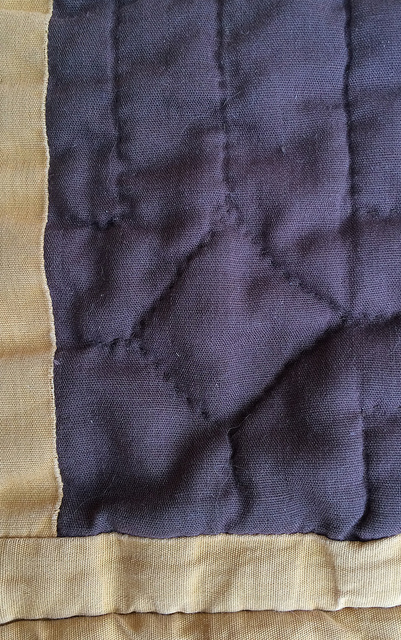
I did do some interesting quilting on this piece, I must say, with the diamond shapes.
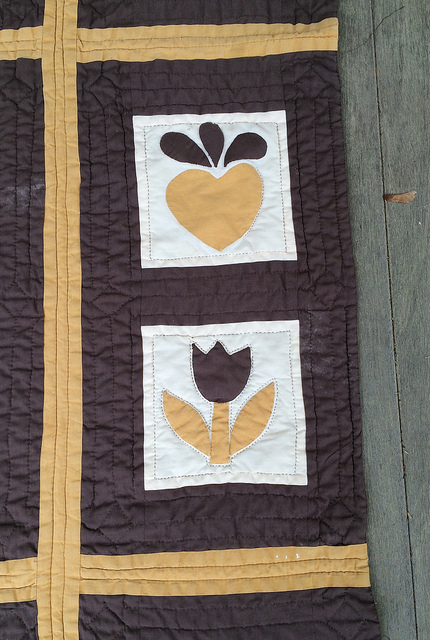
Here is my favorite block (that I shamelessly stole) all by itself.
The project has a nice double page spread in the magazine.
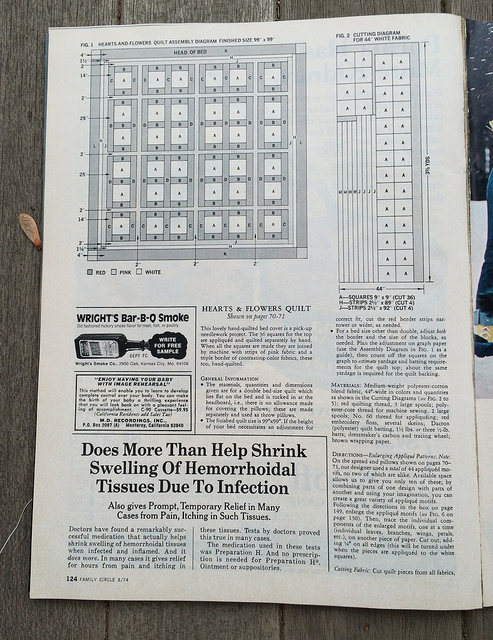
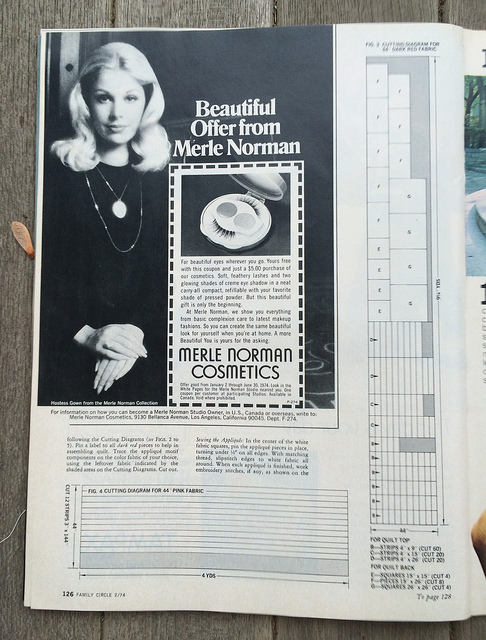
Then there were four pages of densely packed instructions. Just ignore the hemorrhoid cream advertisement.
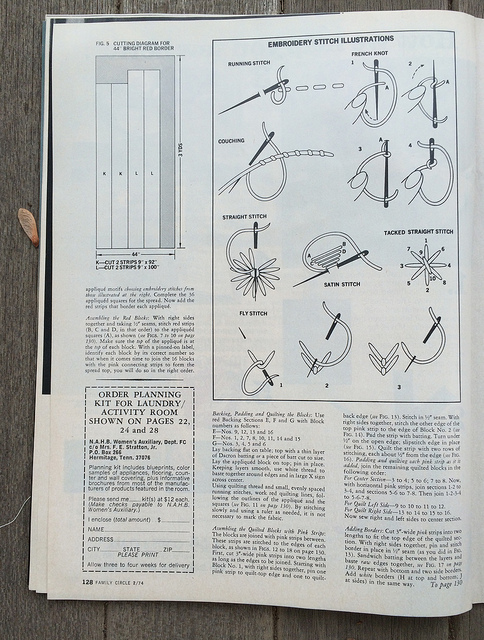
I did not add any embroidery to my quilt.
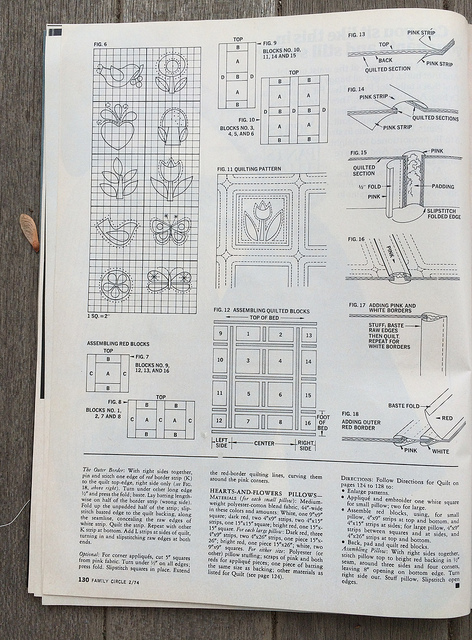
In the upper right of the above page you can see the instructions for adding the joining sashing, which has its own batting.
You had to hand draw the patterns for the individual appliqué units from looking at the samples in the upper left of the page above. You were supposed to draw out a grid and then copy the shapes by hand drawing onto the grid. While only eight units were provided, I ended up free handing many more than that for my quilt. Everything was cut with scissors, since rotary cutters did not yet exist.
I learned a lot from doing this quilt. The most important thing I gained from this experience was a sense of confidence in hand quilting without a frame. I went on to baste and hand quilt full sized quilts after finishing this piece. “The Perfect Patchwork Primer” provided me with all I needed to know to go on to finish four more quilts during my First Act In Fiber Arts. I’ll have a First Act Friday for each of those four quilts at some point in the future.
It’s fun to look back on the past, and some day I may design something to pay homage to these first quilt of mine.
Edit: At a later date I went on to add a nice bias binding to this quilt.
Pingback: Diamond Quilt Final Border of Hexagons is Finished | Hexy Lady
Pingback: Batik Flower Garden Quilt Progress | Hexy Lady